How to use Document Manager
You can use the Document Manager to store files for your team to access for reference, send to customers, or show in the Client, Subscriber, and Vendor portals.
You can get to the Document Manager by going to Home > Document Manager.
Note
You need the User Permission ‘Document Manager’ to access this page. This permission allows a user to upload files into the Document Manager and access files uploaded by your team members. The permission also allows you to perform certain actions on each file.
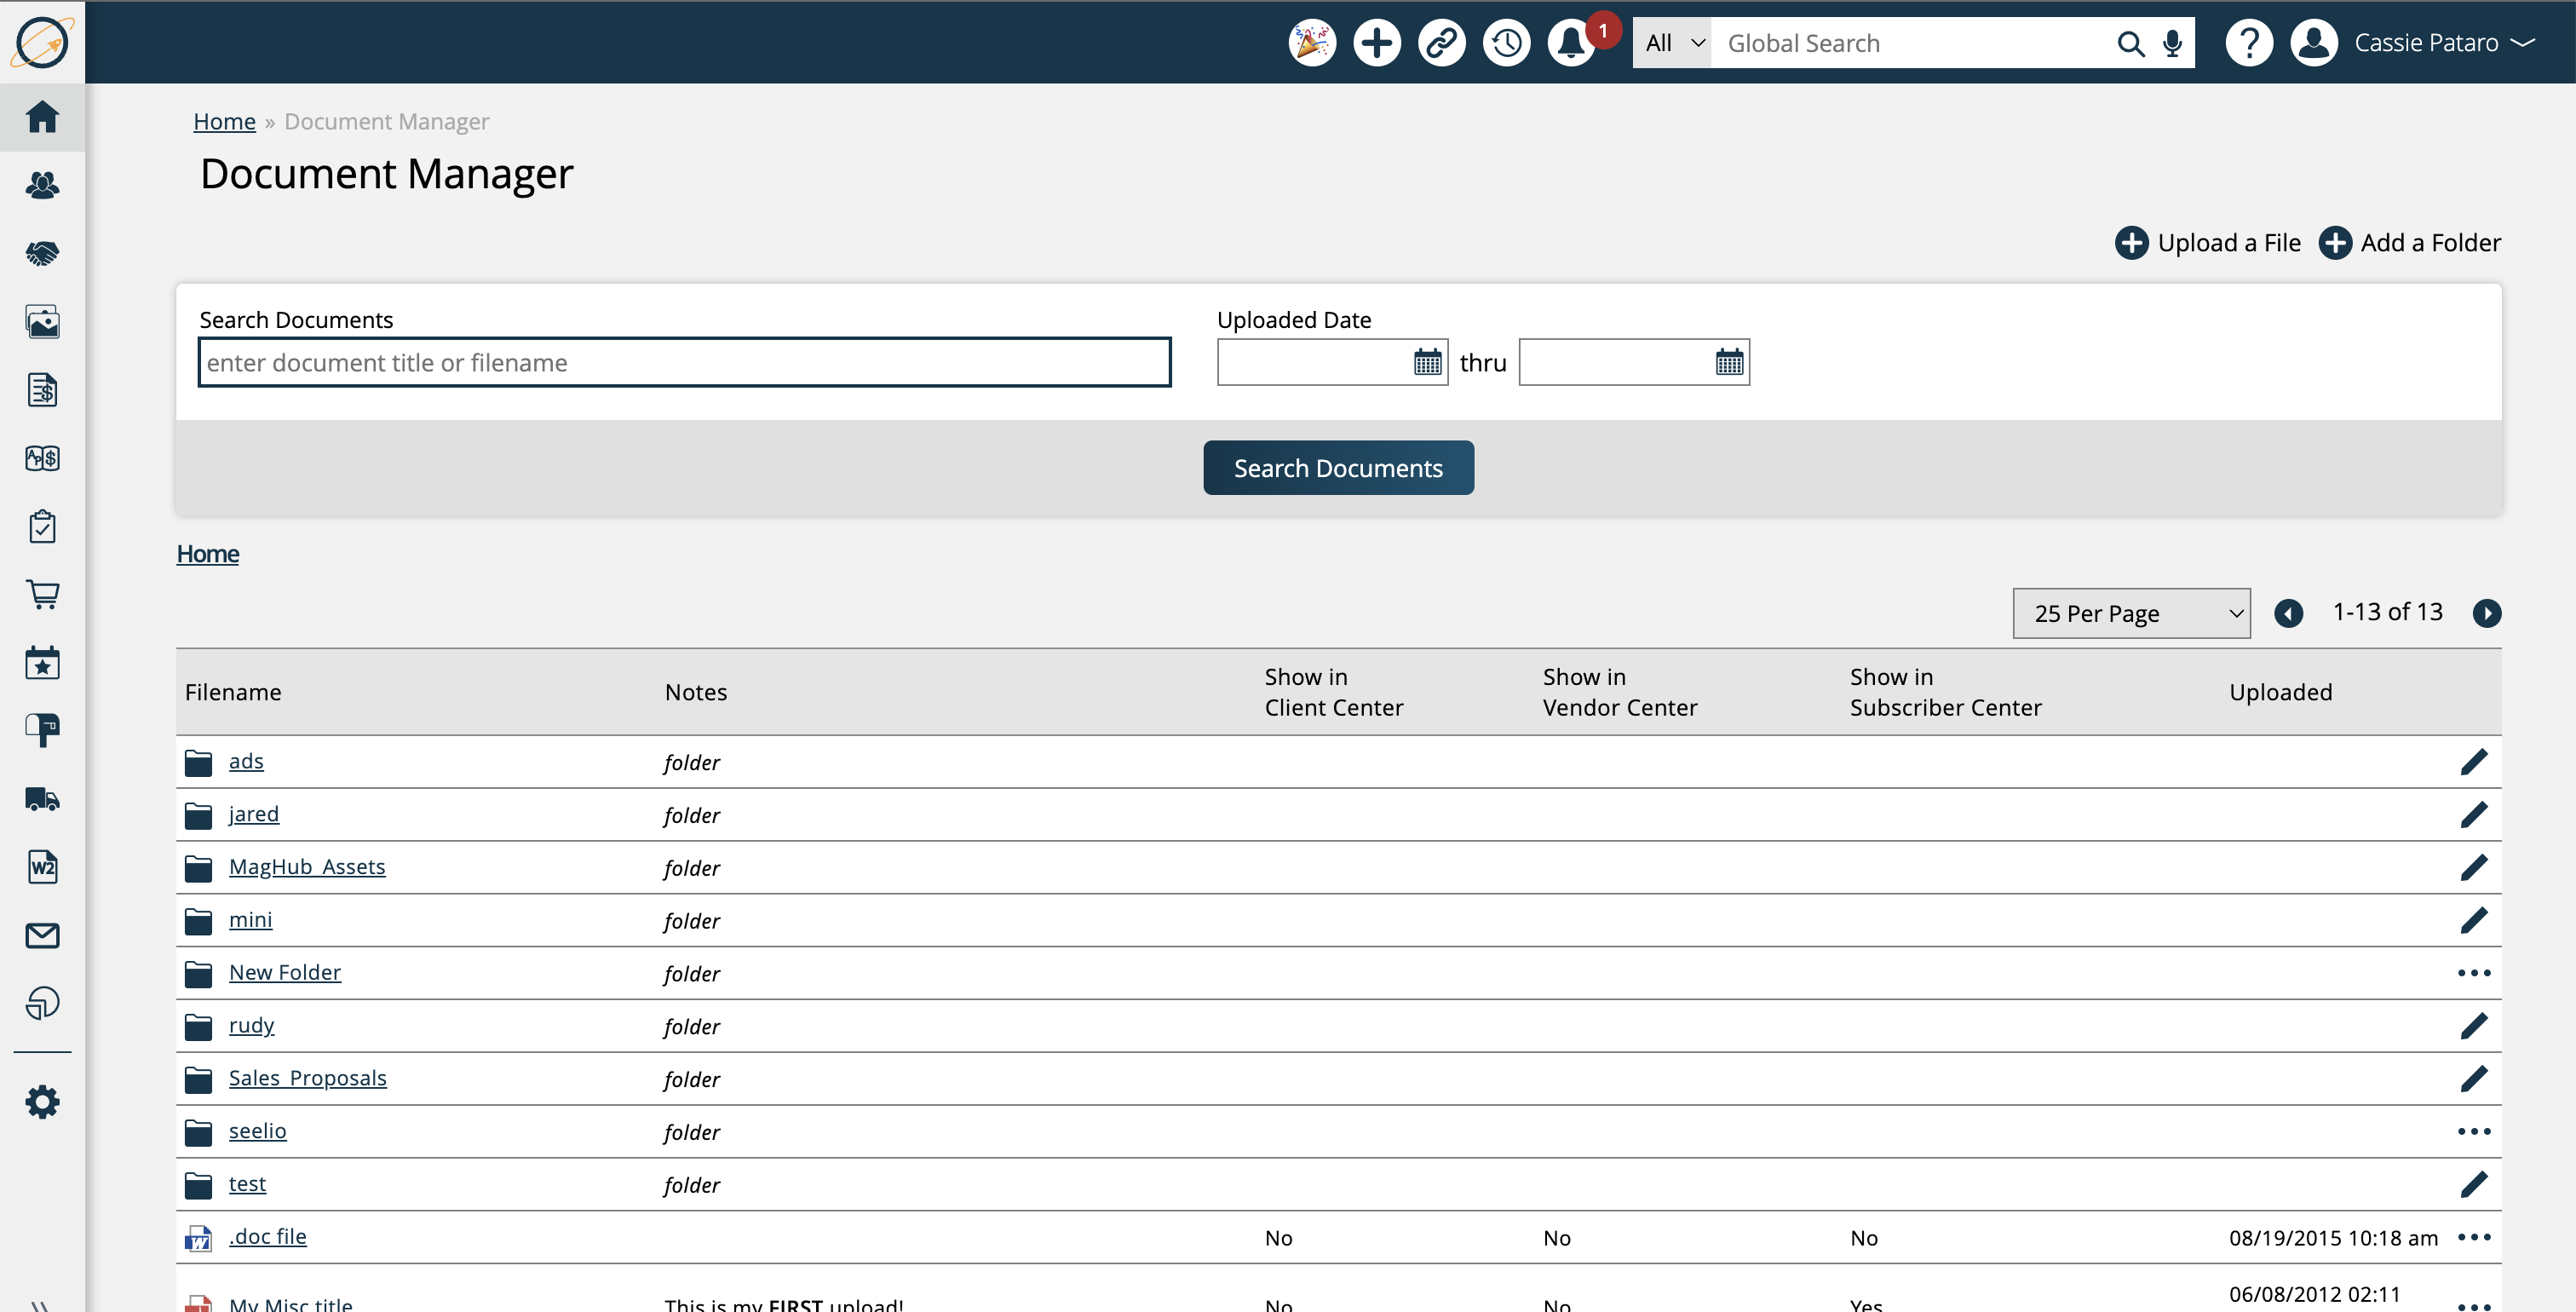
You can upload files directly to the Document Manager, or you can create folders to help organize your files by clicking Add a Folder.
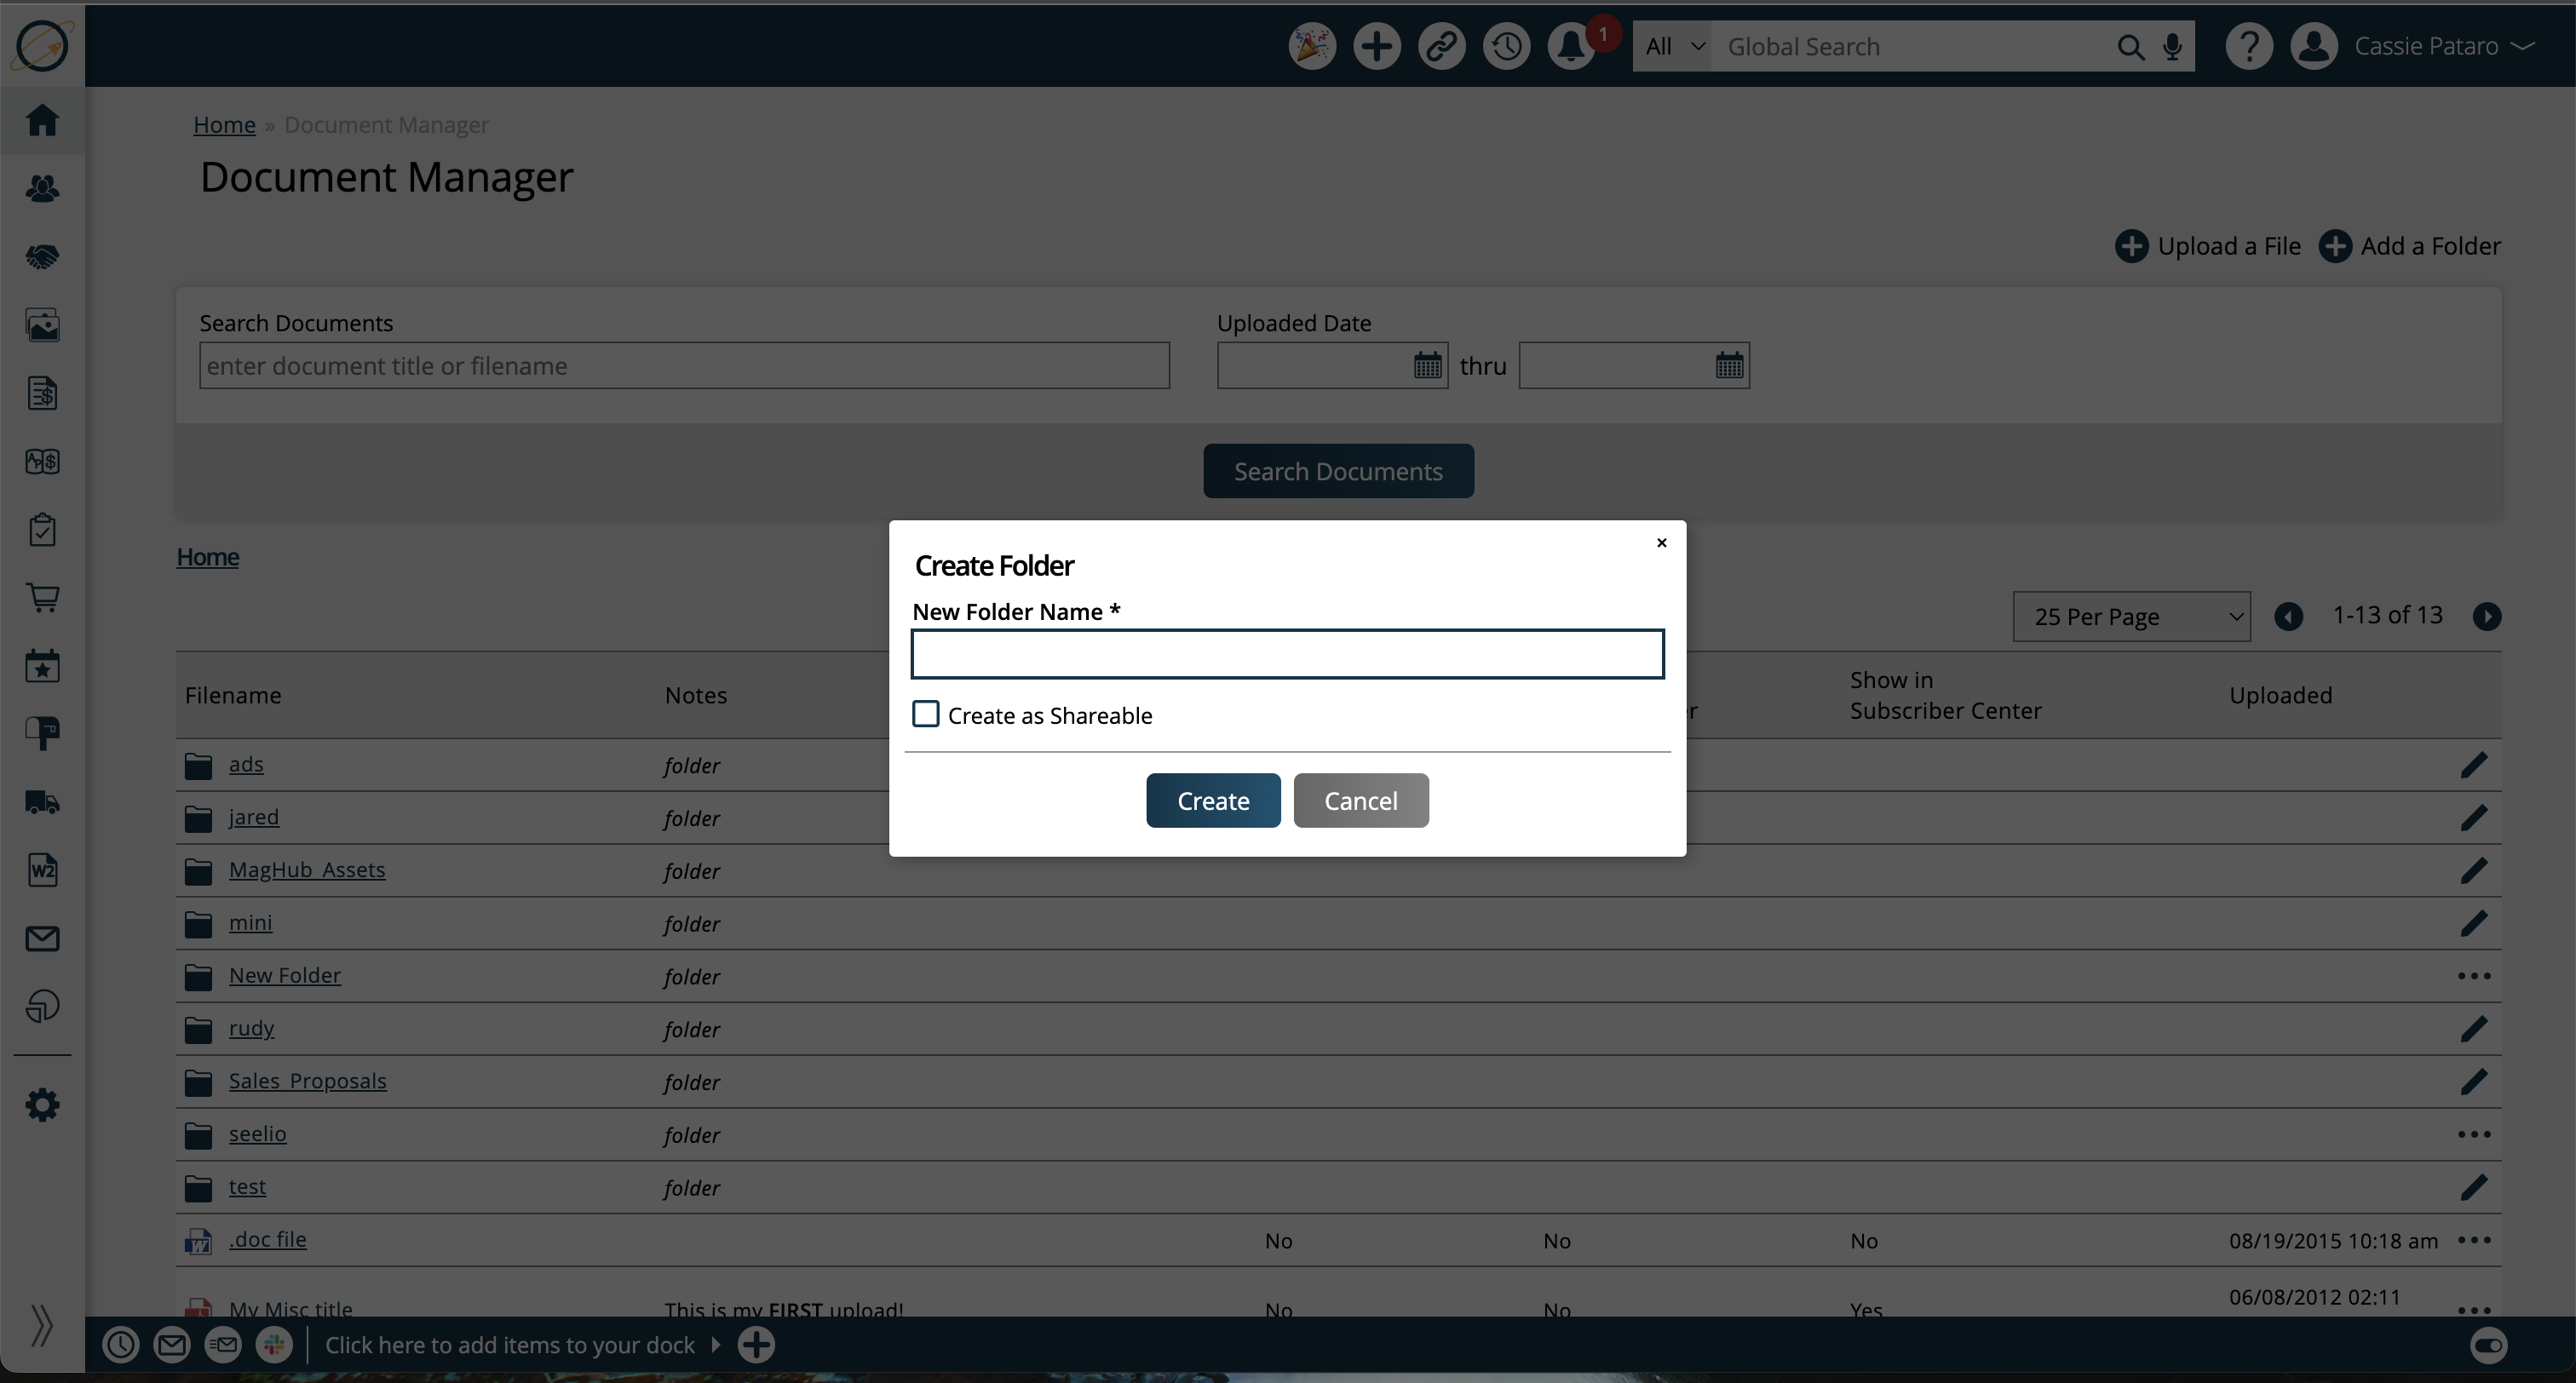
When creating a folder, there is a checkbox to allow the folder to ‘Create as Shareable’. If a folder uses this option, then you will be able to create a shareable link for any files uploaded to the folder, that can be sent to people outside of your organization. If the option is not checked, you will be unable to create a shareable link for any files uploaded to the folder.
Once the file is uploaded, there are a handful of ways the file can be interacted with. By default, files will be sorted alphabetically, but you can click on any of the table headers to sort by that column. If the file name is clicked on, the file will open in a new browser tab. You can also use the ellipsis icon to perform more actions on the file.
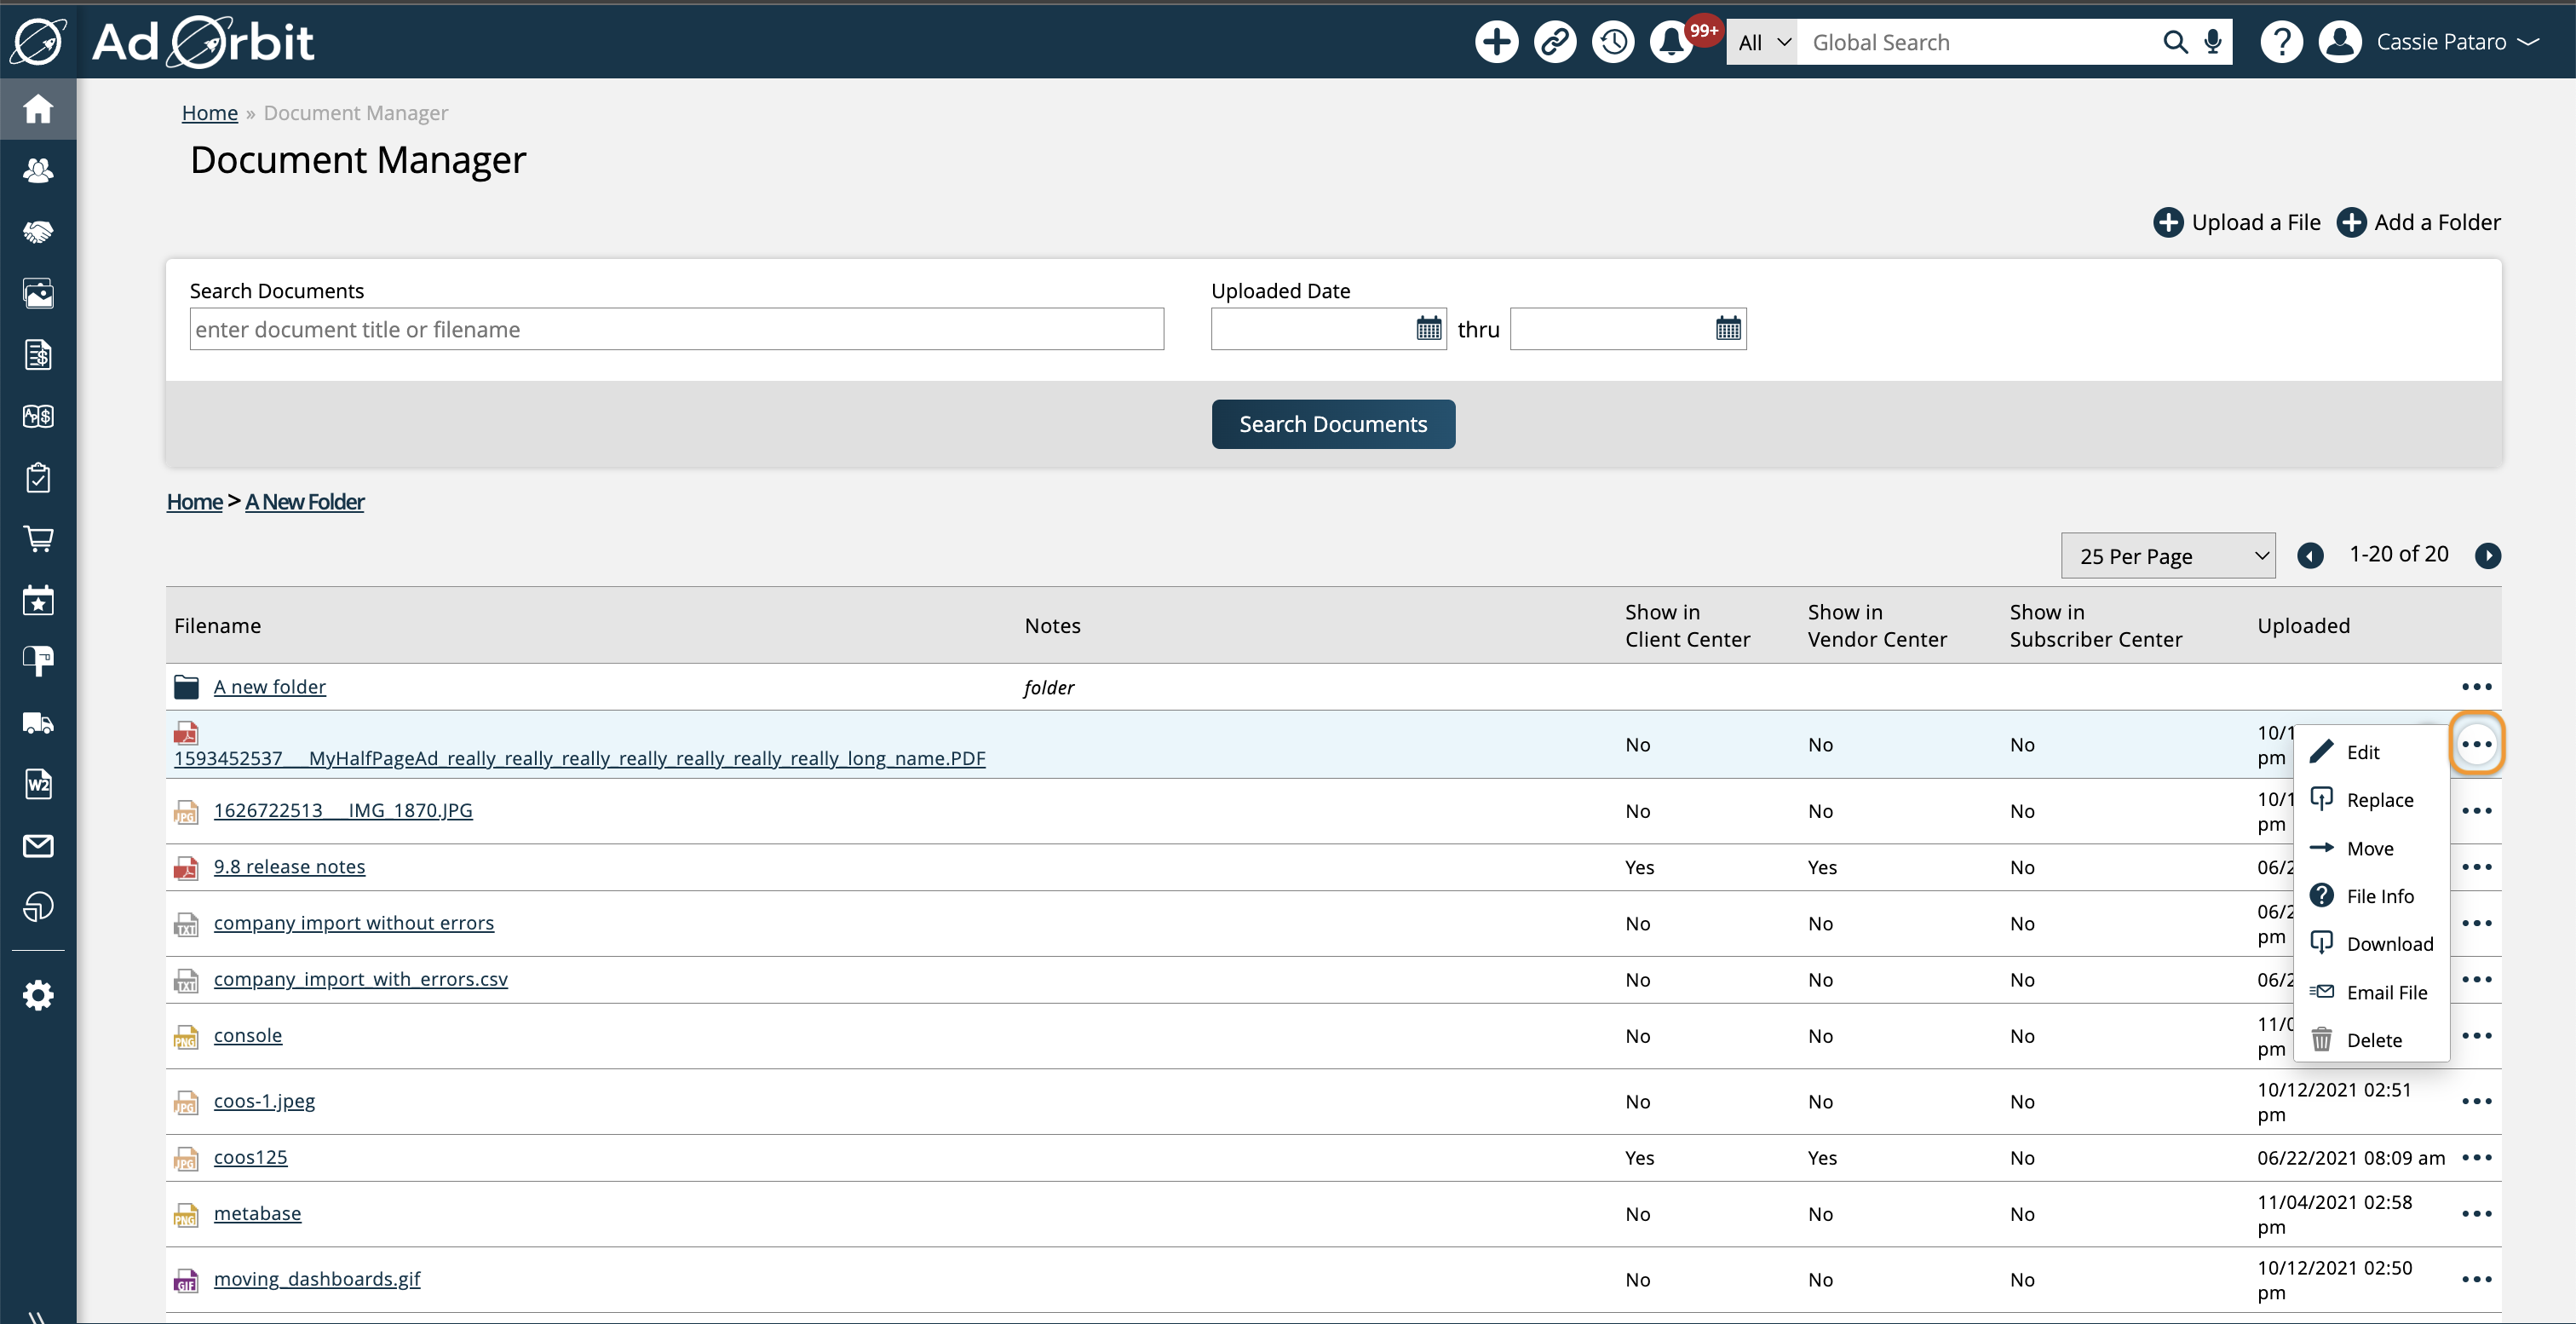
Use the Edit icon to change the file’s title and description. The title is what will show up under the Filename column. If there is no title entered, the system will use the name of the file when it was uploaded. The description will show up under the Notes field.
The Replace action allows you to upload a new file that will take the place of the existing one.
The Move action lets you move the file from one folder to another within your Document Manager. Files can be moved to existing folders, or you can create a new folder when moving the file.
The File Info option allows you to view data about the file such as file type, name, size, and who it was uploaded by.
The file can also be emailed directly by clicking on the email action; the action will generate the direct email pop-up. Each file can also be downloaded.
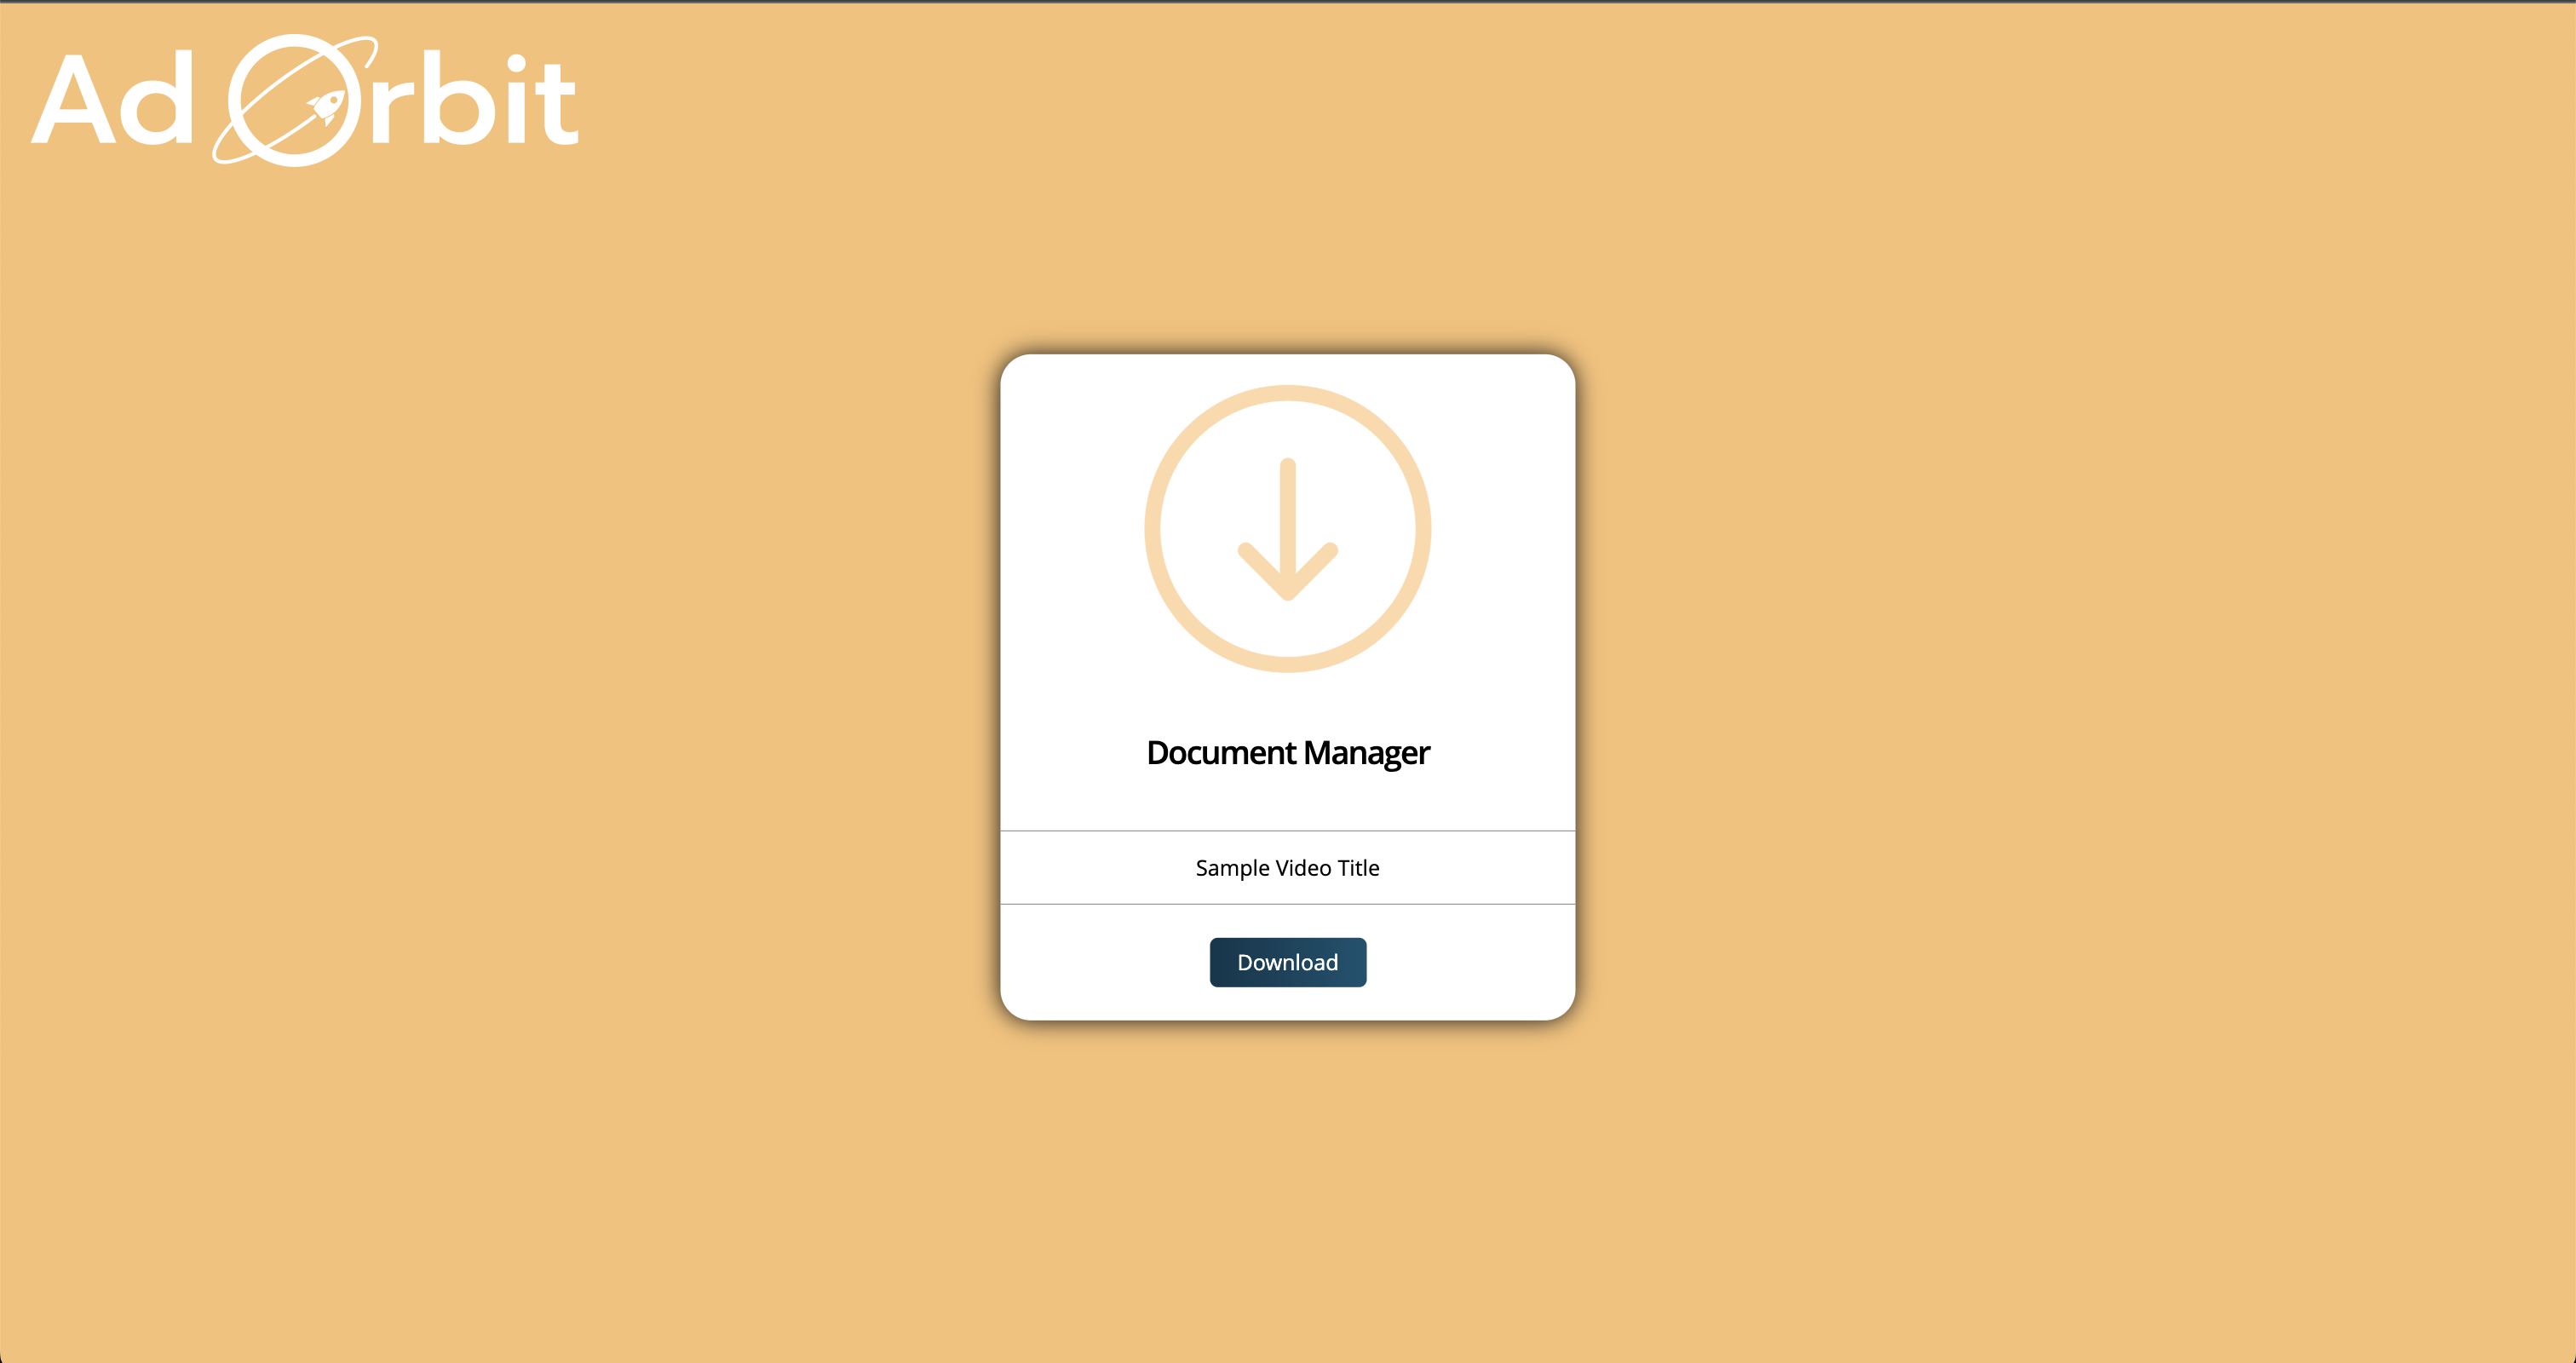
If the file is in a folder that was set as shareable, there is also a Share action. When you click Share, you will see a popup that displays a shareable link for the file. You can copy it to your clipboard from the popup, and send it to whomever you would like. When someone uses the link, it will take them to an Ad Orbit page where they can download the shared file.
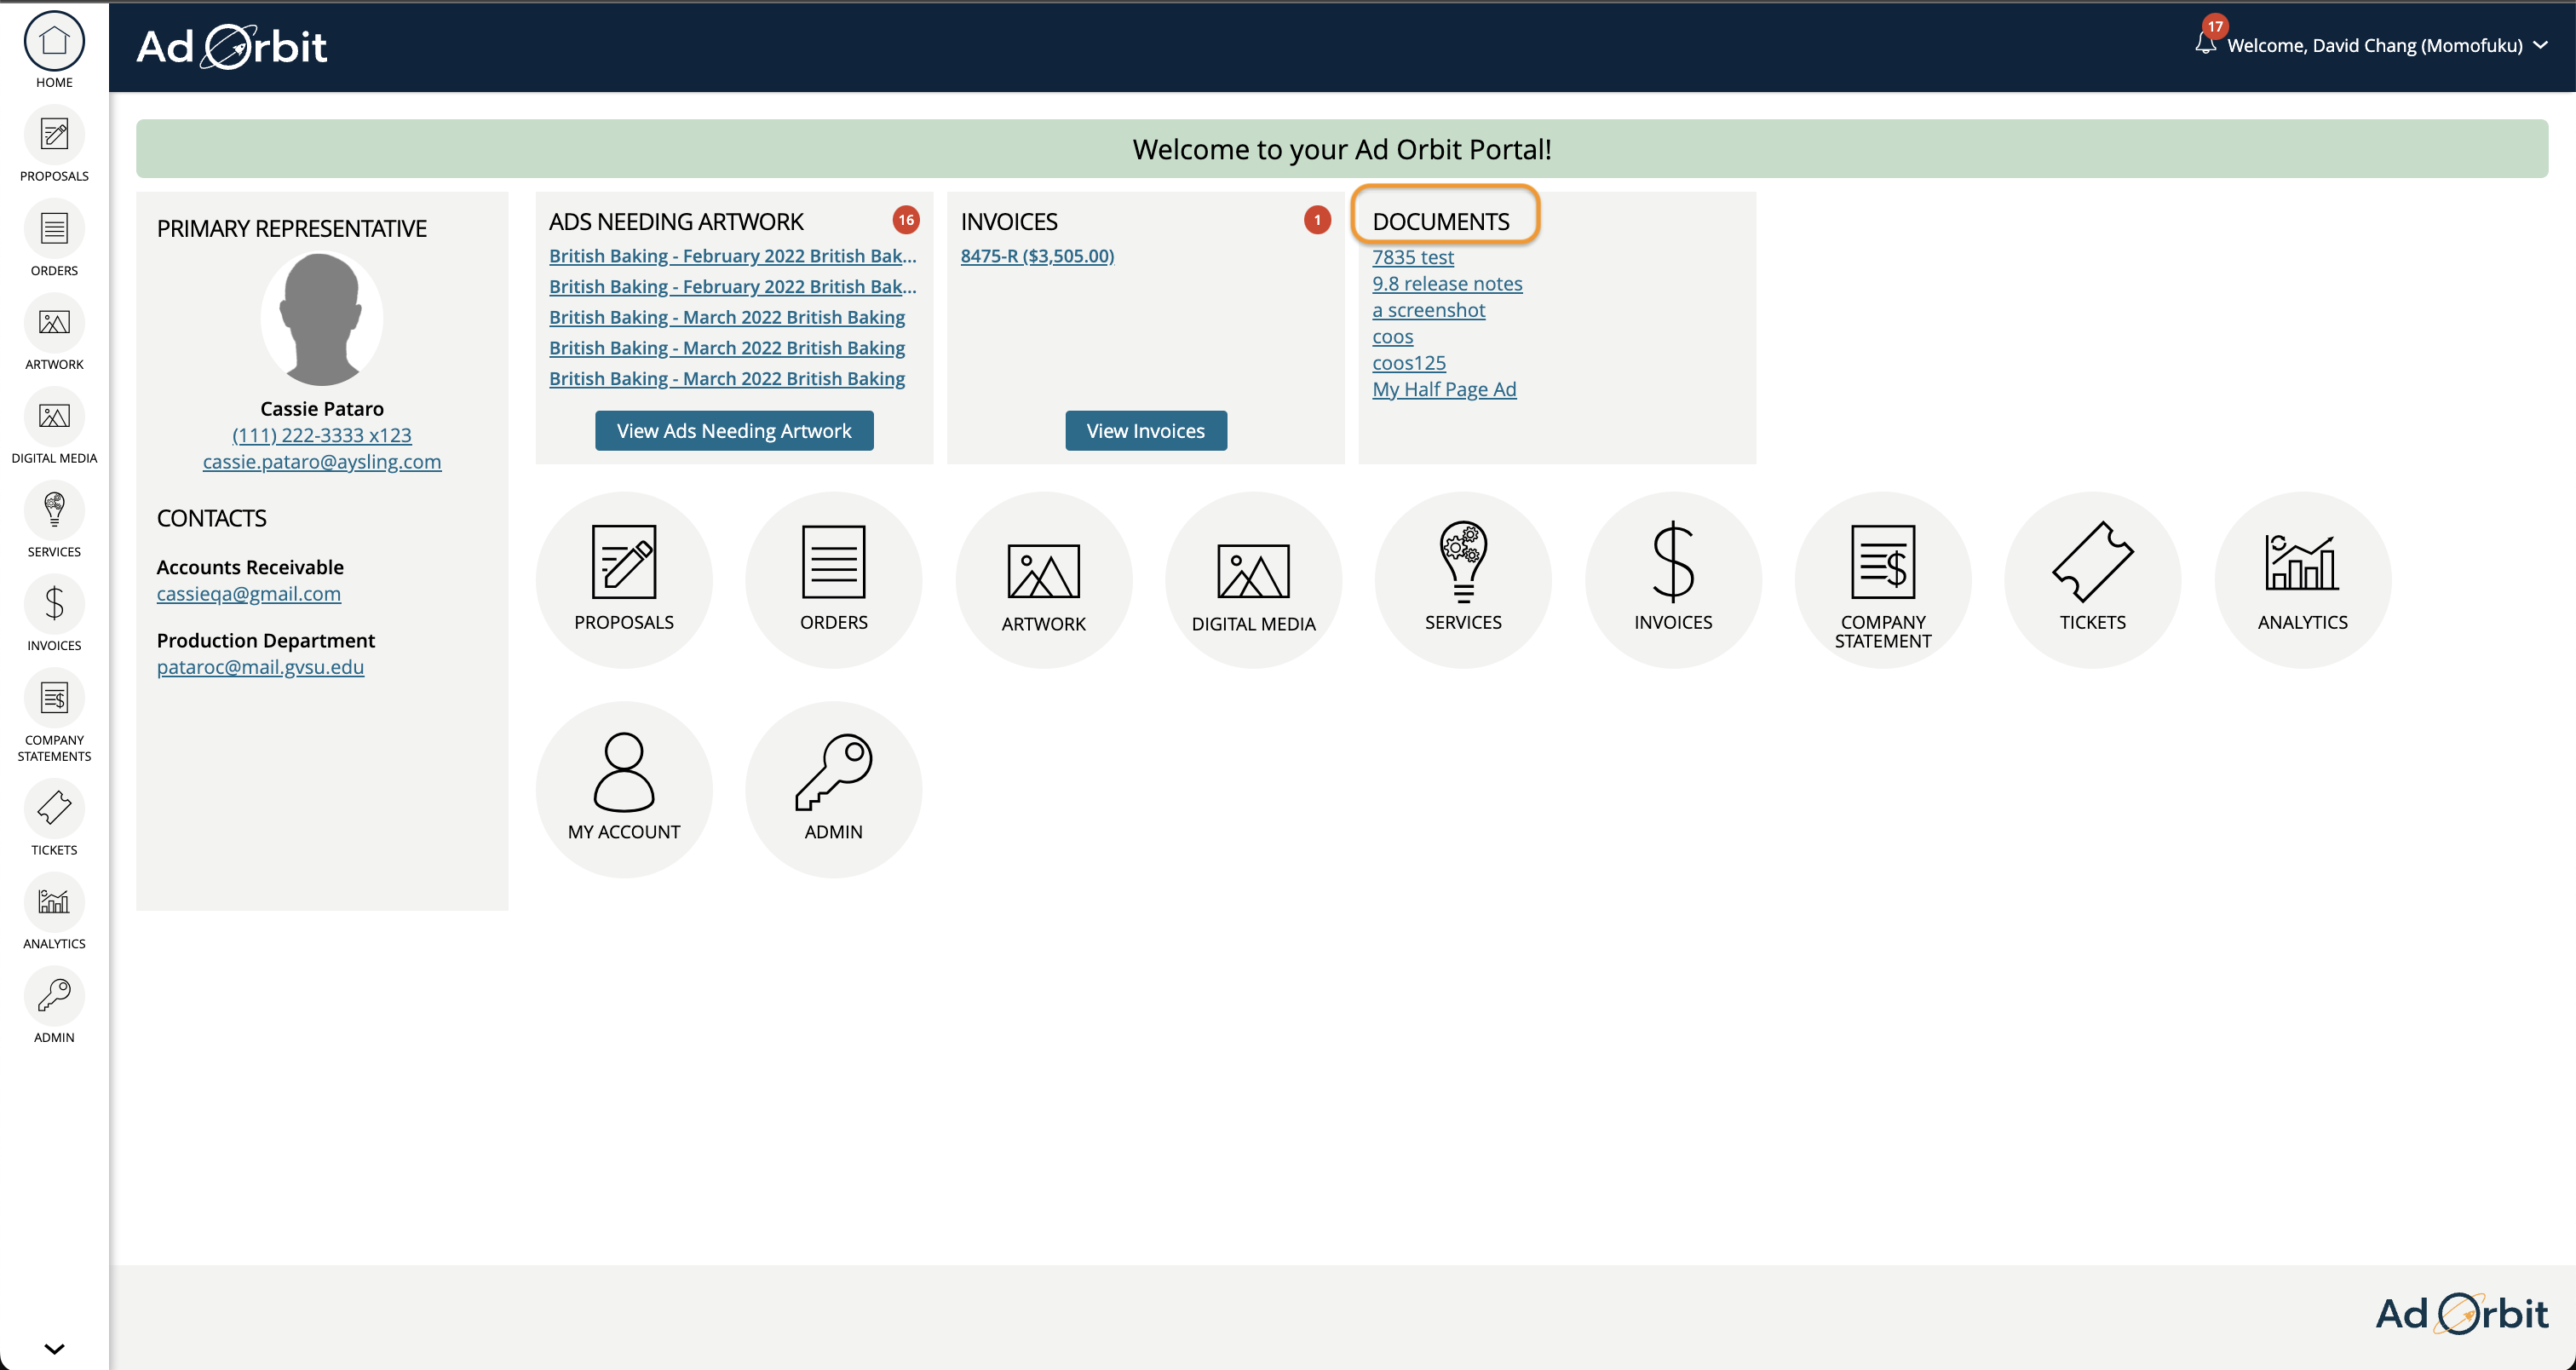
Make documents available in the Client Center, Subscriber Center, and Vendor Center by marking documents to Show in CC/SC/VC. You can choose to have up to 6 documents display at a time in each portal. You can only choose to display PDF’s or image files; no word or excel documents.
If a file is displaying in the Client, Subscriber or Vendor Center, then the action will change to say ‘Hide in CC’ or ‘Hide in VC’, which allows you to remove it from the portal.
Customers, subscribers, and vendors will see the documents show up in a tile on their portal home page when they log in. They can open the file in a new tab by clicking on the file name.
Note
Only files with Titles can be shown in the Portals. If there is no title it will not show up.
If you have the sub-permission Delete Any File, then you can also delete any file that is in the Document Manager. Without this permission, you can only delete your own uploaded files.
Documents uploaded to the Document Manager can be utilized throughout the system, such as attaching files to orders, or being added to order and proposal emails to clients.
Updated 5/7/2025