Line Item Action
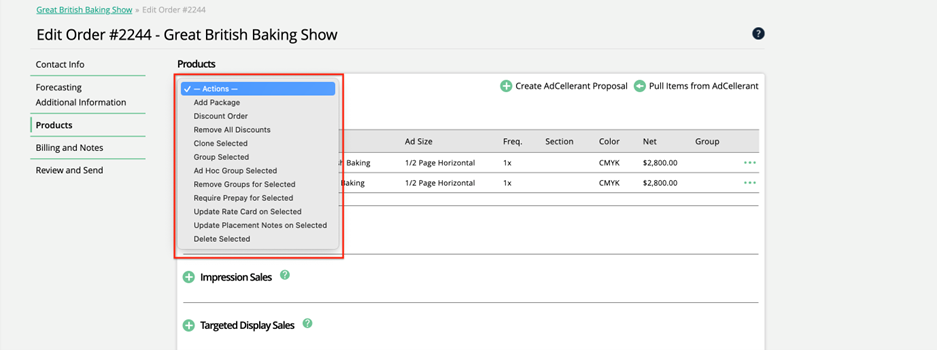
You can use the bulk actions on the product section of new orders to quickly add/update/remove items from your order. This document will go through each of the available actions.
Create a package
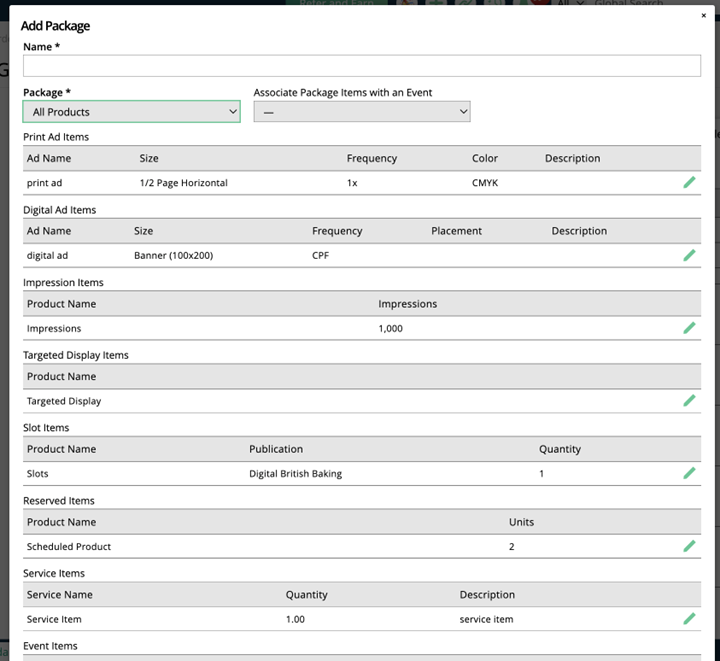
Creating a package allows a user to select from a list of predefined packages. You must set up your packages before you can add them to order. Packages allow you to control what is sold and how the items are displayed on a contract; all advertising line items will show grouped in one table on your contract template.
You will need to finish adding details to each of your package items, e.g., you must select the issues your print ad will run.
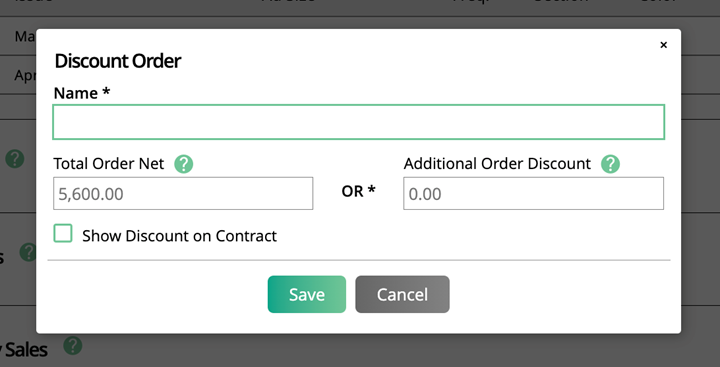
Discount Order
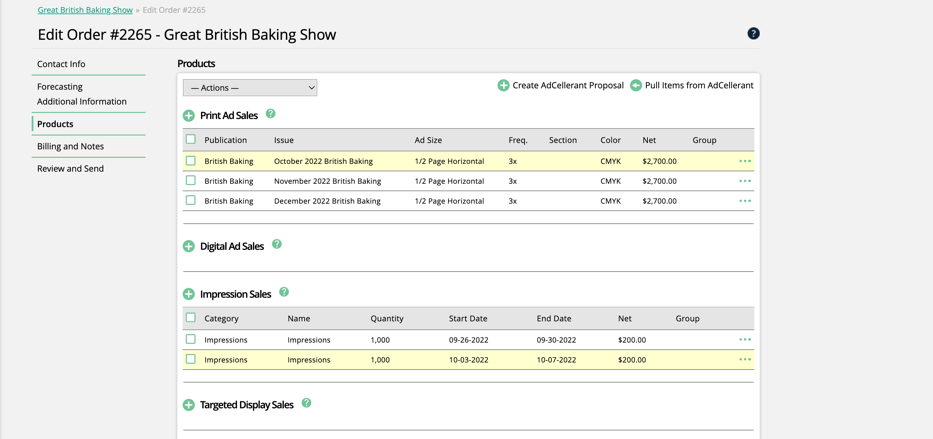
You can quickly add a named discount to every line item on your order. The bulk discount will evenly distribute the discount across all of the line items. You can choose to discount the entire order to a new total or apply a specific discount amount to an order.
Remove All Discounts
Clicking on remove all discounts will set all of your items to their original list price. You can then apply the Discount Order action or edit individual line items and apply discounts again.
Edit Line Item Rep Splits
You must have the User Permission ‘Edit Line Item Rep Splits for Pending Items’ in order to see this bulk action. The popup will show each line item on the order, as well as the user(s) that are assigned to the item and will receive the commissions for that item. By default, each item will be assigned 100% to the order rep, or if you have brand or publication splits enabled, those reps will be listed for the items they are set up to have splits on. For each item, you can edit these rep assignments. The splits will be applied evenly, meaning if you edit an assignment to have three reps assigned, each will get 33% of the item. These splits can always be adjusted after the order is fully approved.

Group Selected
You must select at least one line item before you can use the Group Selected action. Once you have at least on selected, you will get a pop-up with a list of your available Display Groups. Make sure you have the Package element on your Contract Template, so your Grouped items show up on the contract.
Ad Hoc Group Selected
You must select at least one line item before you can use this action. The action allows you to create an Ad Hoc Group of the selected items. You can enter the name of the group and choose how it should be displayed on your contract. If you have multiple ad hoc groups on your order, you can choose the sort order of the groups. There is also the option to invoice the group together or not. If you choose to invoice the group together, you must enter an invoice date.
Remove Groups for Selected
This action will remove all grouping from the selected items, including Display Groups or Ad Hoc Groups. You must choose at least one line item before you can use this action.
Require Prepay for Selected
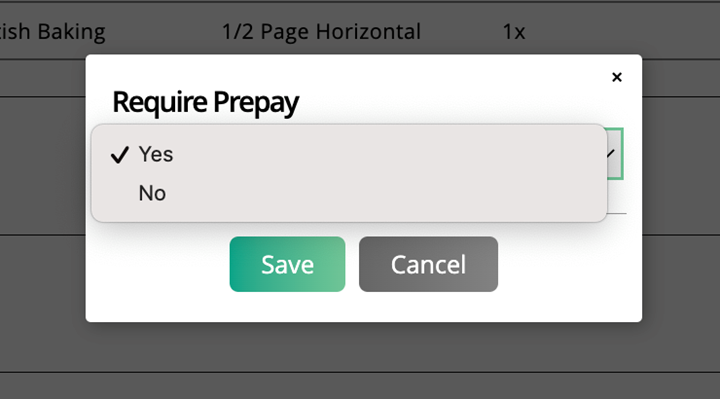
Choose in bulk whether or not to require prepay for your line items. When you select items and use this action, by default the option will be set to ‘Yes’, meaning the line items will require prepay upon order approval. You can also use this bulk action, however, to remove prepay from items. Click on the bulk action, then change the option to ‘No’, and it will remove the prepay requirement from all of the selected items. You must select at least one line item before this action will be available to use.
Delete Selection
You must select at least one line item before you can Delete Selection. After you choose your item(s), click on Delete Selection to remove all of the selected line items from the order.
Clone Selected
You must select at least one line item before you can Clone Selected. After you select your items(s), click on Clone Selected to create a new line item for each selected item. The system will make an exact clone of each item.
Update Rate Card and Sizes
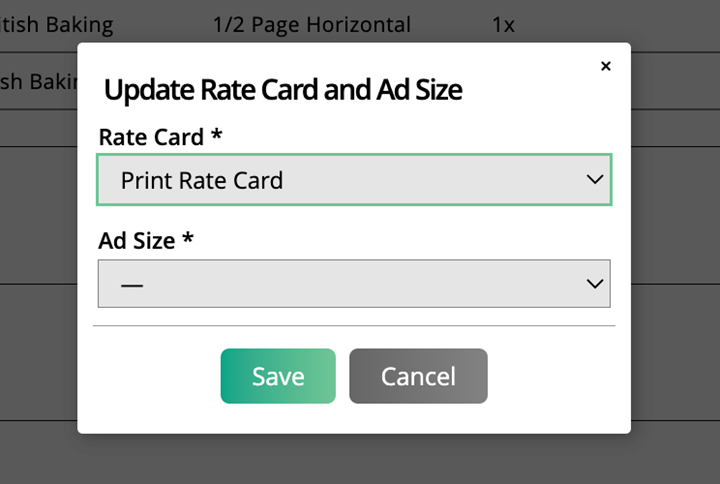
You must select at least one Print or Digital line item before you can Update Rate Card and Sizes. Because the items selected must have at least one possible rate card in common, you can’t bulk update Print and Digital items at the same time. Once you have selected item(s) with at least one rate card in common, click on Update Rate Card and Sizes. You will get a prompt to update the Rate Card and then the Size. The system will update the size and list price for each ad. The system will keep all of the other fields unchanged.
Update Placement Notes
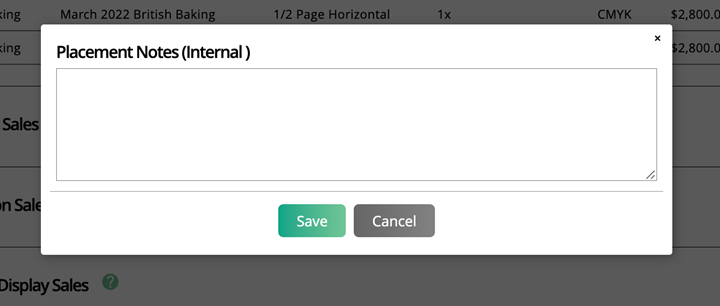
You must select at least one Print or Digital line item before you can Update Placement Notes. Once you have selected item(s), click on Update Placements Notes on Selected. You will get a popup with an input box. The system will update the notes for each item. If you leave the field blank, all of the placement notes will be removed.
Updated 4/06/2023