Line Item Attributes
You can customize your order form by adding line item attribute fields. The attributes are entered when adding a new line item to an order or proposal, and you can add up to 12 fields to the form.
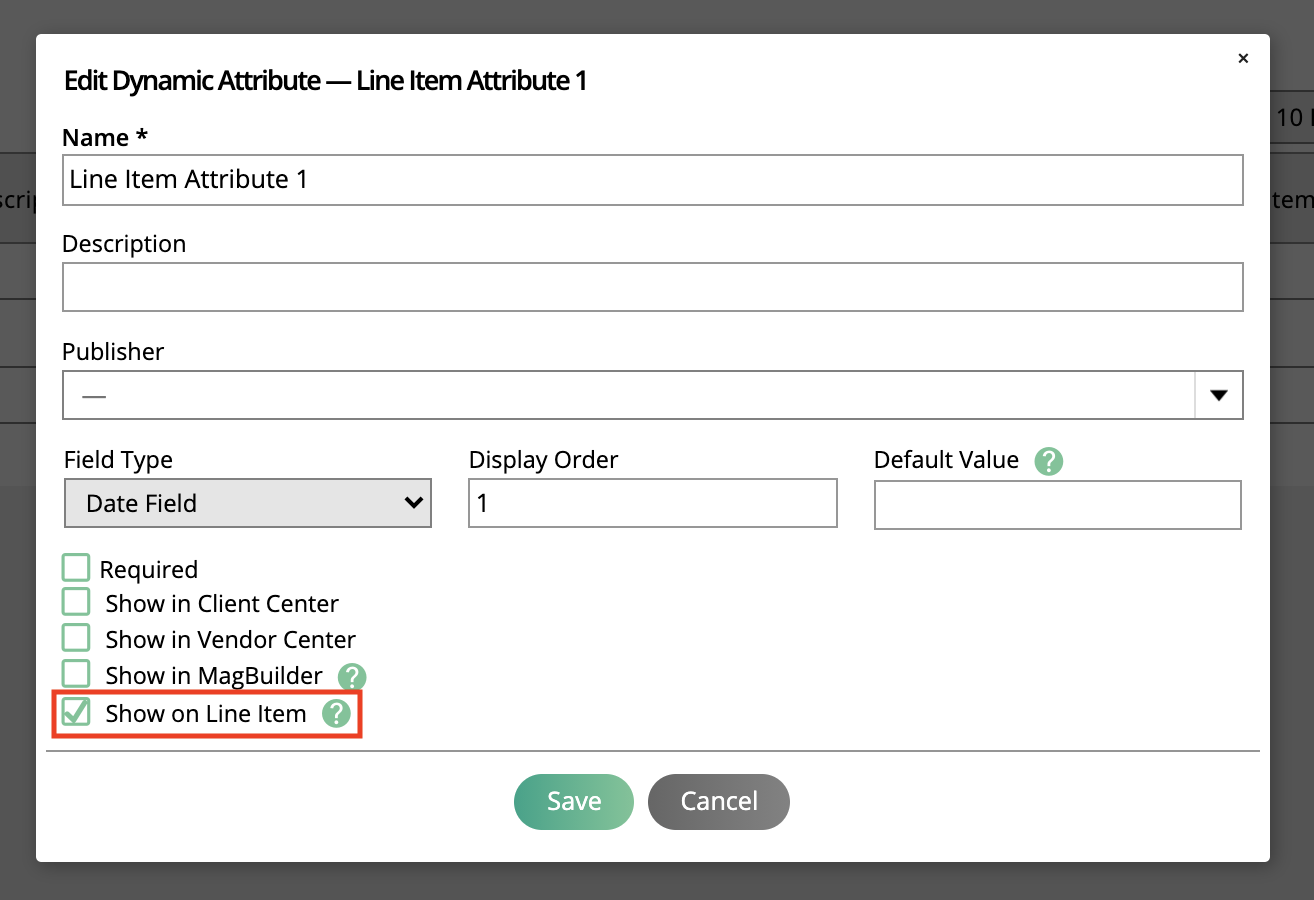
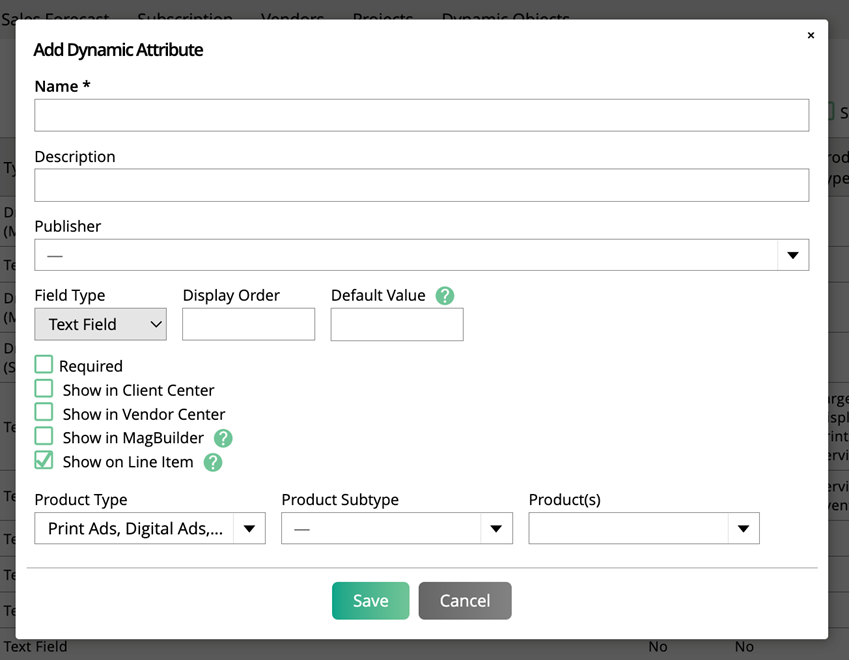
To set up ticket dynamic attributes to be used on line items, go to Settings > System Design & Info > Dynamic Attributes, and go to the Tickets tab. When adding or editing a ticket dynamic attribute, there is the option to 'Show on Line Item'. If this option is checked, then that ticket dynamic attribute will show up when you are adding line items to an order. Once you check the ‘Show on Line Item’ option, you’ll see some additional, optional fields appear on the popup.
First, you’ll see a multi-select dropdown for Product Type. This allows you to pick and choose if you only want the attribute to apply to particular product types, such as Event line items, or Digital Media. If you leave this field blank, the attribute will apply to all of your line items. If you choose a product type, the attribute will only be displayed on that product type, and not others.
If you choose the Digital Media product type, you will see two additional fields: Product Subtype and Products. Product Subtype allows you to choose which type of digital media product you wish the attribute to apply to (impression, slot, reserved, or targeted display). If left blank, the attribute will apply to all digital media line items. If you choose a subtype, the attribute will only show on those digital media products. Product allows you to get even more granular and choose the specific products that the attribute should be used on. This gives you a lot of flexibility, in that you can pick and choose very specific items that an attribute should be used for. If left blank, the attribute will apply to all products in the chosen subtype.
If you choose the Service product type, you will see an additional Products field. This works the same as the Digital Media product field. You can pick and choose which specific service products the attribute can be used on and ignore others. If left blank, the attribute can be used on all service products.
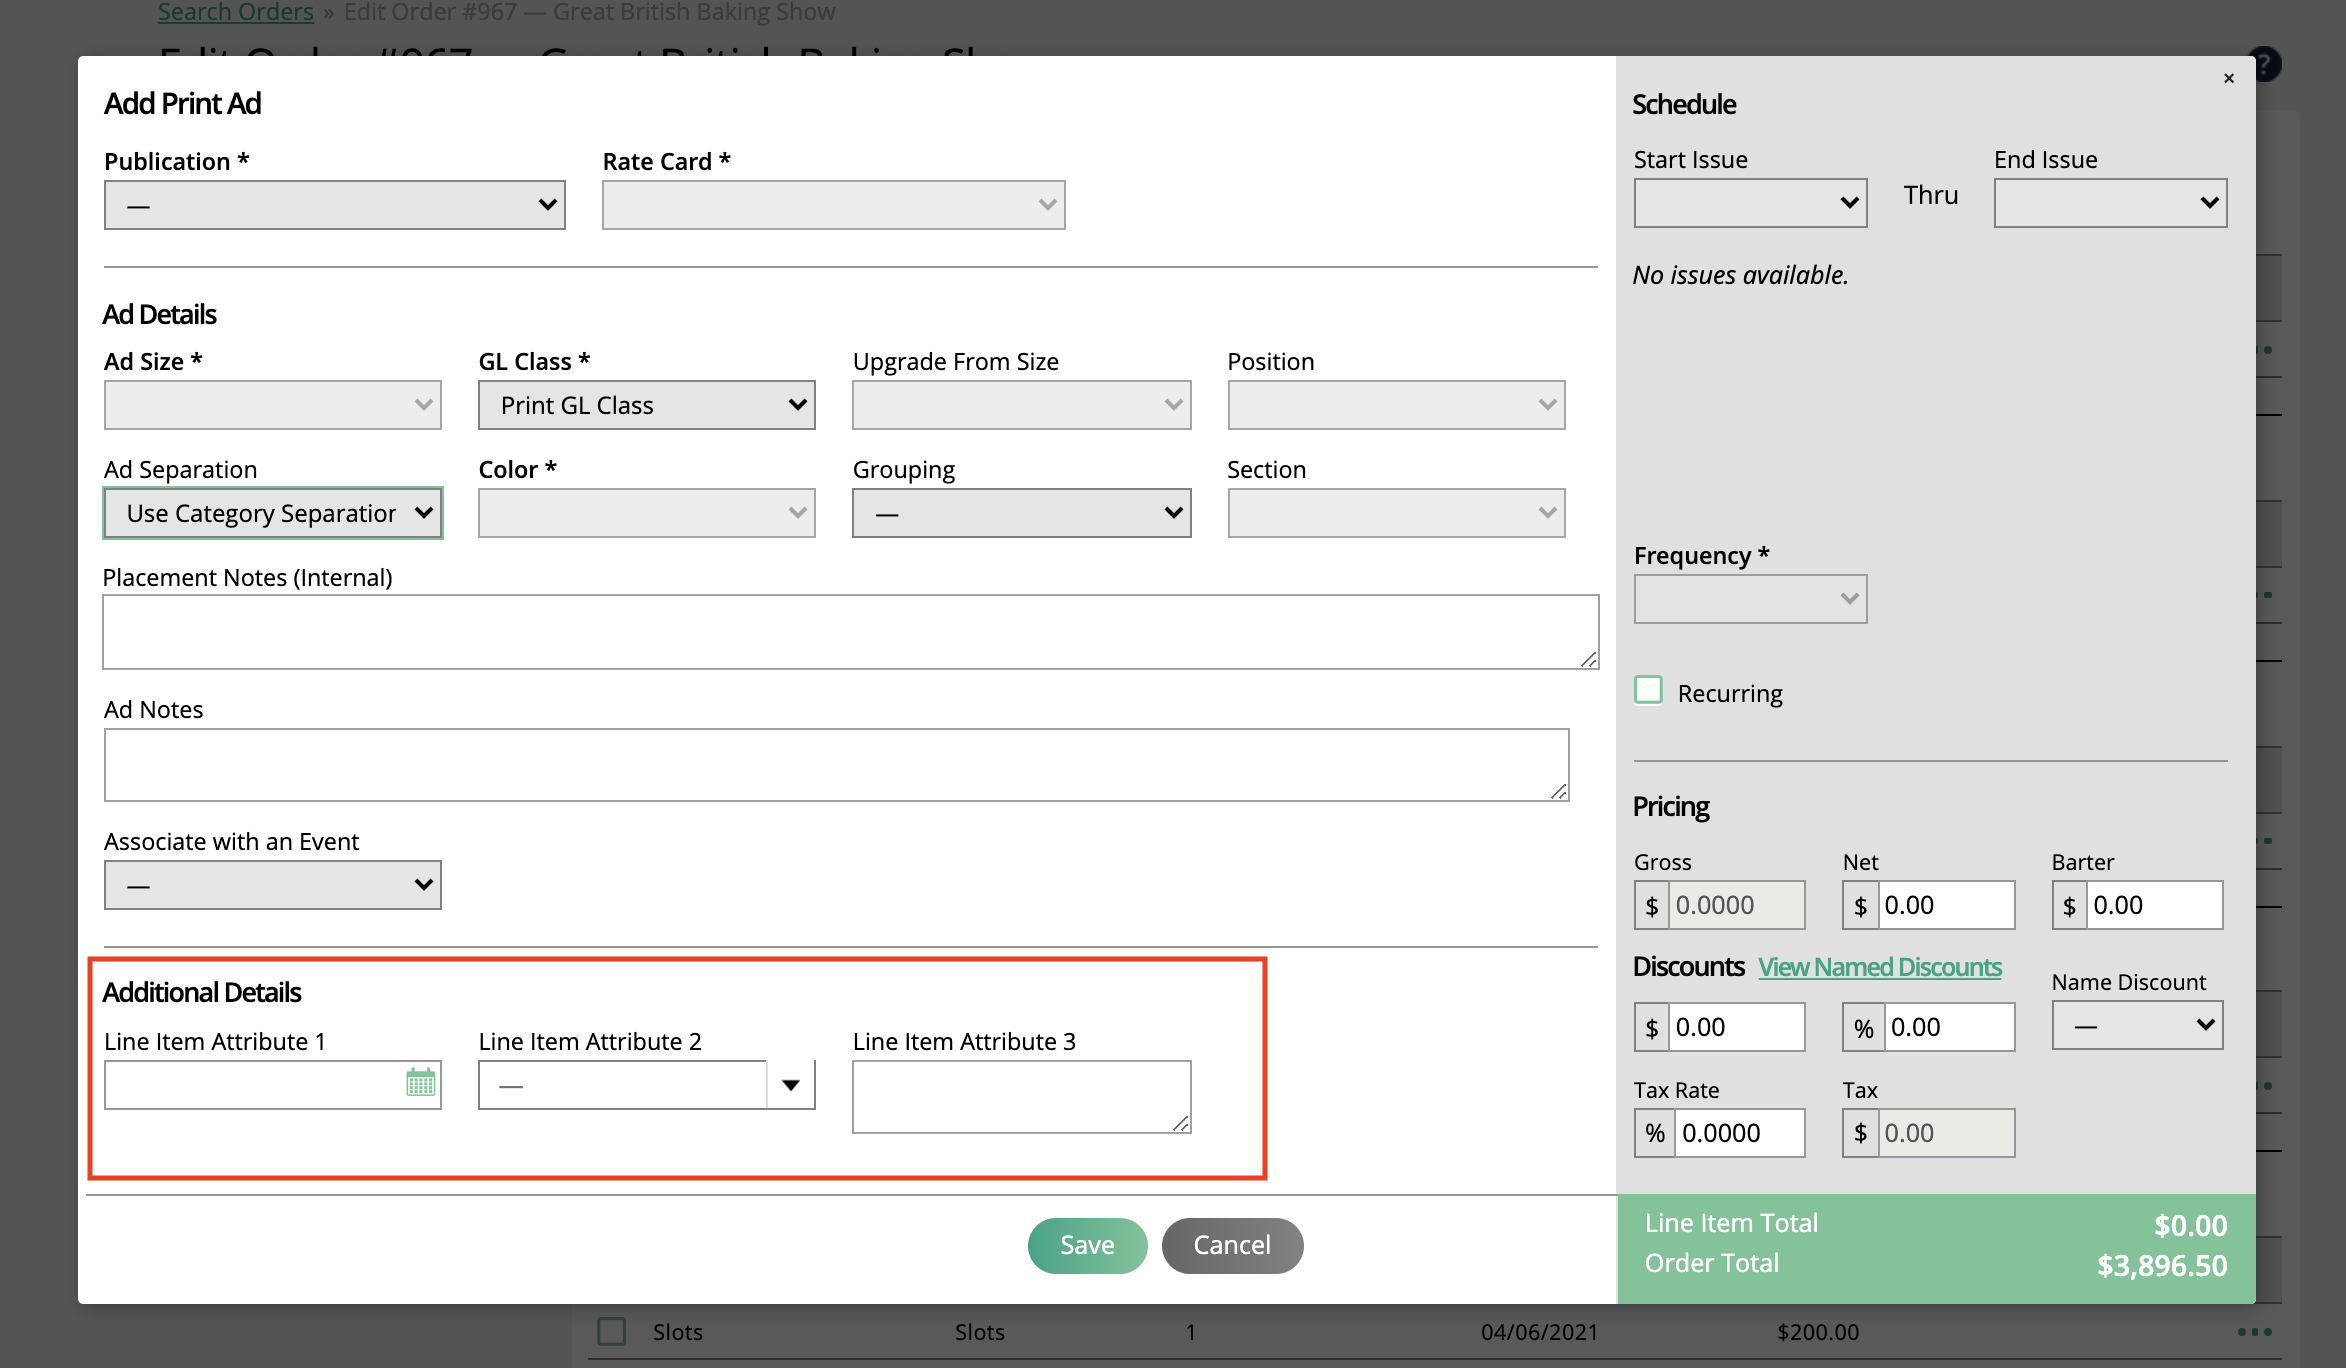
Once your line item attributes are set up, when you add a line item to an order, you will see the attributes show up under the 'Additional Details' section of the line item popup. If the attribute is marked as 'Required', then you will be unable to add the line item to the order until that attribute is filled out.
If you’ve set up your attributes to only be used on specific product types, subtypes, or products, you may not see all of your attributes on every line item you add to your order. For example, if you have an attribute set up to only use on your ‘Daily Slot Product’, that attribute will only show up on your Daily Slot Product line items, and not on any others.
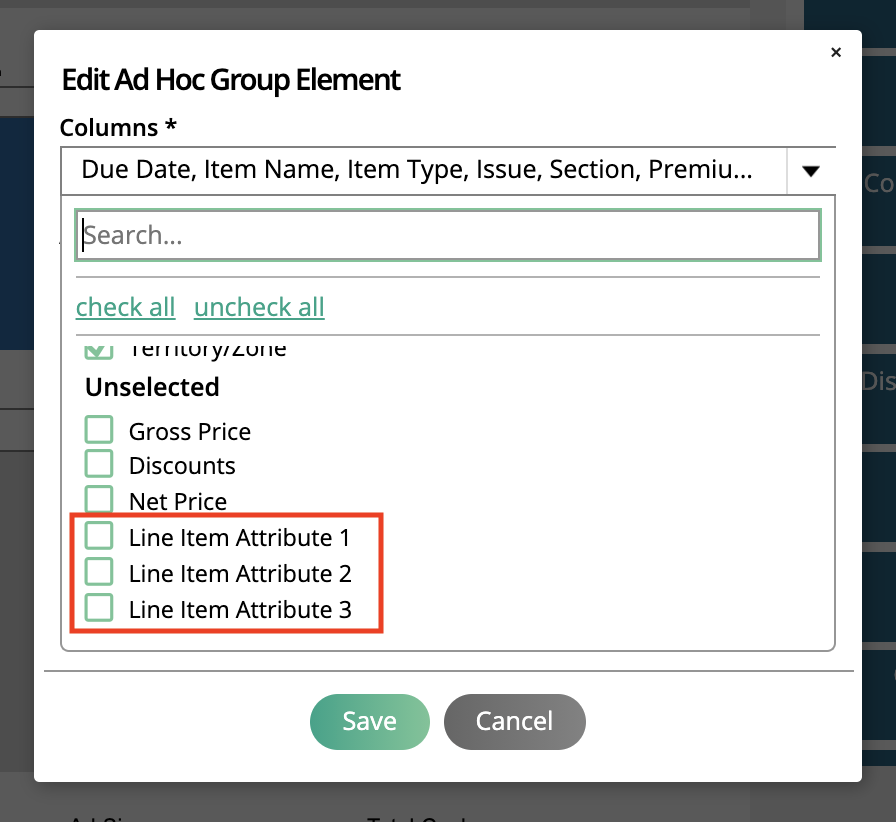
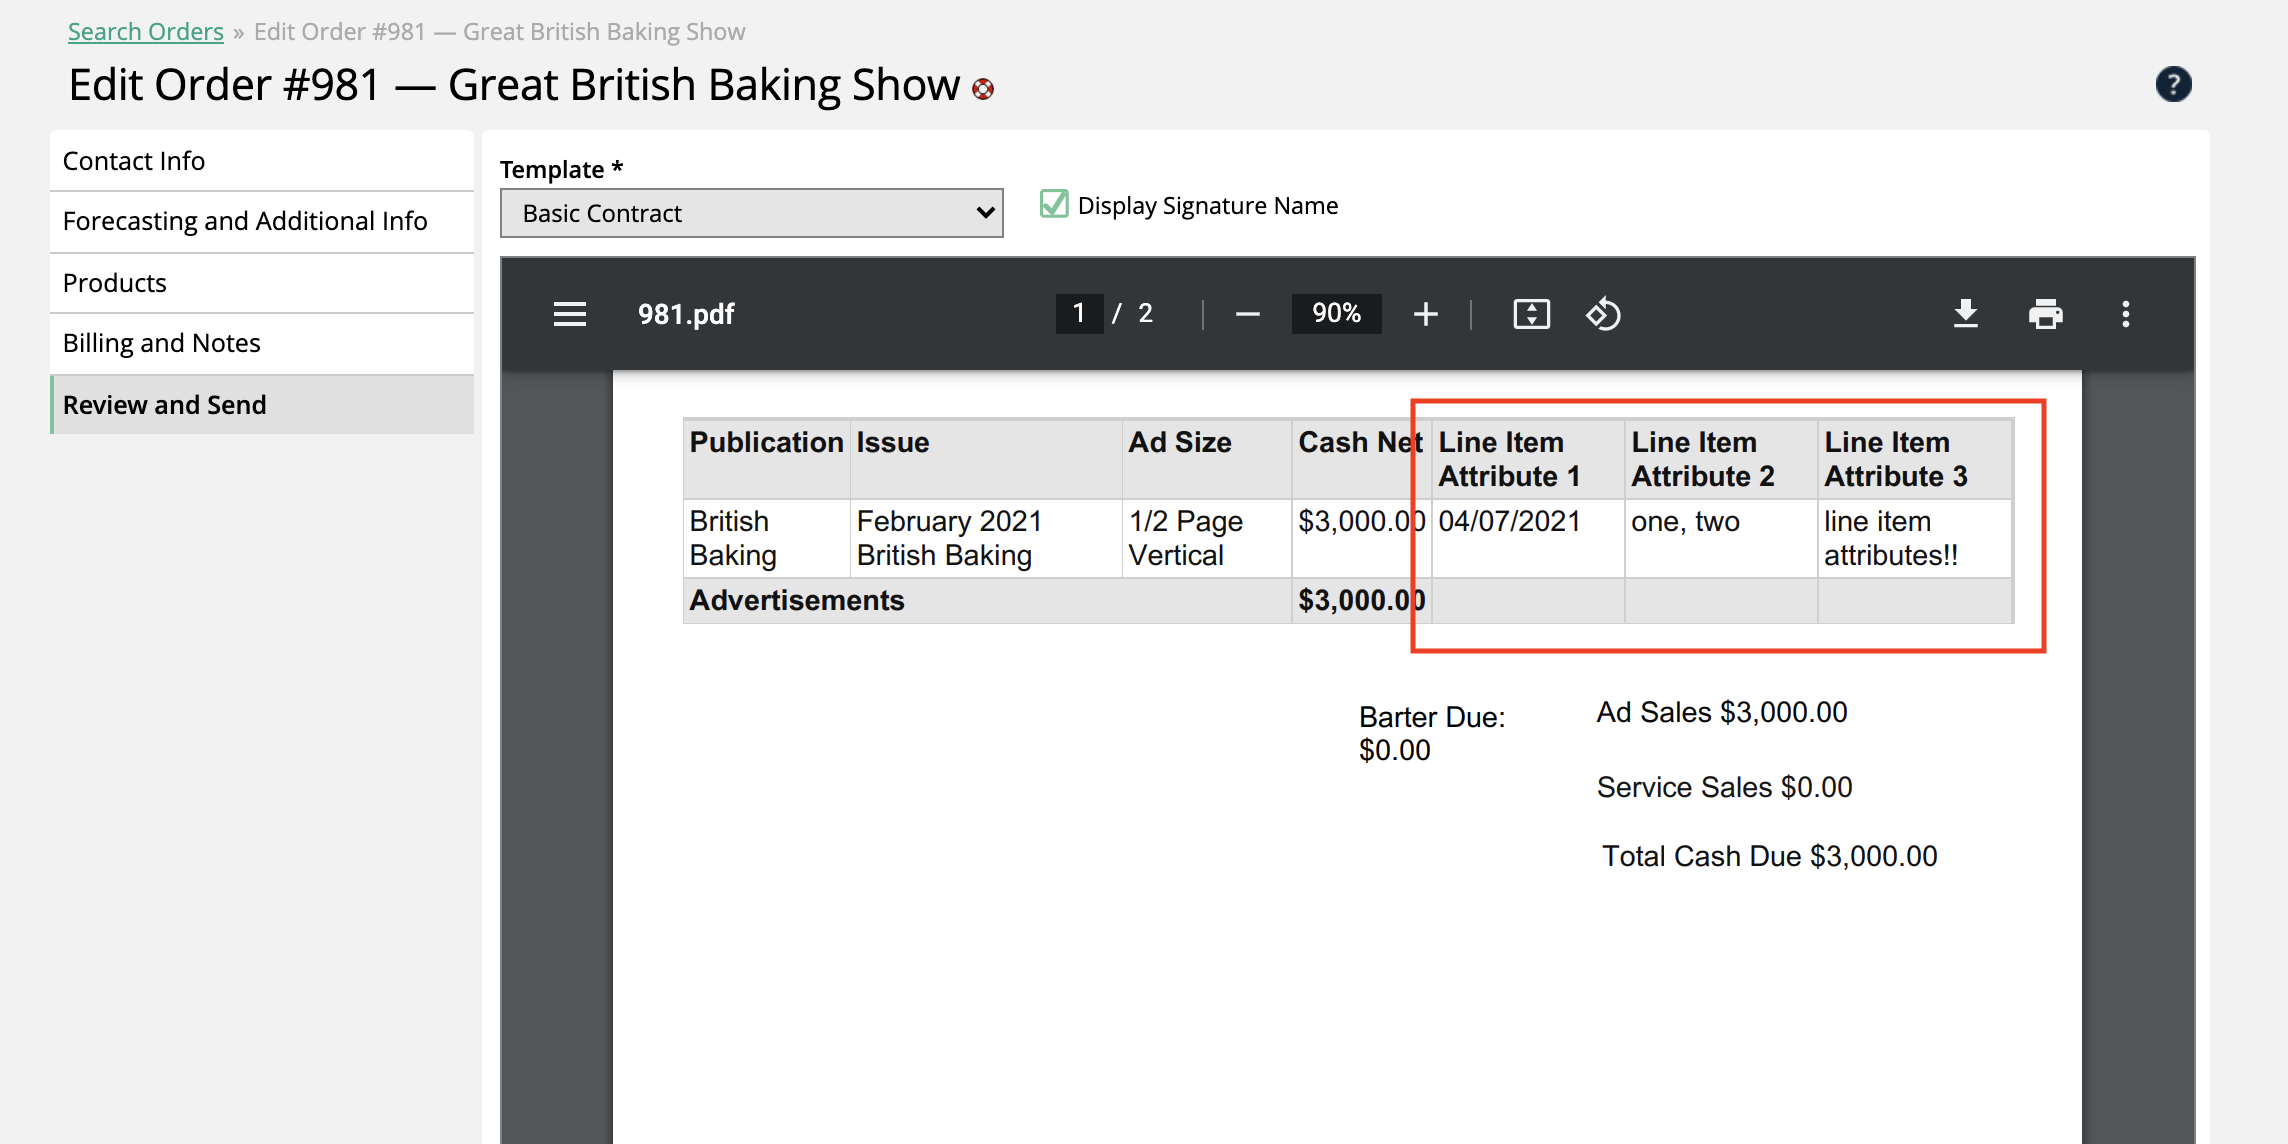
You can choose to show these attributes on contracts and invoices for the customer to review. To do this, you may need to review your contract and invoice templates by going to Settings > Templates > Contracts or Invoices, and editing a template. Many of the contract or invoice elements will have the option to add your line item attributes as columns in the element. The line item attribute has to be chosen as a column in the element for its data to show up on the contract or invoice.
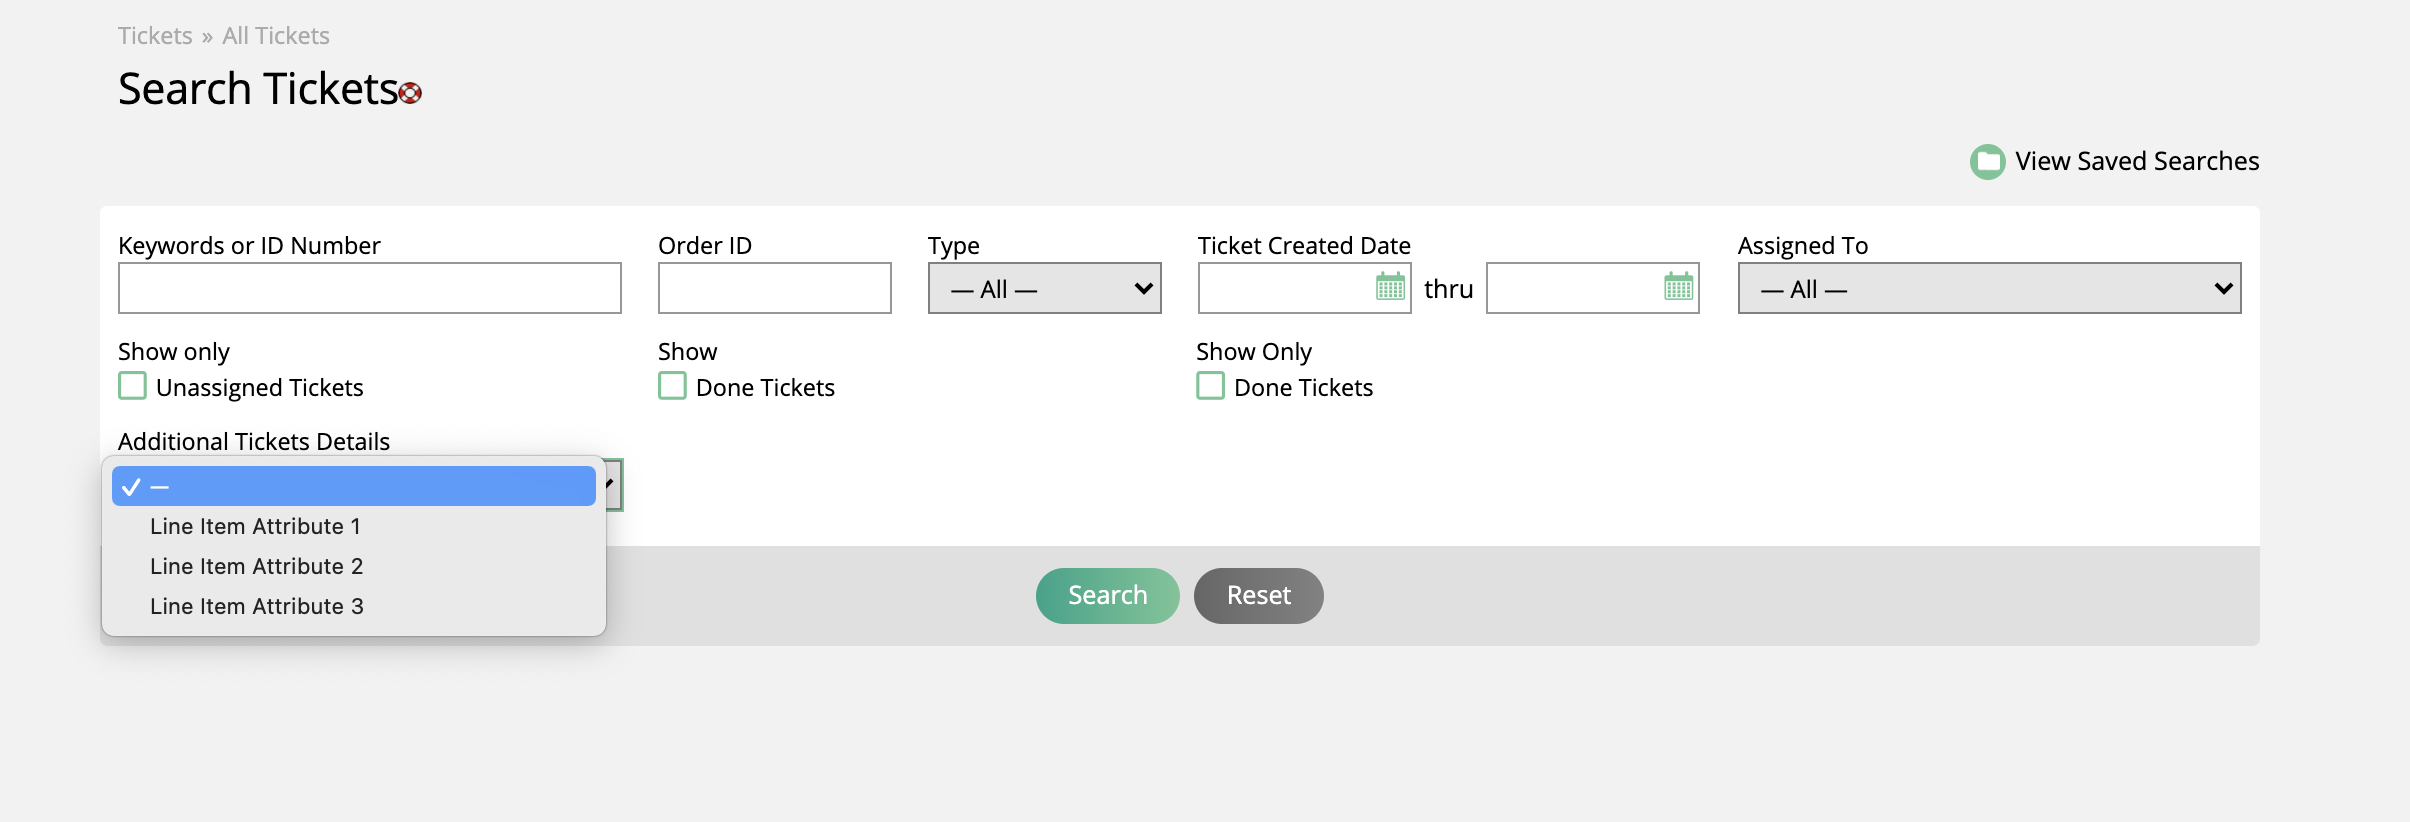
All of the attributes will show up on the ticket and can be used as search filters from the ticket search pages.

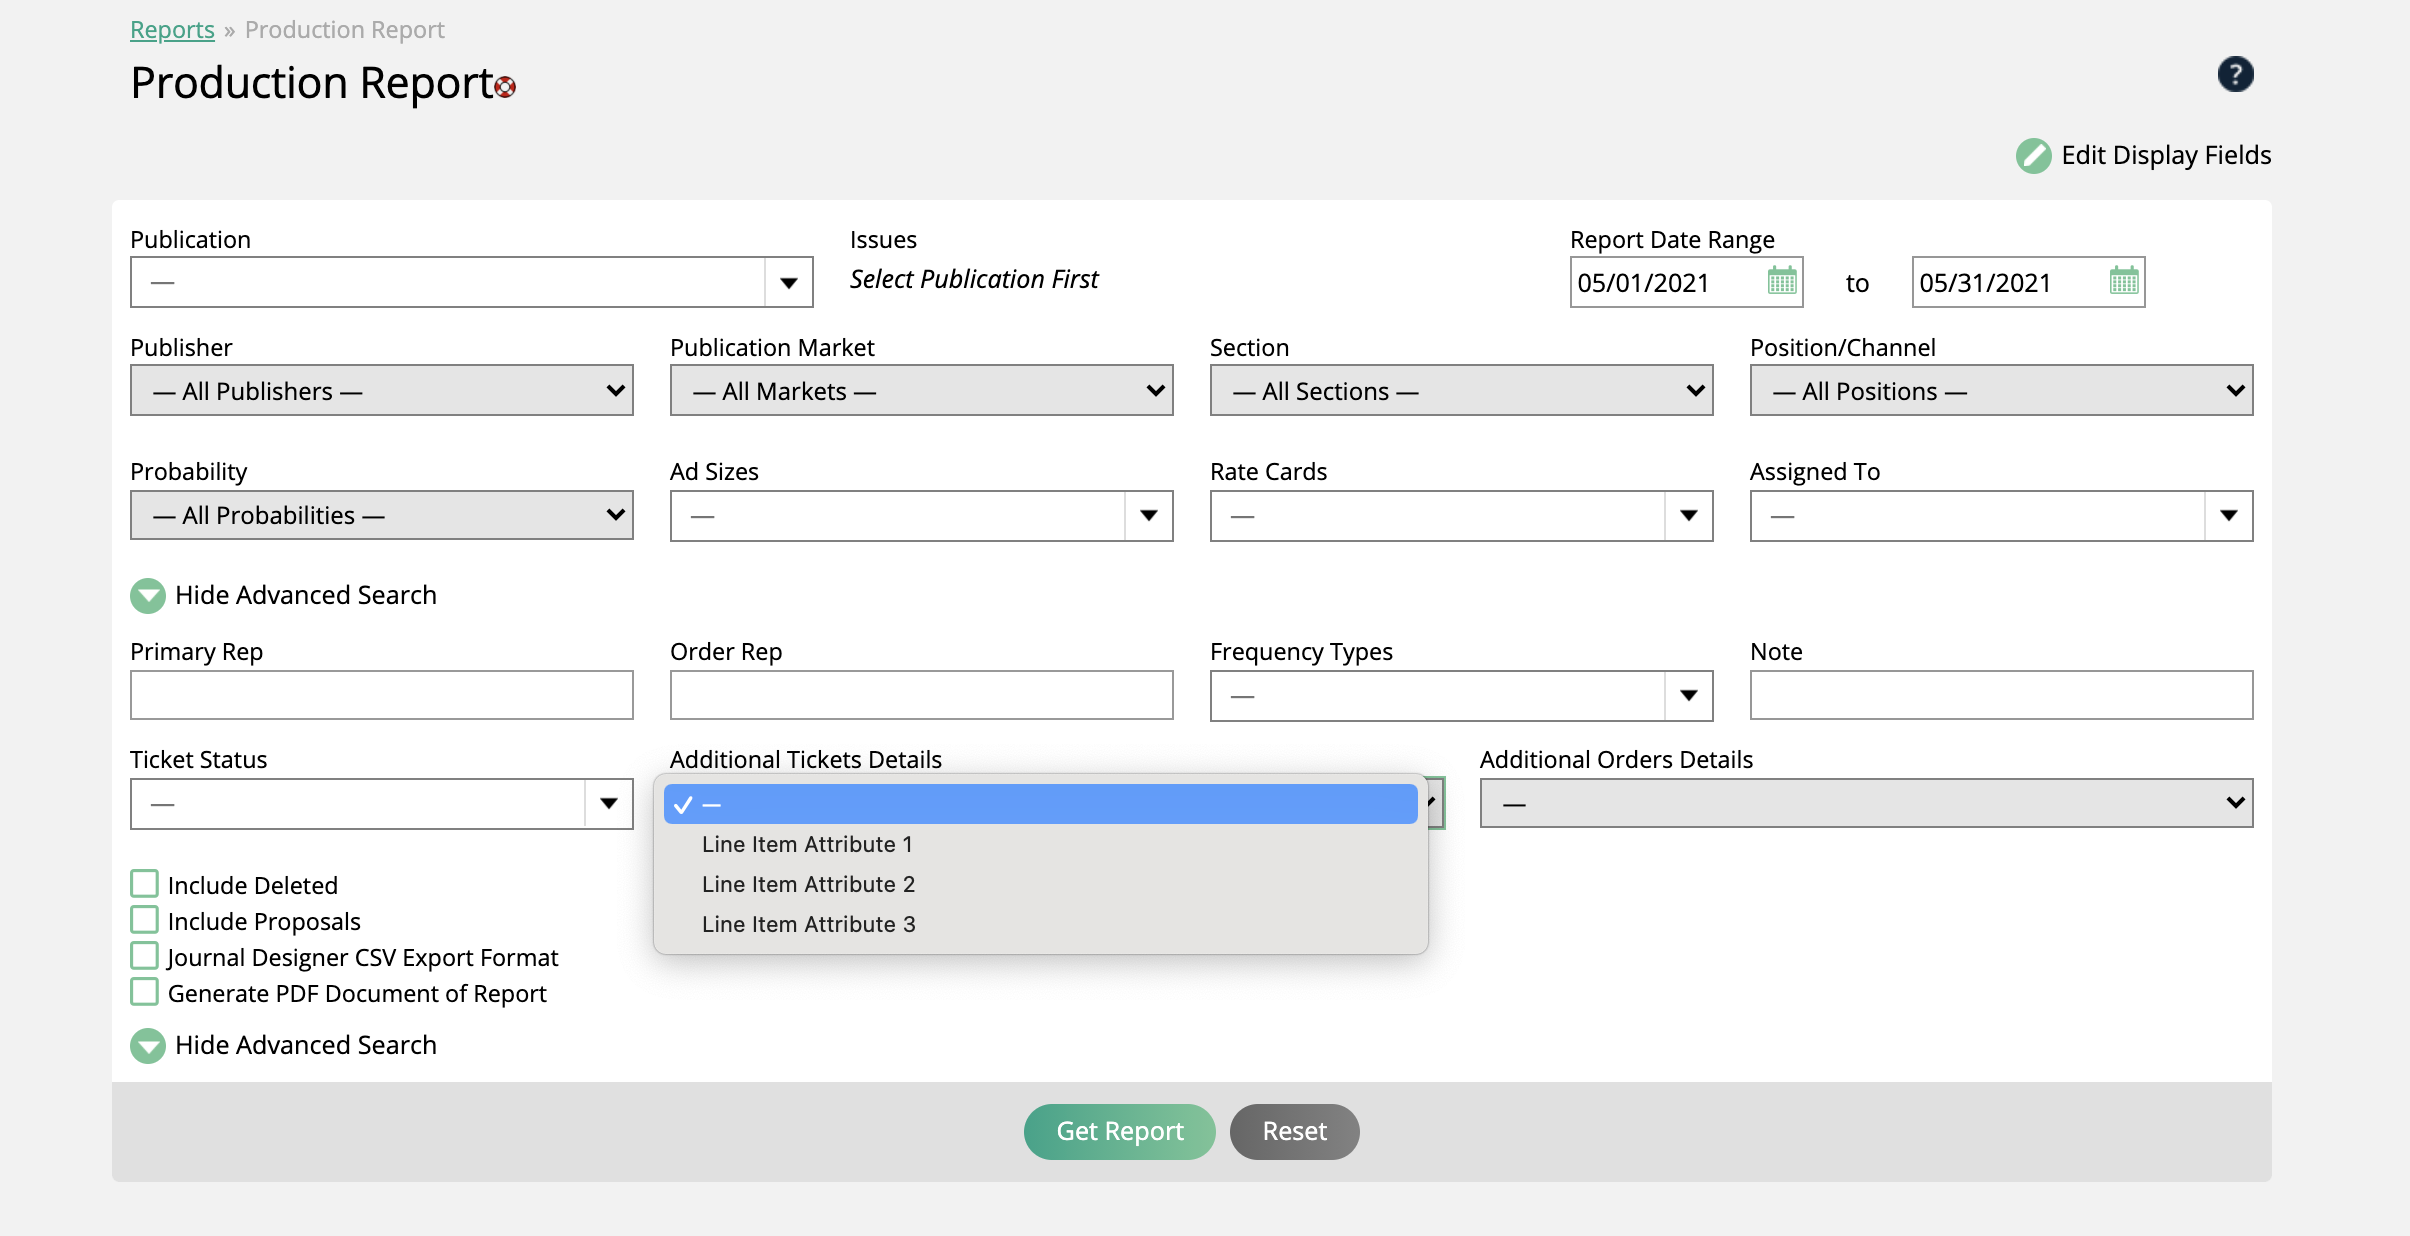
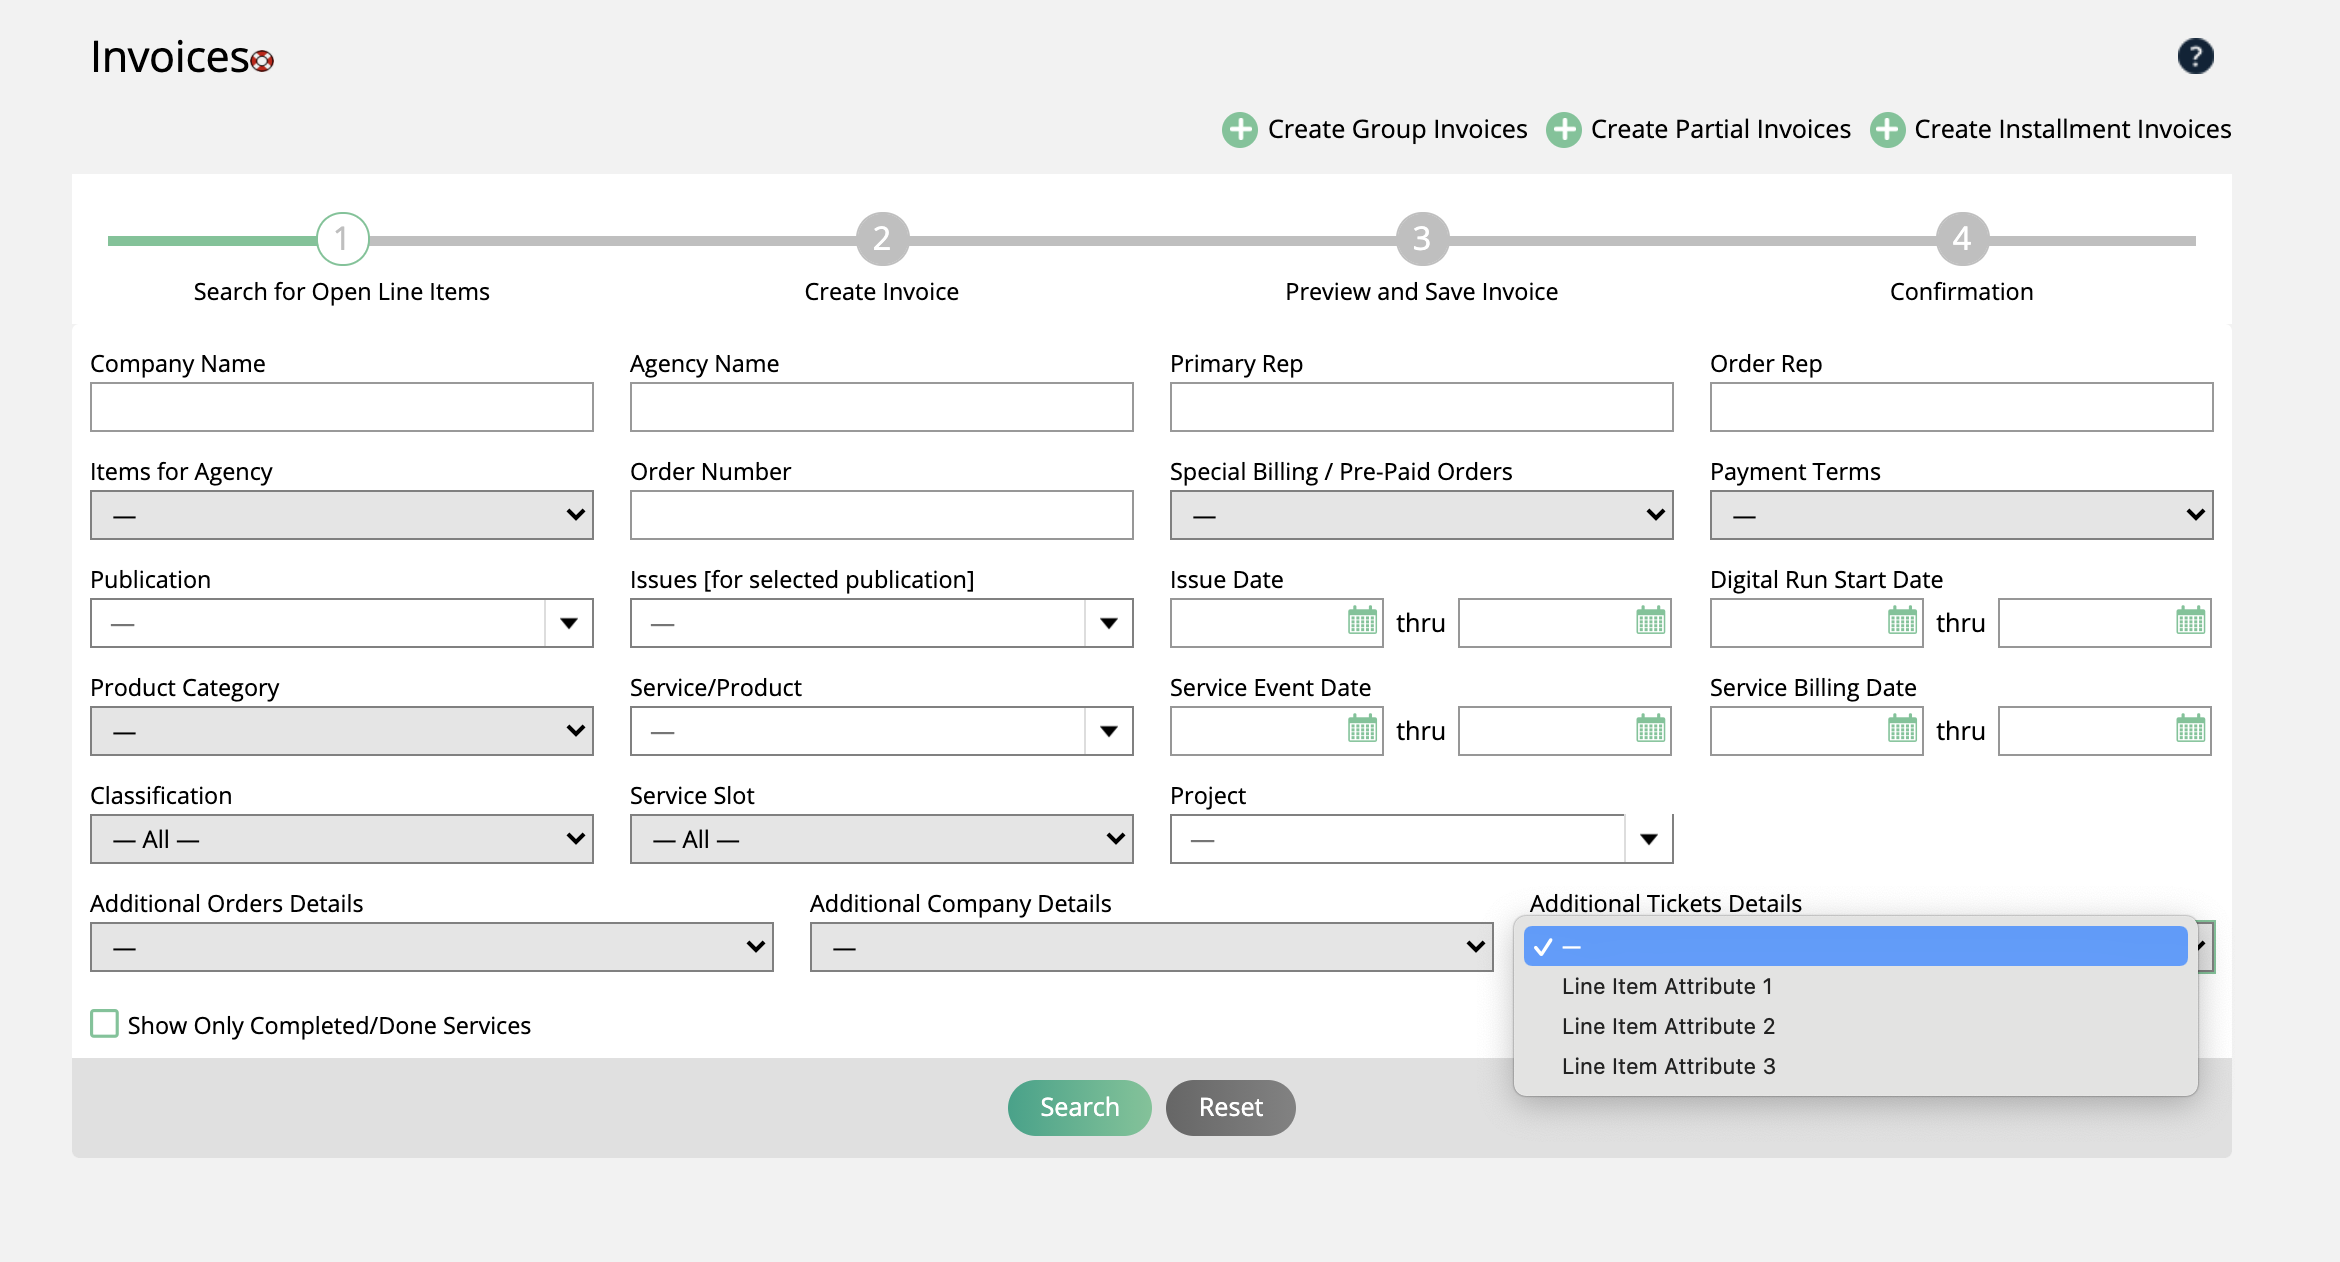
These attributes can be leveraged in other locations of the site as well, including viewing and searching by these attributes on the production report, issue snapshot, online snapshot, and the create invoice page.
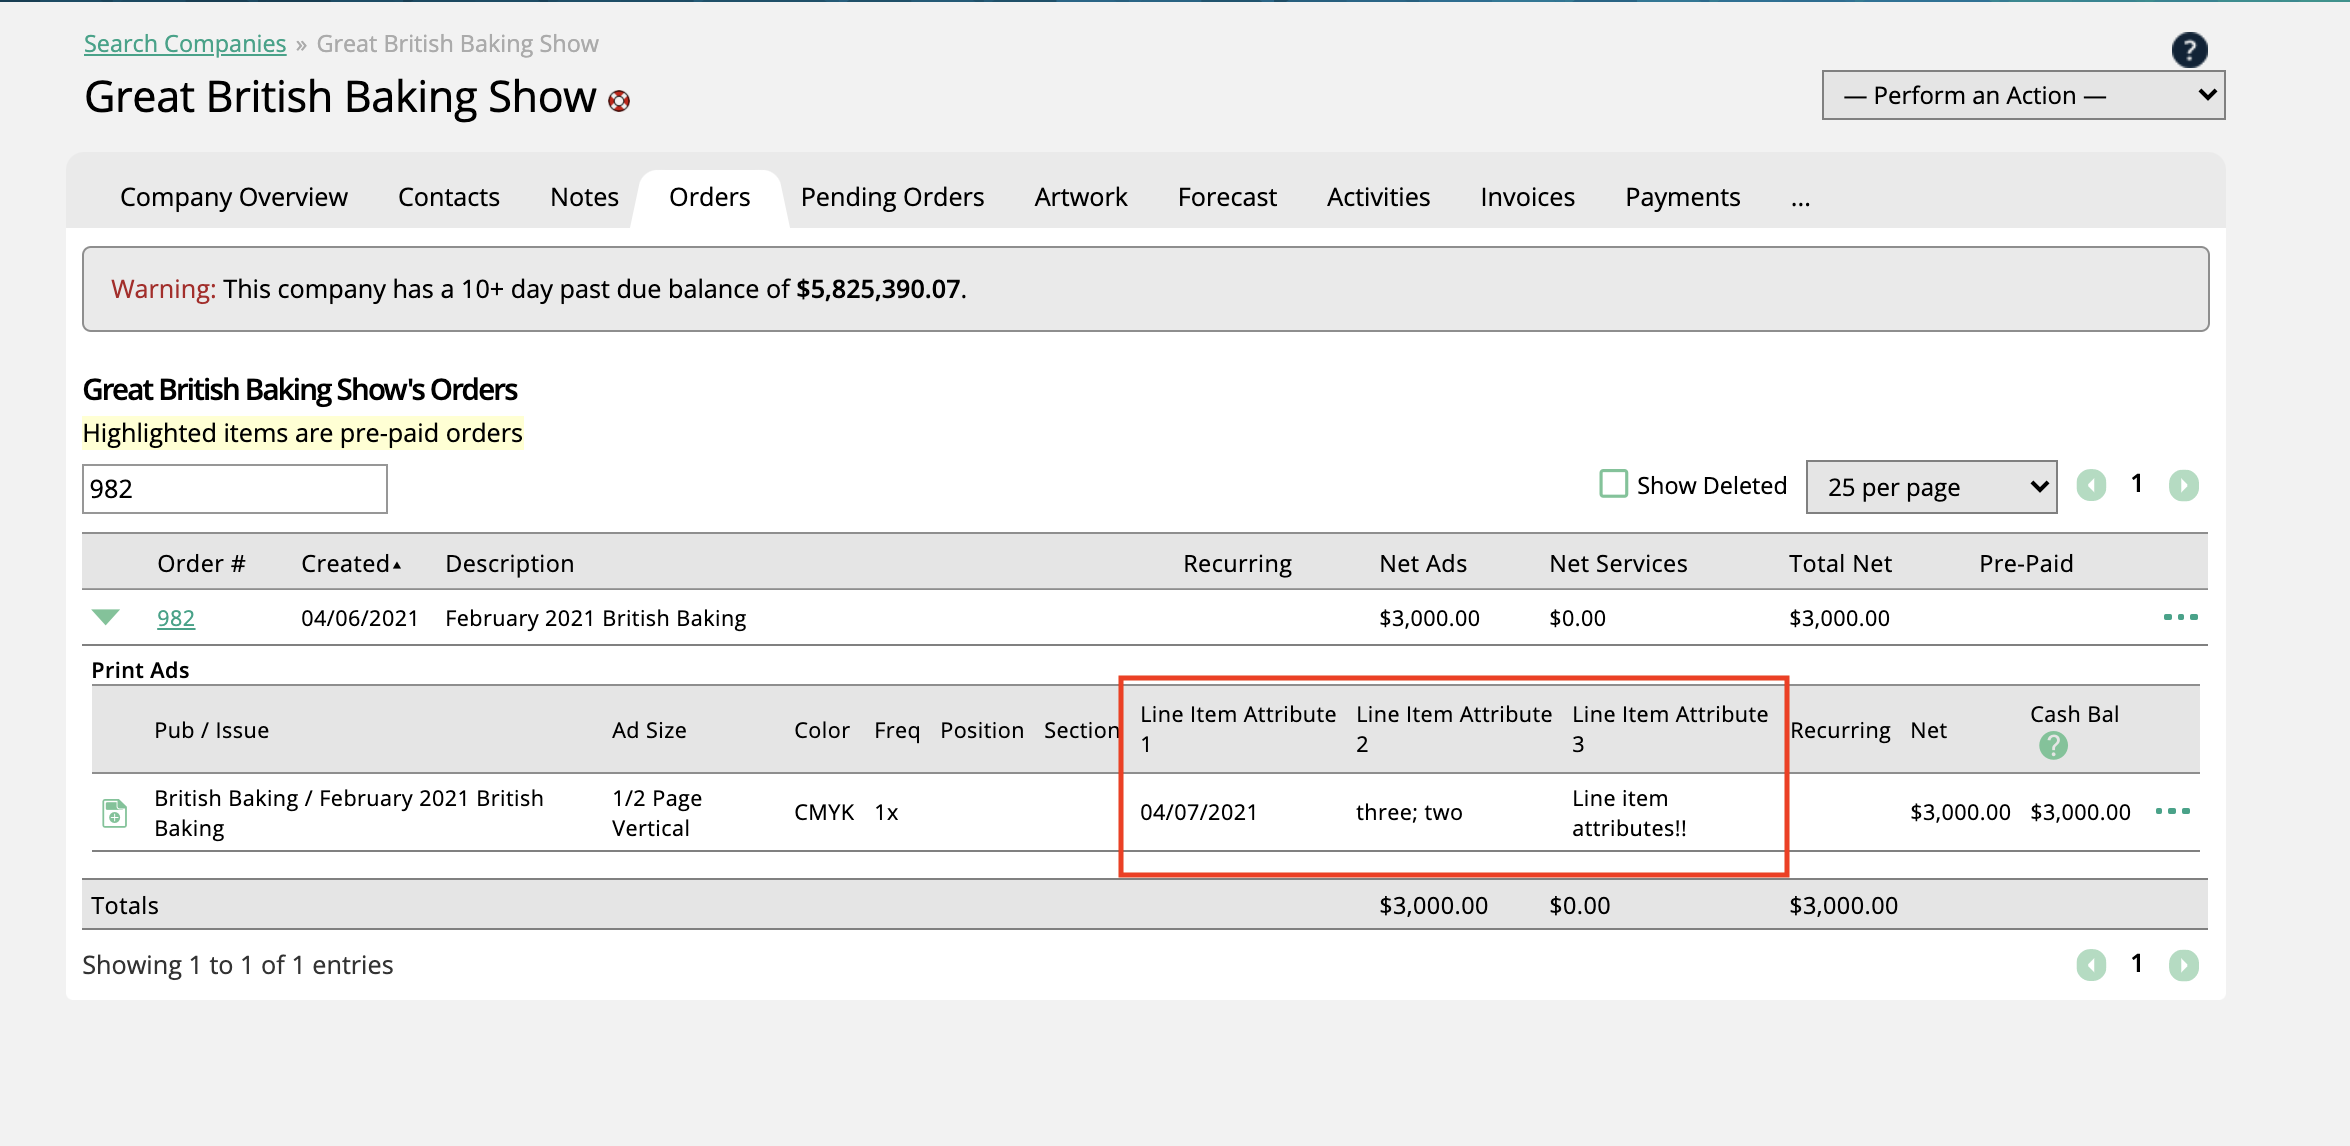
The attributes can show up when you view line items on the Orders Tab. If you want to see the attributes on the order tab, you must contact your support representative to enable this setting.
Important
This feature is not on by default to save space on the page. You must contact support if you want this feature enabled.
Updated 2/13/2023