Set up your Subscription by Publication Webform
You can use the Subscription Web form by publication to create a web form for each of your publications or different web forms for the same publication. You will have the option to update labels, set attributes to display or not display and choose default items like invoice templates.
Create or edit a web form by navigating to Settings > System Design & Info > Web Forms
Select Subscription Form by Publication from the drop-down box.
Click on Add Subform and fill in the pop-up information, be sure to select the Publication(s) for this Web form and a Name. You can choose a default lead source and invoice template. The system will use a basic styling by default, but you can modify the CSS of your form under Settings > System Design & Info > Custom Site Design.
Important
You can set up a form to NOT accept payment information. Make sure to set up subscription plans for 0 dollars if you don't plan to require payment.
Now, you can edit the webform by clicking on the pencil next to your new form name.
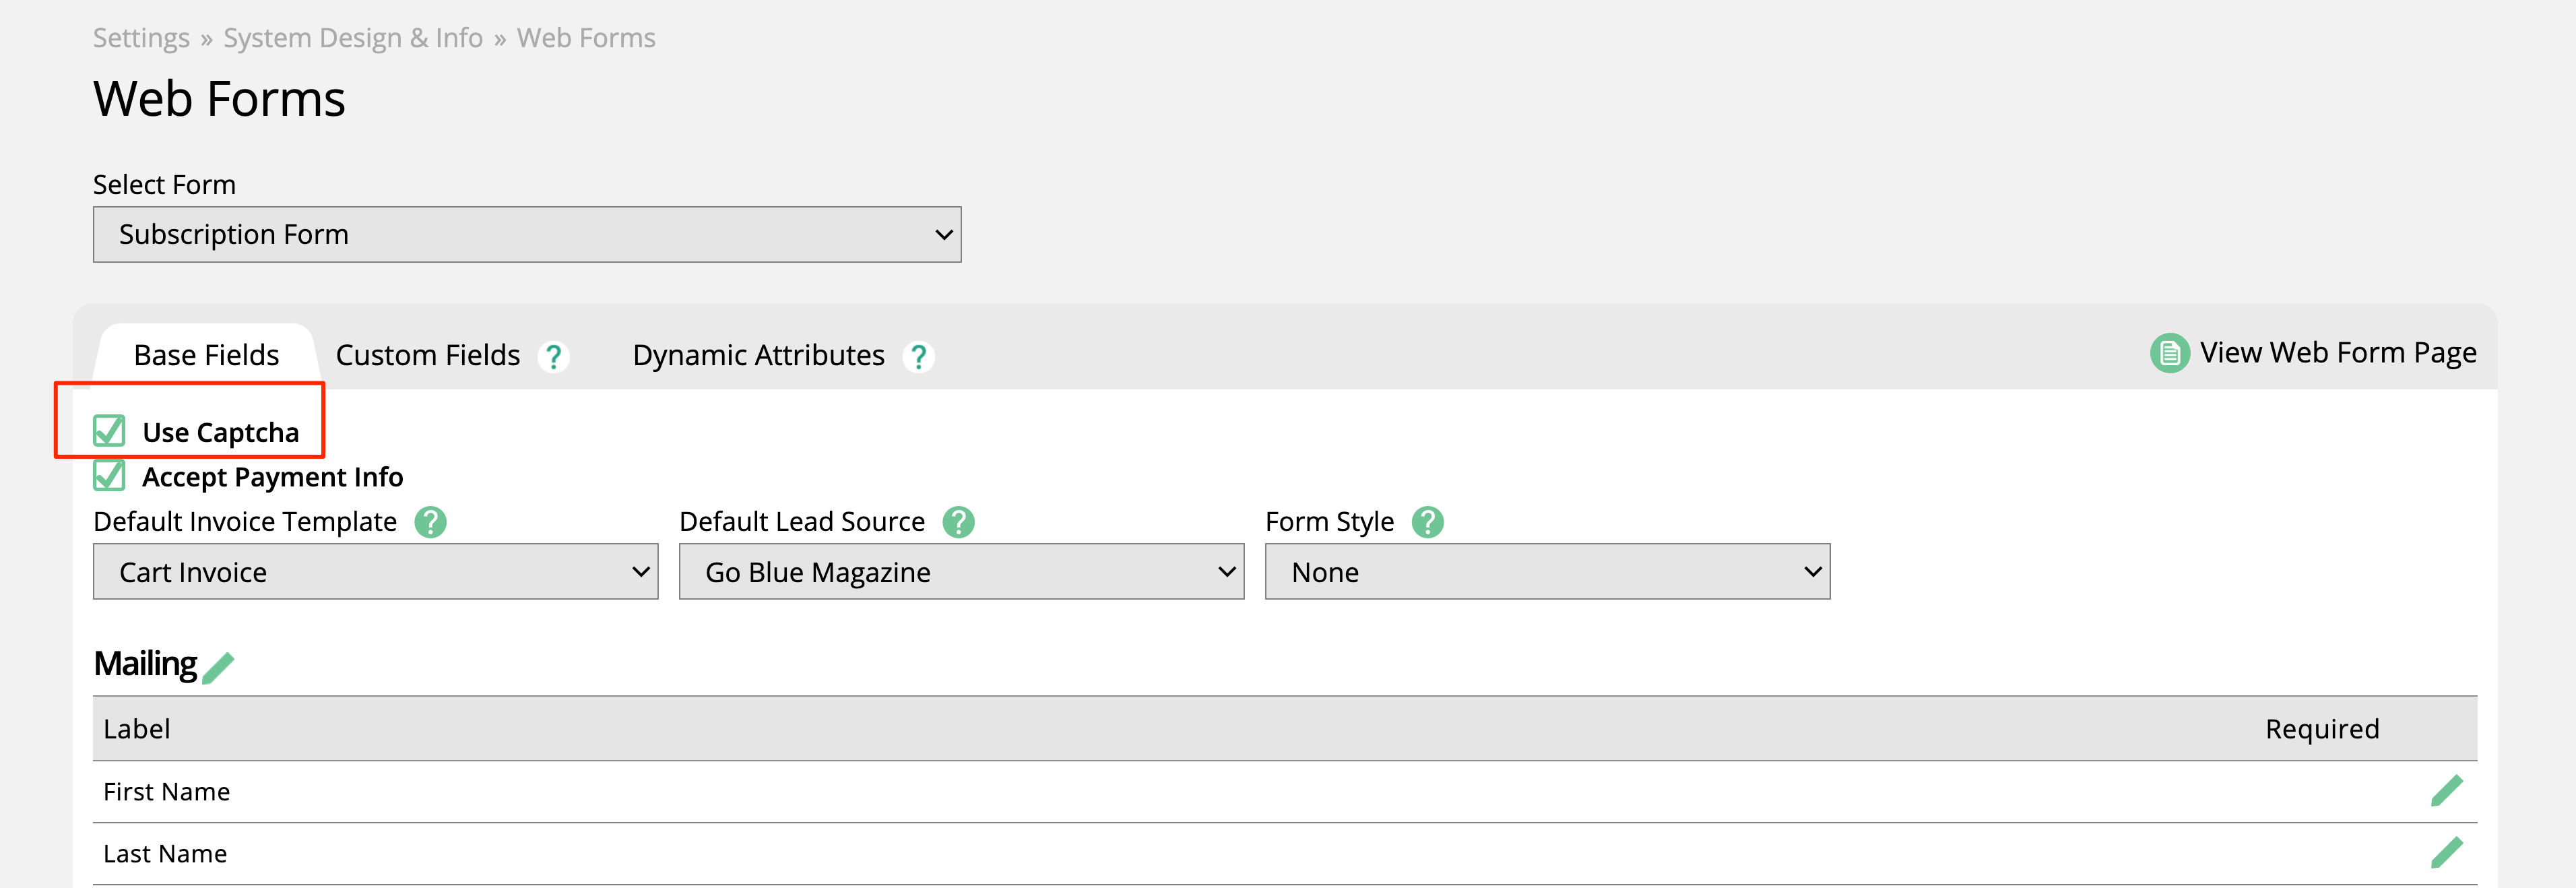
On the Base Fields tab, select the information that your form requires by checking the appropriate boxes. You can change the labels for each input by clicking on the edit icon. You can change the labels for a regular subscription and for a gift subscription. The gift subscription labels appear on the first step of the form when a customer select 'is this a gift?'
You can also choose to make some fields required or have them disabled. The system will require you have fields needed to create a valid subscriber and subscription.
You can also update the billing section of the form by editing input labels and making fields required.
On the Dynamic Attributes tab, select which subscription dynamic attributes you want your subscribers to interact with on the form. You can choose to show attributes on the form as optional fields, make them required, or even make them required, but not show on the form. You may do this if you want to track an attribute for any subscriber who comes to your form, but you don't want them to enter the fields; this would be for any internal tracking purposes.
Click on 'View Web Form Page' to see what your customer will see when entering a subscription and test the form to make sure it works as expected.
Tip
You can update the sort order of the subscription plans and set a default plan on the subscription plan page under Settings > Products > Publication & Issues and clicking on the subscription plan action.
You can copy the URL and frame it on your website to start selling subscriptions.
Updated 12/20/2024


