Invoicing
The Invoicing module can function differently for each customer based on system configurations. Here are all the configurations you may want to review before using the system. All of our help documents will give you an overview of how the system works, but you may need to consult support for specific workflow issues based on your configurations and can use our guided walkthroughs for step-by-step direction.
Navigate to Settings > System Configurations > Finance - Invoicing to configure your system.
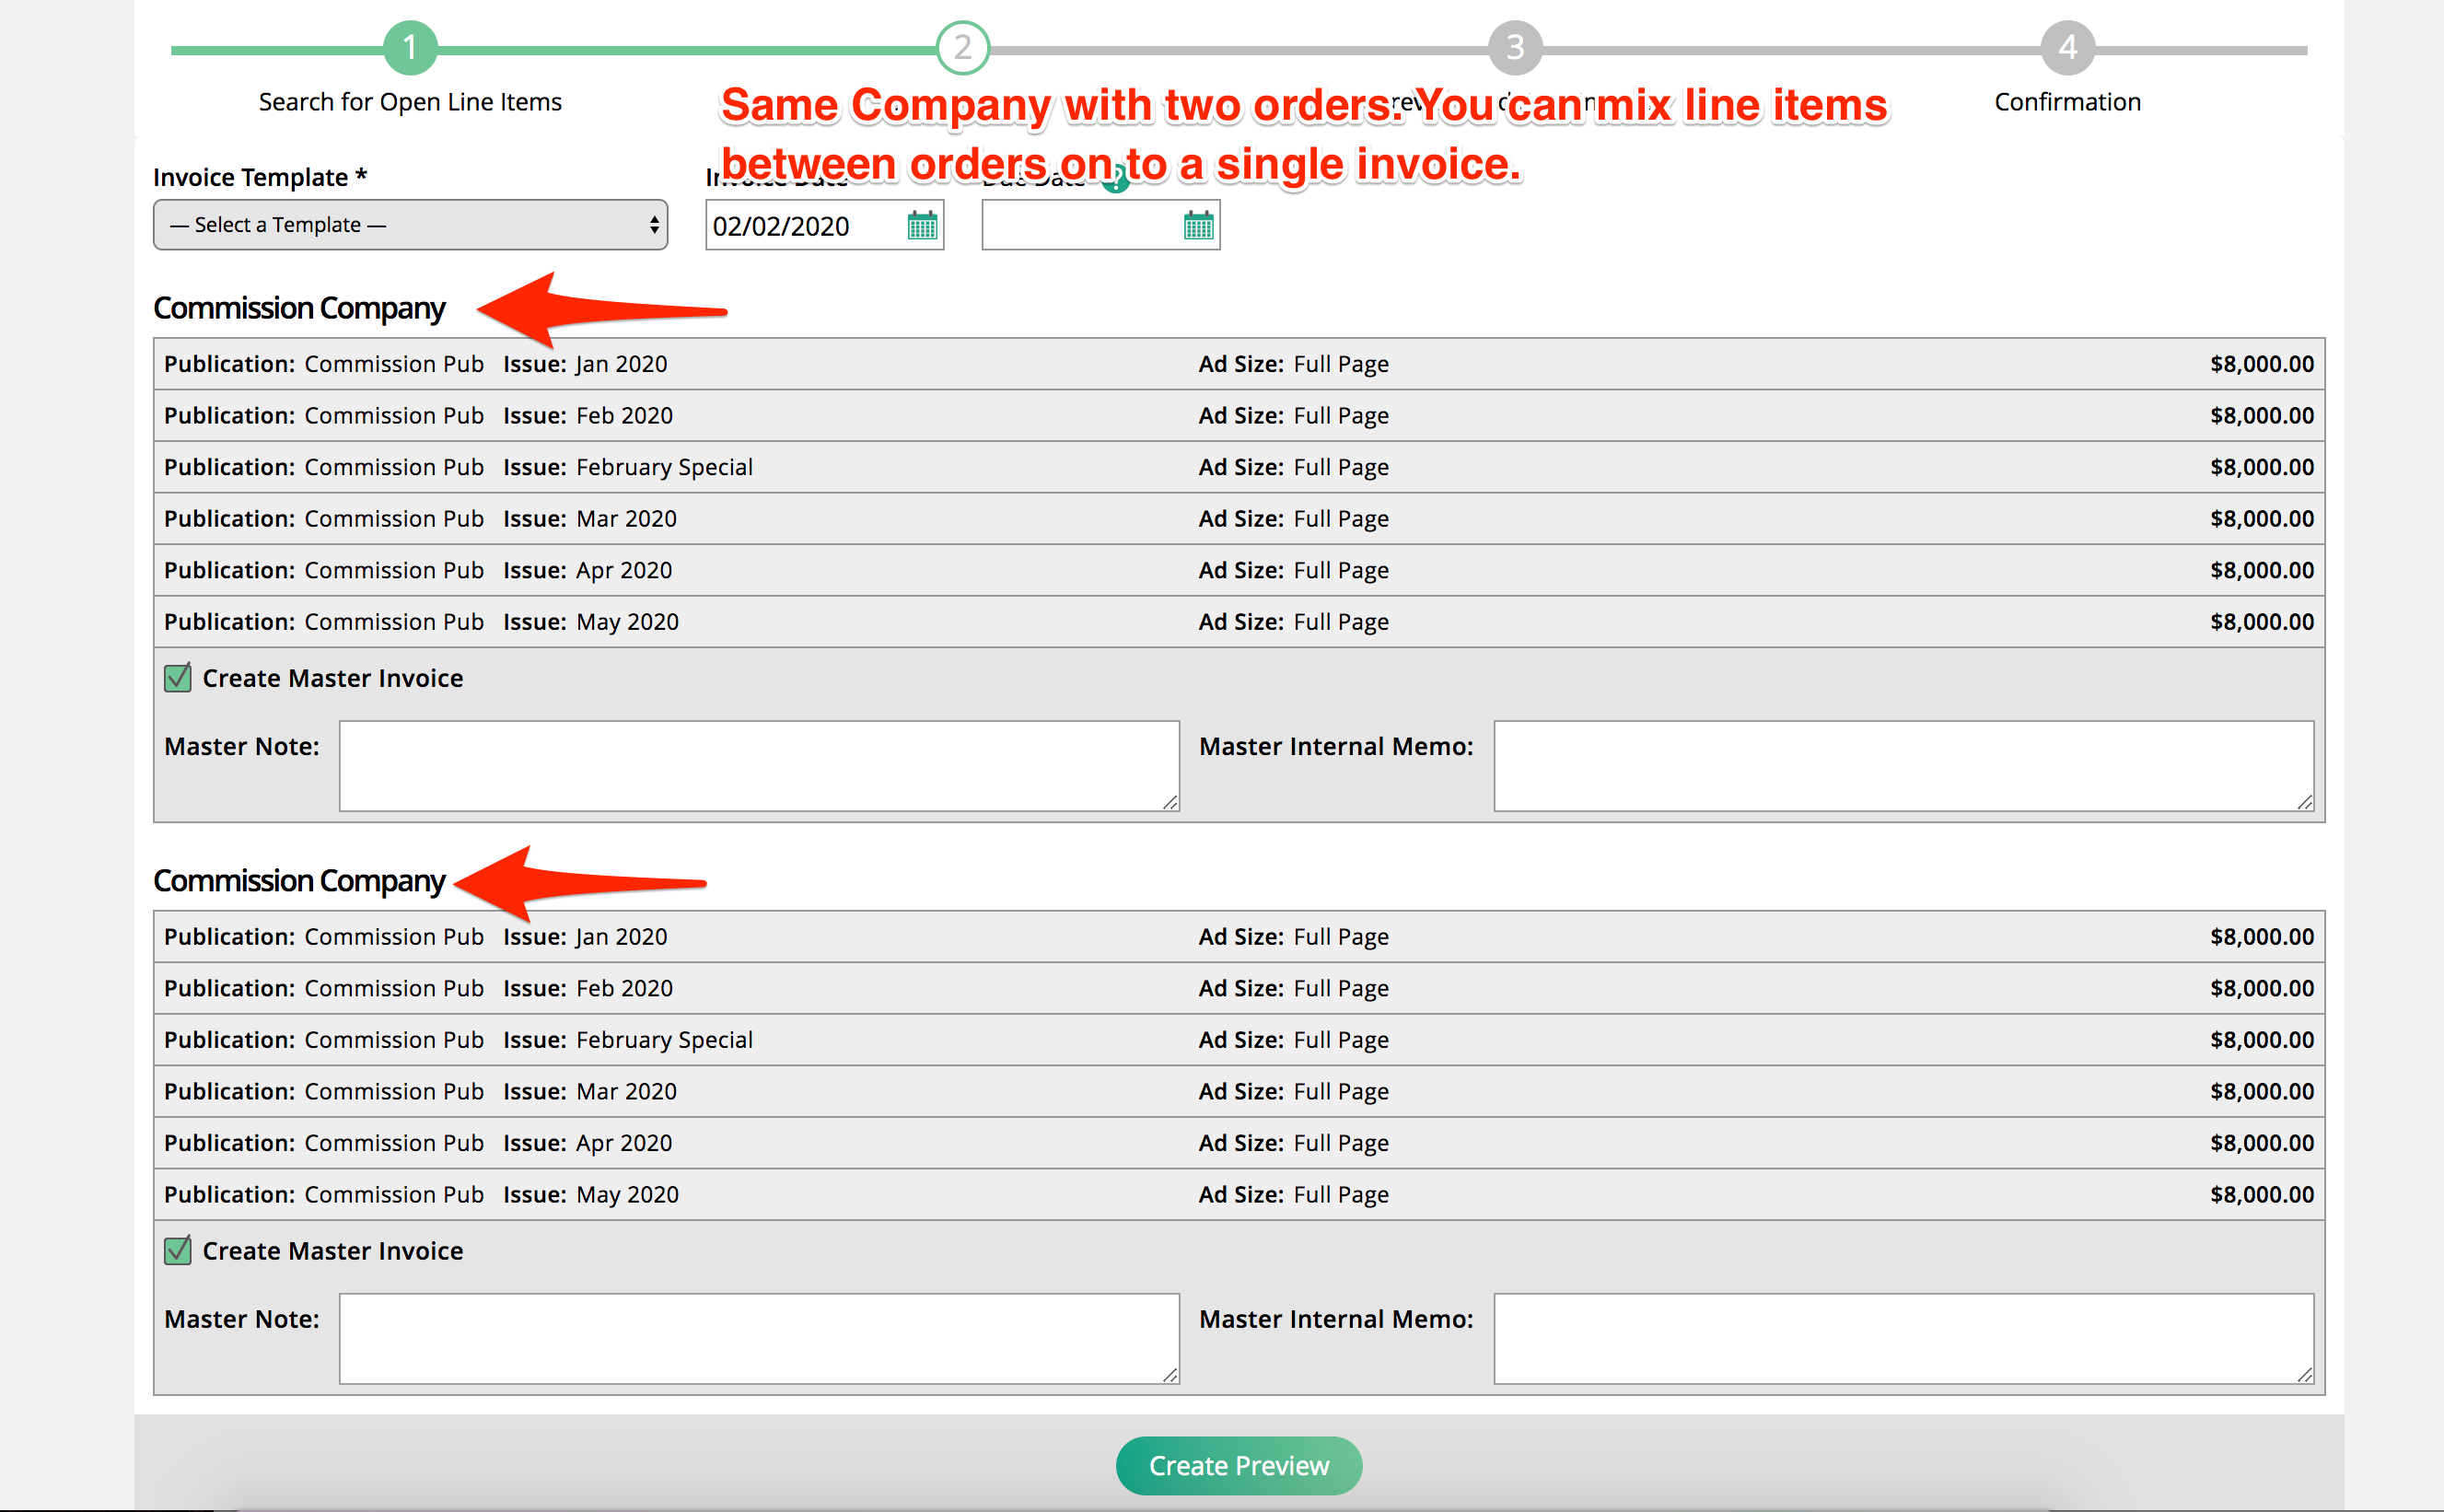
If your customers don’t want to get an invoice that includes line items for multiple orders, you can choose to group your invoices by order id.
By default, you can create invoices that include line items for multiple orders. For example, I am creating invoices for all the open invoices for an advertiser. Some of the line items are going to be billed to an agency. When I click on invoice selected items, the system will group the line items based on the billing company.
But, if I want to make sure to invoice customers for each order, I can enable the group invoice configuration, and the system will prevent me from mixing orders on an invoice. I can still use master invoices, but I can’t have two orders on the same invoice. If I invoice the same selected items as above with the configuration enabled, I will see all of my invoices are grouped by order, not just by billing company.

Determine whether or not the system will group line items together on a master invoice for a customer by default. If set to yes, when you create invoices for companies all line items will be on a single invoice. You can override the setting on a case by case basis.
By default, the system allows you the option to keep an invoice in the system to be paid when you delete an invoiced line item. You may want to do this if a customer cancels an ad or the ad doesn’t run, but you still want to charge the customer. You can remove this option and force your users to delete the invoice by setting the configuration to no.
Your installment invoices can be ordered based on the date of the items or distributed equally across all items. This means if you have an order with items running in each of the next 3 months and create 6 installment invoices, you can either pay off the earliest item first or pay off a portion of all items with each installment invoice.
You can determine when your installment invoices are created in the system. The system can create all installment invoices as soon as an order is financed approve, the system can create the invoices on the scheduled invoice date, or you can create the installment invoices manually from the Create Installment Invoice page that you can access from the quick link at the top of the page.
The default setting is to create all installment invoices as soon as the order is Finance Approved.
Automatically on Schedule Invoice Date means the invoices won’t be generated until the date you assigned when creating the installment schedule.
Manually (Free Form) means that no installment invoices will be created by the system. This means you could create an installment before, on, or after the scheduled date. The installments are manually created from the Create Installment Invoices page. To use free-form installments, this configuration must be set to Manually (Free Form).
Use Free-form installments to create installment invoices that are not directly tied to line items. Free-form installments give you more control to change the payment schedule for your customers without having to worry about the line item totals.
You can choose to round all of your installments to the nearest dollar. Otherwise, the system will split up each installment to the nearest cent. However, the final installment may not be a full dollar because the final installment will include the remainder.
Enable to limit orders that can have installments. Enter the minimum value an order must be in order for a user to apply an installment schedule. For example, if you don't want installments on order below 1000, set the field to 1000.
If you enable restrict installment options, you can’t create an installment schedule for an order with an amount below the amount you add. For example, if you set this value to 5000, you can’t create an installment schedule for any order less than 5000.
If you enable restrict installment options, your installment schedules must be greater than the amount you add. For example, if you set this value to 500, you can’t create an installment schedule for less than 500.
There are multiple parts of your site you may want to review before using this module. Make sure you have the following items set up:
Credit Memo Templates
Payment Methods