Service Production Report
The Service Production Report shows data about service items that are important for the production team, such as product, ticket ID, assigned users, dates, and statuses. You can go to the ticket page, edit the ticket status, and make bulk changes directly from the report.
To access this report, you must have the User Permission 'Service Production Report'.
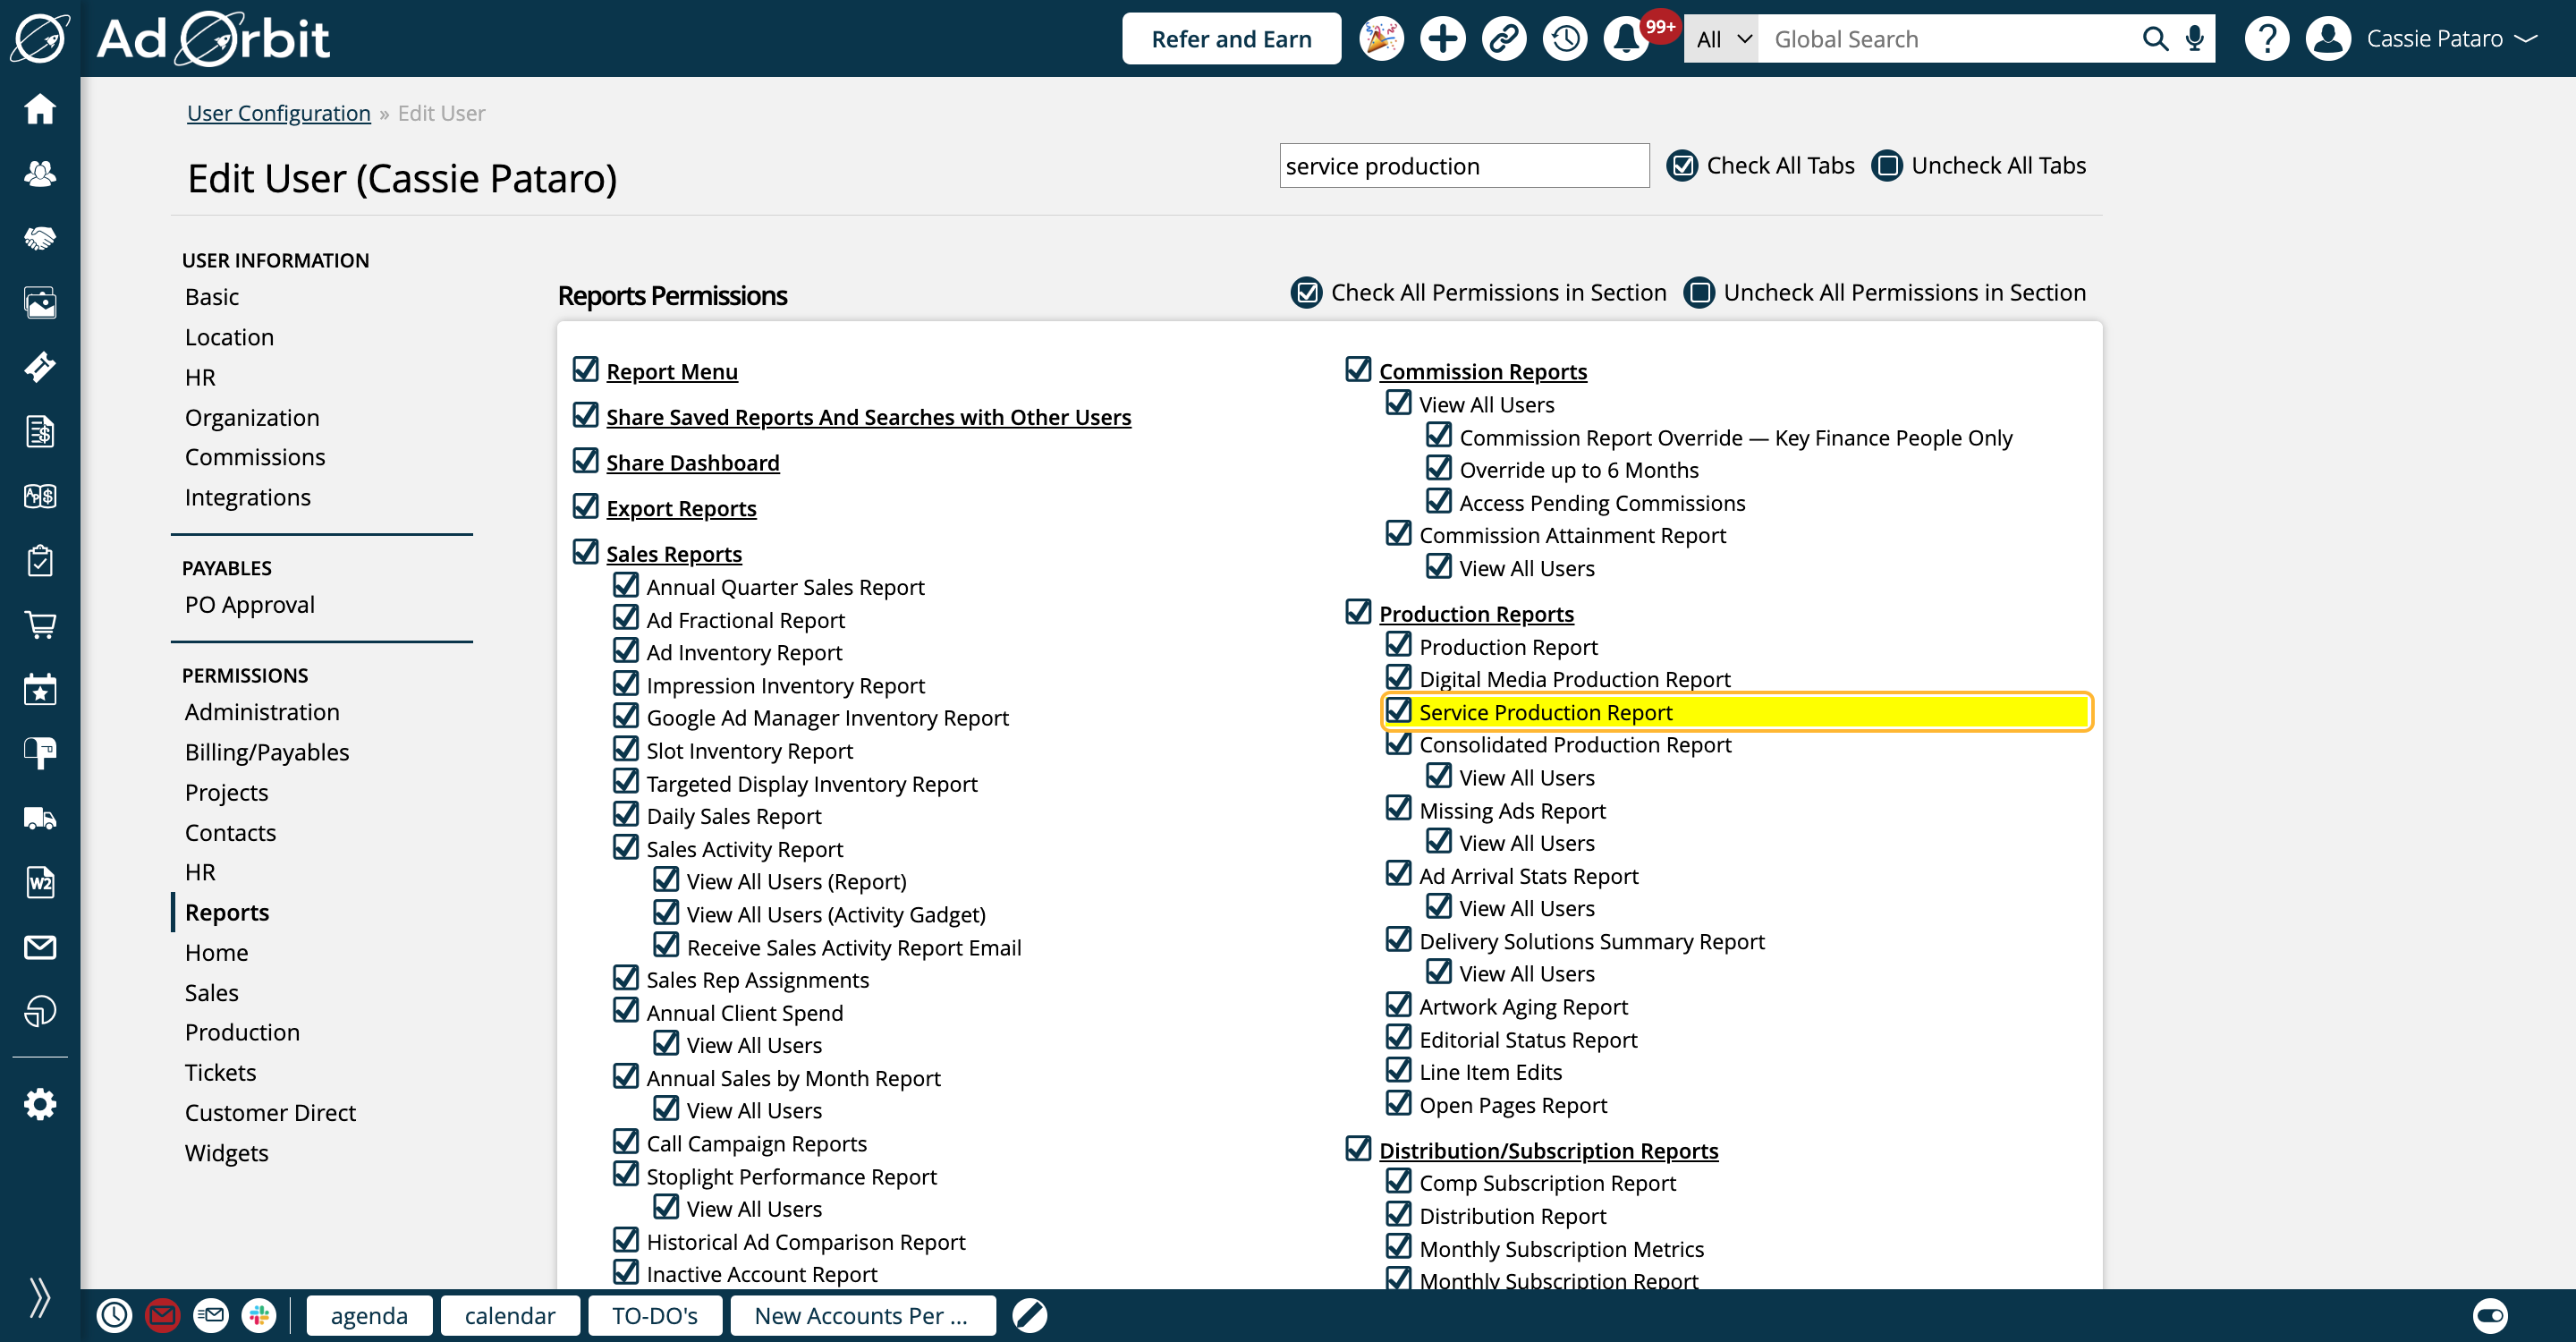
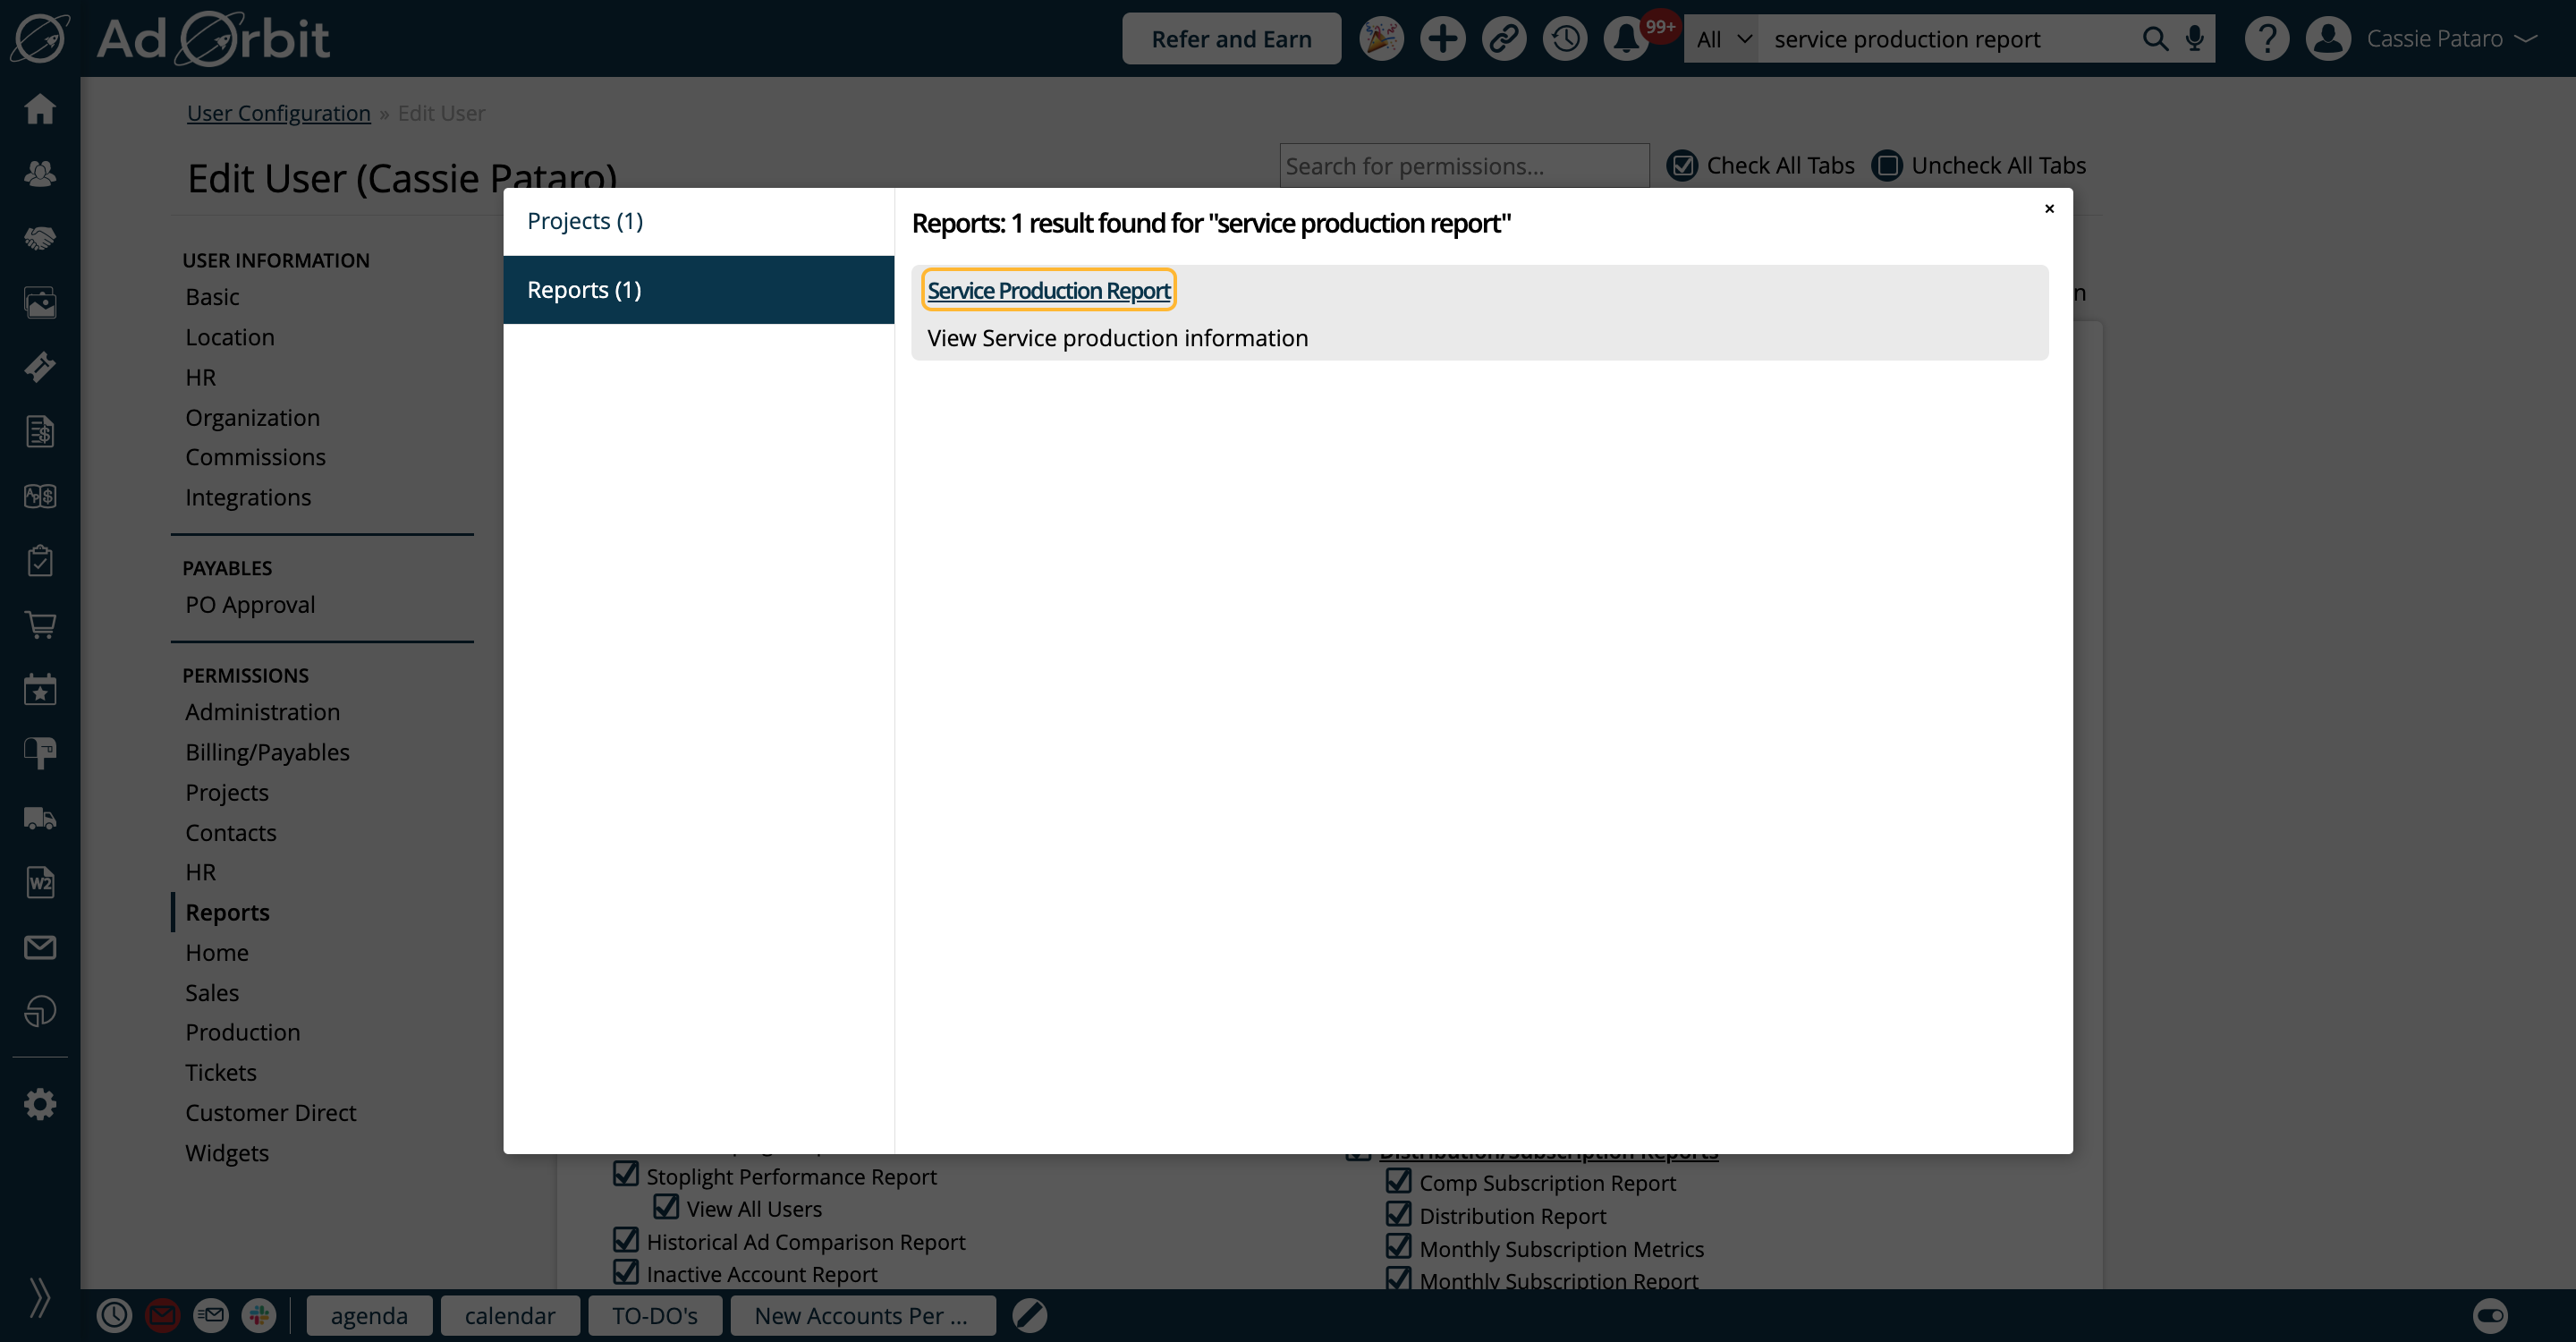
You can find the Service Production Report by going to Reports > All Reports and clicking on the report name. Or, you can use the global search bar.
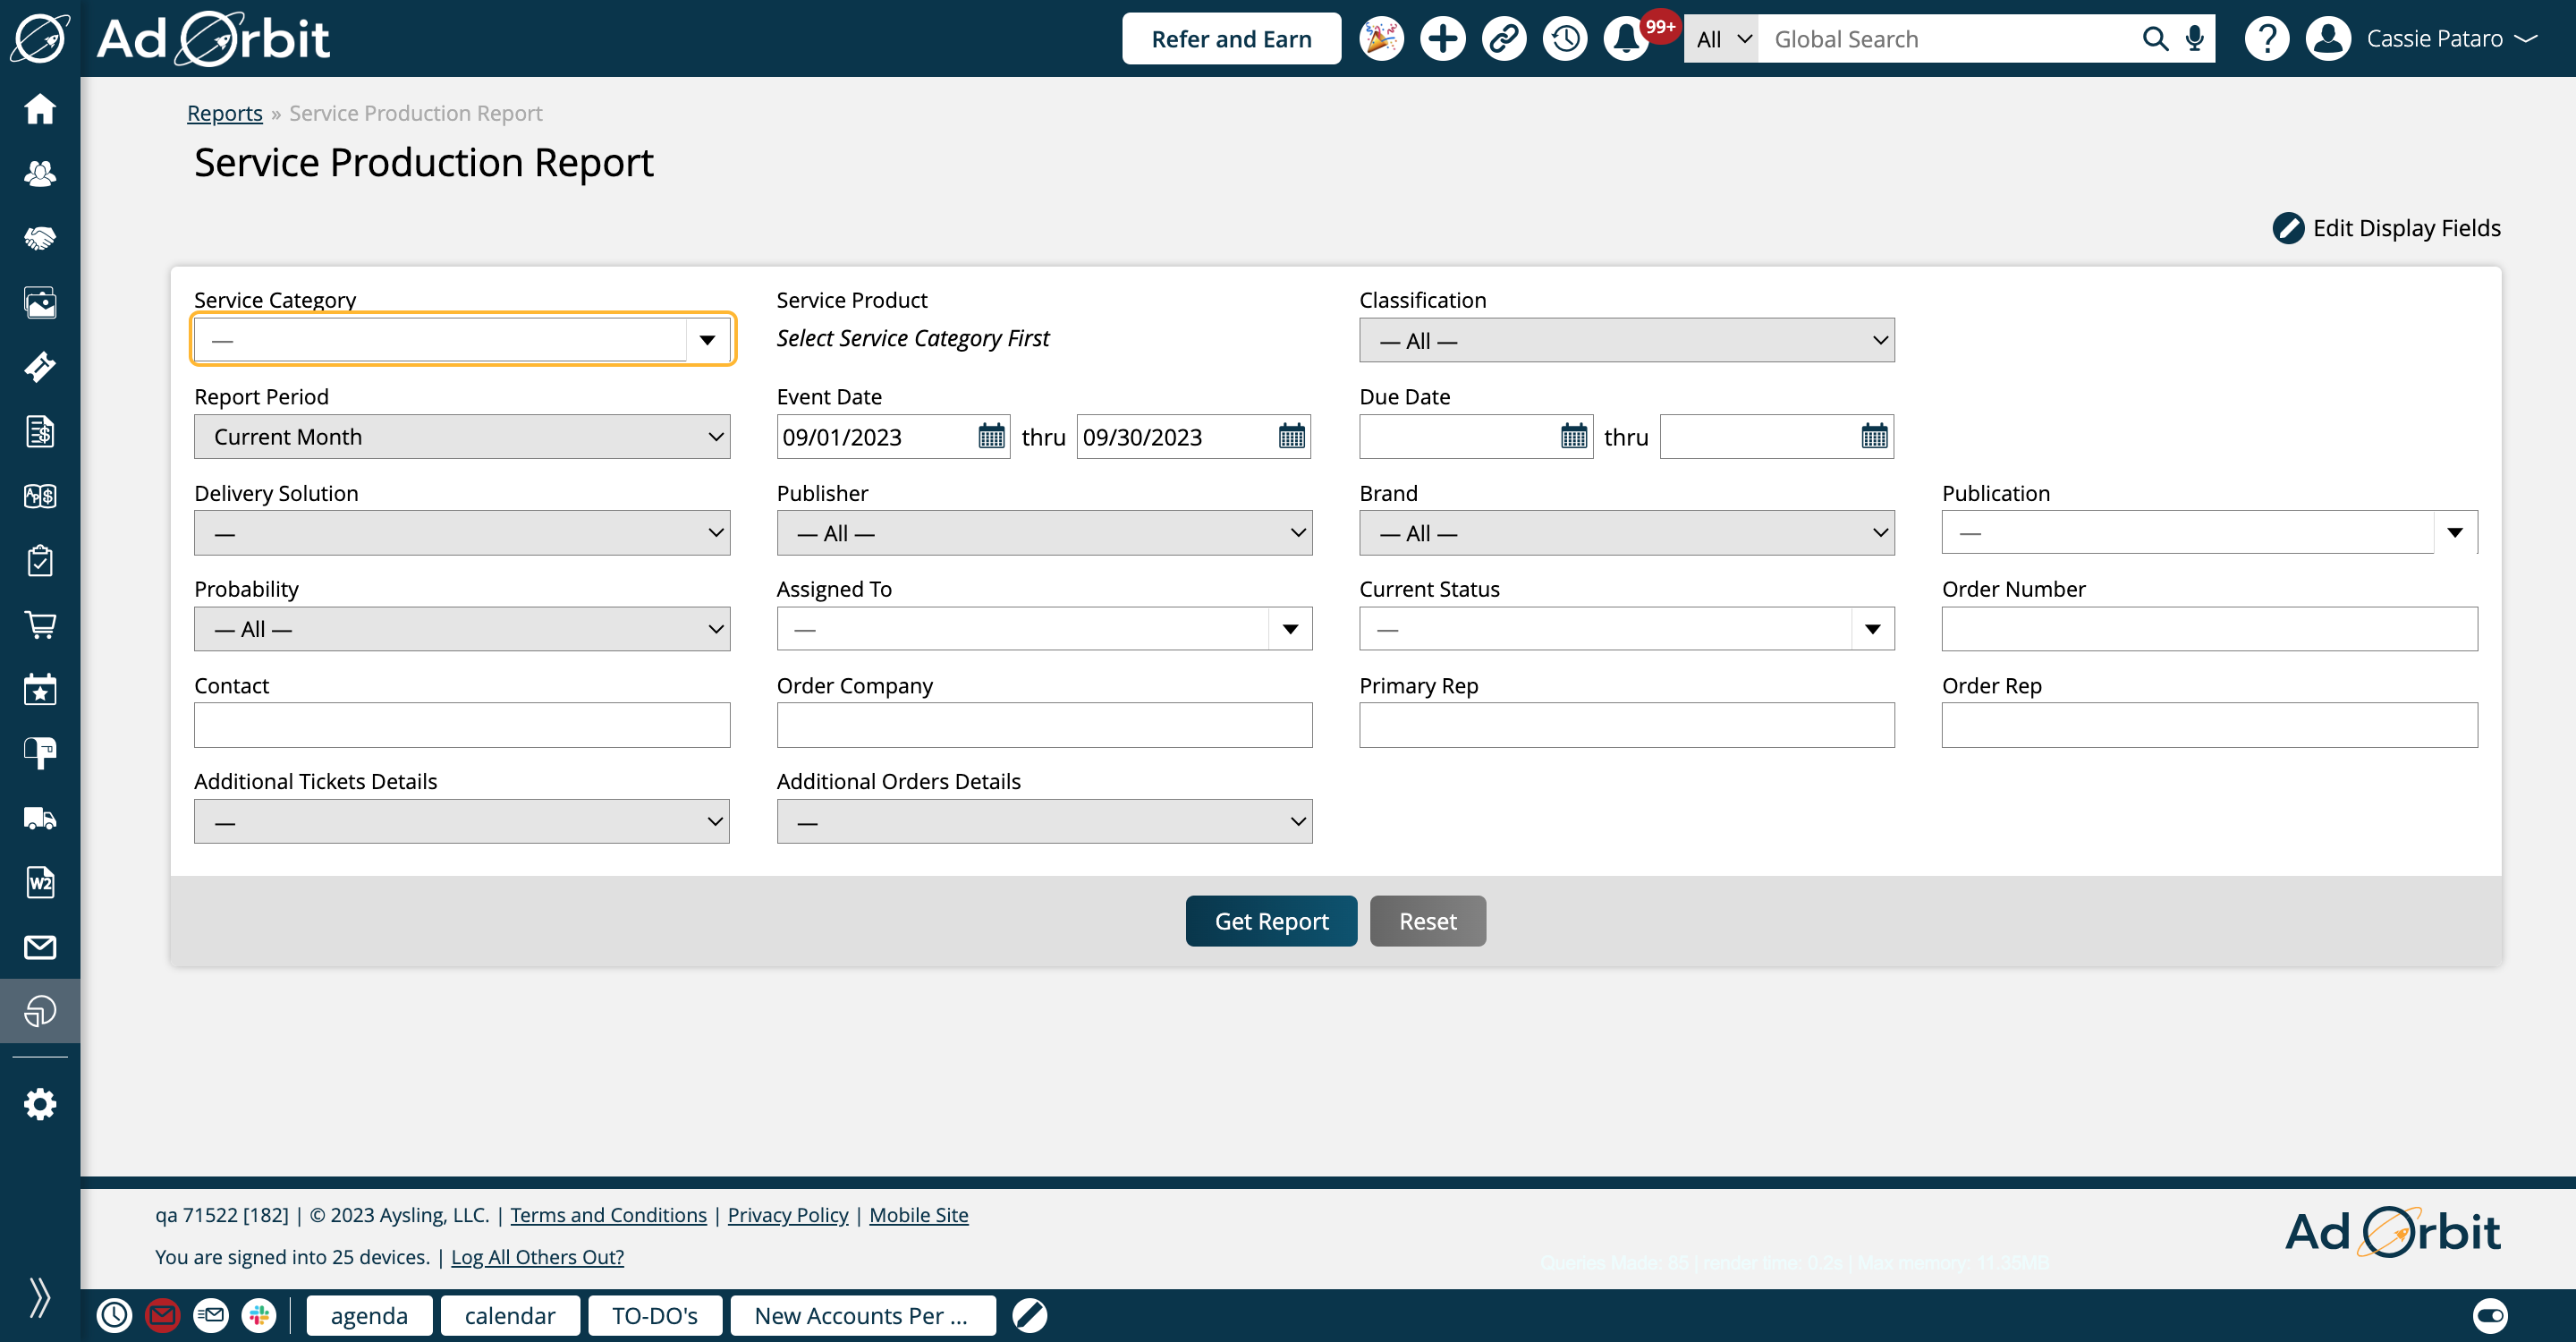
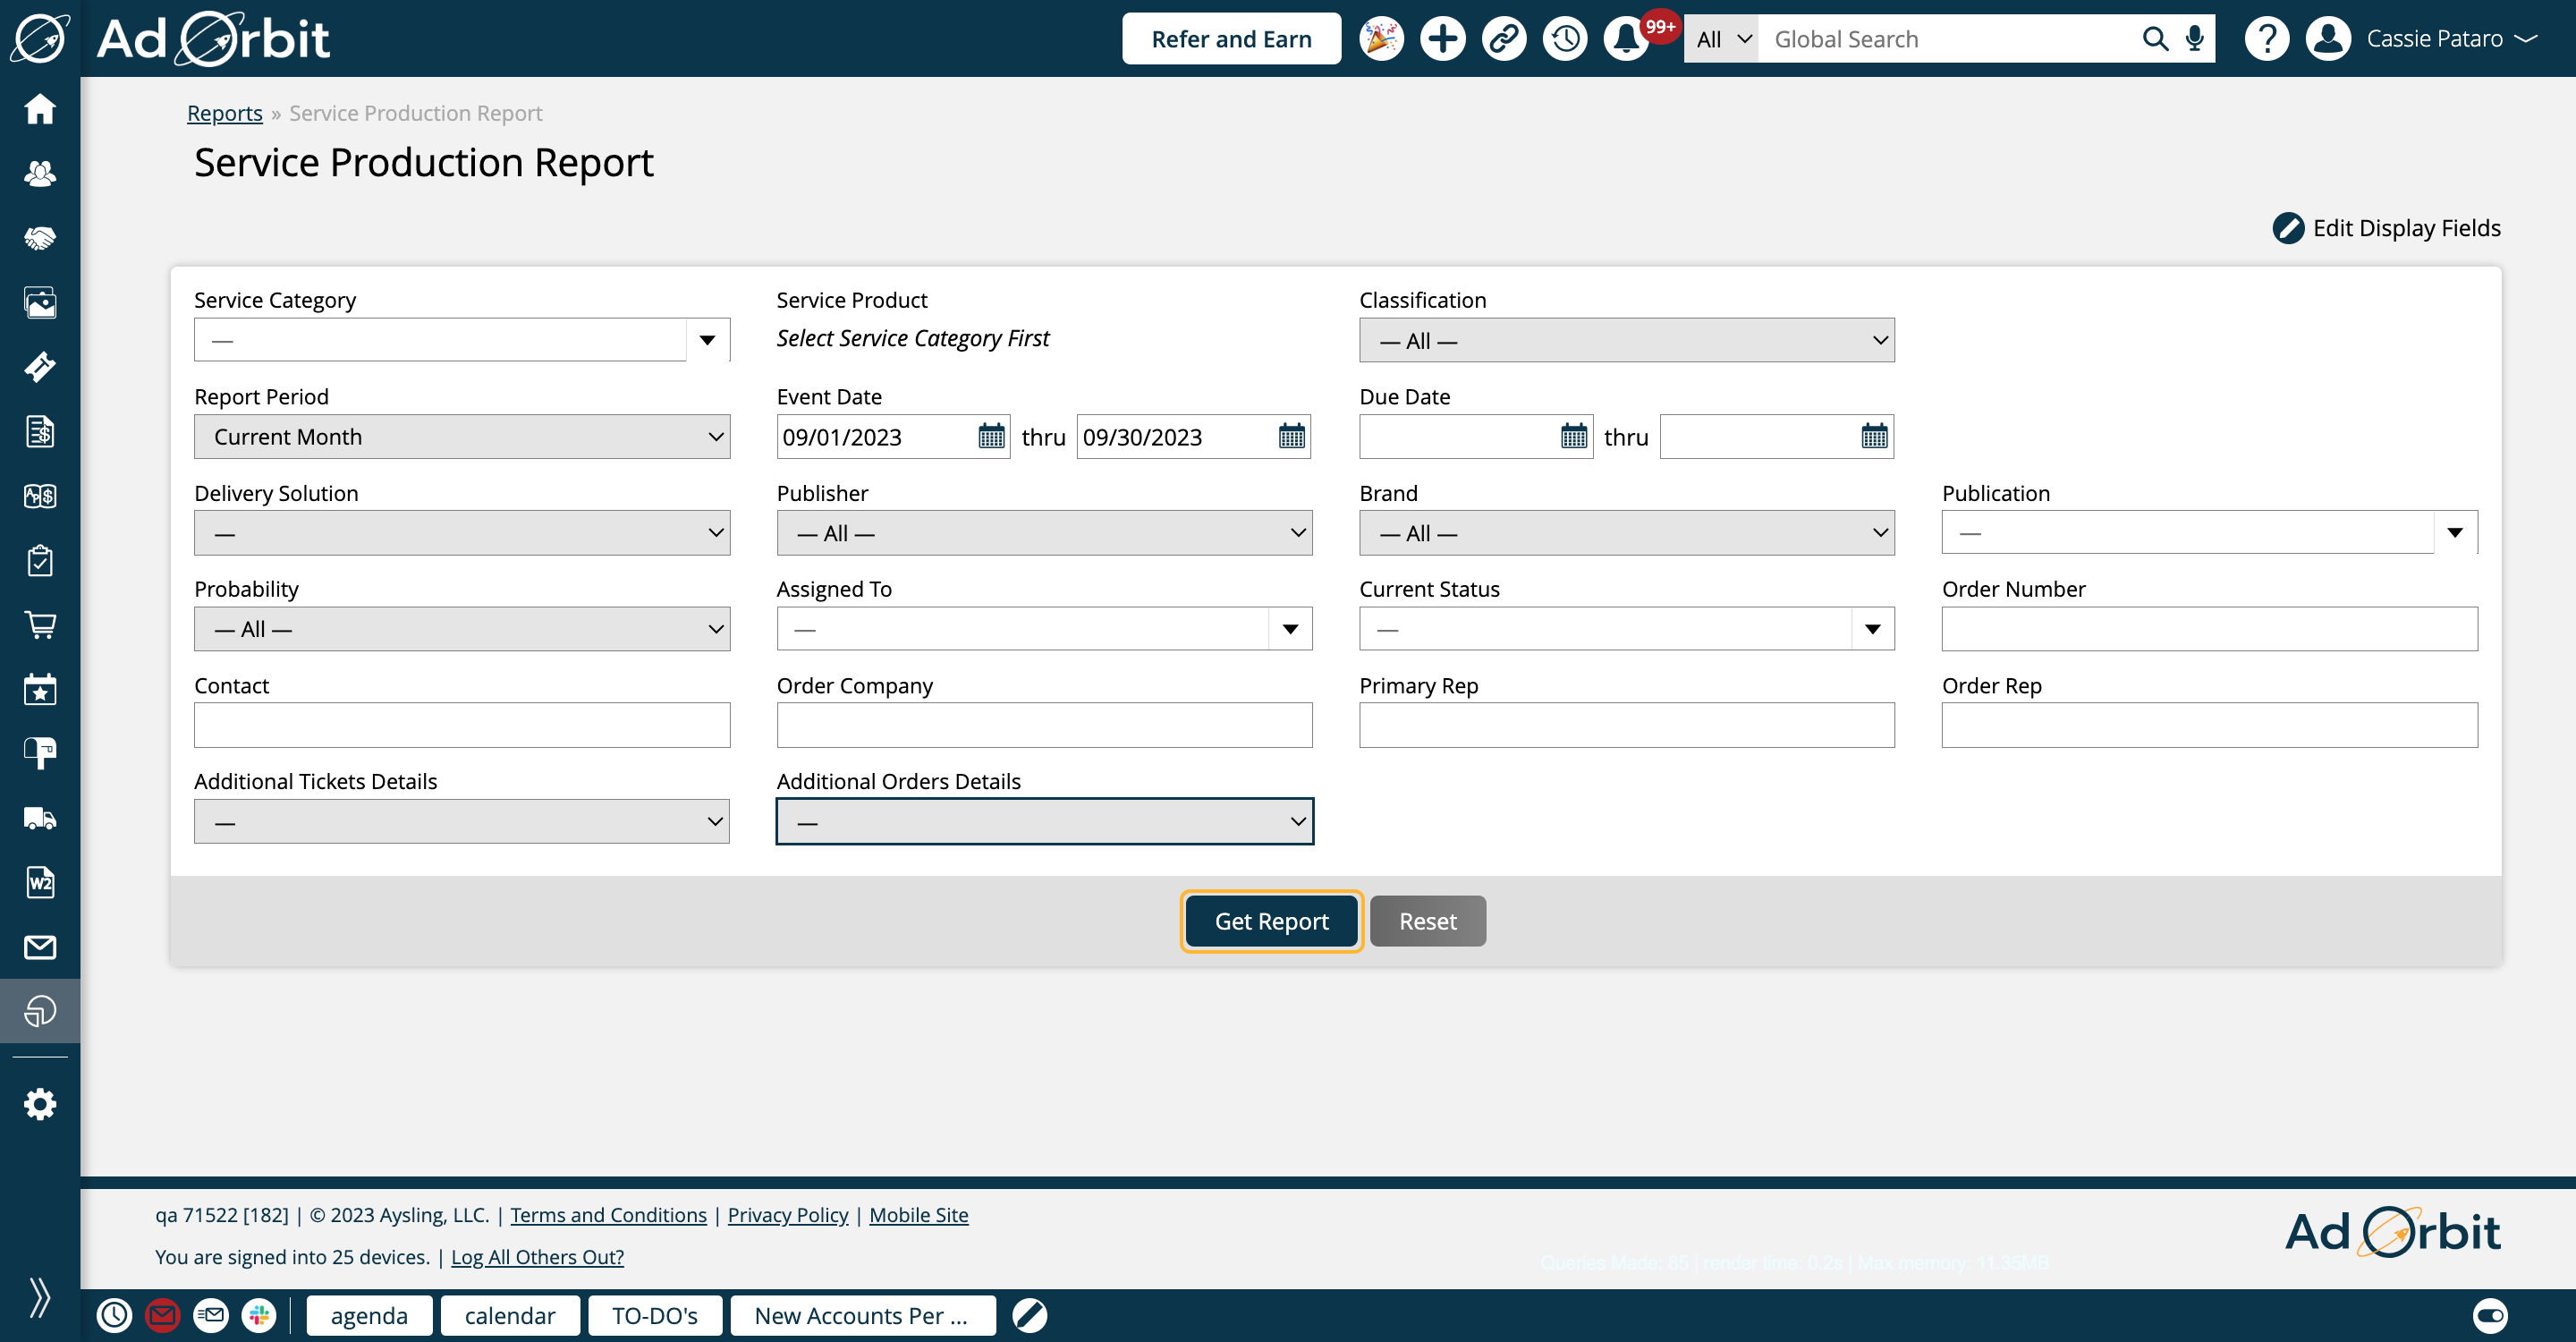
There are quite a few search fields that allow you to narrow down your results. Service Category shows every Product Category created in your system that is not tied to a digital media inventory type.
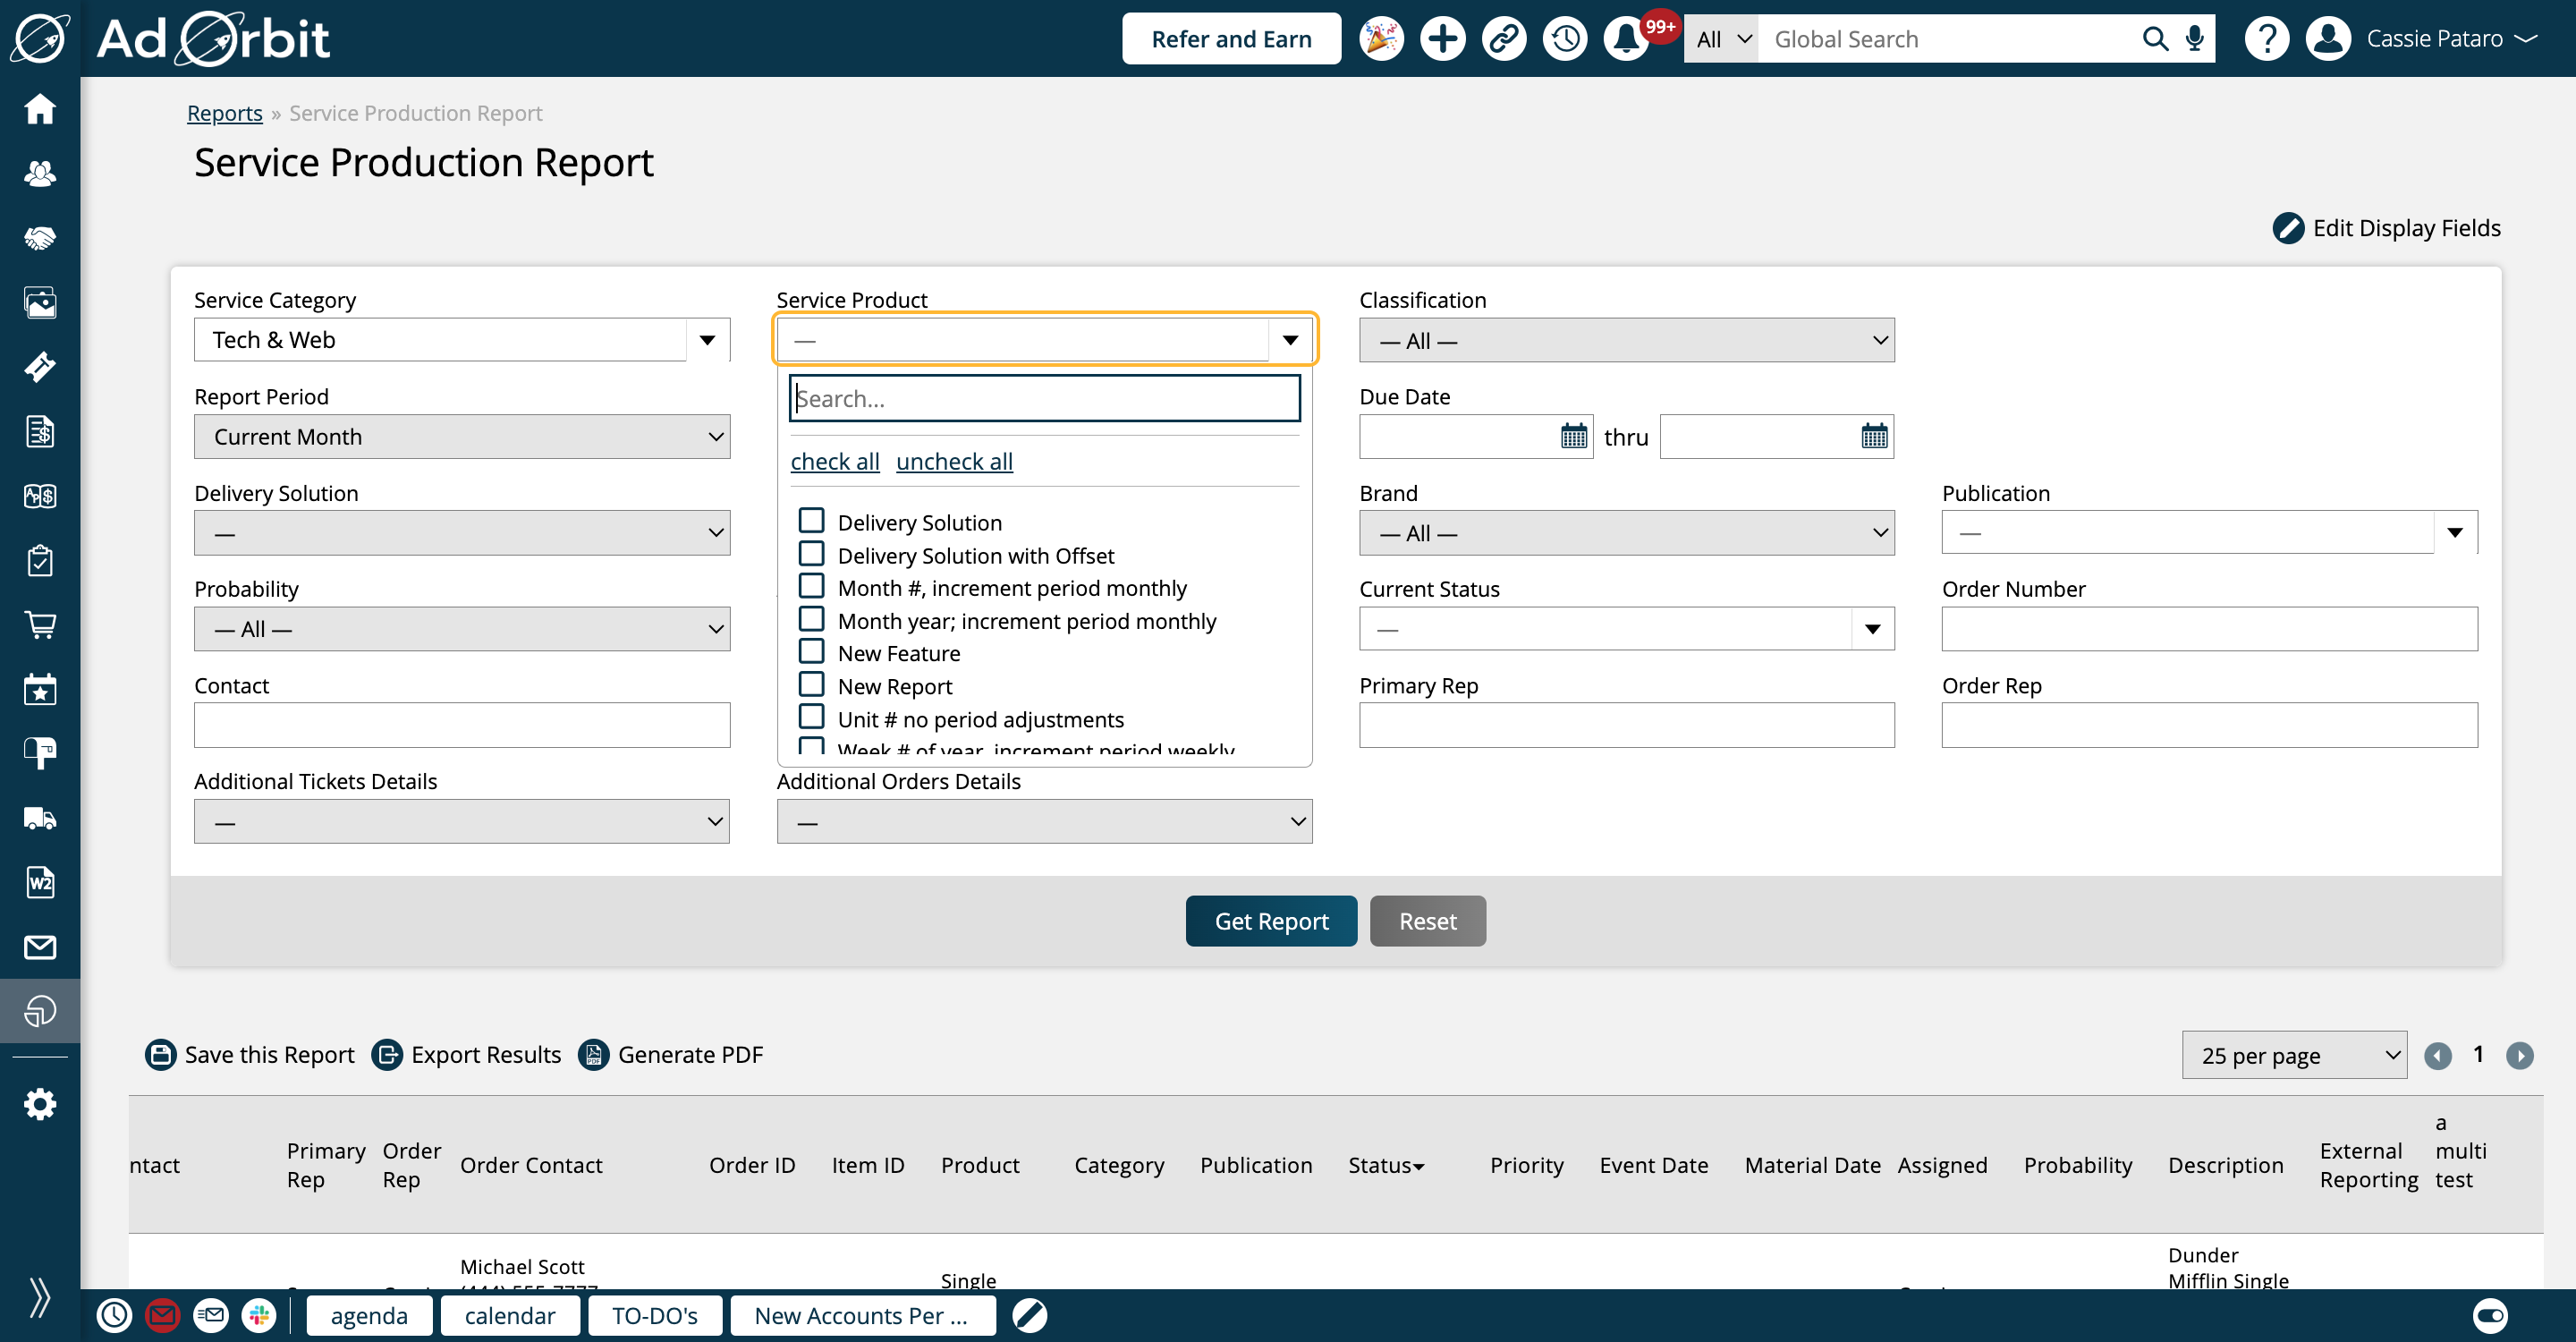
Service Product will only be available once you've selected at least one Service Category. The product list will show any service products tied to the selected categories.
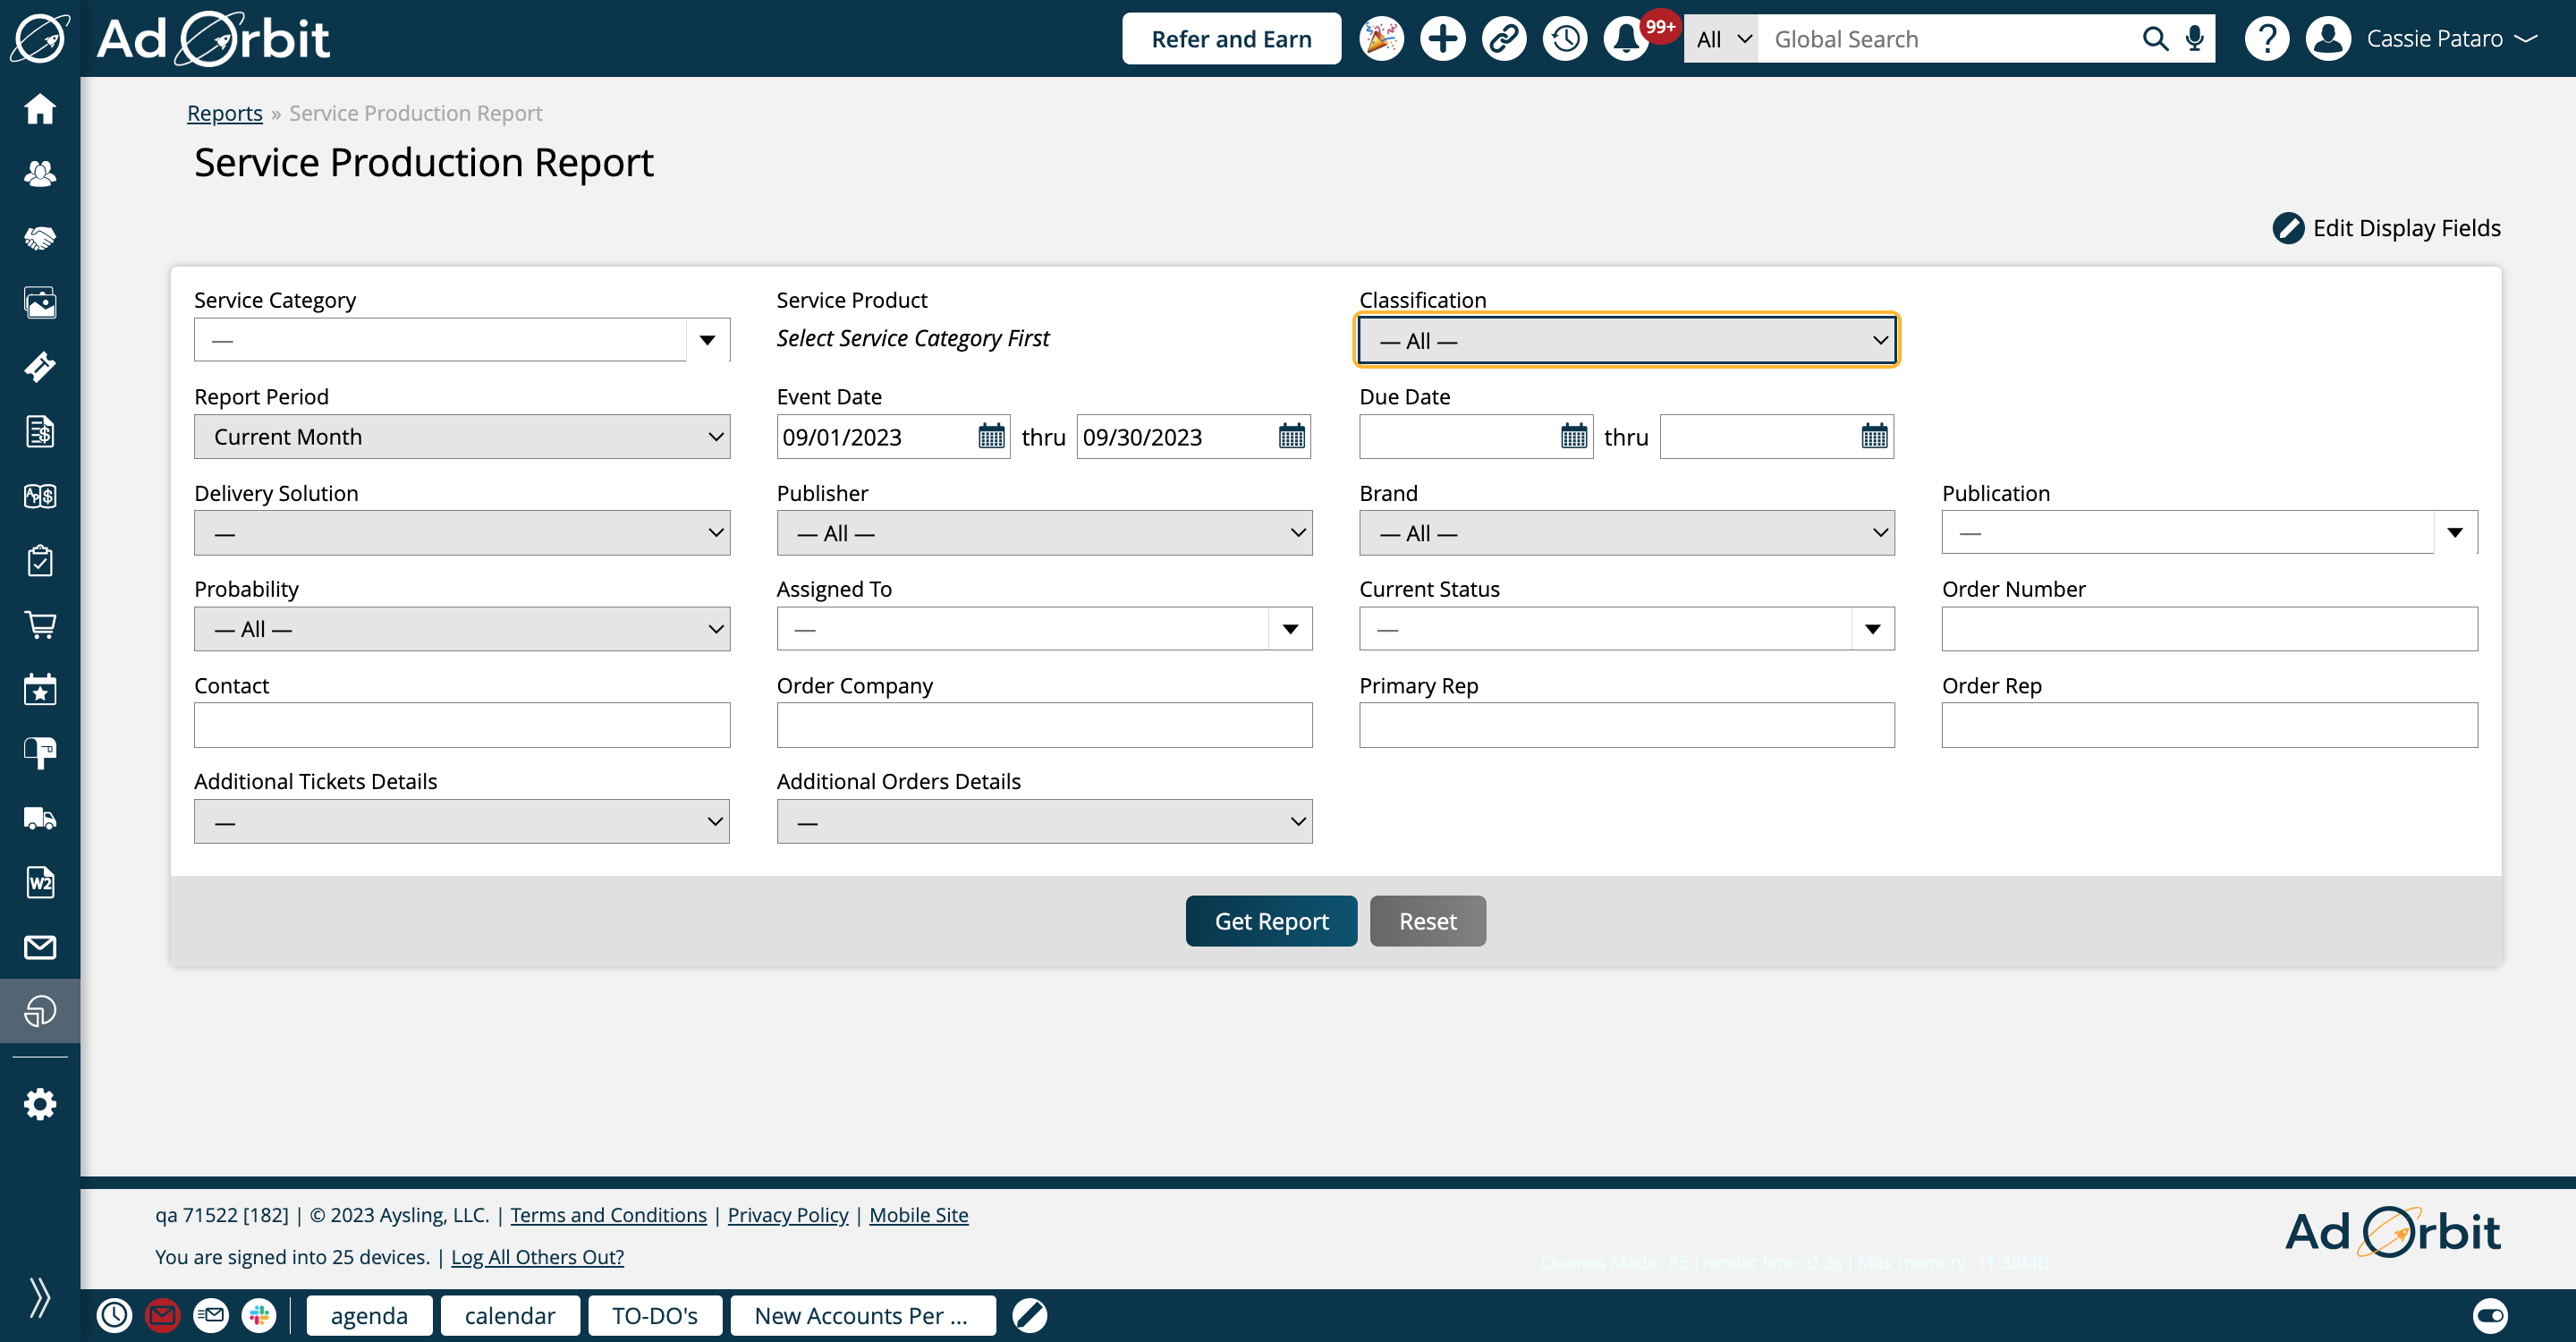
Classification is an optional single select field that allows you to further filter your results by product classifications. These may be set on your products.
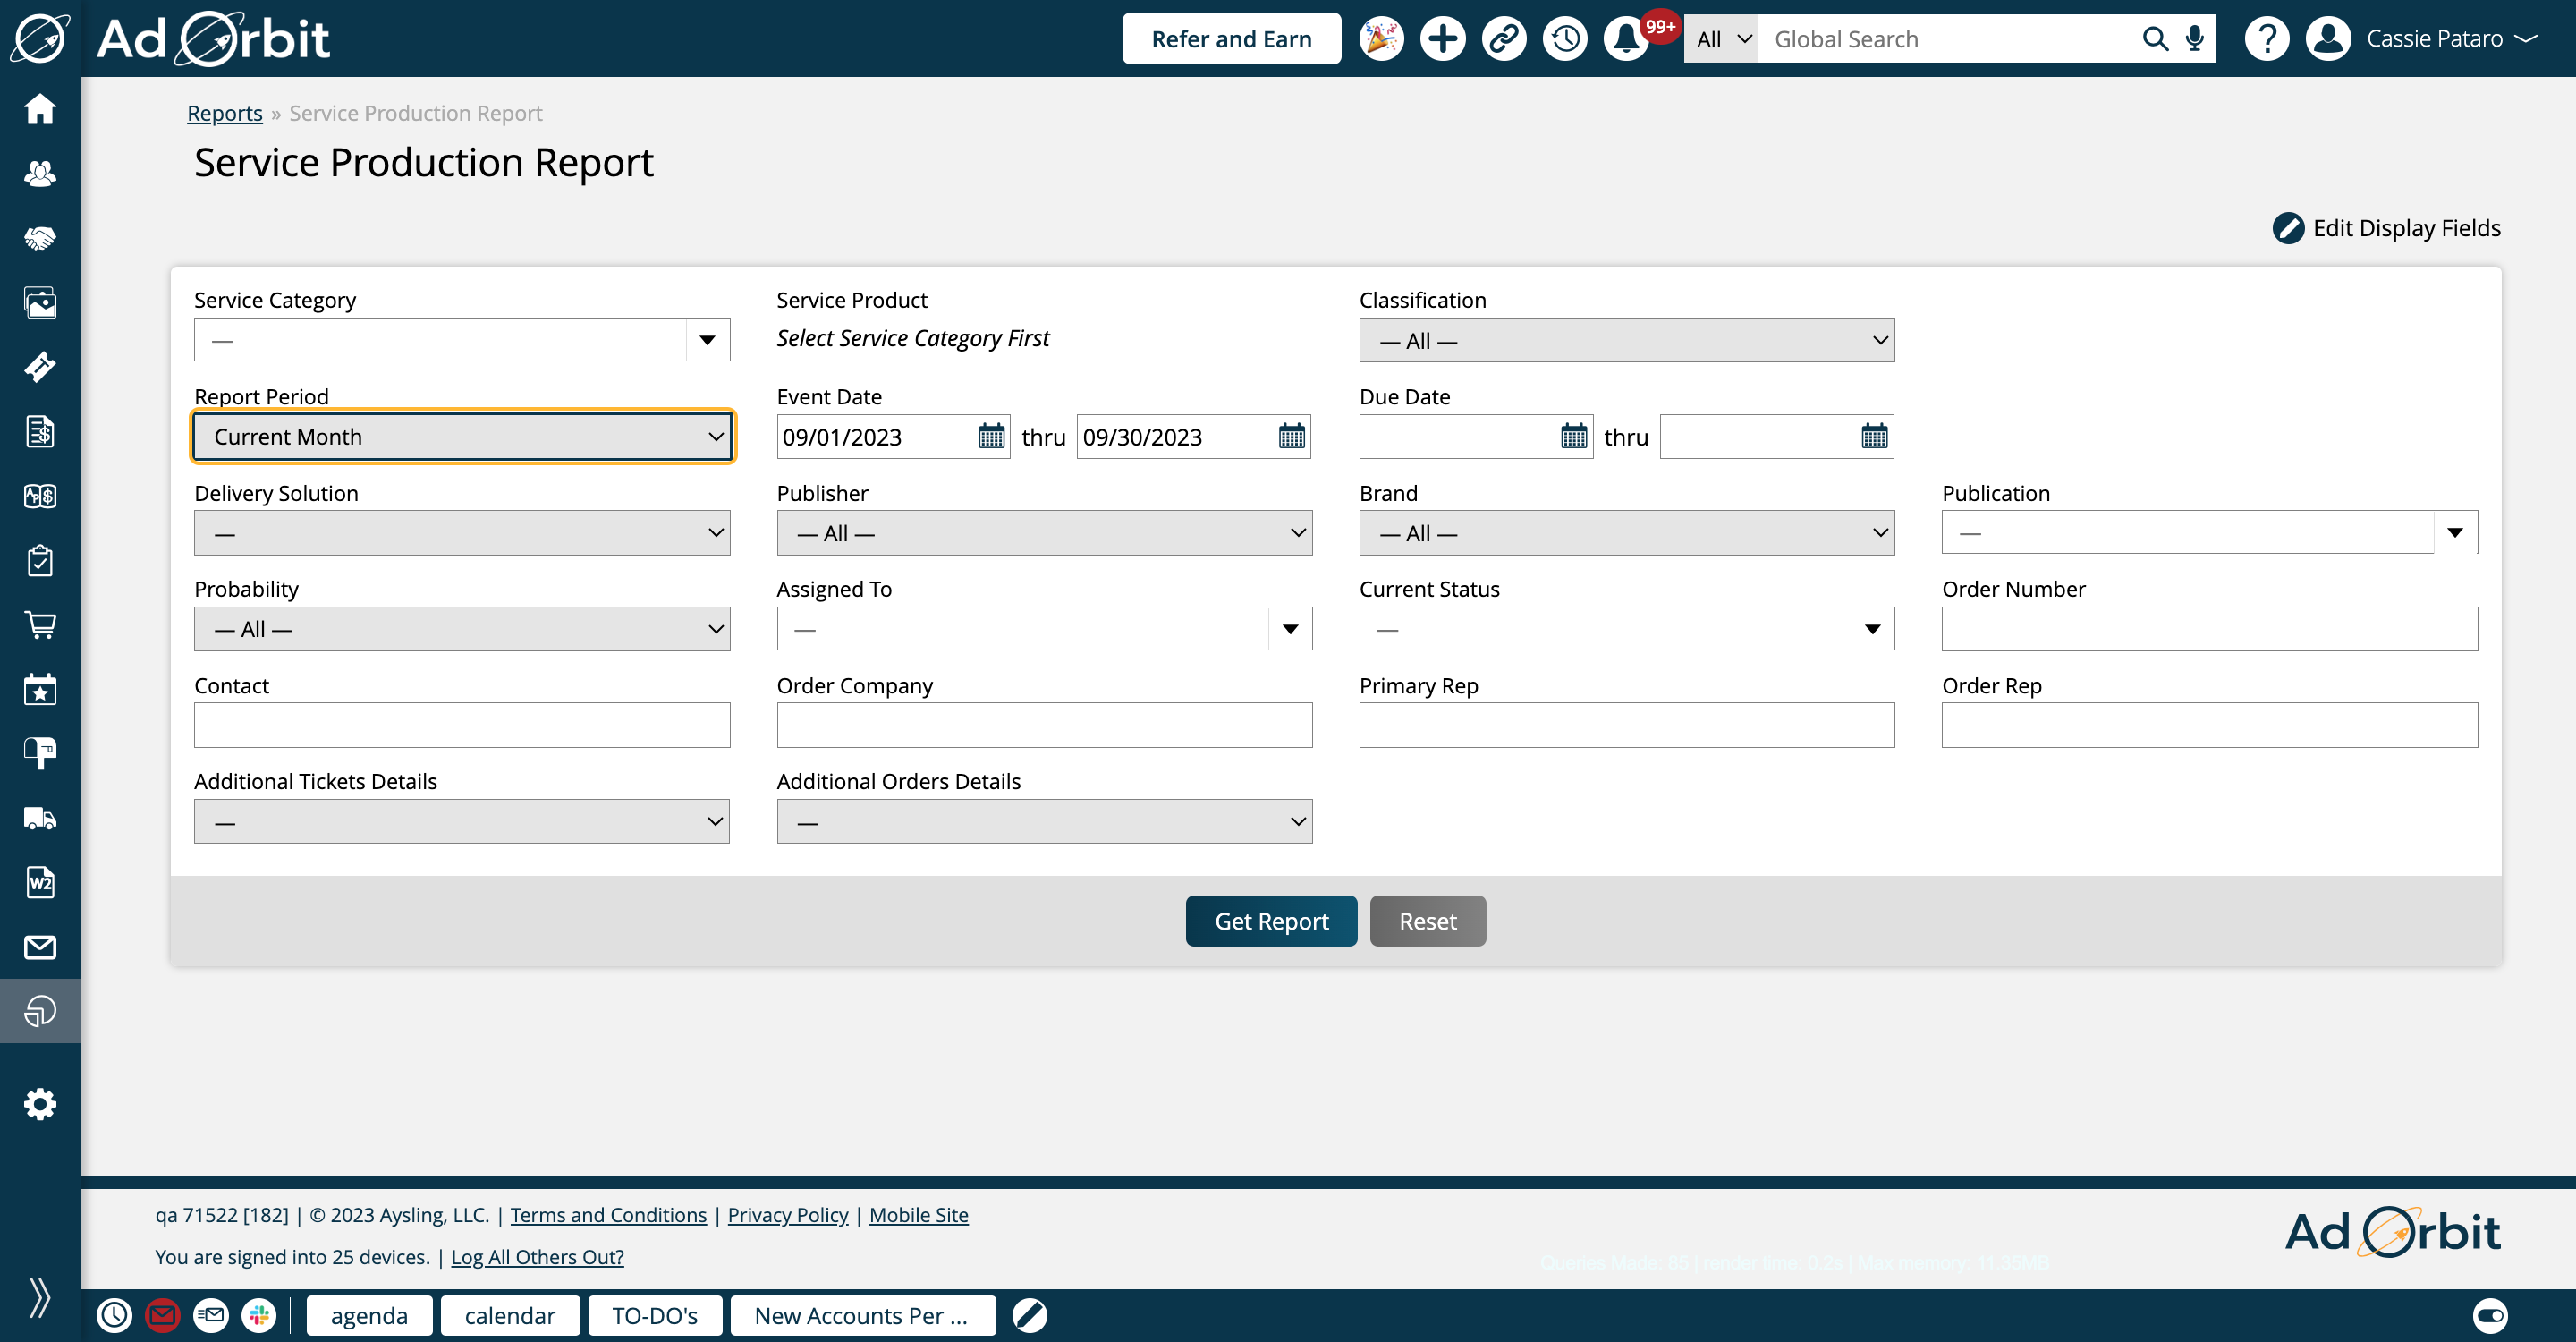
If you'd like to filter the report by a pre-defined time period, use the Report Period filter. Or, if you want to enter custom dates, leave this filter blank and enter your dates in the Event Date field. The Event Date is also the start date for services.
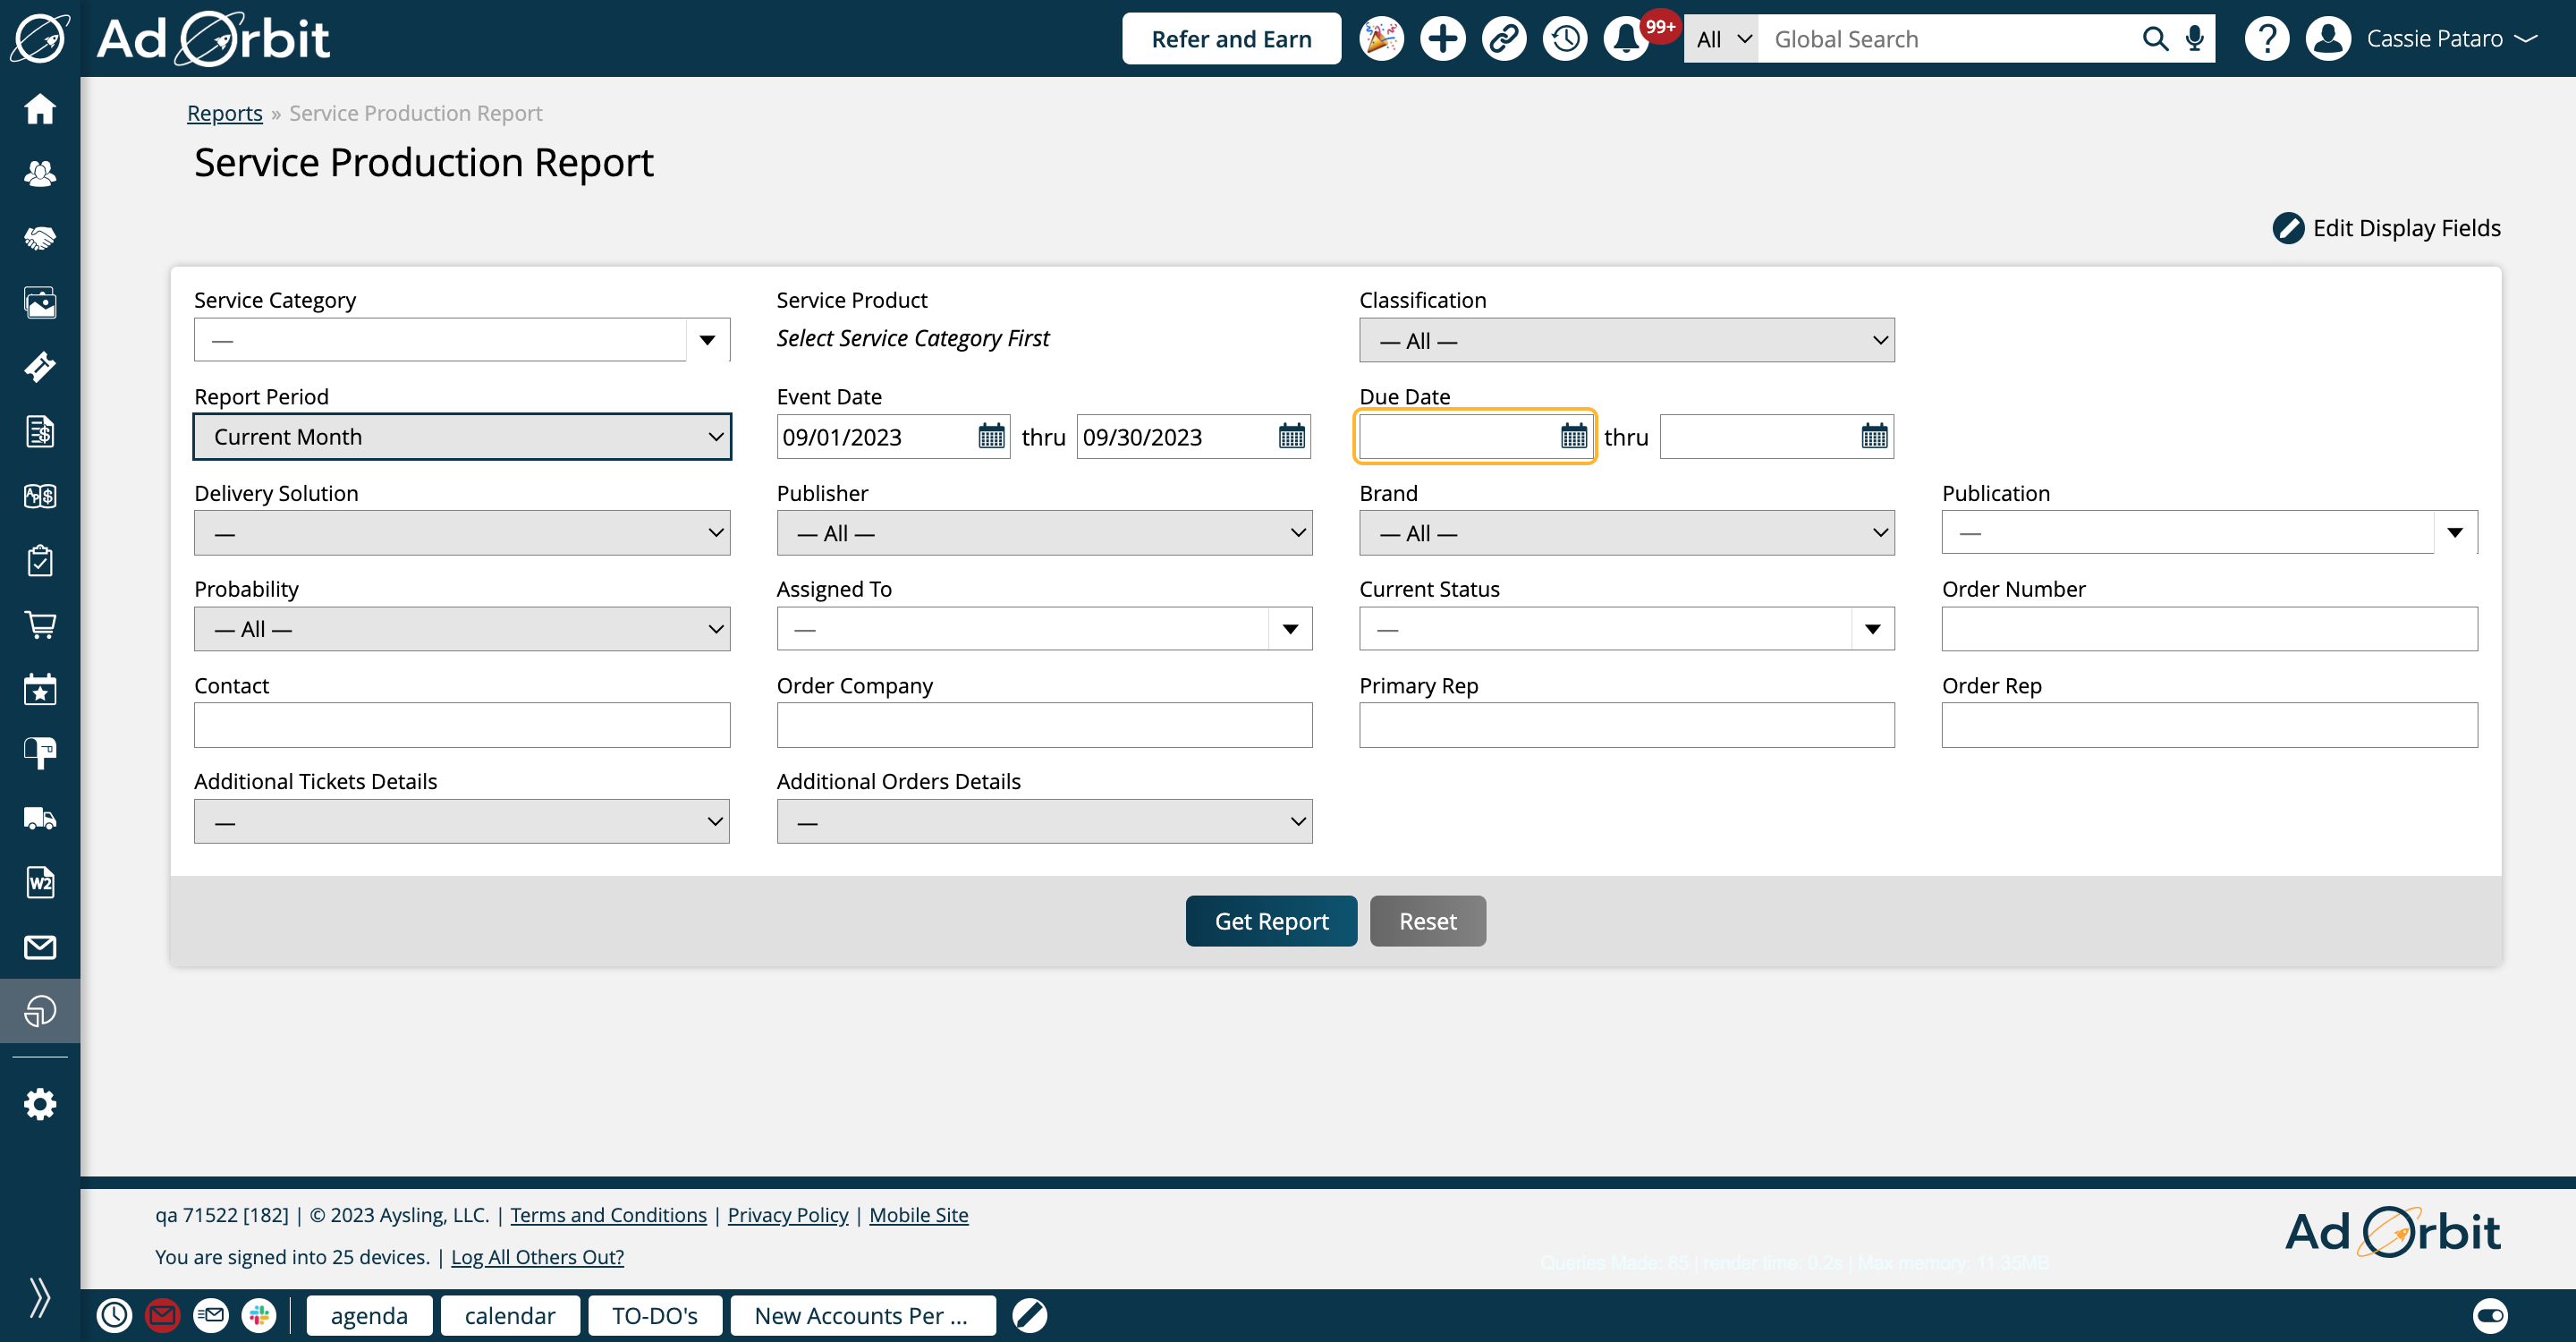
Due Date is another way to filter your report by a time range. The Due Date is also the end date for service items.
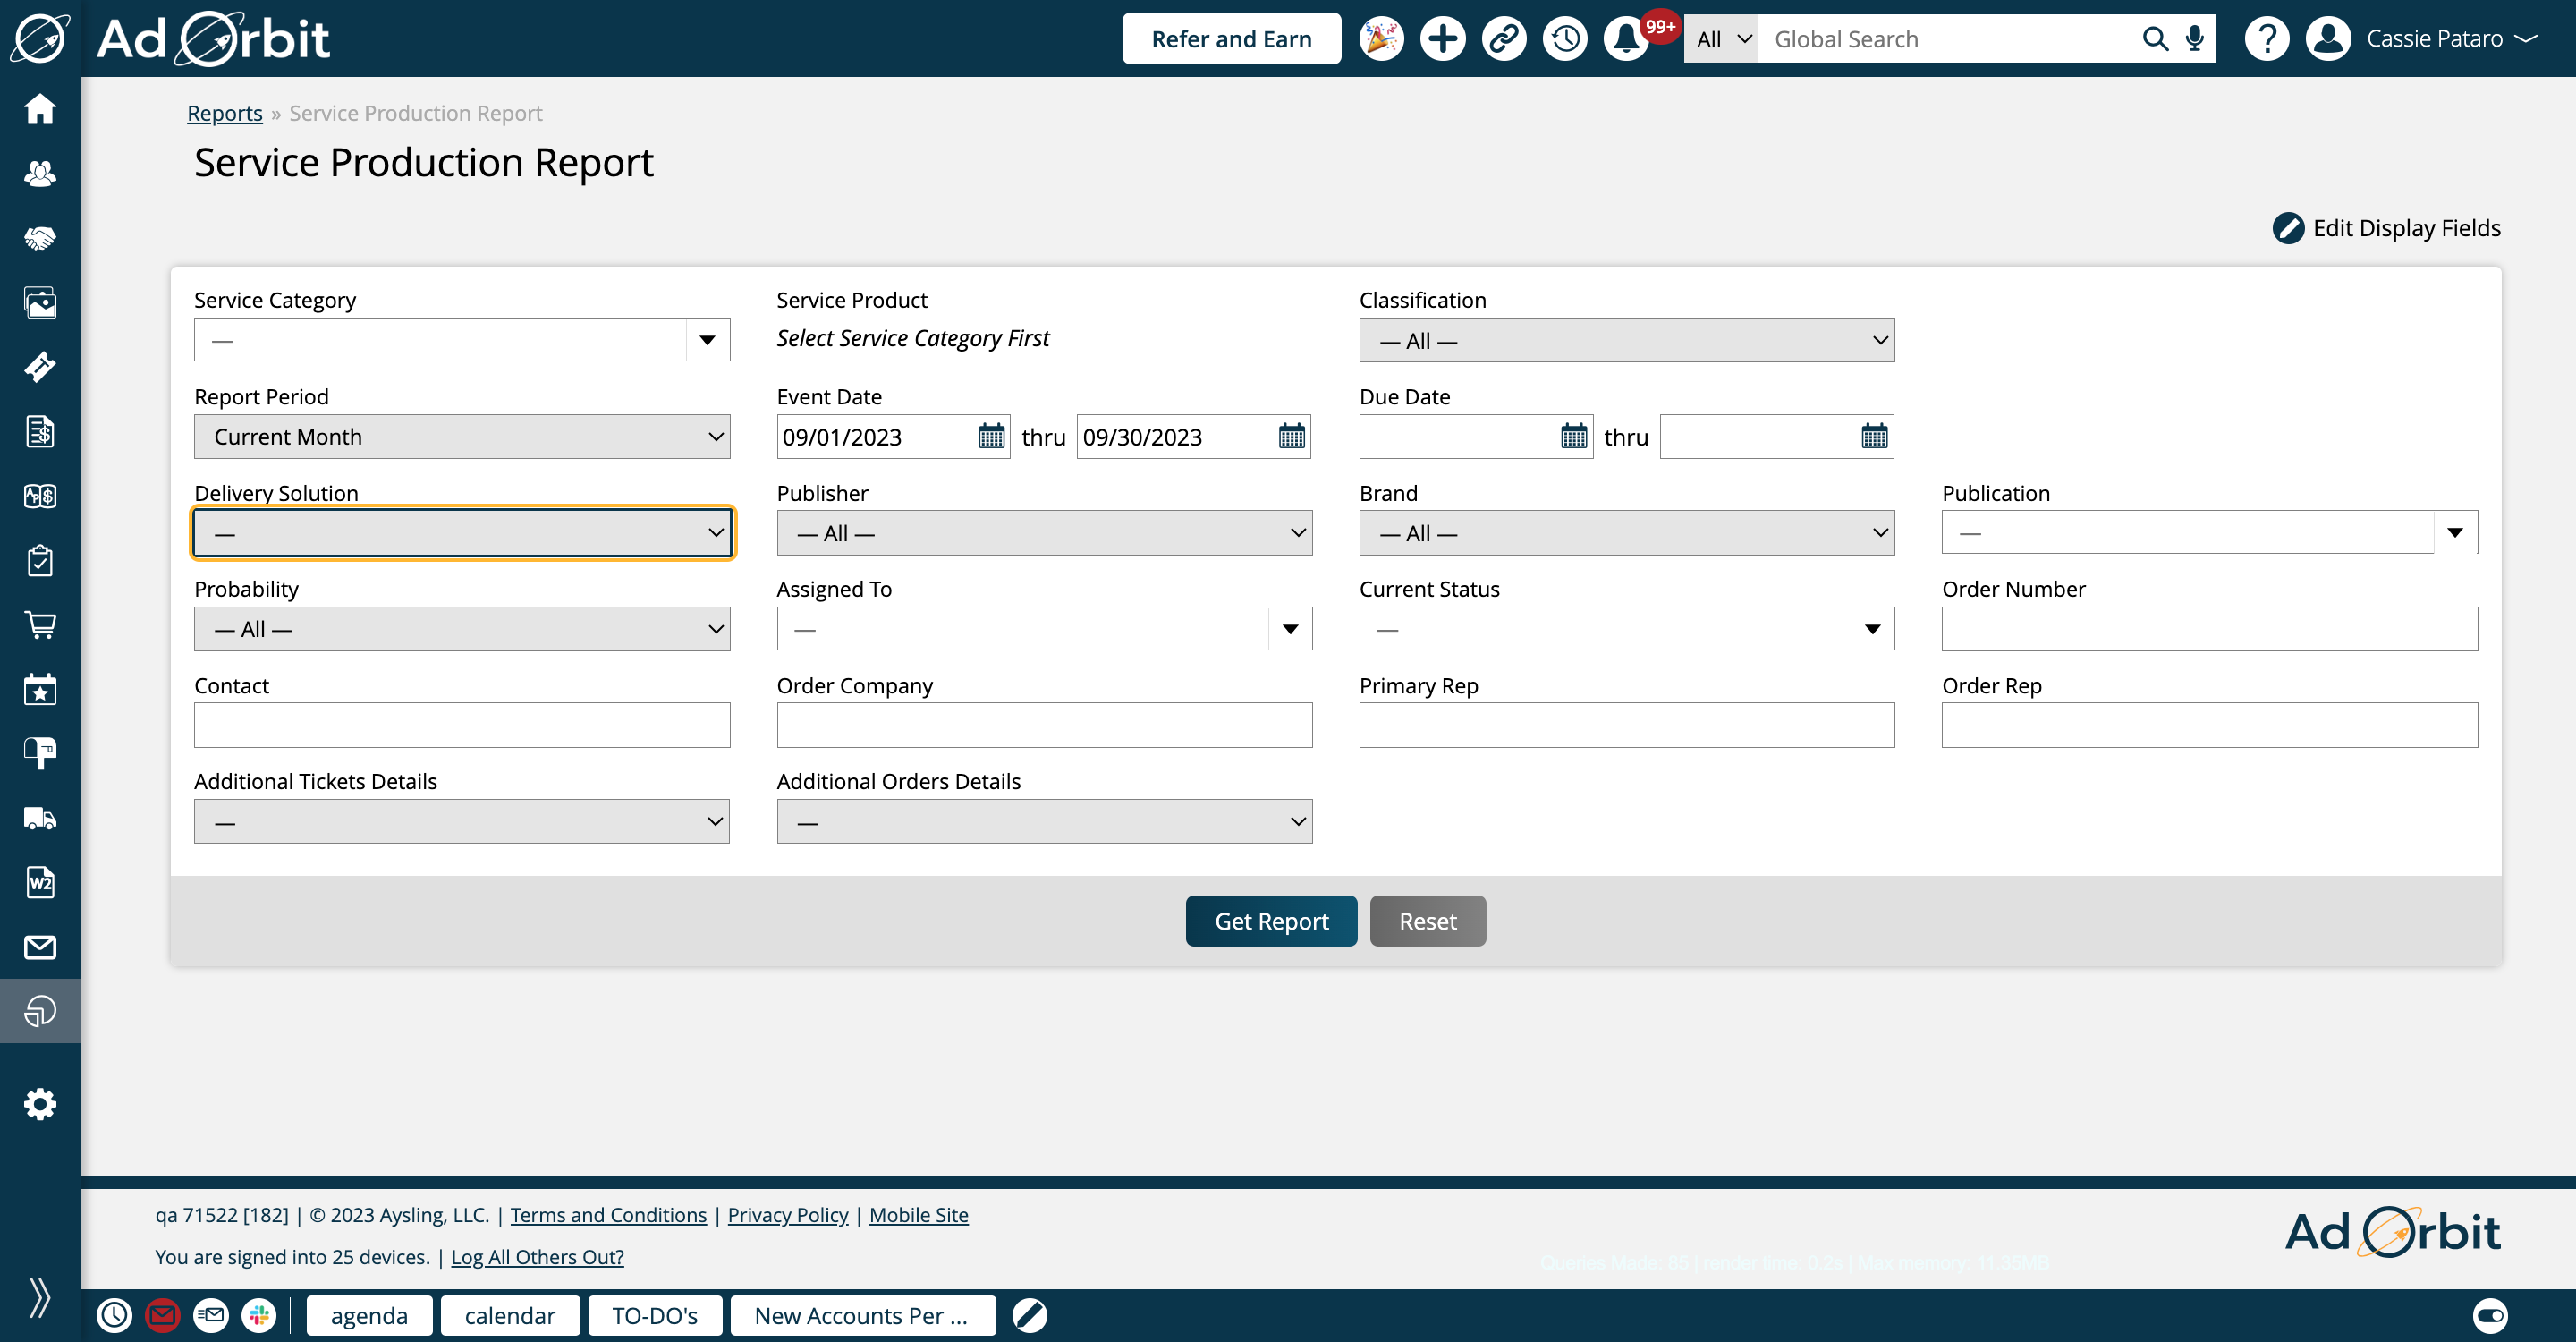
This field allows you to choose whether to find tickets by only delivery solution products, no delivery solution products, or both.
The Publisher field is relevant if you attach Publications to your service line items. If you do, the Publisher field will find items based on the Publisher associated with the set publications on the line item.
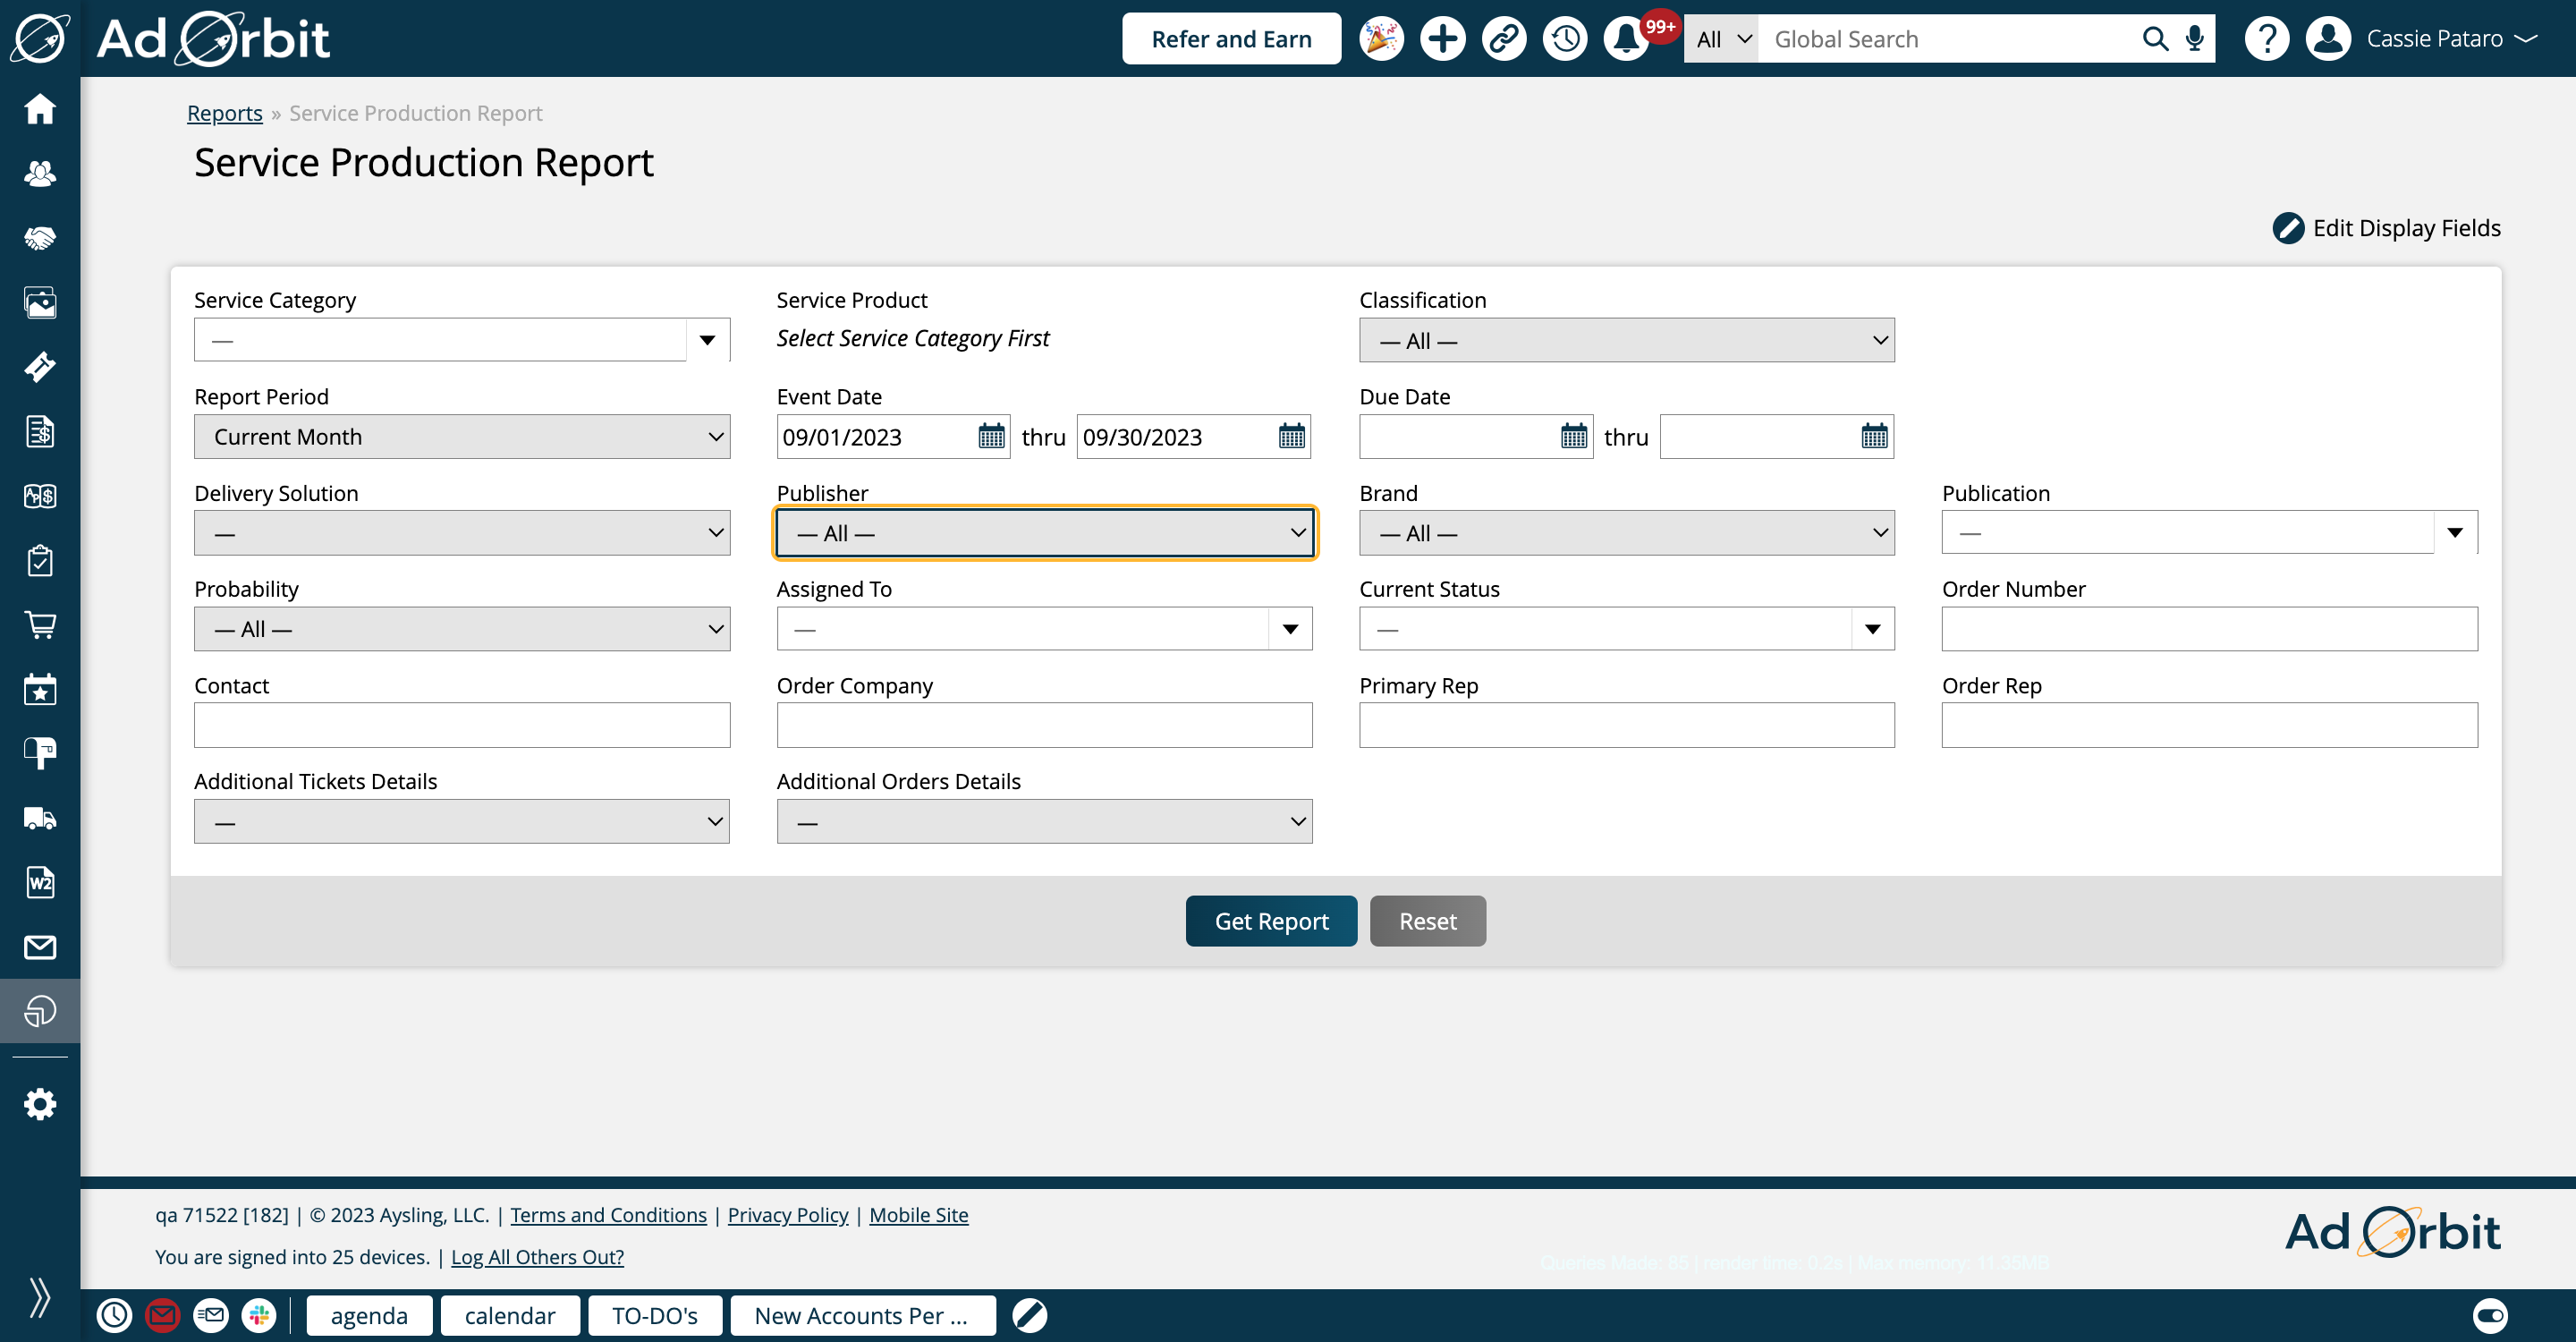
Brand works similarly to the Publisher search field. It will find items based on the Brand tied to the publication set on the service line item.
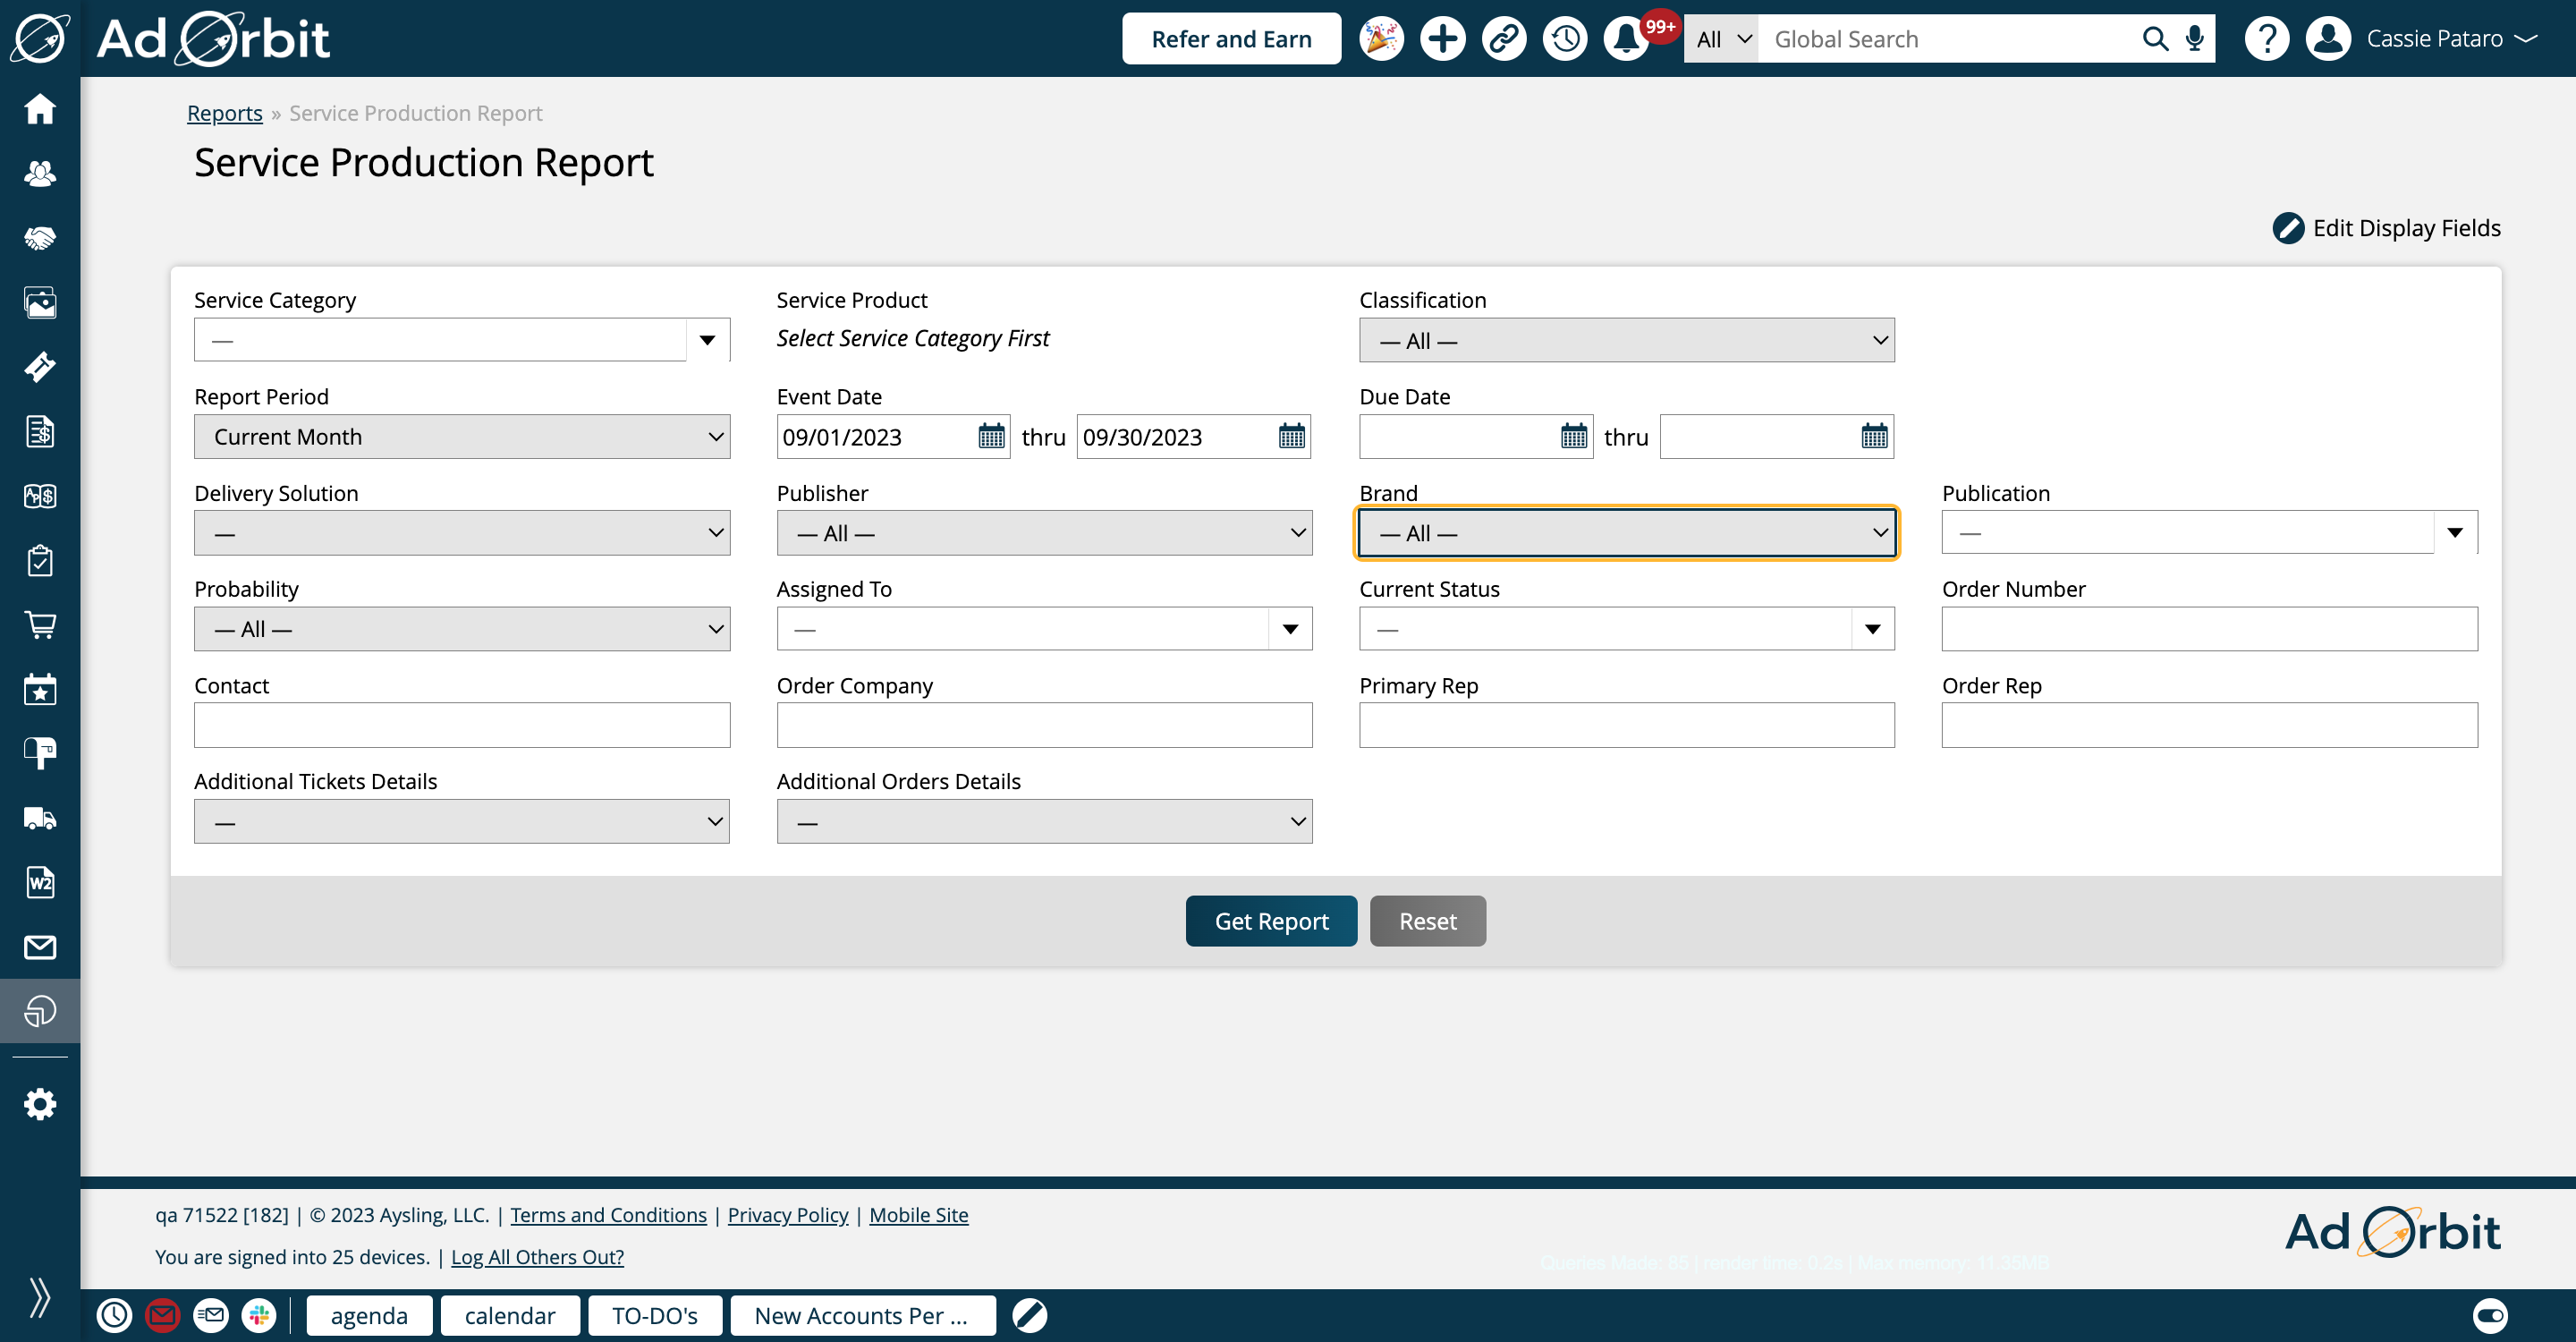
Publication is a multi-select field that is only relevant if you associate publications with your service line items. It will find all service line items with the chosen publications.
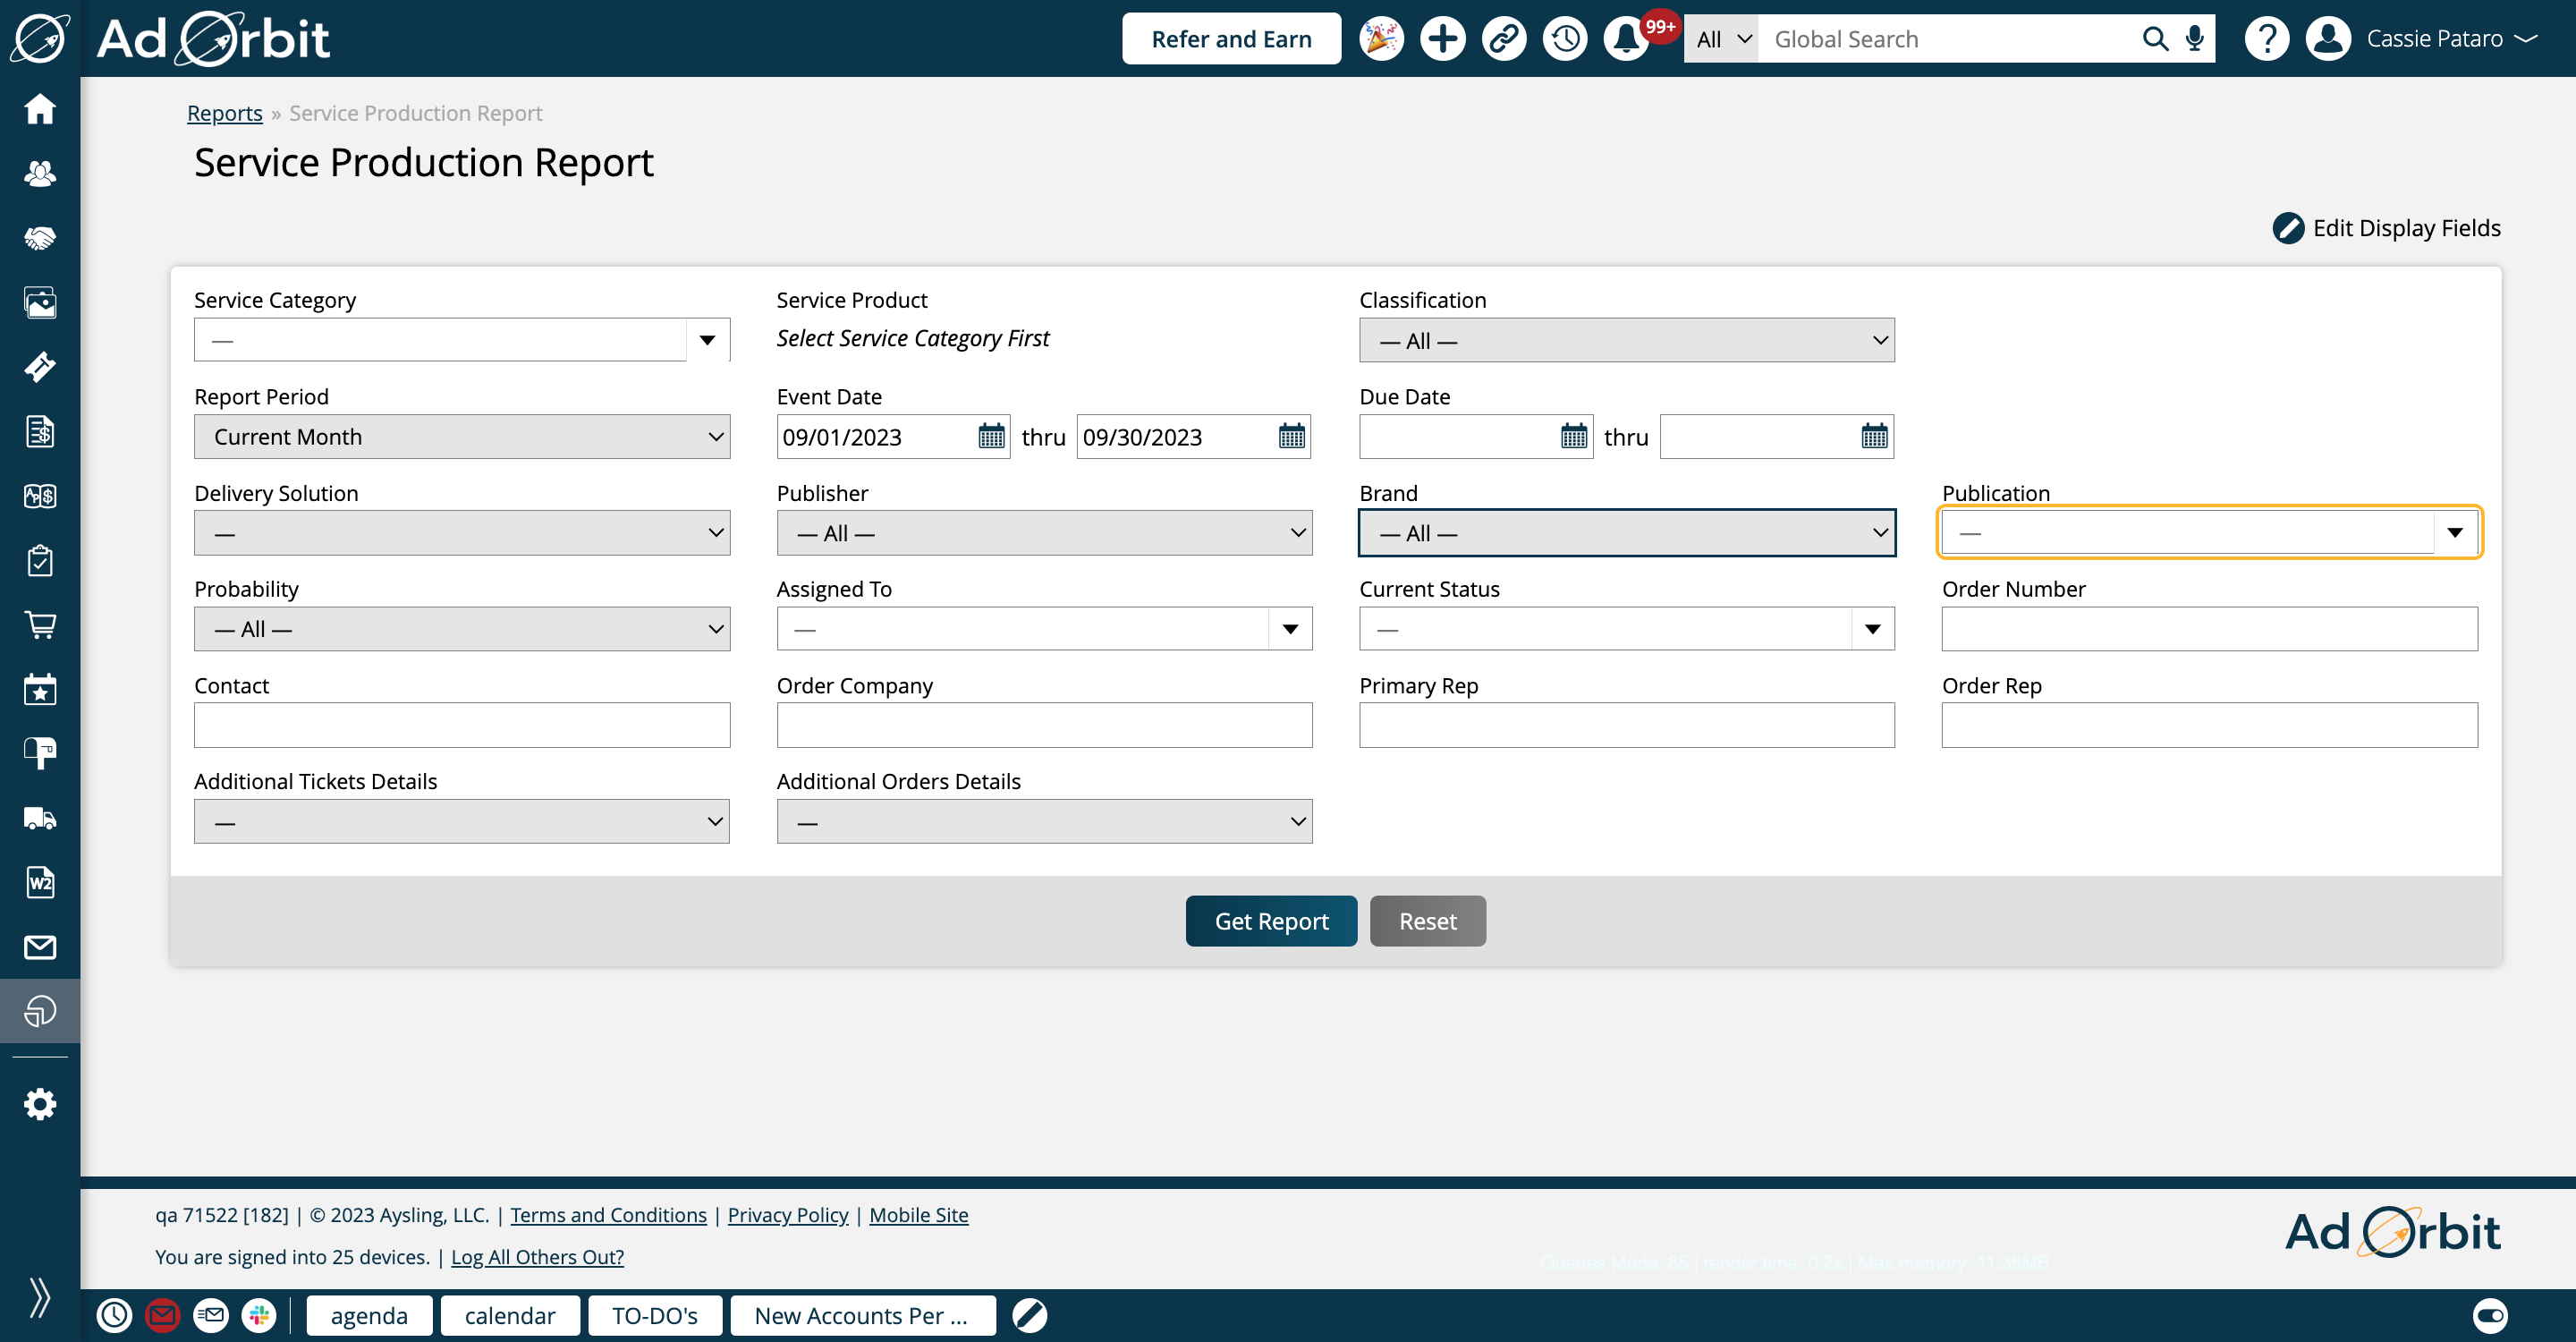
Probability allows you to find items based on where they are in the order approval process. If you wish to find pending items, you can search by 90 or 95% probabilities.
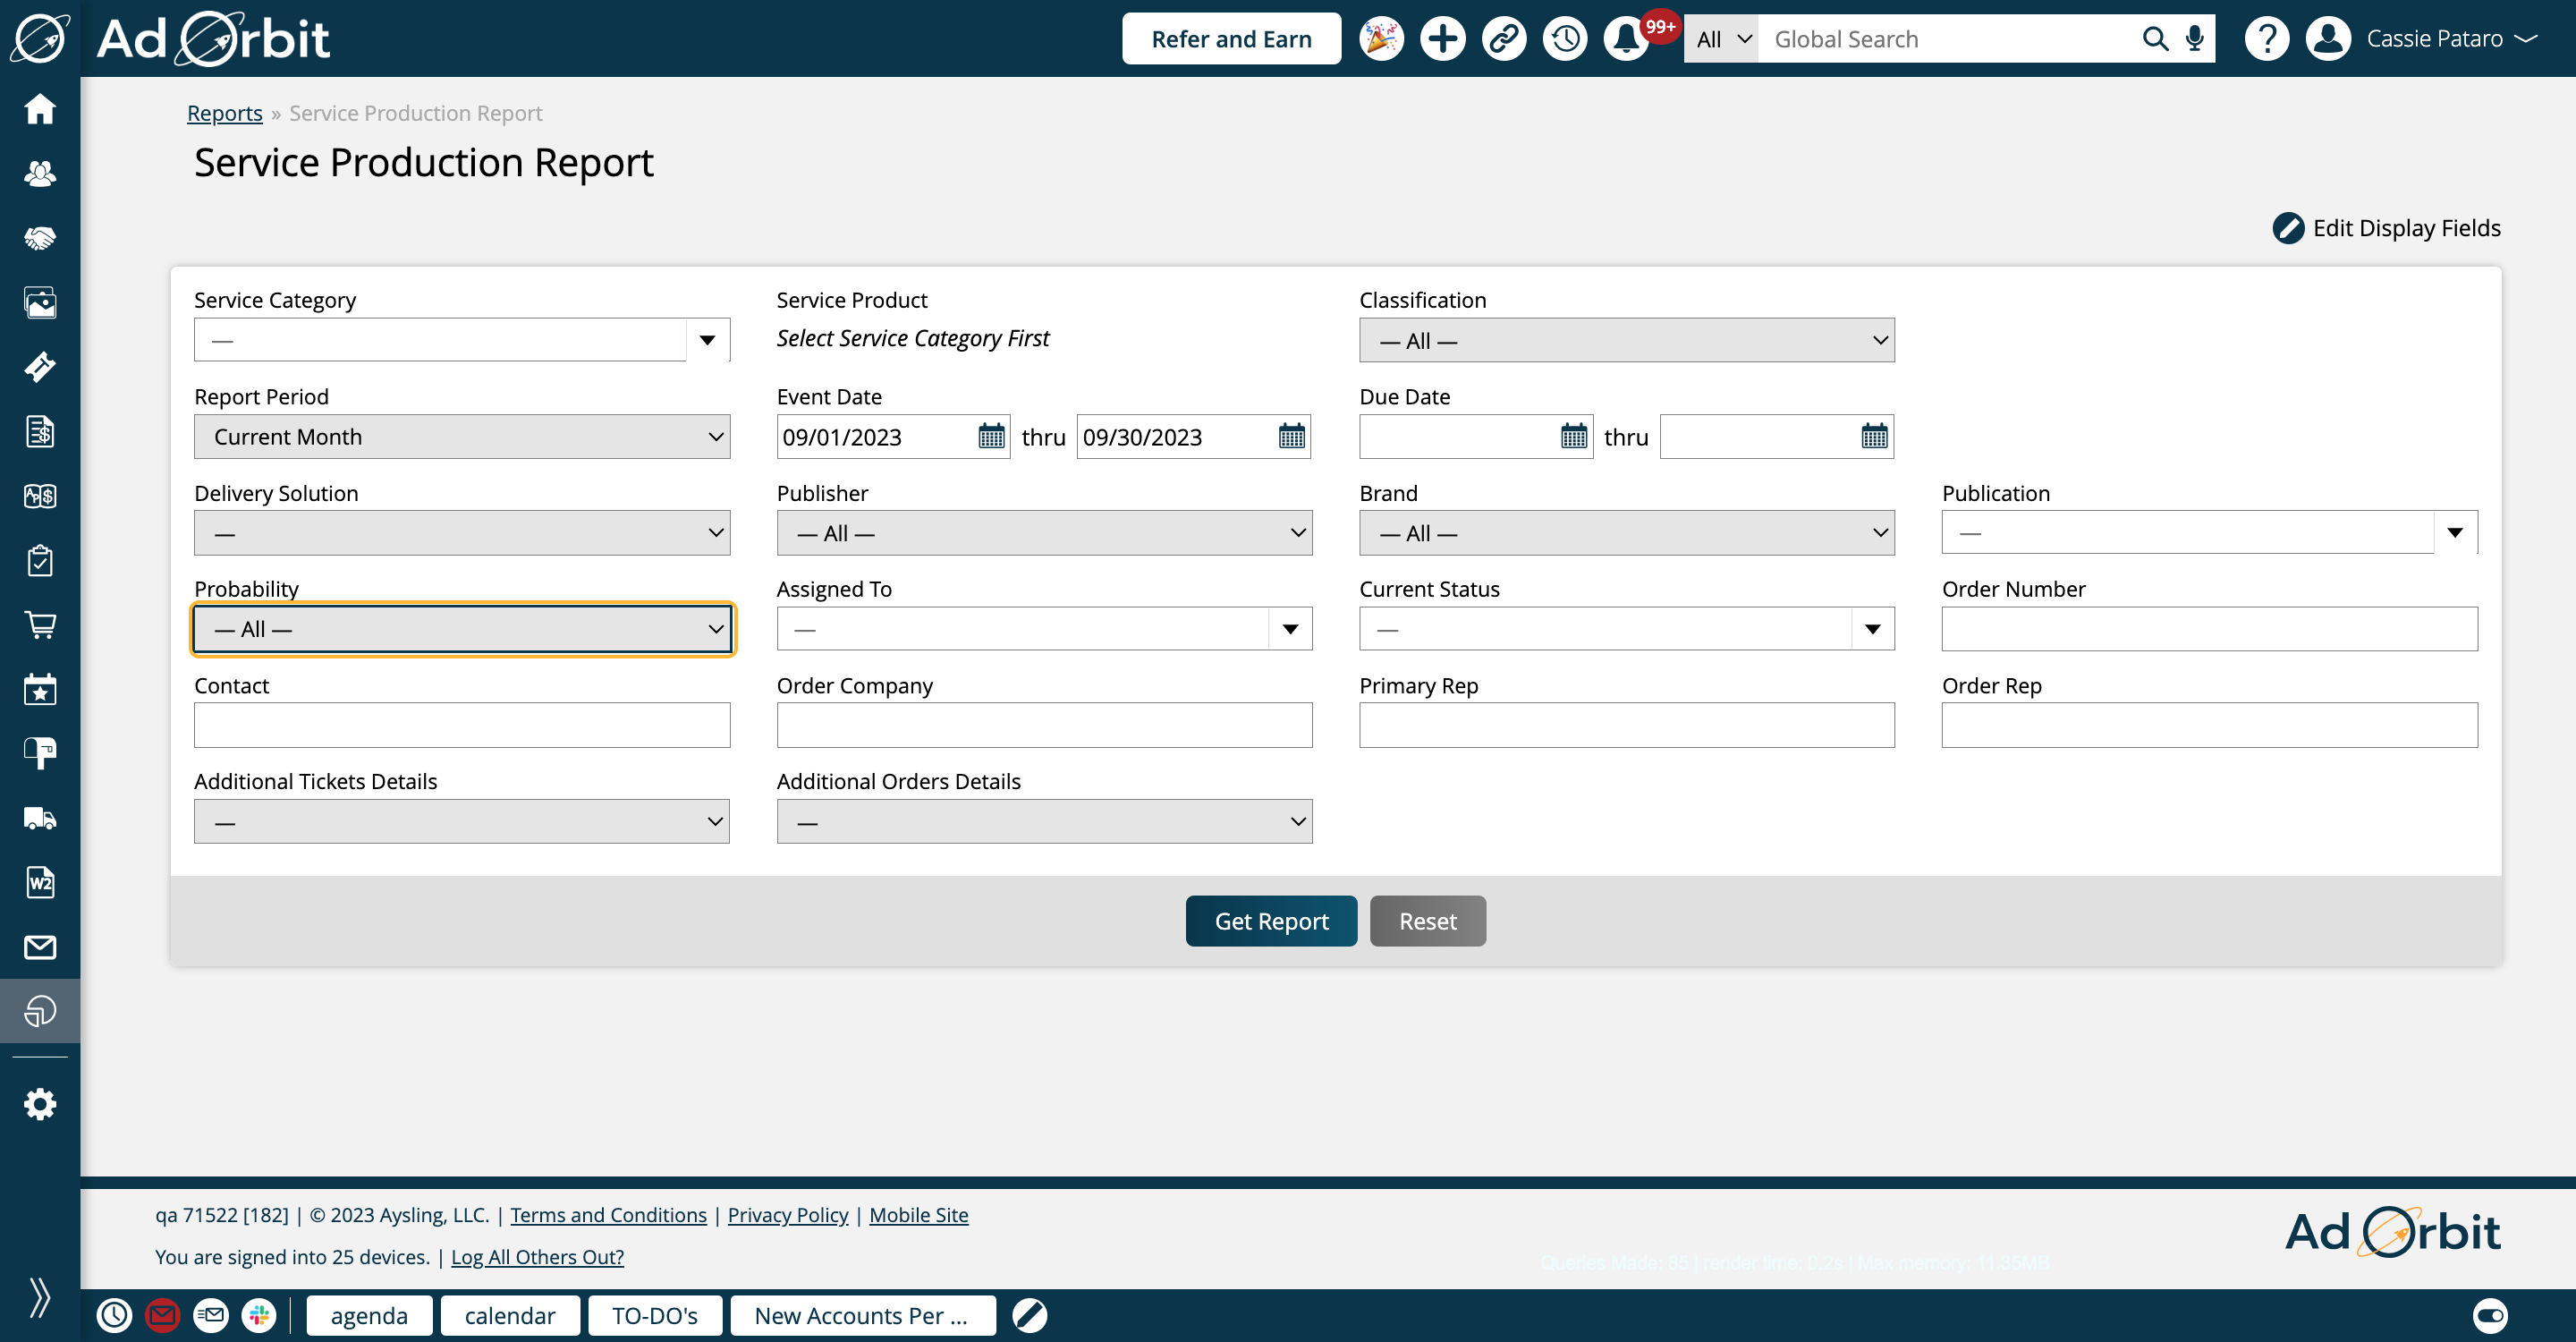
The Assigned To search field finds tickets based on which user is the ticket owner.
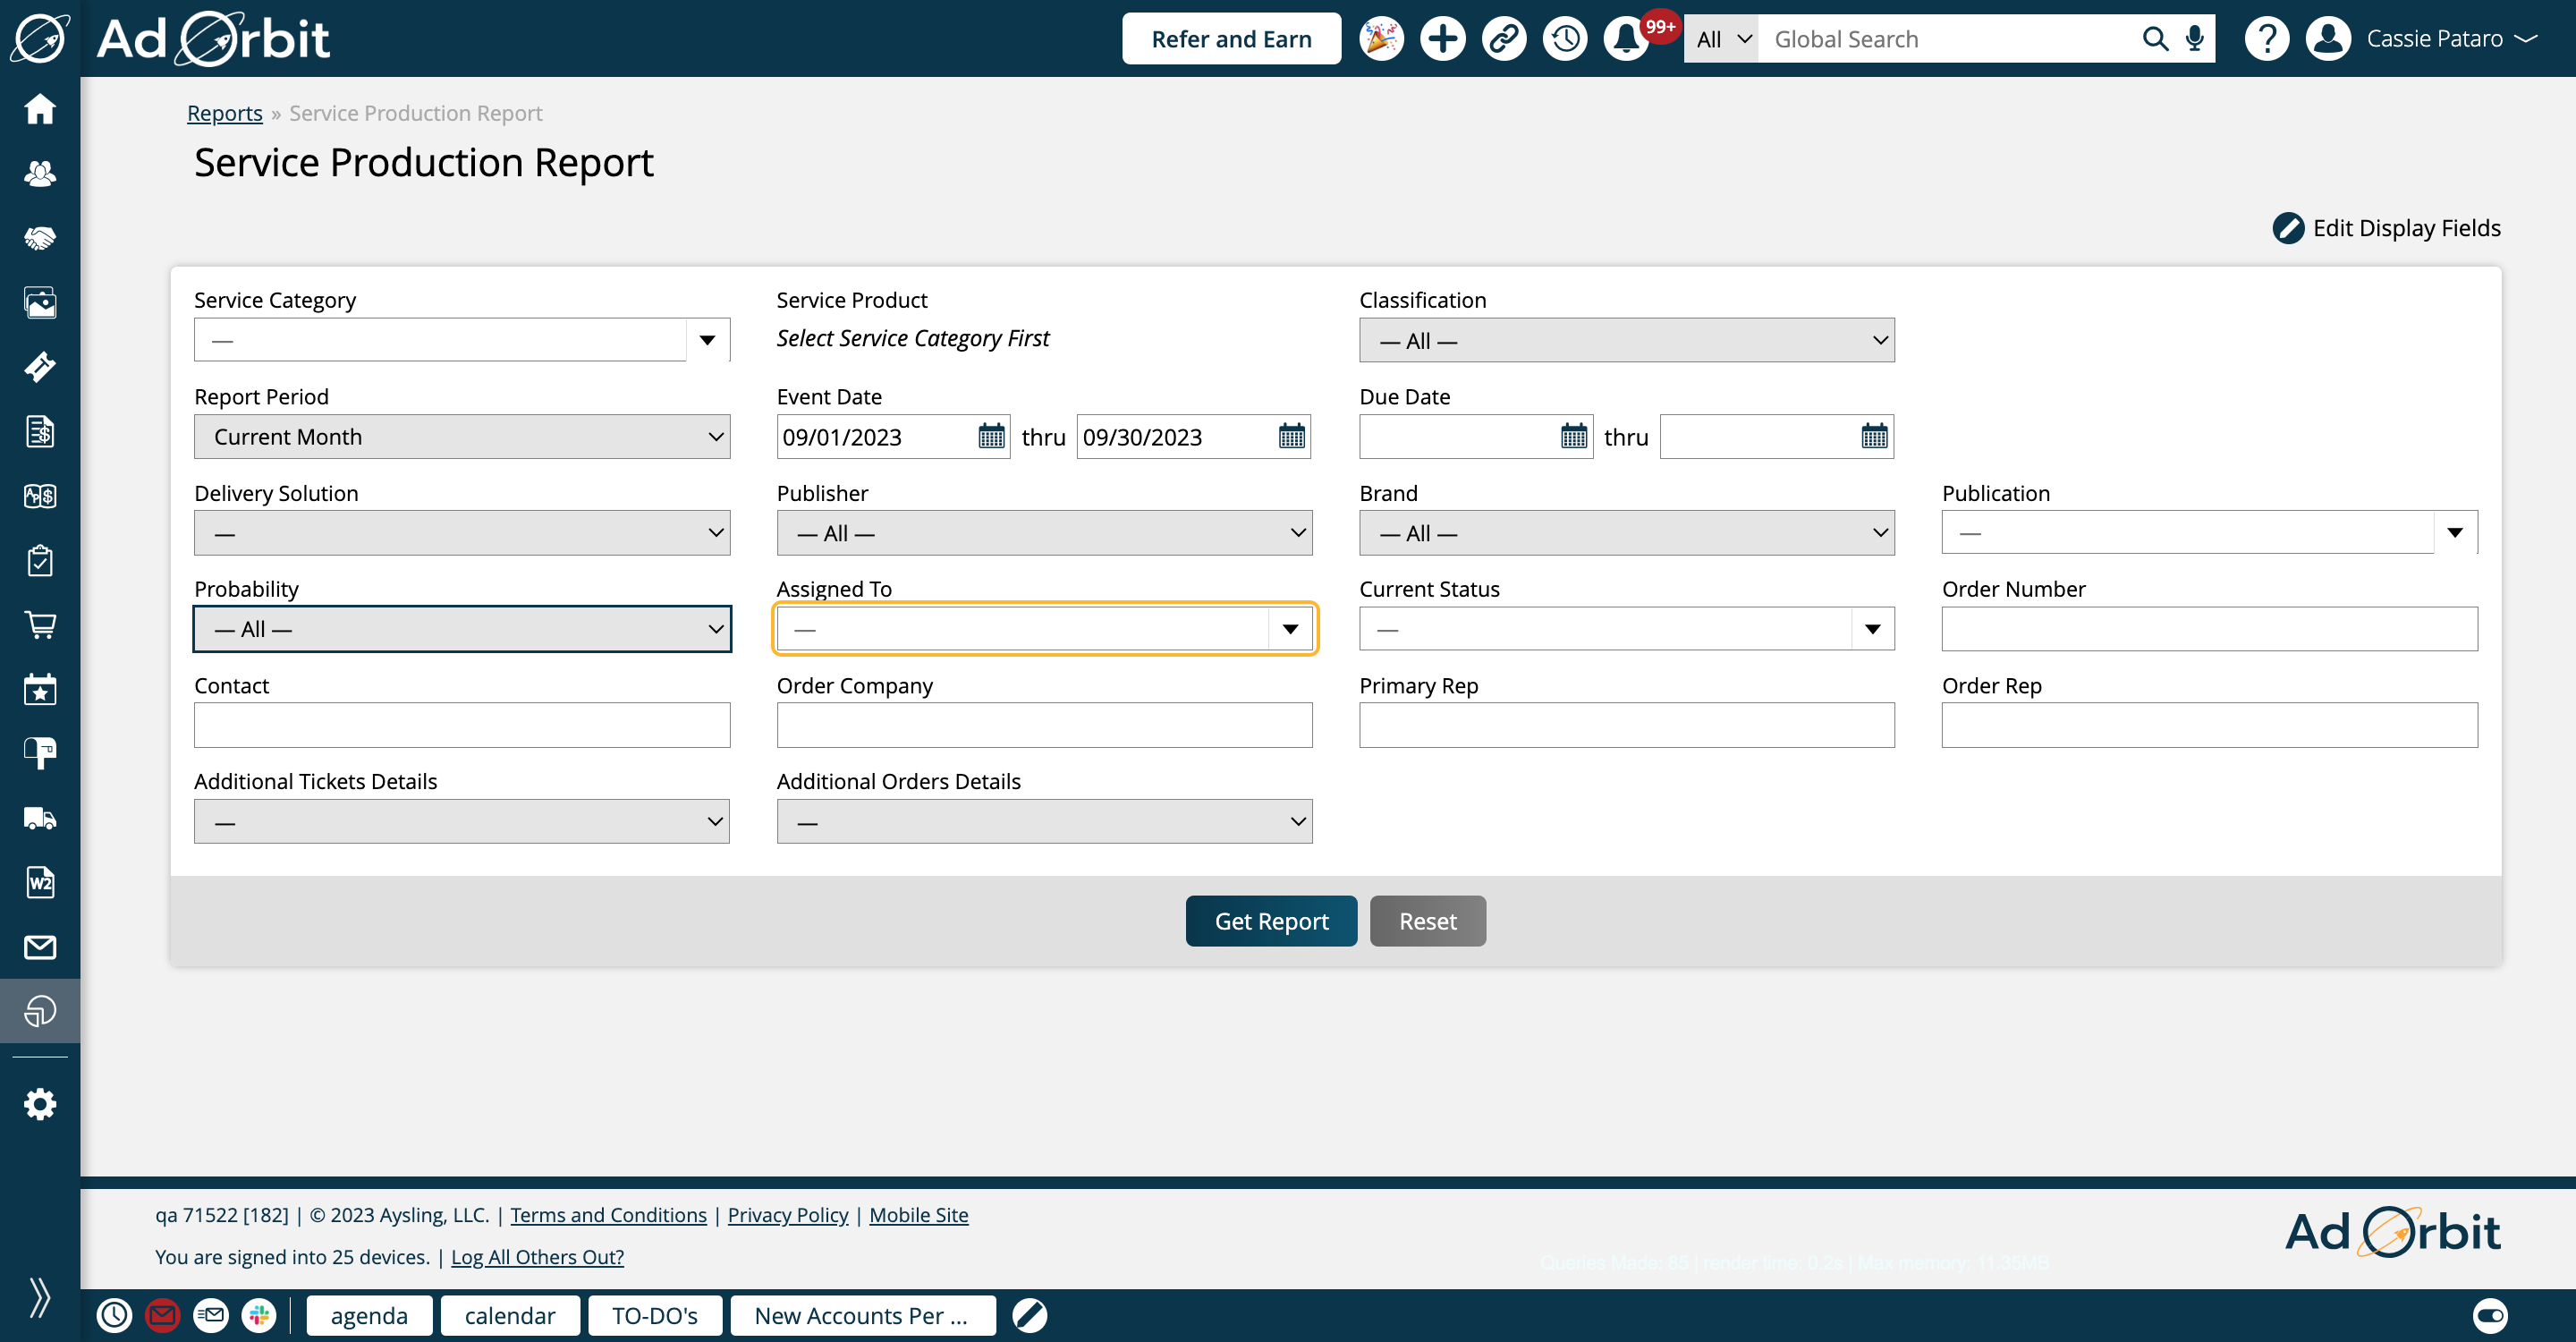
Current Status lets you filter by tickets that are set in a particular status. The options include system statuses such as 'Email Sent'.
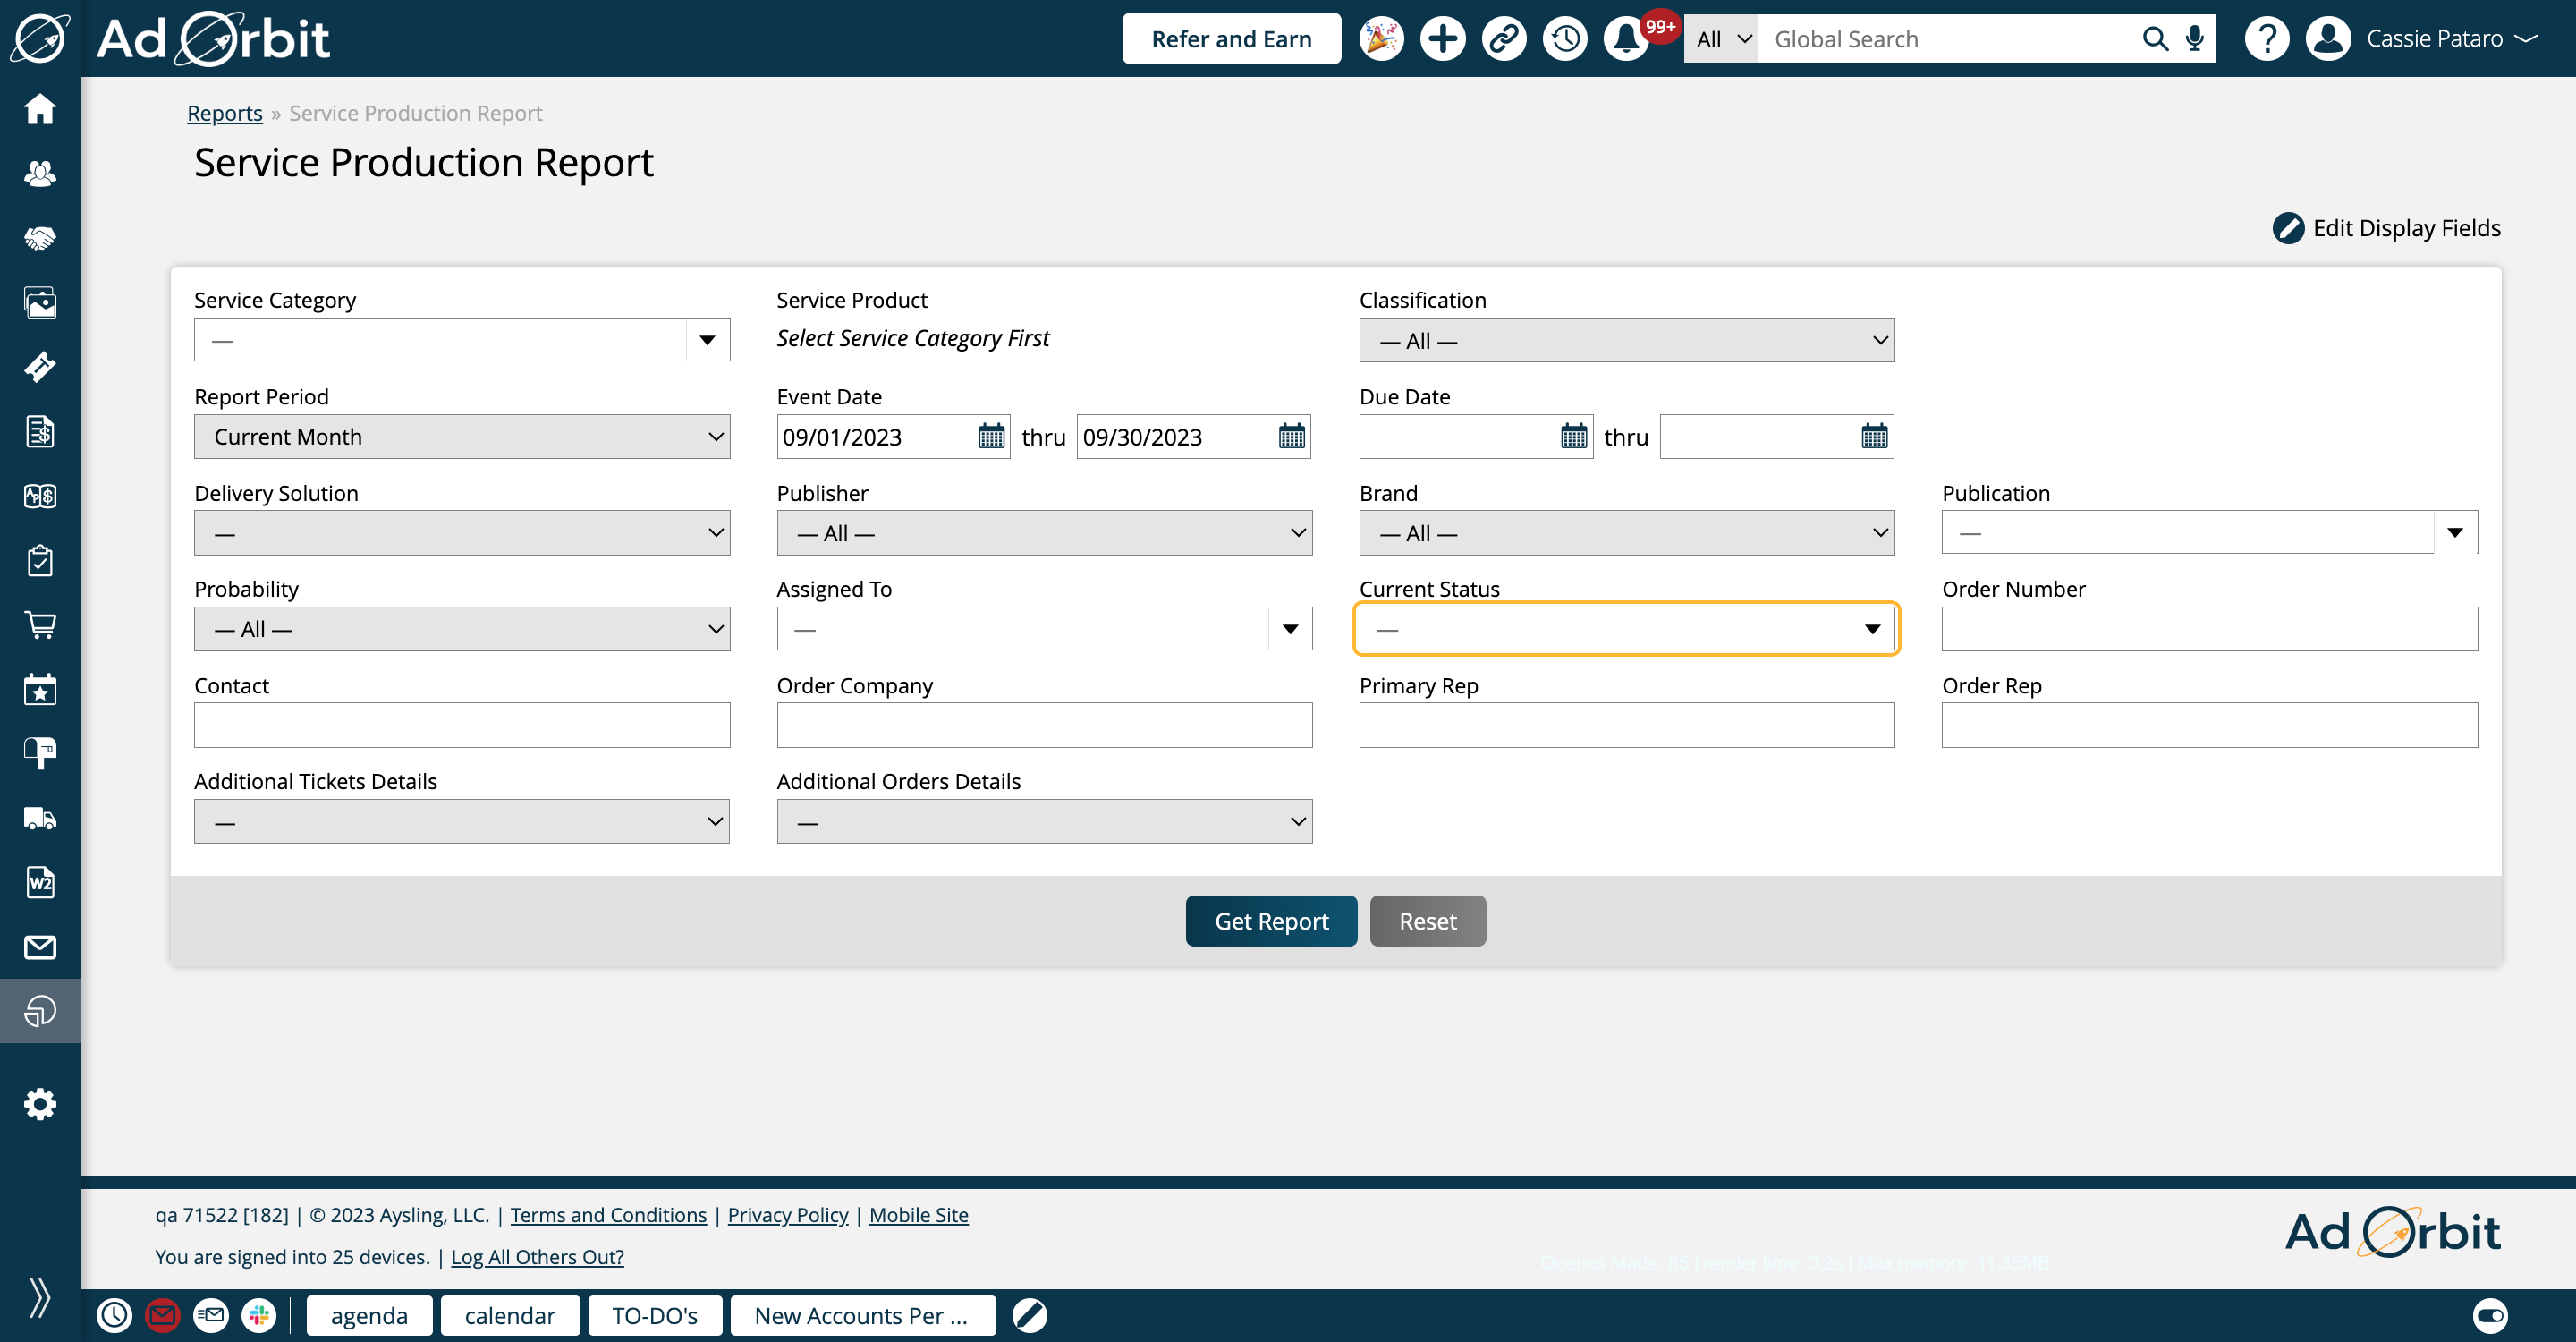
If you need to find tickets from a specific order, use the Order Number field.
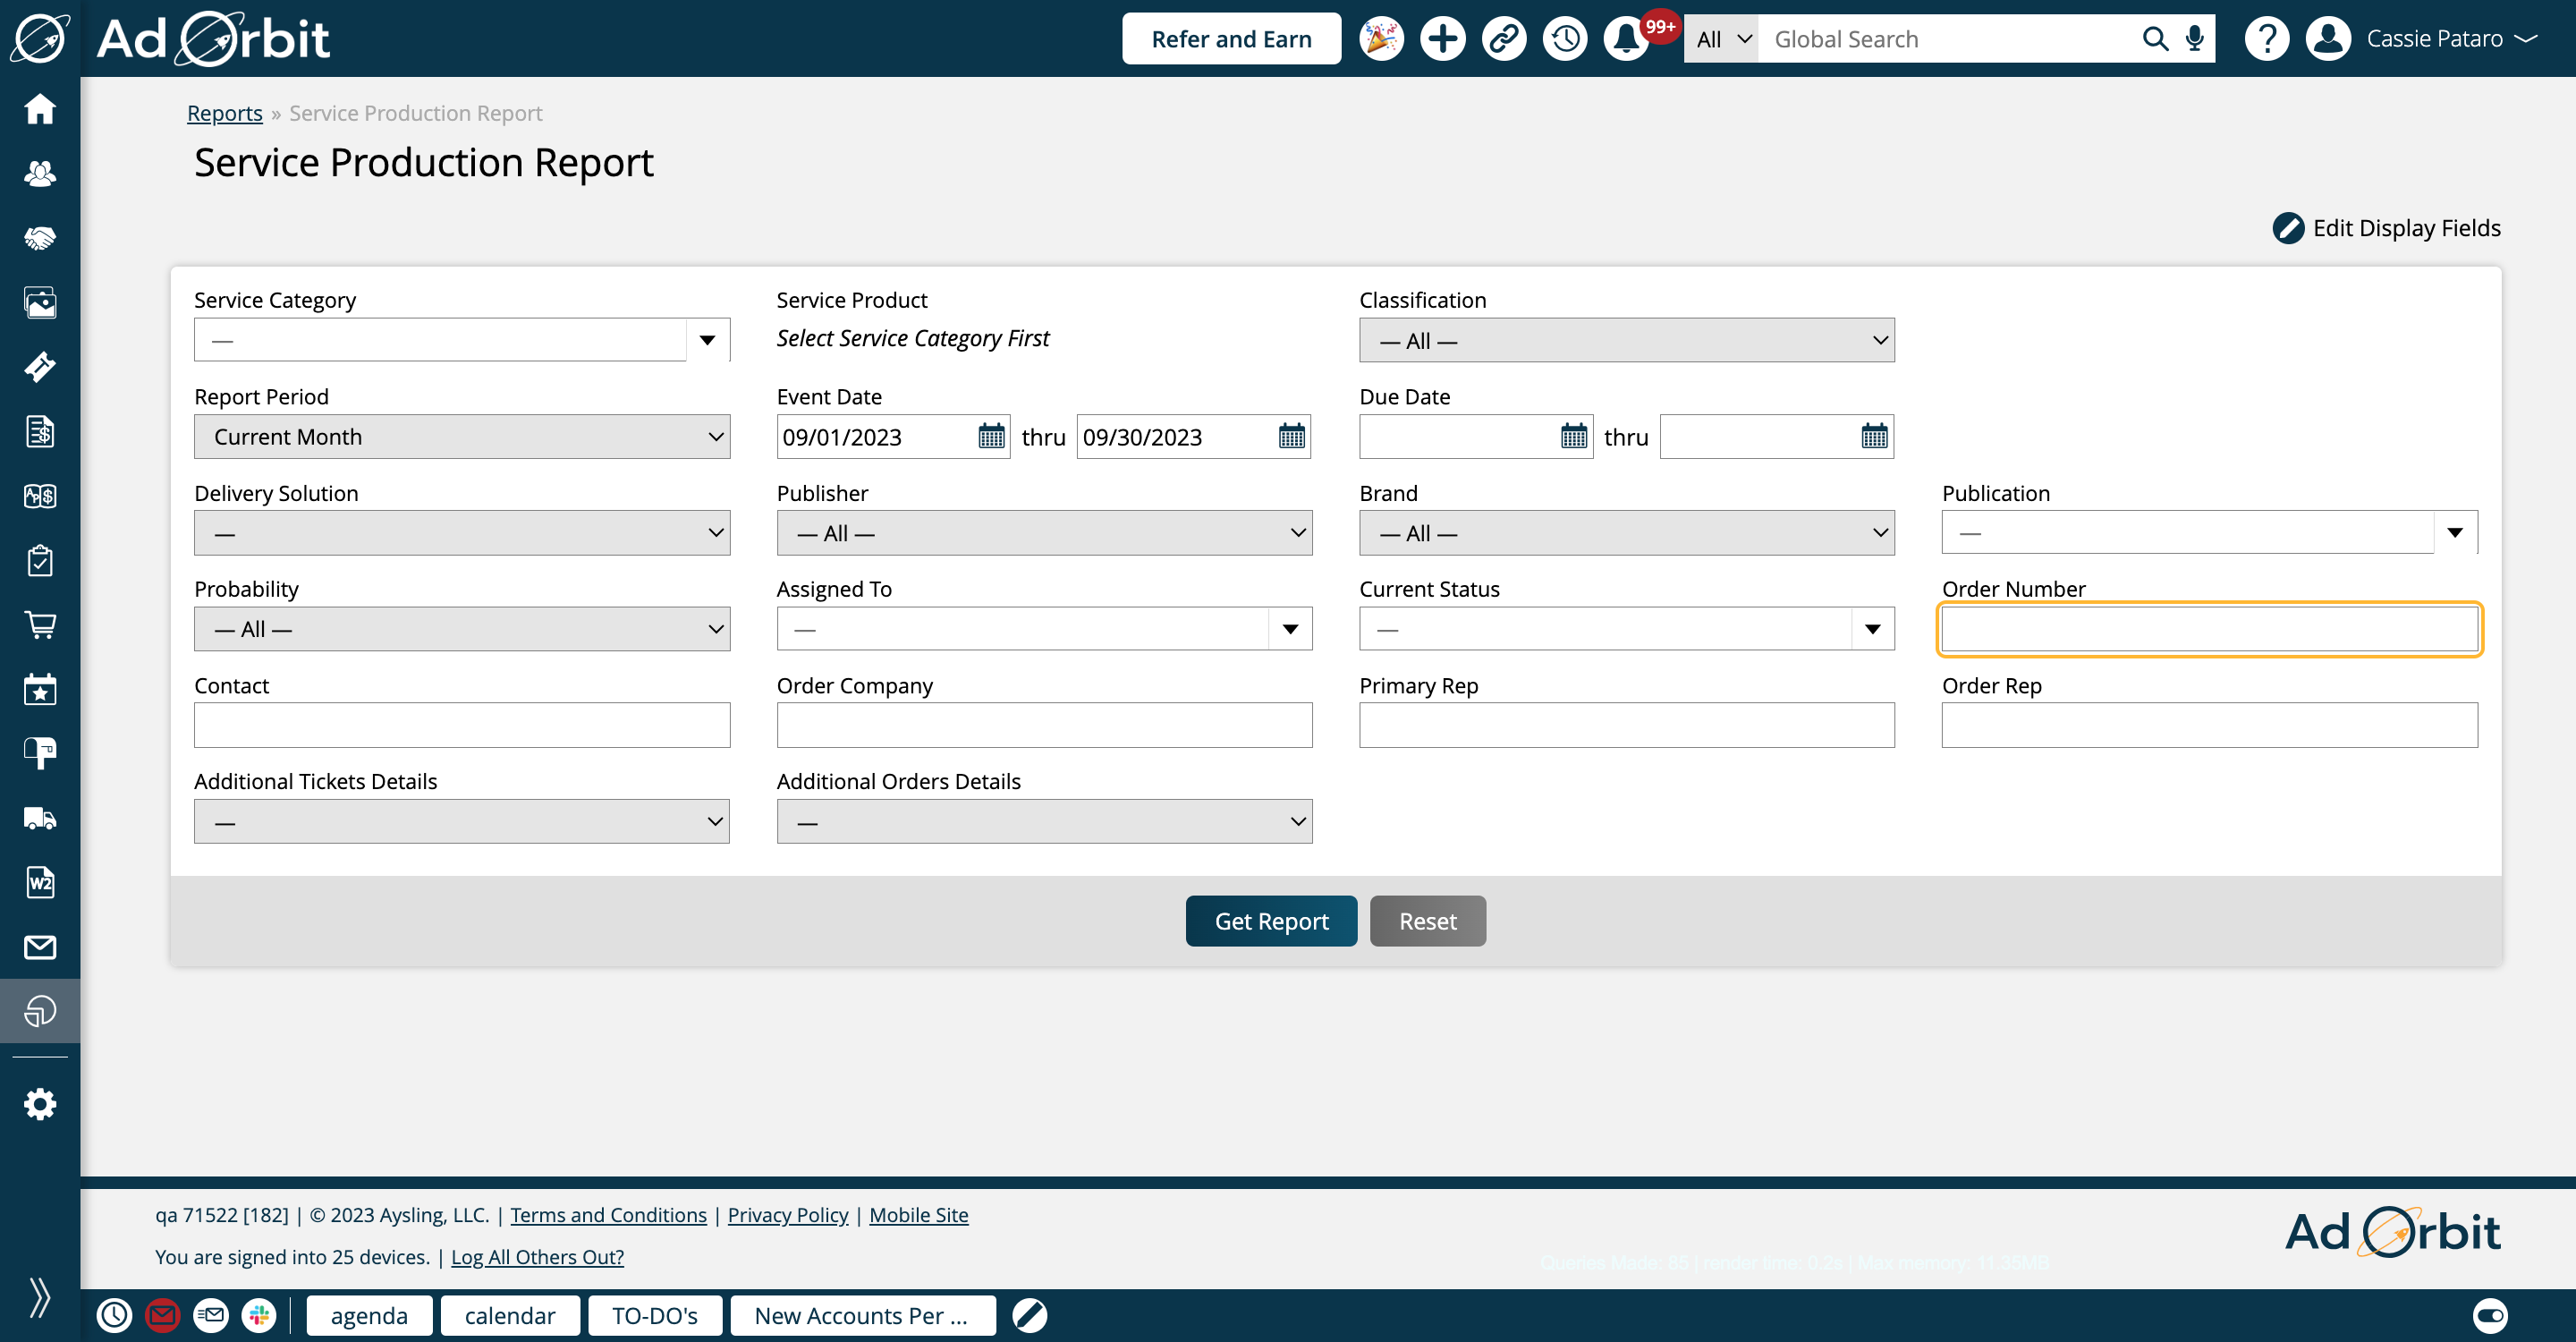
The Contact field allows you to enter one contact's name to find any tickets they were the order contact for. Begin typing to see suggested names.
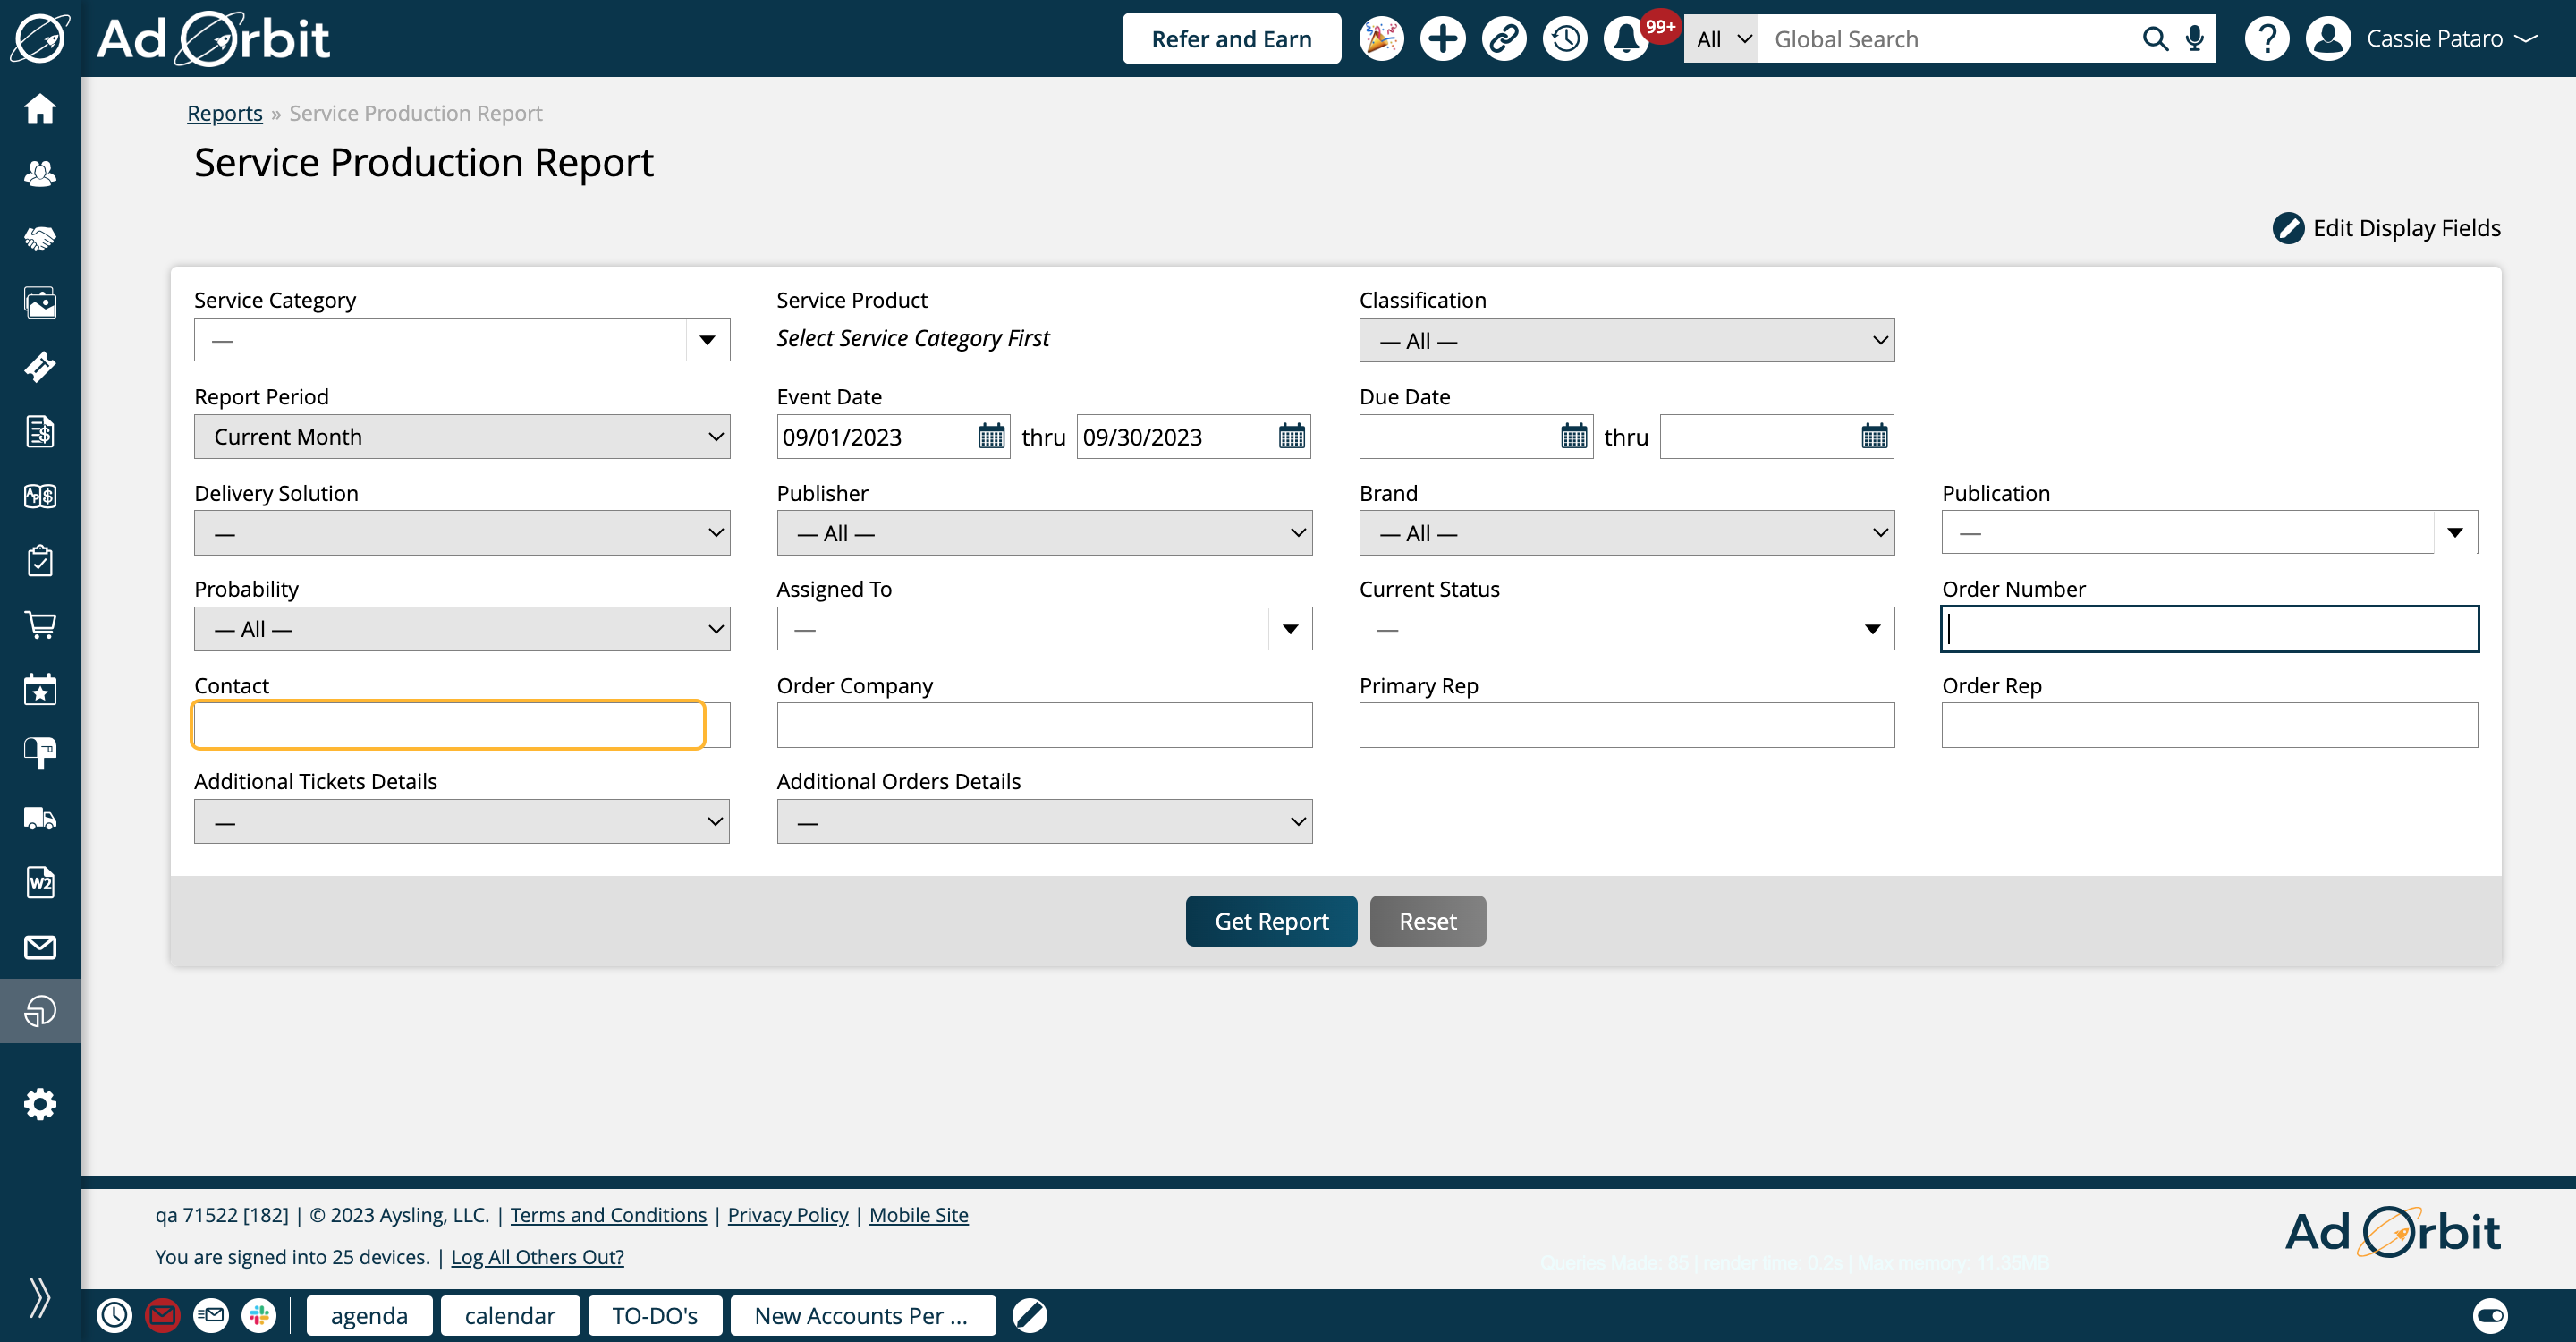
This field searches for the Order Contact, not the Ticket Contact (although these are typically the same contacts).
You can also find all tickets based on company, by typing the Order Company here. You'll see suggested companies once you begin typing.
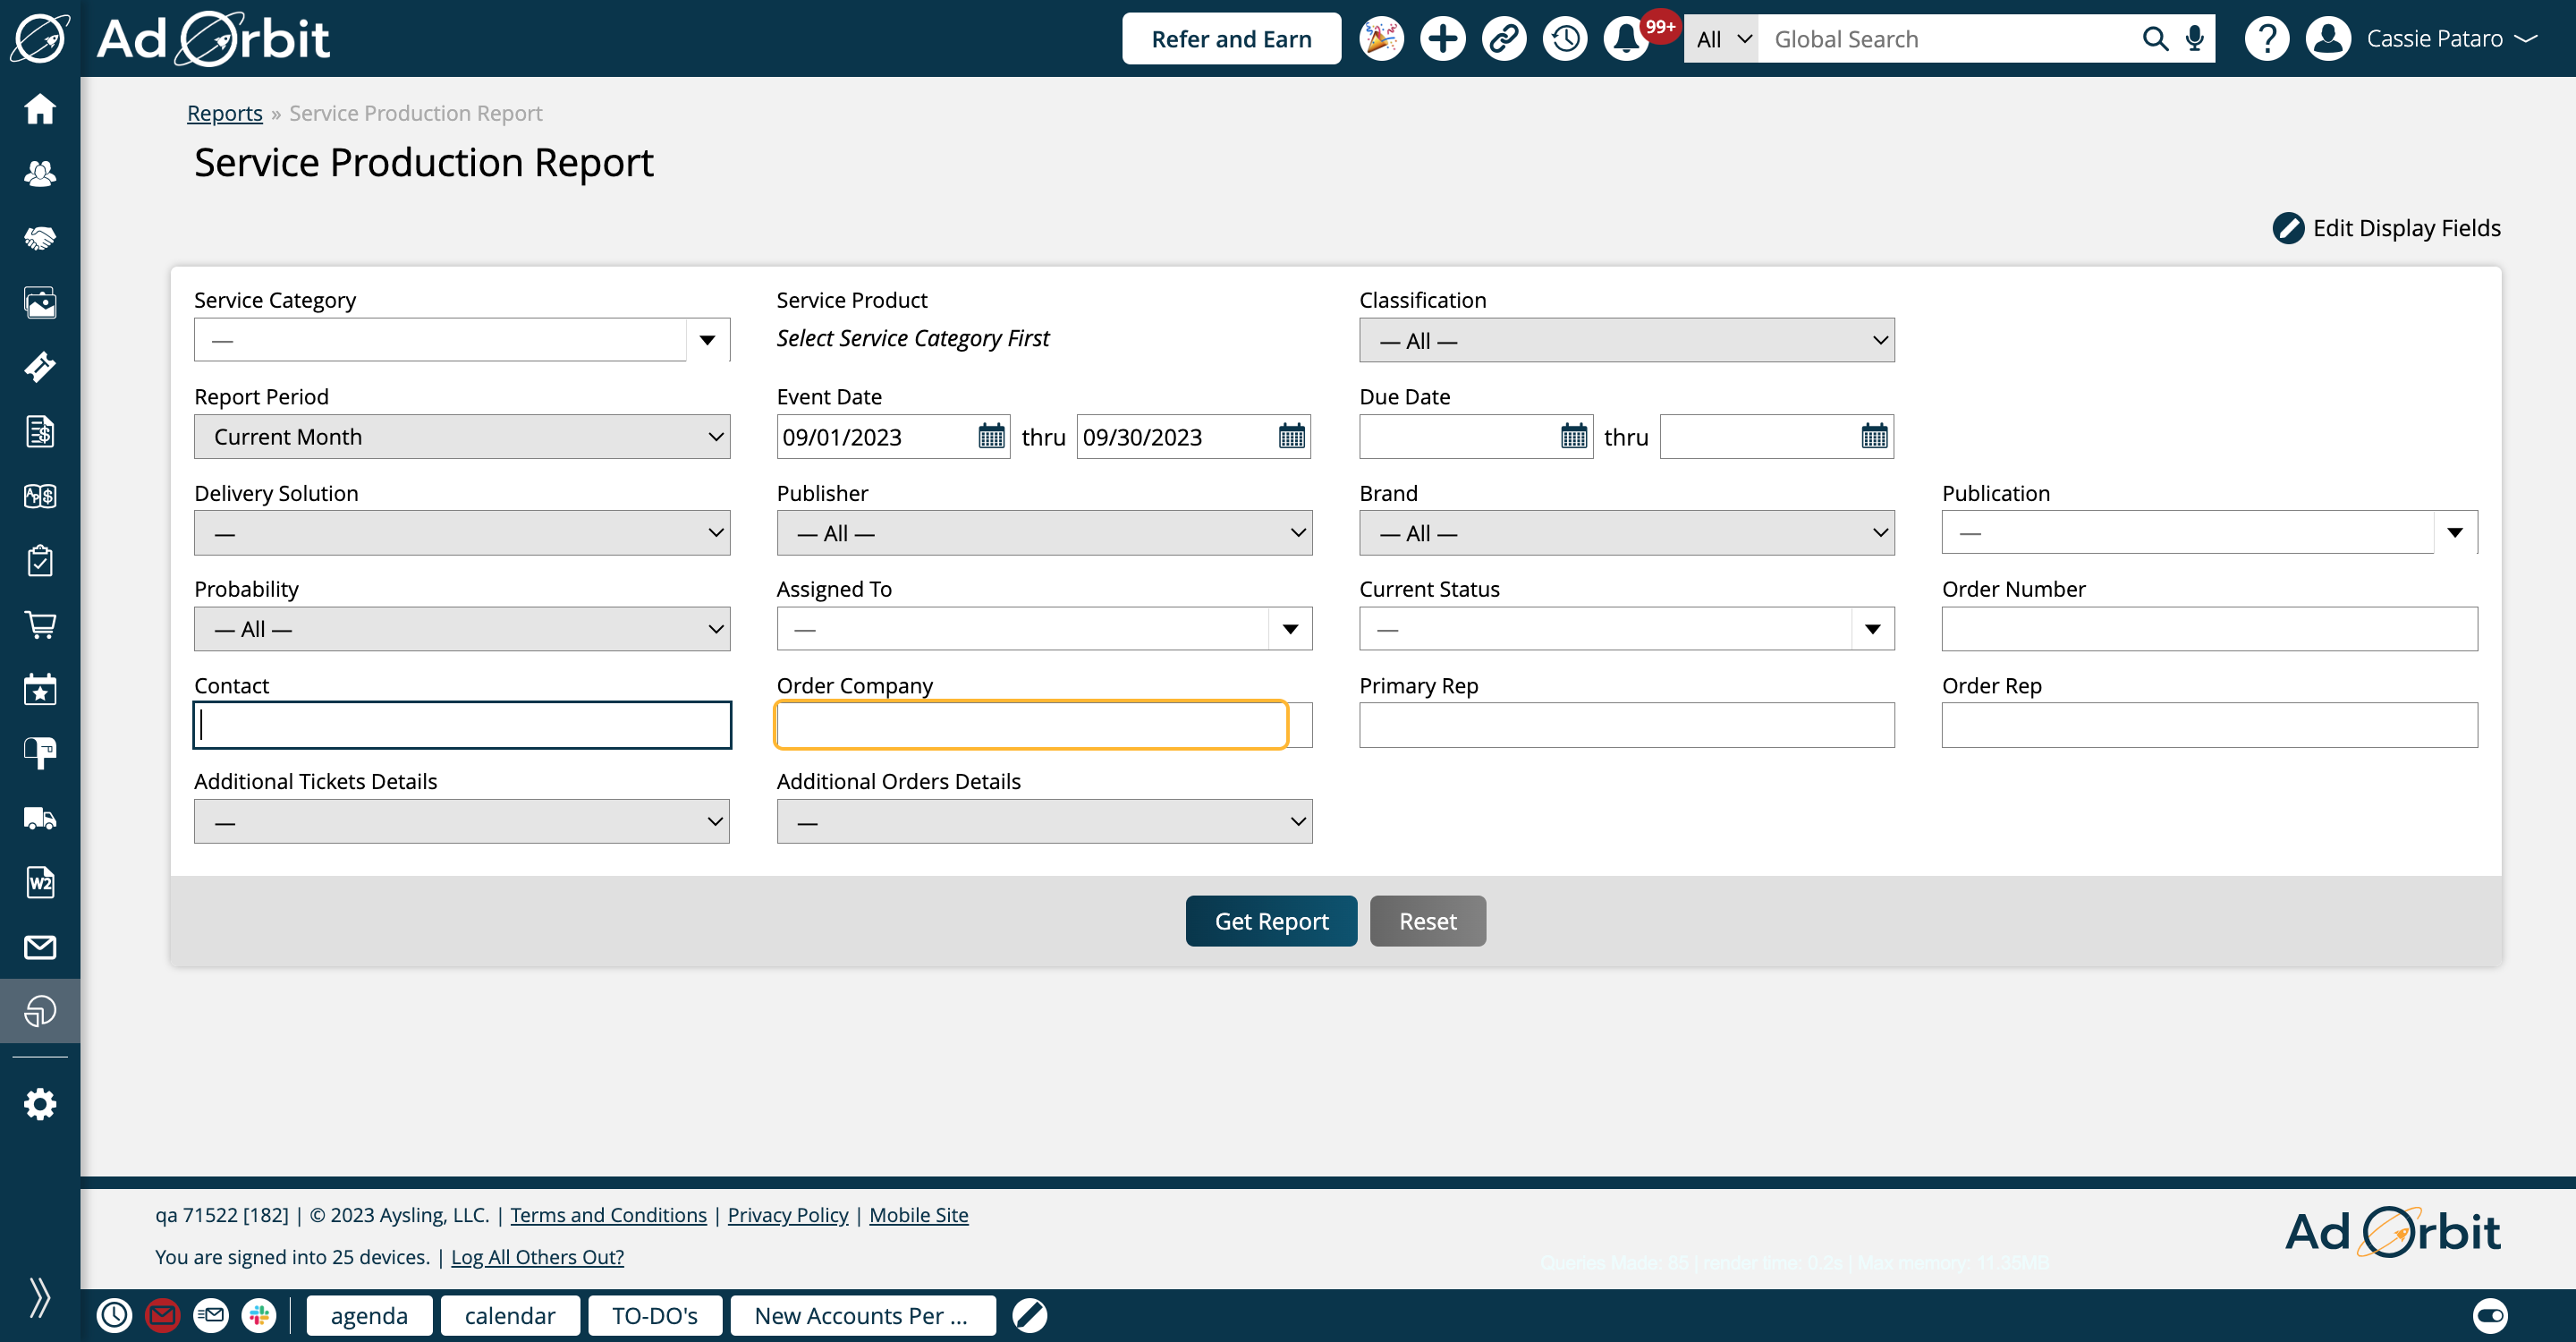
There are two rep search fields on this report. The first is Primary Rep. Begin typing to enter a rep's name here.
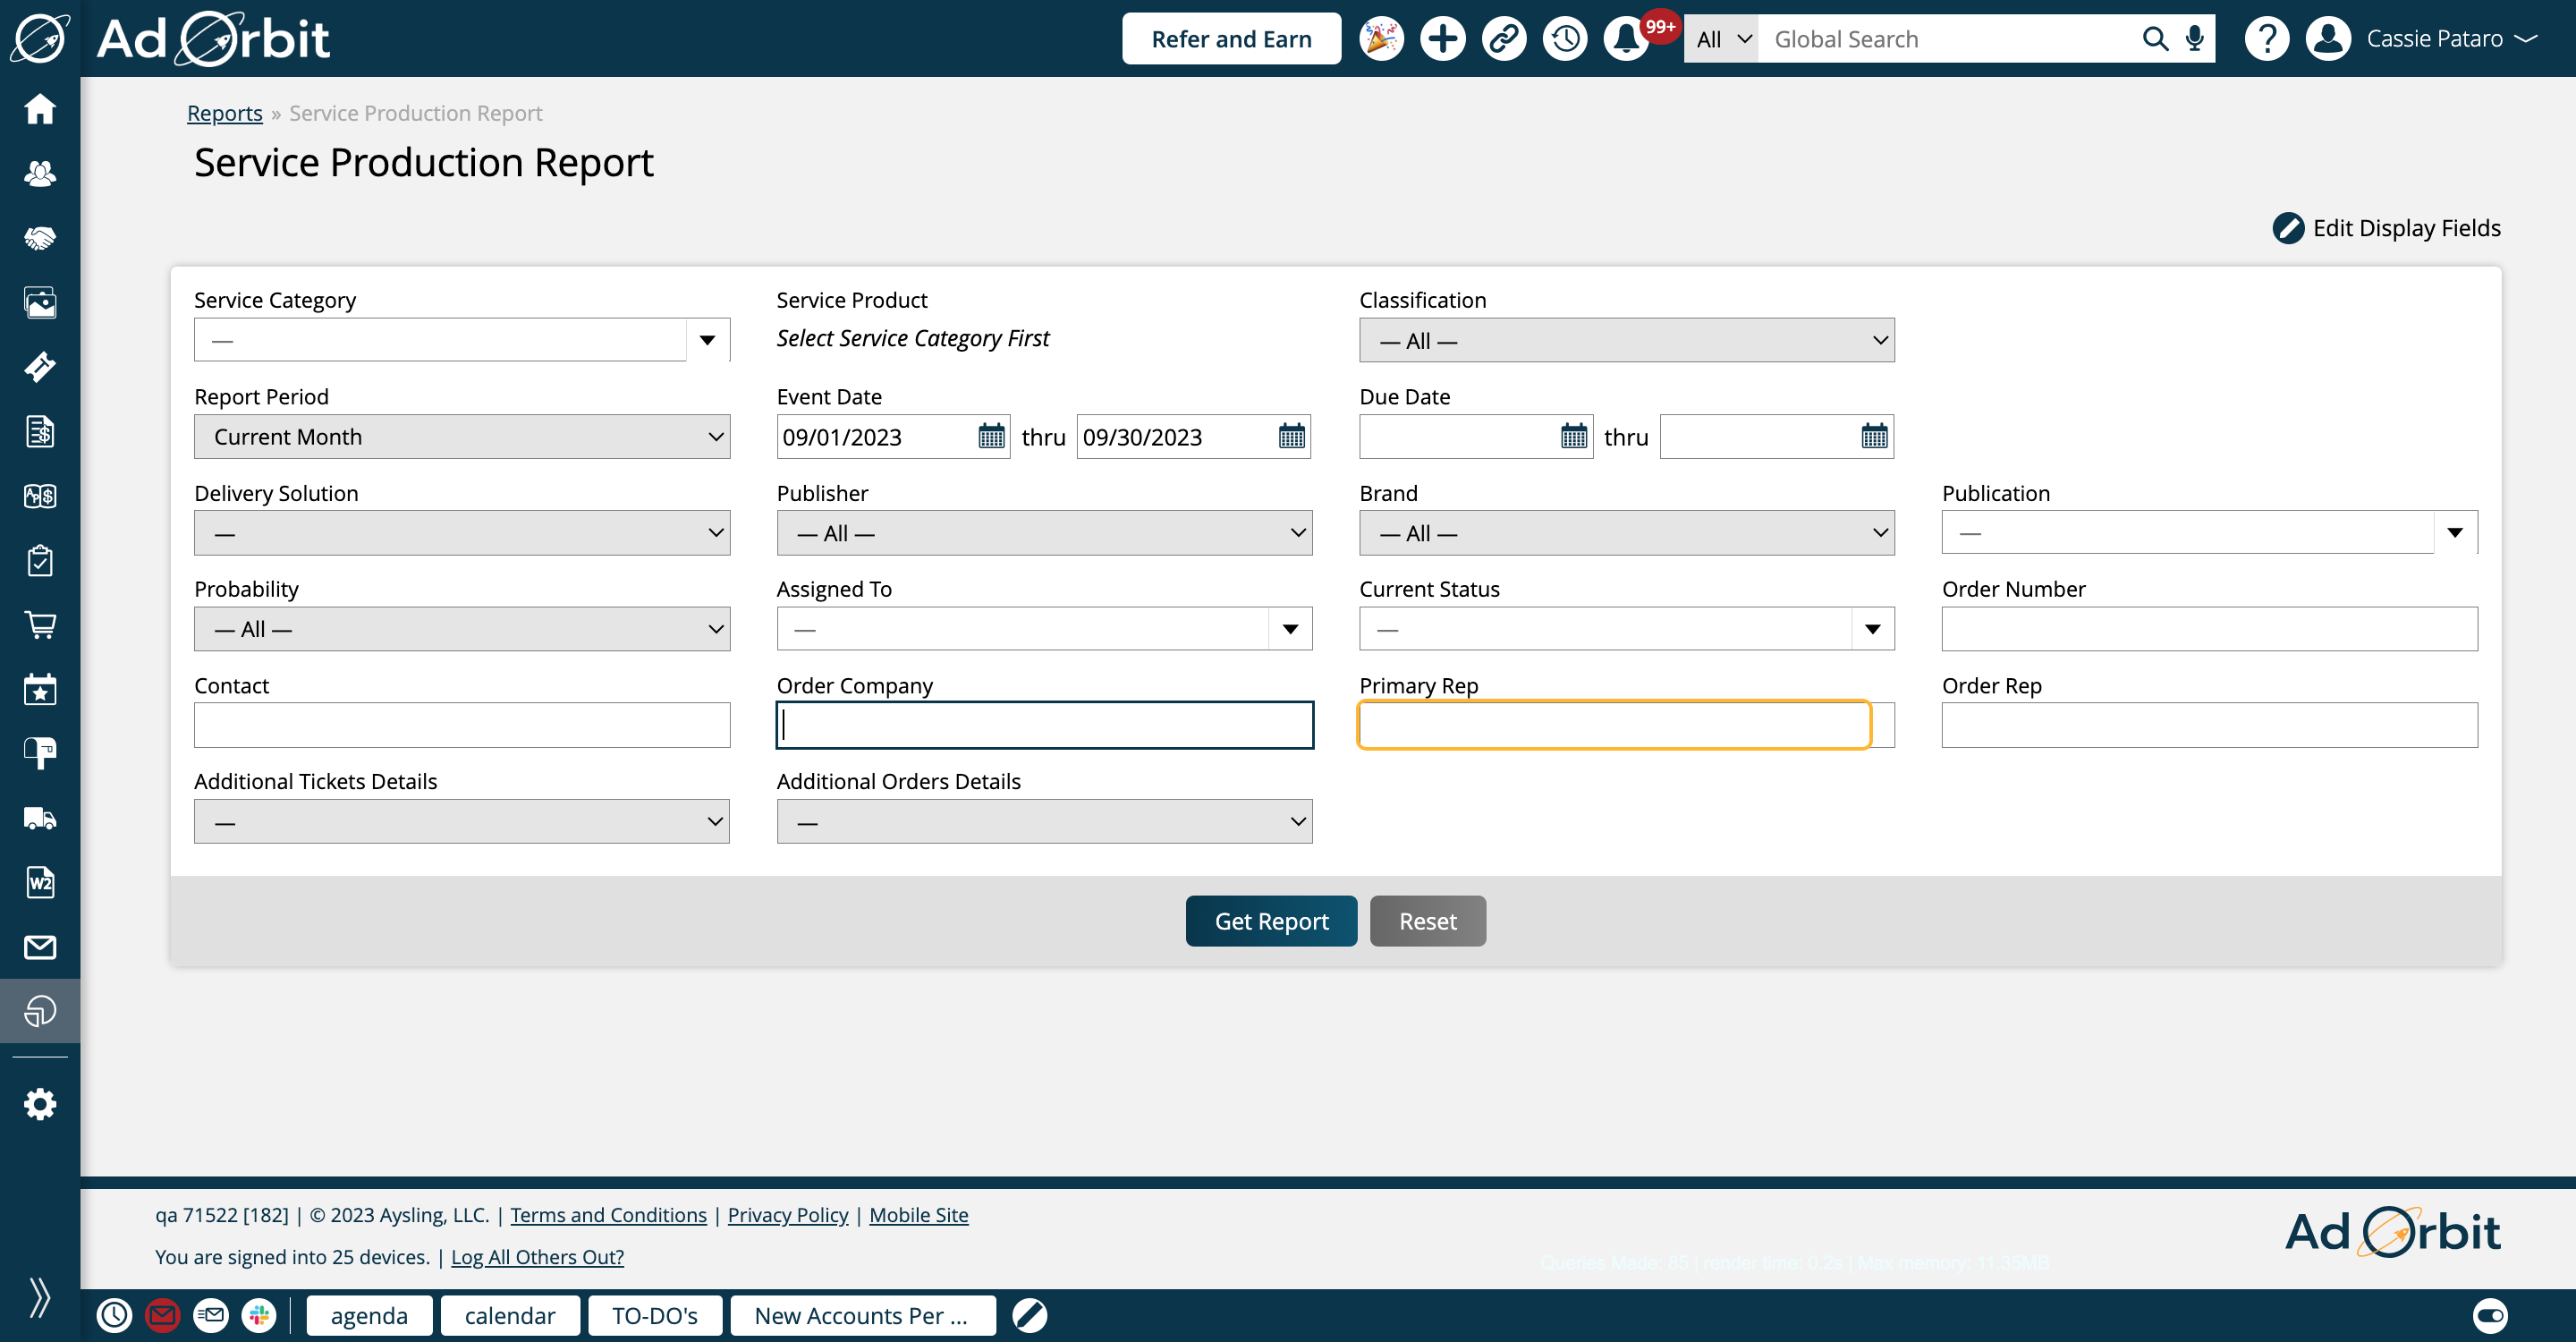
Or you can search by Order Rep. Again, begin typing to choose a rep's name. This will find tickets based on who the rep is on the order, not the company as a whole.
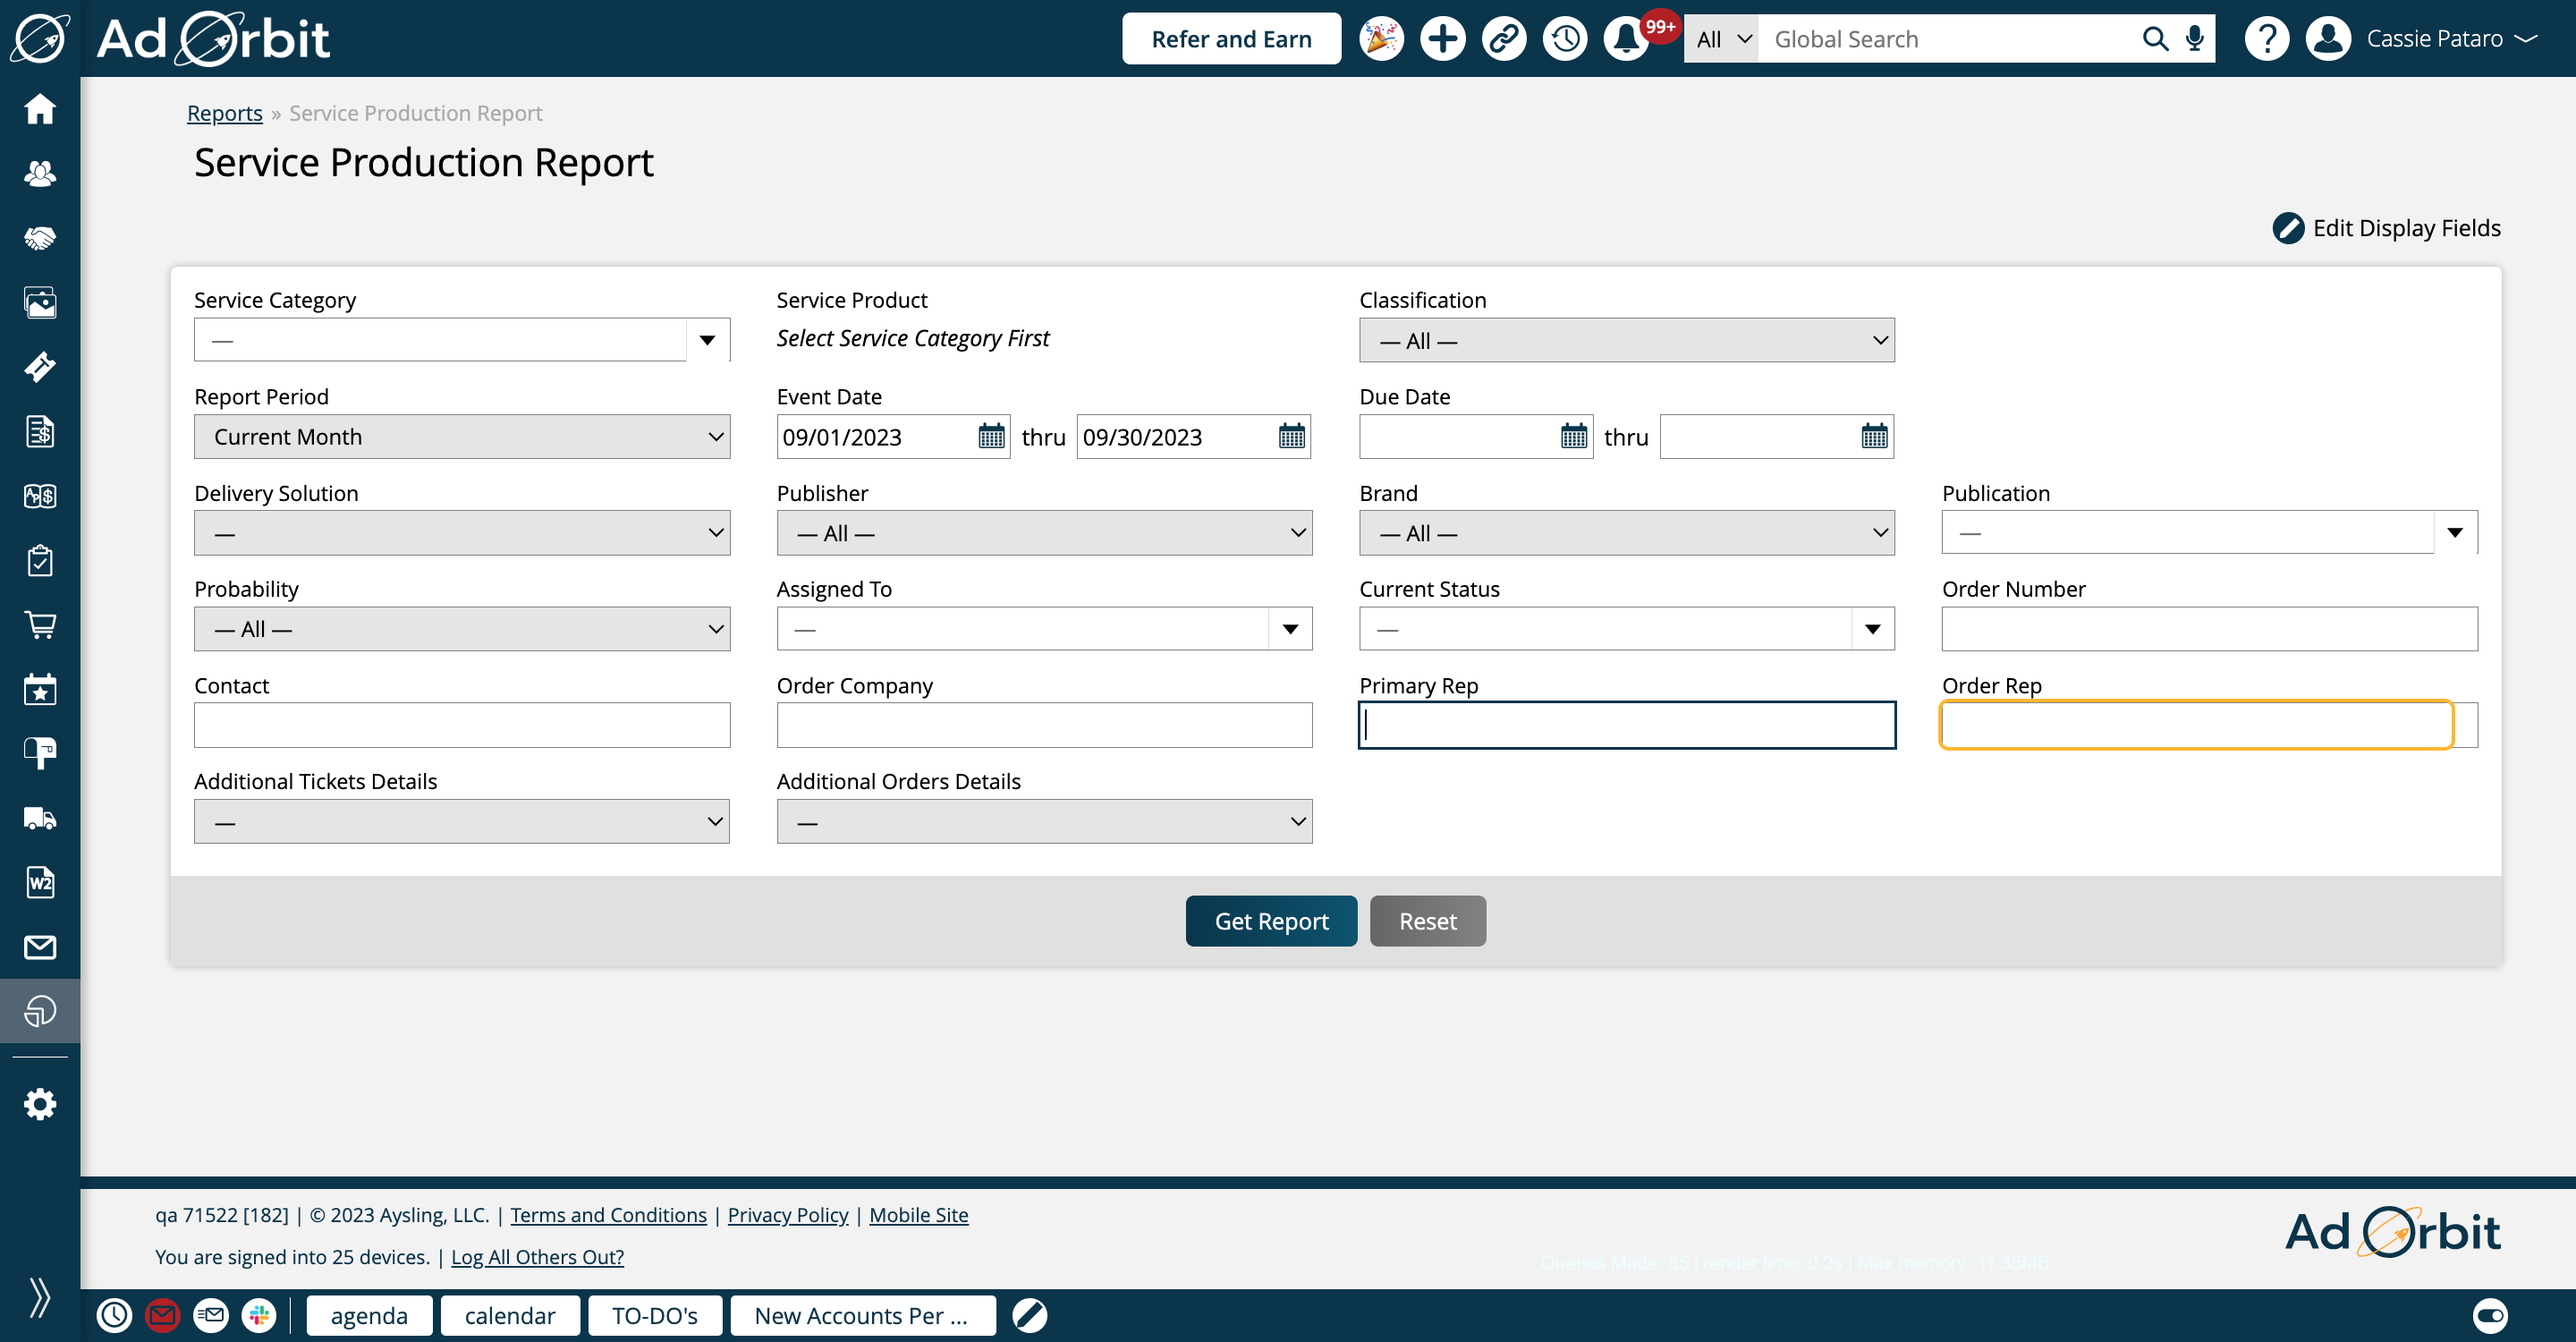
If you use dynamic attributes, you can also search by those under the Additional Ticket Details, and Additional Order Details dropdowns.
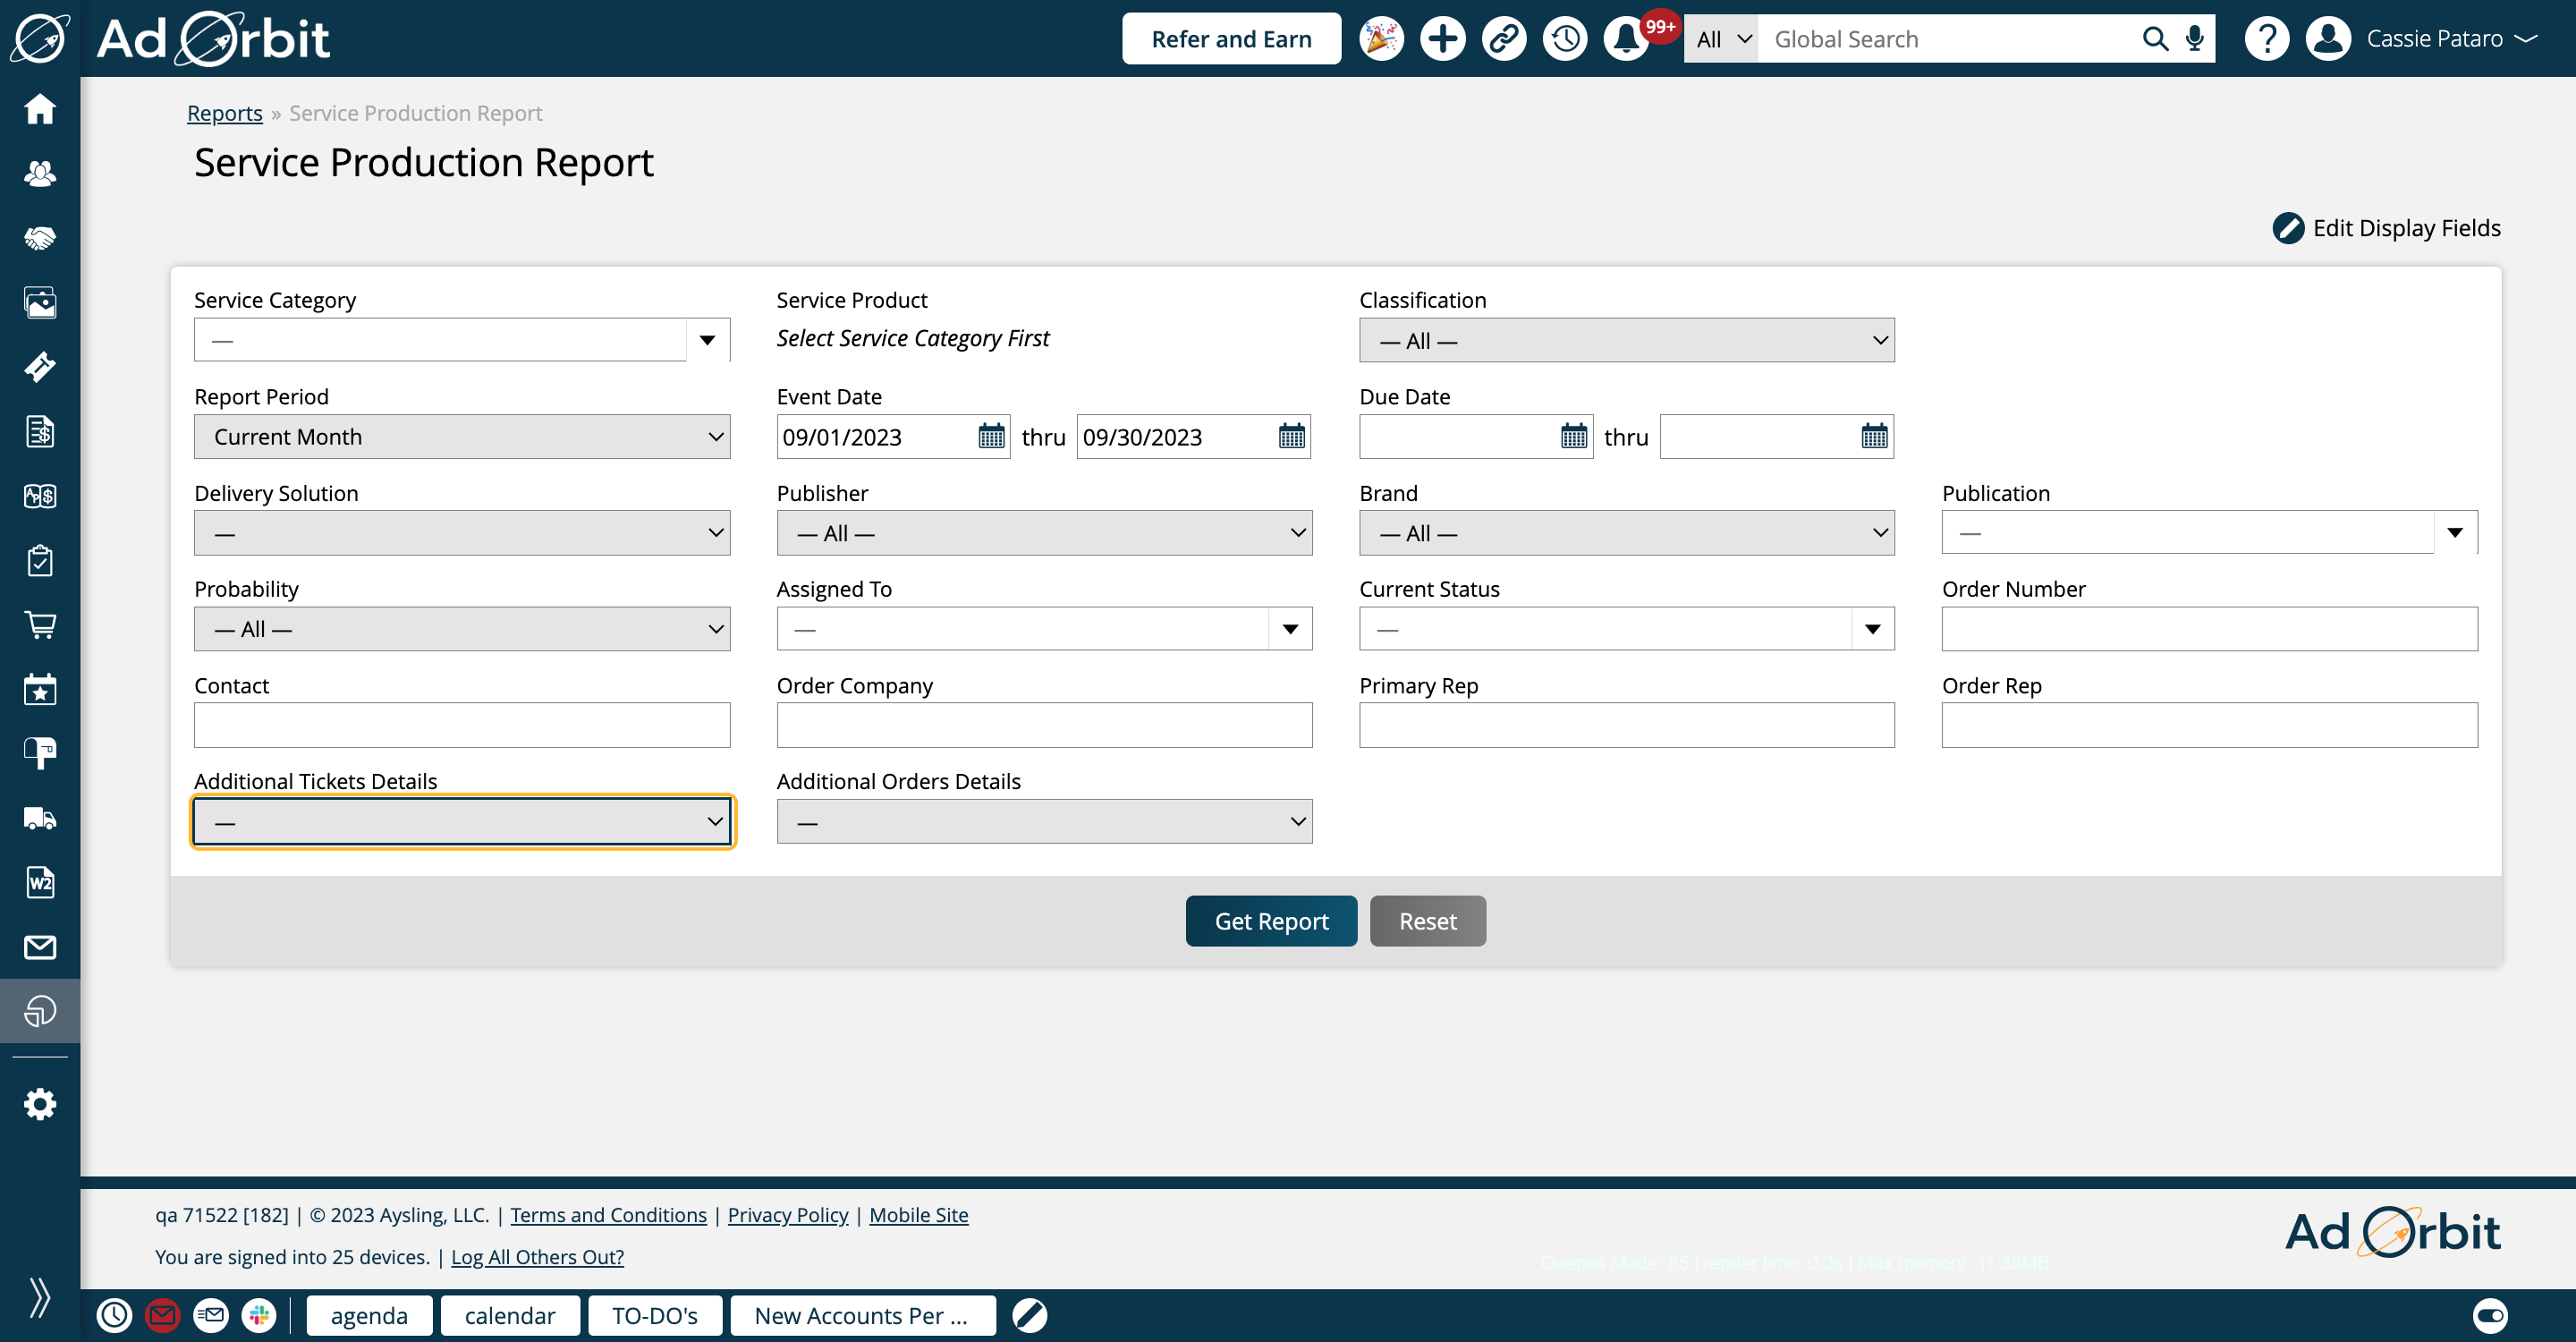
Once you've entered all of your search criteria, click on Get Report to view the results.
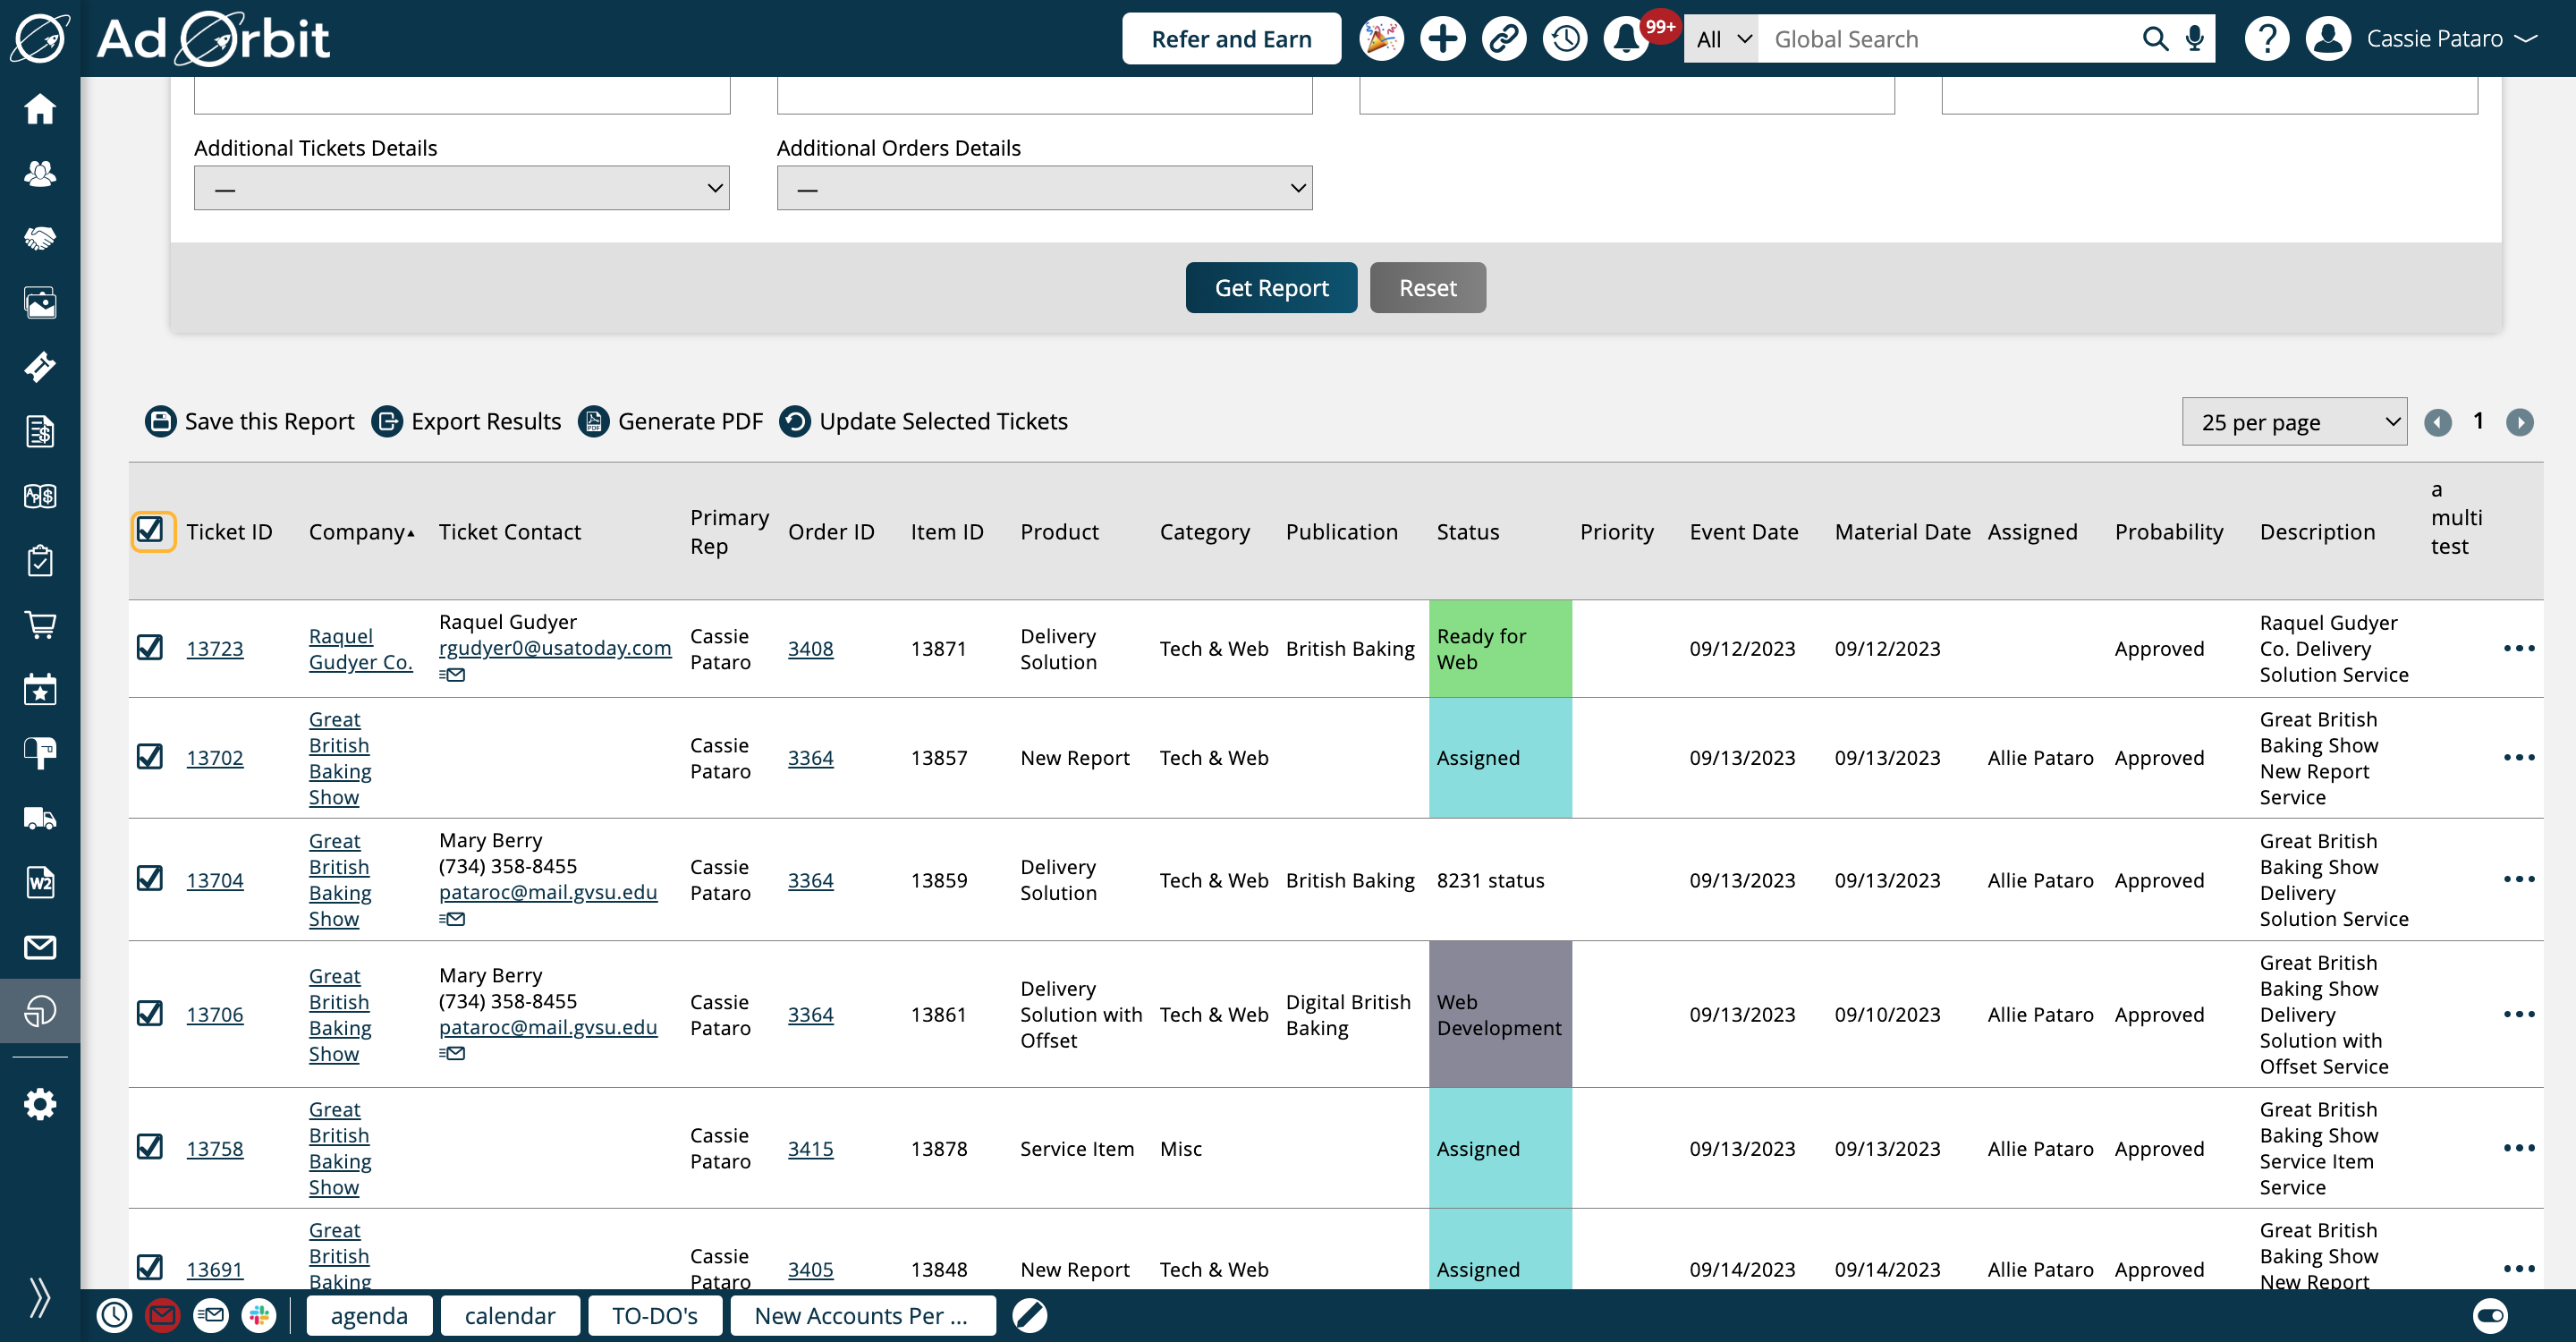
The results are shown in table format, and can be interacted with. Use the checkboxes on the left hand side to select tickets to bulk update.
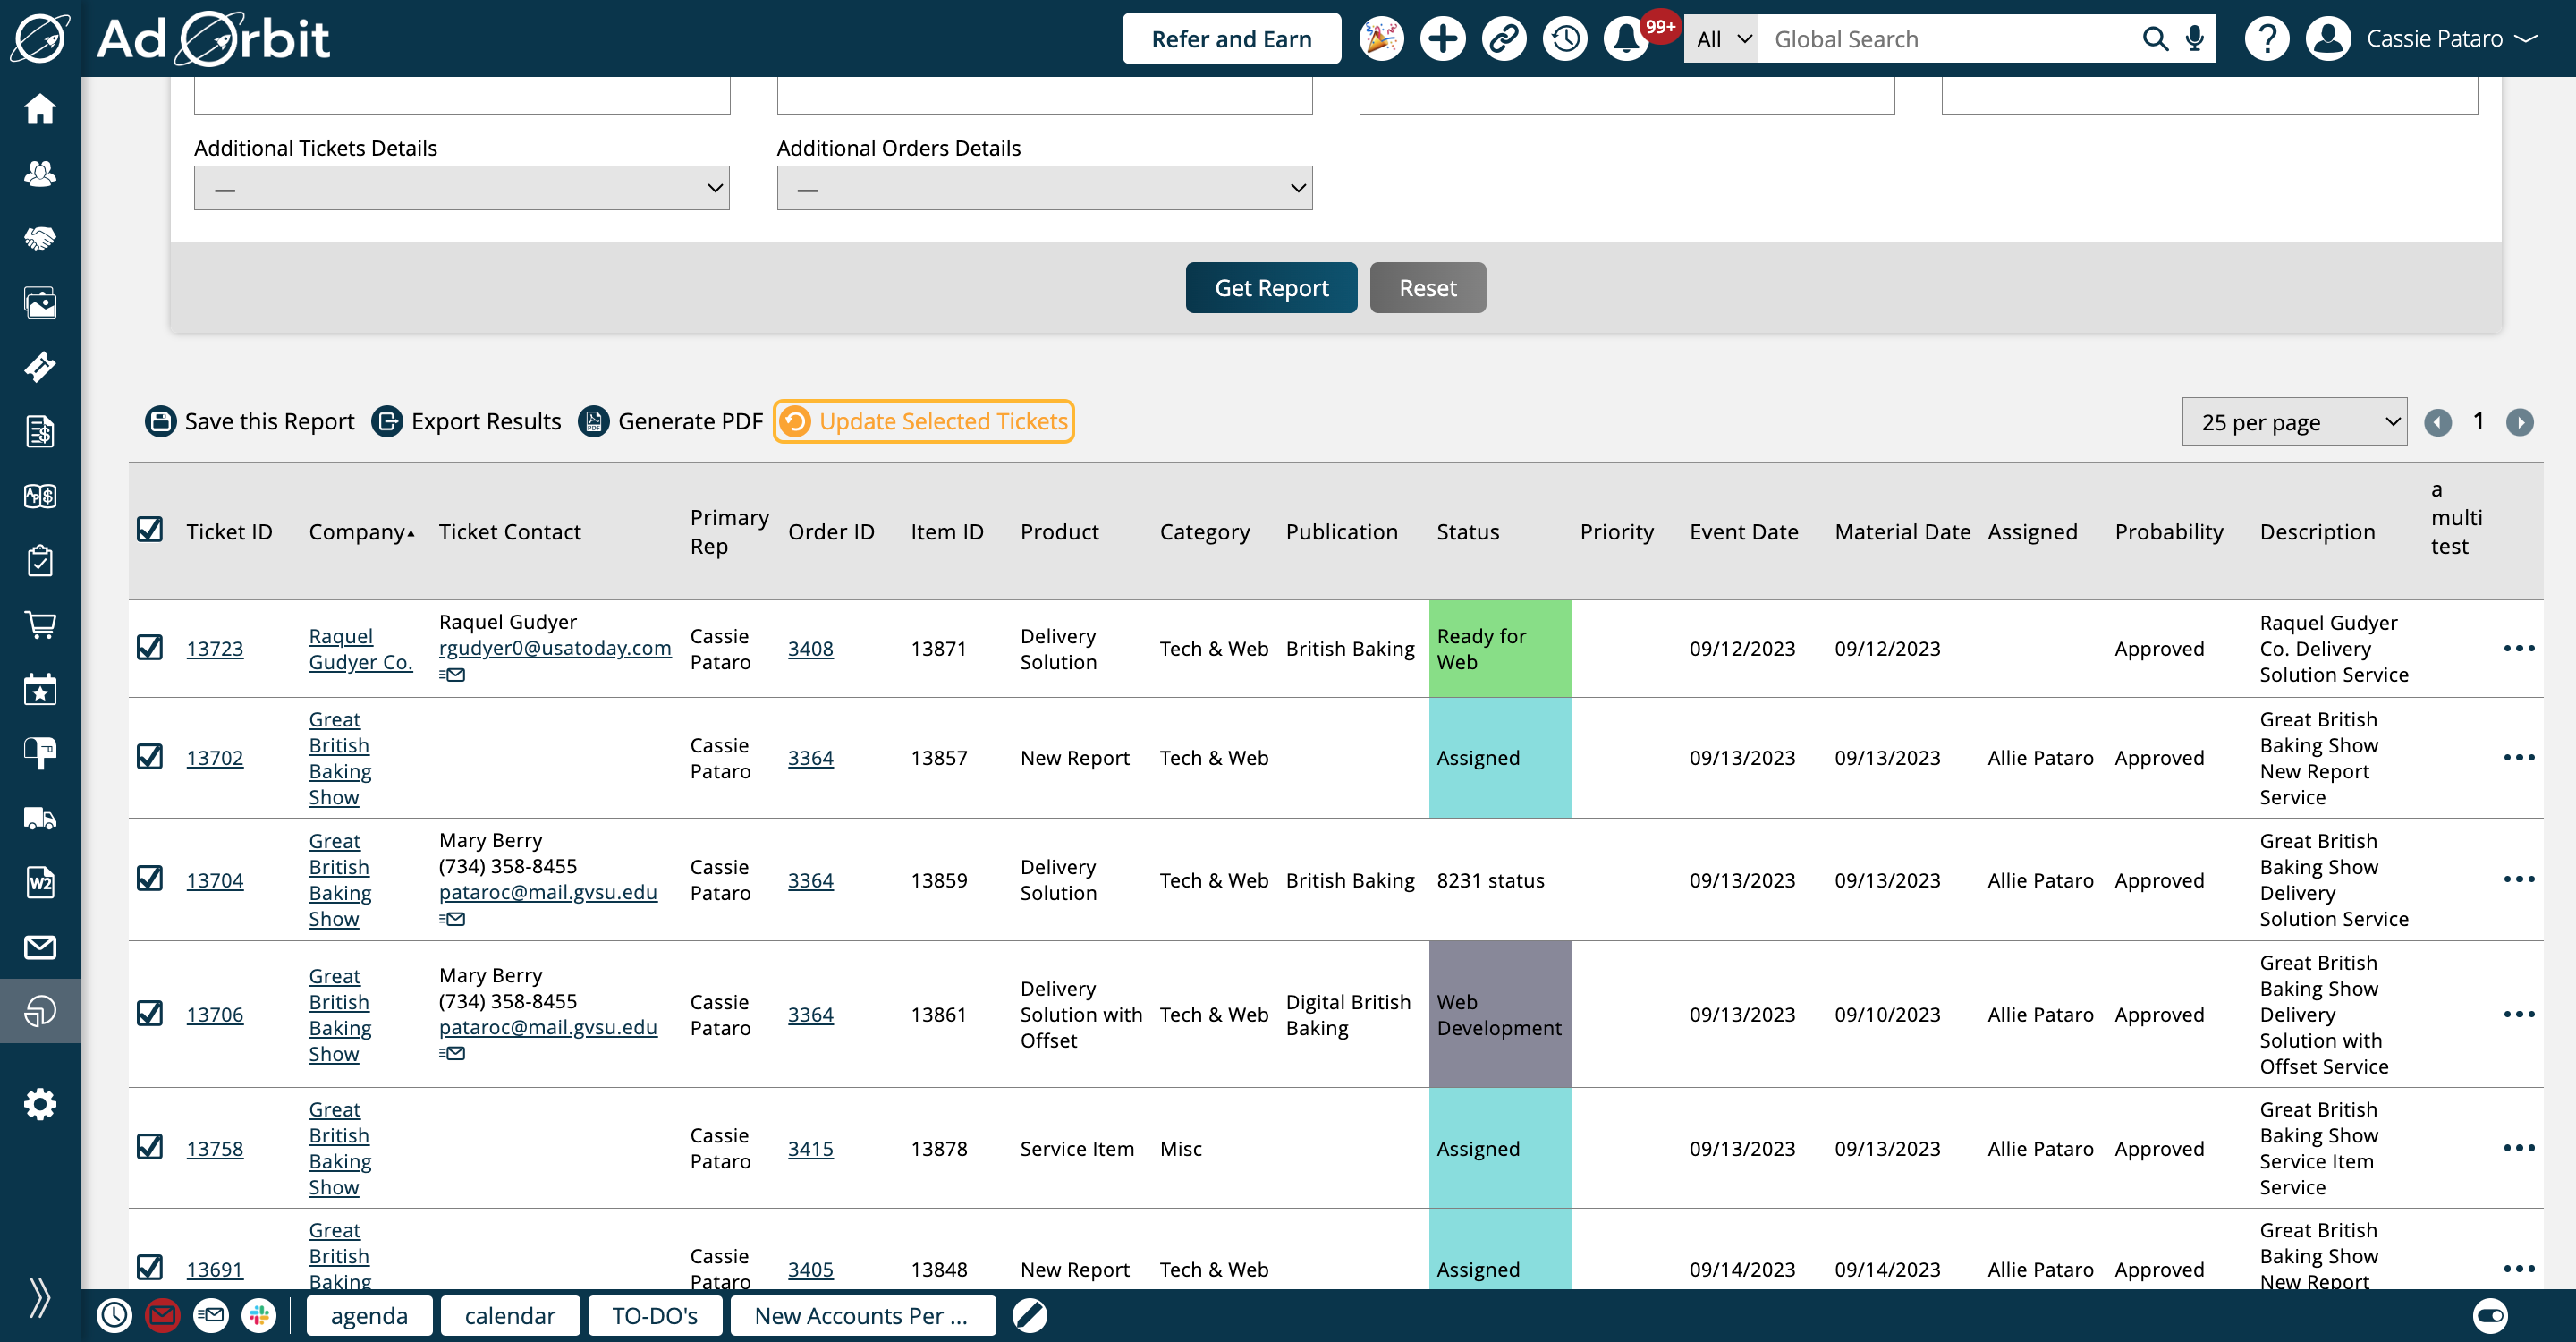
To bulk update tickets, click the 'Update Selected Tickets' button.
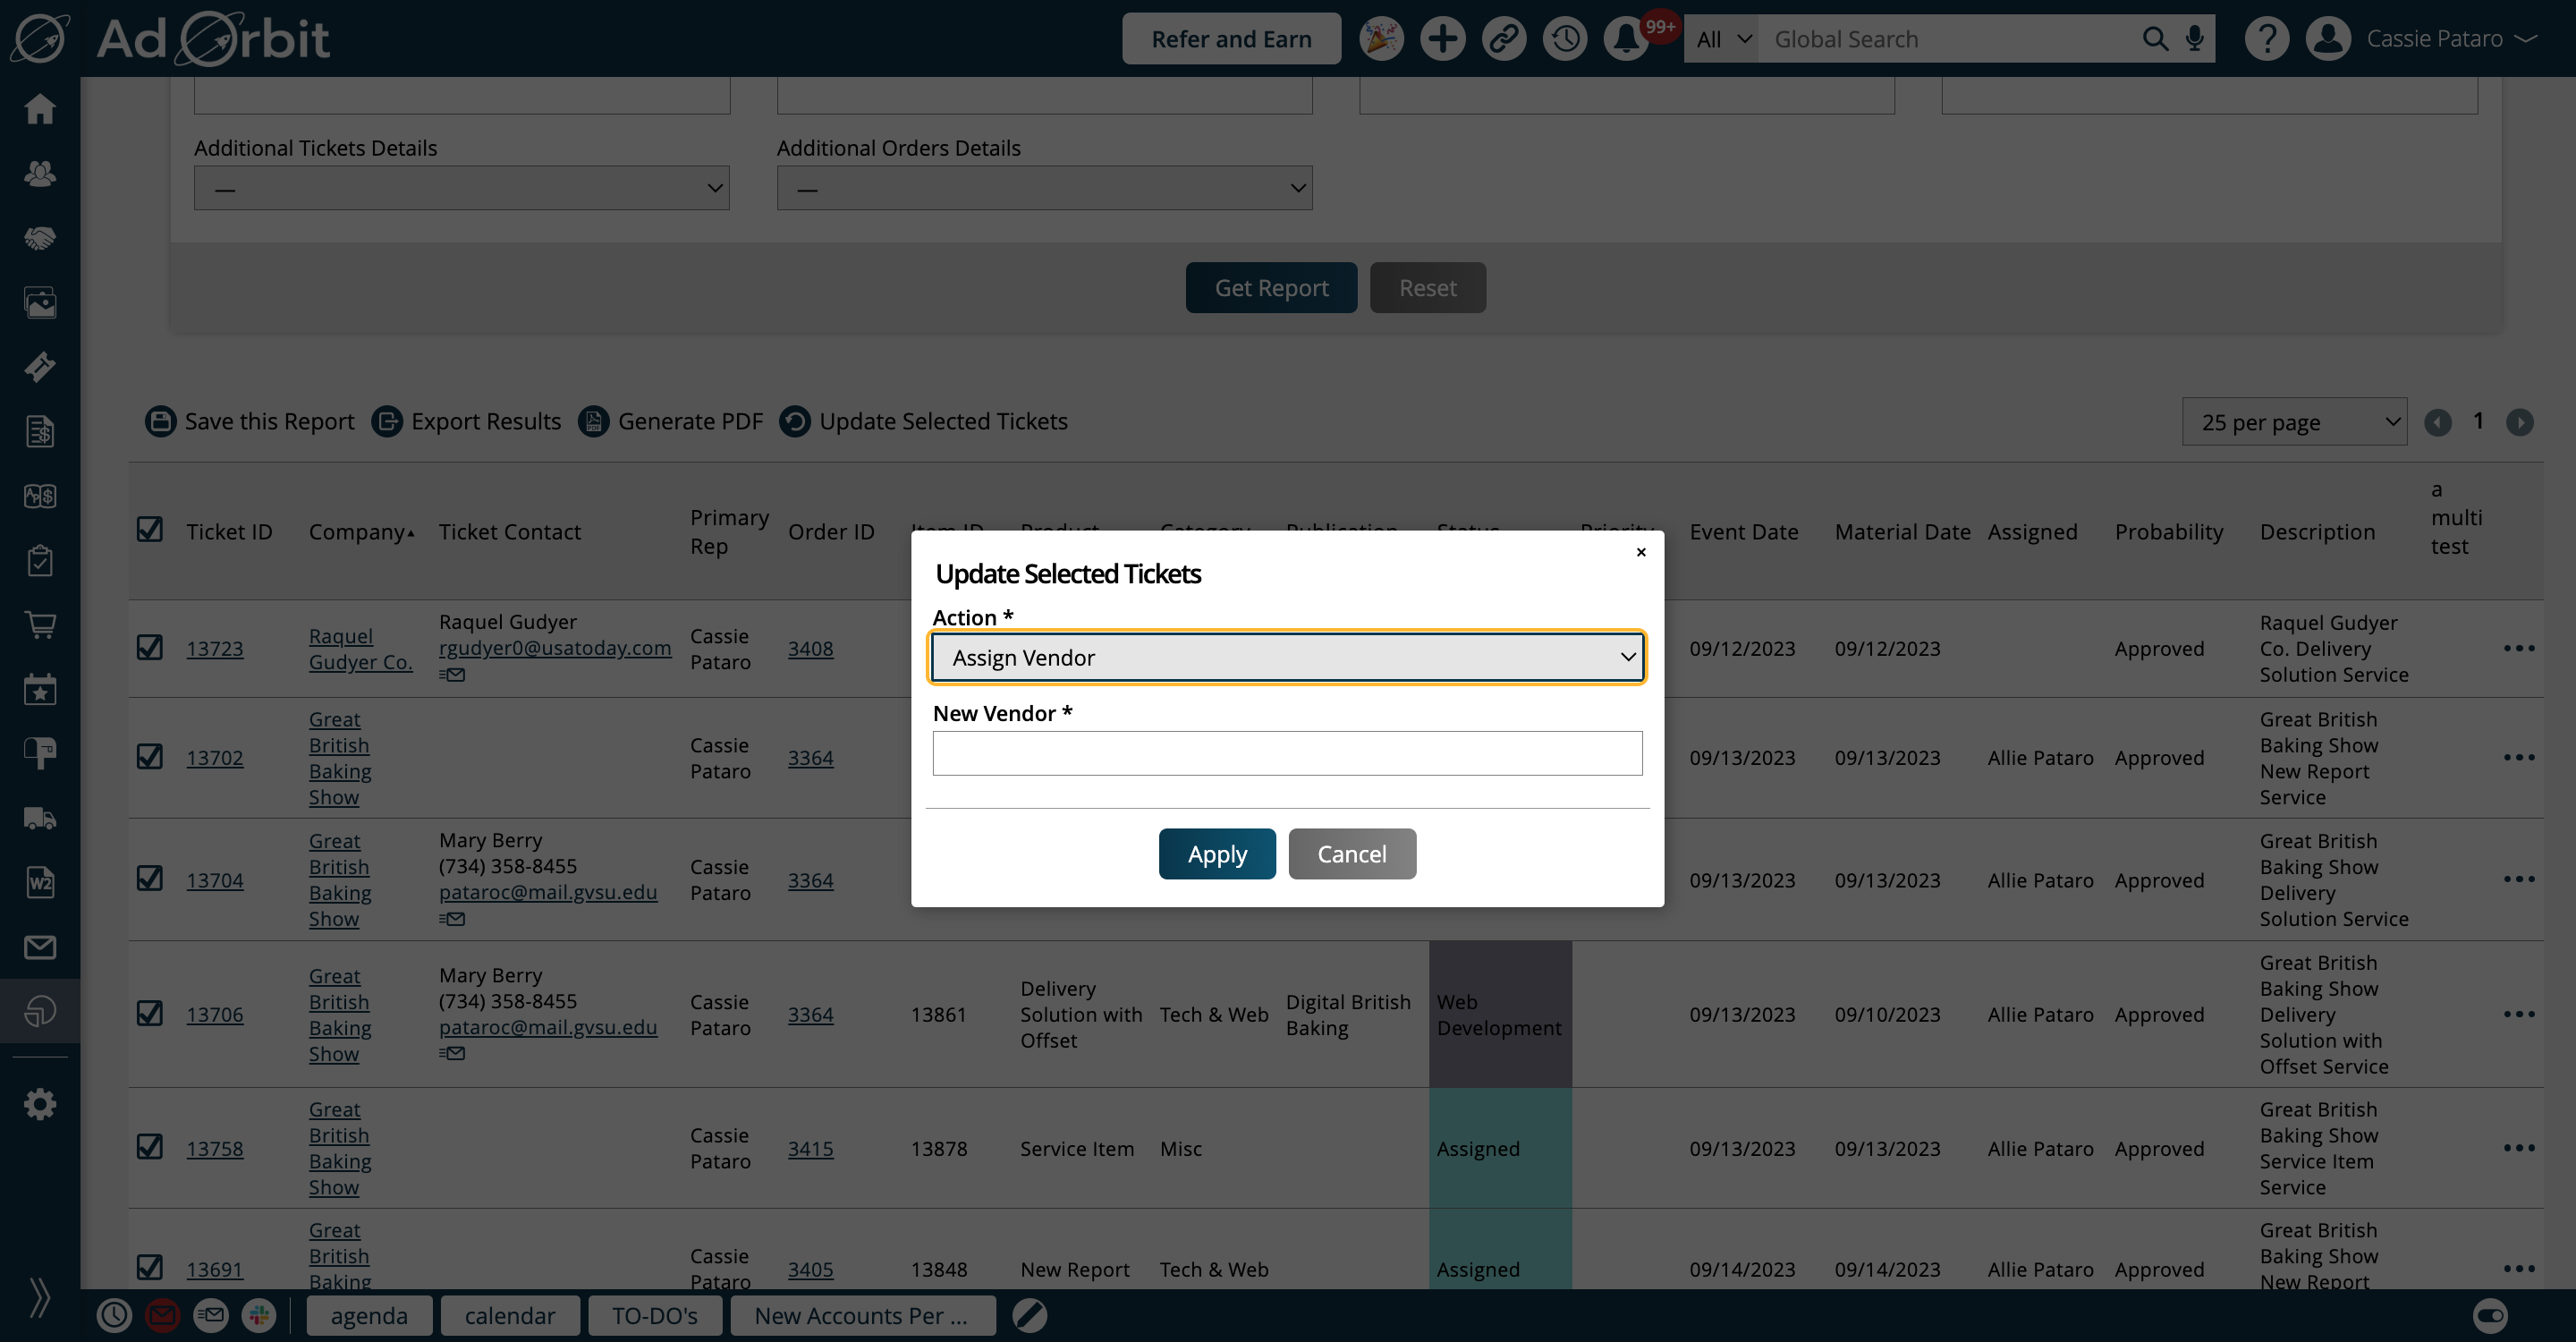
In the popup, you can choose from a handful of actions to perform on all of the selected tickets.
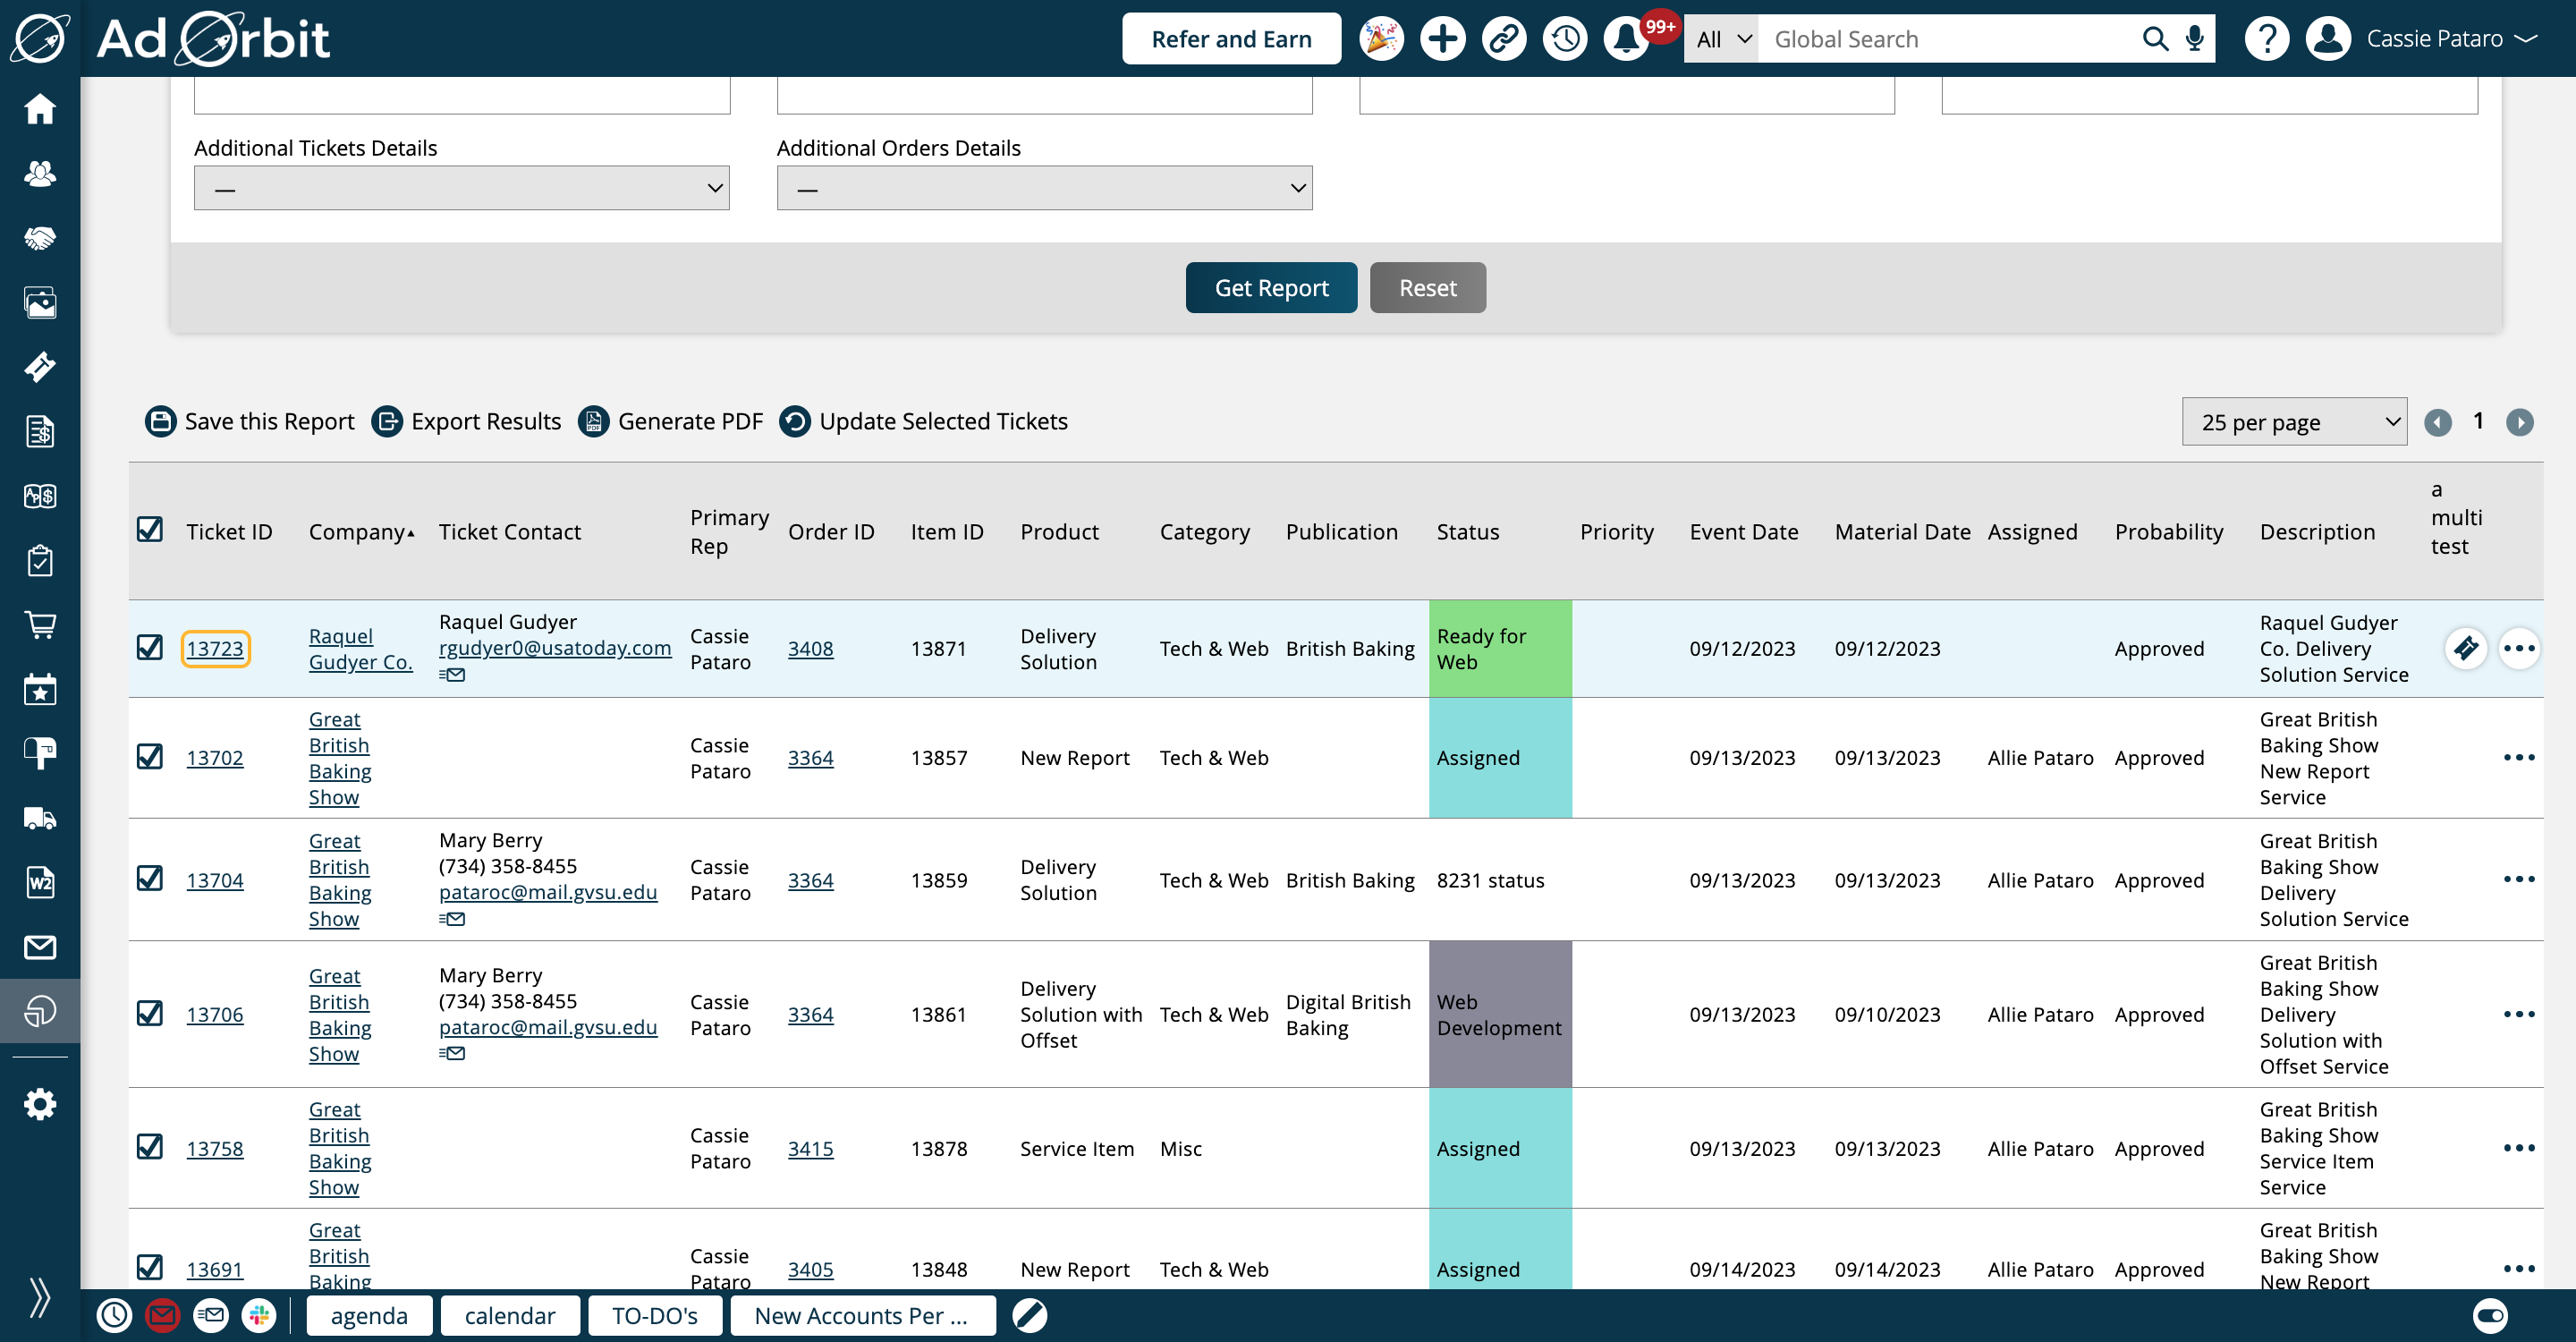
The ticket ID is a link which when clicked on will open the ticket details page in a new tab.
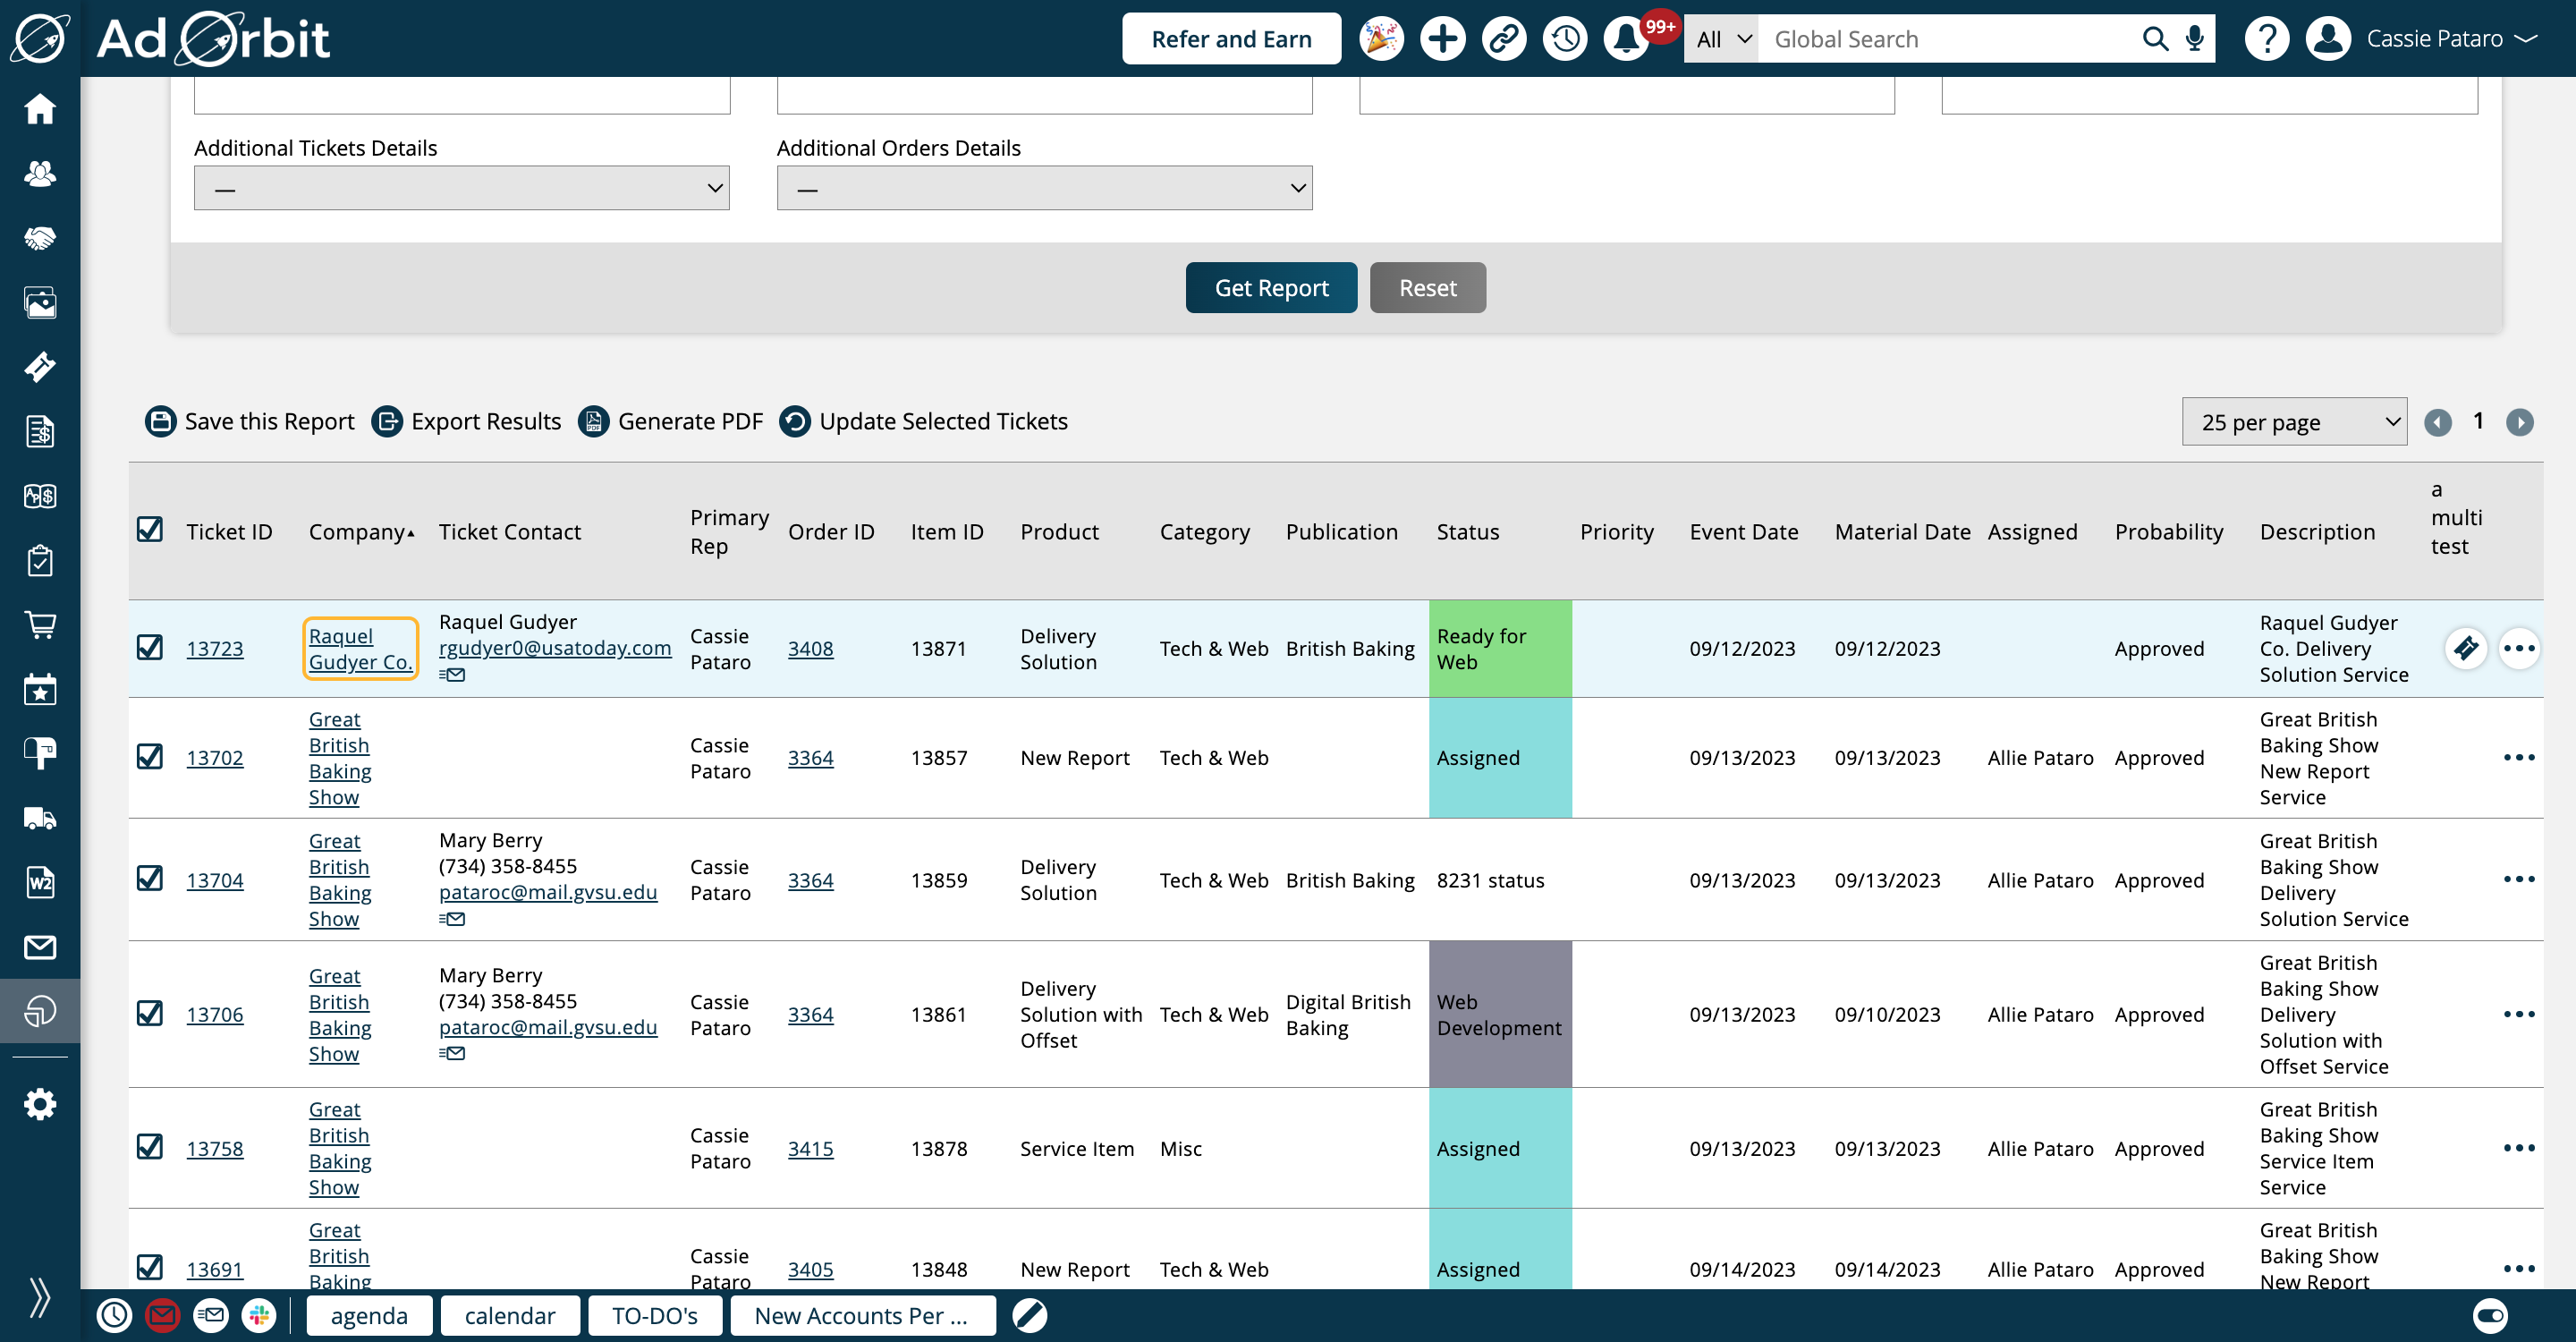
You can also click on the company name to open the company's Overview tab.
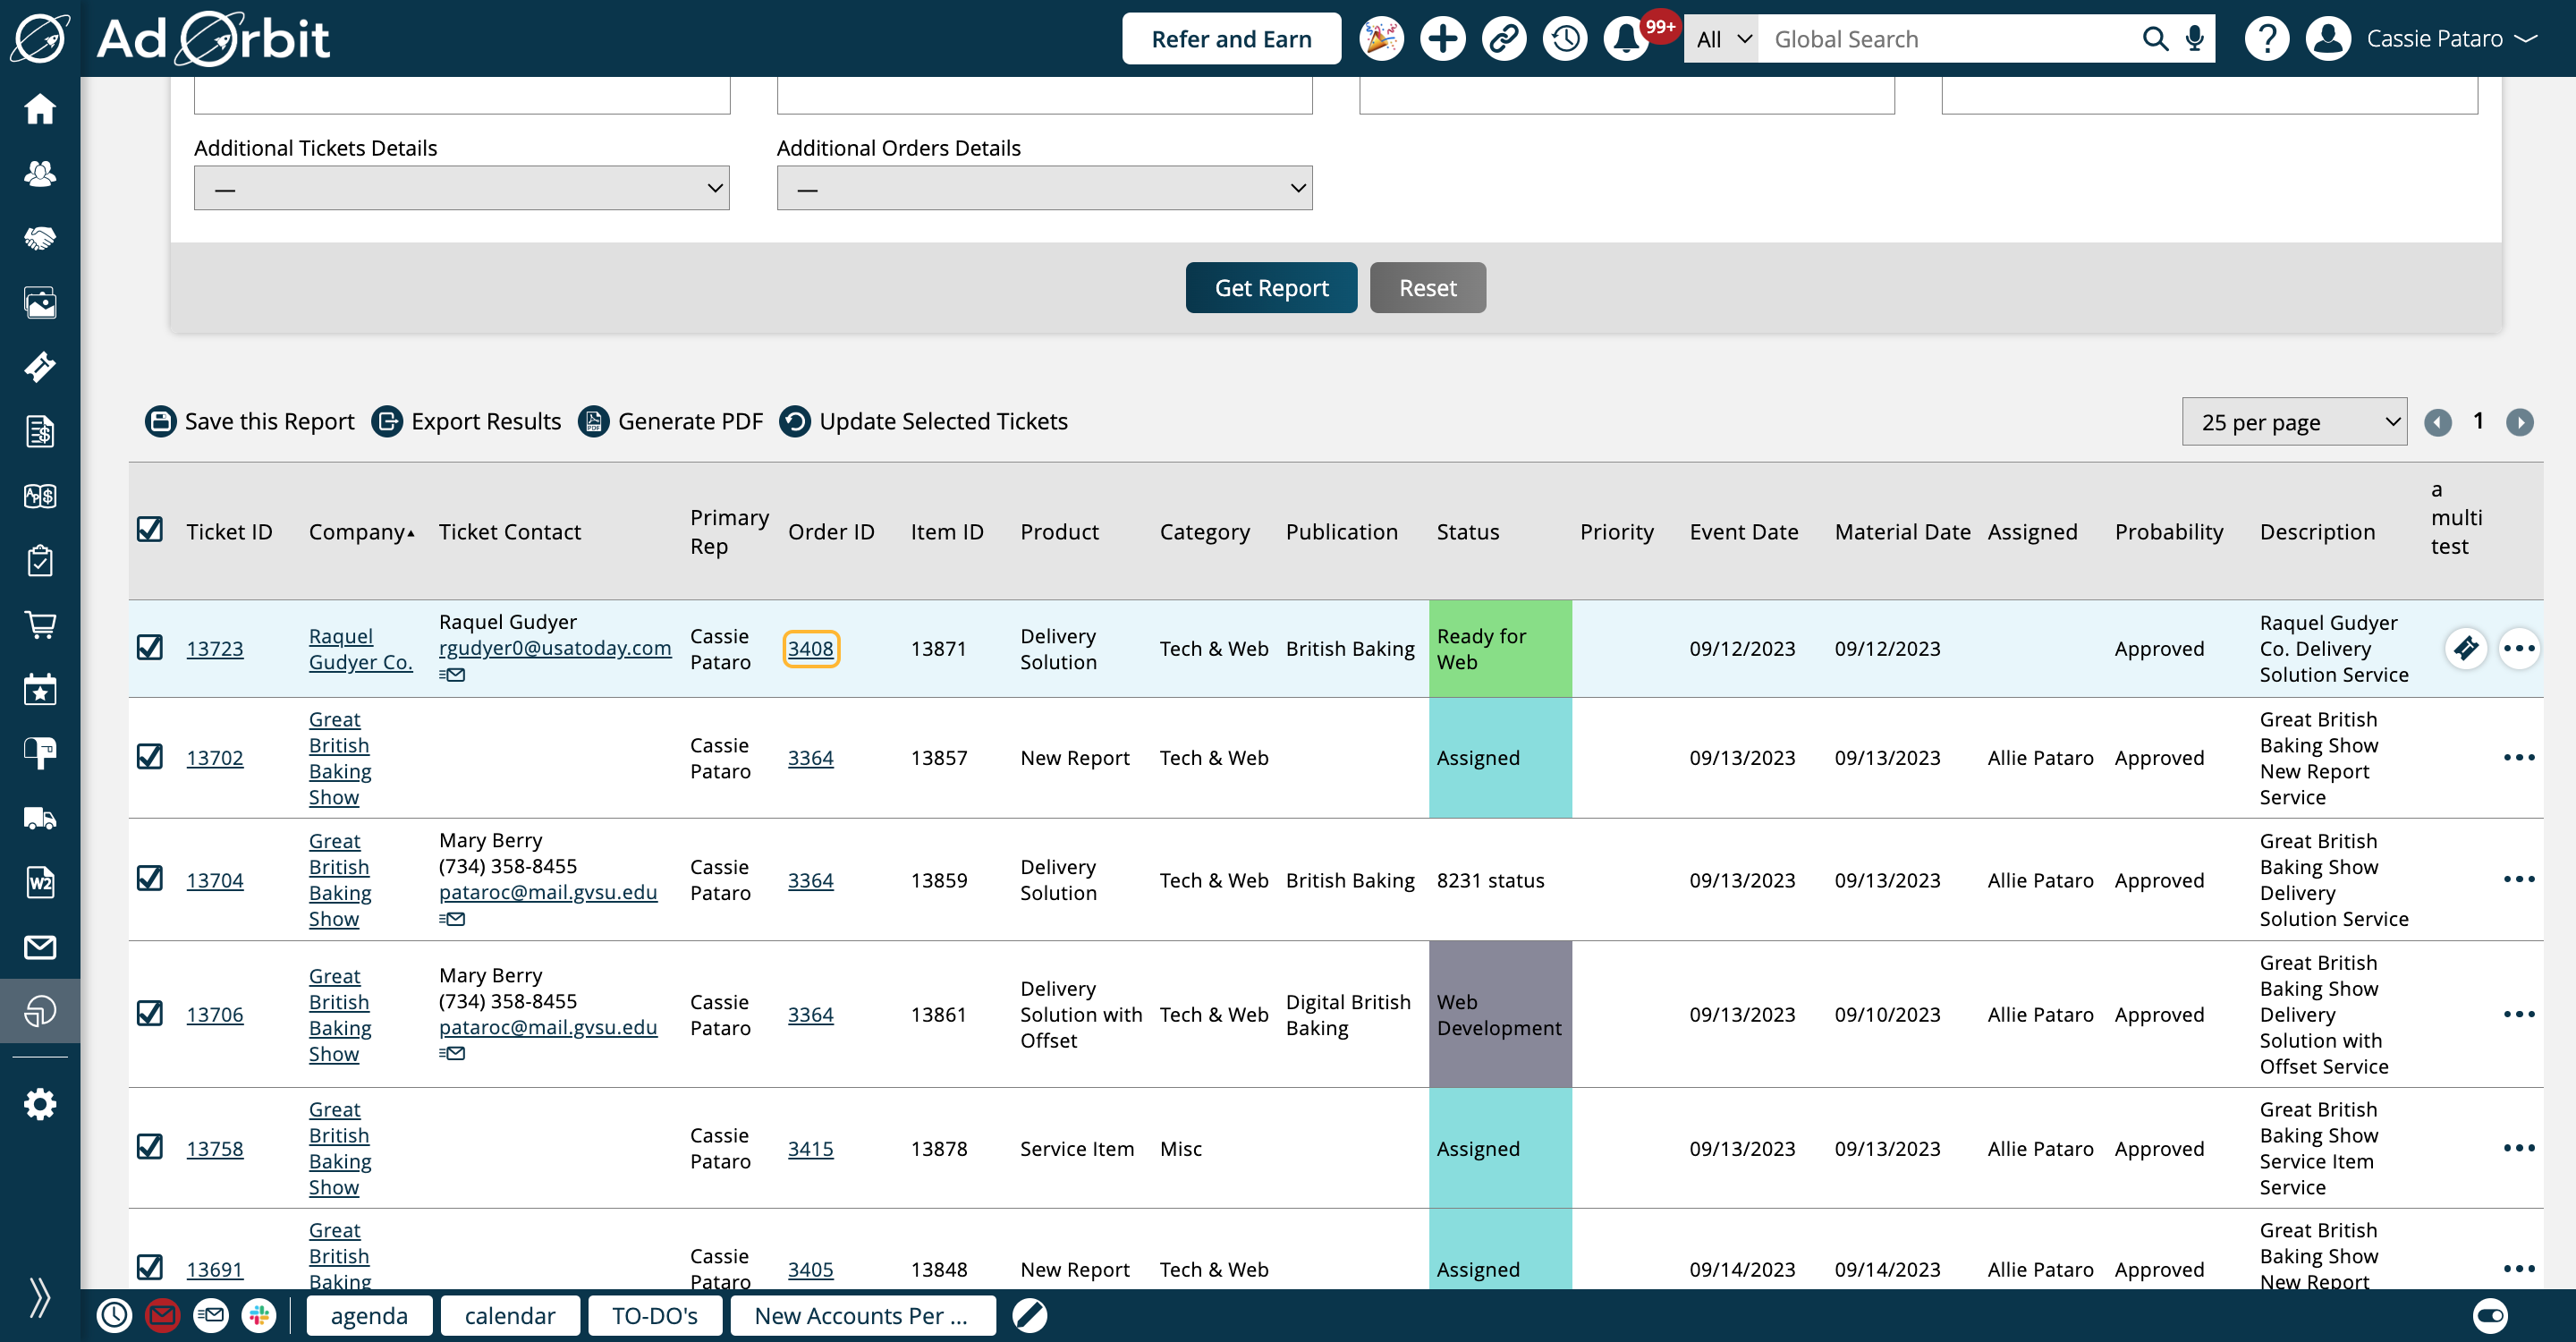
The order ID is also a quick link which opens the company's Orders tab to the selected order.
The Status field is color coded based on the colors you set up on the Status Definitions administrative page.

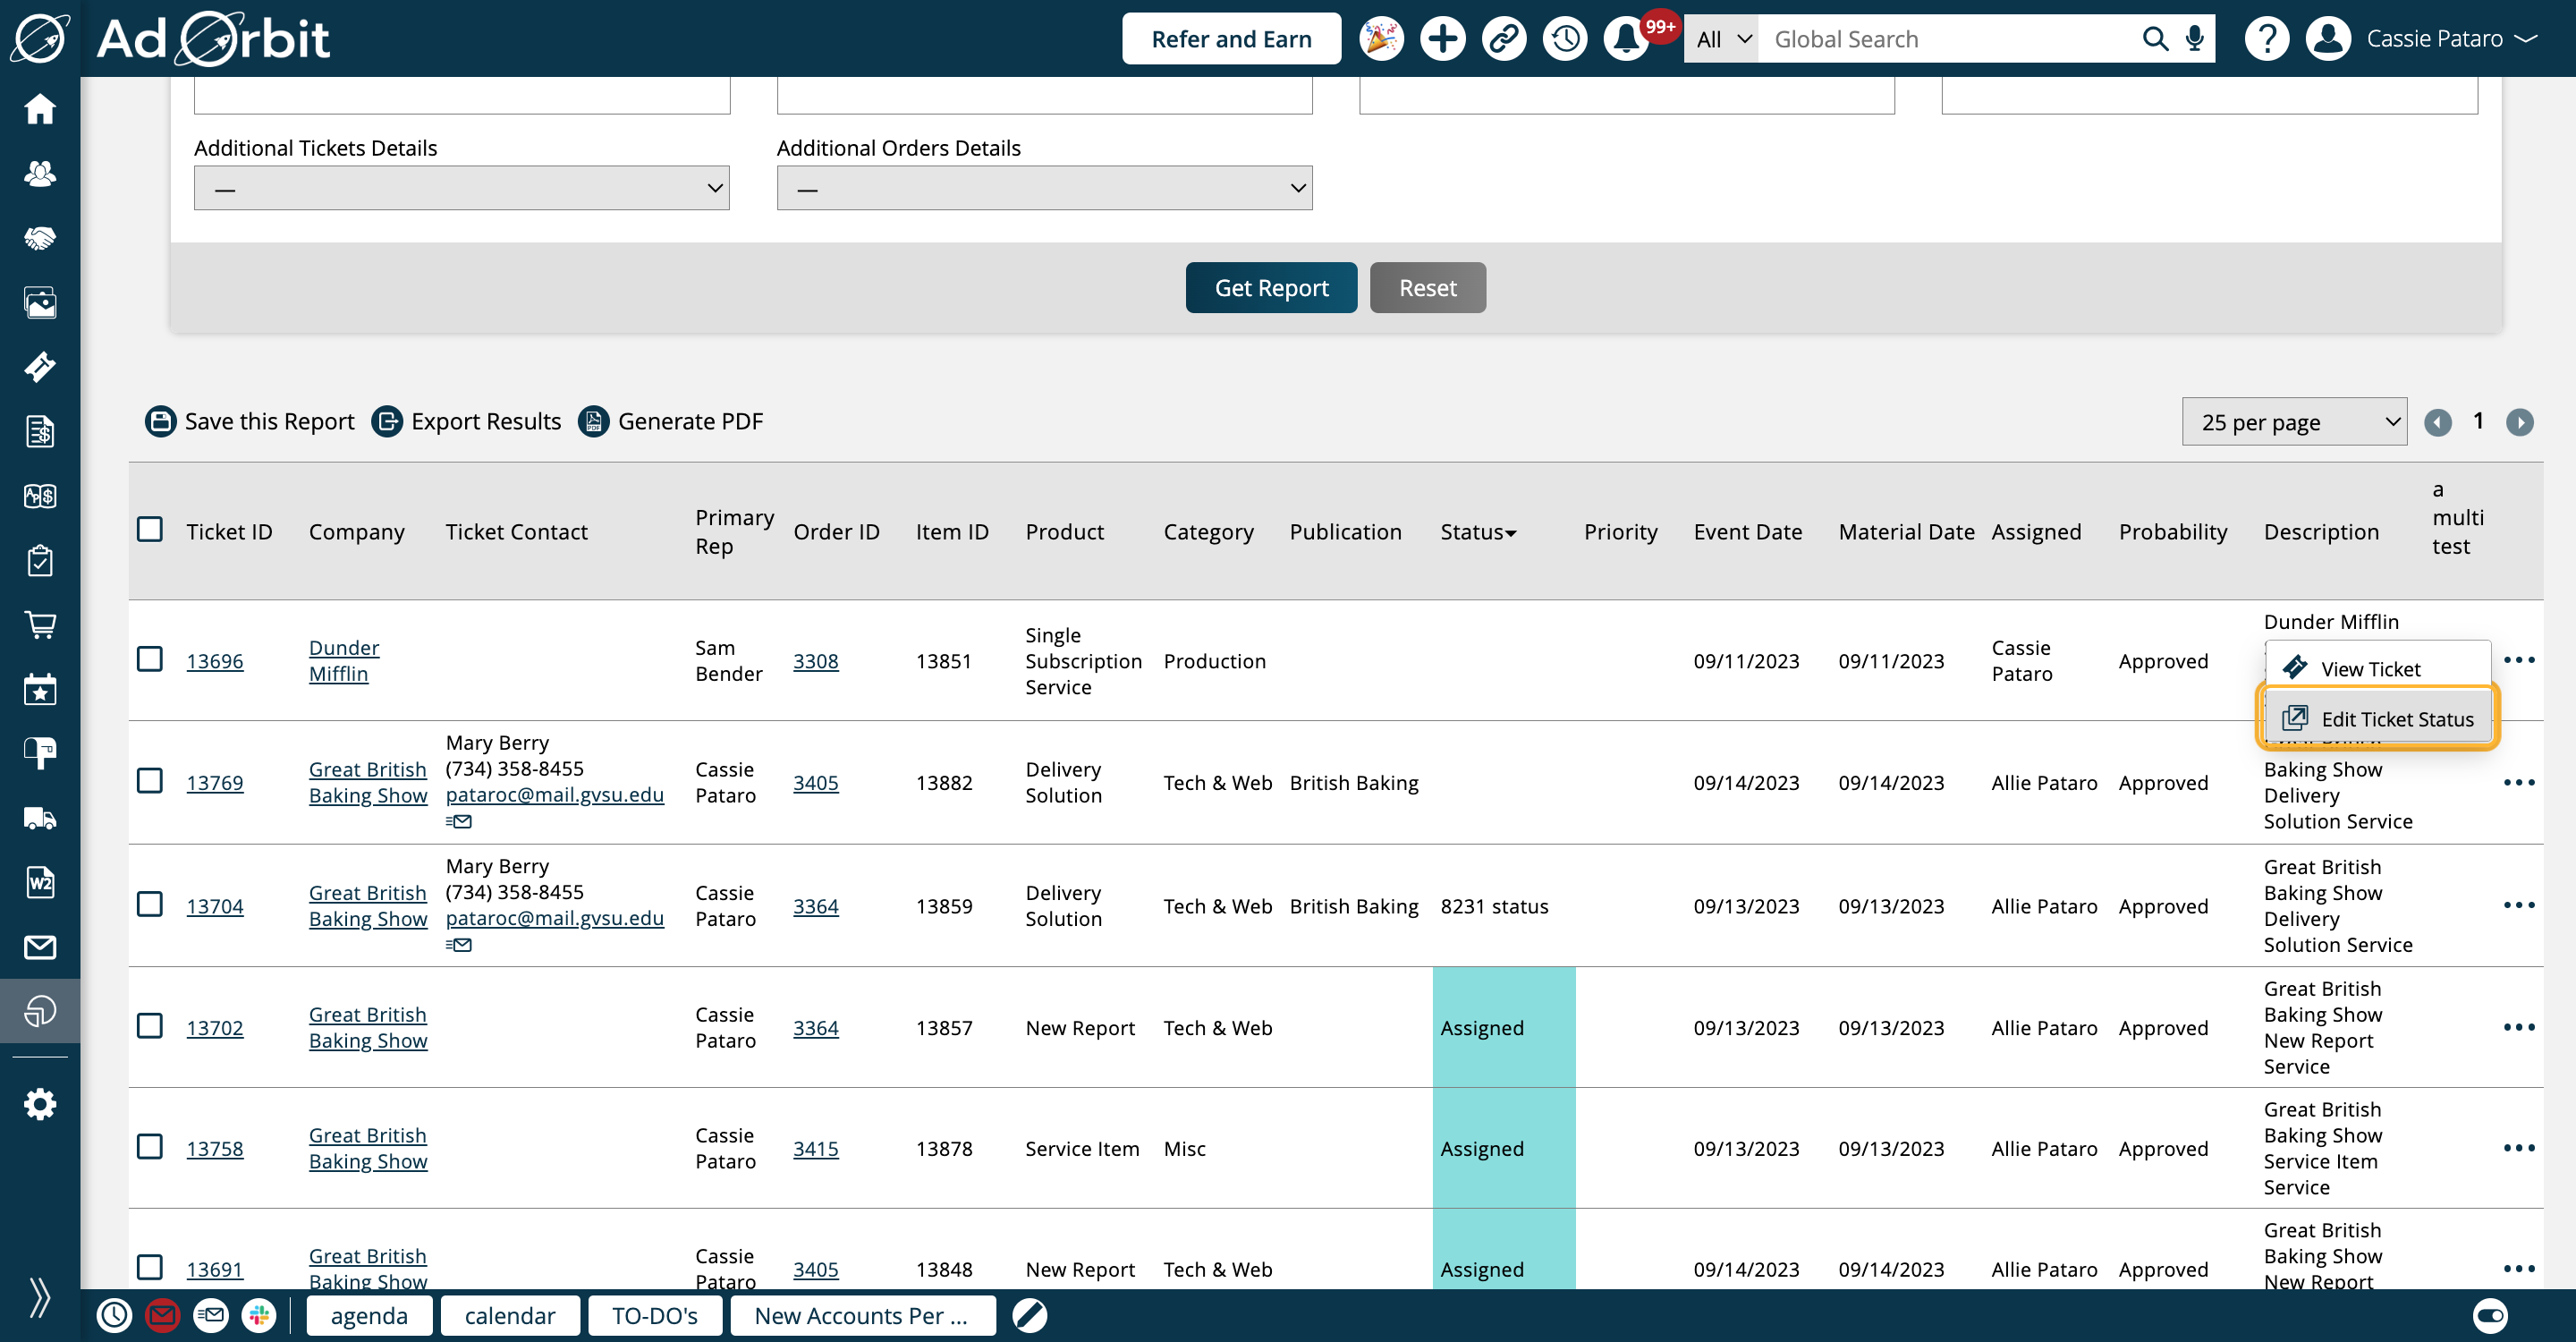
There are also individual actions you can take on each item, by clicking the ellipsis icon on the right side of the table. The first action is to view the ticket. When clicked on, this will open the ticket details page in a new tab.
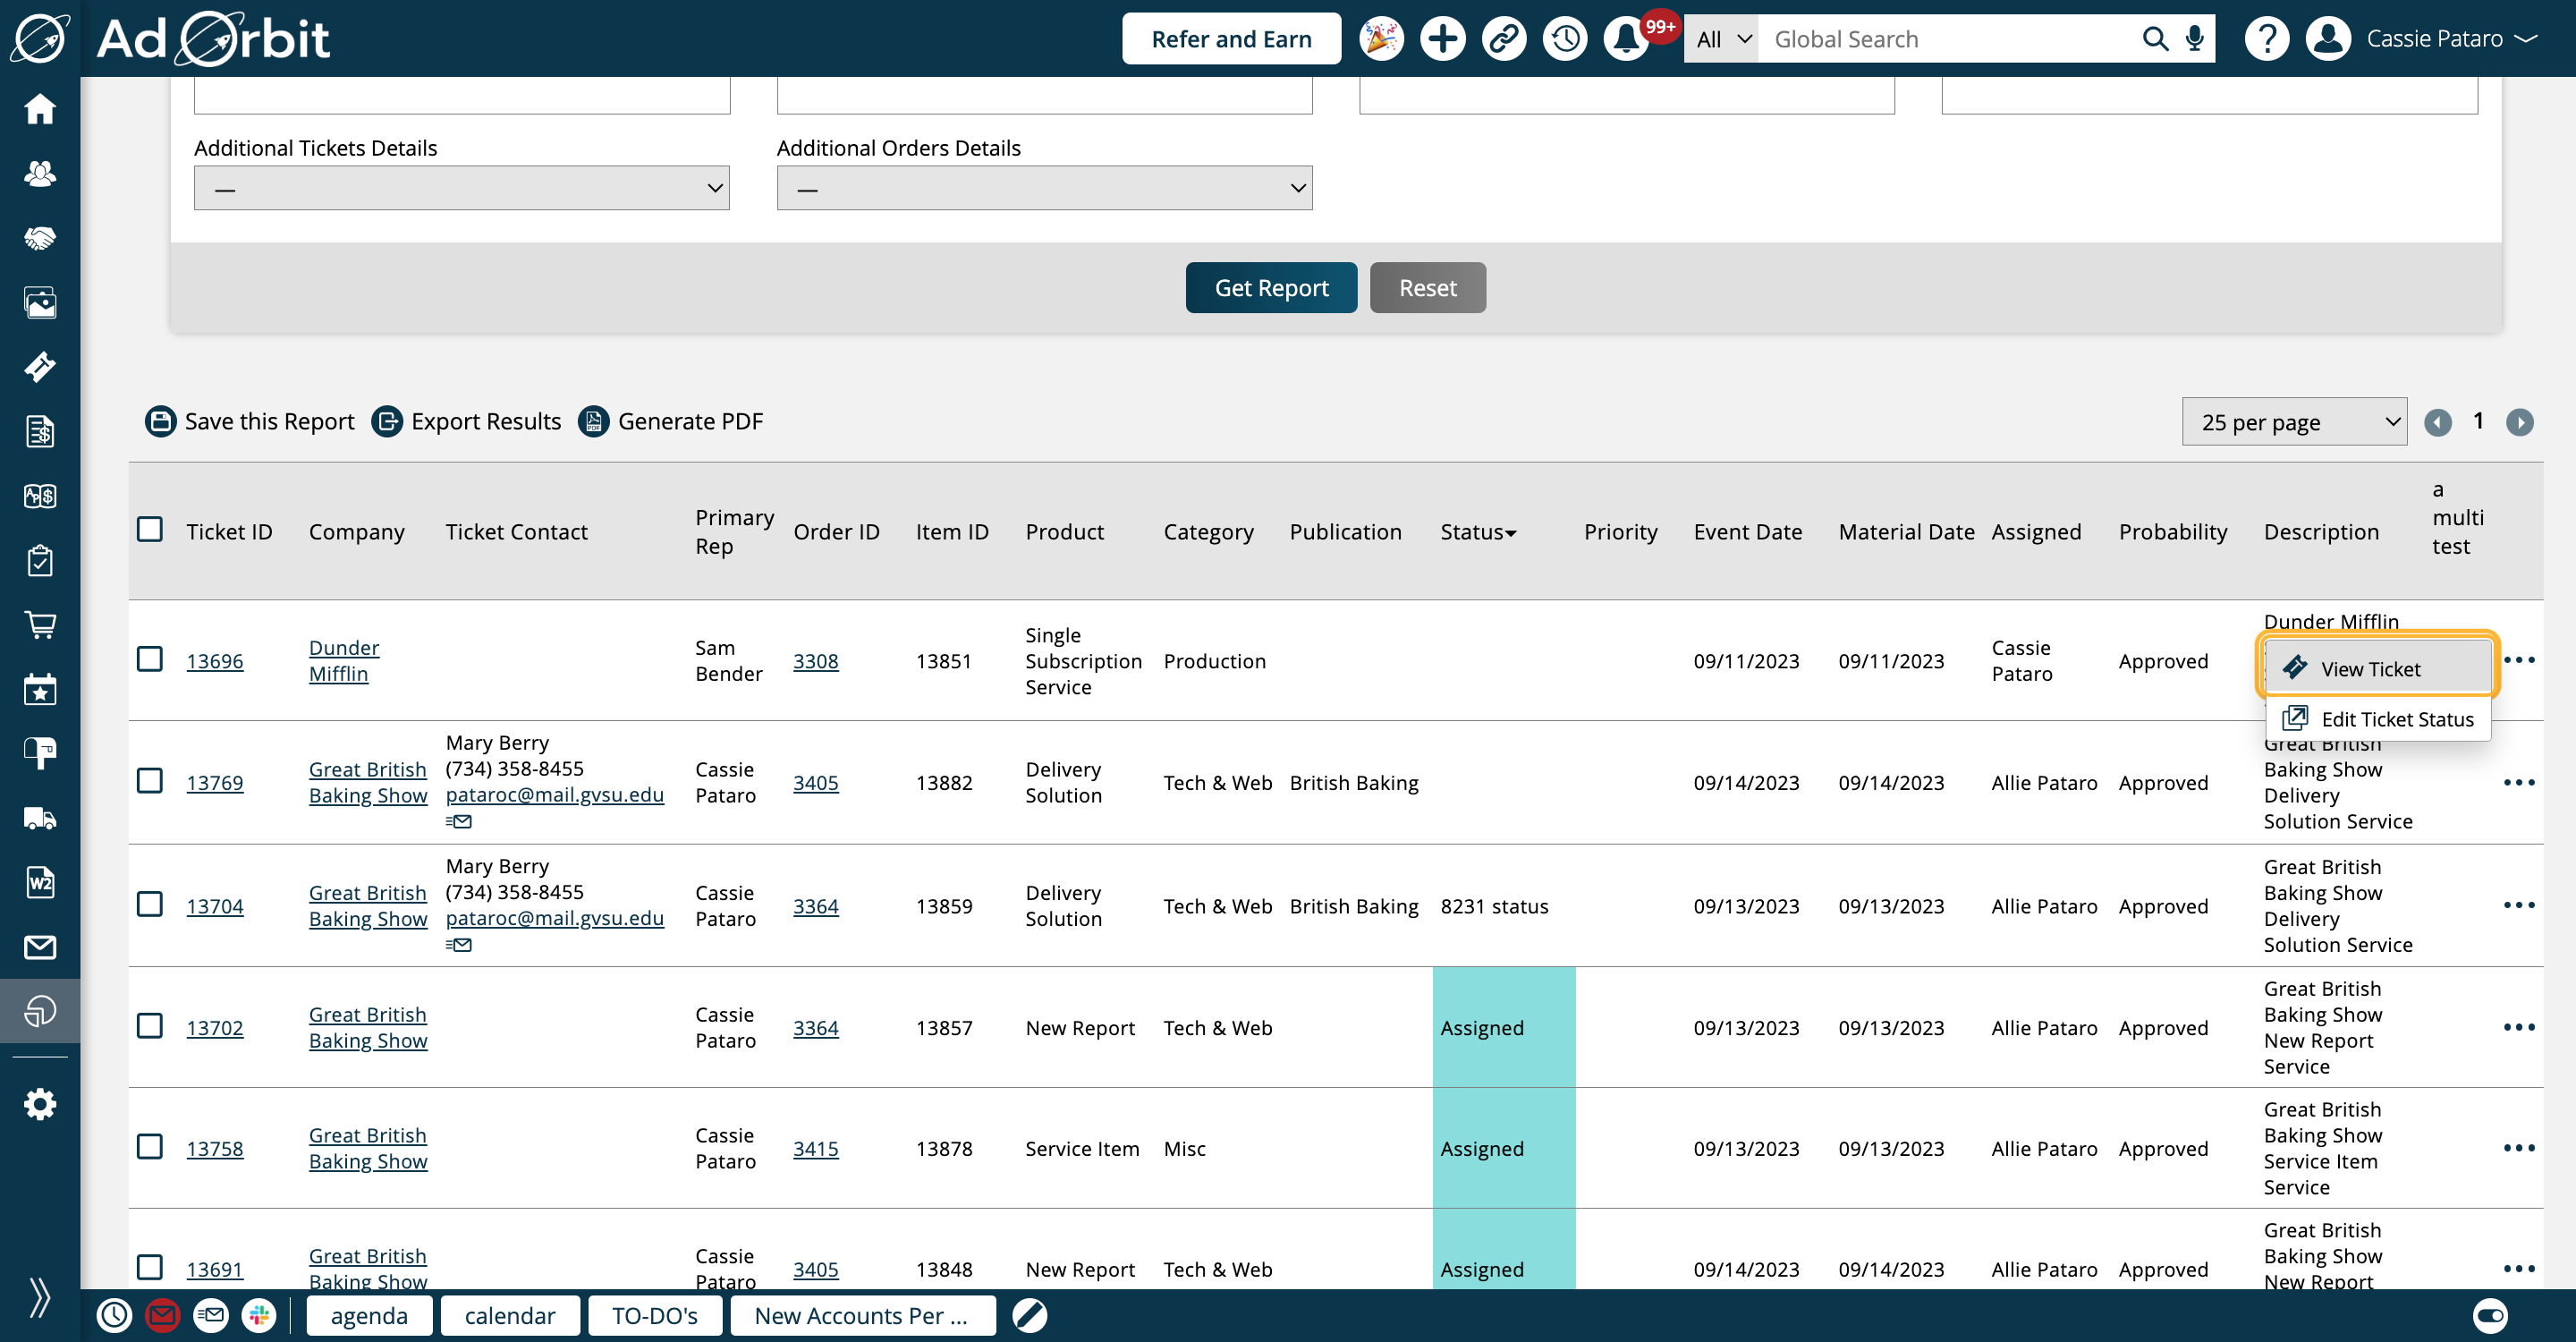
The second individual action you can take on a record is to edit the ticket status. When you click this action you'll get a popup.
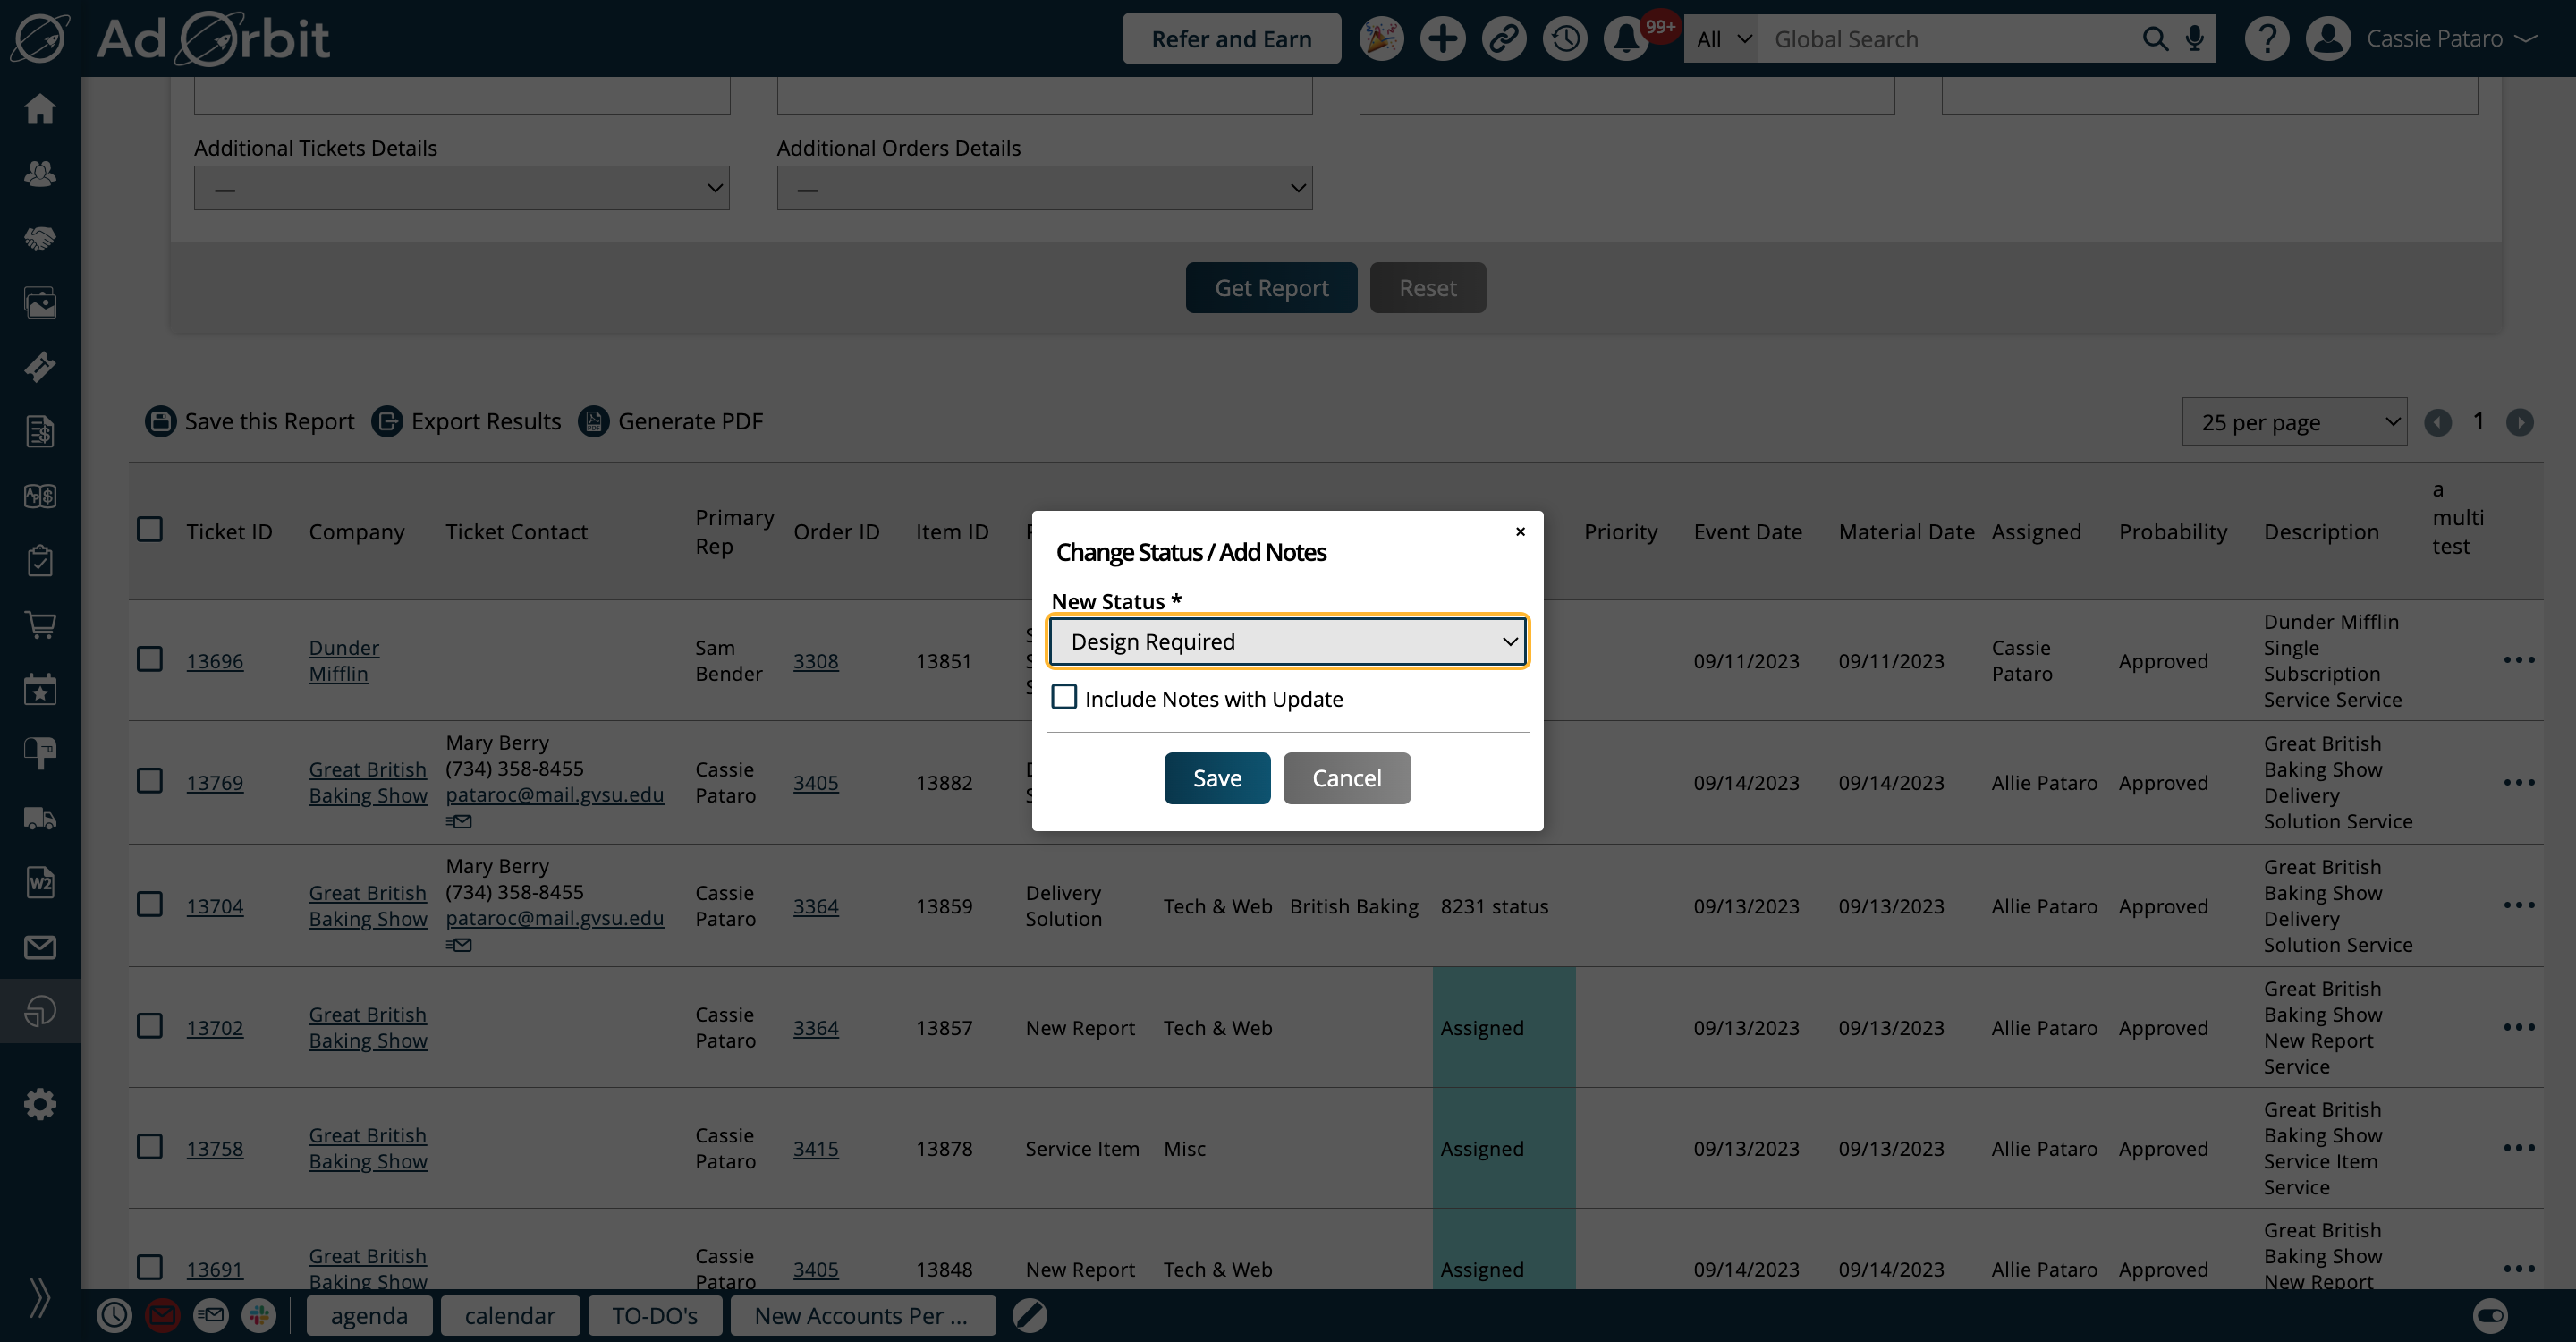
In the popup, choose your new status, and you can decide whether or not to add notes to the status change. The report will get updated to reflect the new status.
As with most of our reports, there are various actions you can take on the report, such as saving it for future reference, exporting as a CSV or PDF, and changing which columns are displayed in the table.
New 9/15/2023