Service Tickets
The ticket page for Service products is set up differently than other ticket pages. There is also some additional functionality for Delivery Solution services. This document will walk you through ticket pages for both basic Service items as well as Delivery Solutions.
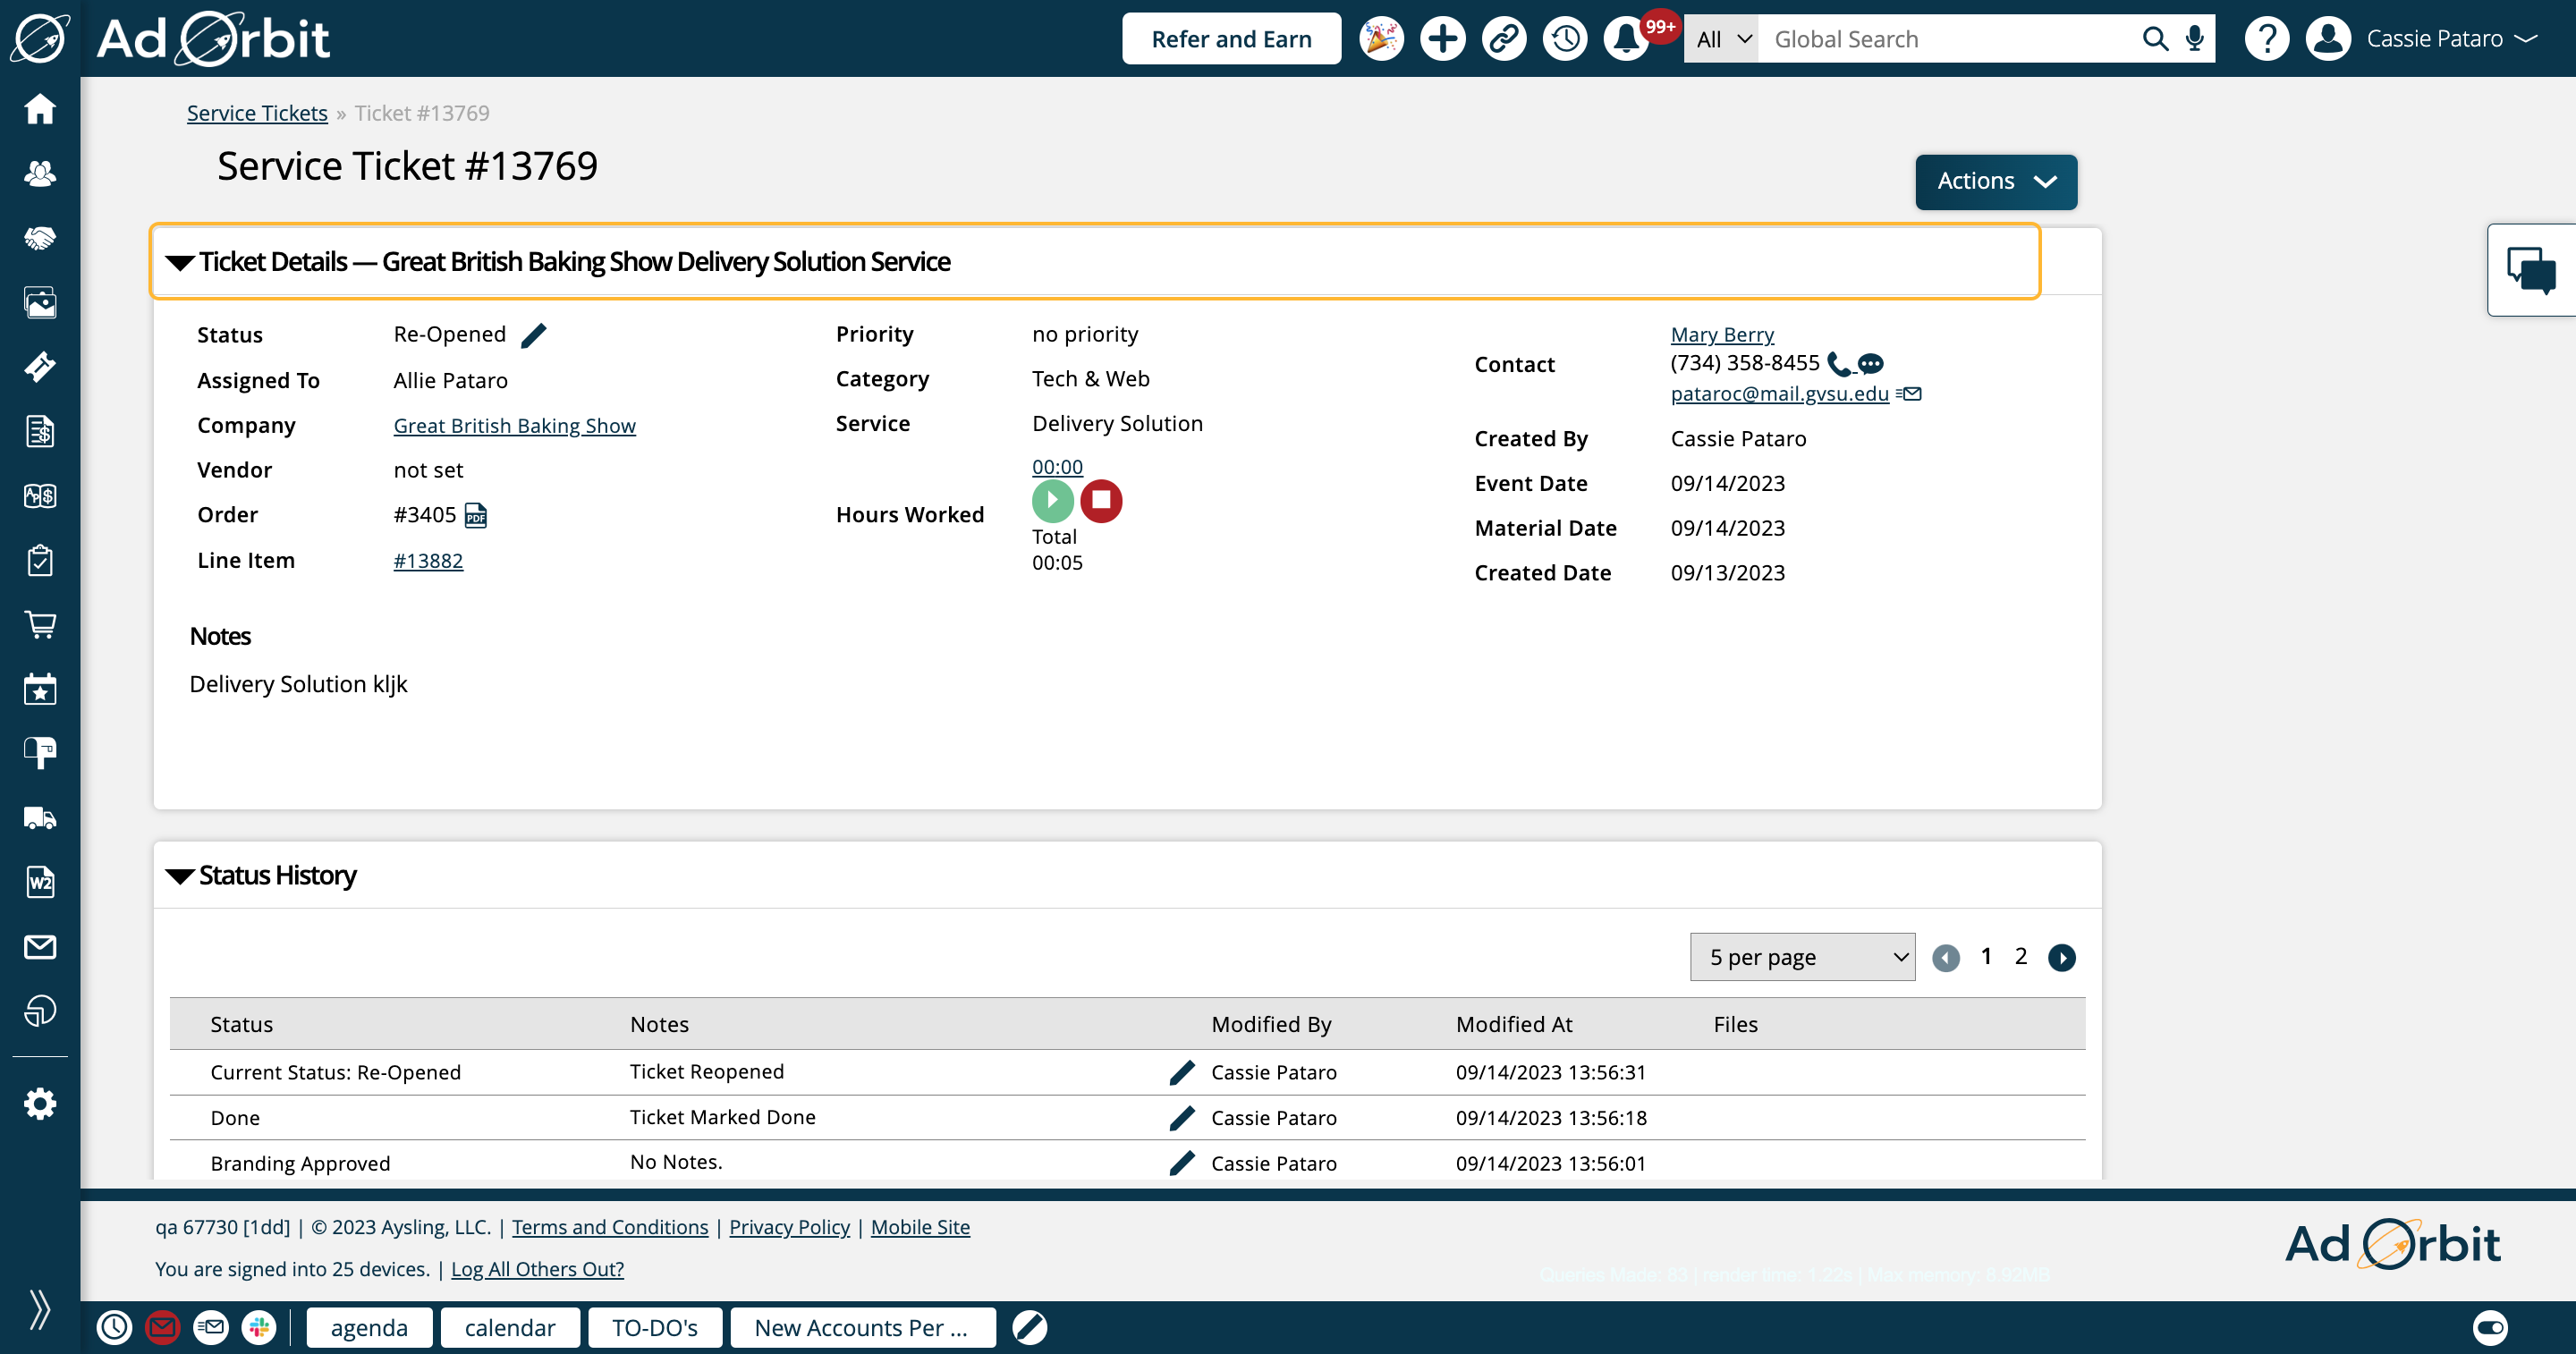
The ticket page is broken out into three main sections: Ticket Details, Status History, and Files.
In the Ticket Details section, there are various actions you can take. One is by clicking the pencil icon next to the ticket Status. This allows you to quickly change the status of the ticket to something new.
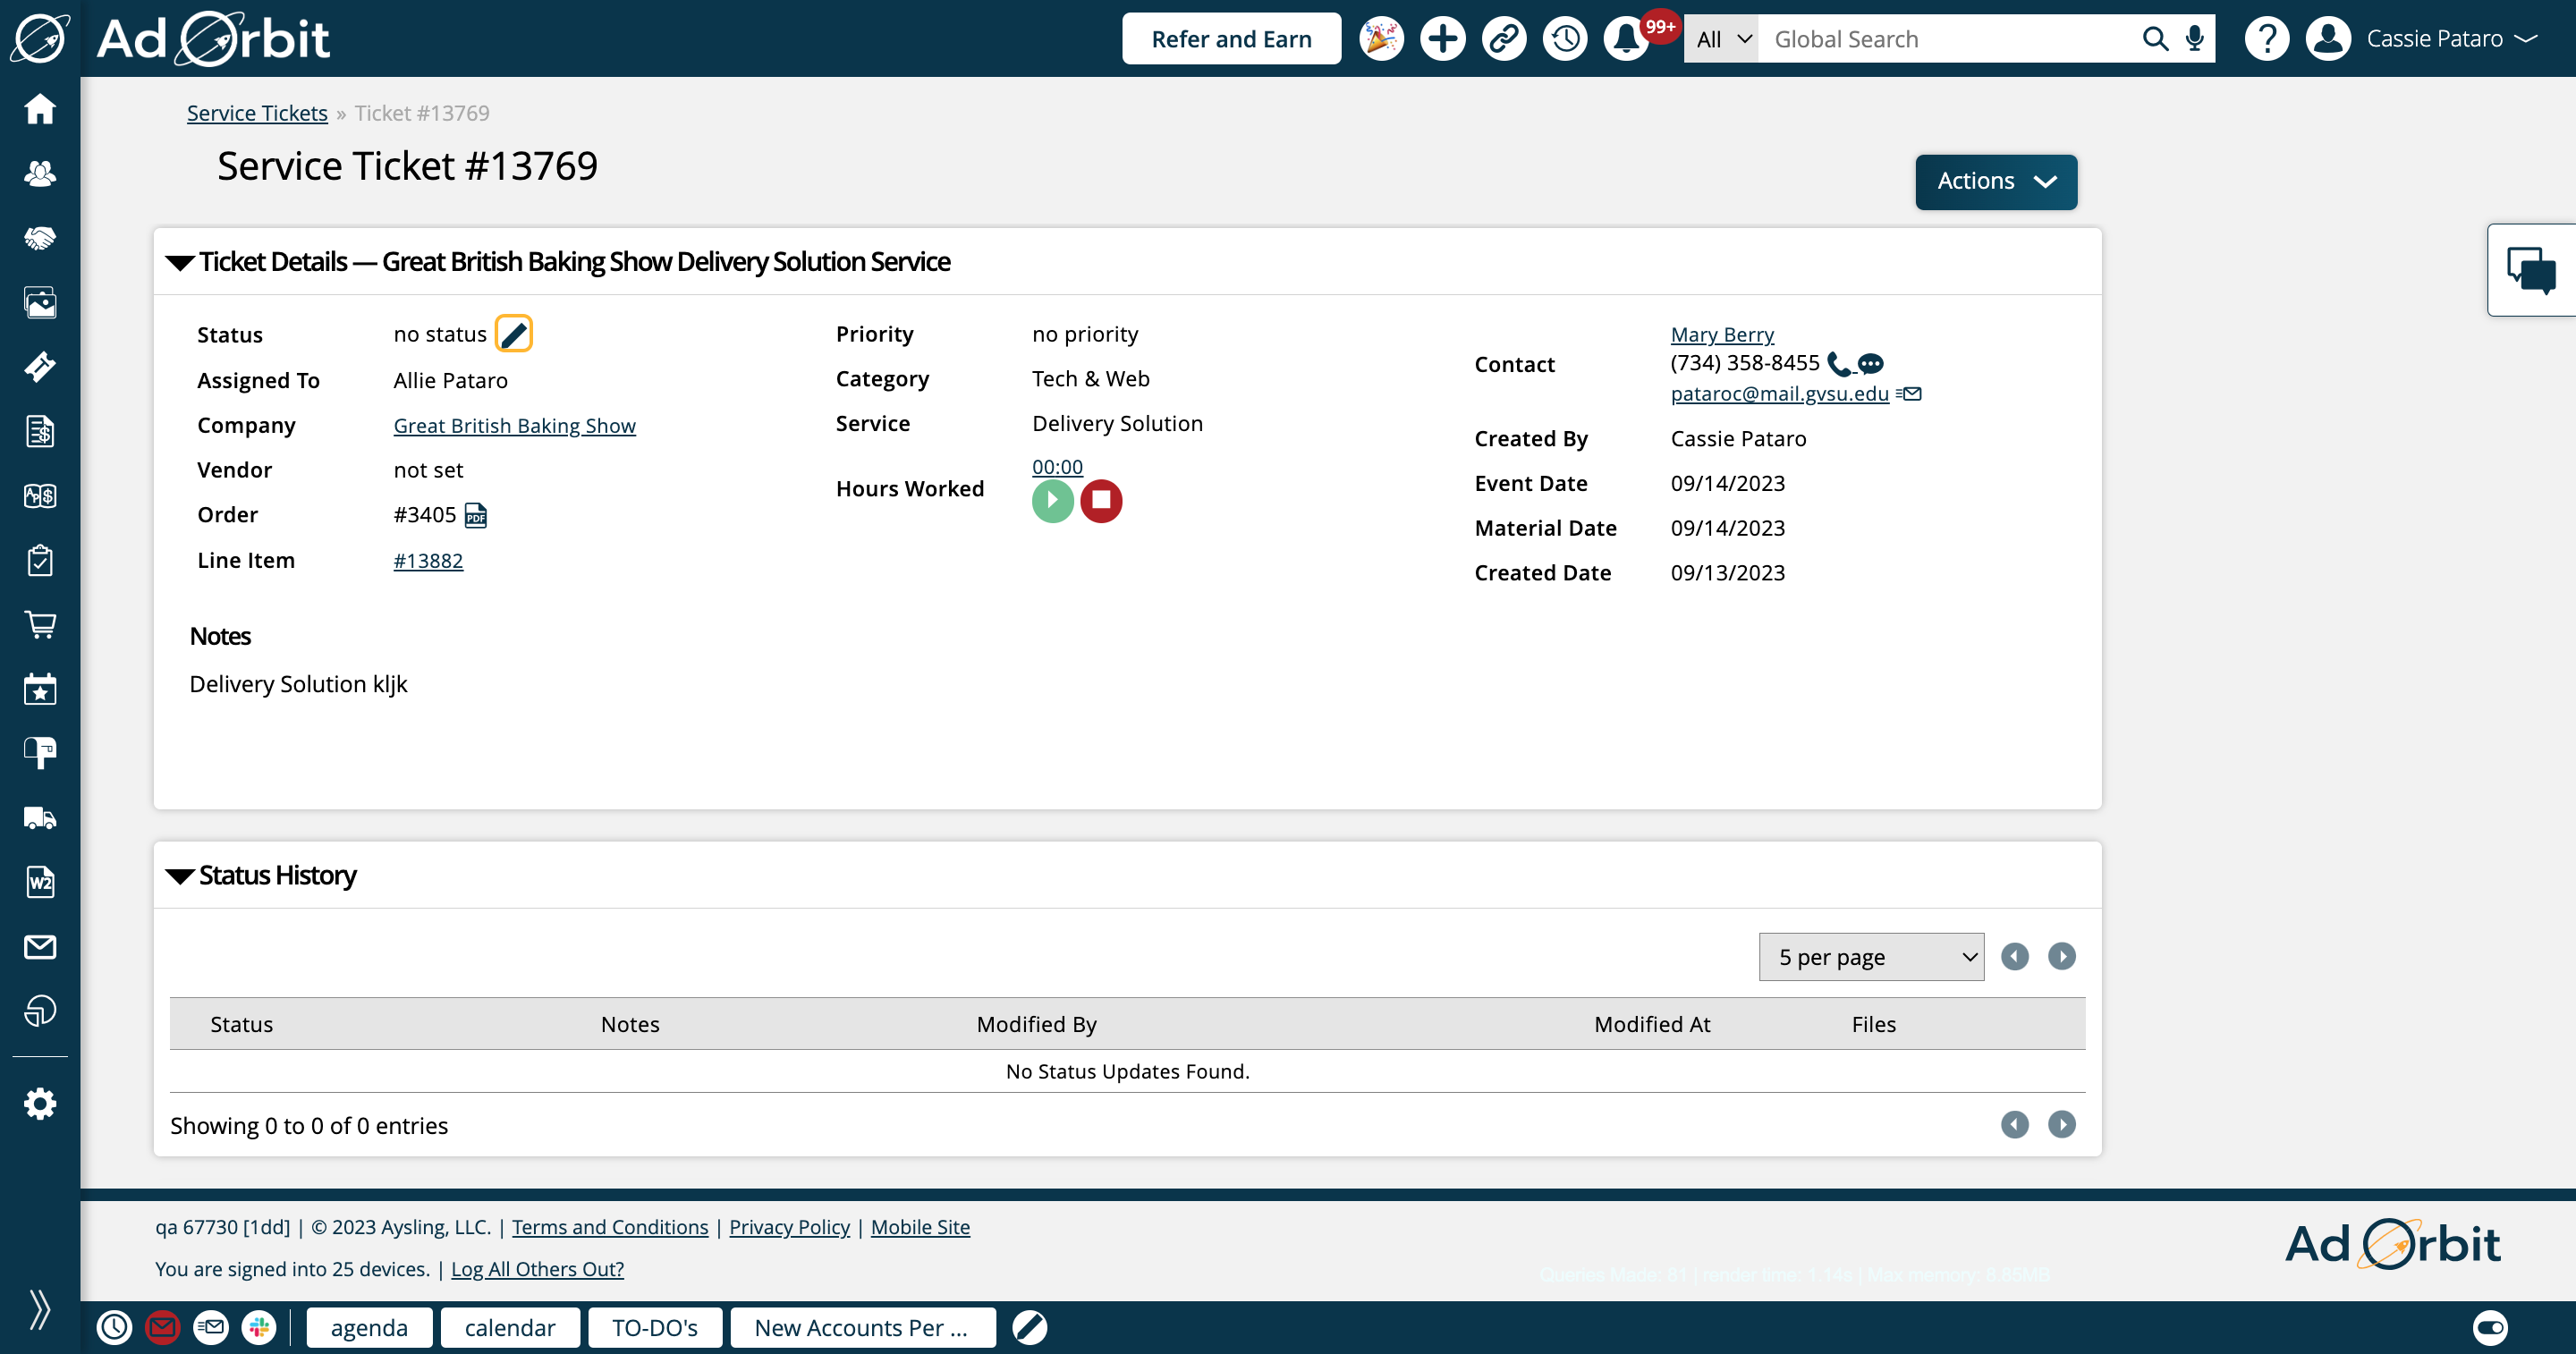
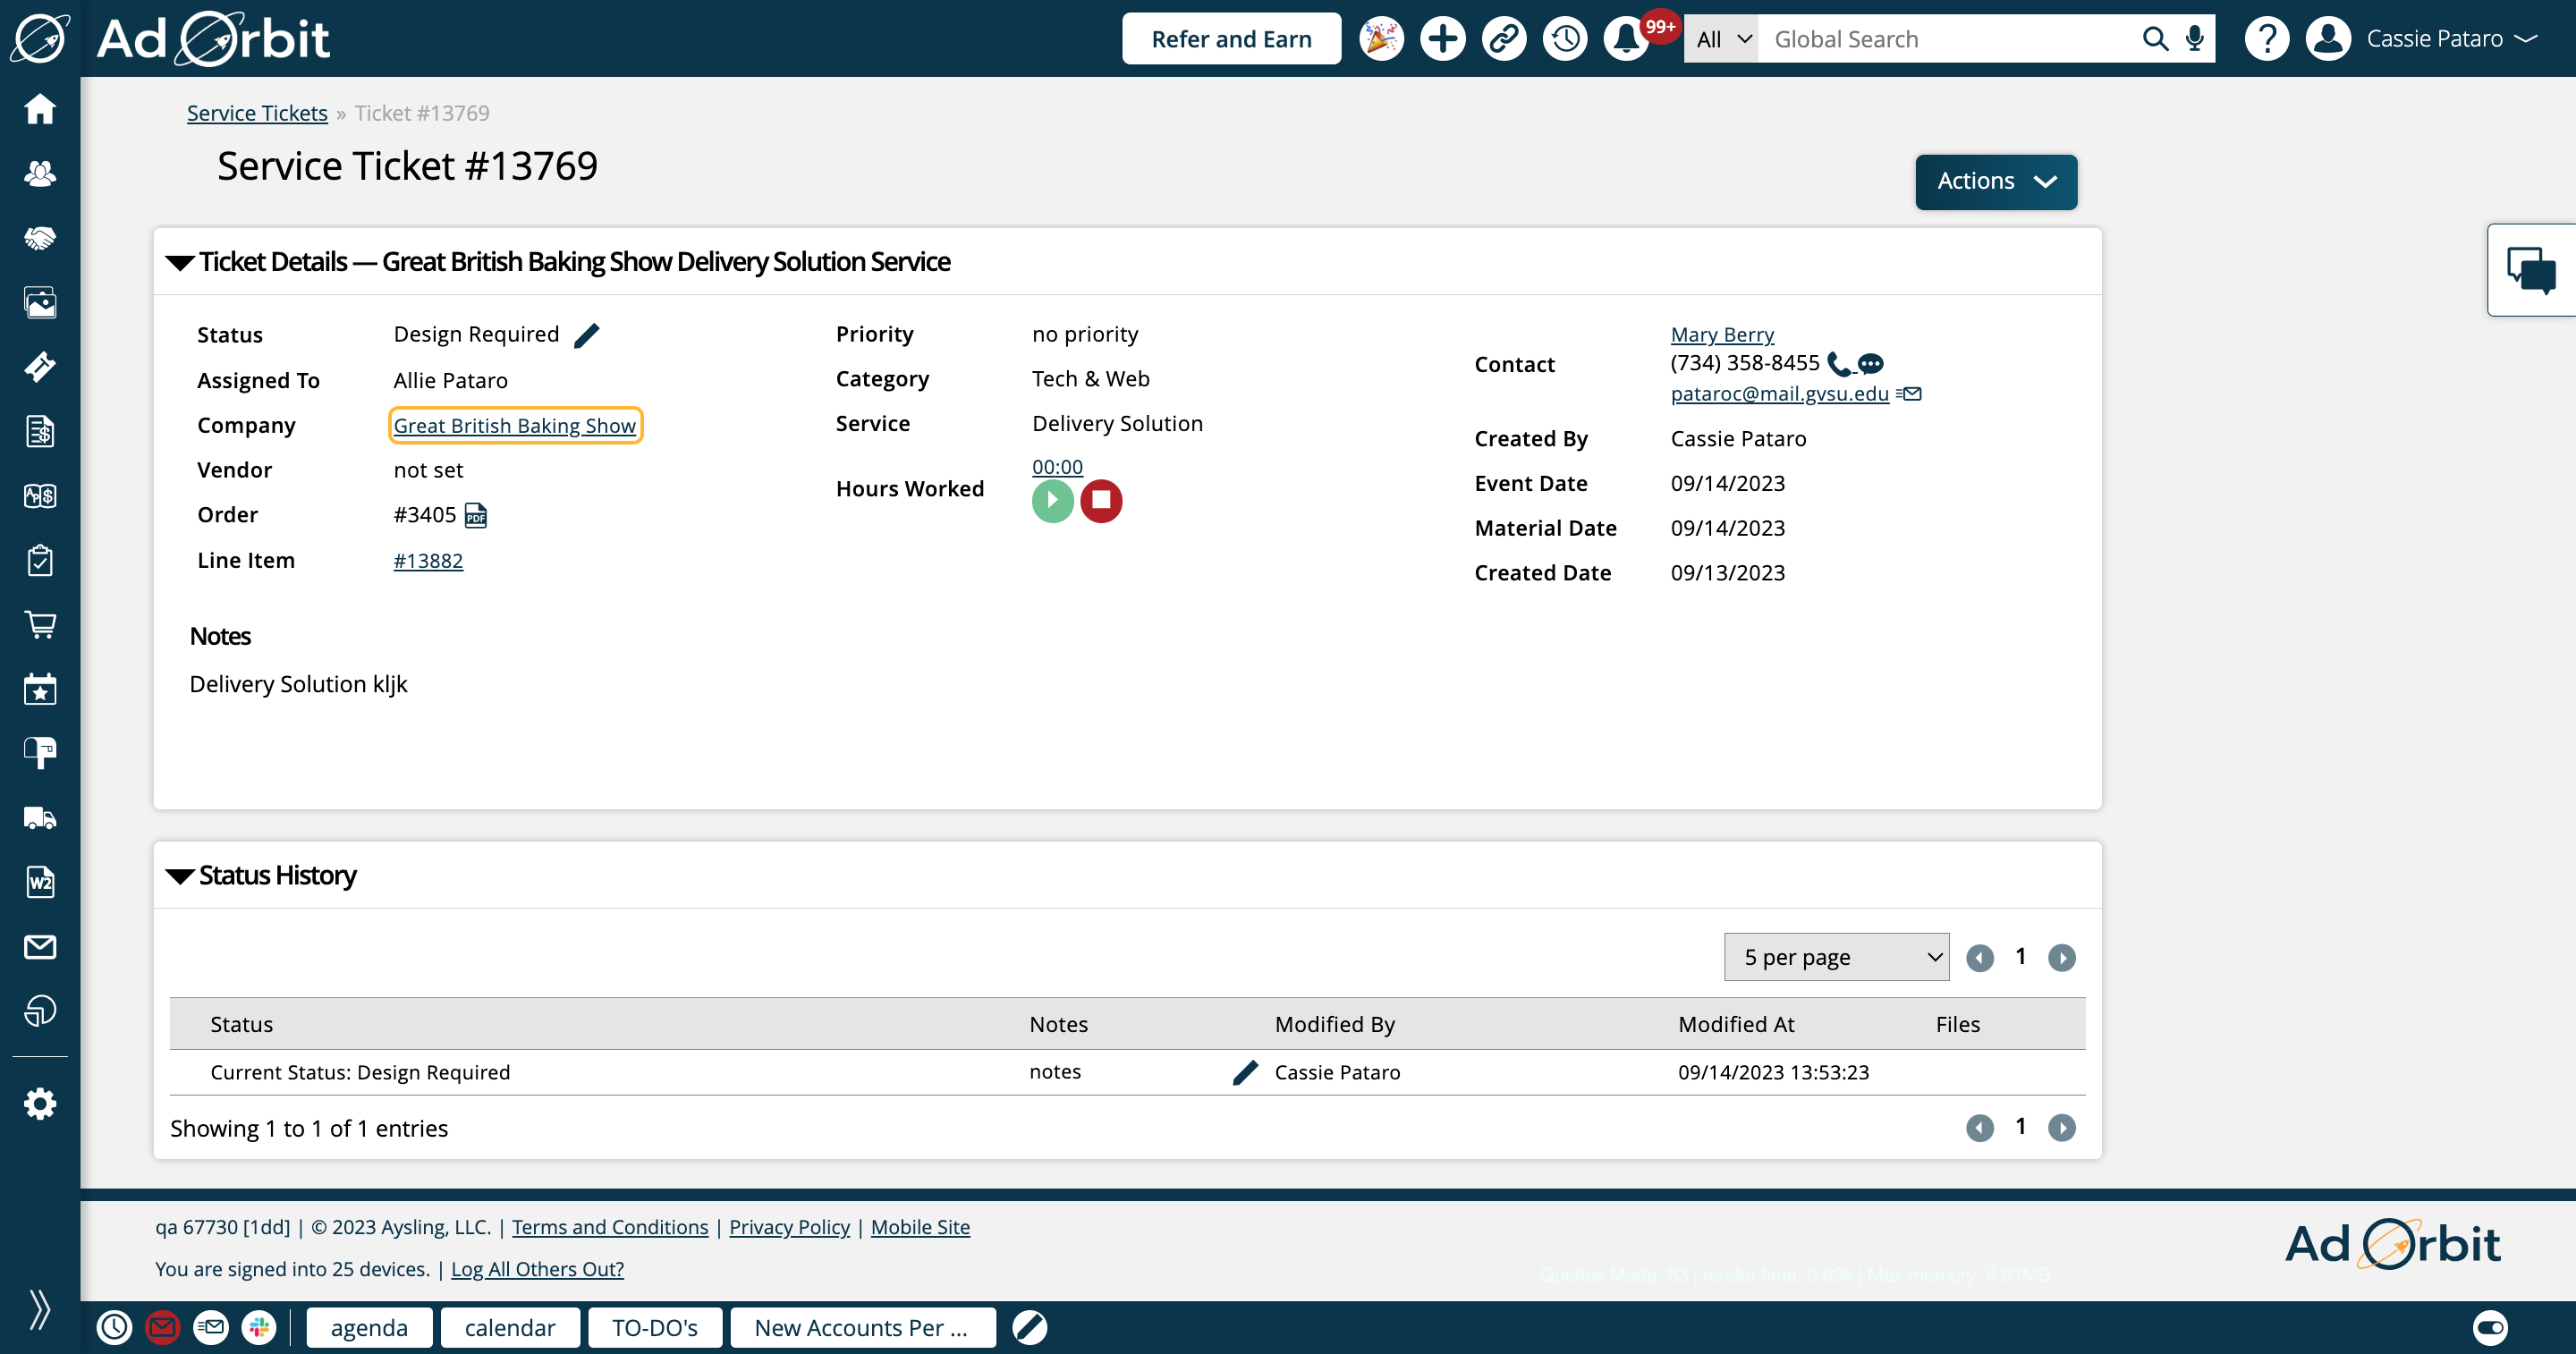
The company name in this section is a link, which when clicked on will open the company's Overview page.
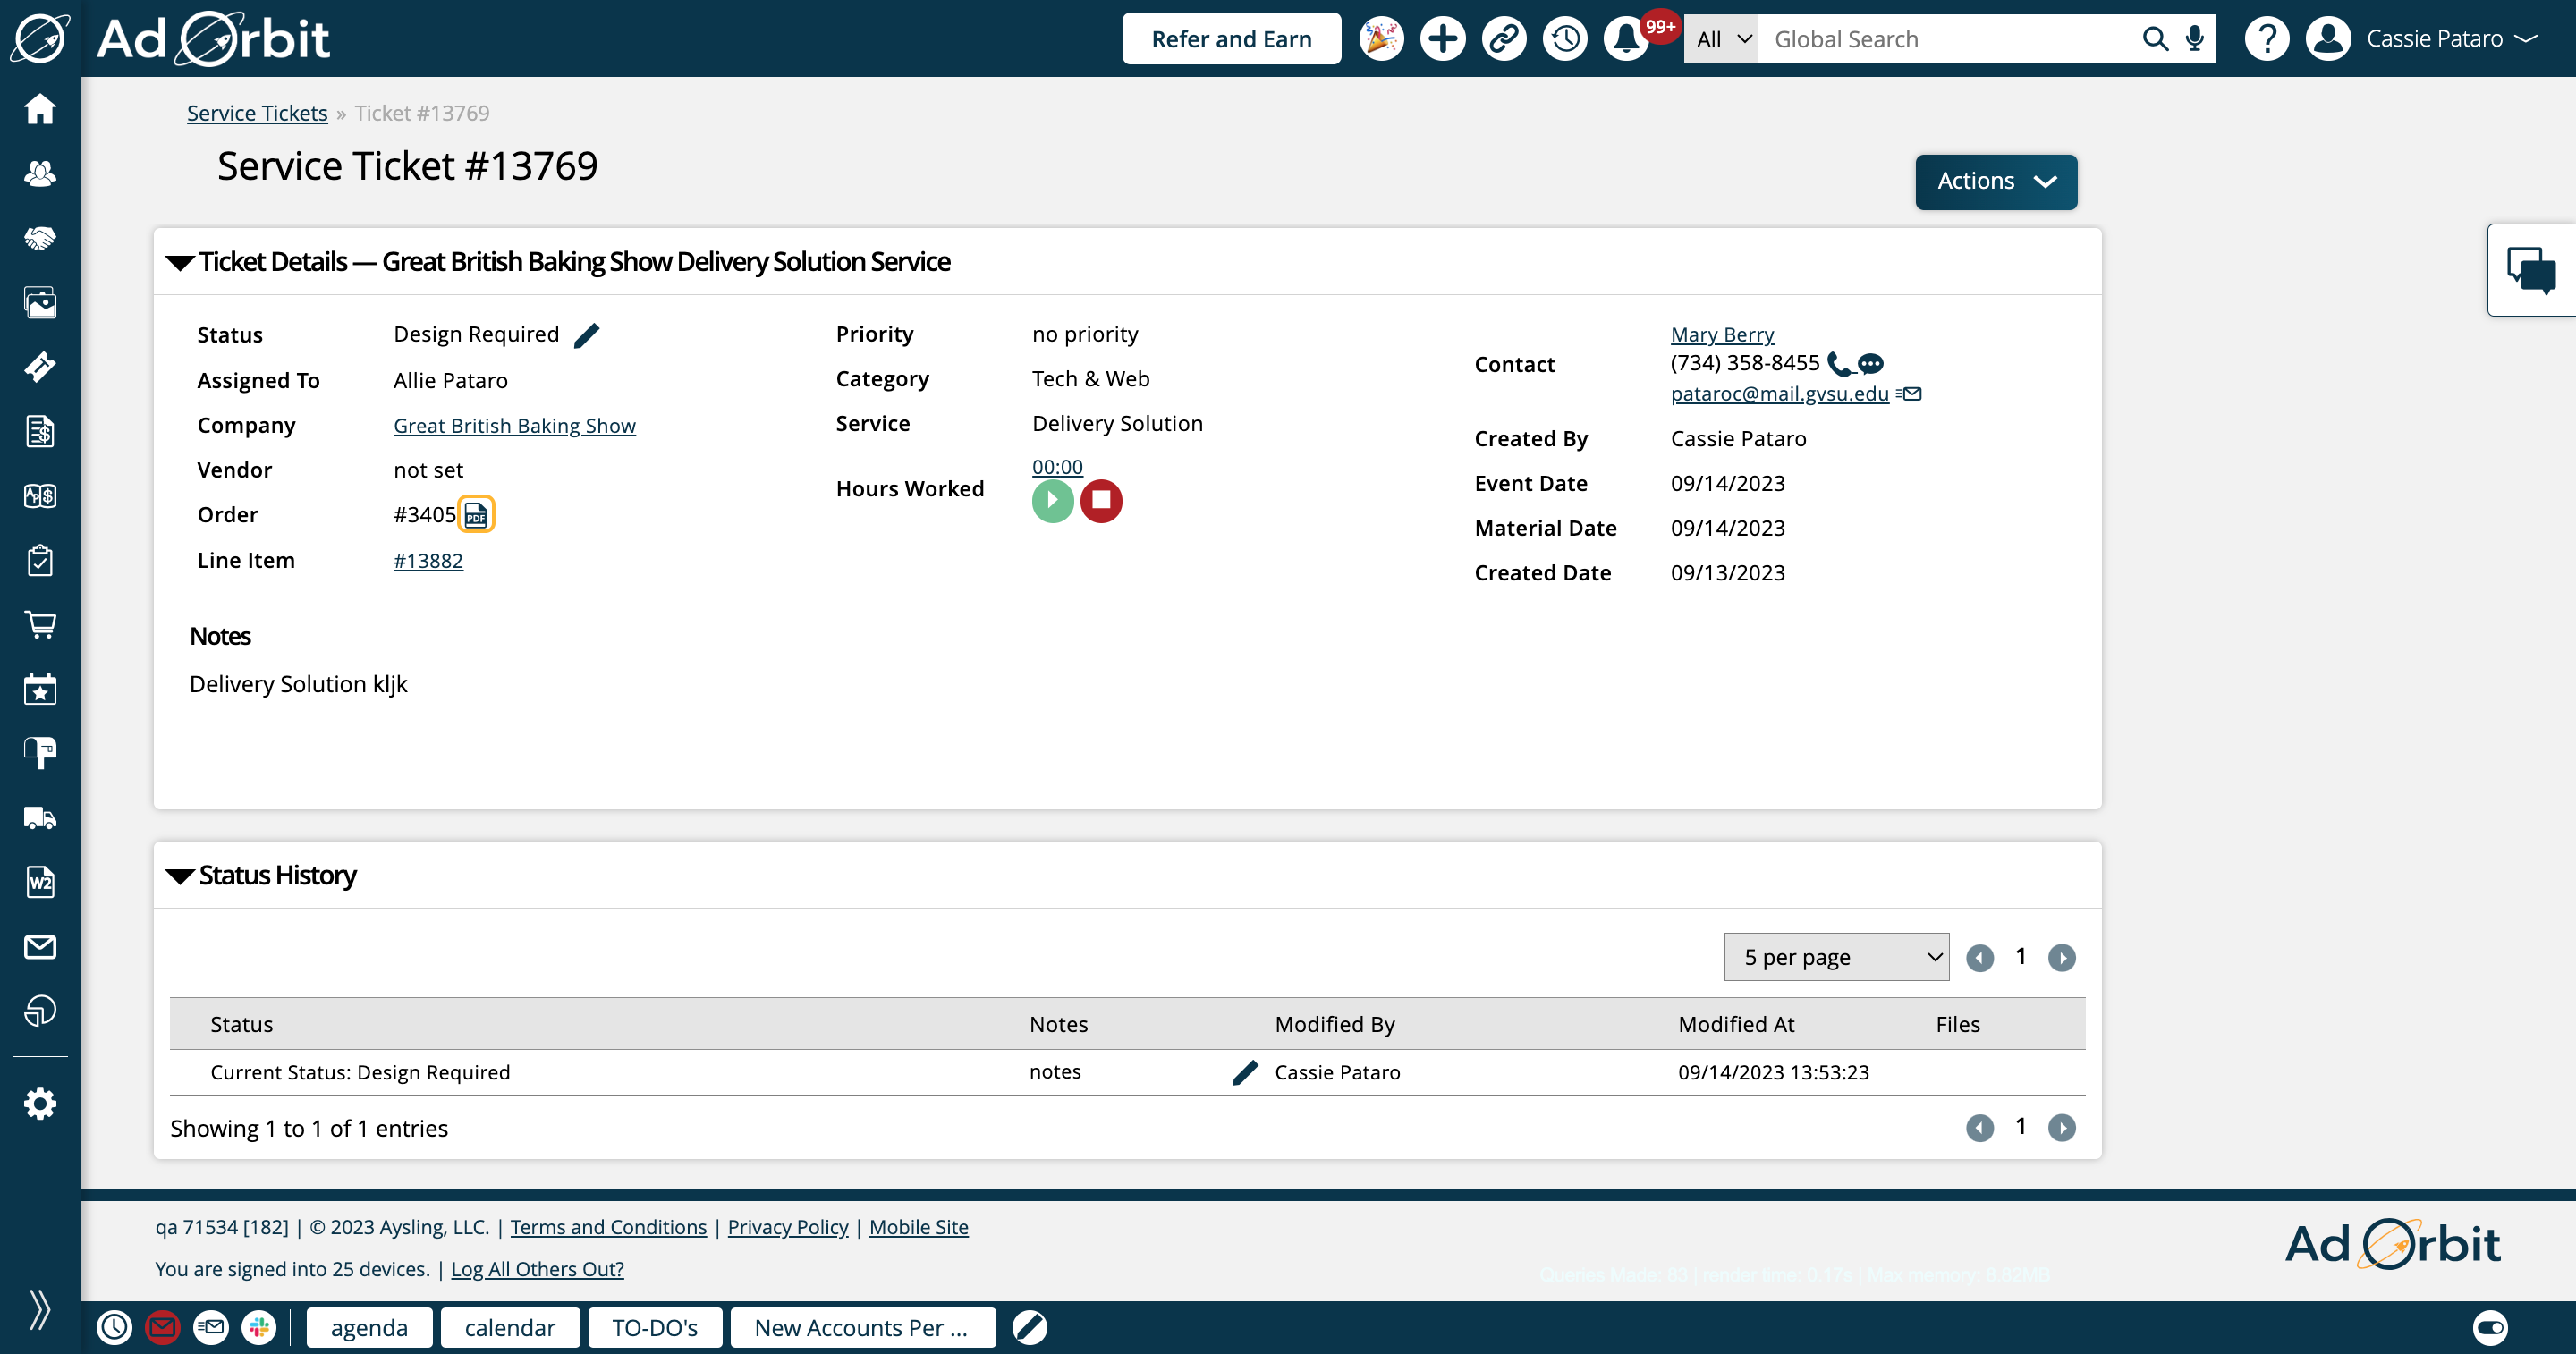
If you need to view the contract PDF for the line item, click on the PDF icon next to the order number.
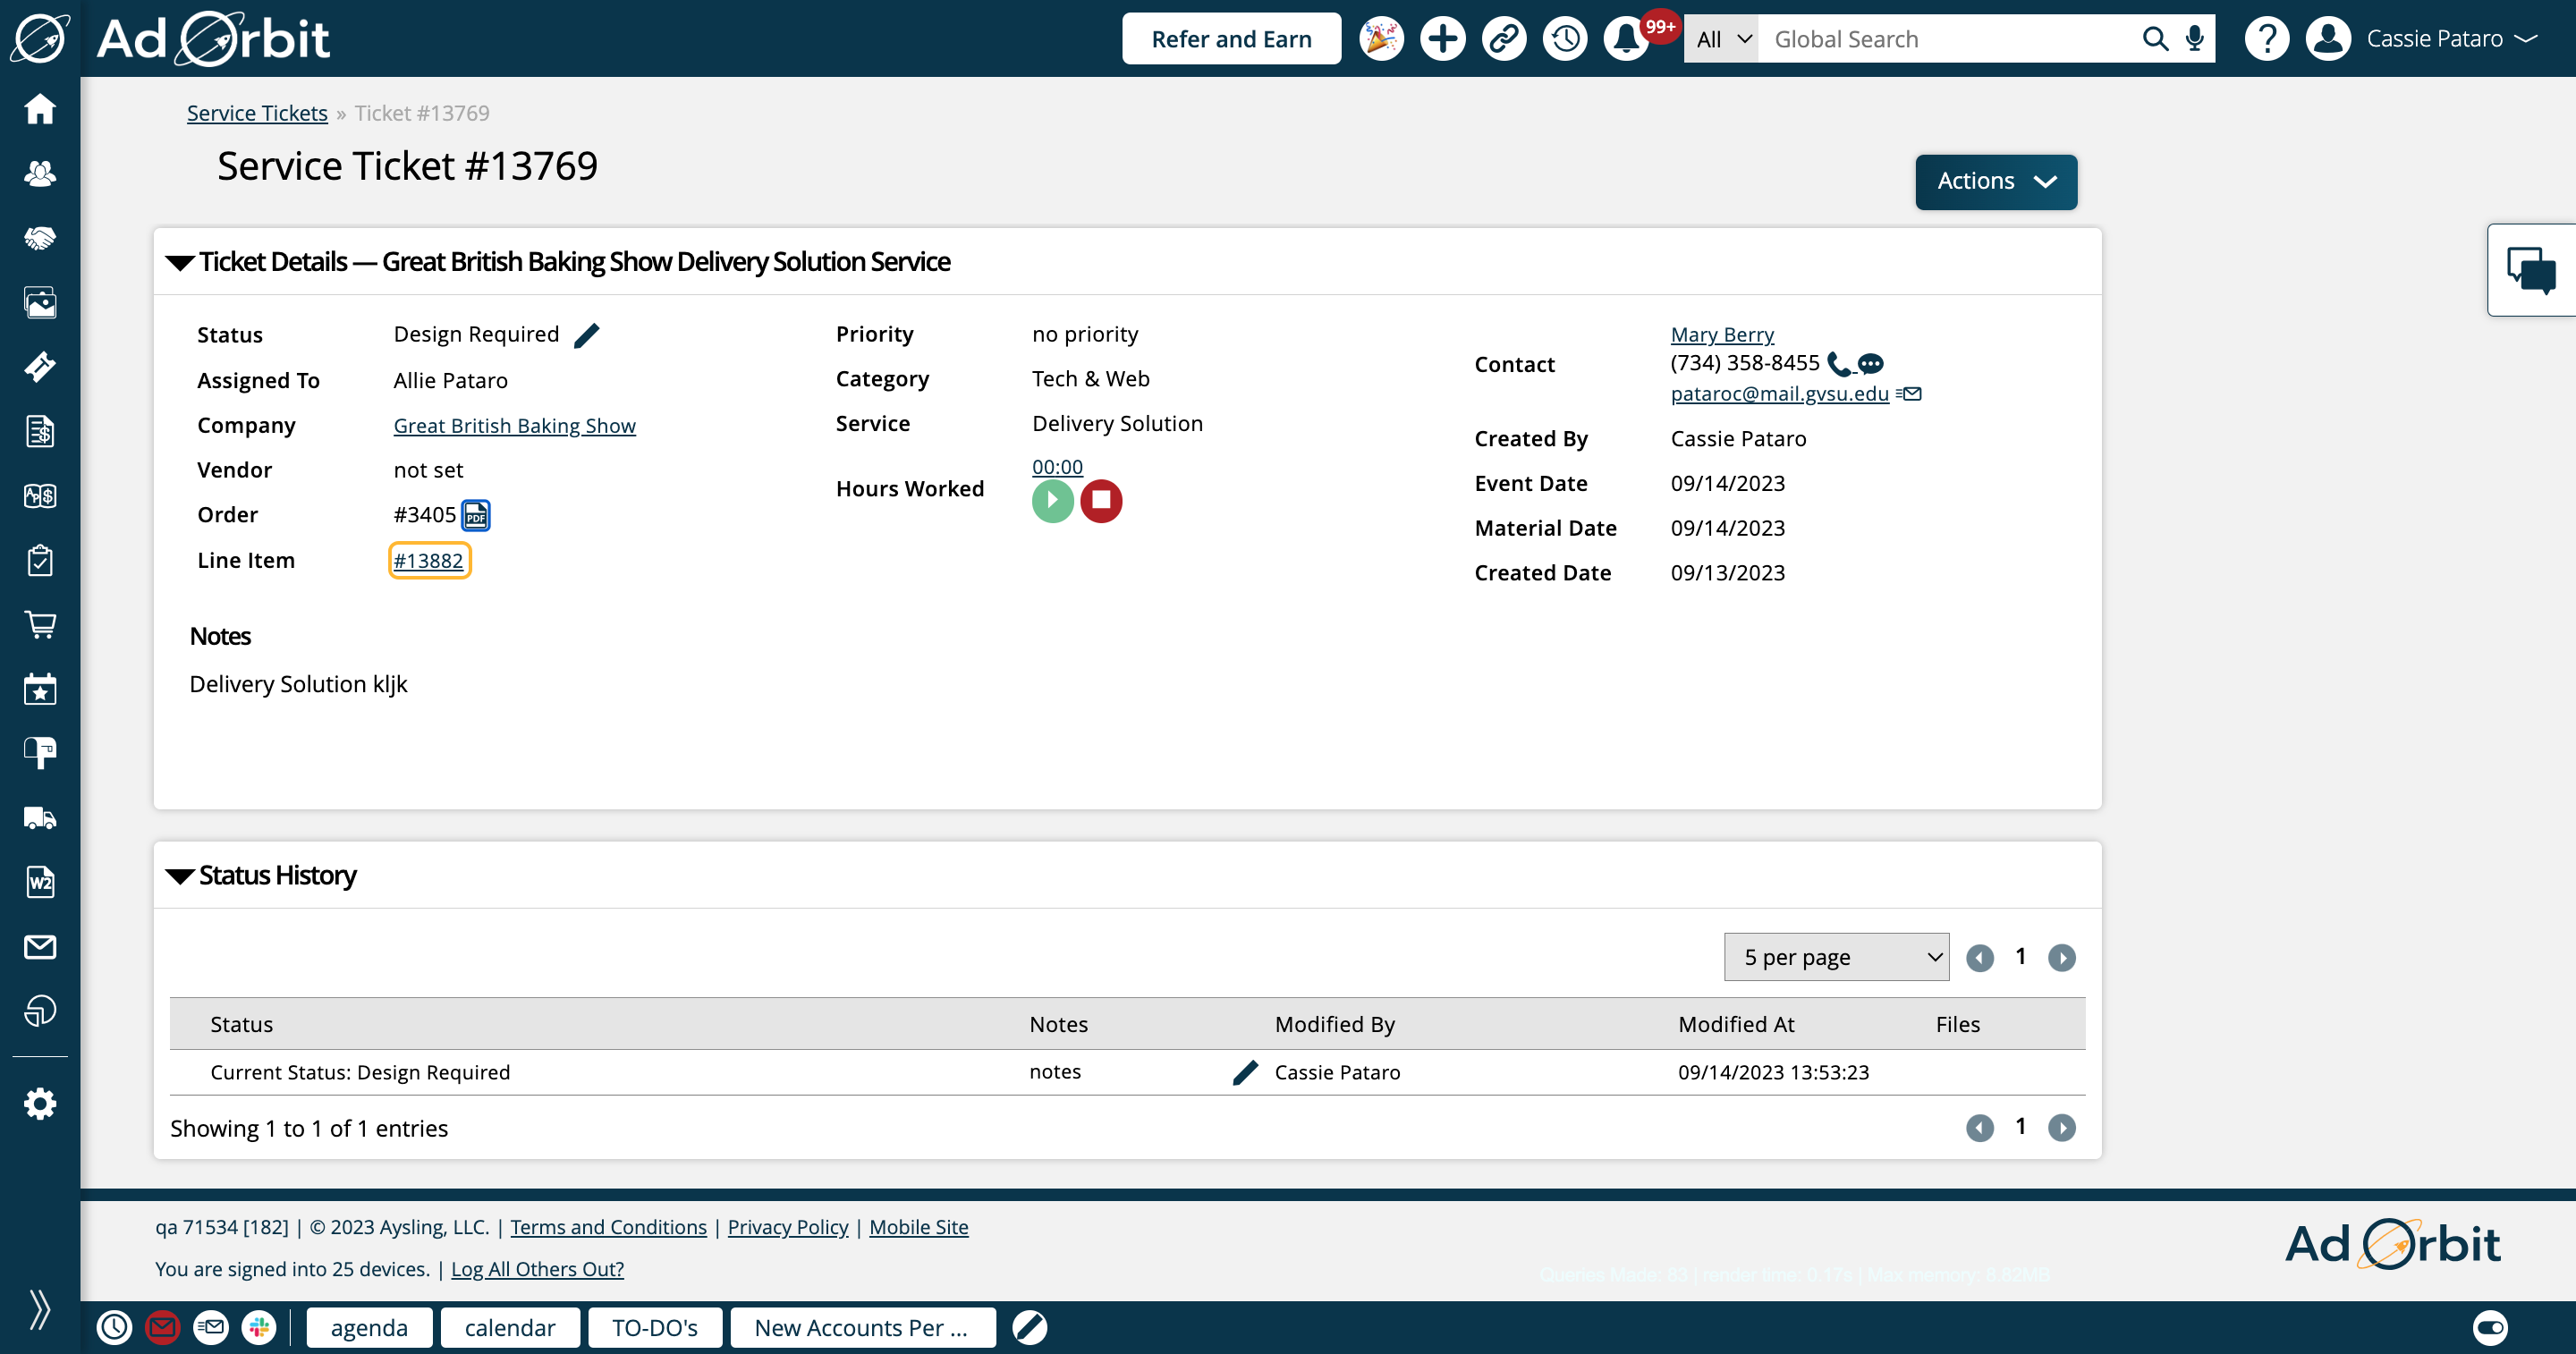
You can also view and edit (permissions depending), the line item by clicking on the line item number.
If your system configuration 'Enable Tracking of Time Worked on Tickets' is set to Yes, you'll also see the timer actions in this section of the page.
You can start, stop, and pause time here. Clicking on the number next to hours worked will bring you to a page where you can view records of all the time recorded on the ticket.
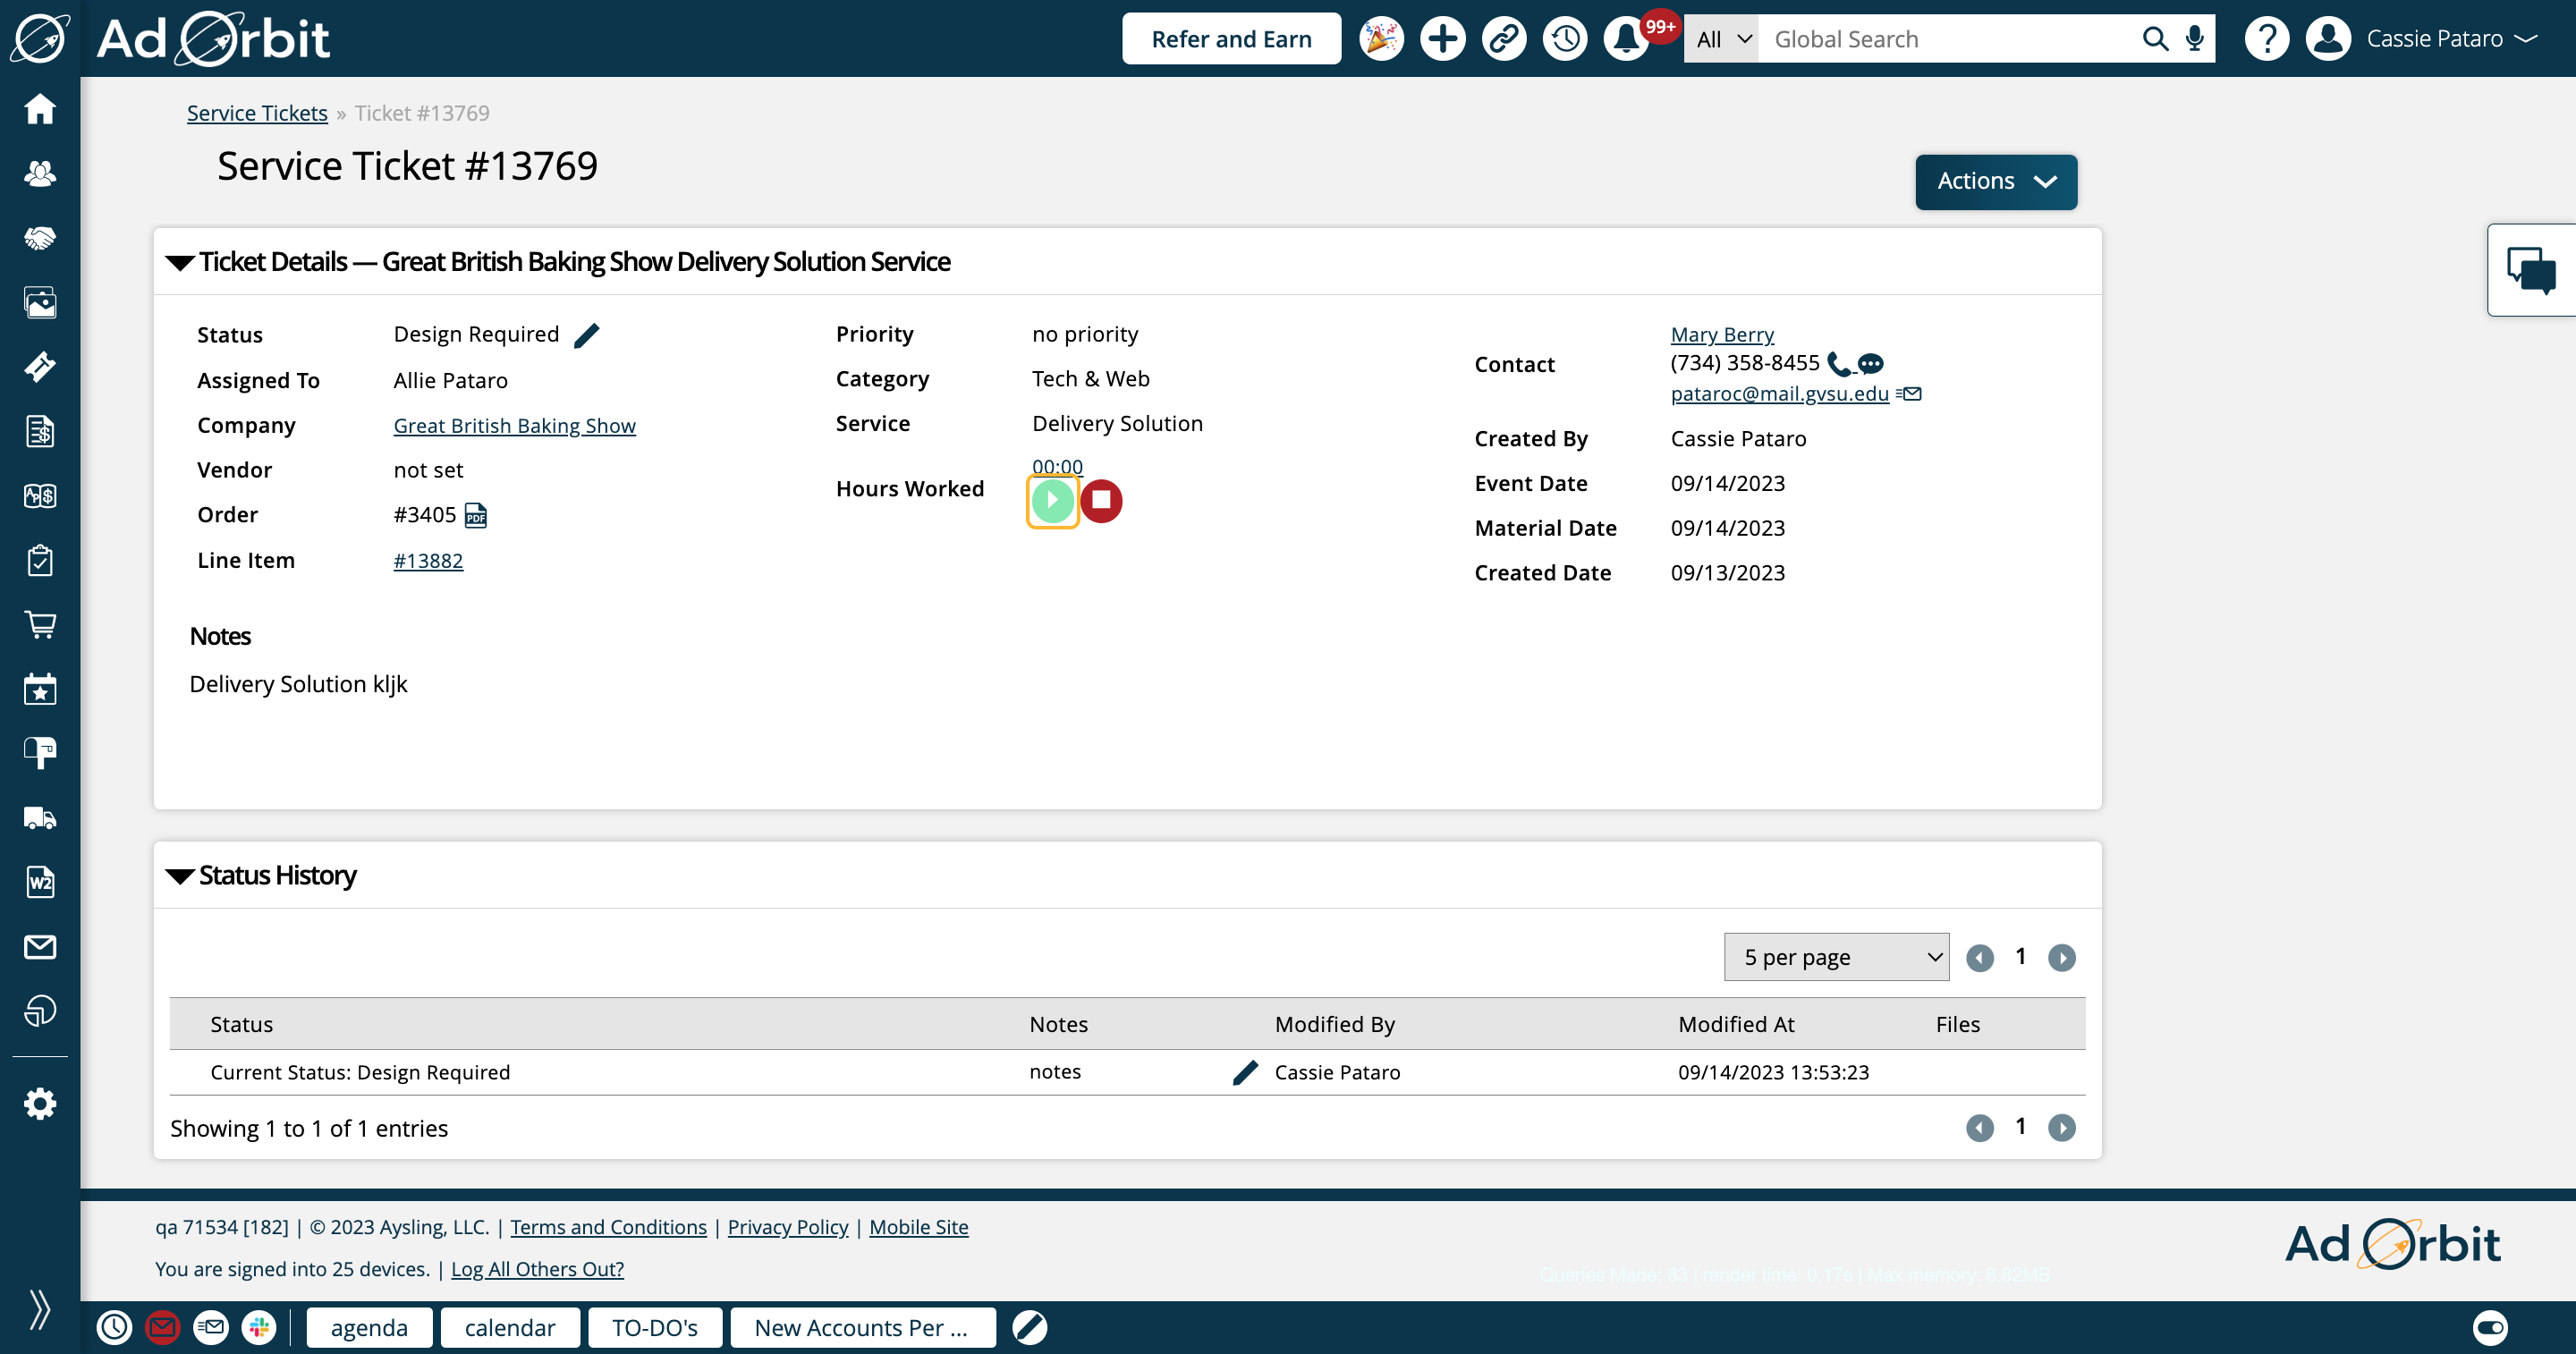
The Actions dropdown is where you can perform any other actions needed for the ticket that are not available in the Ticket Details section. Click on the Actions button to open the menu and view all of your available action options.
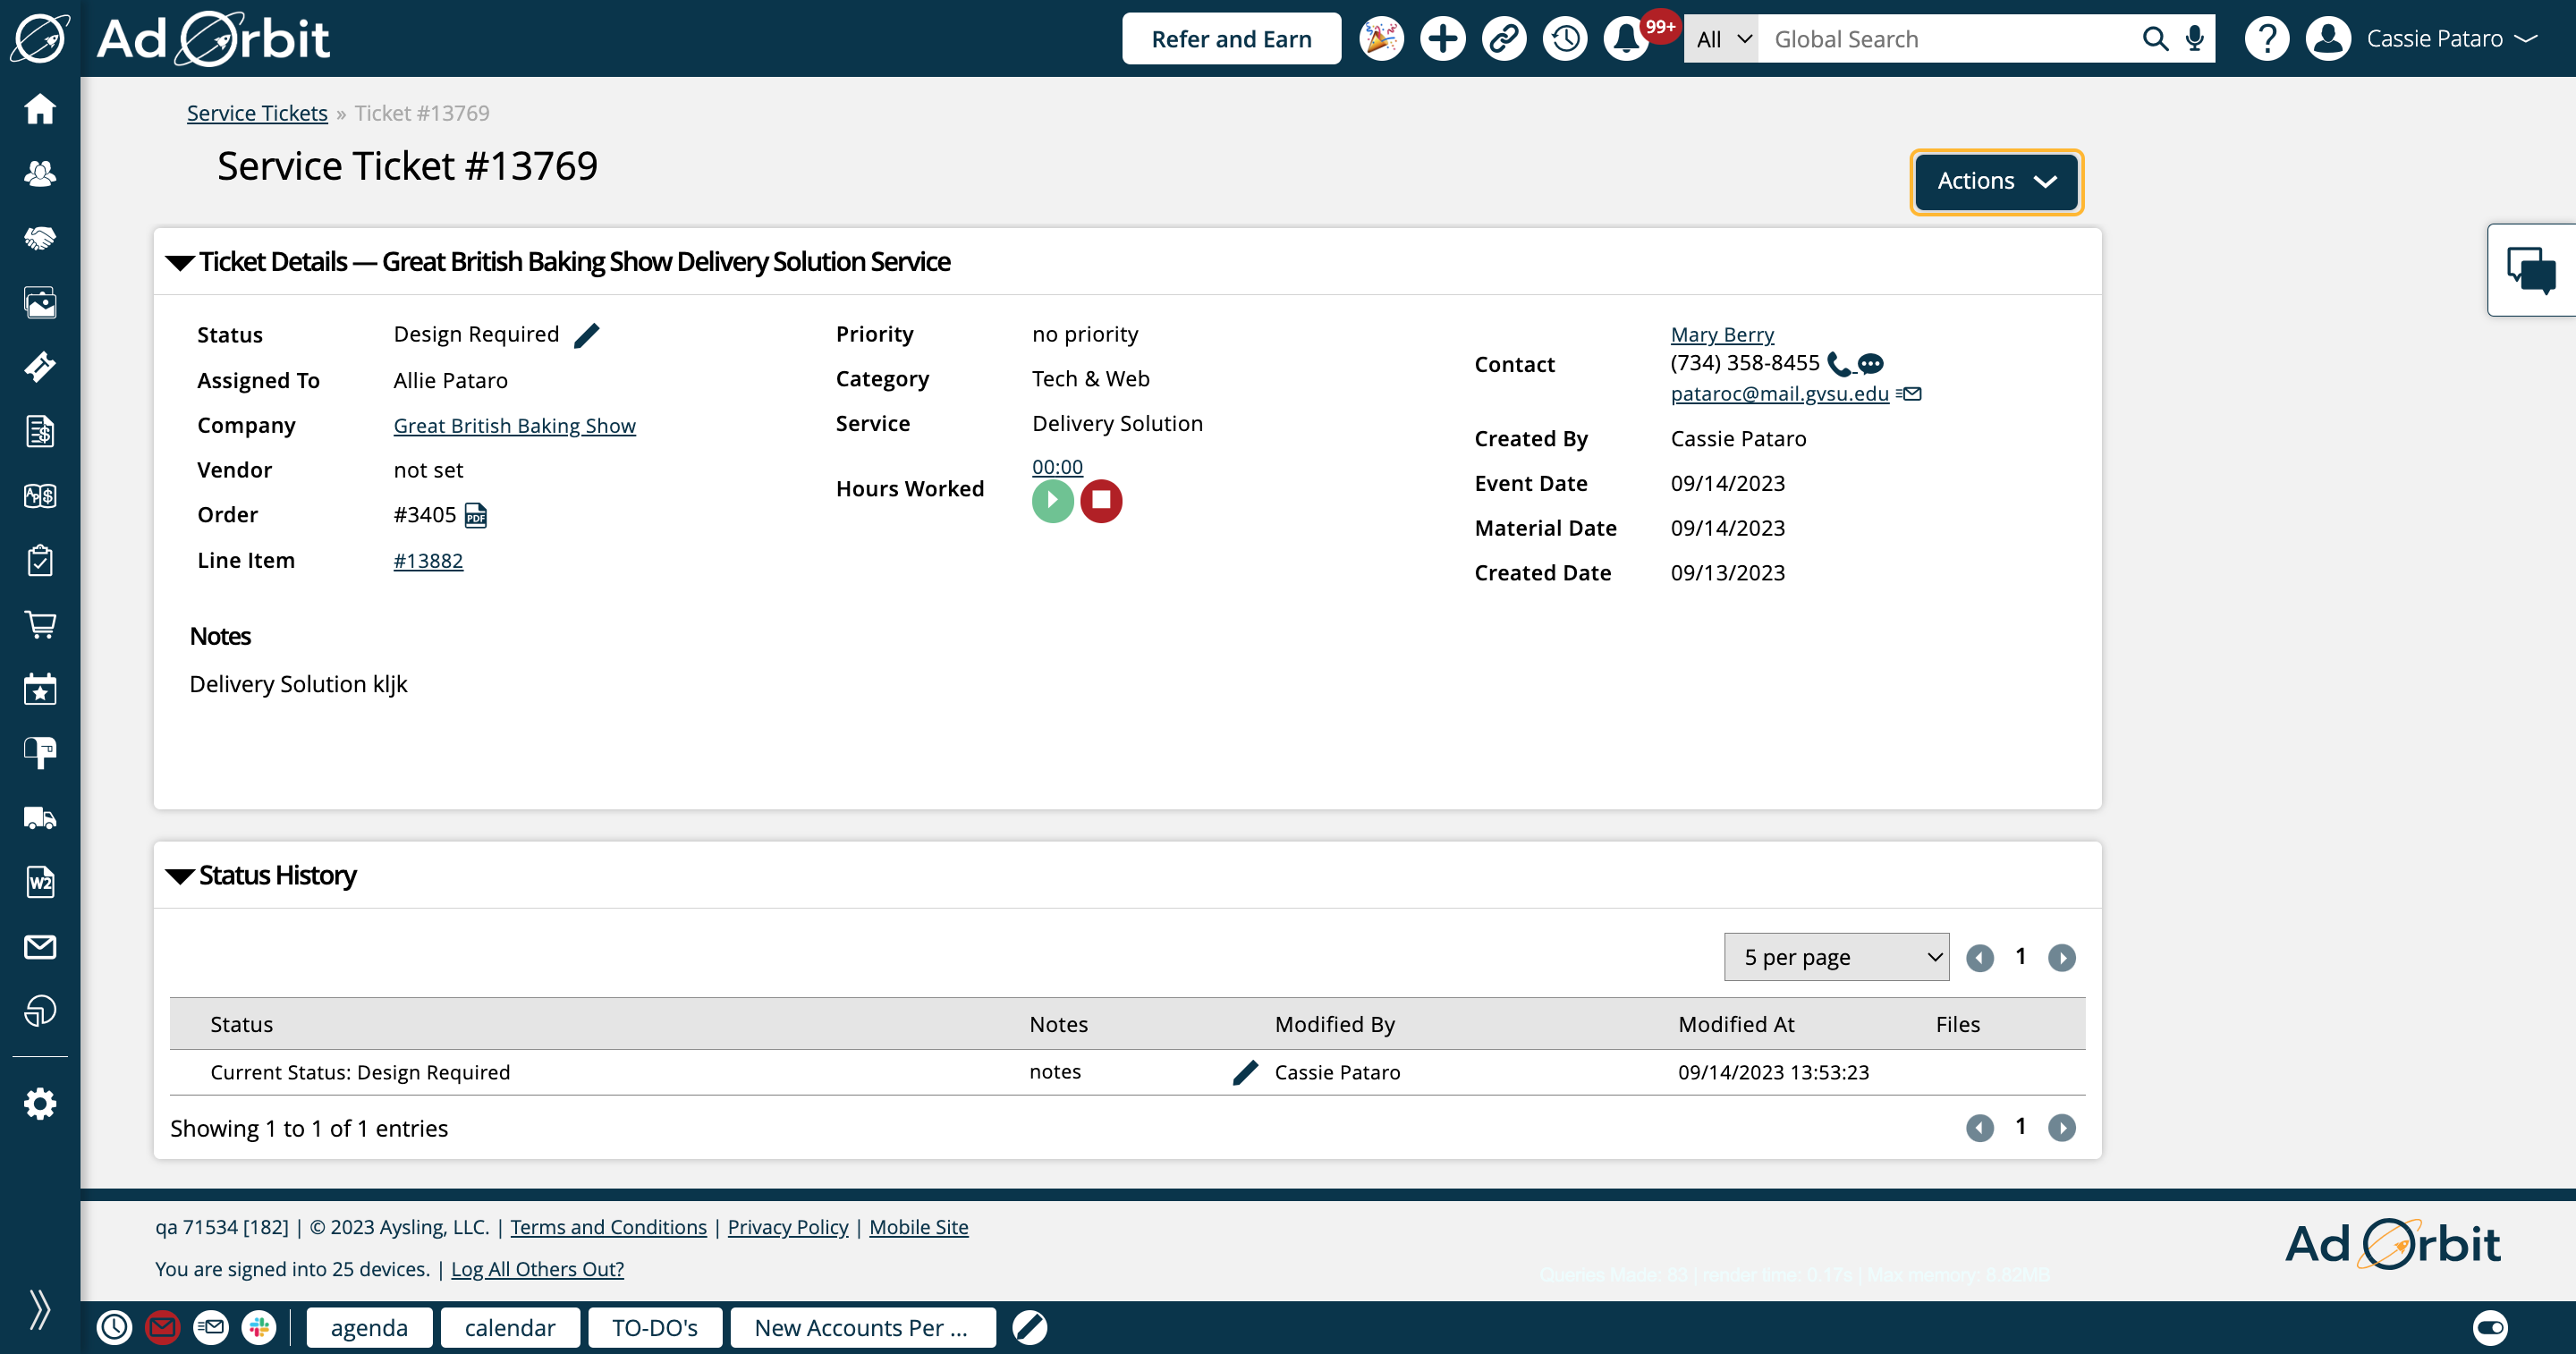
The first action you'll see is Edit Ticket.
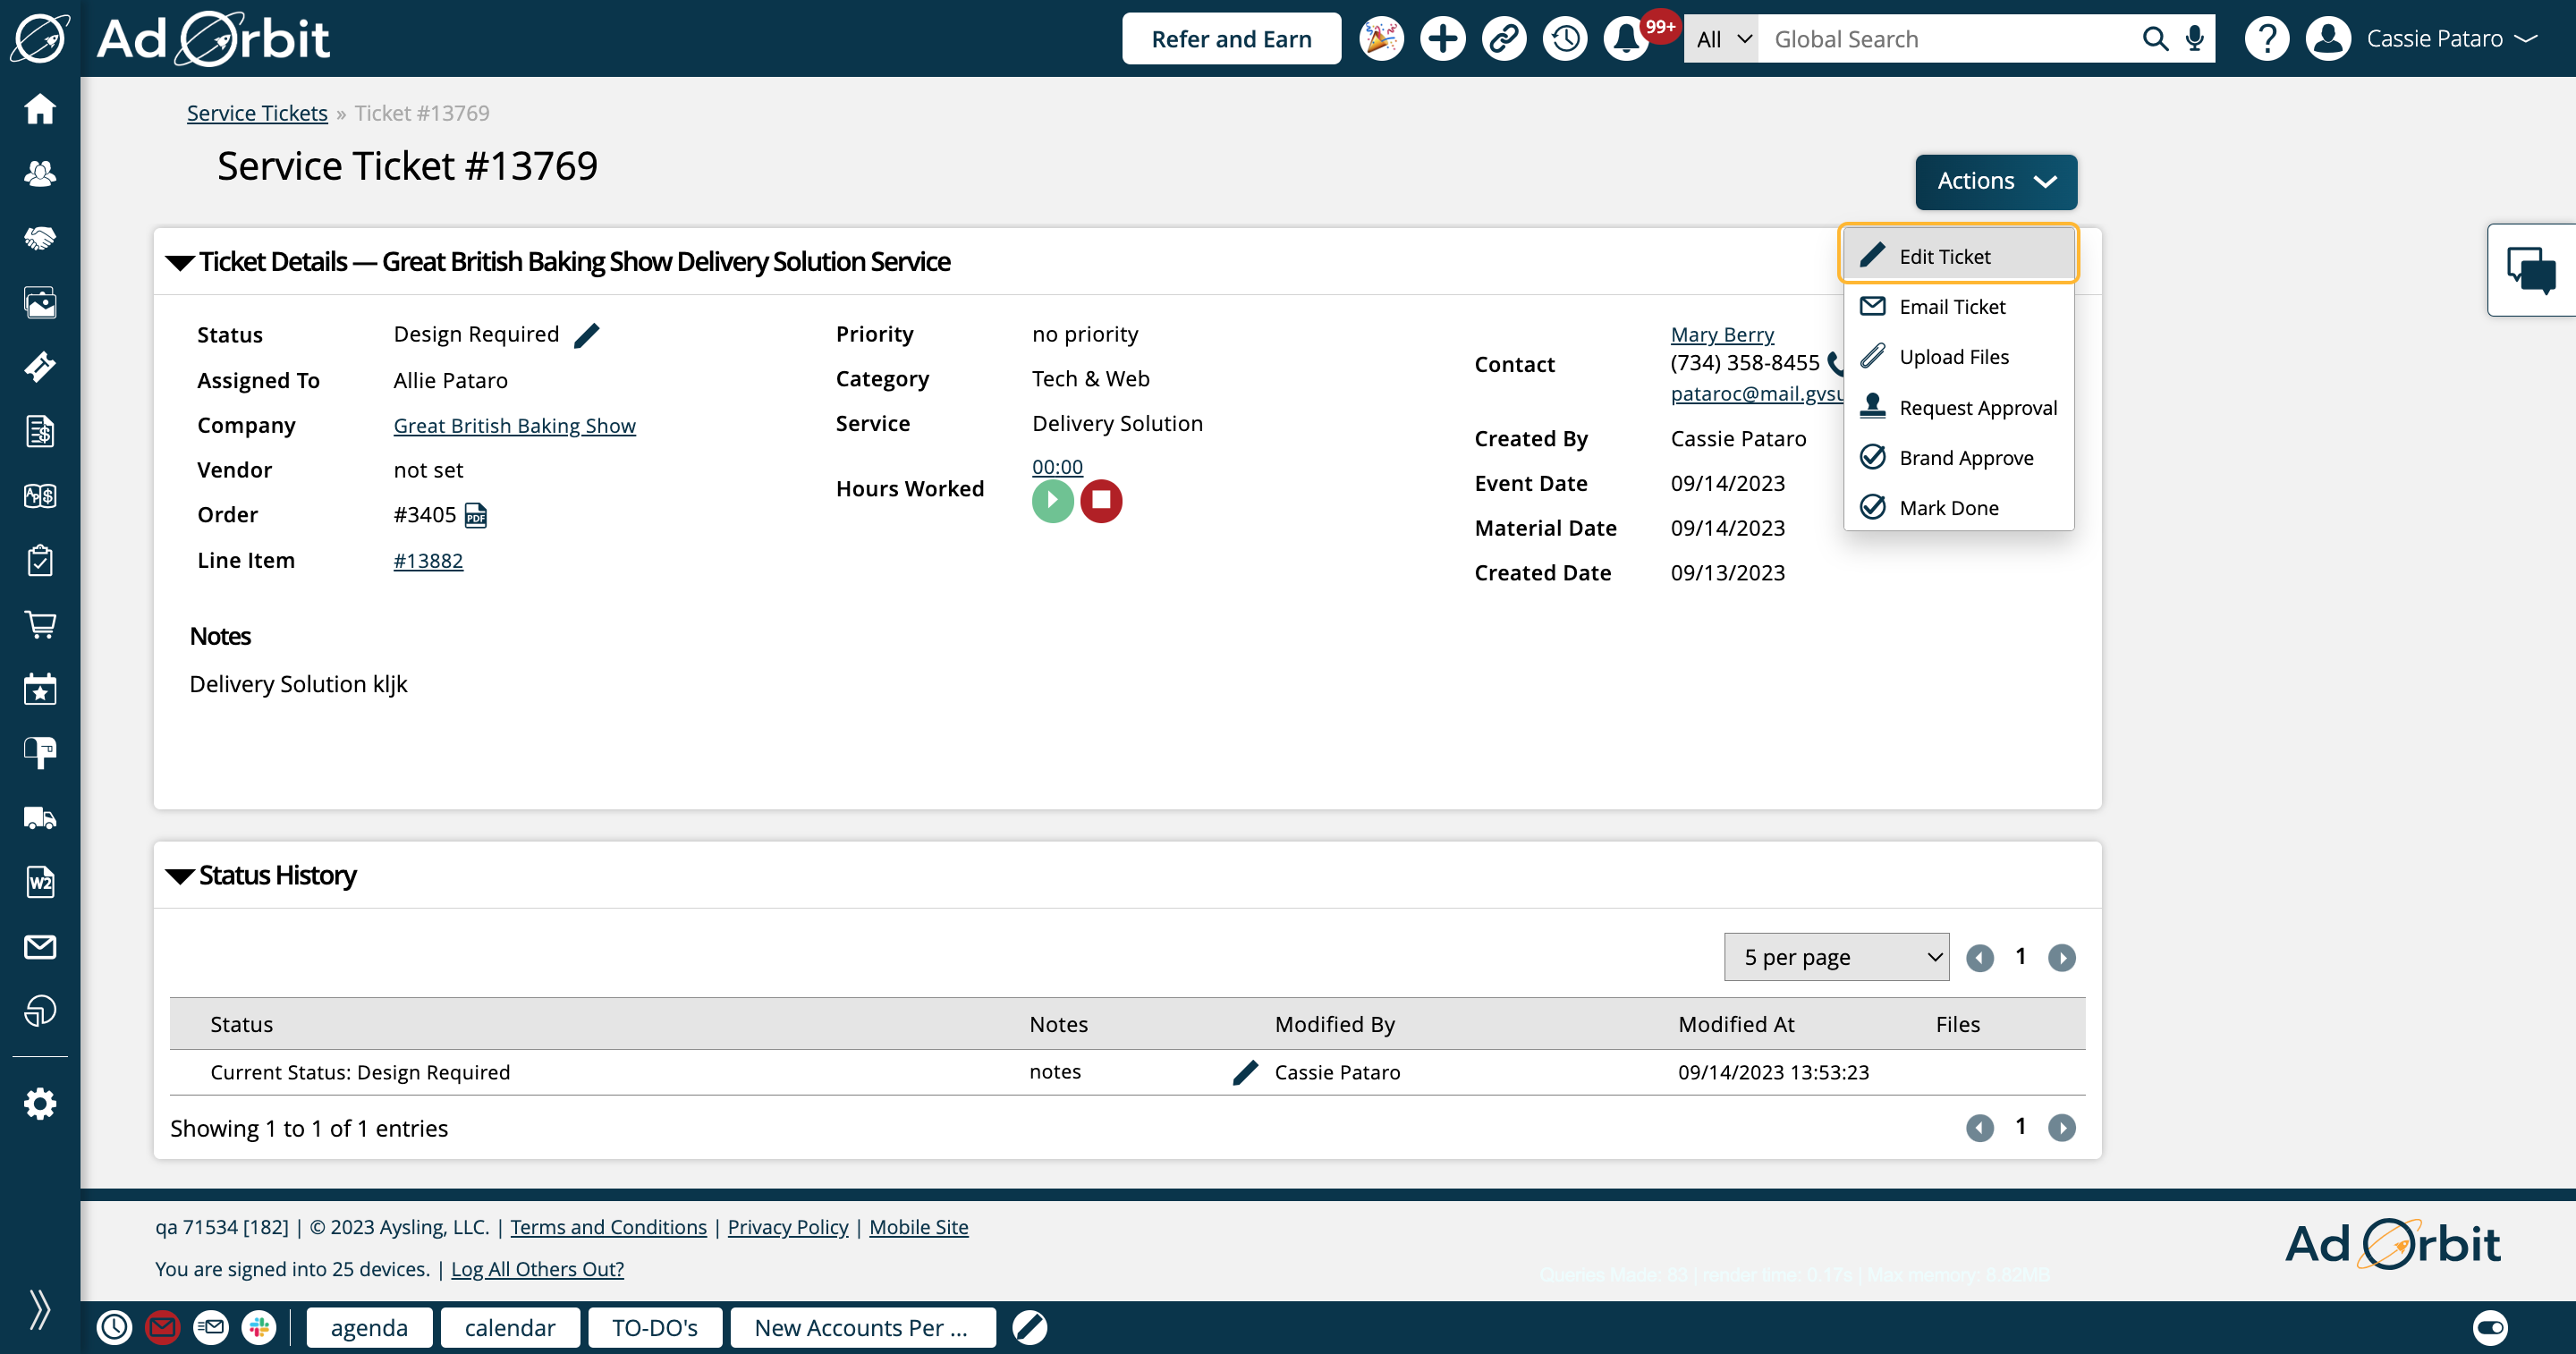
Edit Ticket will open a popup, where you can make changes to the ticket as a whole. These changes include items like the ticket description, assigned user and contact, ticket status, document and reporting links, as well as ticket dynamic attributes.
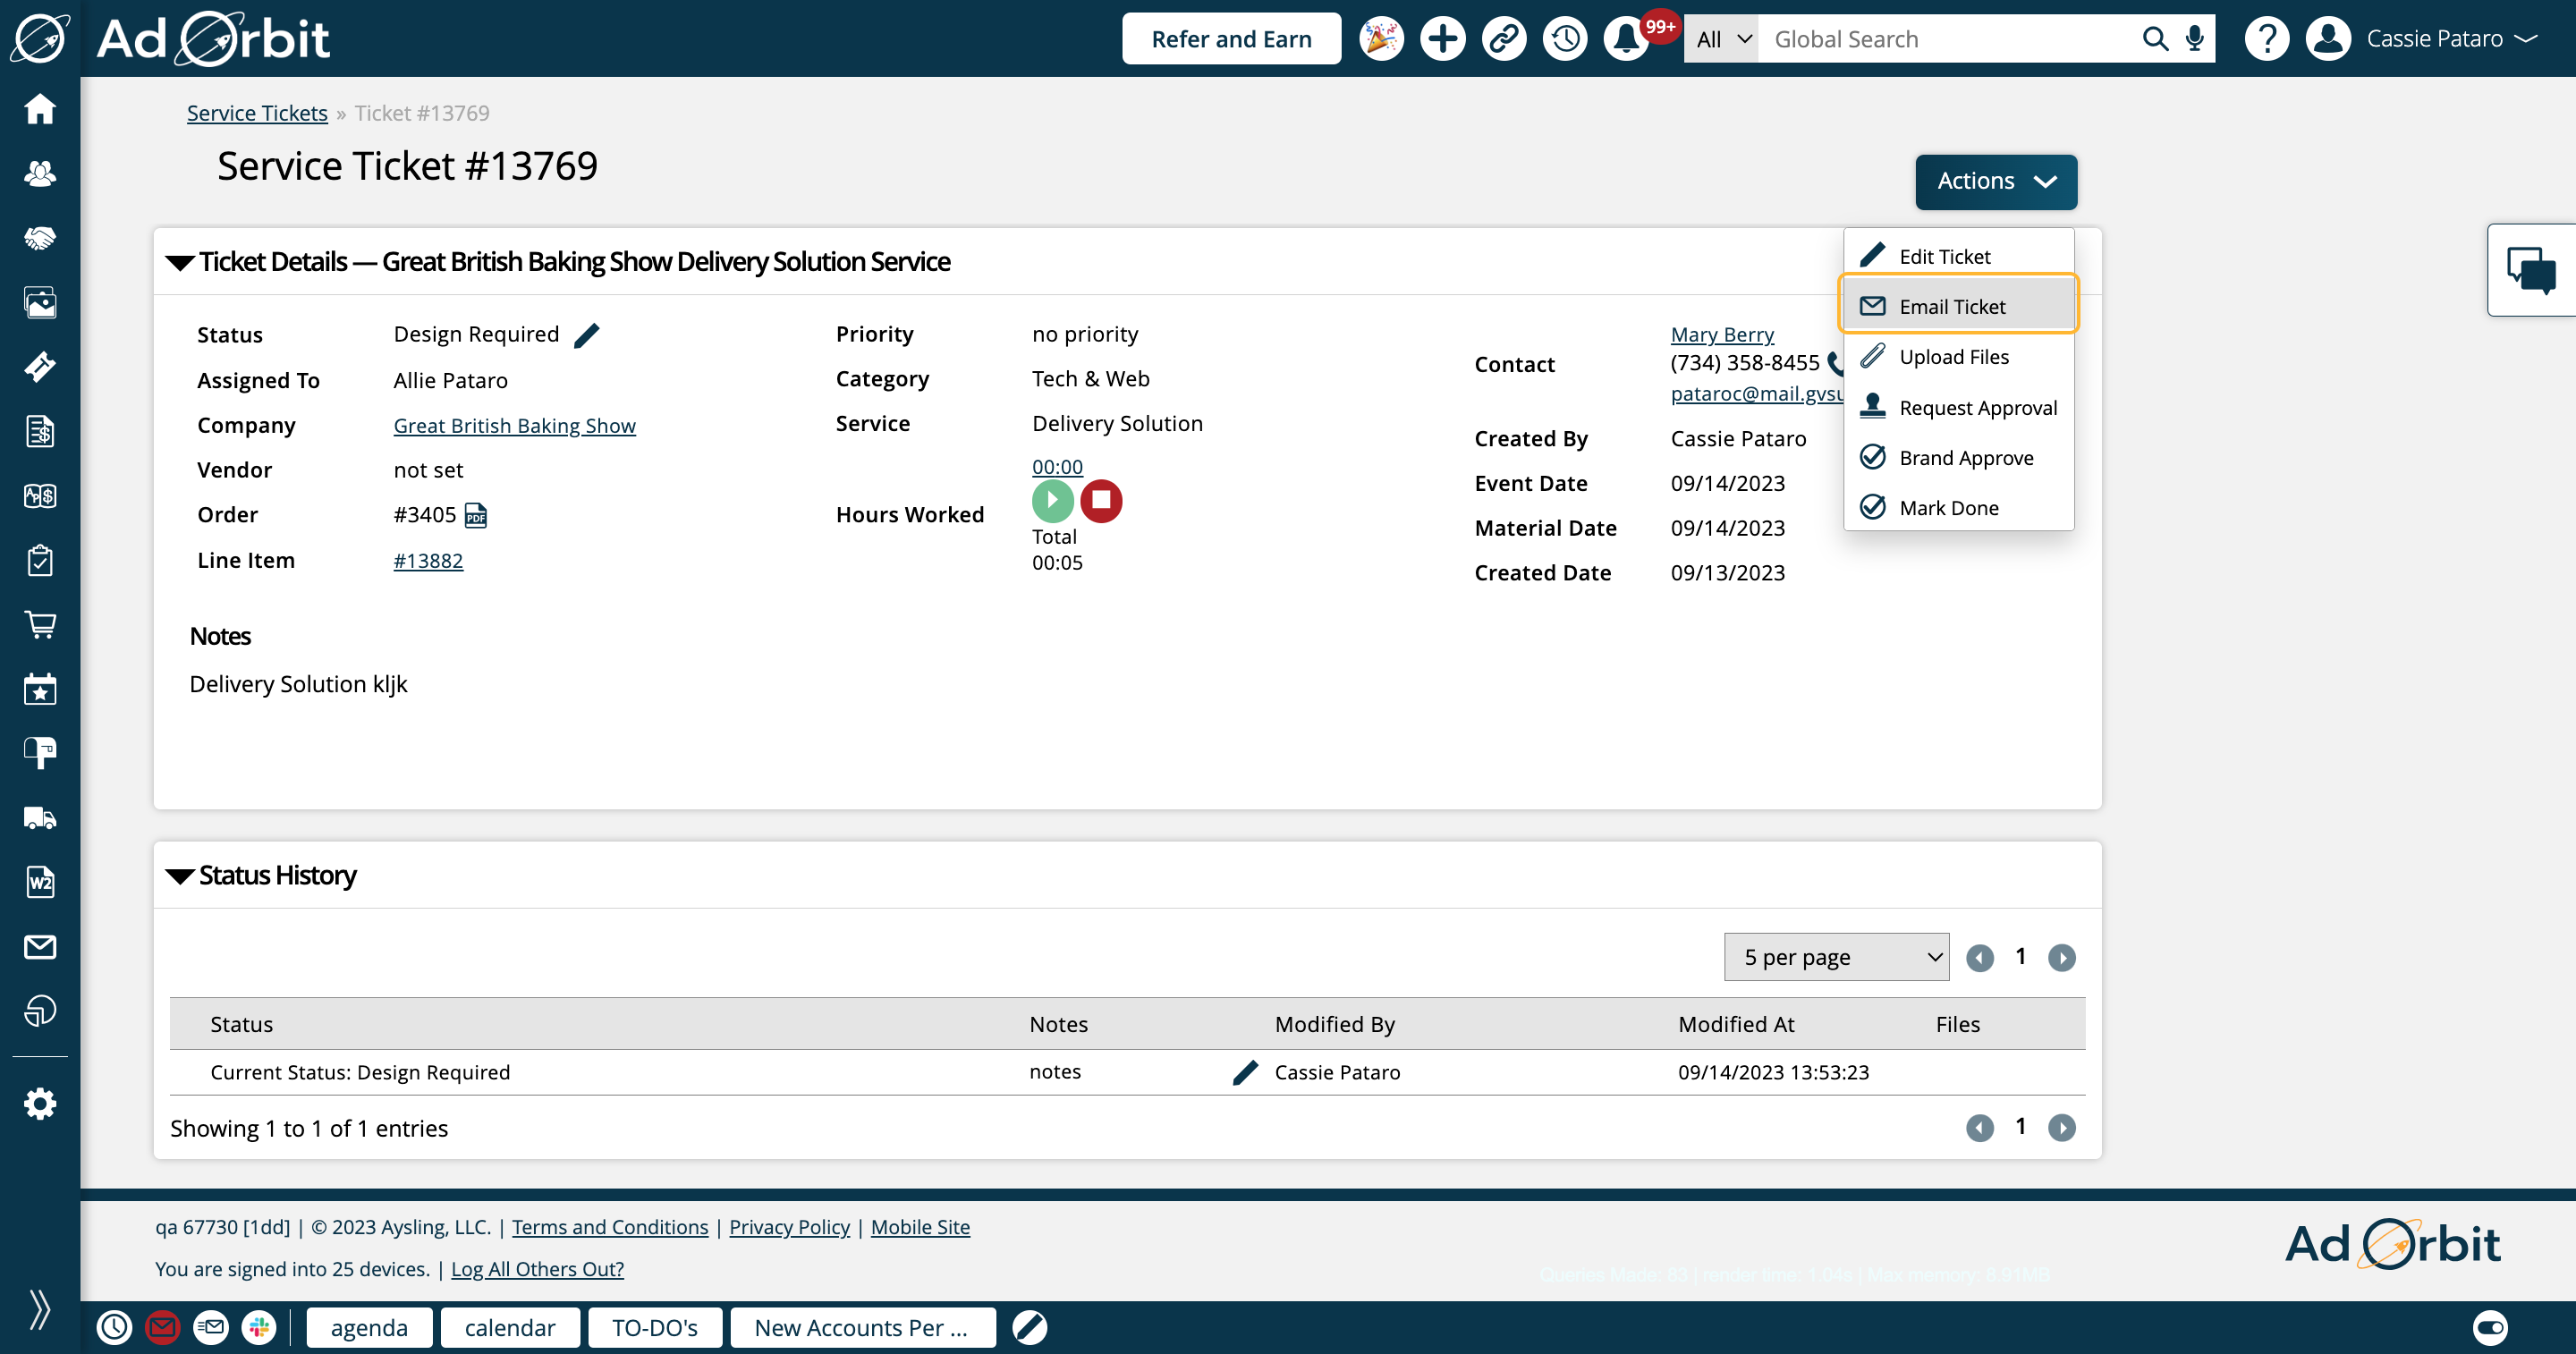
The Email Ticket action opens a new page where you can generate internal emails, and proof requests.
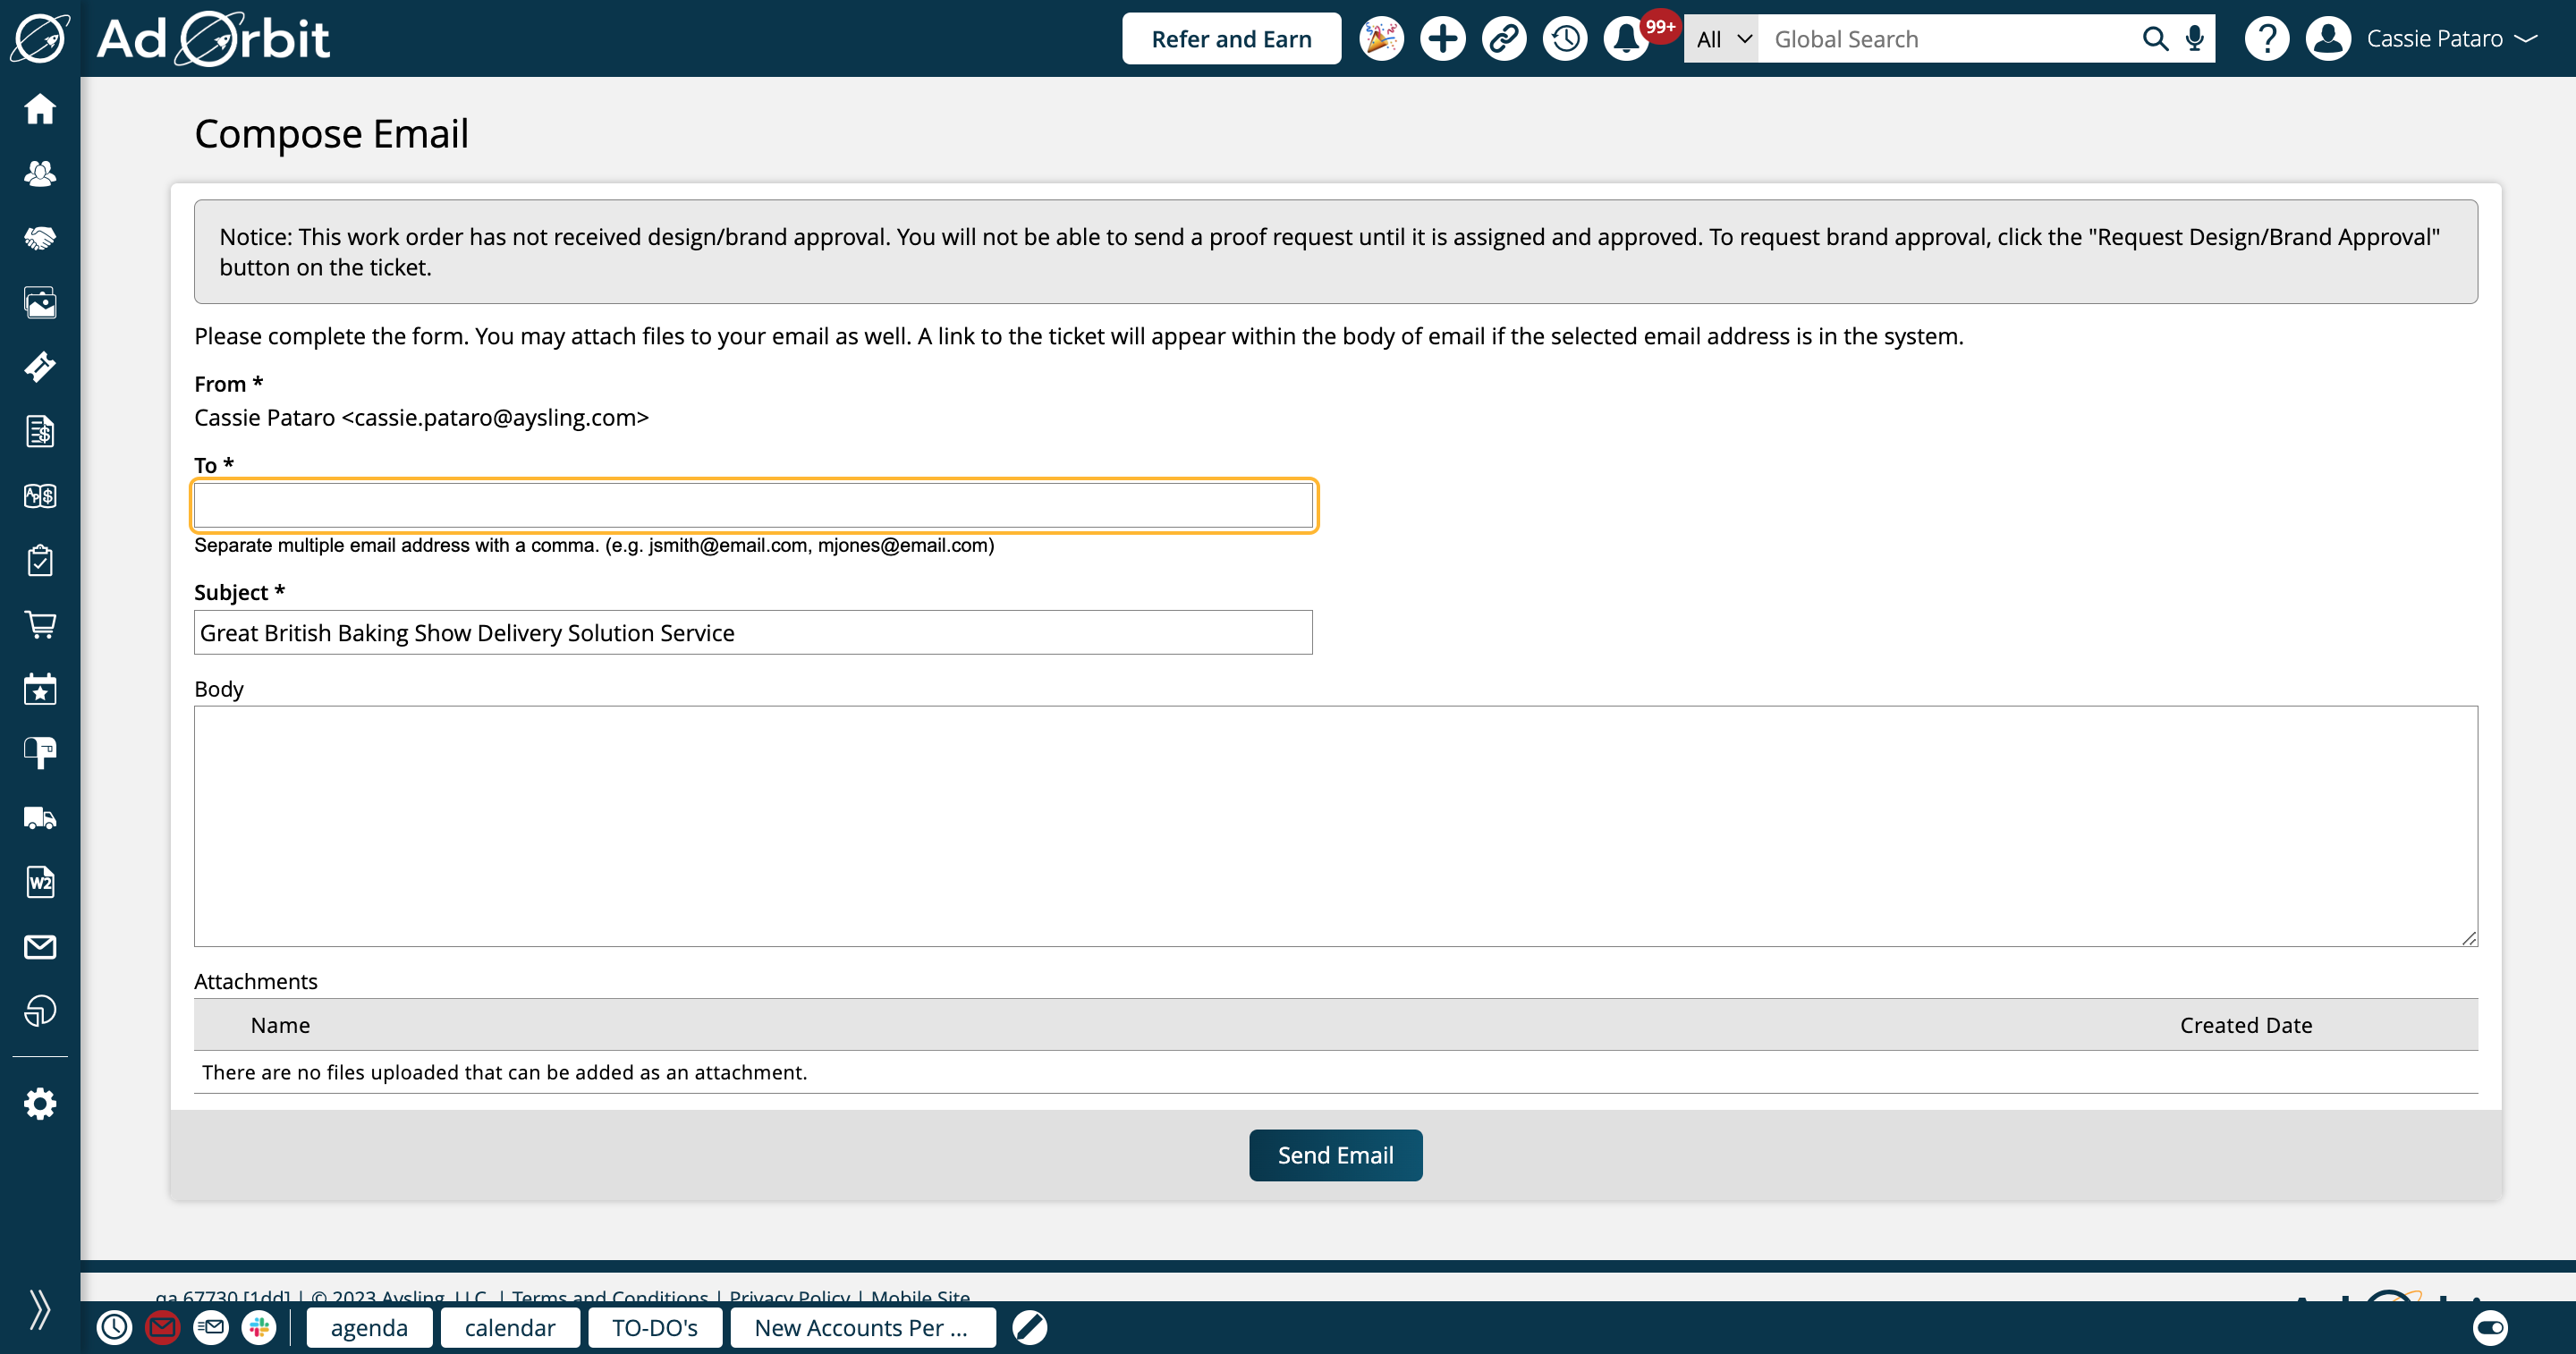
The Compose Email page allows you to send an email about the ticket internally, or send a proof request as long as the ticket has been marked as Design/Brand Approved.
There are different required and optional fields on this page depending on which type of email you're sending.
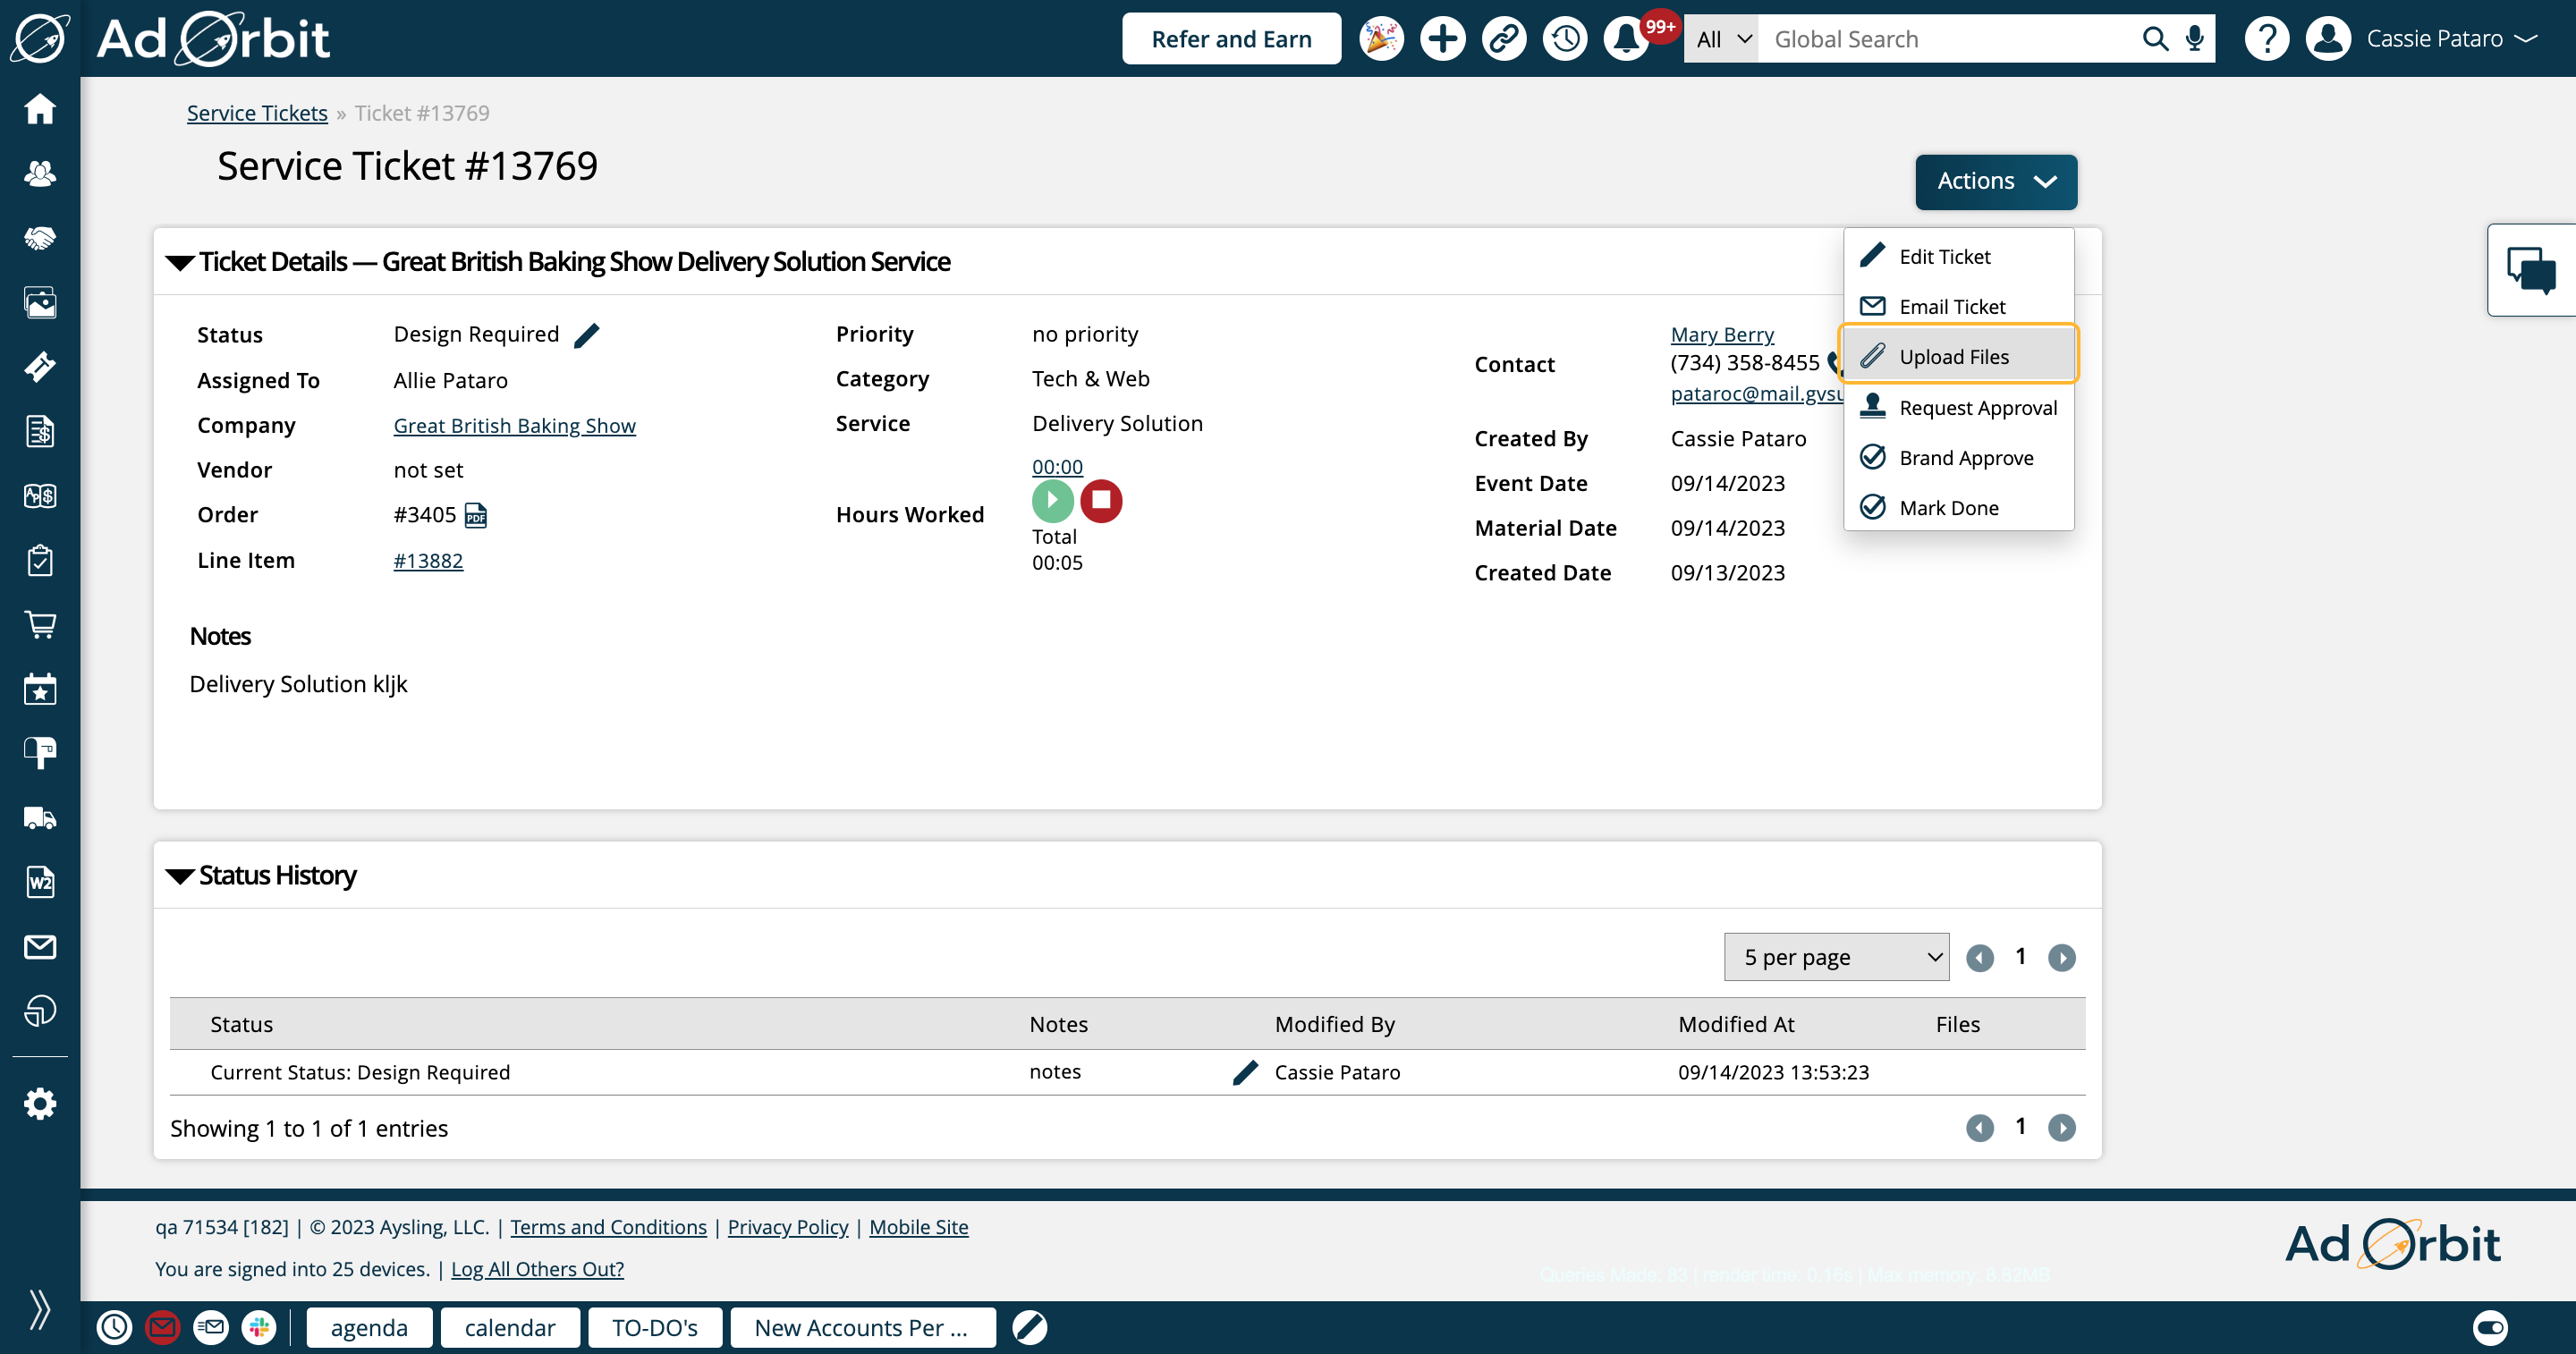
The next available action is Upload Files.
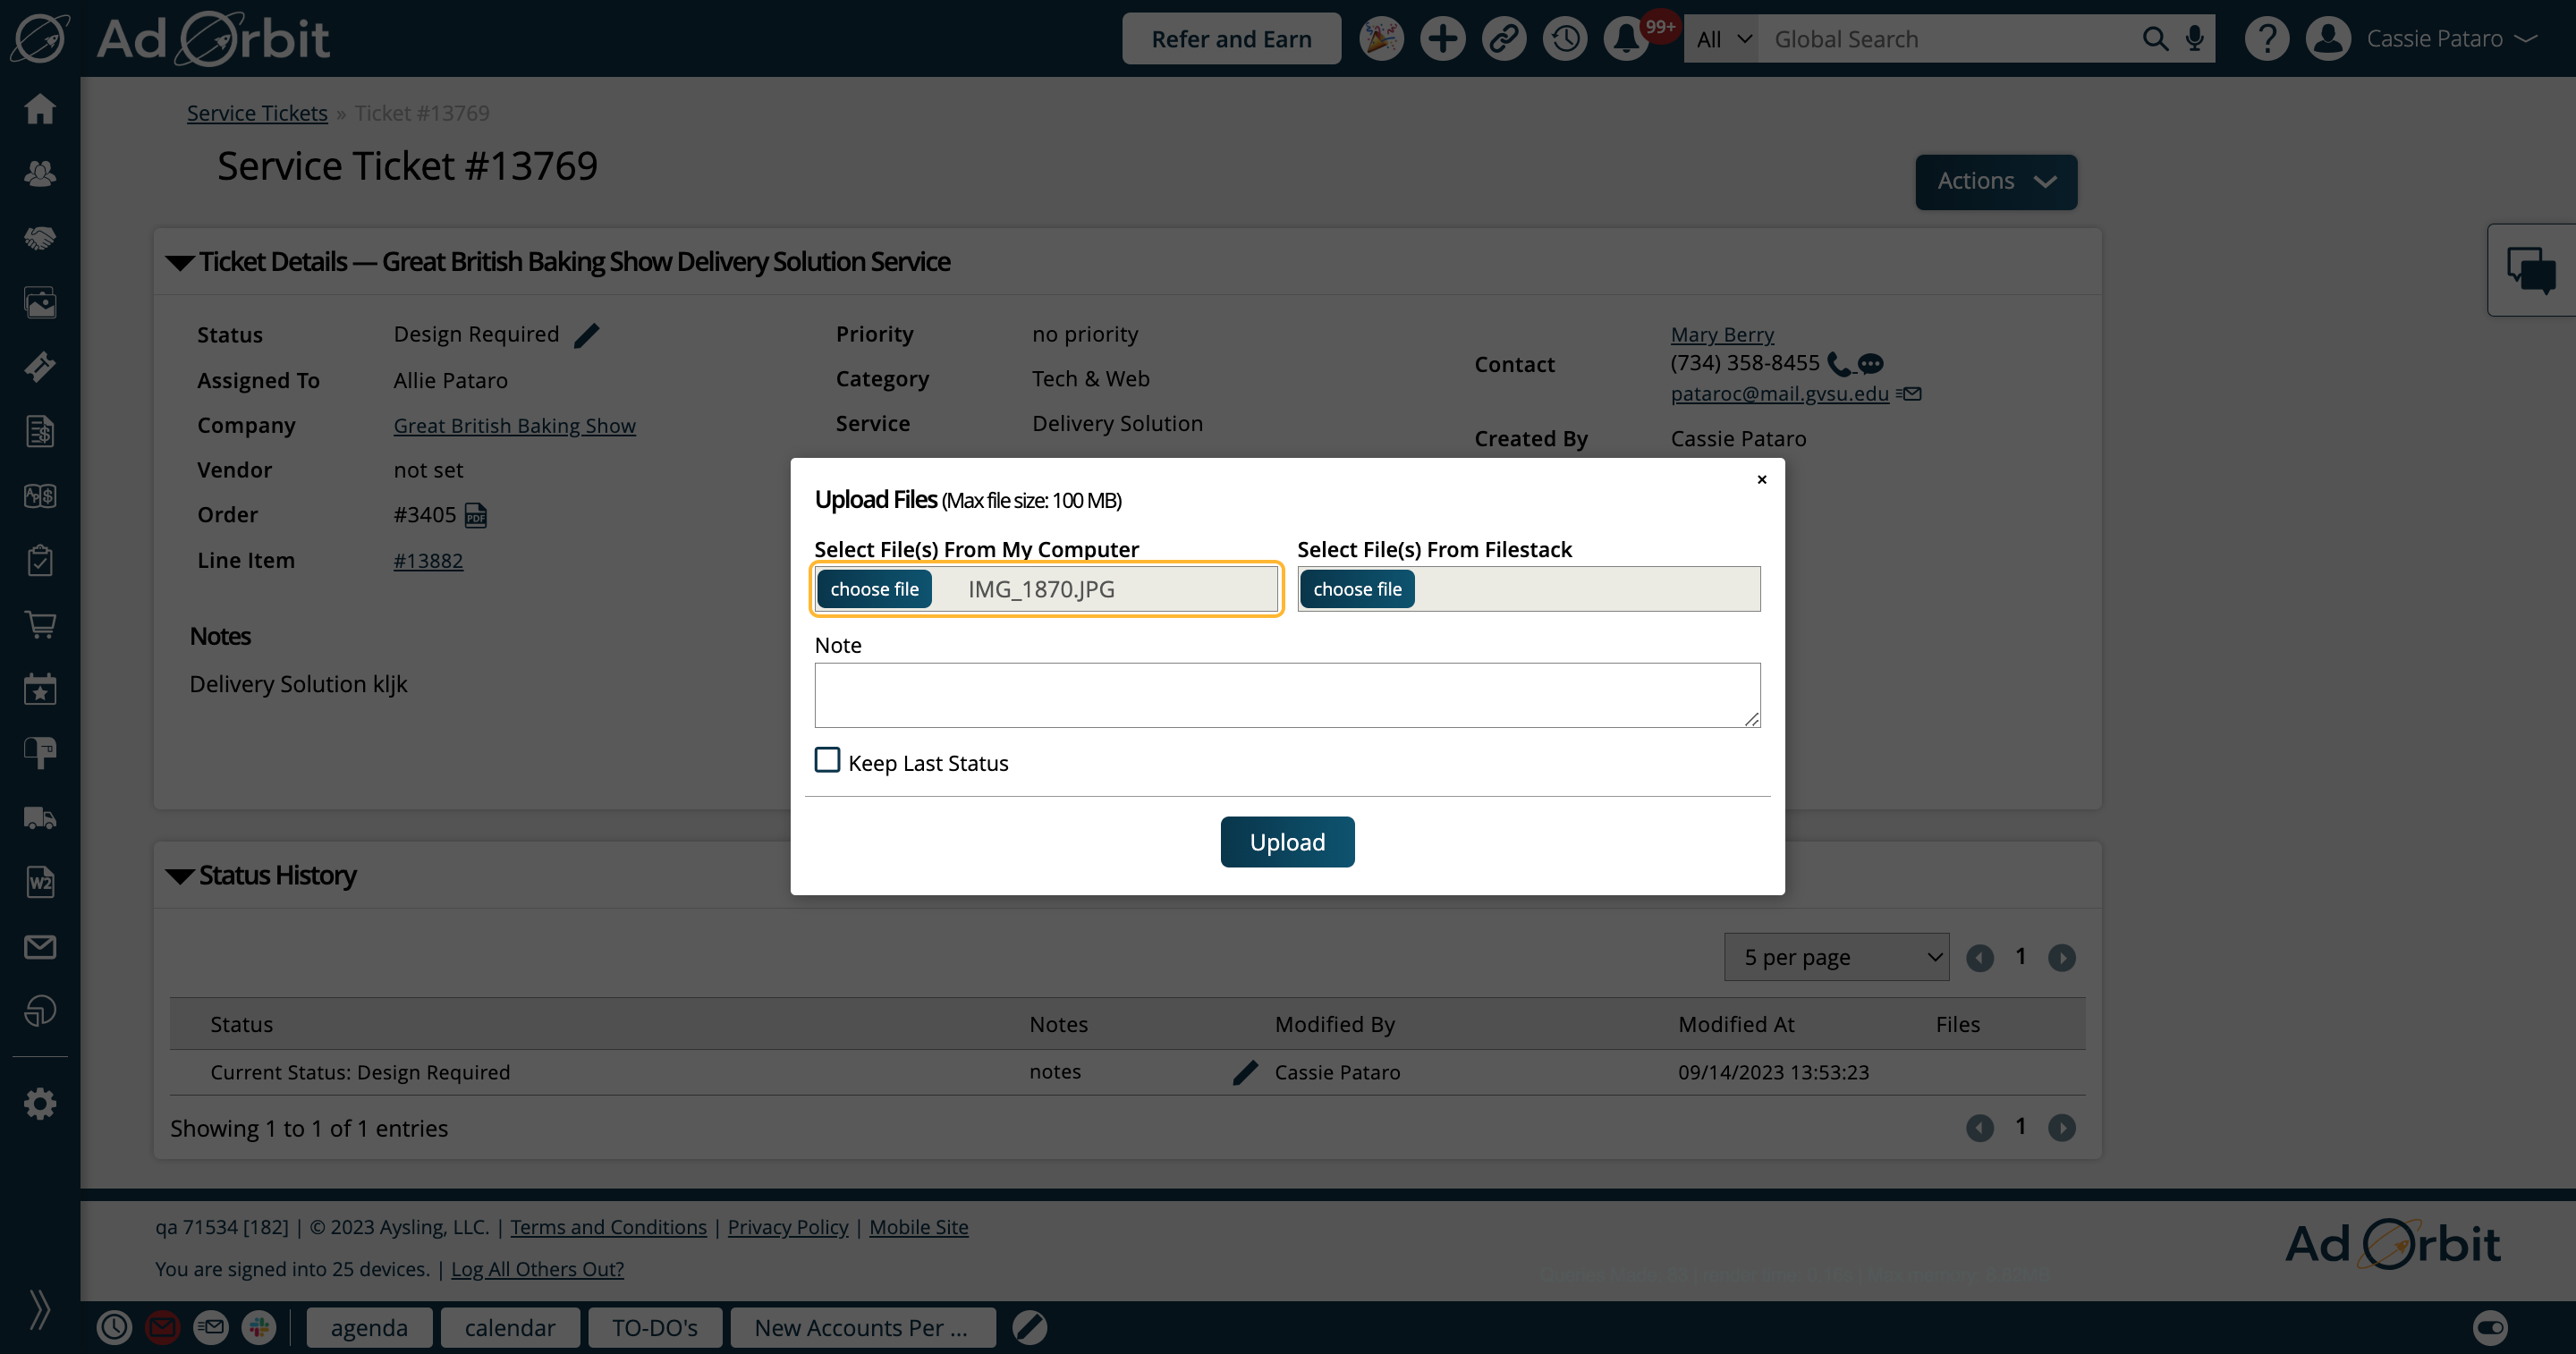
The Upload Files action allows you to attach assets to the ticket, either by uploading a file from your computer, or by using Filestack if you have that integration enabled.
You can also enter notes, and choose whether to keep the last status here. The files added in the popup will appear under the 'Files' section of the ticket.
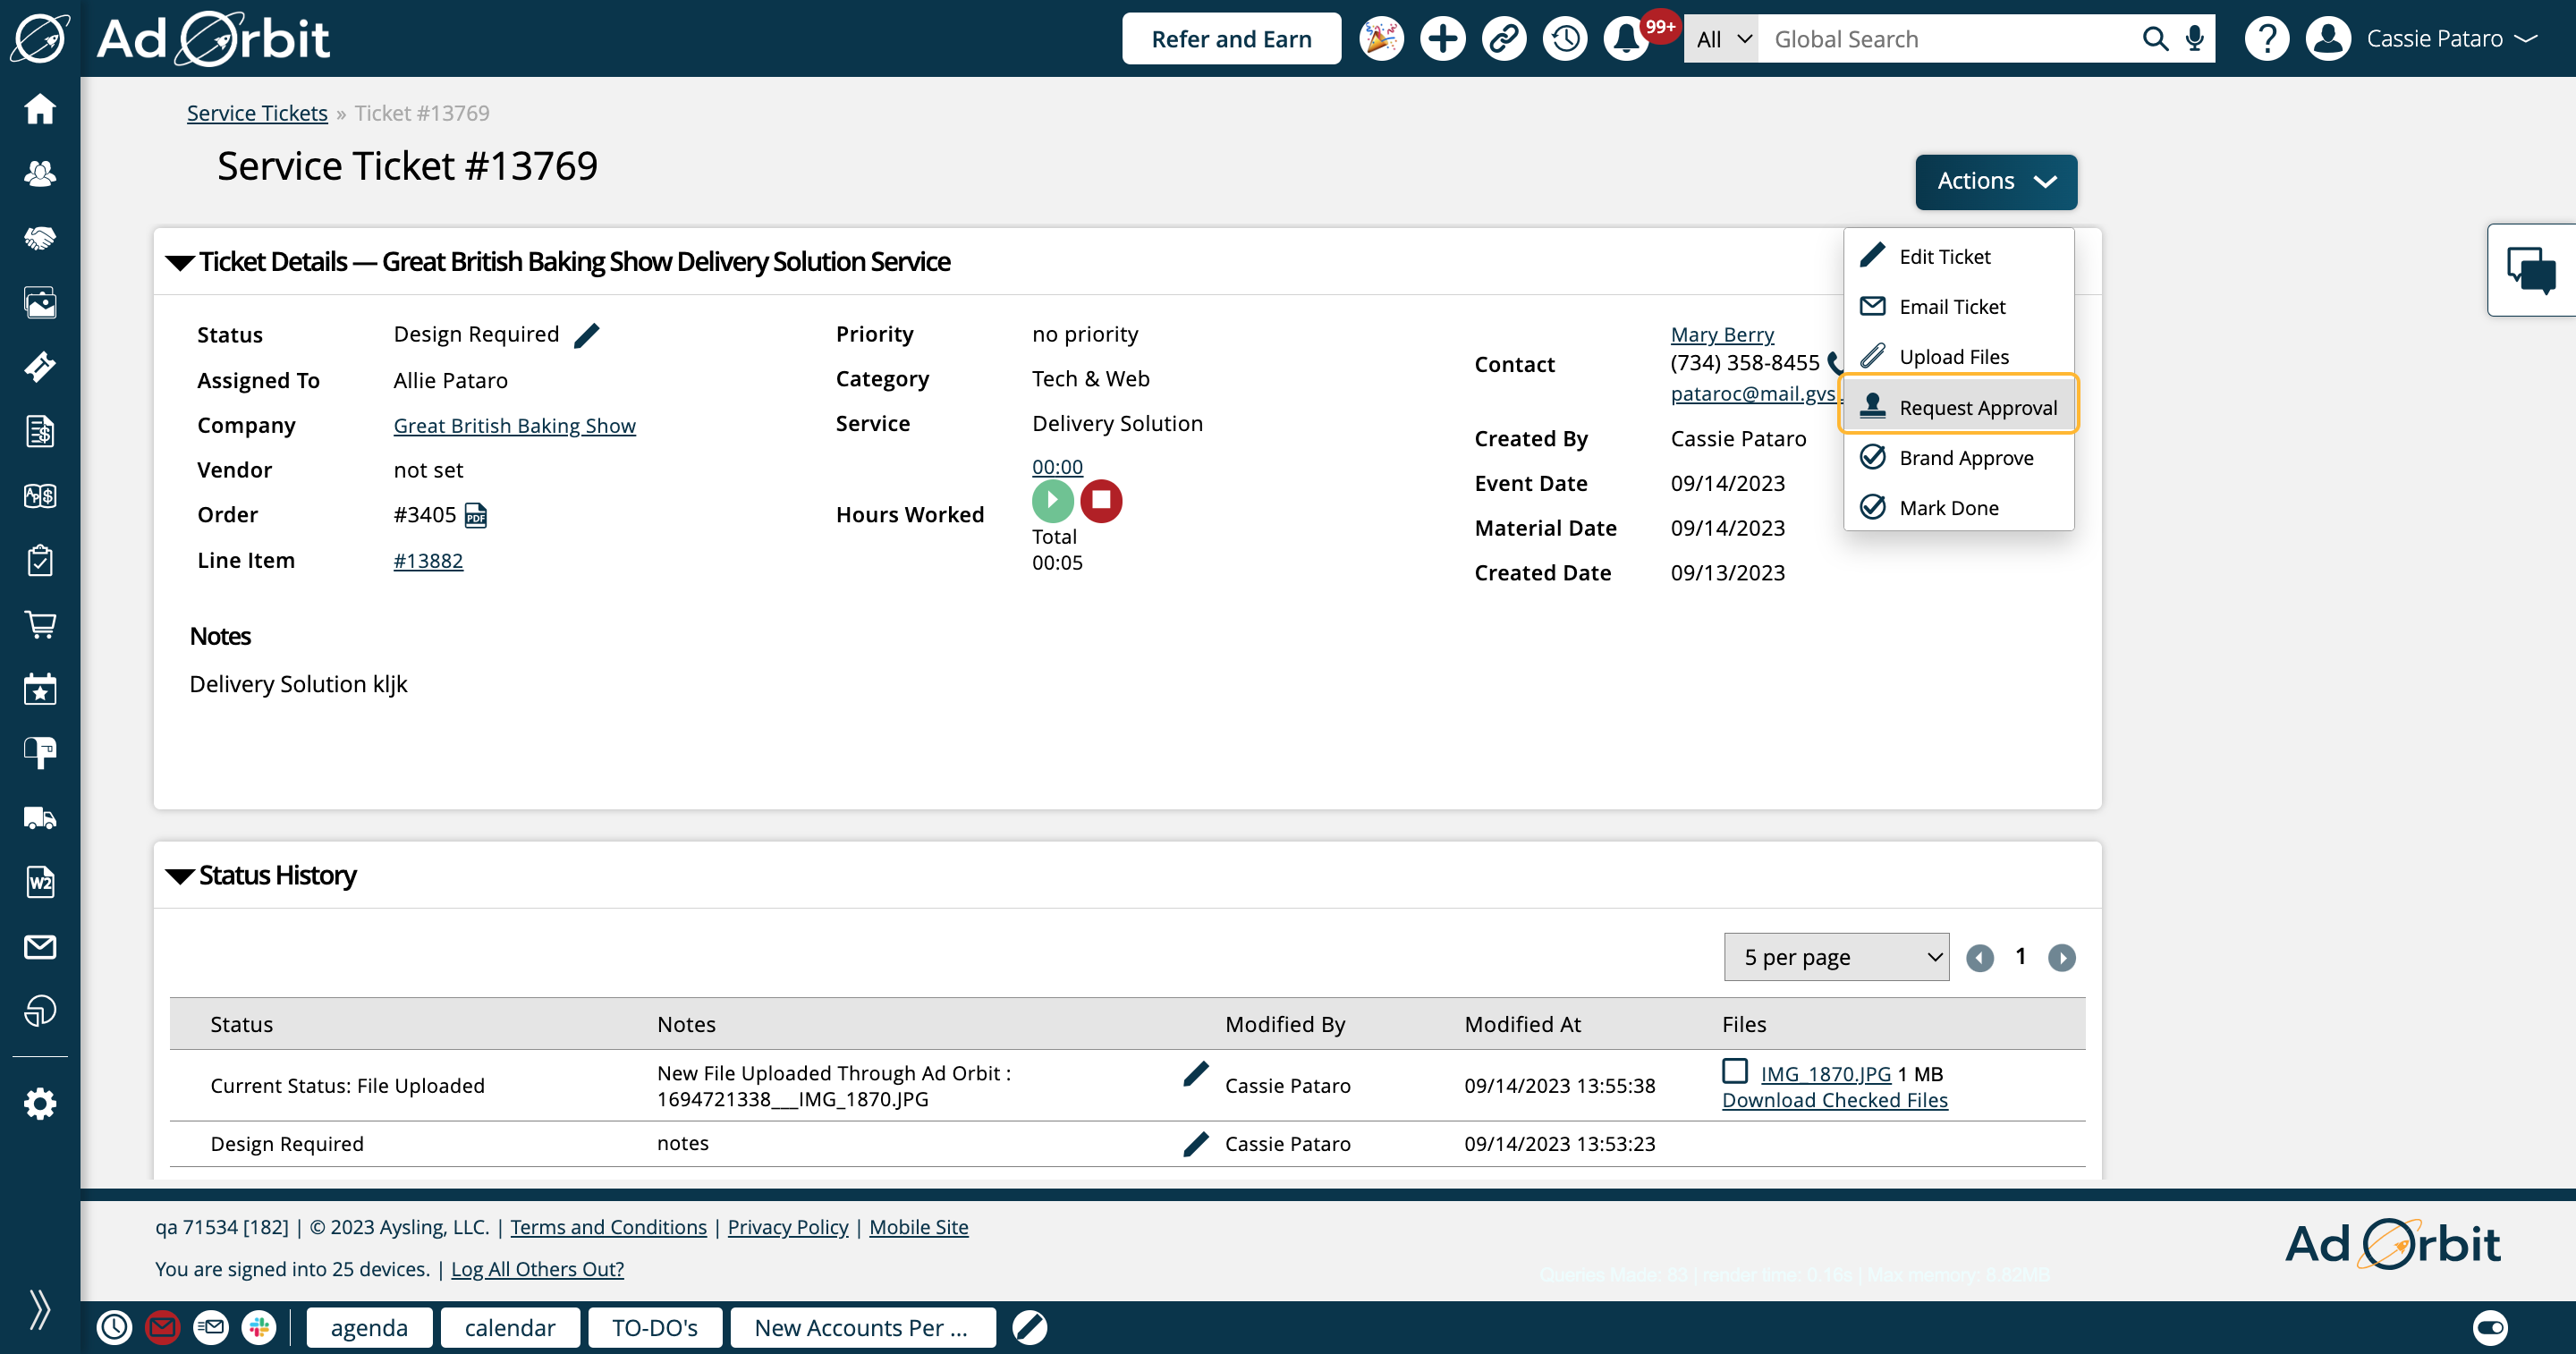
The next action in the list is to request Brand/Design Approval.
When you need to get approval from a customer on an asset on a service ticket, you need to first make sure the service ticket is assigned to a user and is marked for brand approval. A user must have permission to mark a ticket as brand approval. If you don't have permission, you can request brand approval and wait for an approver to update your ticket before sending the proof.
You can send a proof on any service ticket with an asset. Once you have an asset uploaded to a ticket, mark the ticket to request brand approval.
The brand approval will go out from the Design Approval Email in the configuration setting, and any user with the permission to do brand approval can update the ticket.
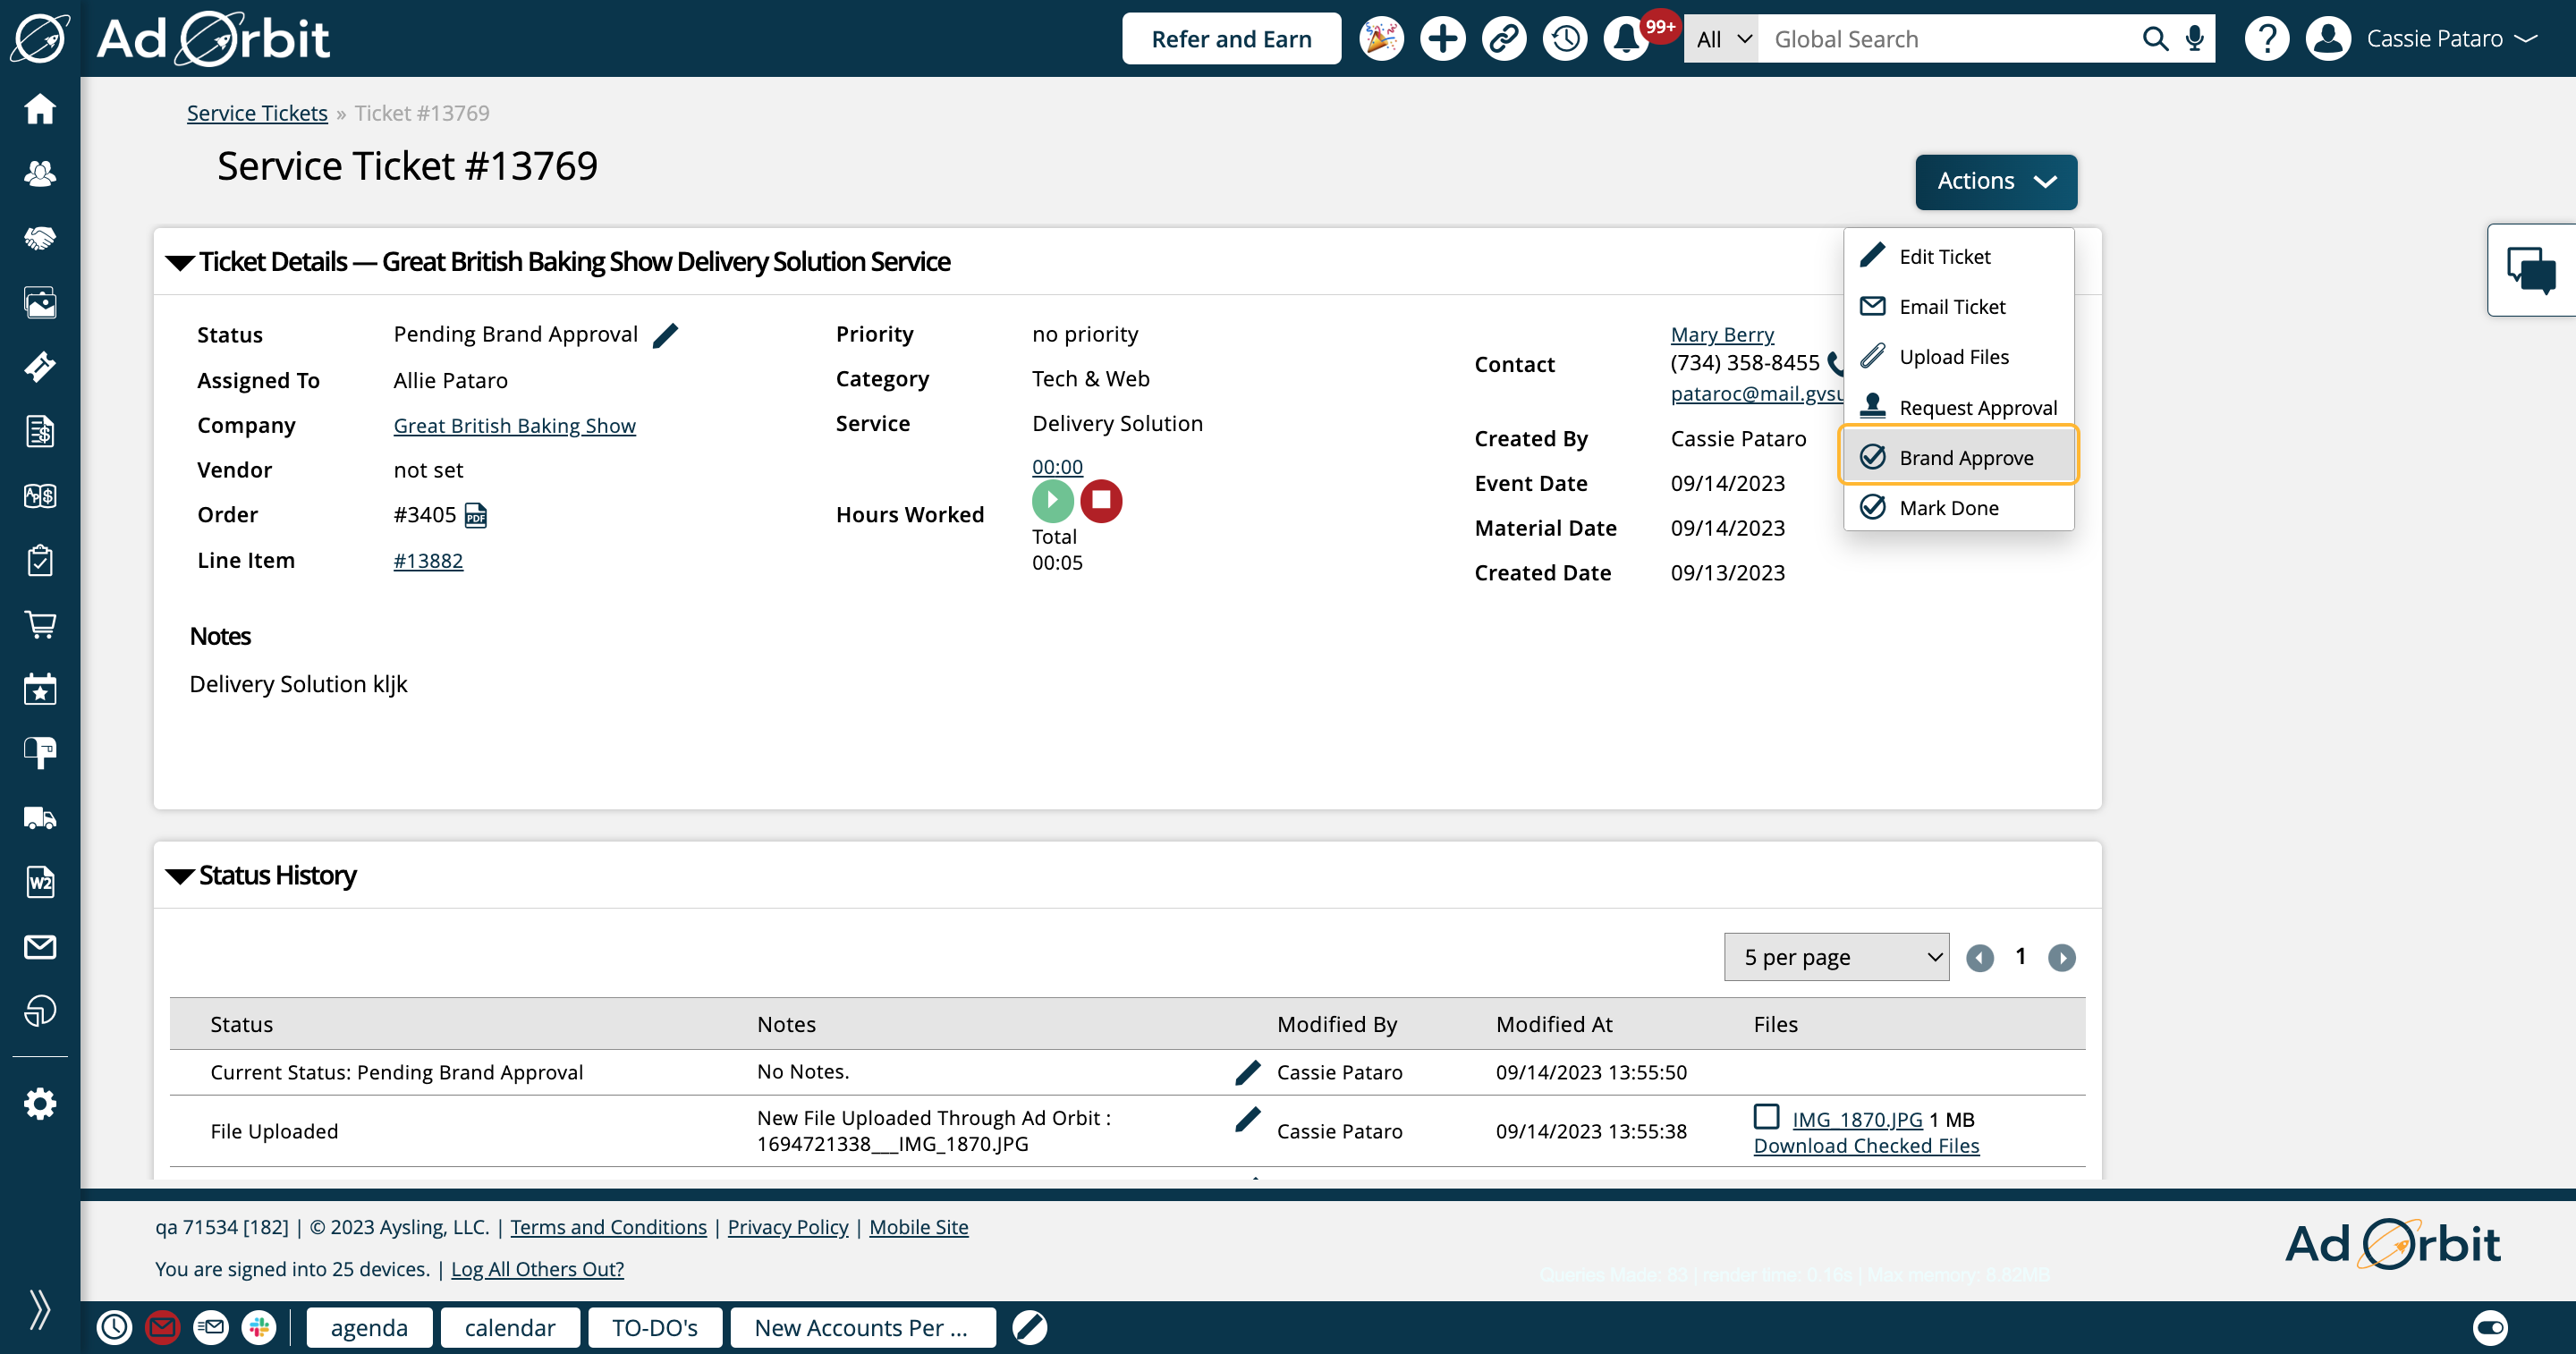
If you have permission to perform Brand Approvals, you'll also see the Brand Approve action. If you do not see this action, you do not have the permission to Brand Approve.
Proof request emails can be sent on the ticket once it is brand approved.
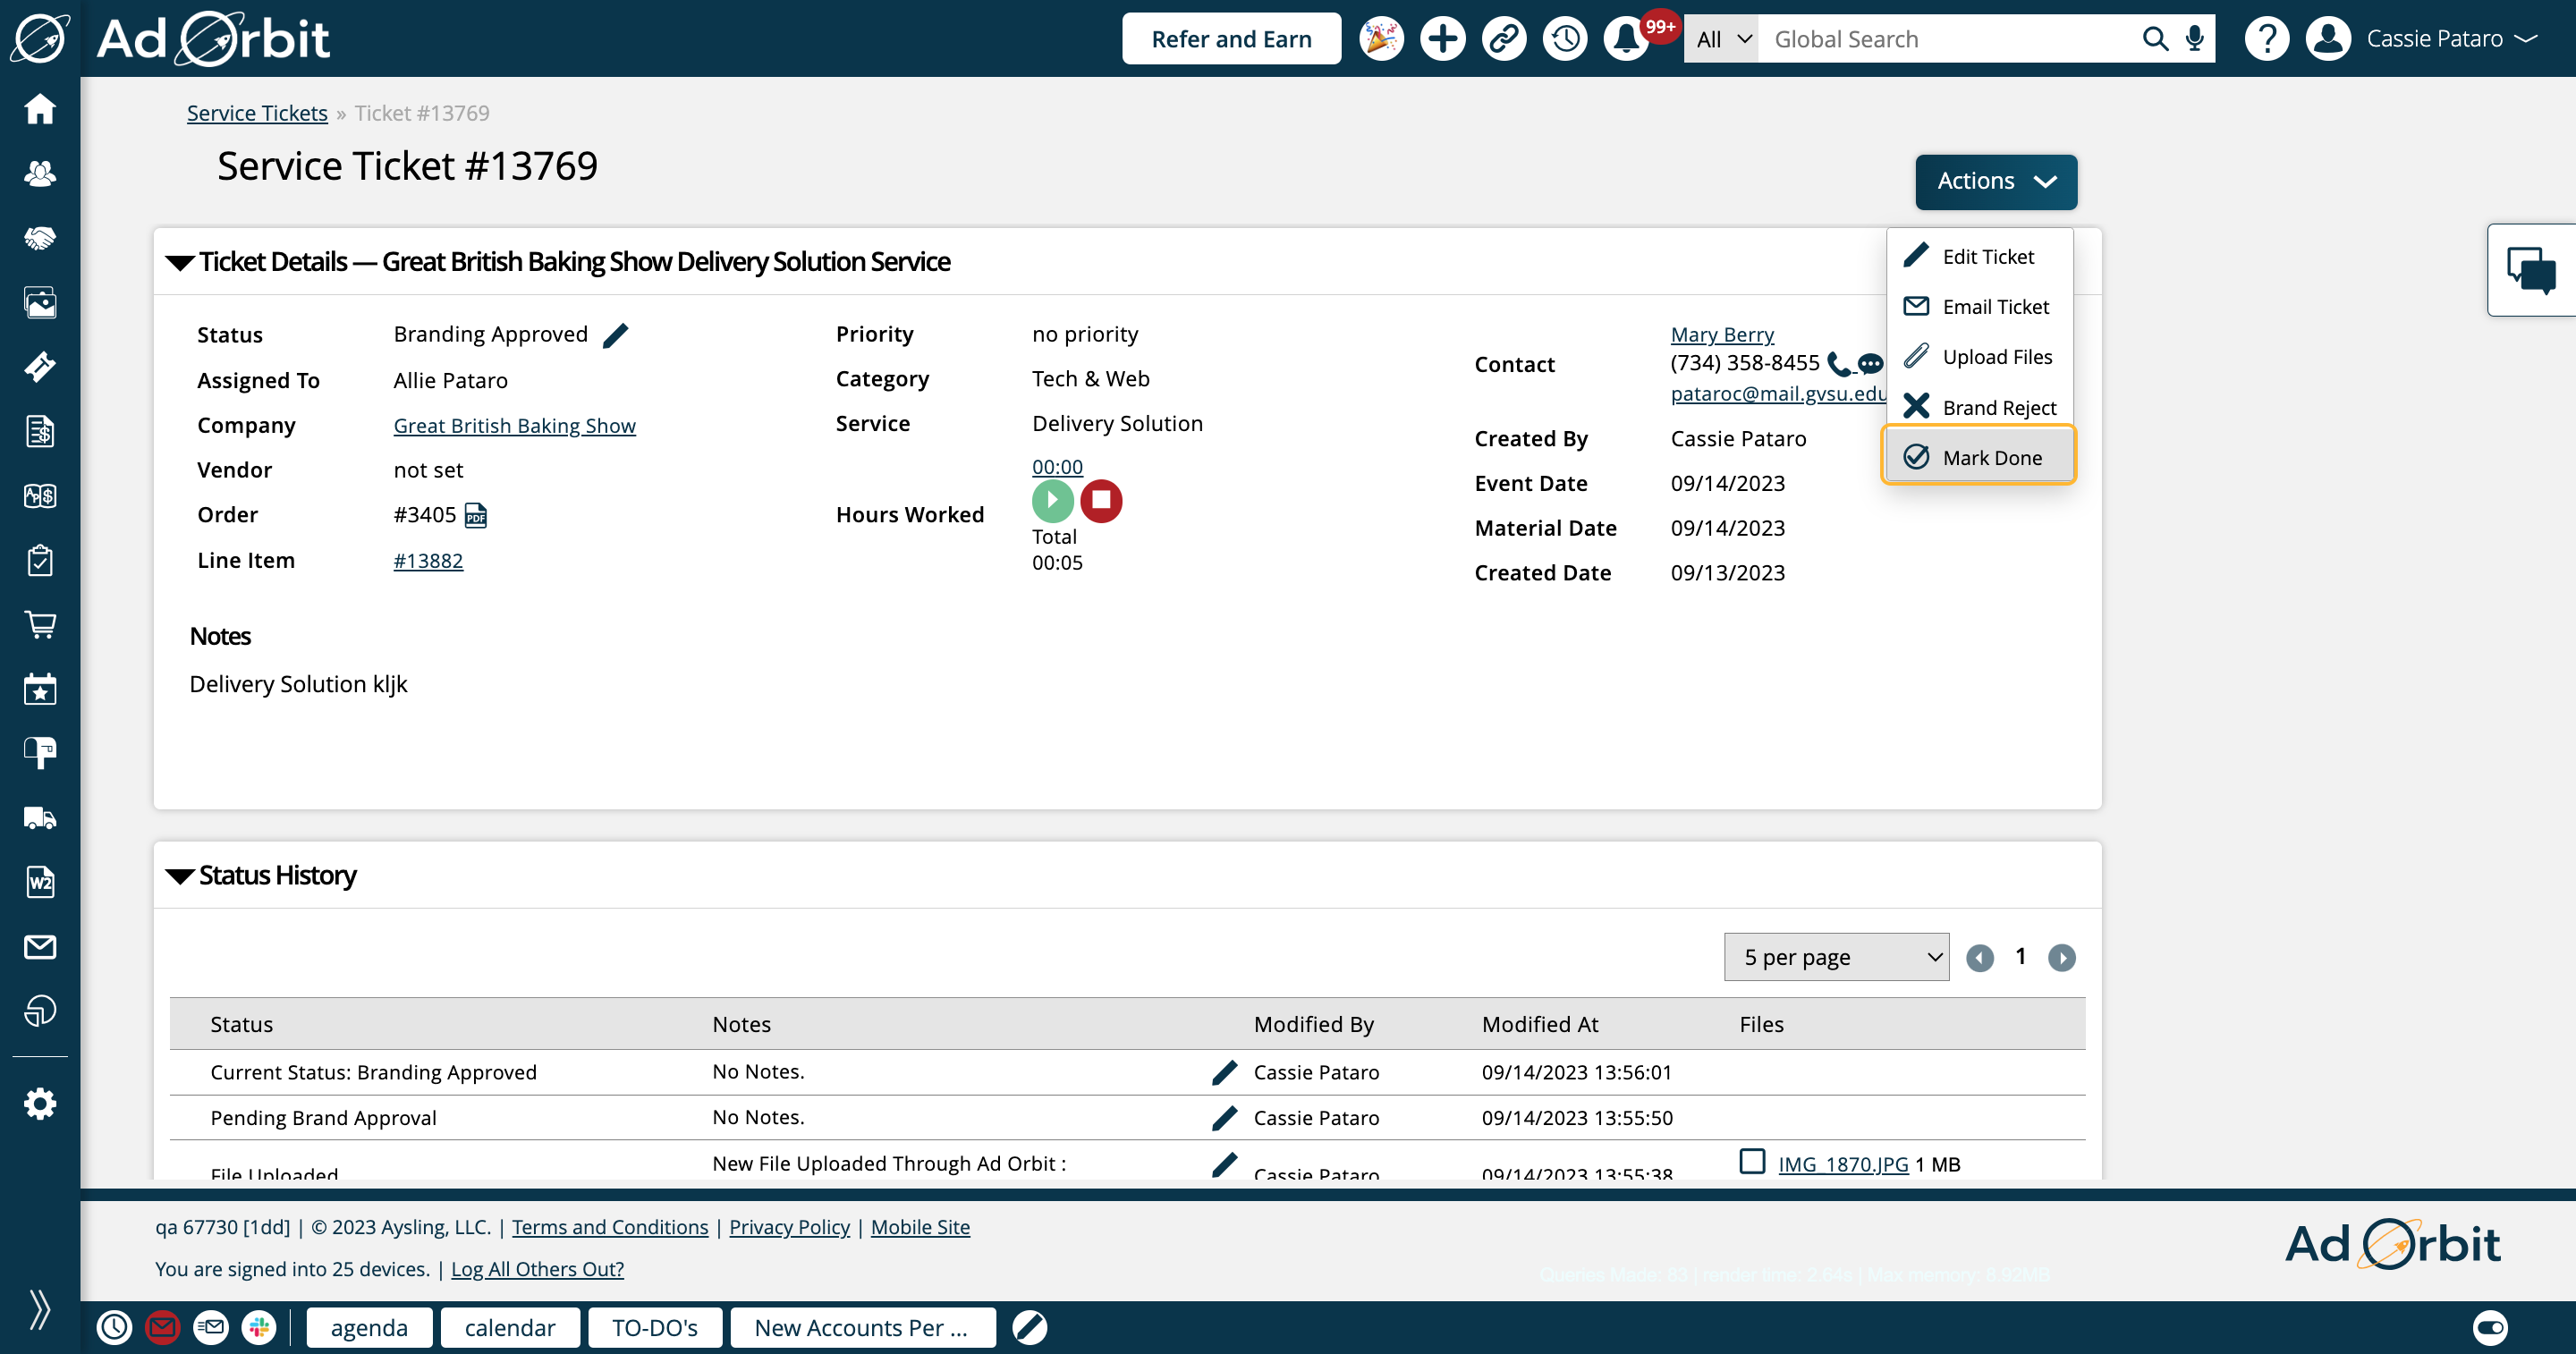
And finally, you can mark tickets as Done. Marking a ticket as done indicates no further work is needed on it.
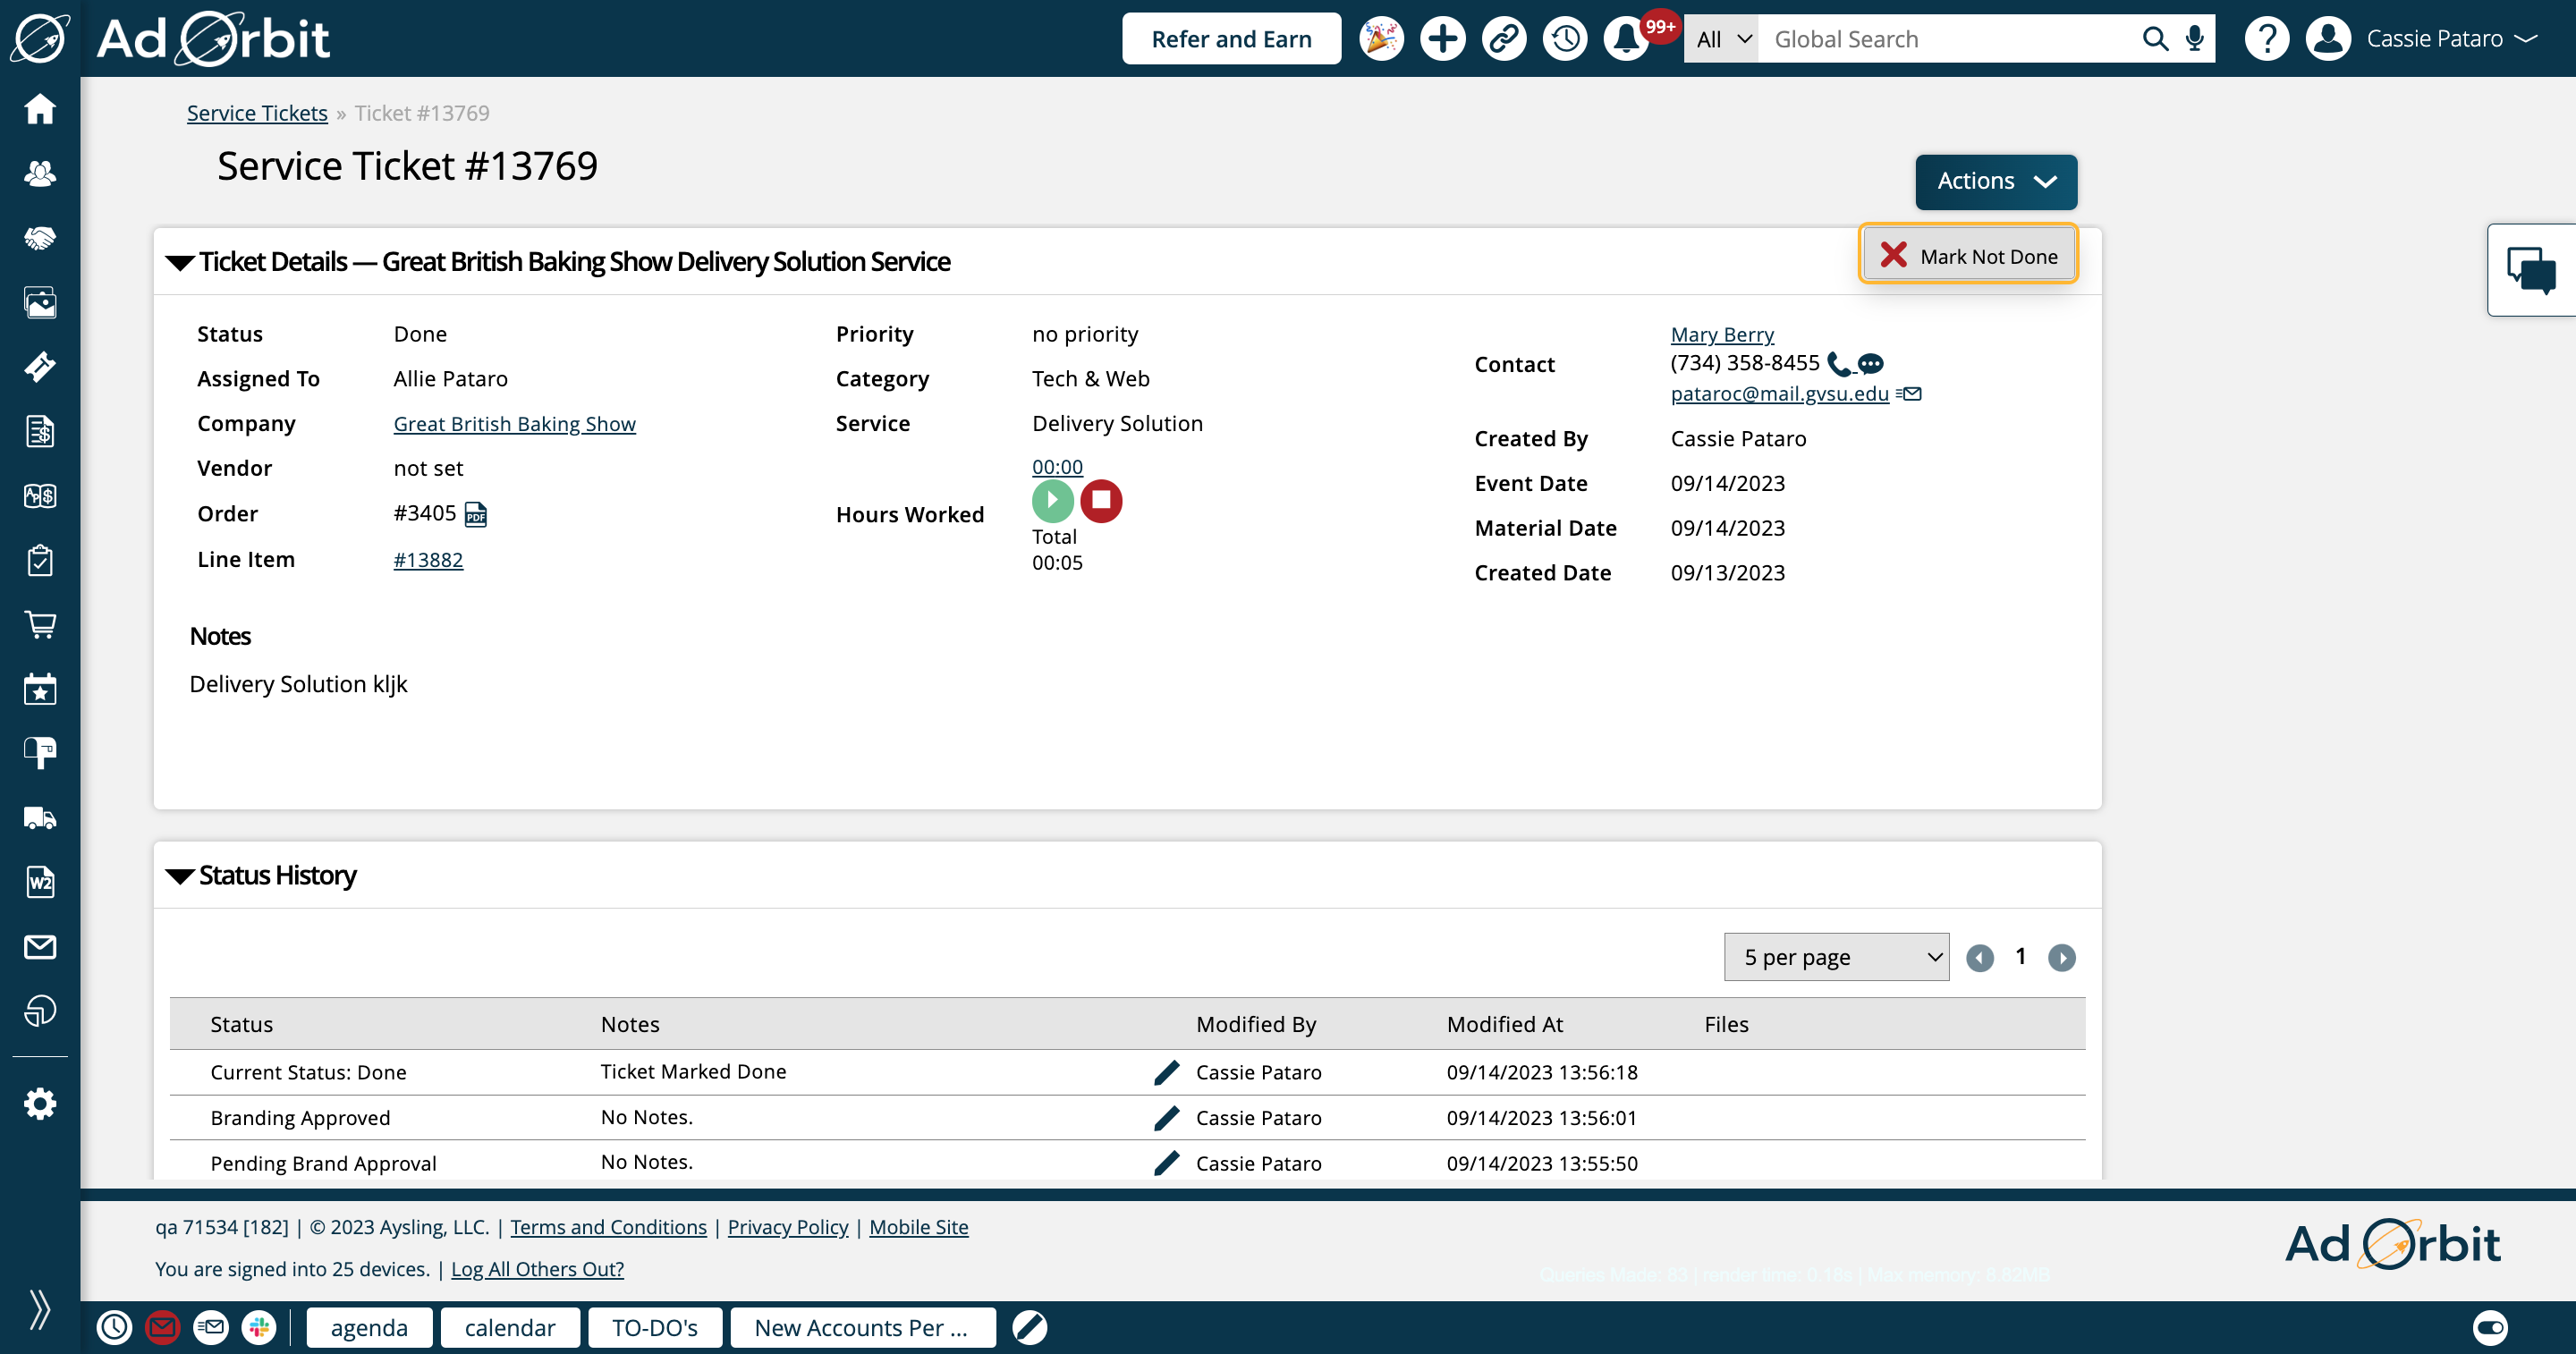
If you have permission to re-open closed tickets, on any ticket marked as Done, you'll be able to 'Mark Not Done'. Without this permission you won't be able to perform any actions on a closed ticket.
Each of the main sections on the ticket page are collapsible and expandable by clicking on the triangle, arrow icon by the section title.
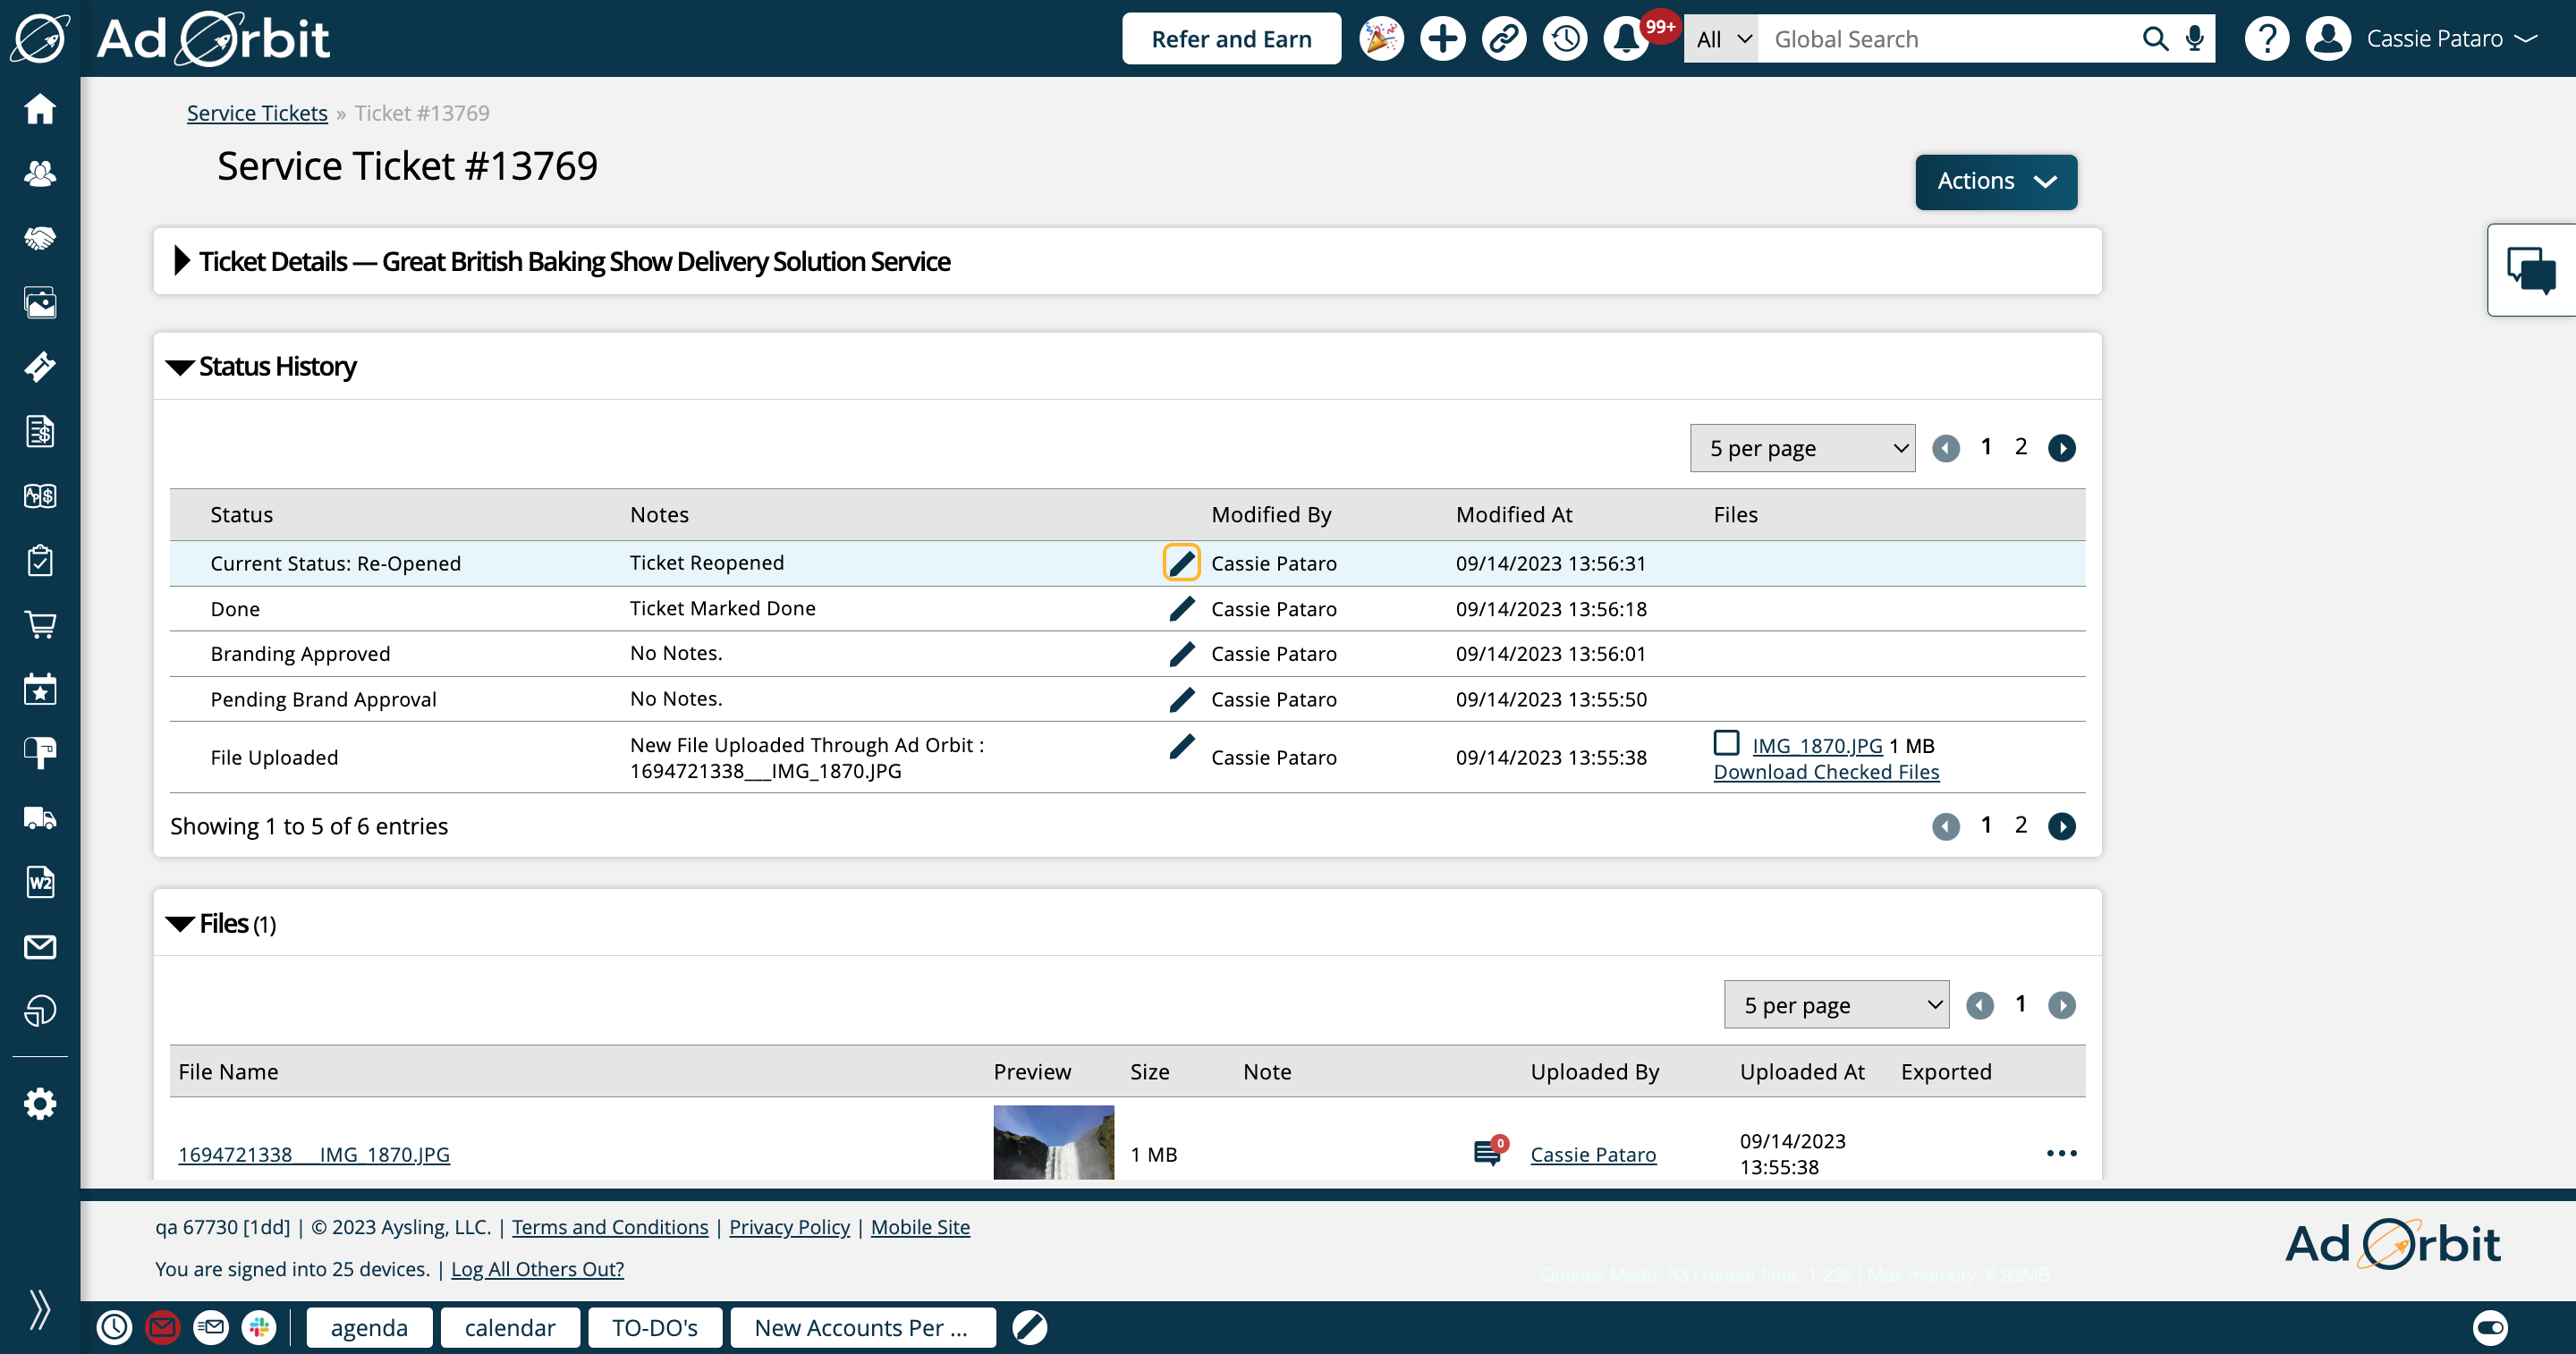
The Status History section of the ticket displays exactly what it sounds like - a record of the status changes made on the ticket, with information about each.
Each status change will show notes when relevant, who the status was changed by, and when. If you have permission, you can edit status notes by clicking the pencil icon.
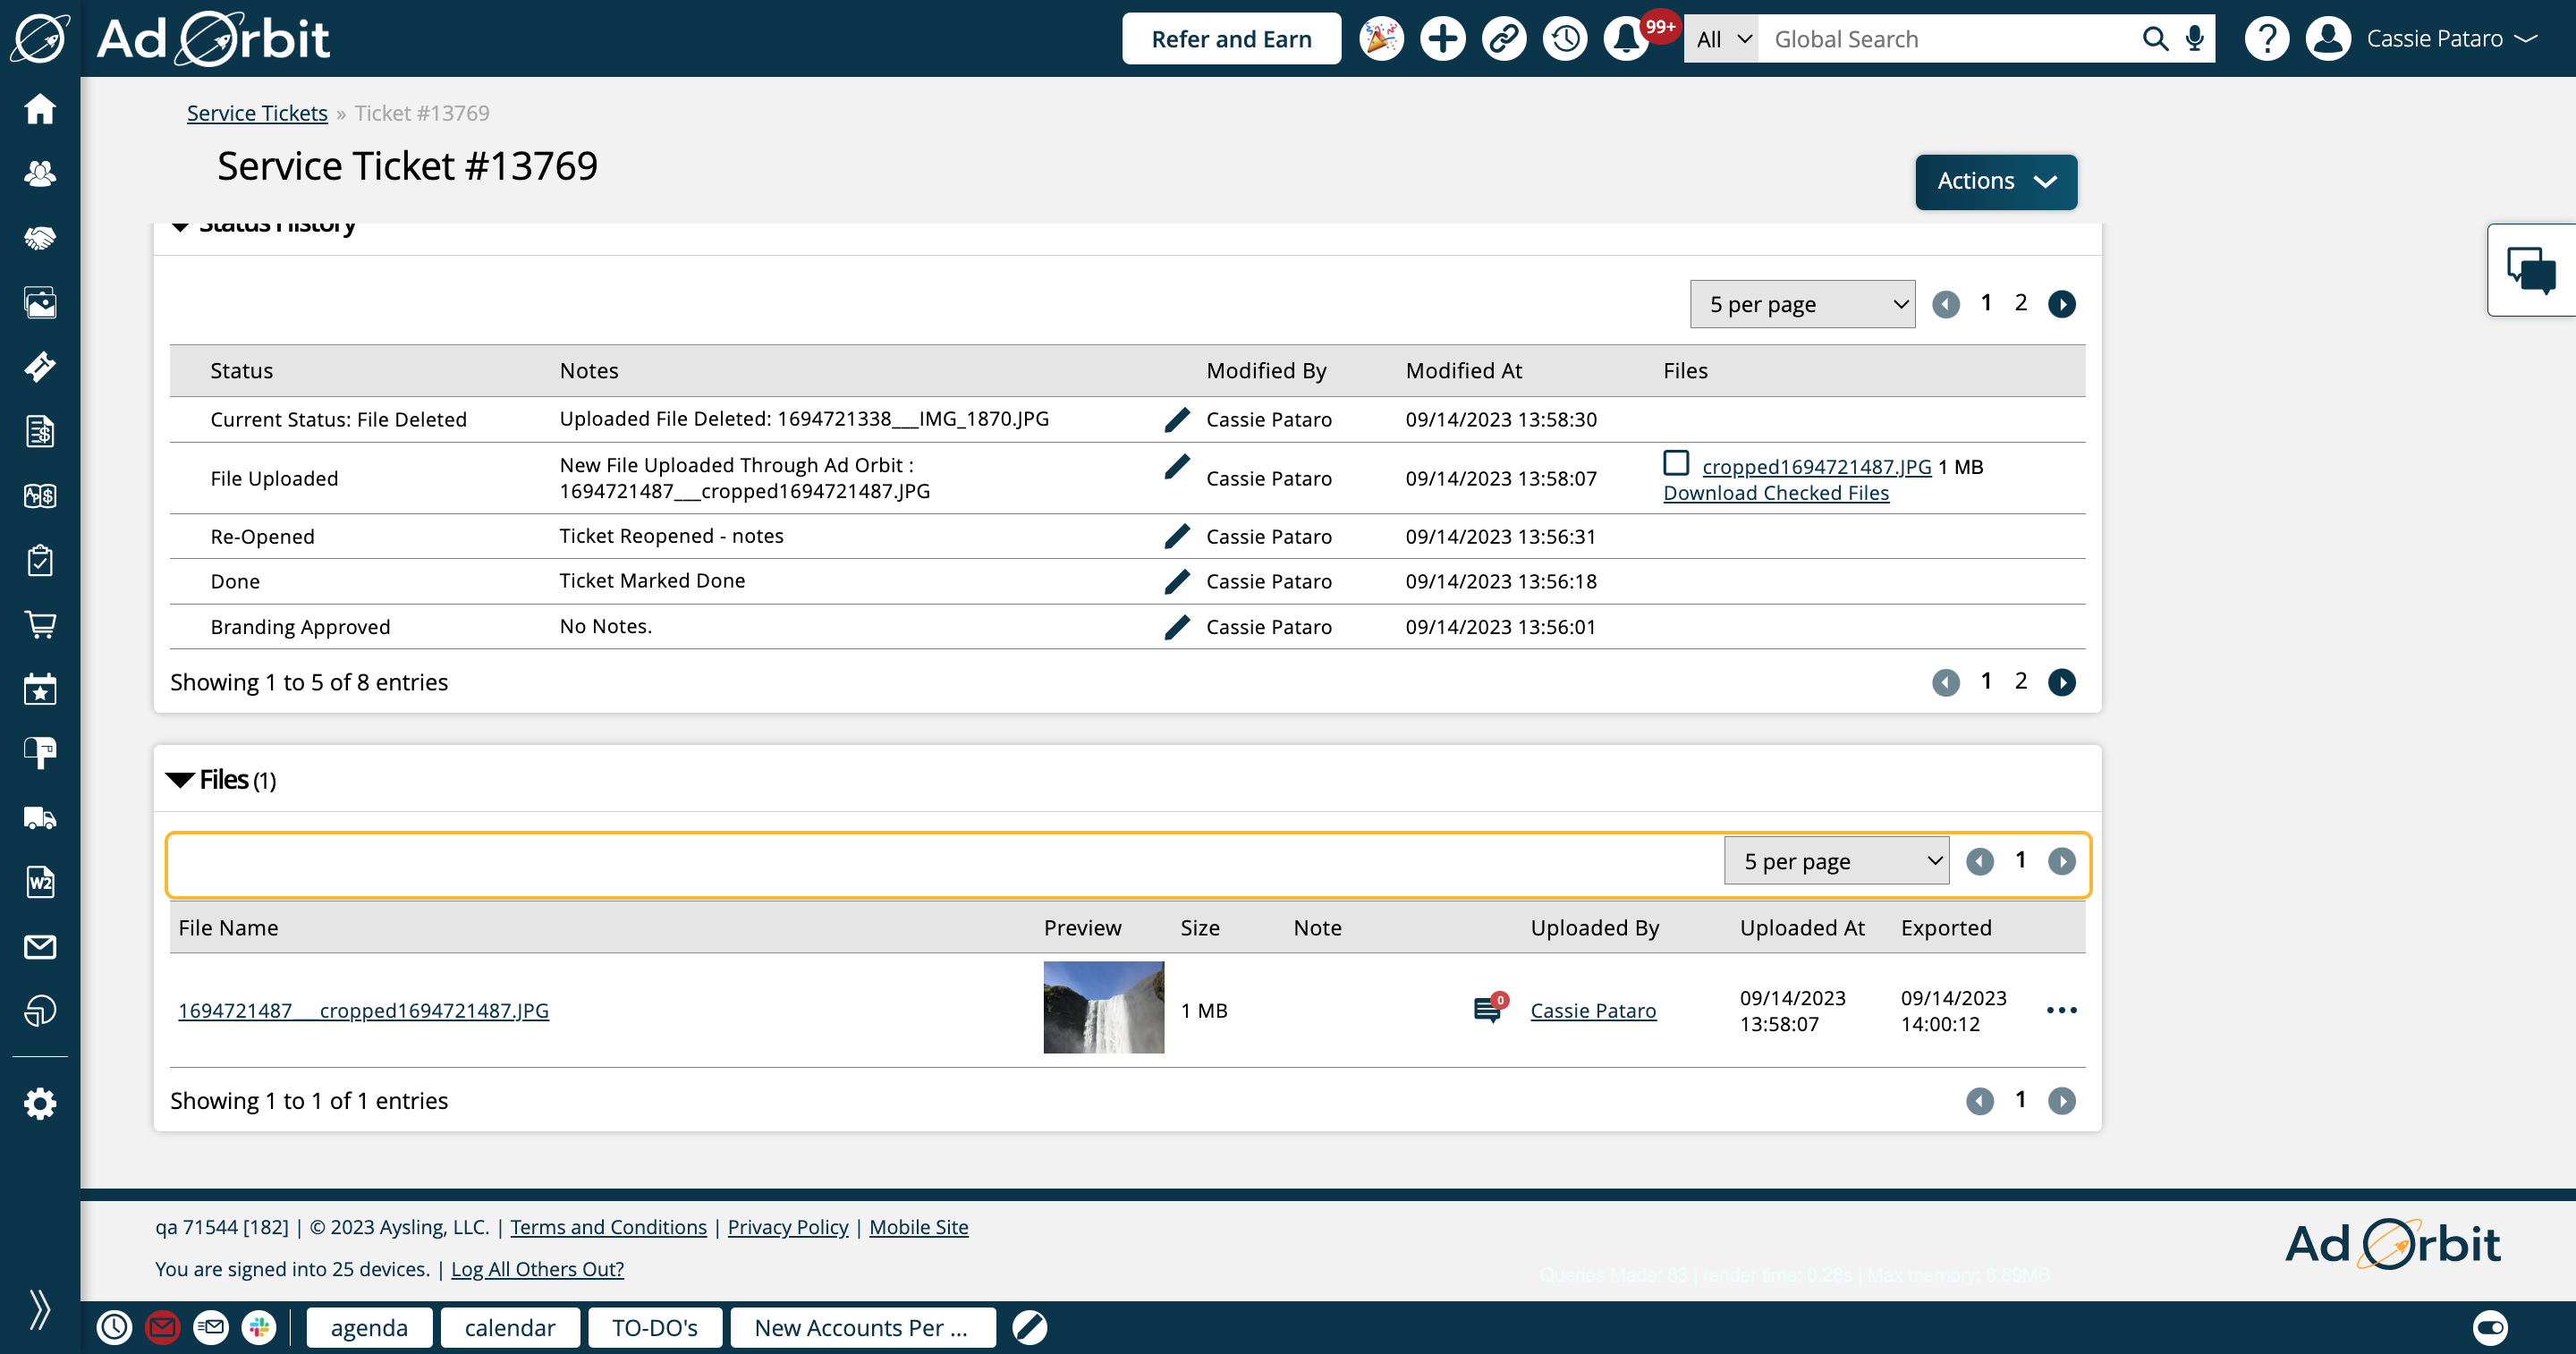
The final section of the ticket is Files. This section is where you can view and interact with any files uploaded to the ticket.
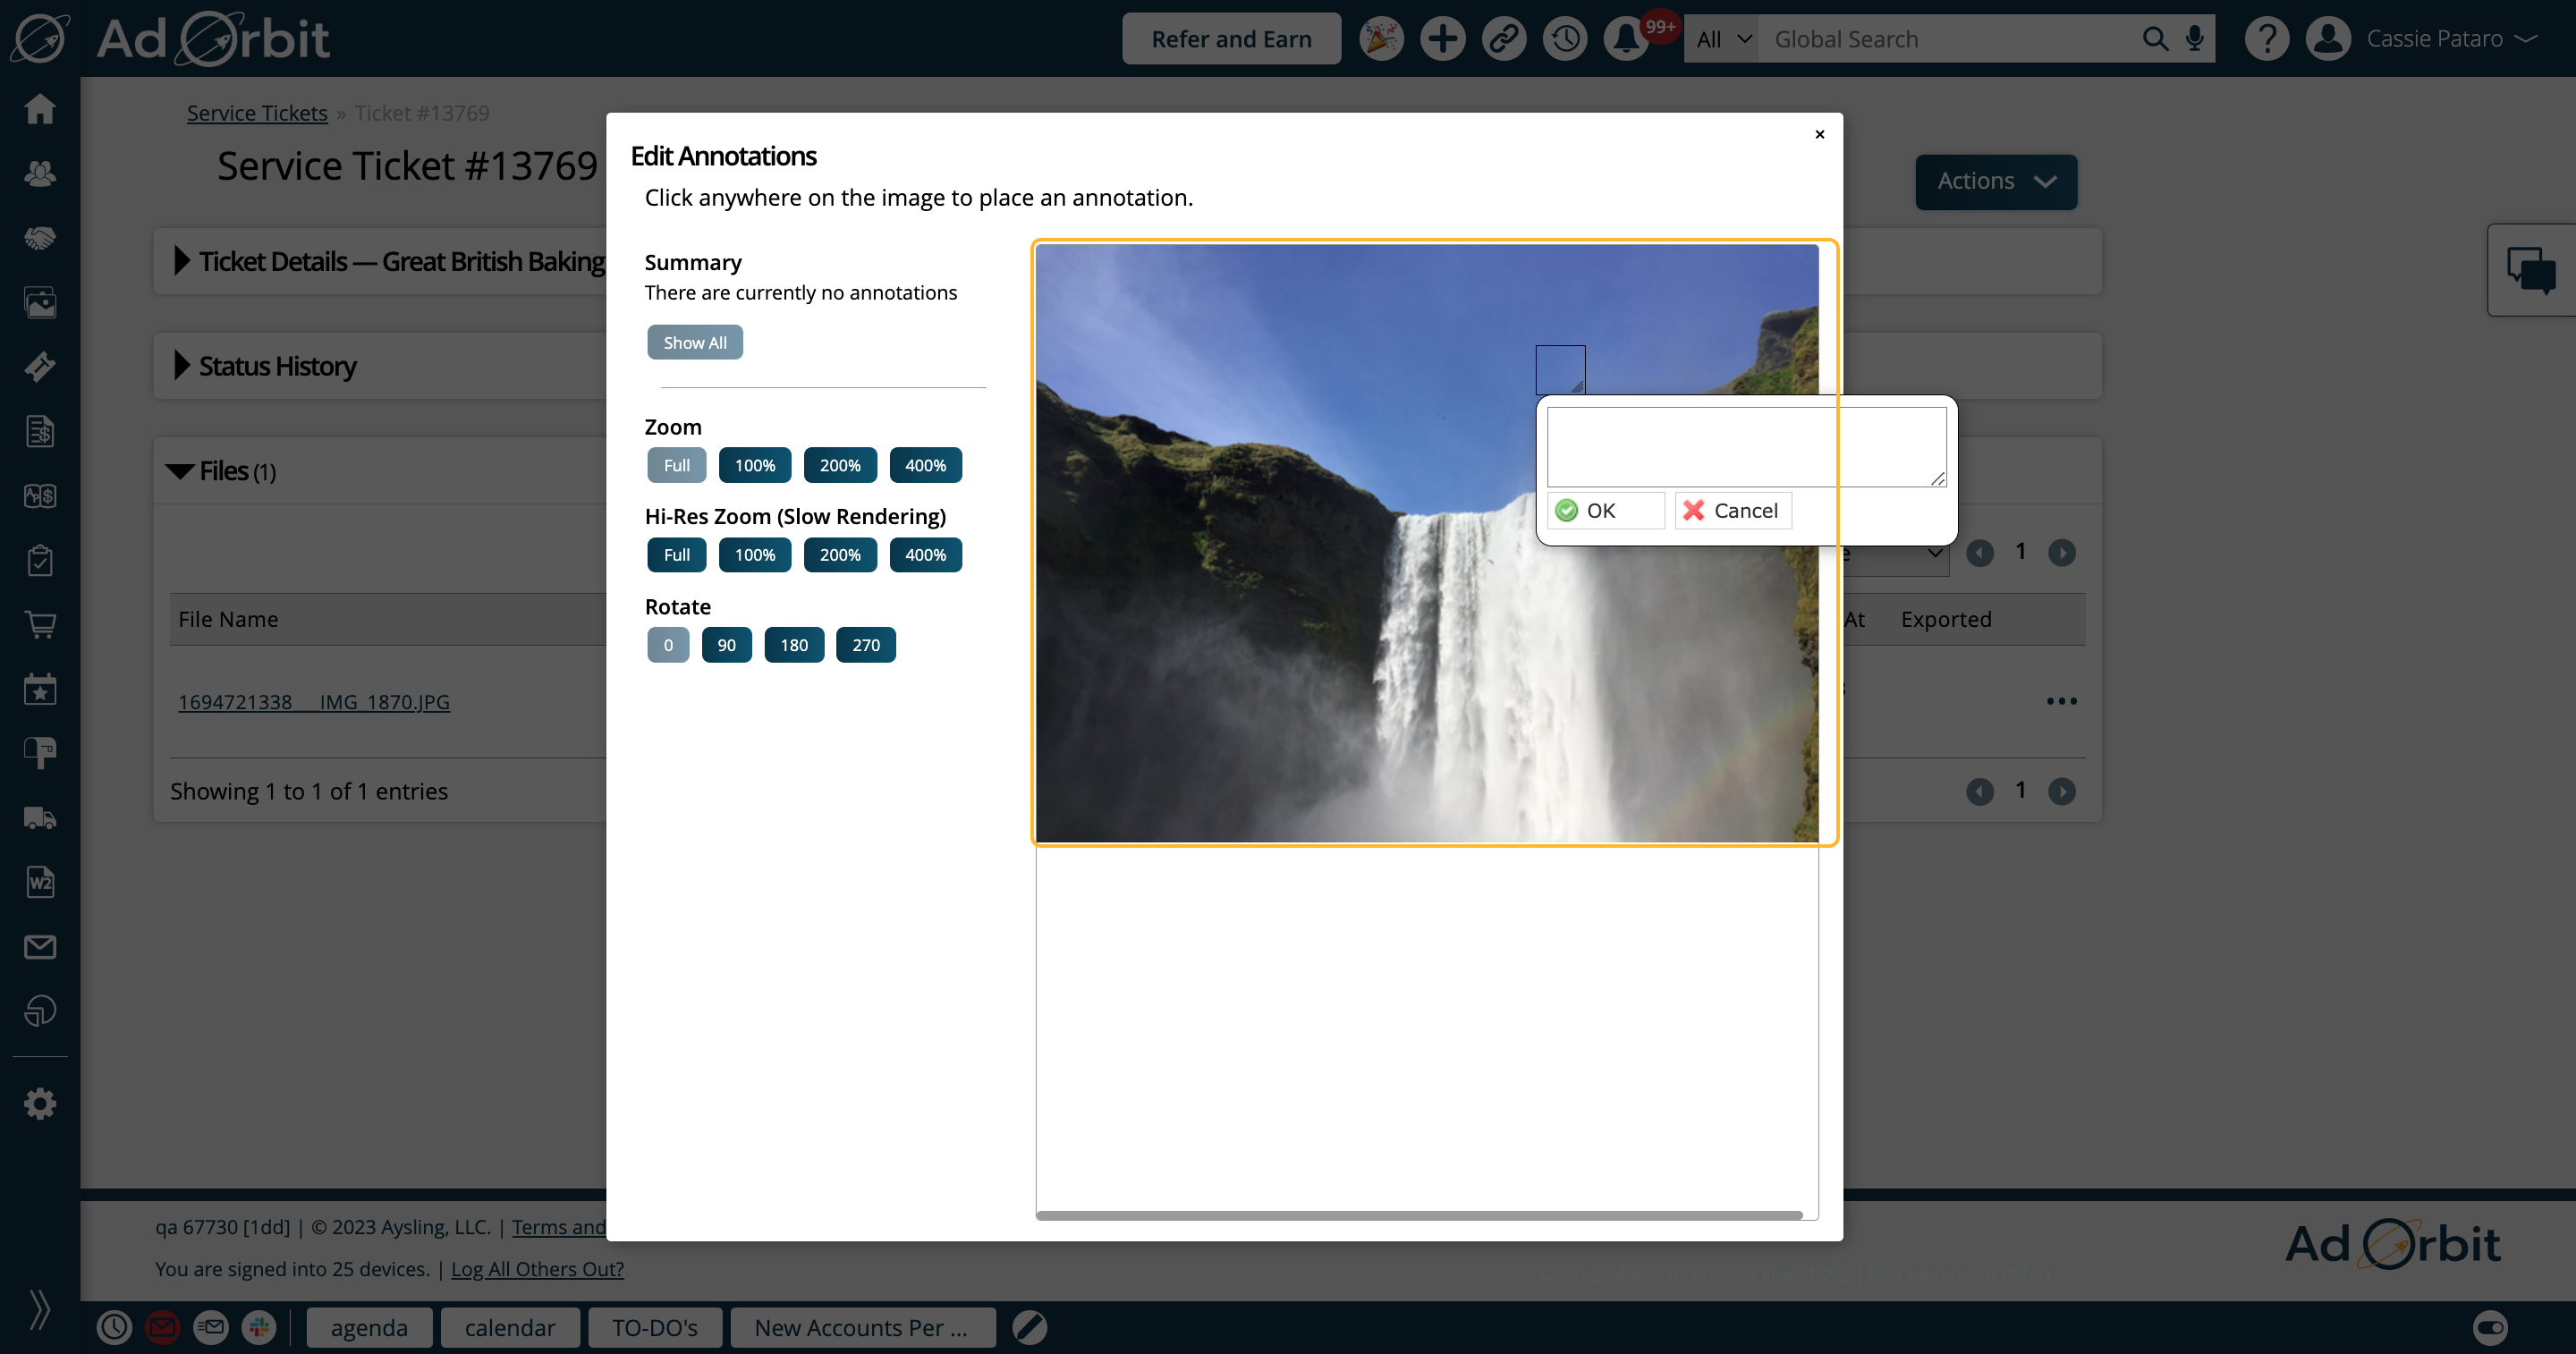
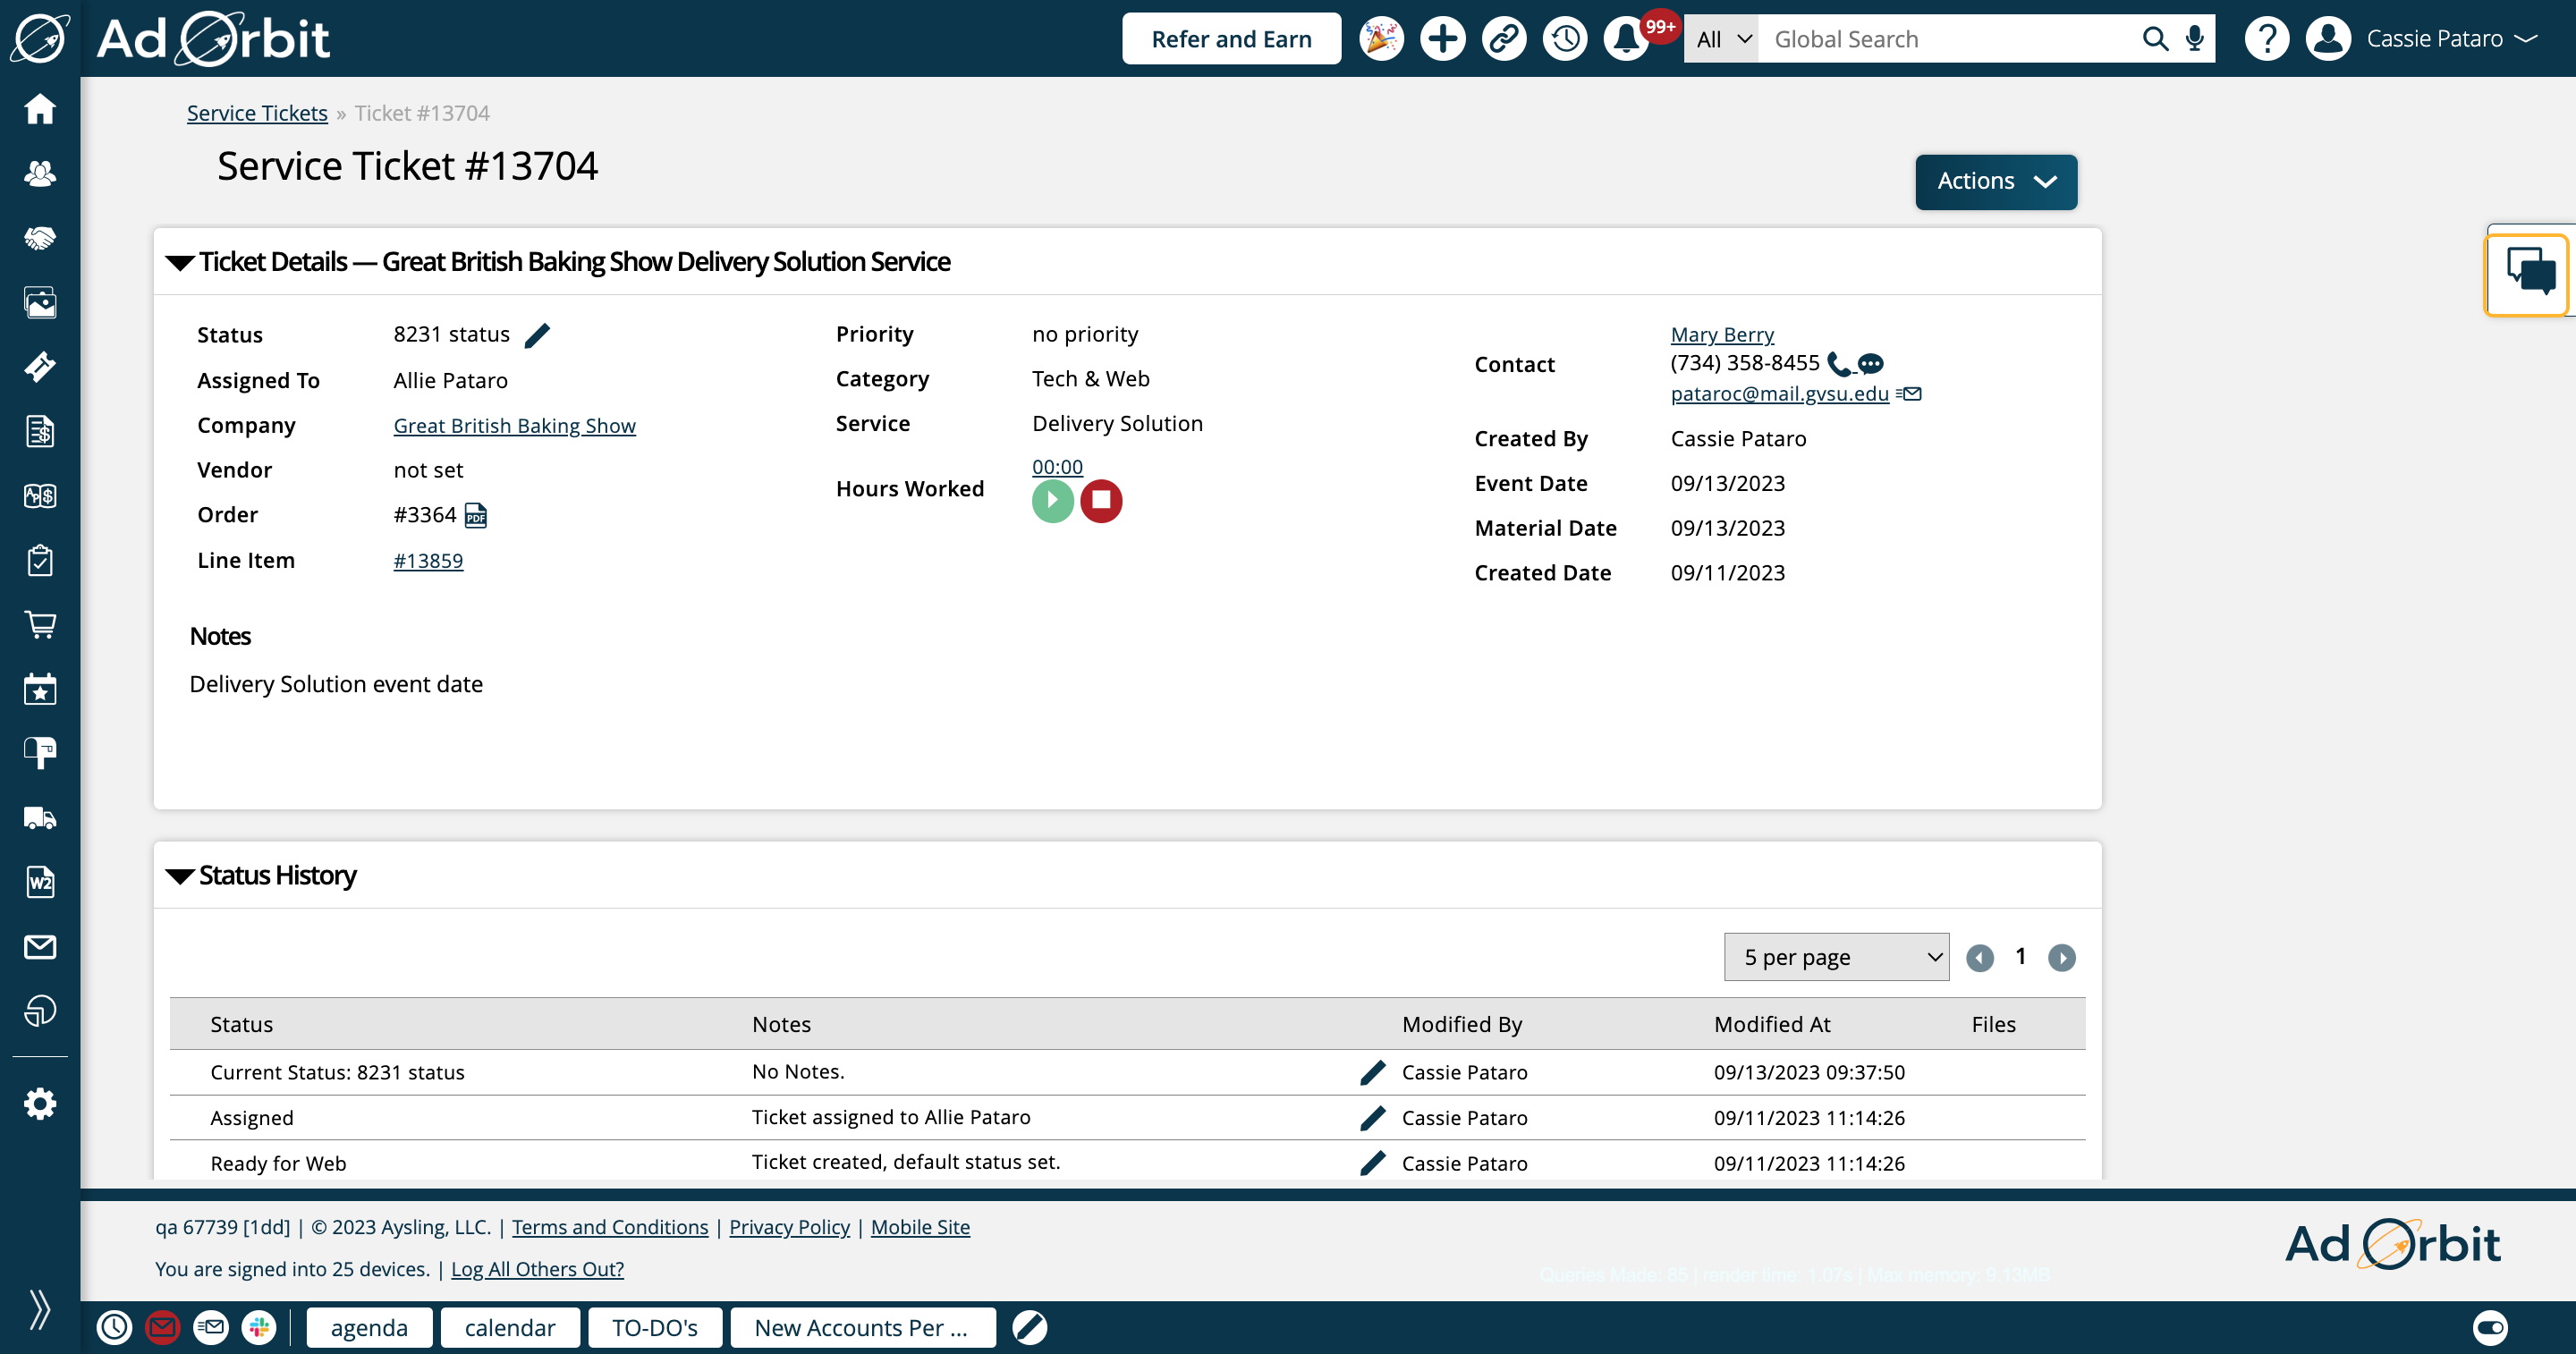
By clicking on the chat icon next to an uploaded file, you can add, edit, and view annotations made on the file.
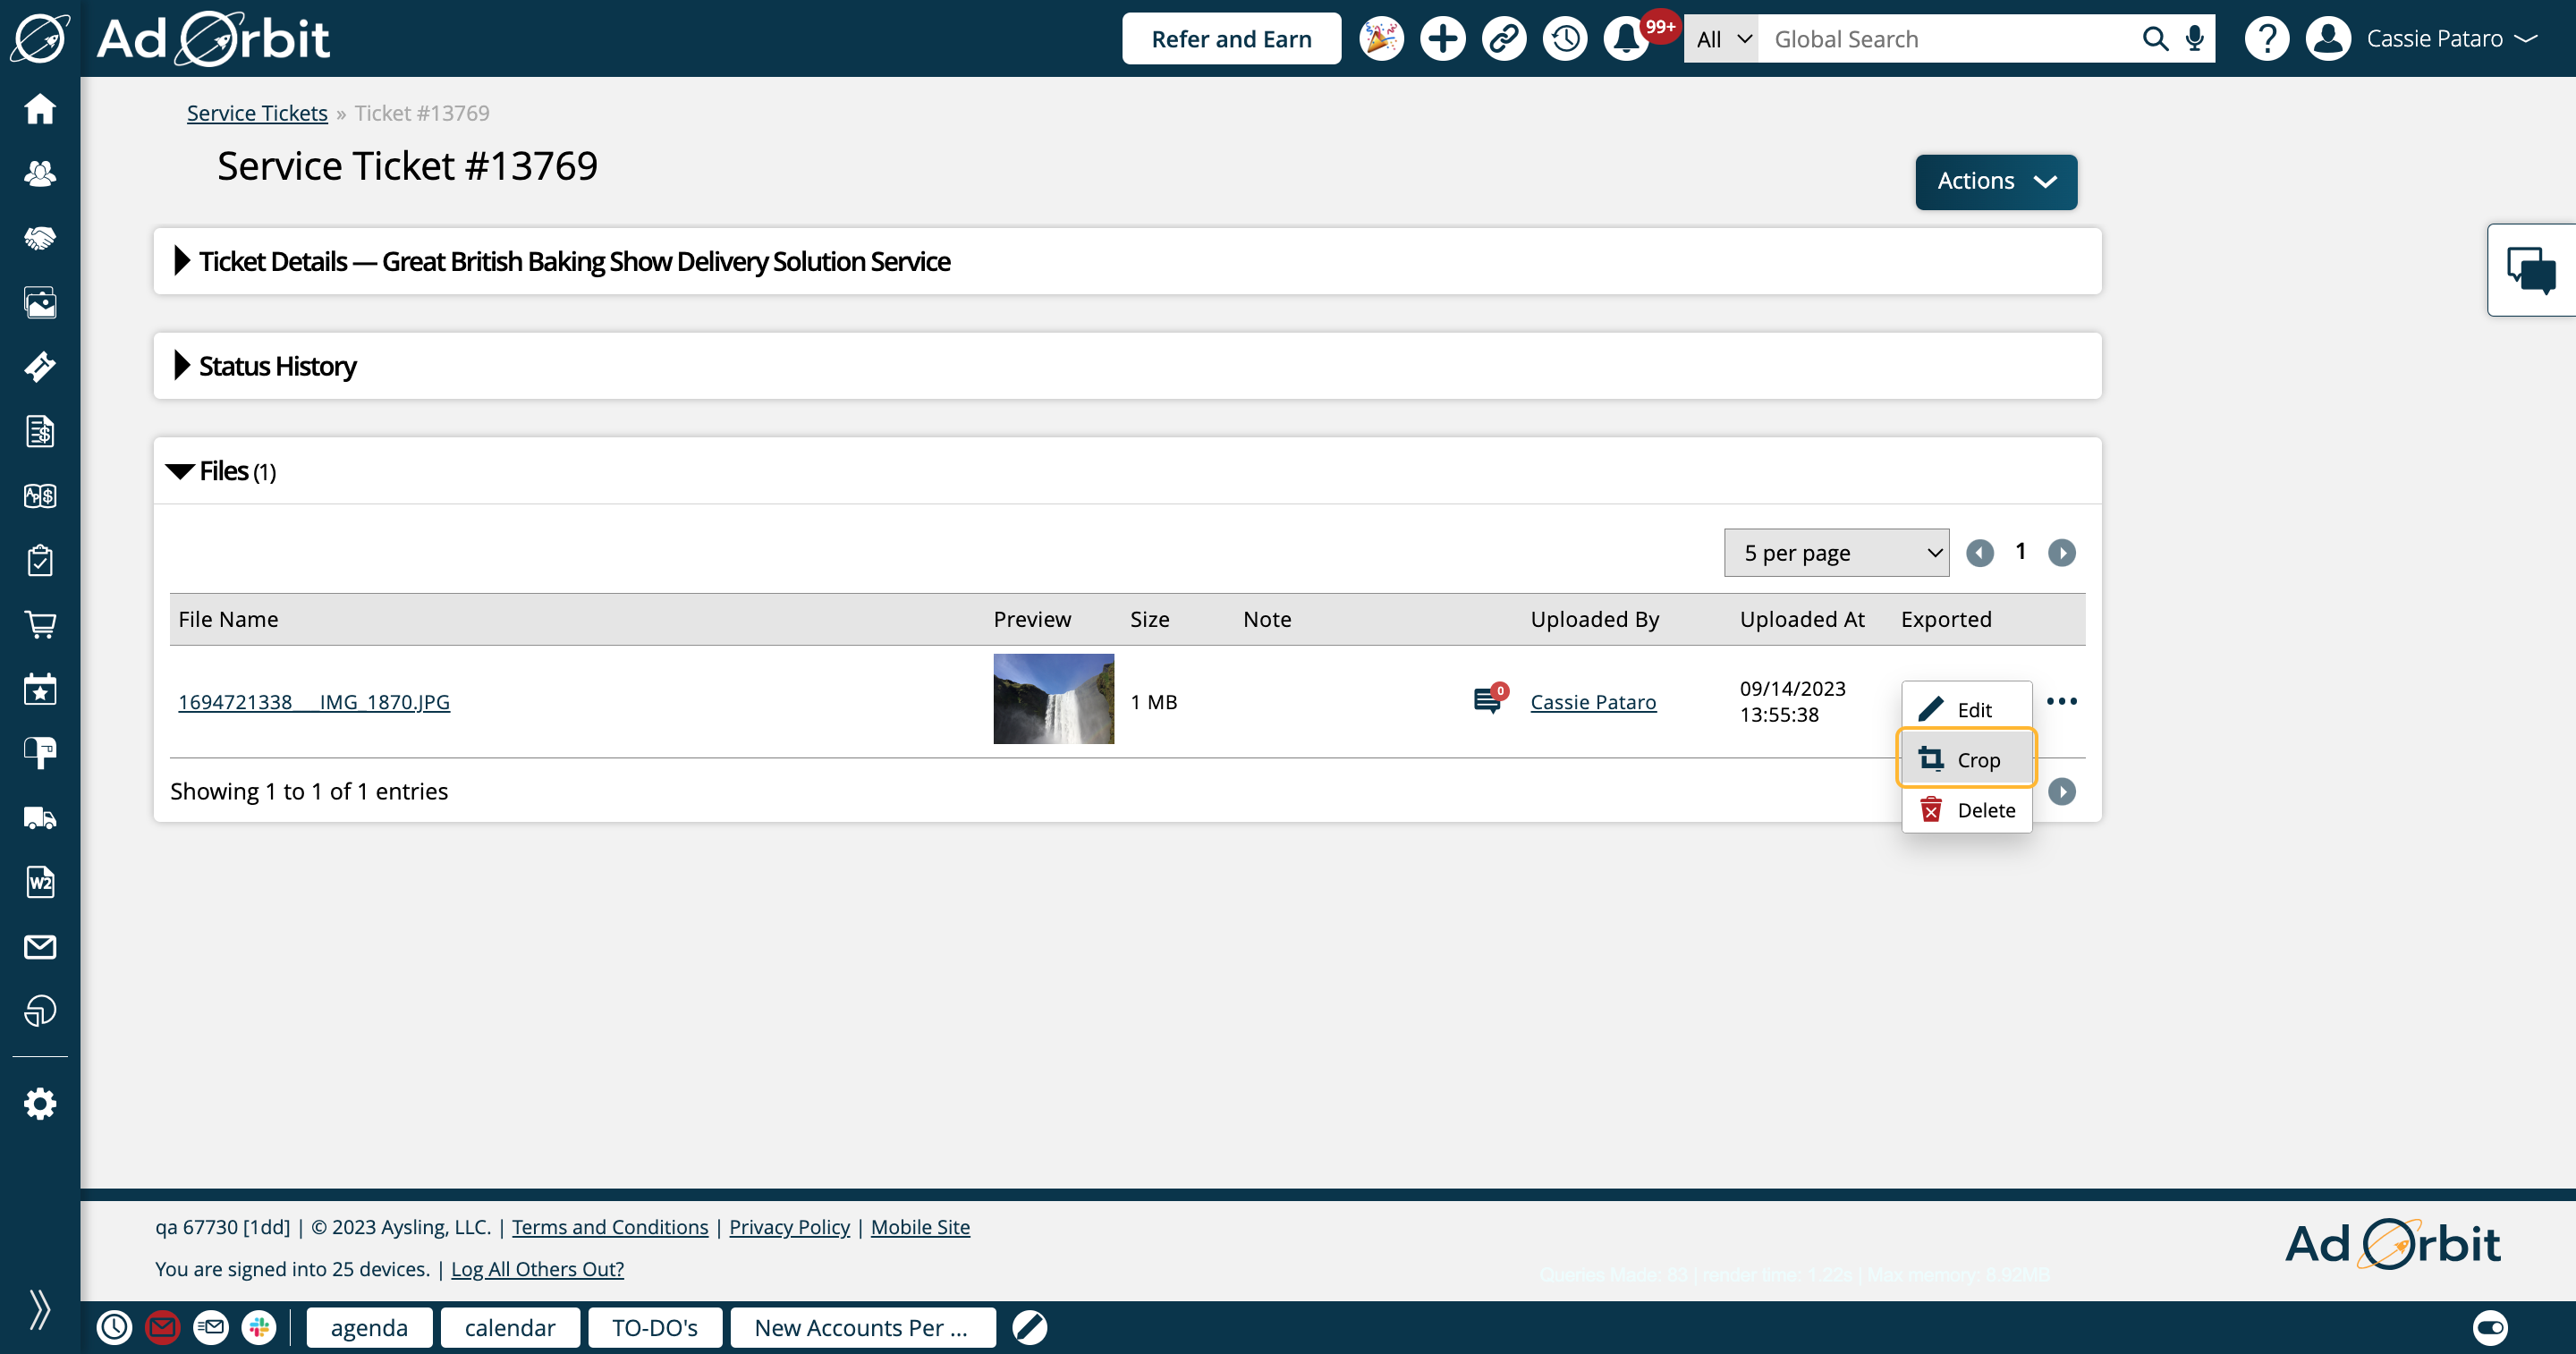
Clicking the ellipsis icon gives you additional actions you can take on the file. Clicking the Edit action opens a popup where you can change the file's note.

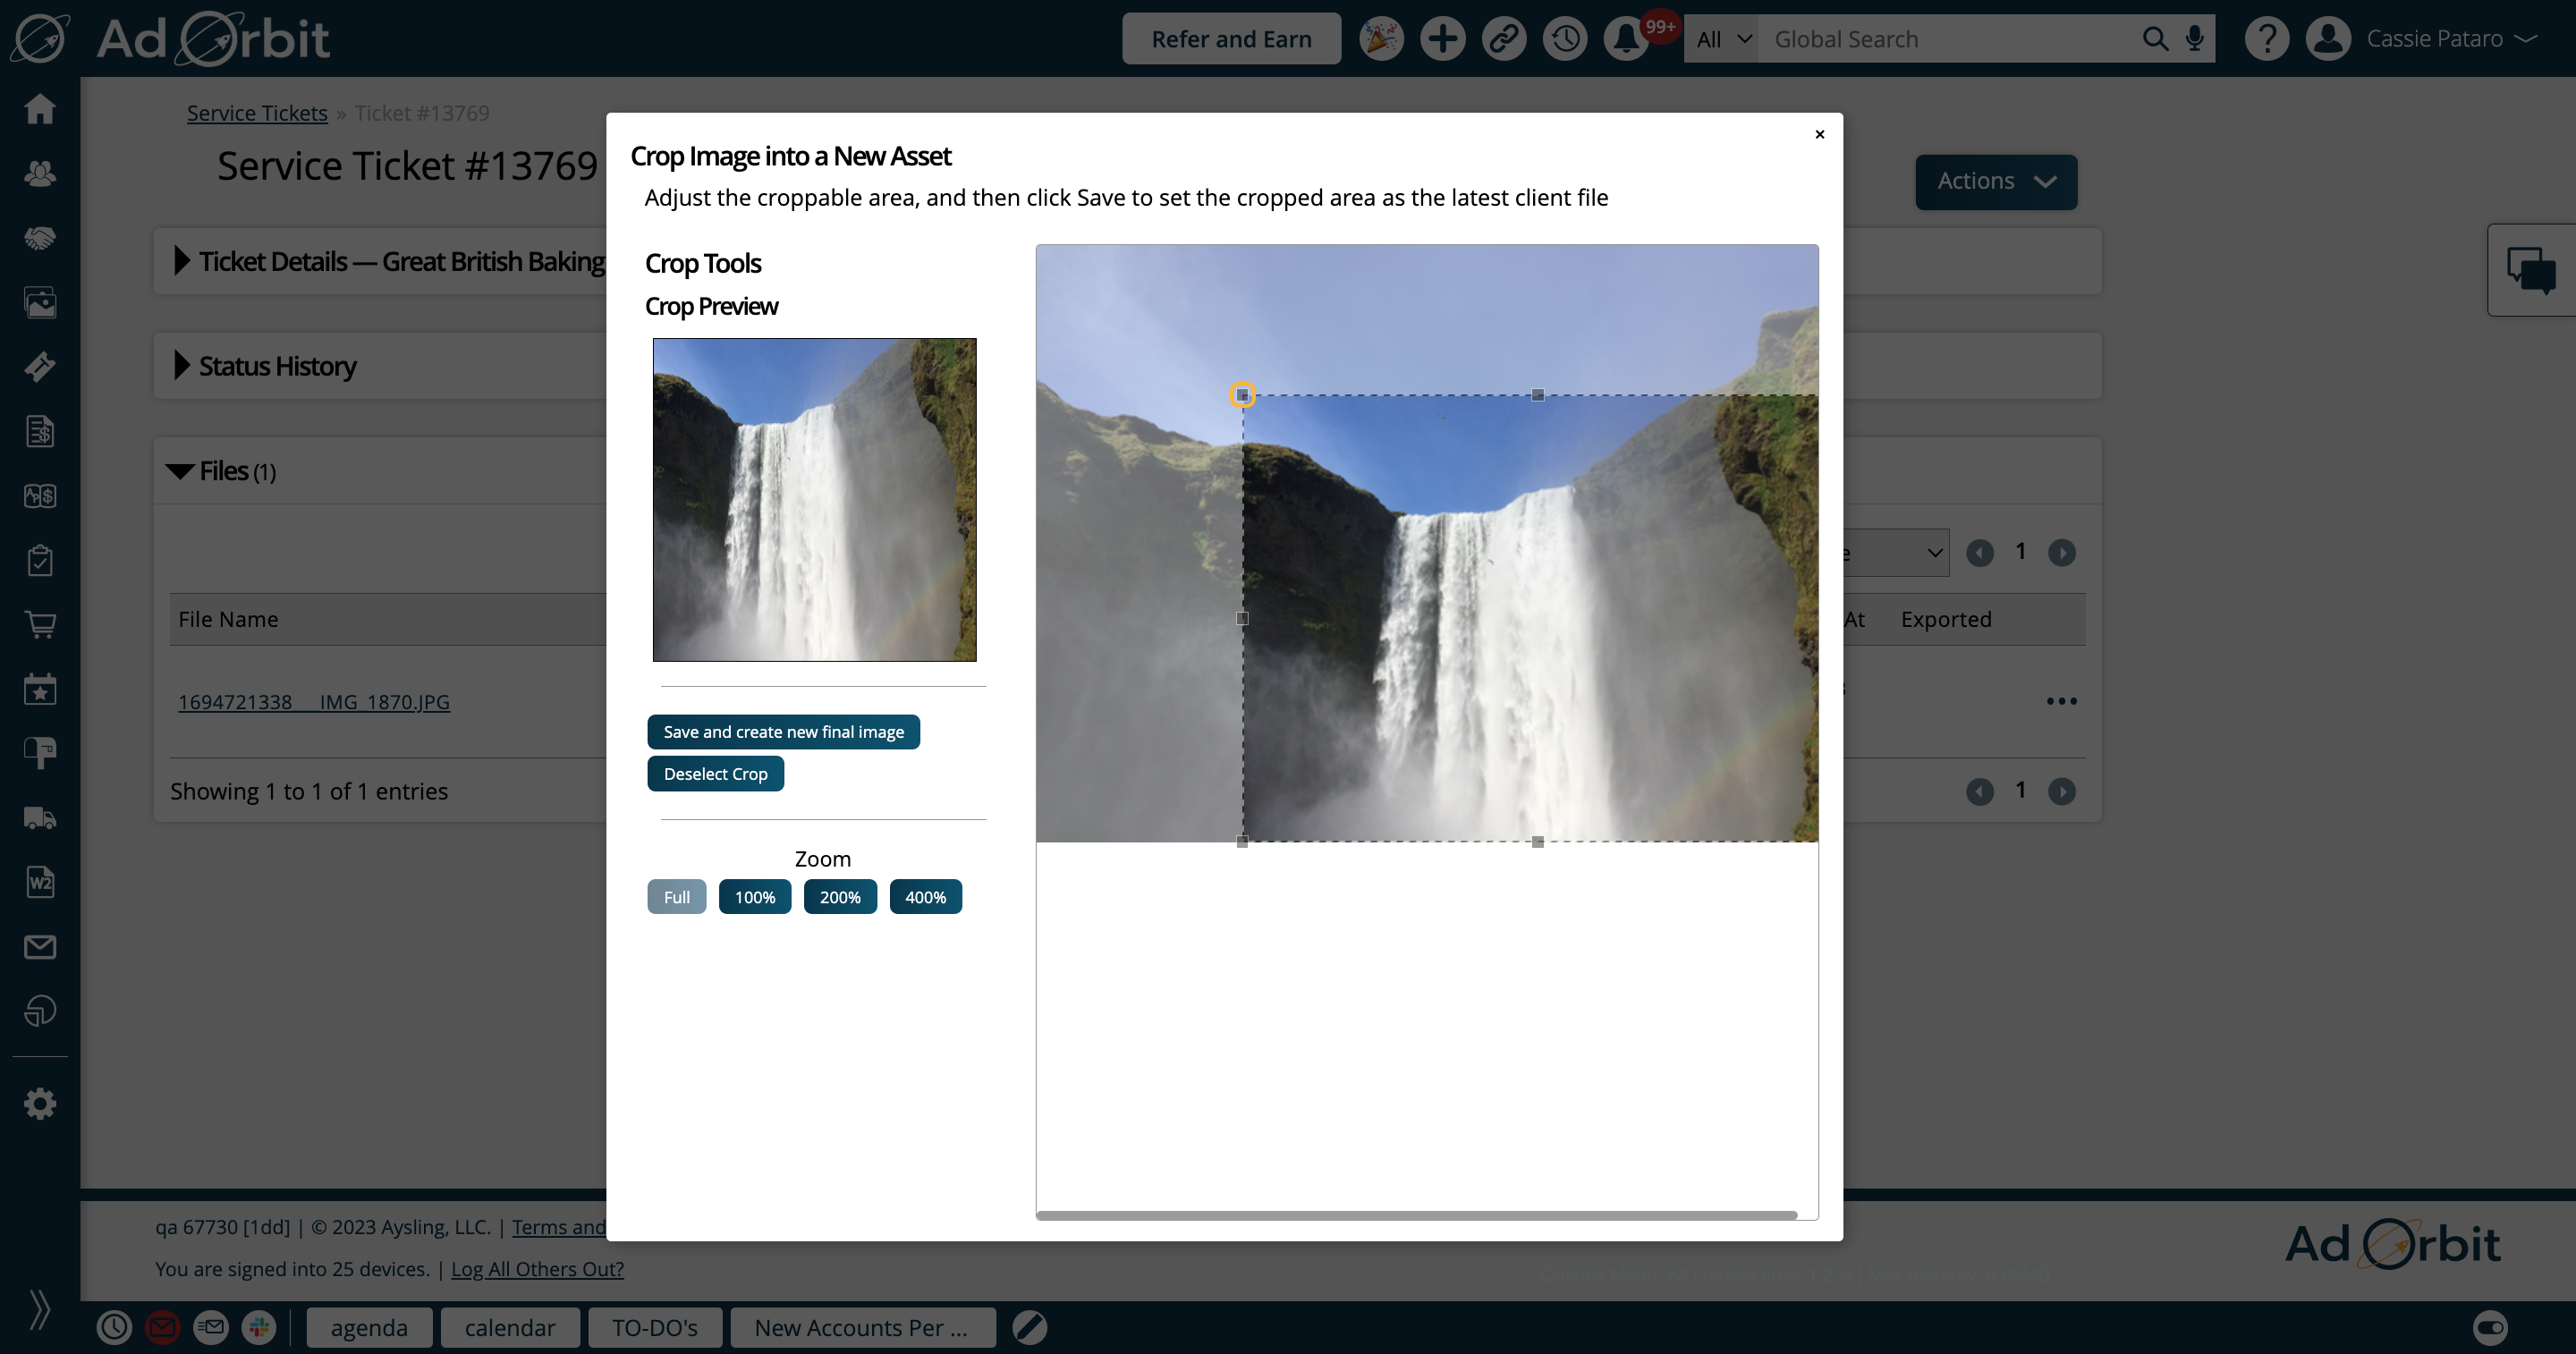
The Crop action opens a popup where you can crop the image and it will generate a new file and automatically add it to the ticket.
You can either save your crop changes or discard them in this popup.
And finally, you can Delete an uploaded file using the actions dropdown.

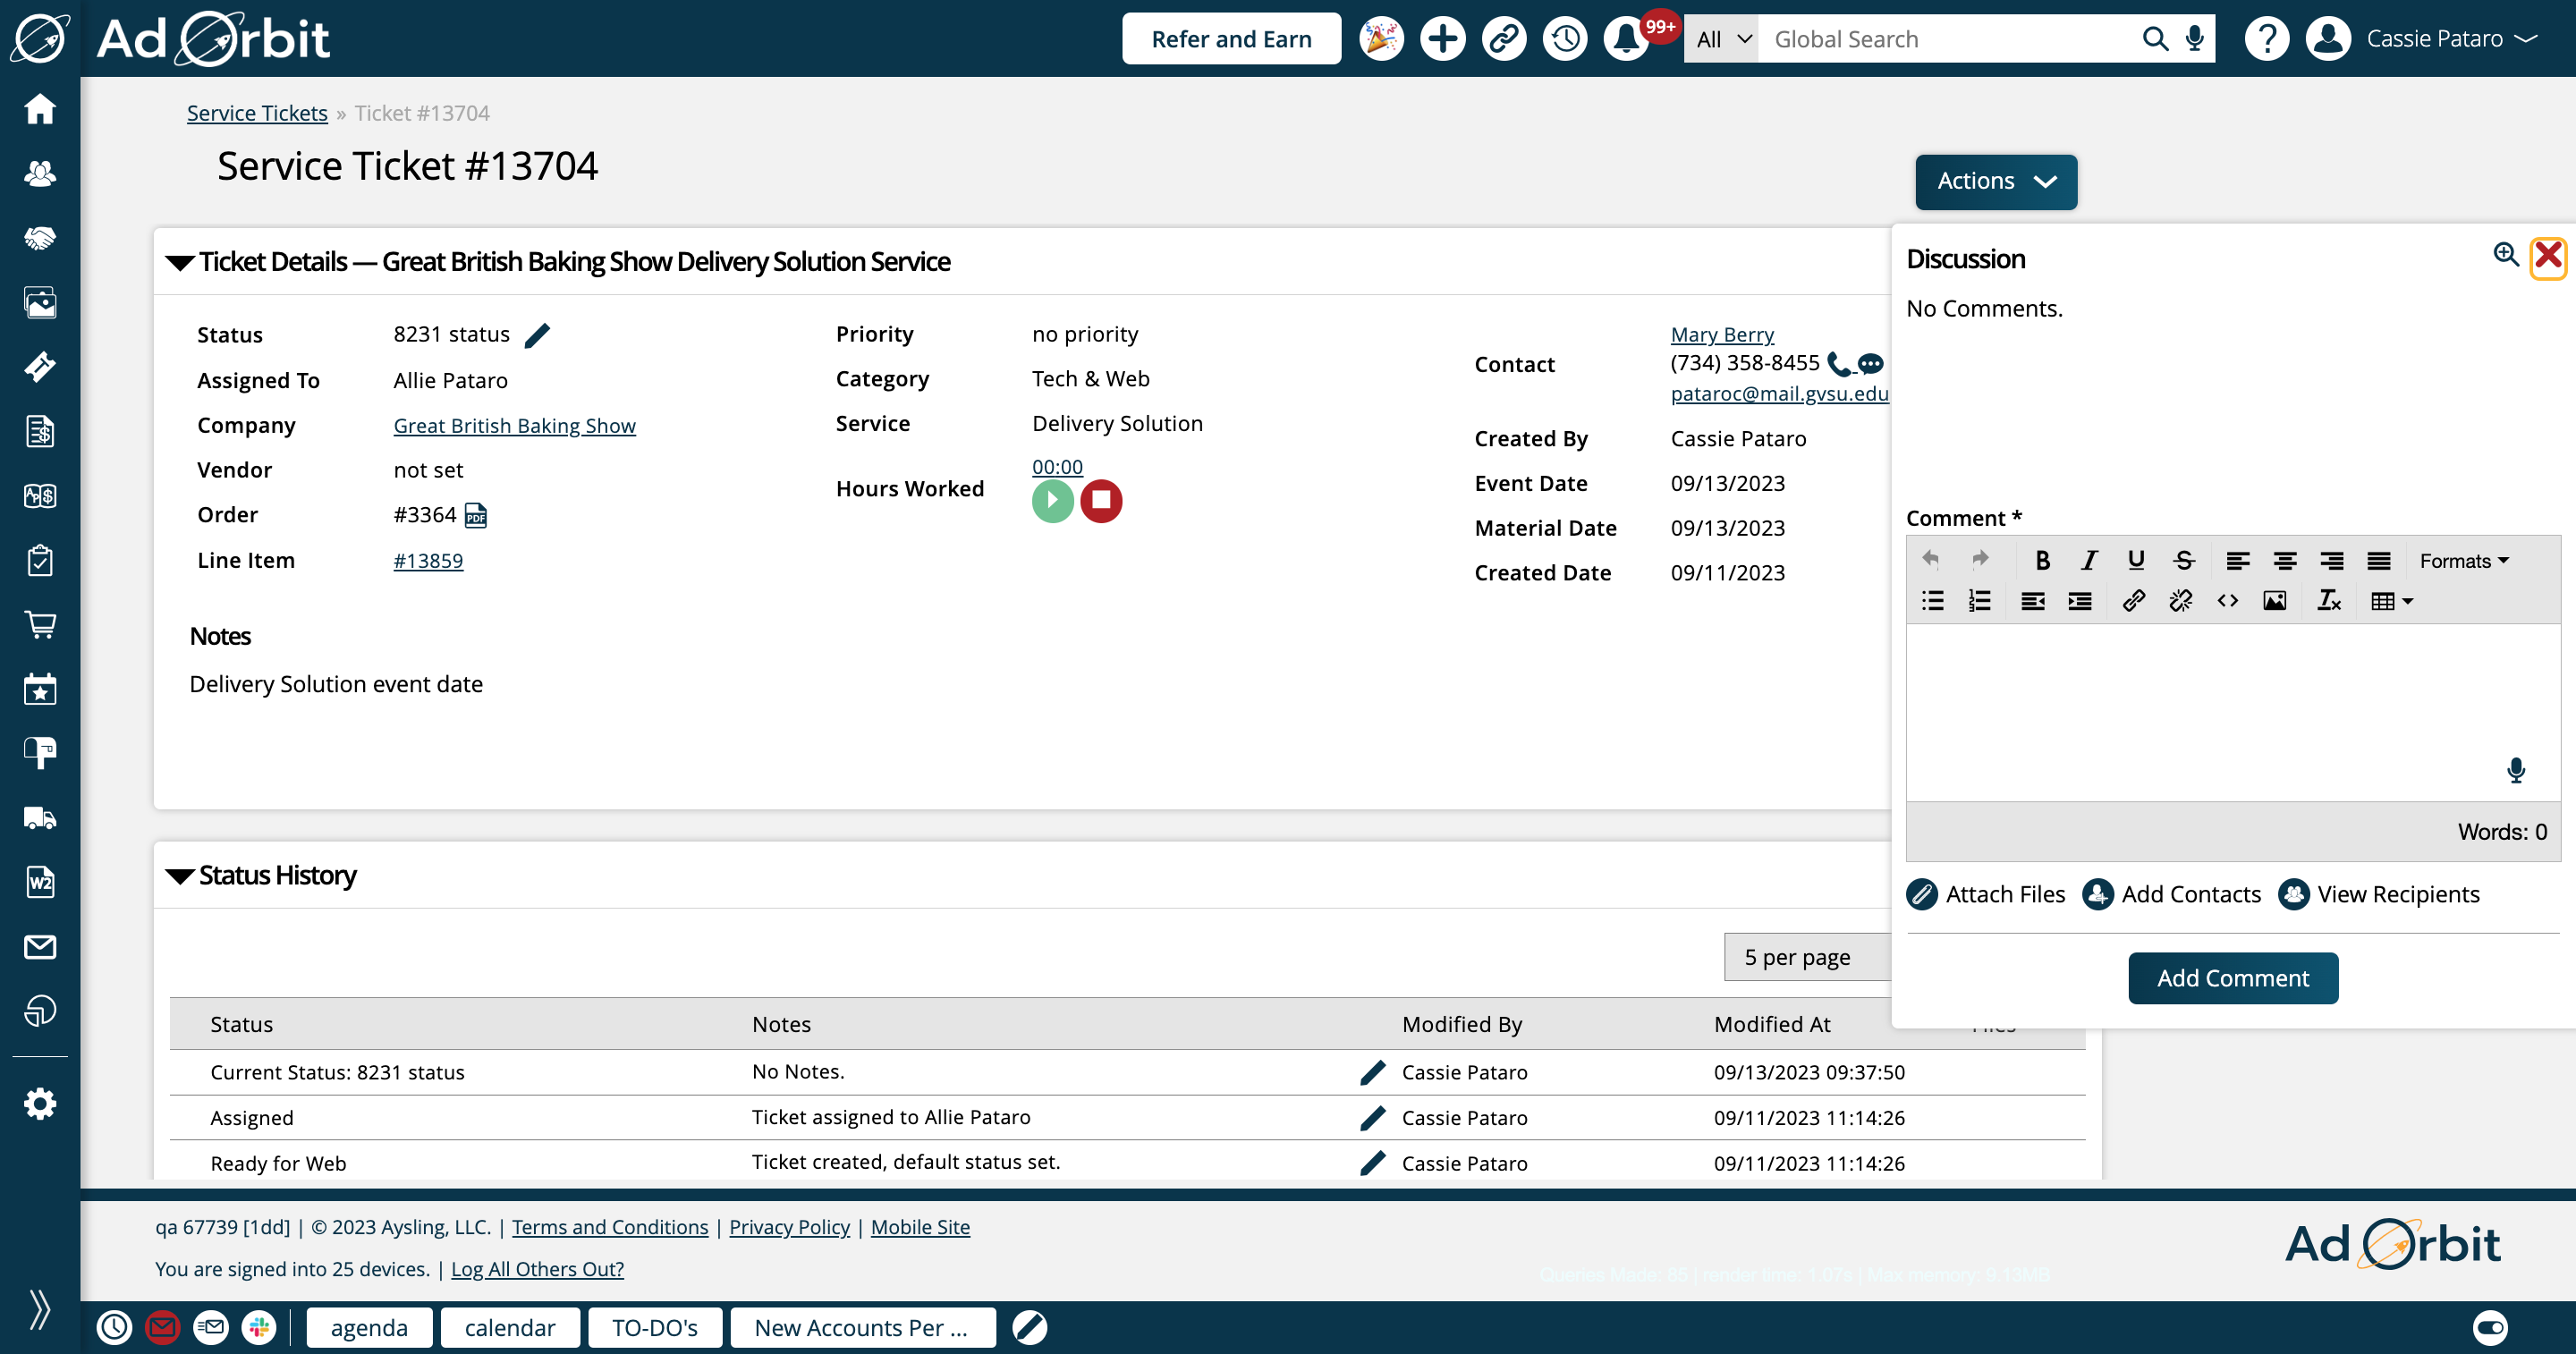
Another feature that is specifically available for Delivery Solution tickets is that you can have a discussion on the ticket. Discussions are not available on other Service tickets. To open the discussion, click on the chat box icons on the right side of the page.
If your Delivery Solution product is set up to not be viewable in the Client Center, the only people who can receive the discussion comments are any users who have contributed to the discussion, and the ticket contact.
If the product is set up to be viewable in the Client Center, you can manually add additional contacts to receive the discussion comments. By default any user who has commented and the ticket contact will receive the comments.
For each discussion comment, you can attach files. These will also be added to the Files section of the ticket.
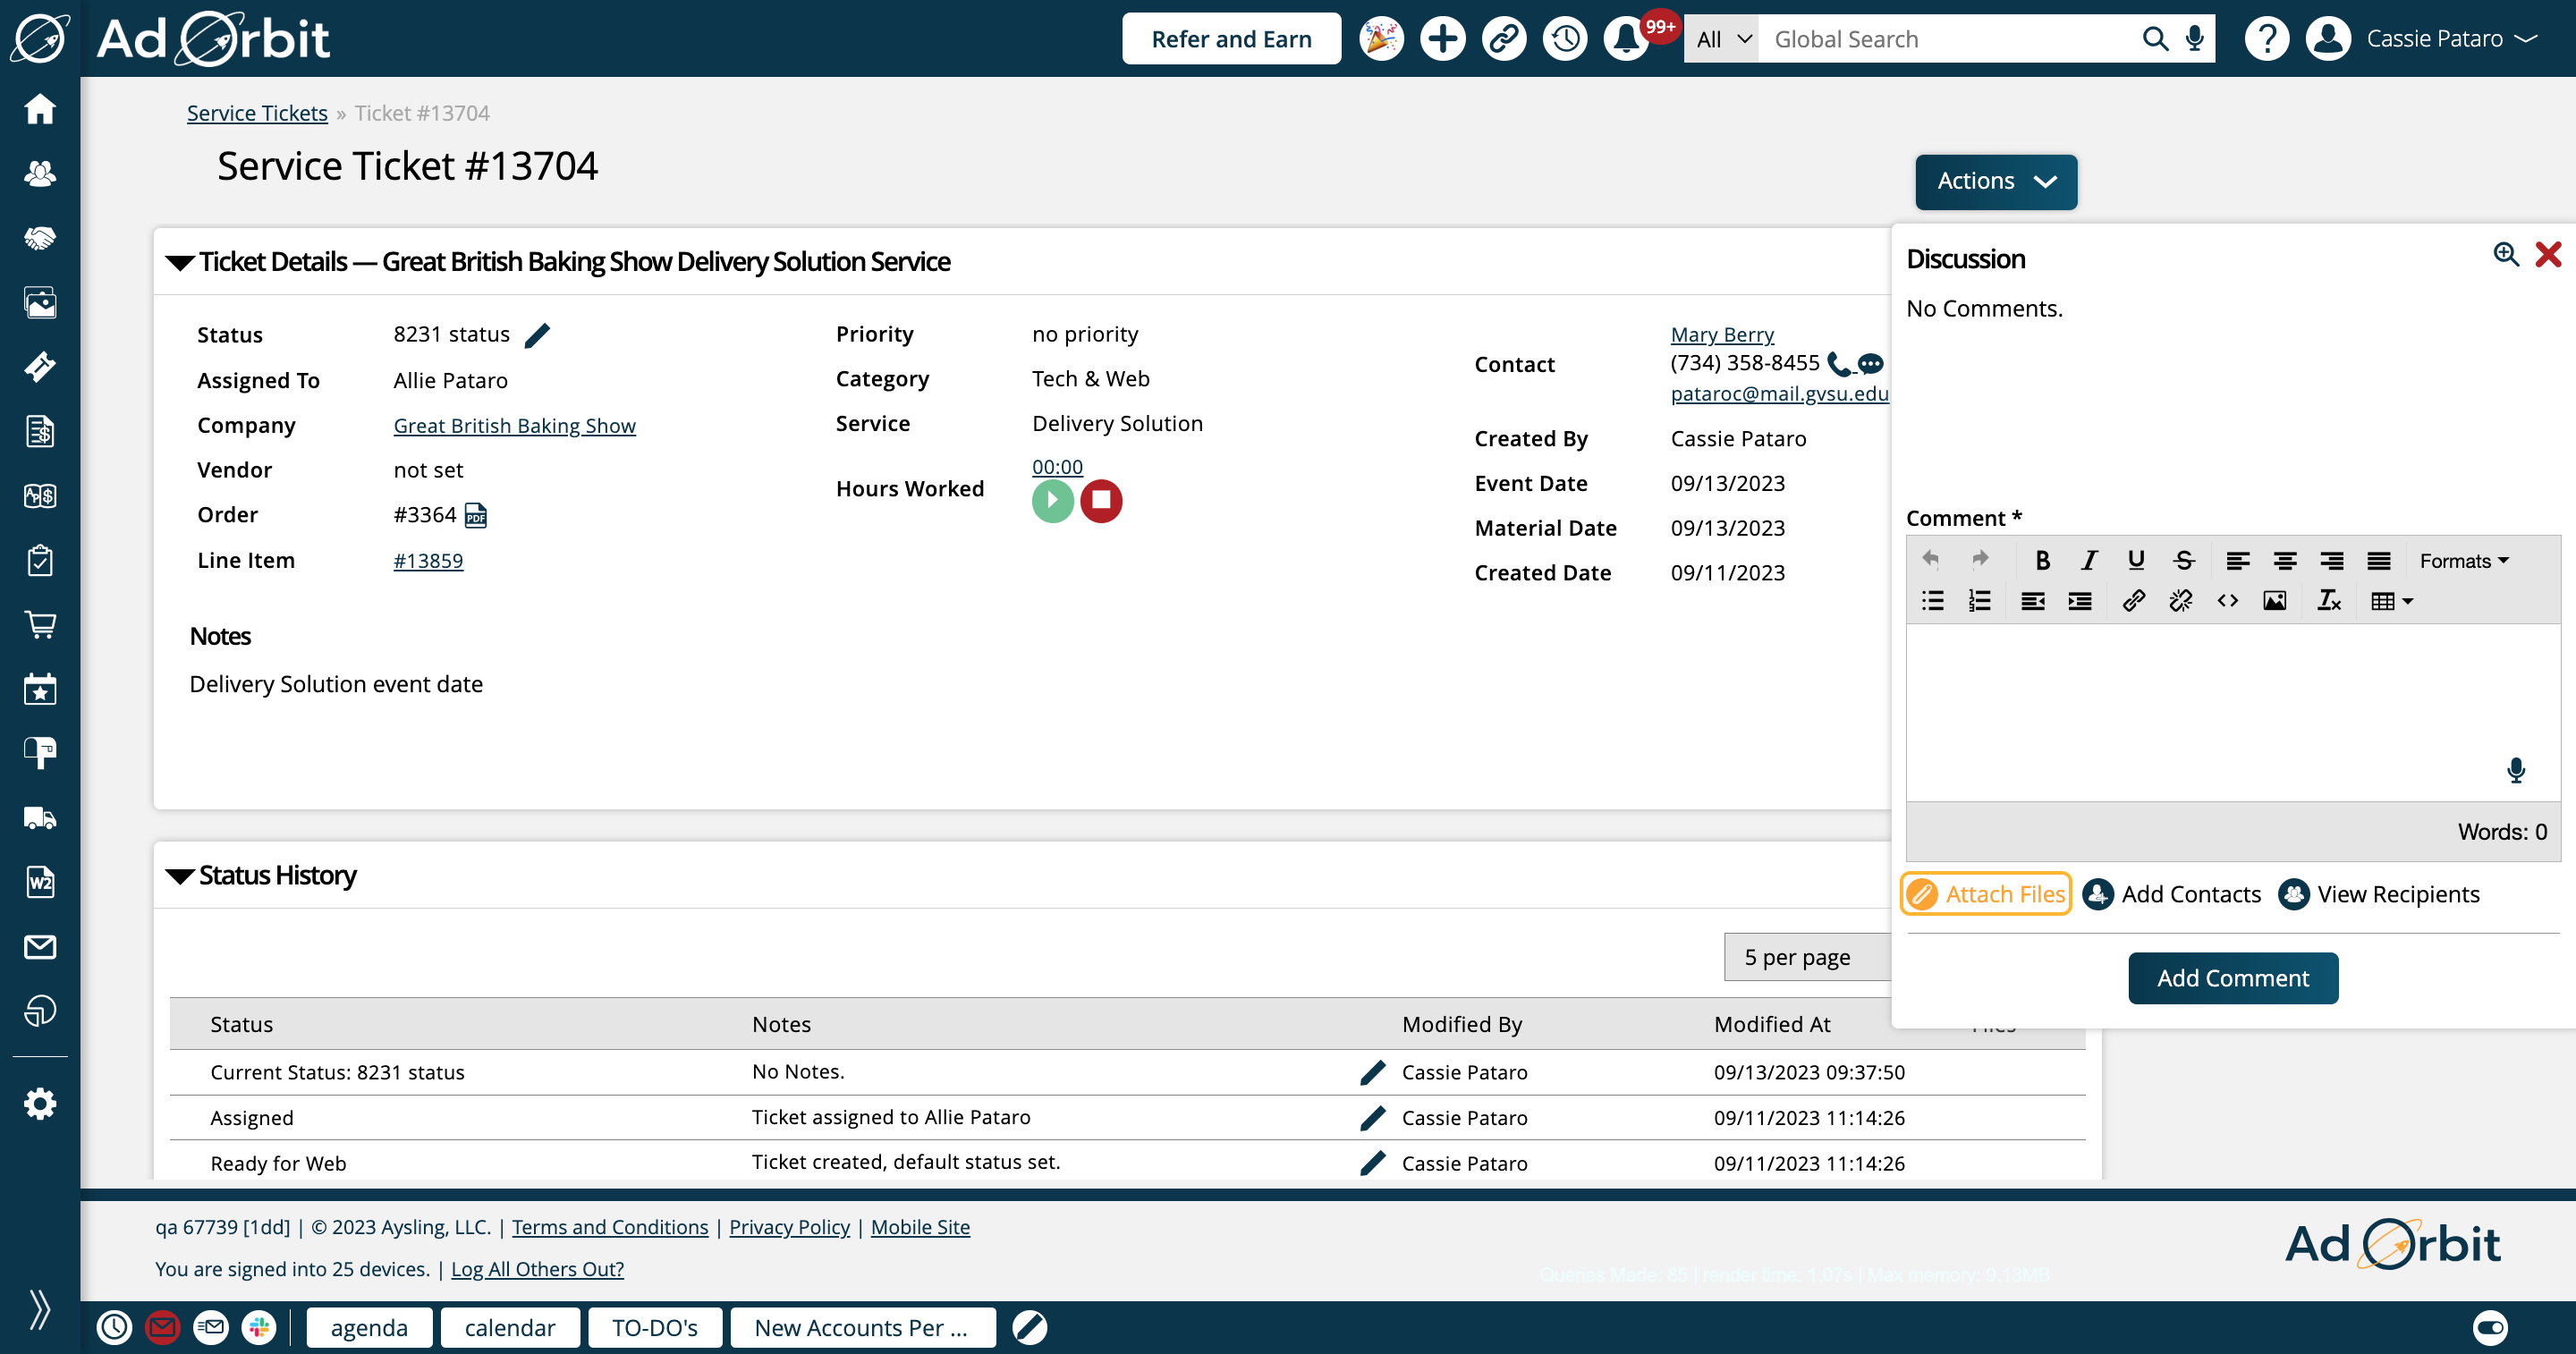
If your Delivery Solution product is accessible in the Client Center, you'll also see an 'Add Contacts' button.
You can add any contact that is associated with the ticket's company.
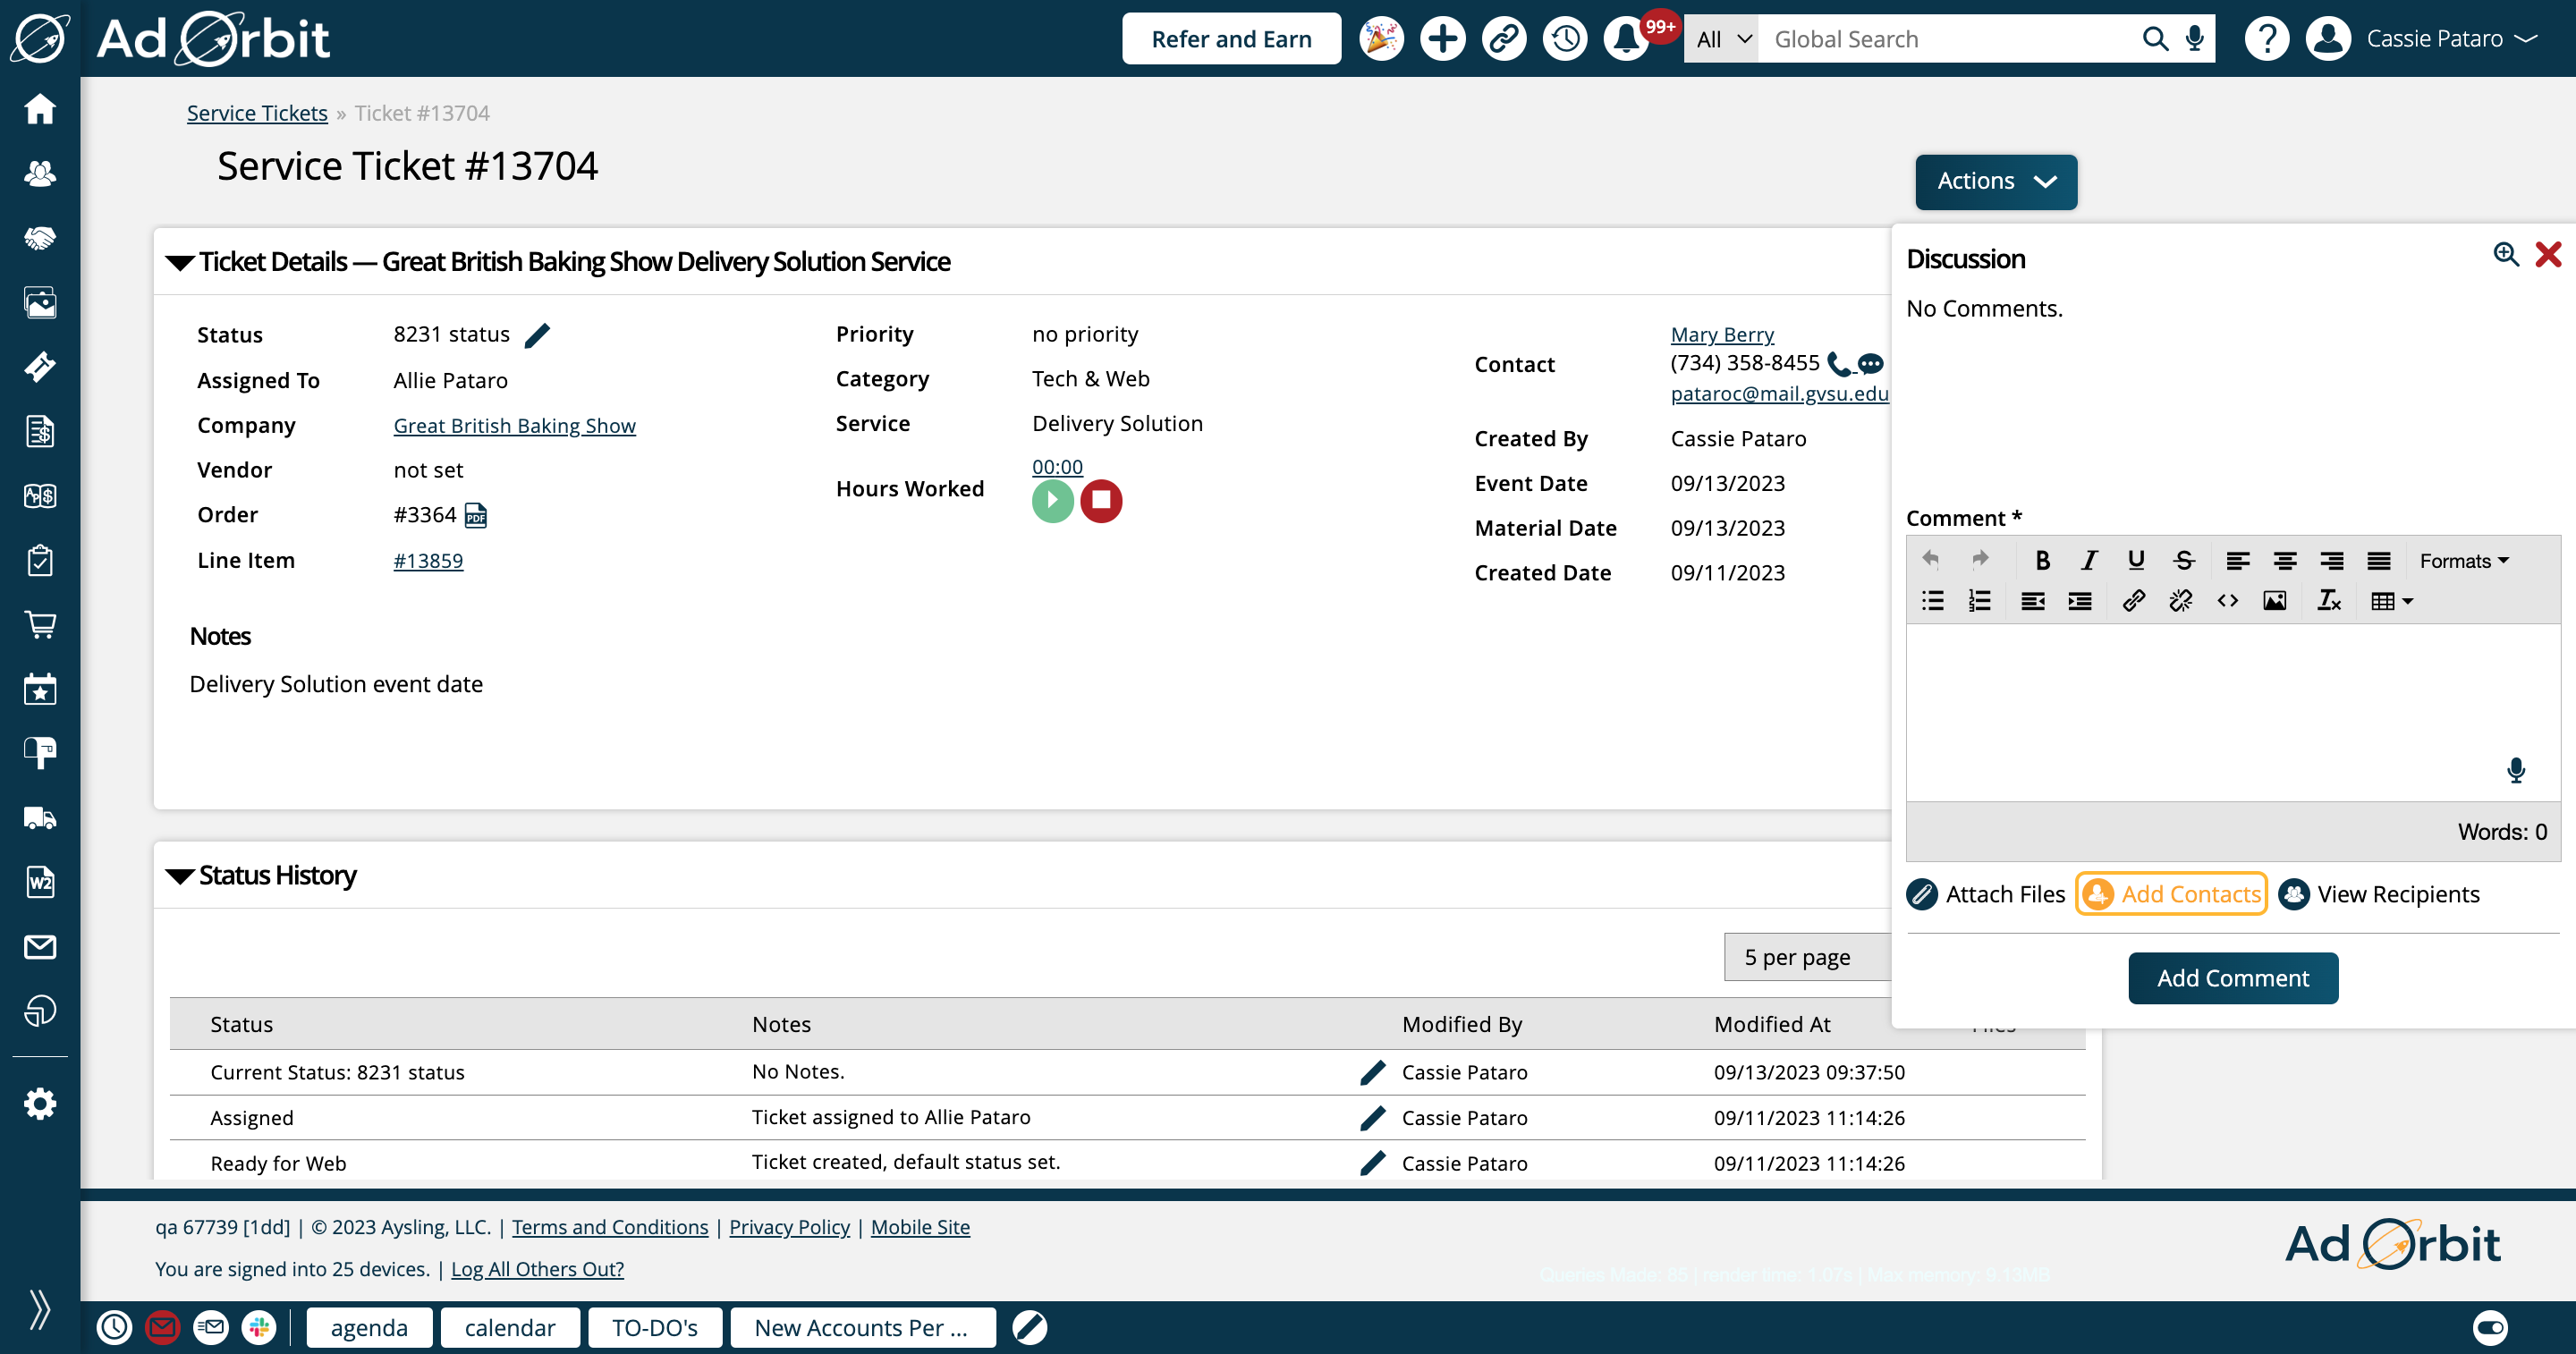
To see who will be receiving the discussion comments, you can click 'View Recipients' which will show all of the users and contacts who are included.
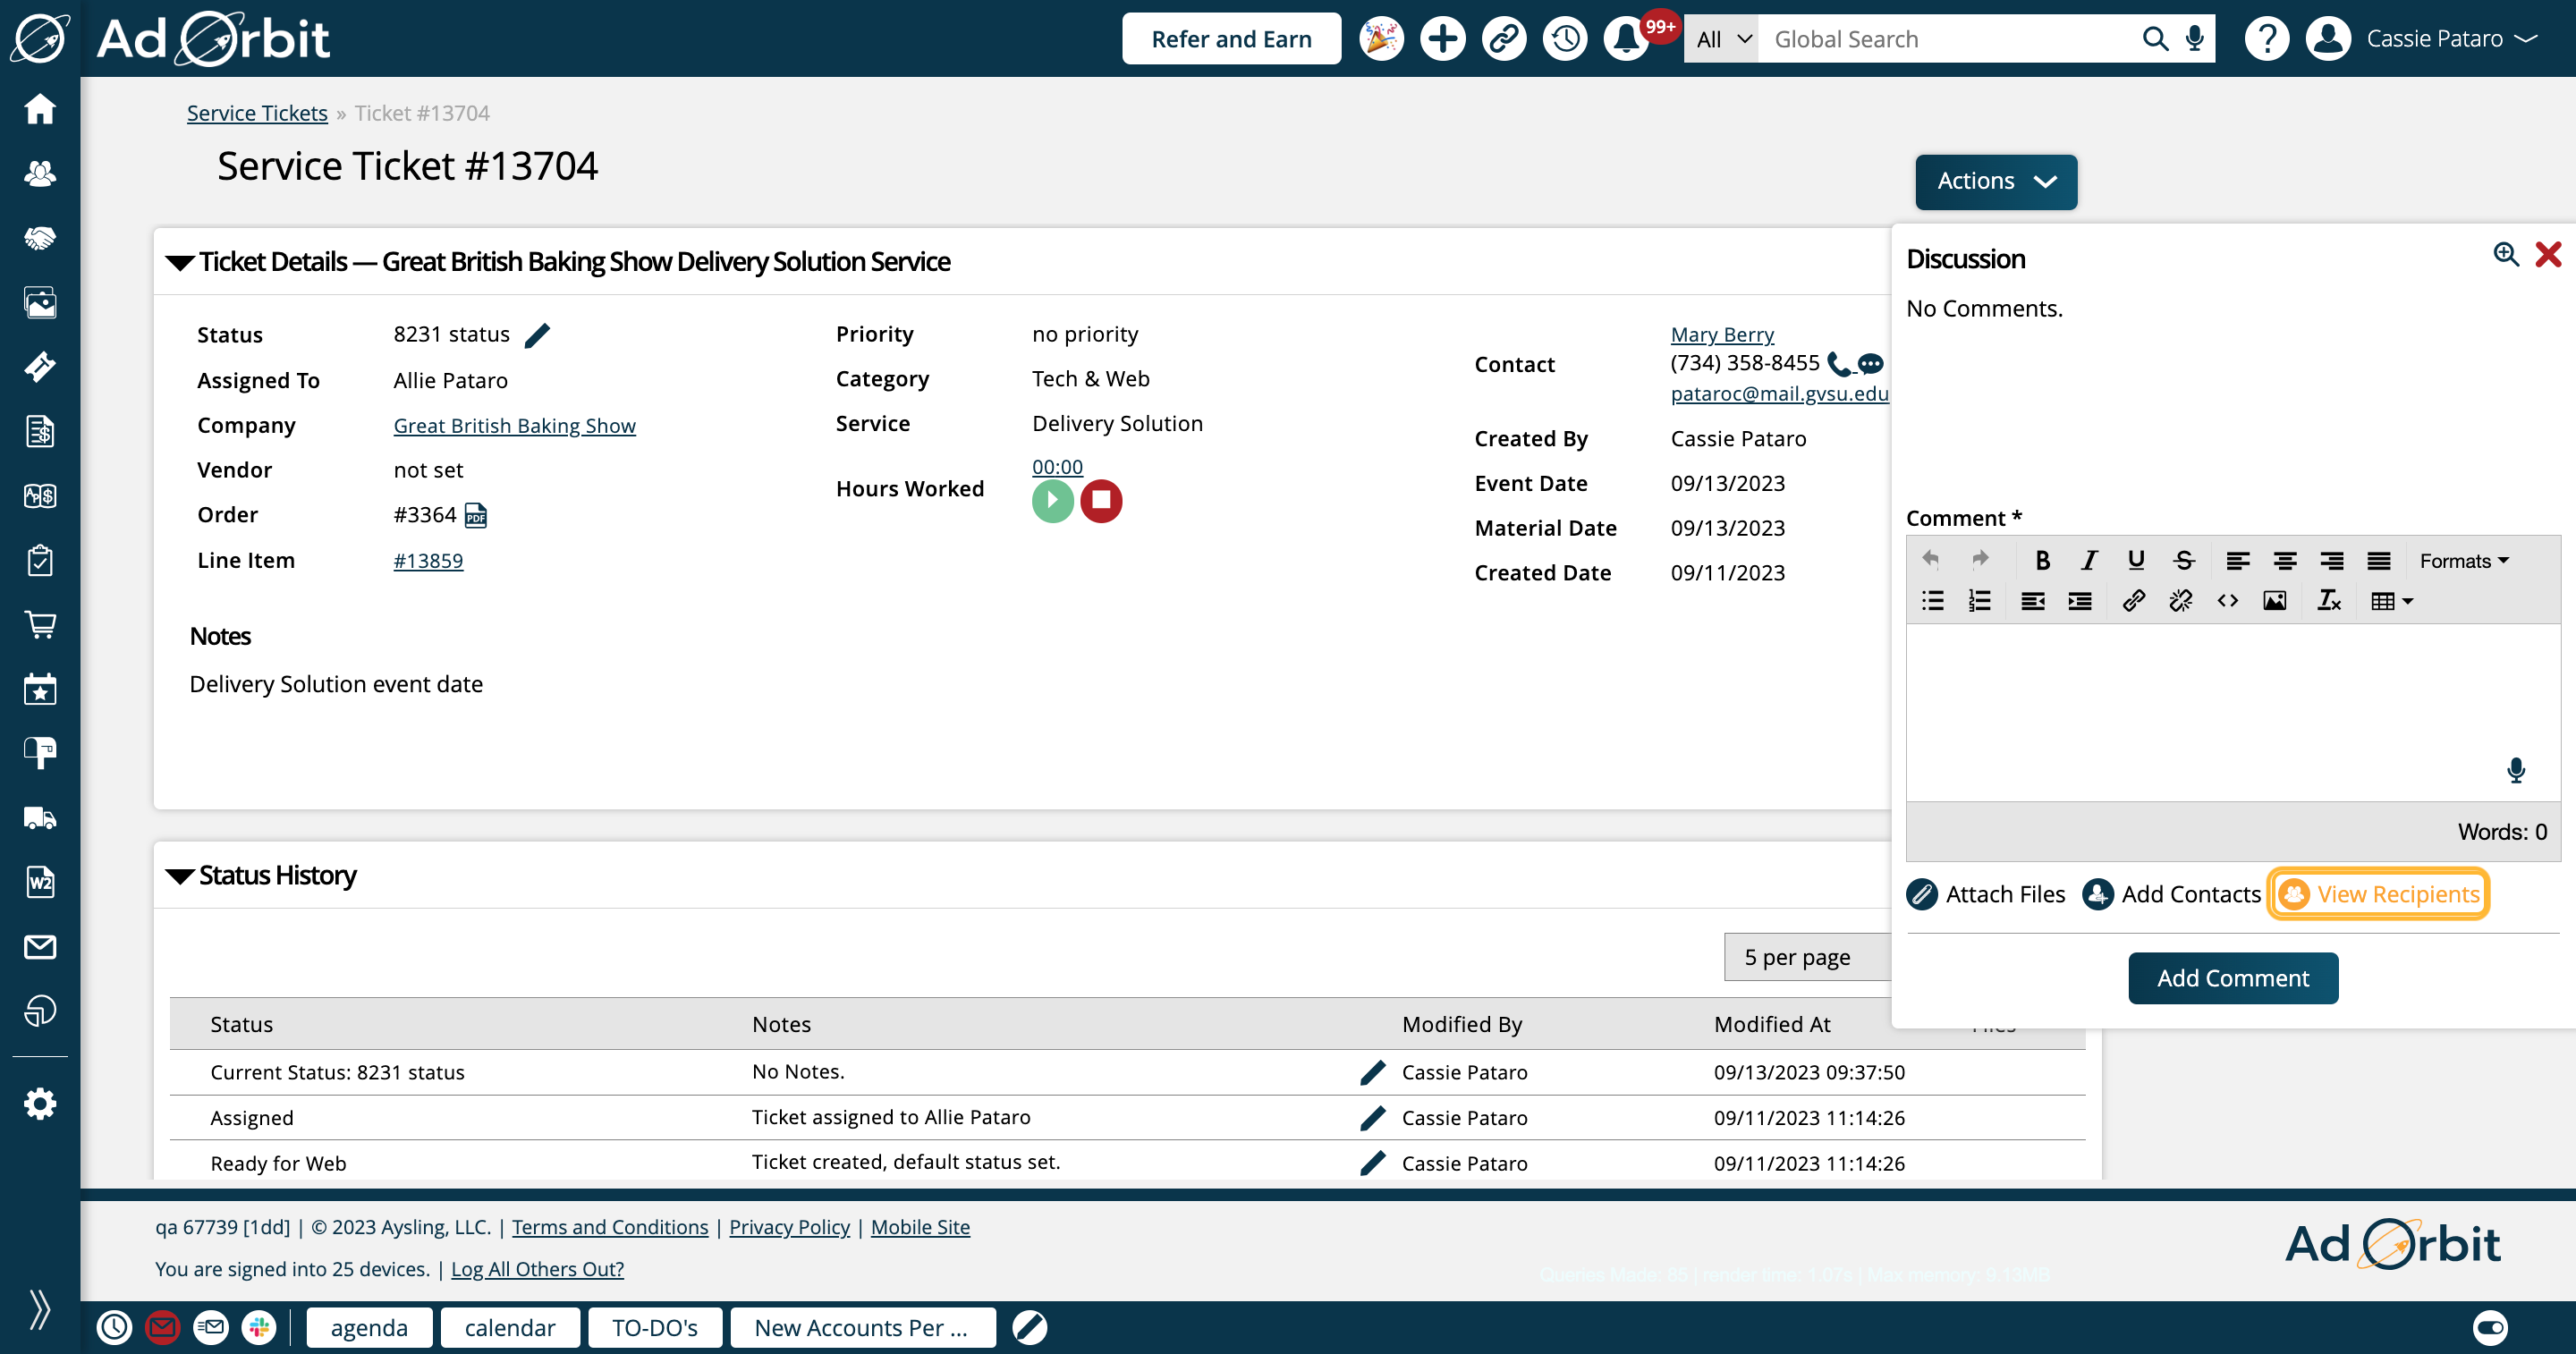
There are two sizes for your Discussion popup. One is a smaller size, which is shown here. To expand the discussion, click the magnifying glass icon.
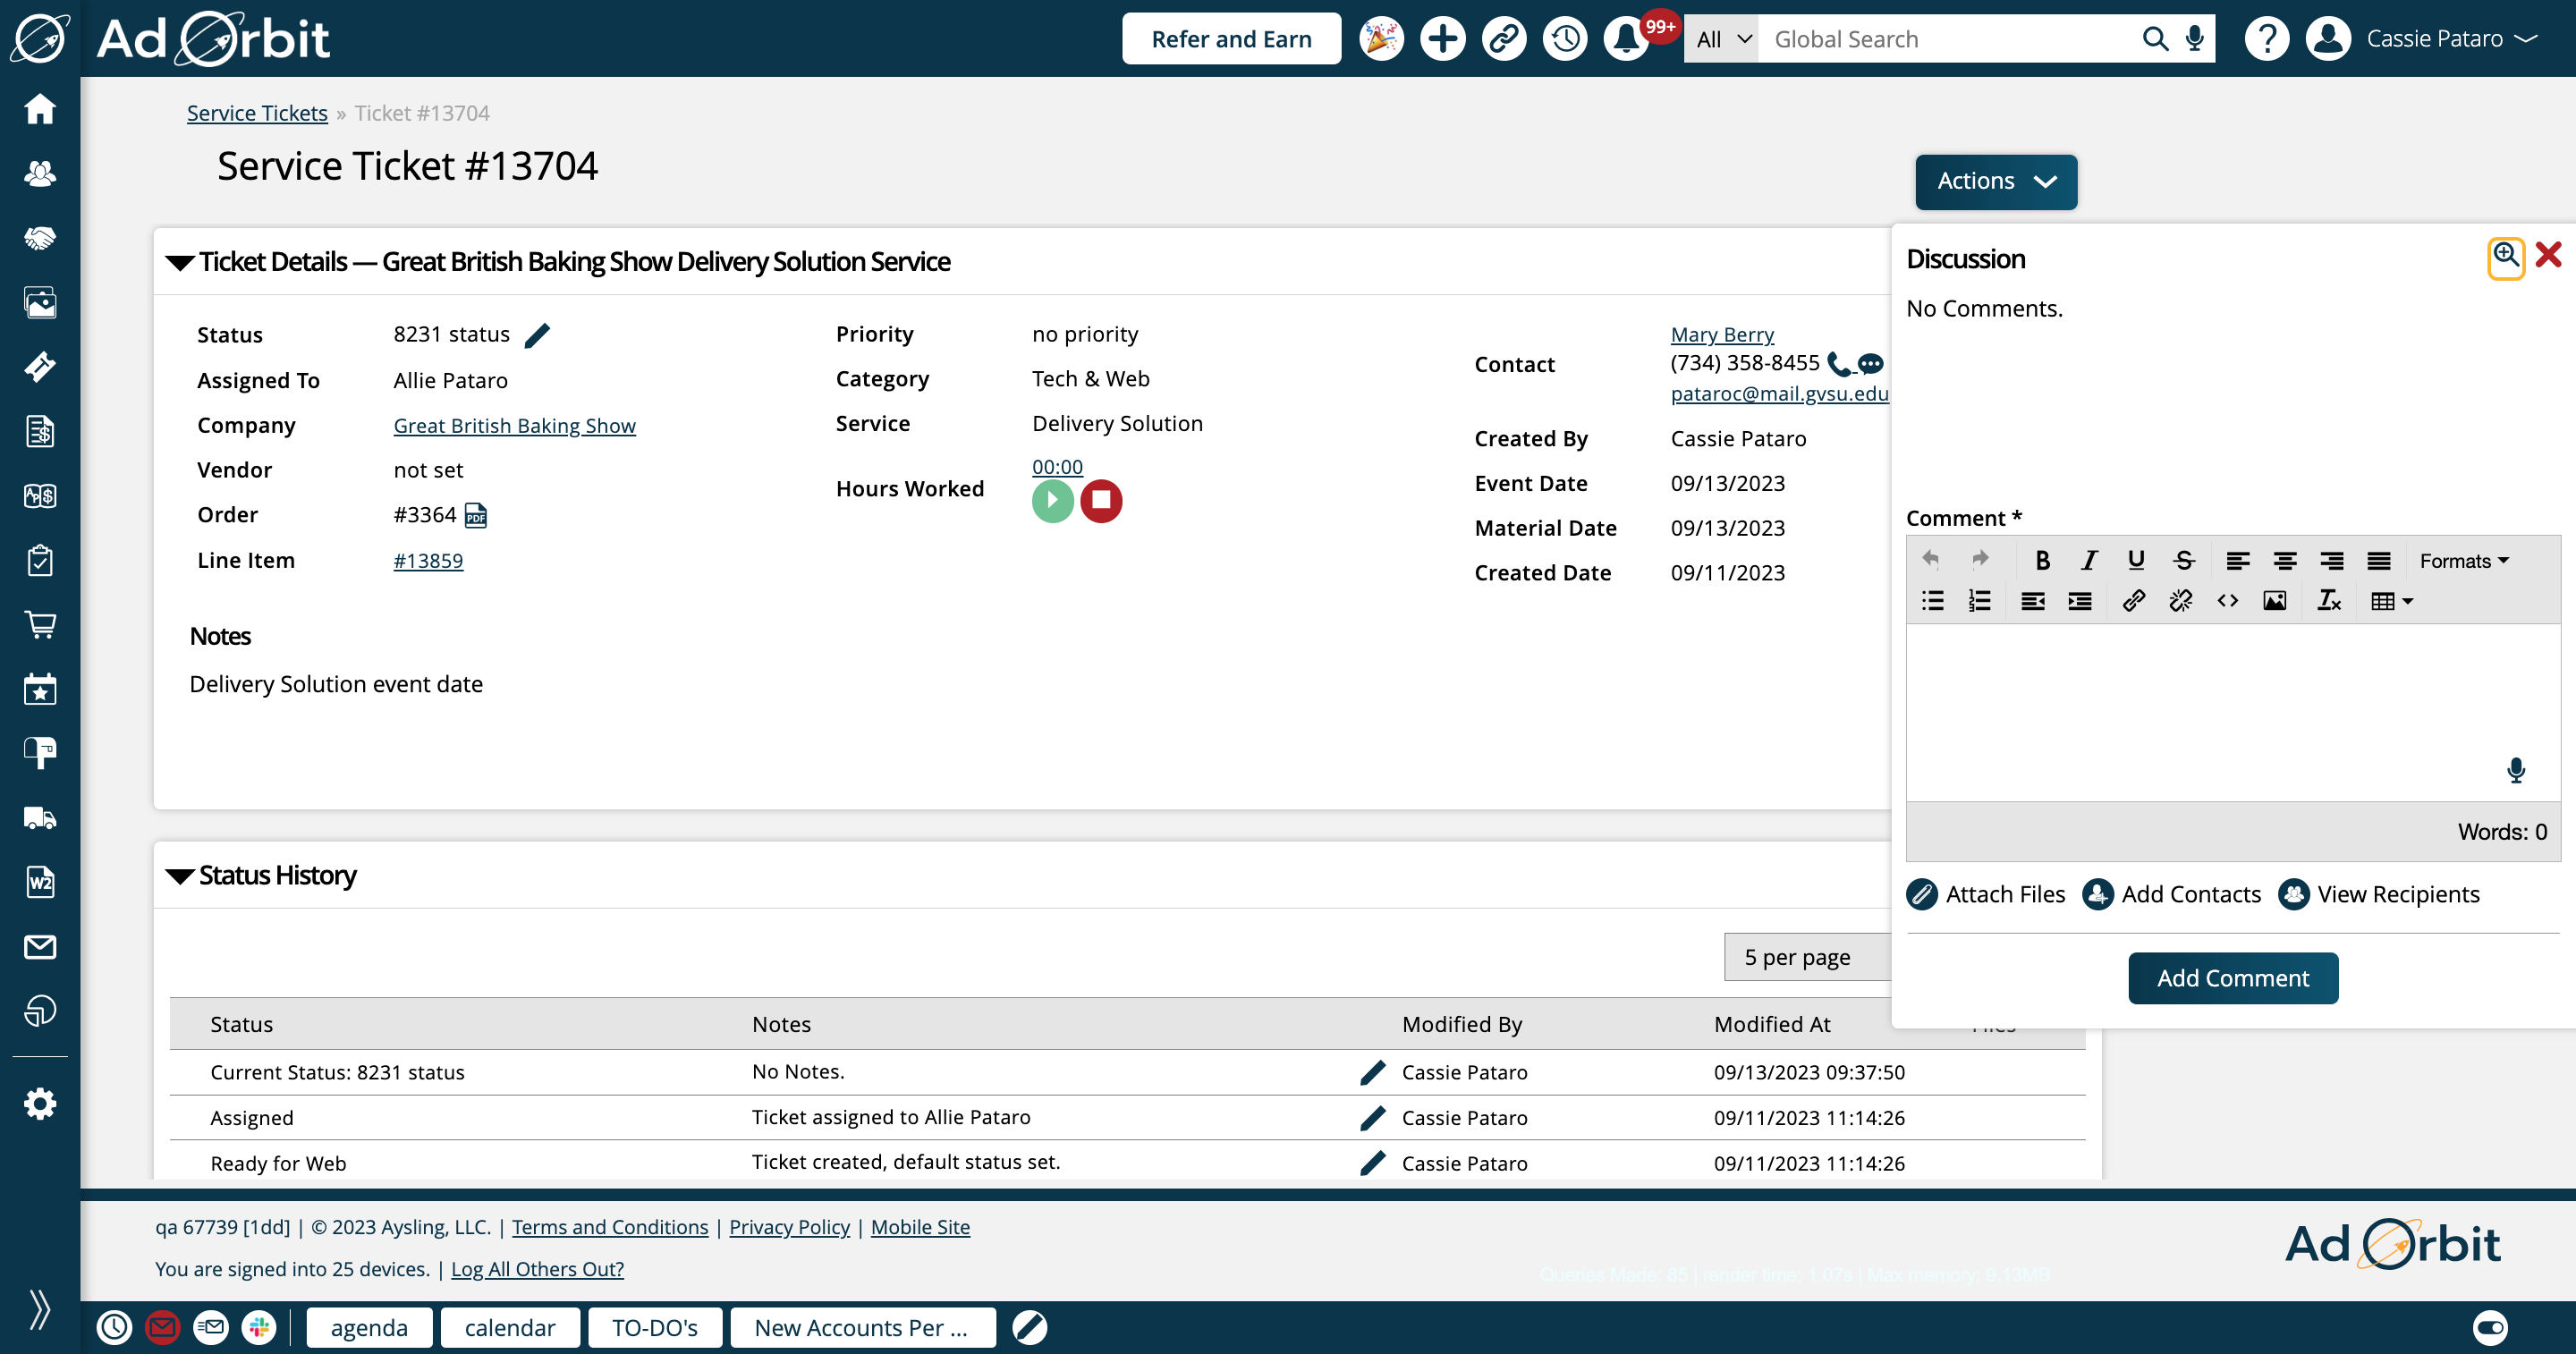
This image shows the expanded view of the discussion. To re-size it and show the smaller size, click on the magnifying glass icon once again.
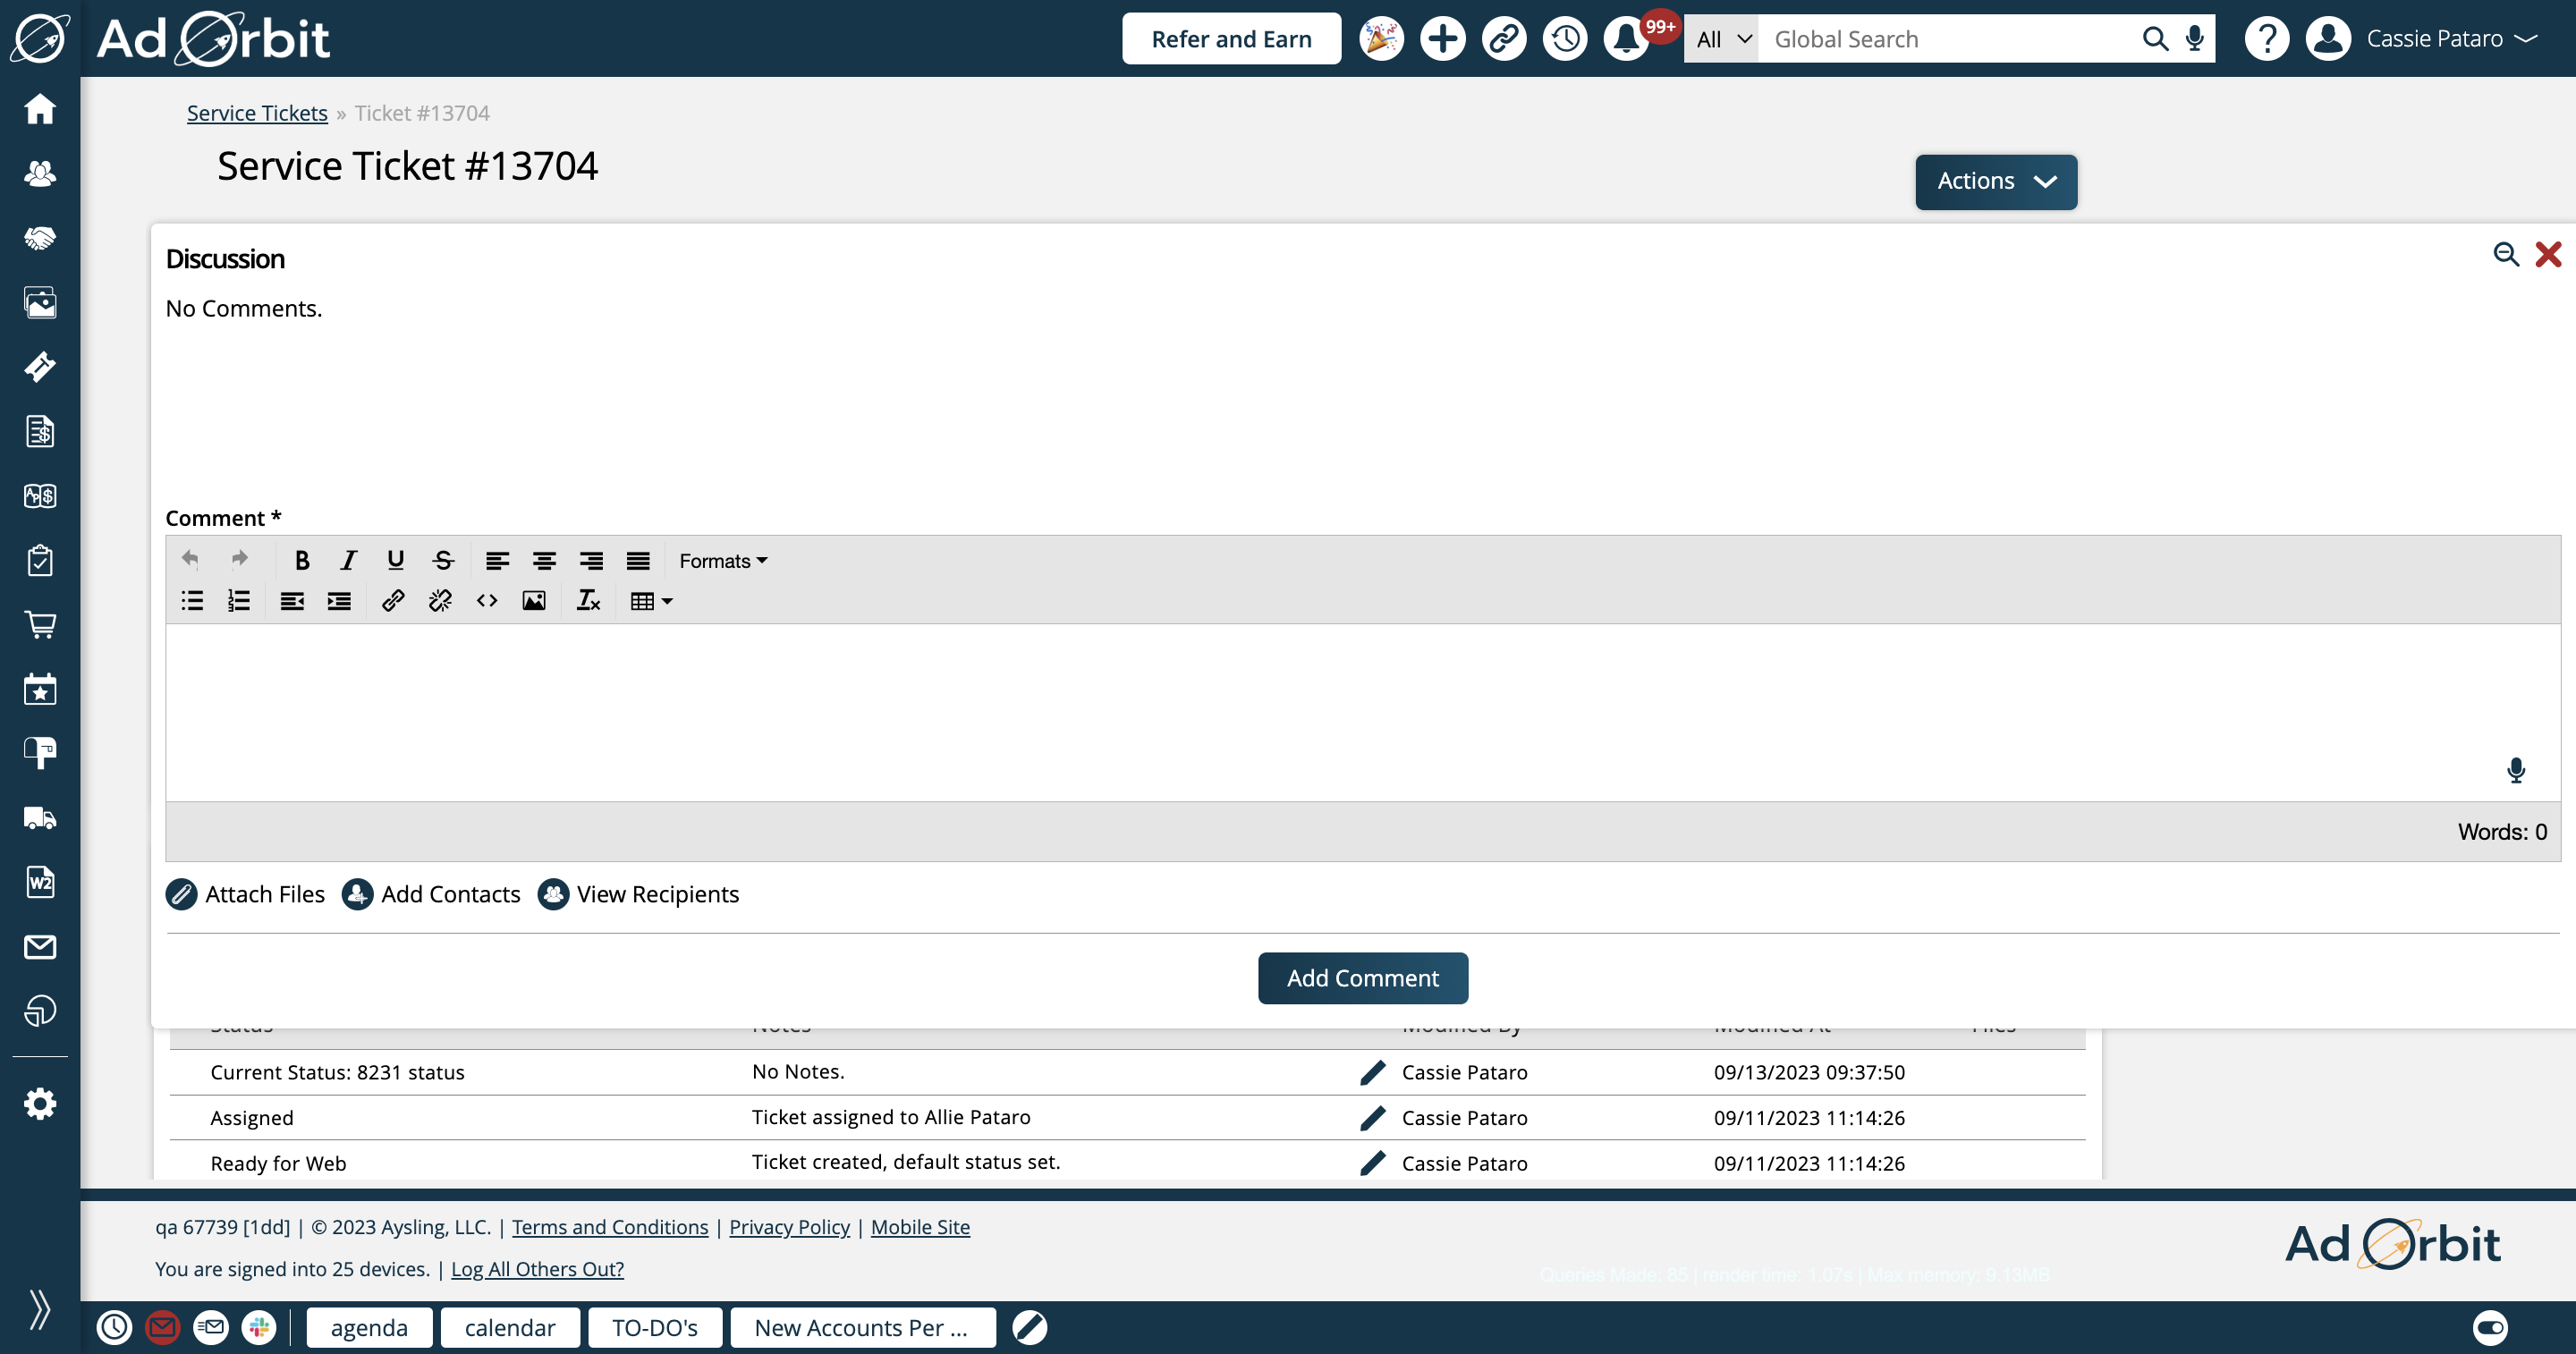
To fully close the discussion, click on the 'x' icon.
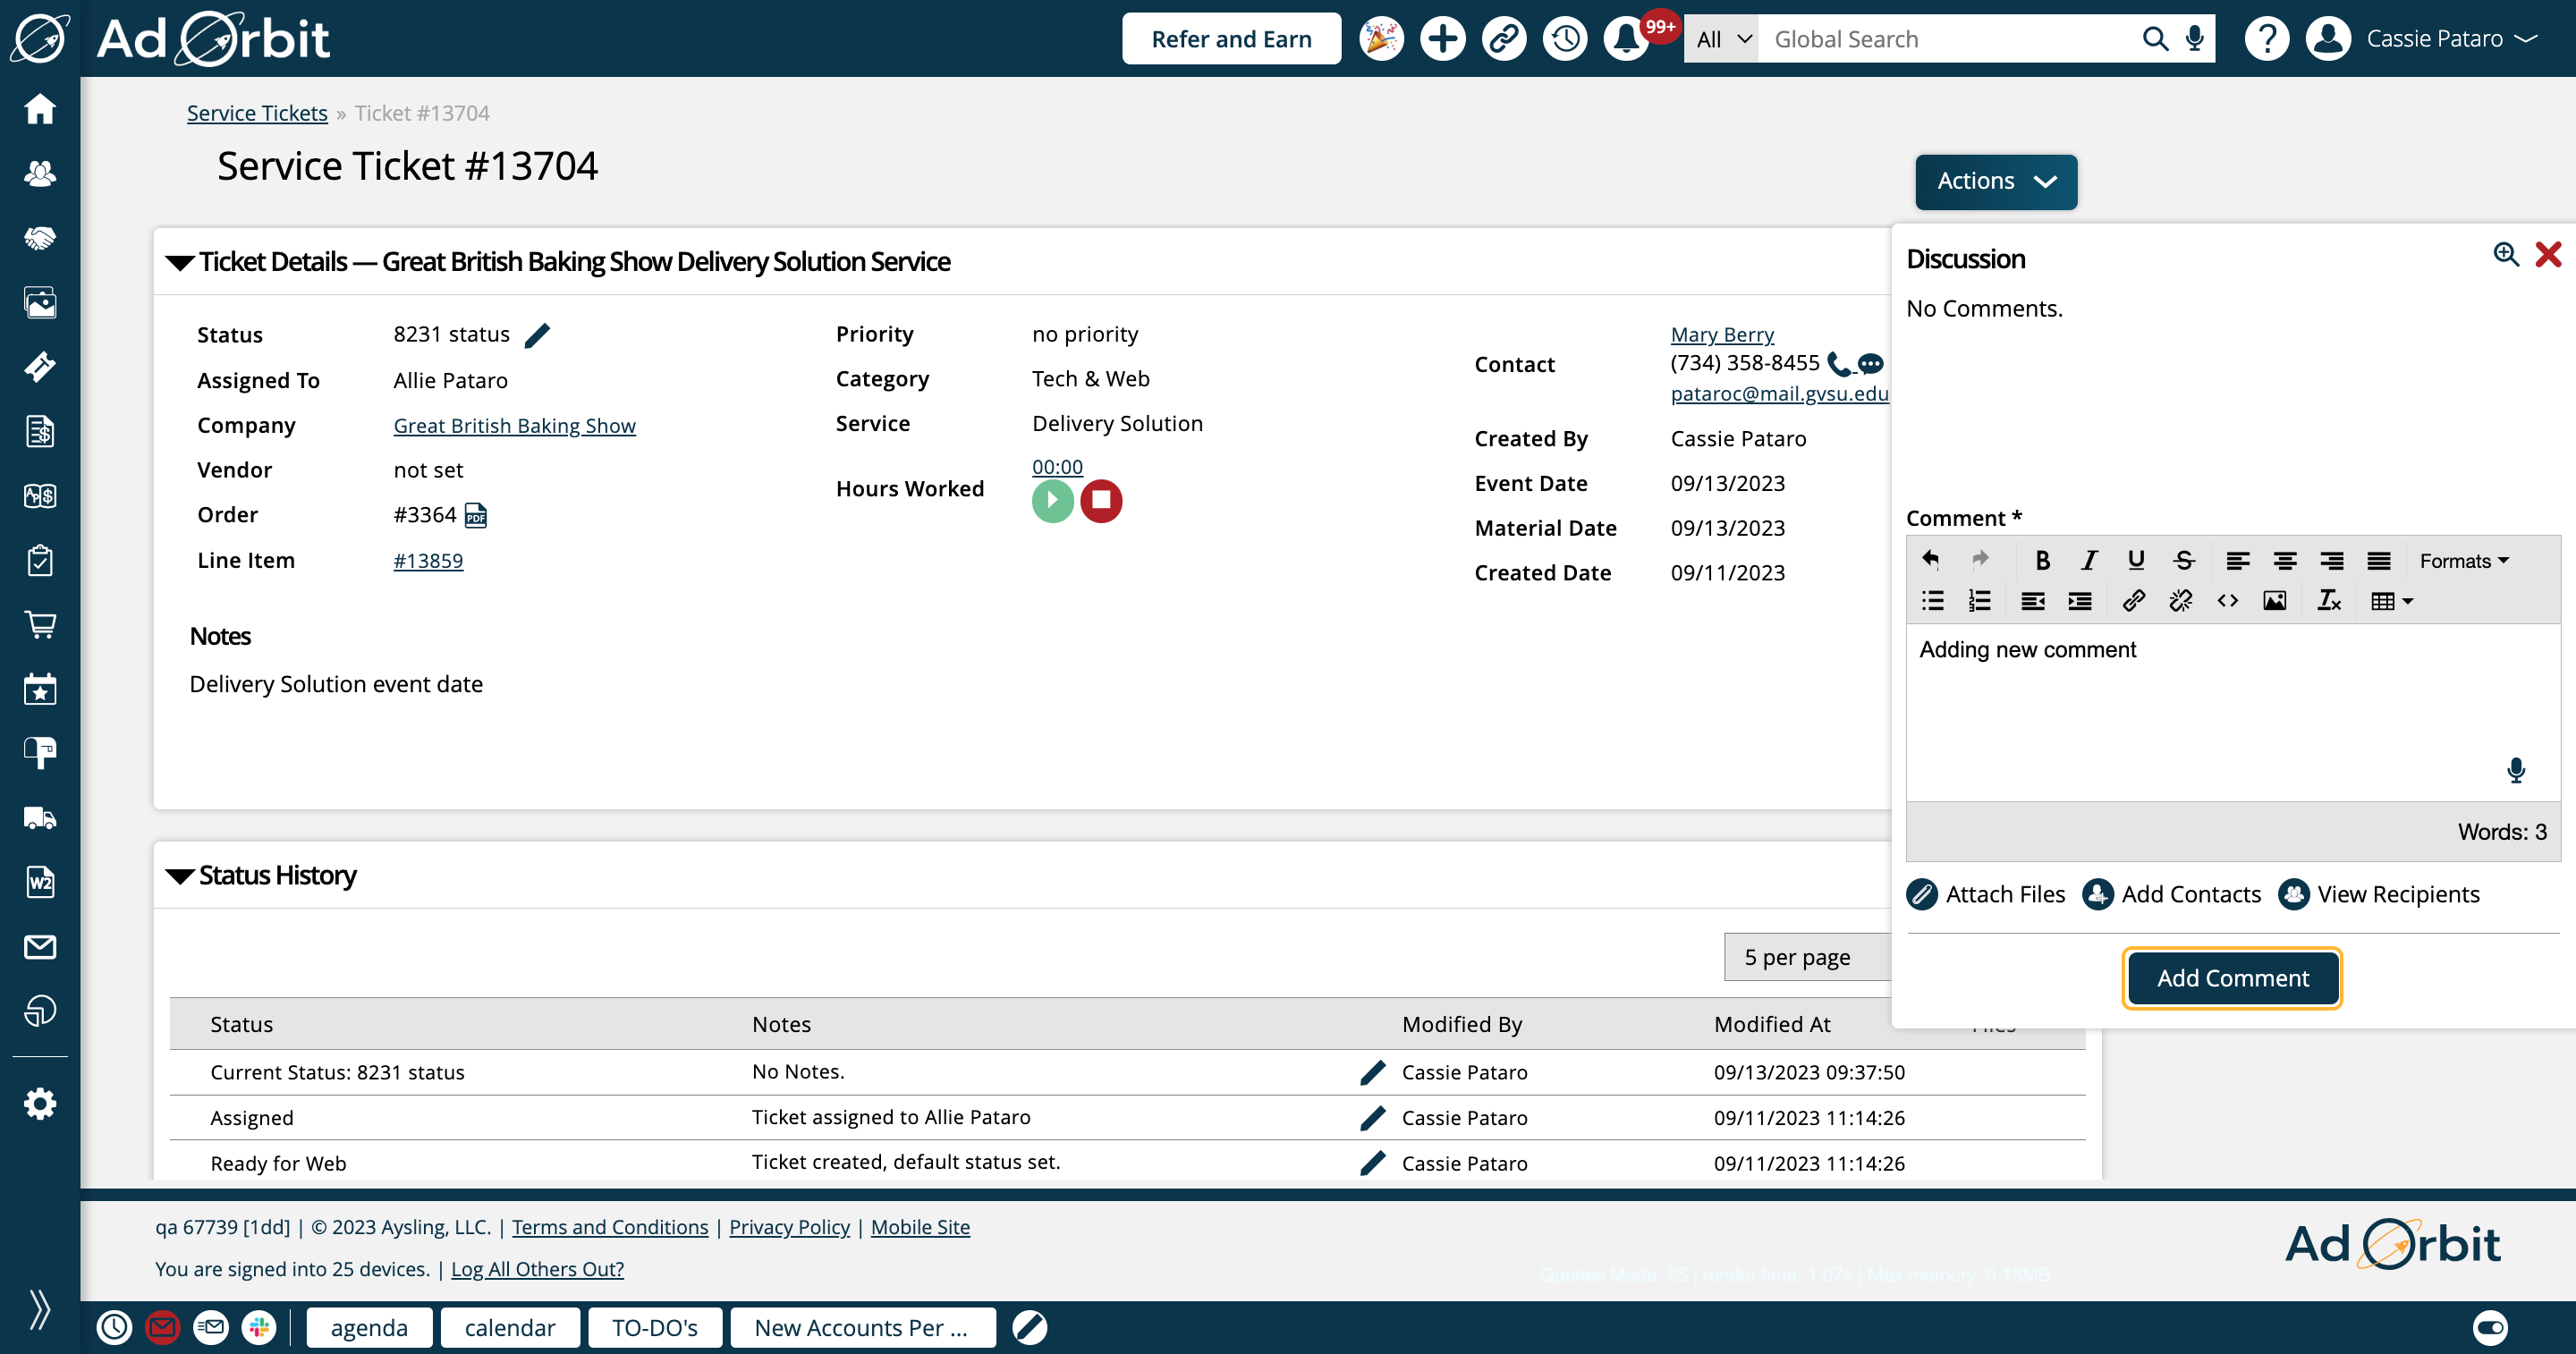
To send your comment, simply click the 'Add Comment' button once you've attached any relevant files and added the needed contacts.
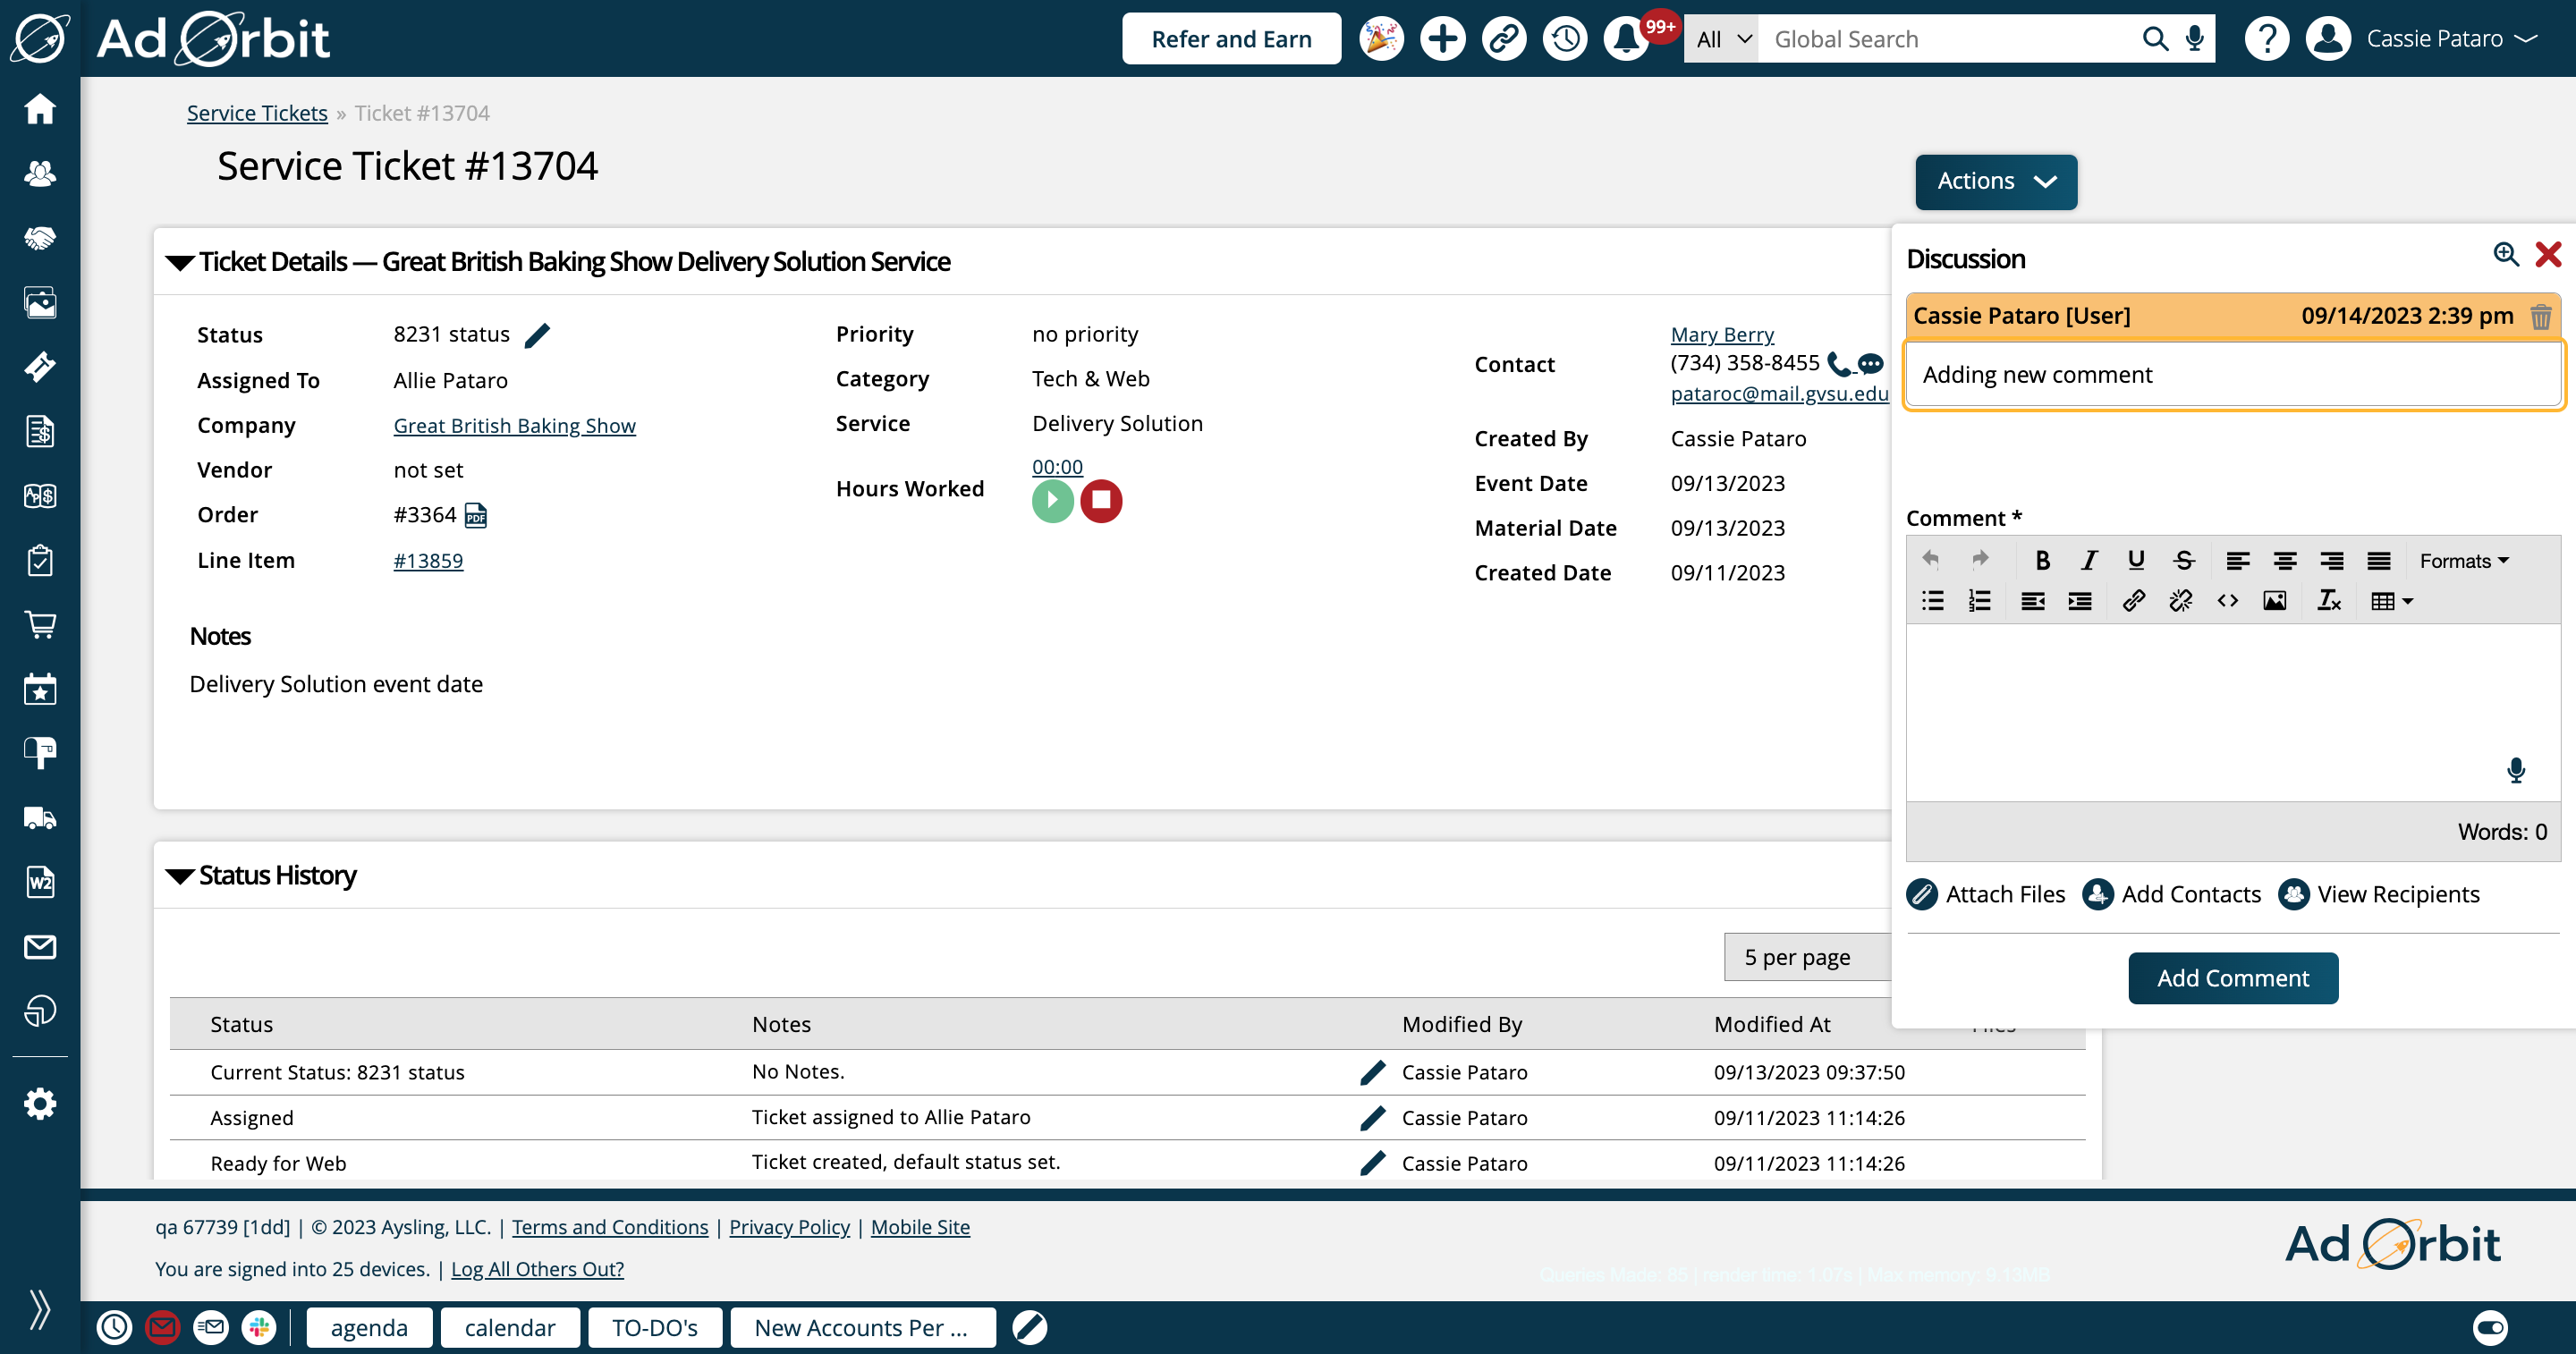
The discussion will be shown in a thread format in the popup.
Updated 2/9/2024