Add Line Items to Orders using Media Types
We have named product types within the system according to industry standards, and what makes sense to us. However, we also understand that each team has individual needs and naming standards. For example, you may call something an 'eNewsletter' that we call a 'Slot'. By using Media Types, you can set up your own customized categorization of products to make adding line items to orders easier on your sales team.
To set up Media Types, start by going to Settings.
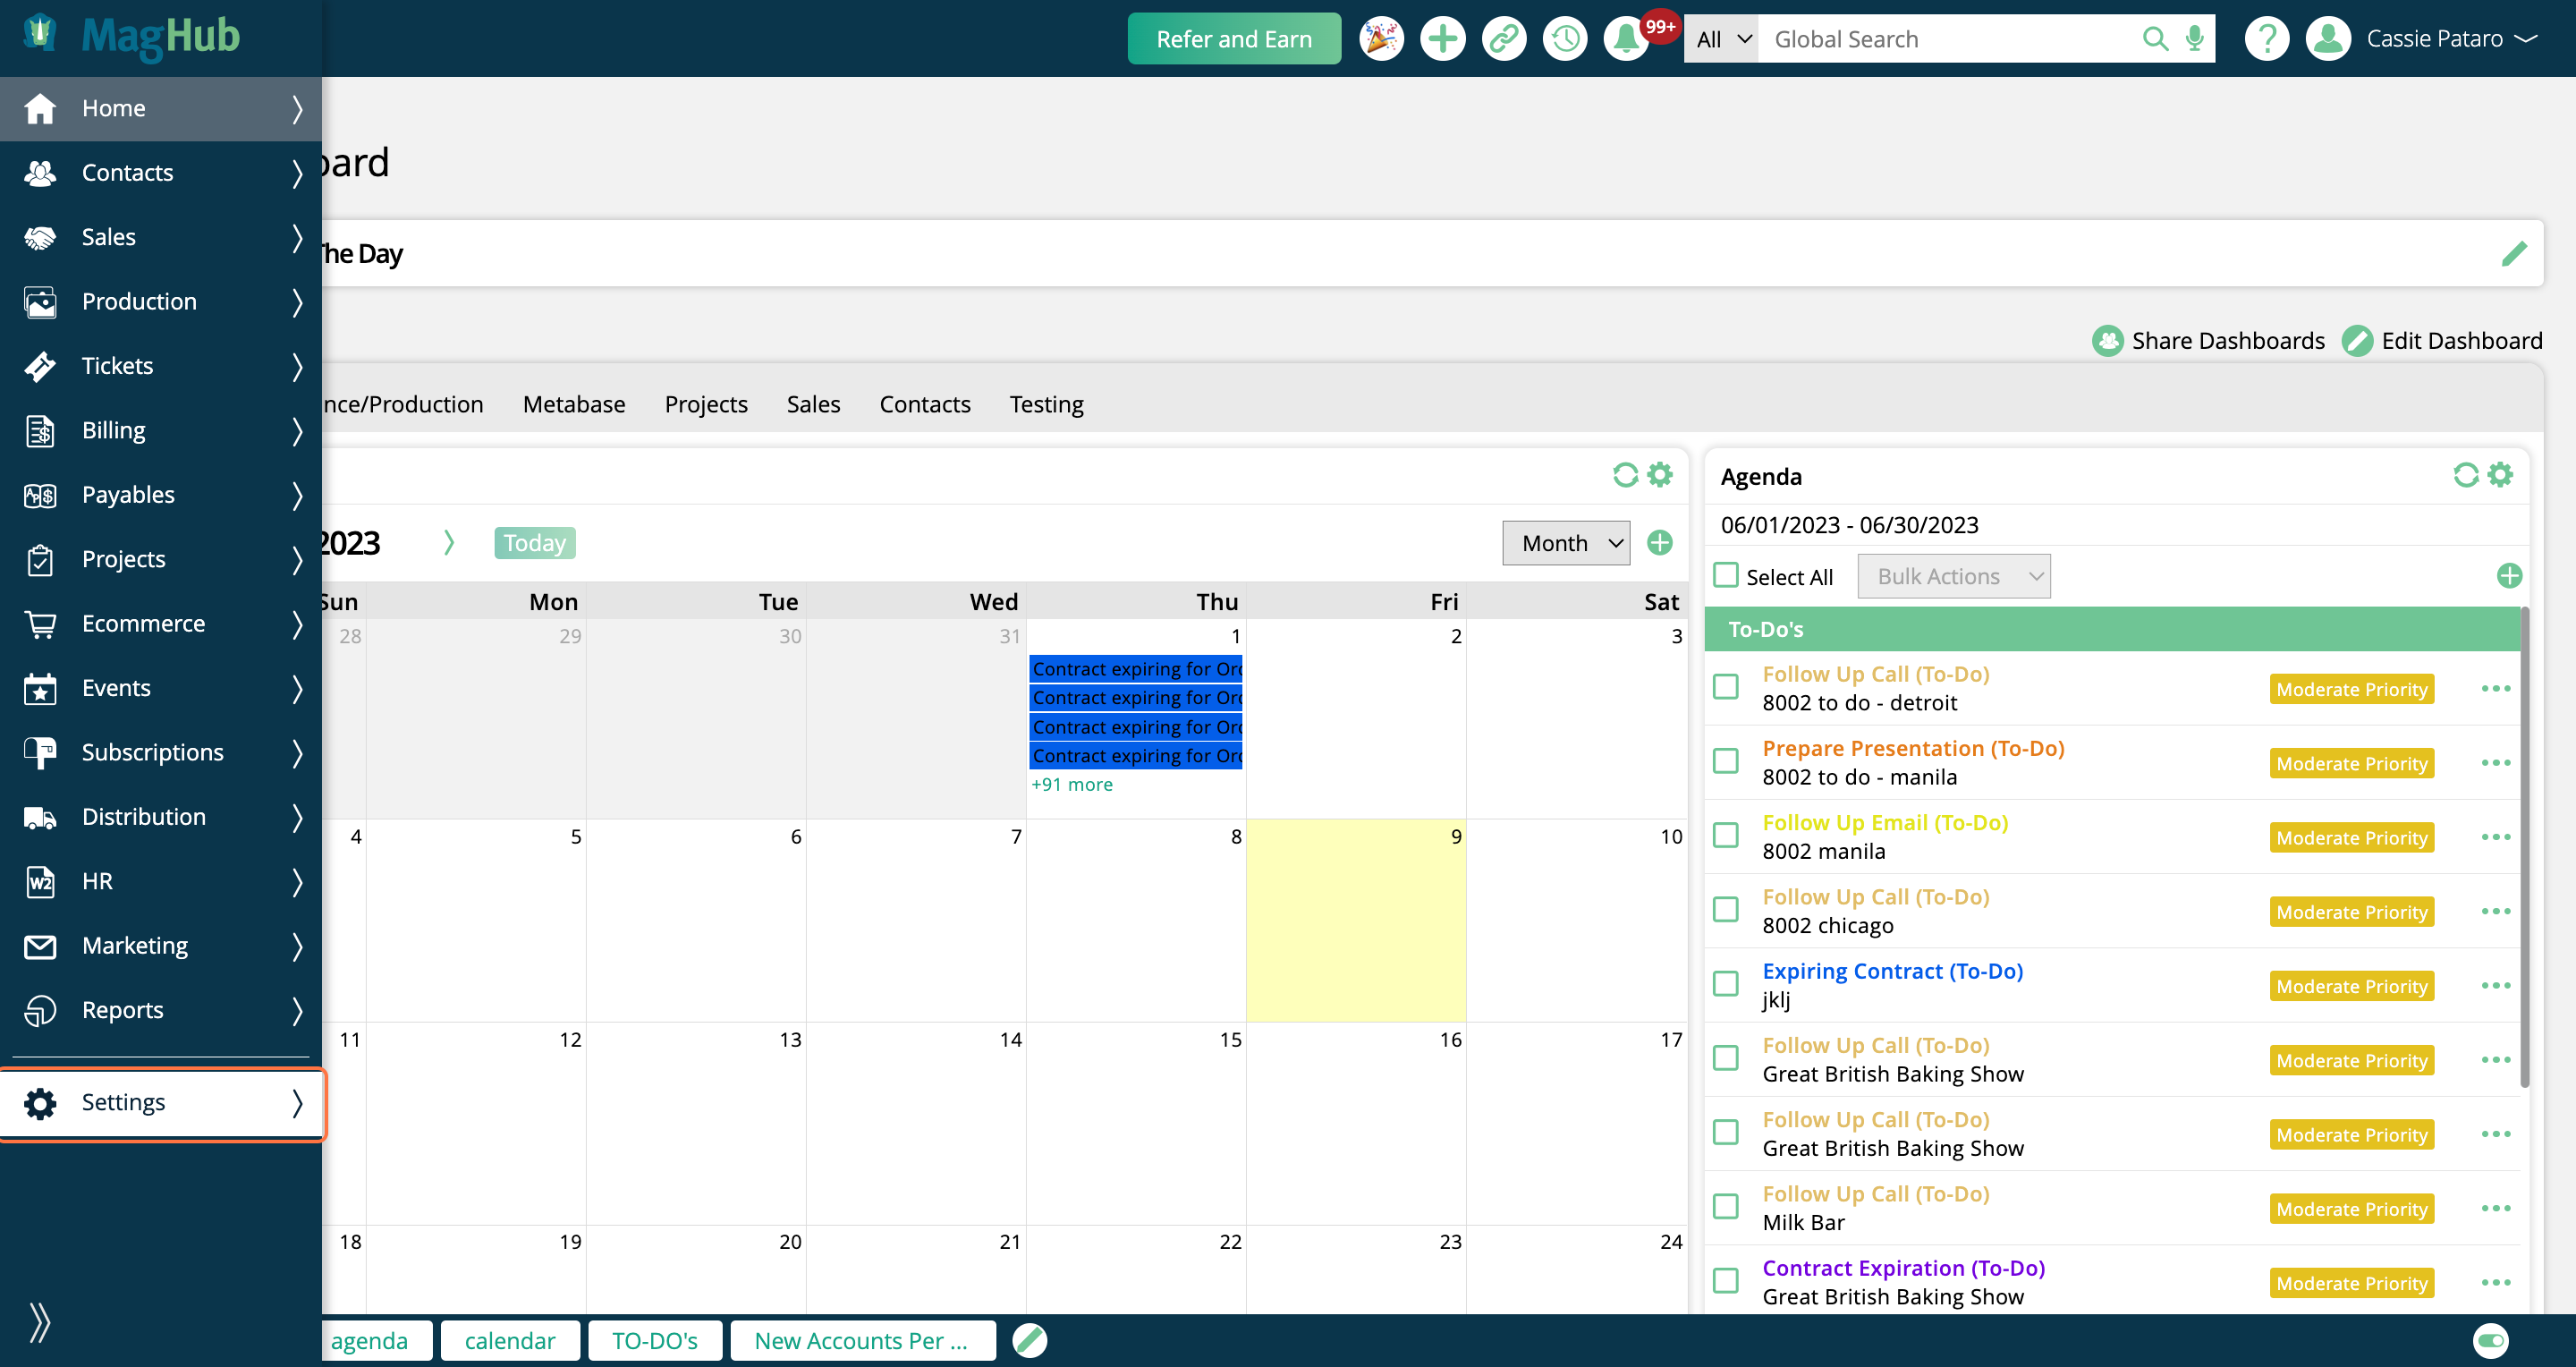
Click on Products.
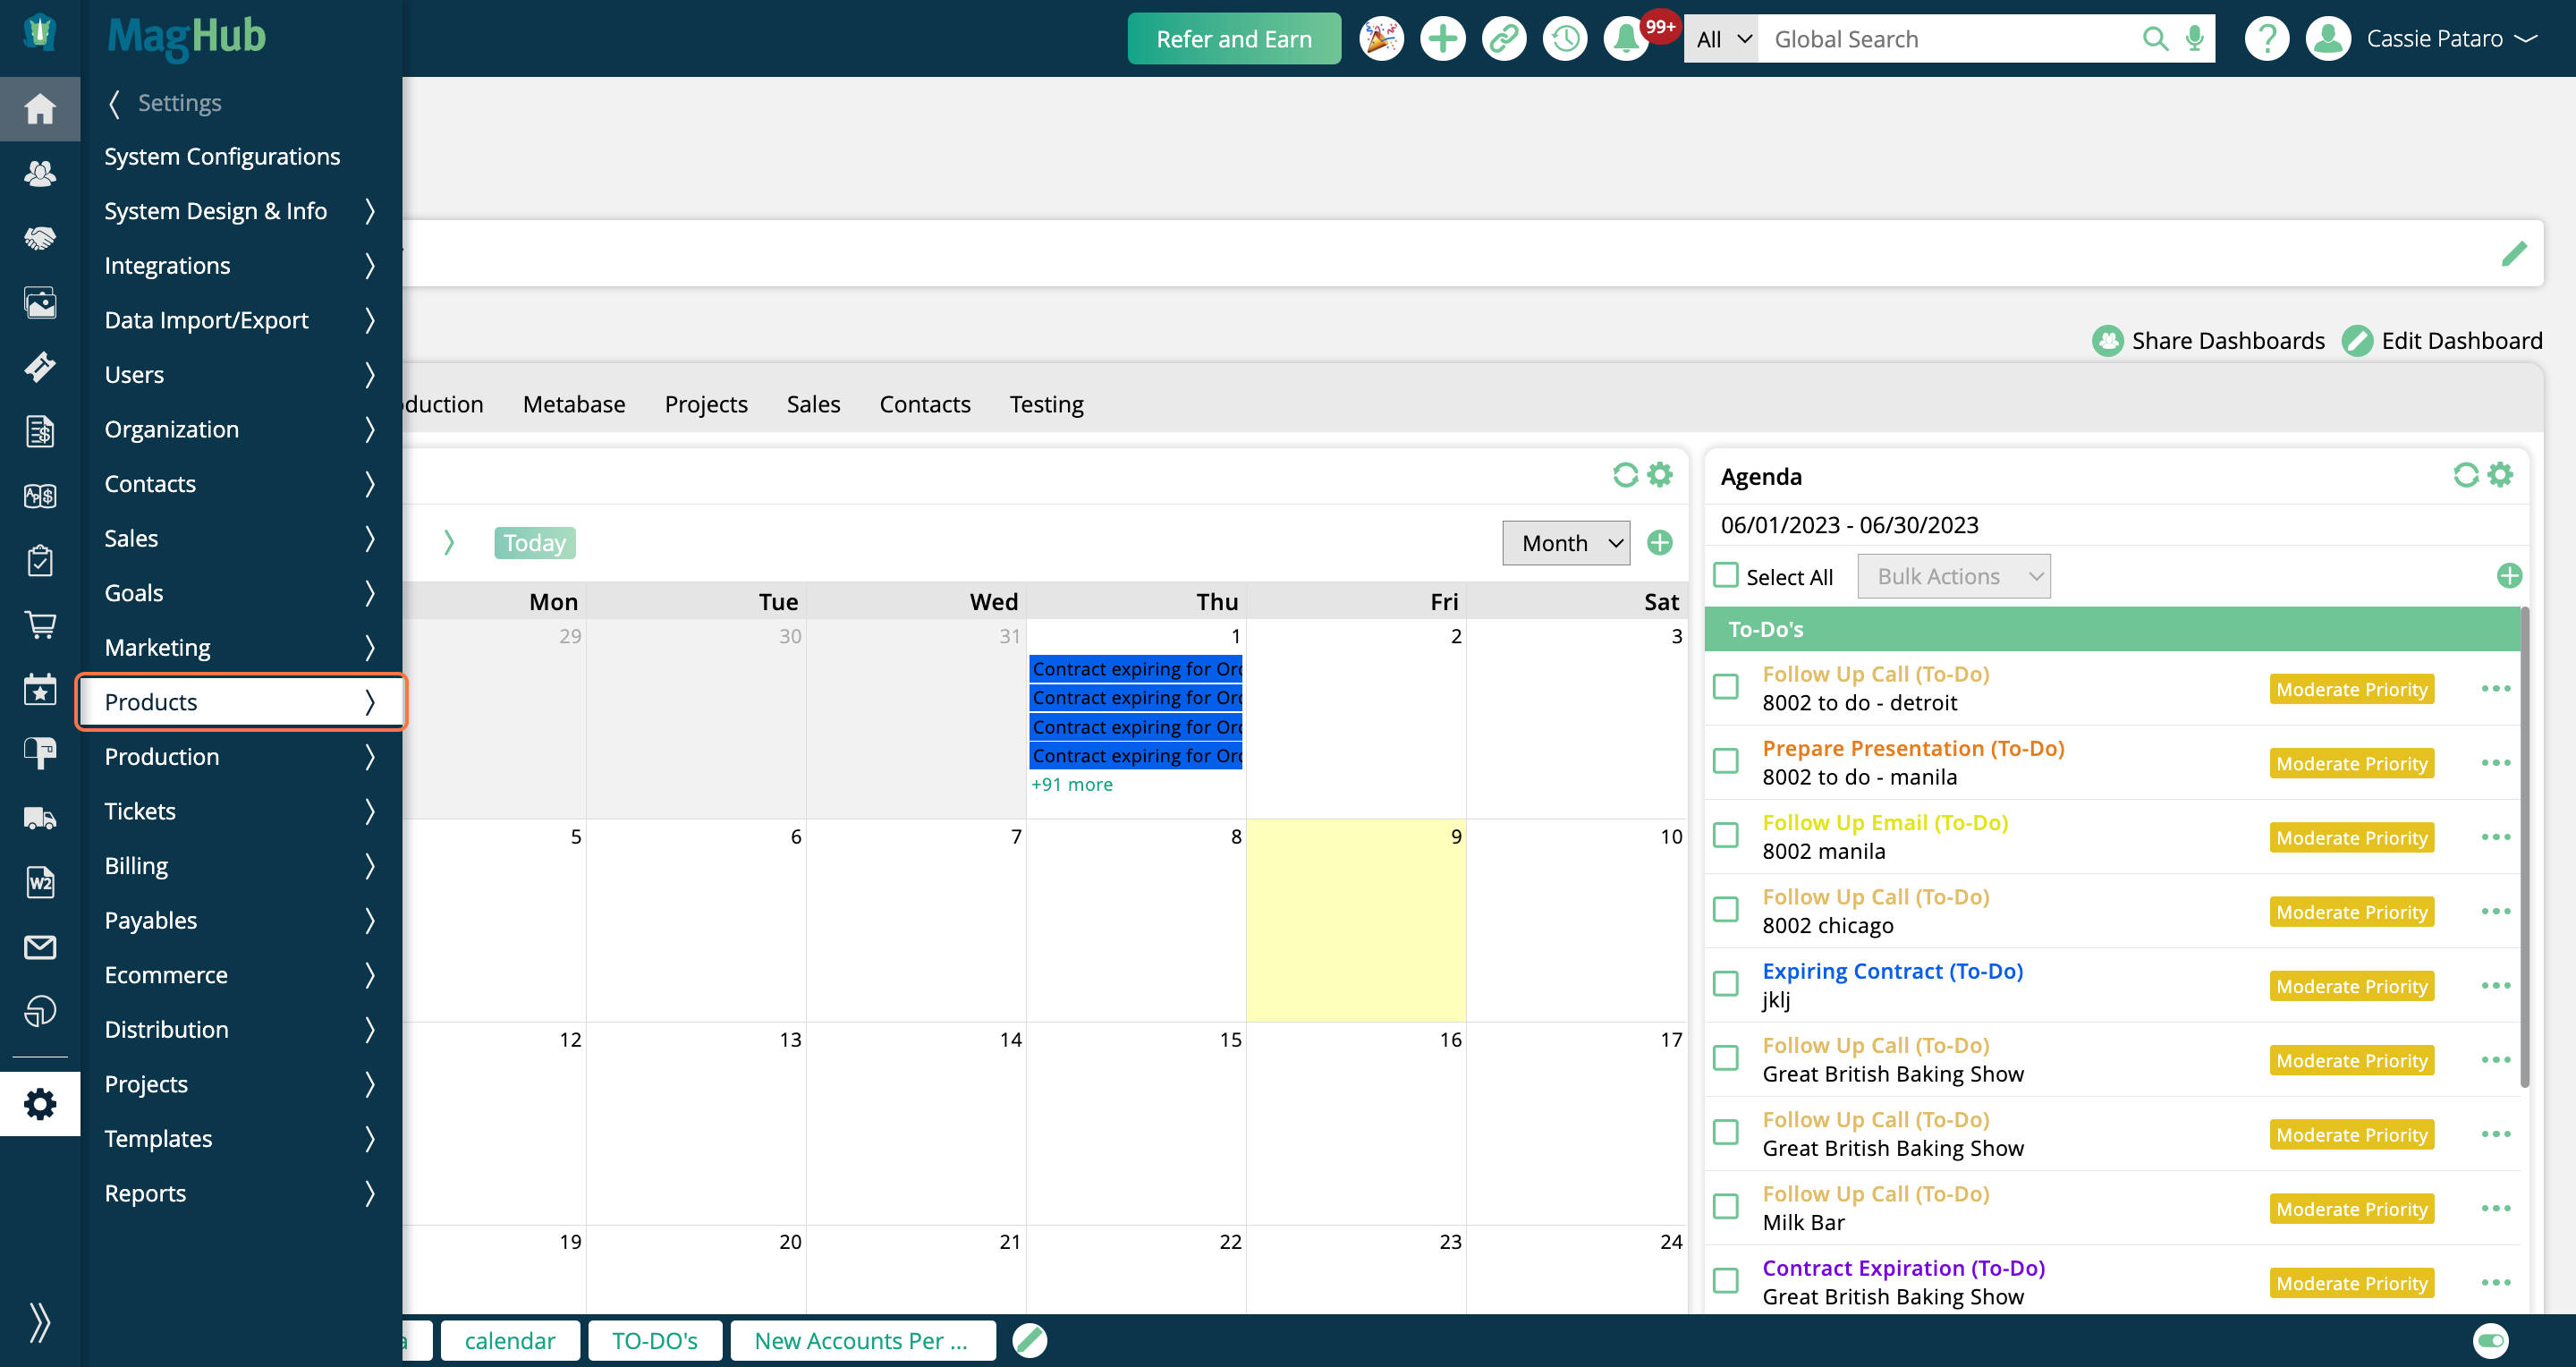
Click on Media Types. You need the User Permission 'Media Types' to access this page.
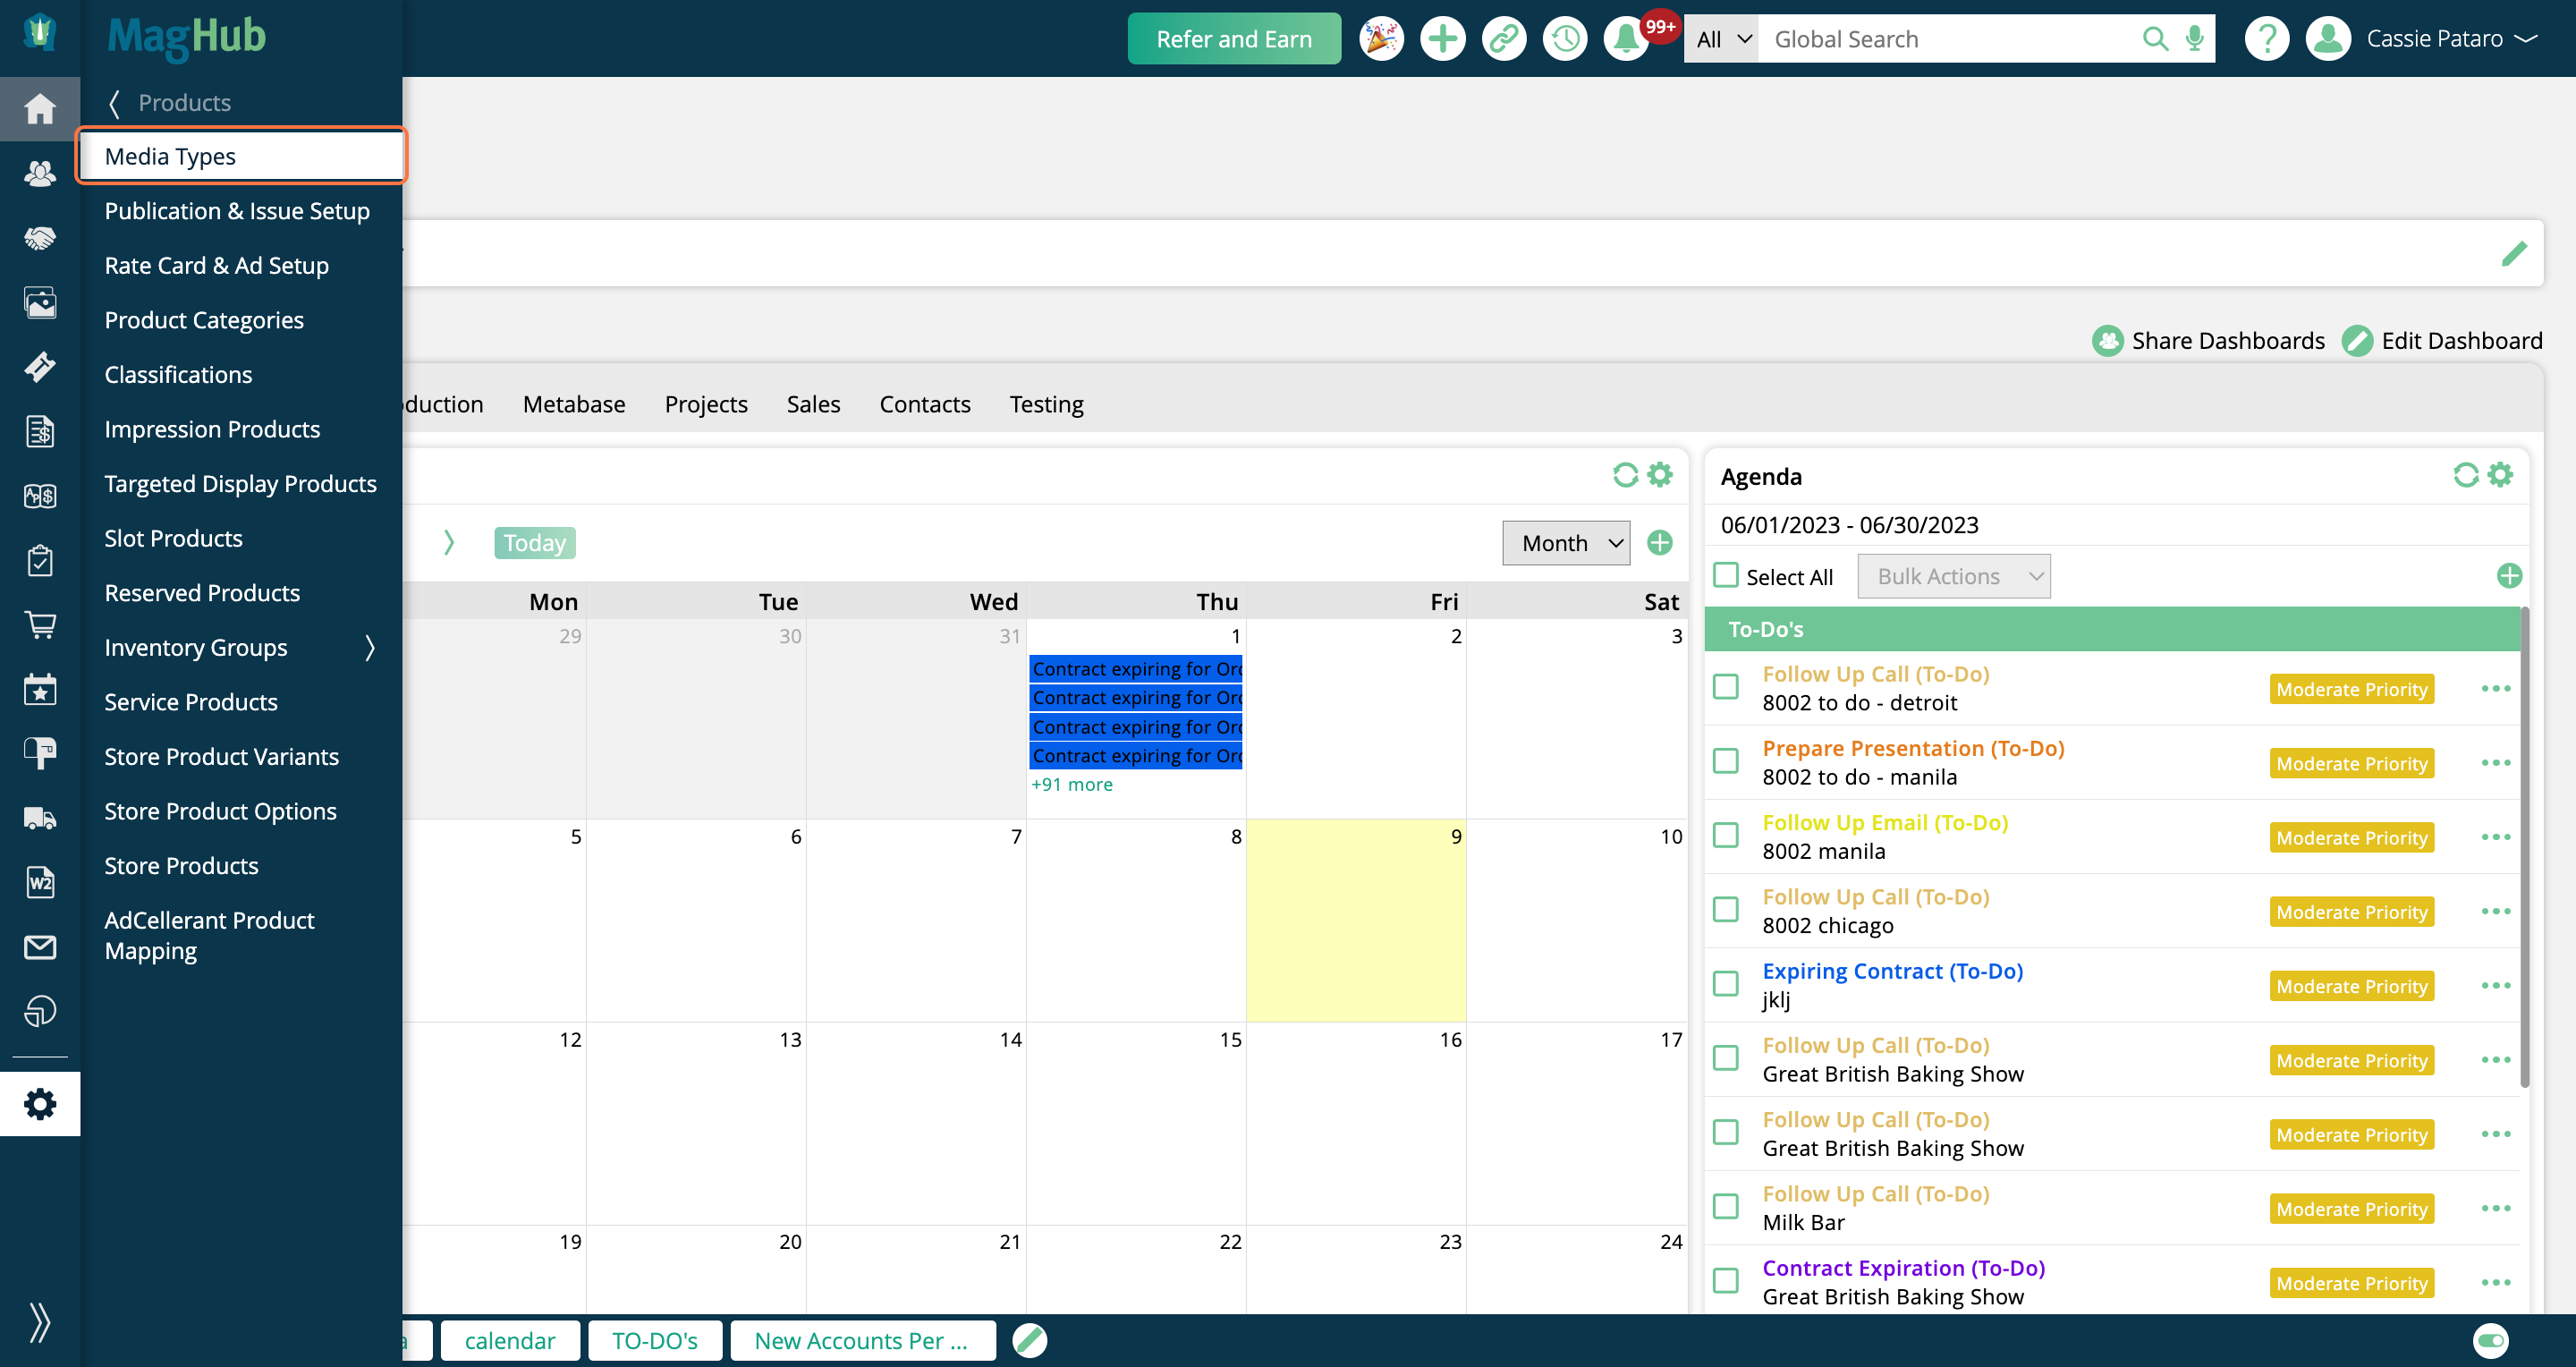
Depending on which modules you have enabled in your site, you may see some or all of the below options, including Digital (digital media), Digital Ads, Events, Print, and Services.
The Digital Ads, Events, and Print Media Types are hardcoded in the system, and cannot be edited.
The Digital and Service Media Types can be customized, but are pre-populated with default settings.
The Digital type will automatically have every Product Category that uses digital media inventory selected.
The Service type will automatically have every active non-digital media Product Category selected.
To create a new Media Type, click the Add New Media Type button in the upper right corner.
To edit the Digital or Service Media Type, or a custom type you've created, use the ellipsis icons in the table. This lets you edit, disable, or delete the types.
When editing or adding a type, you must enter a name, and you'll also want to select which Product Categories to use.
Your Product Categories can be managed by going to Settings > Products > Product Categories.
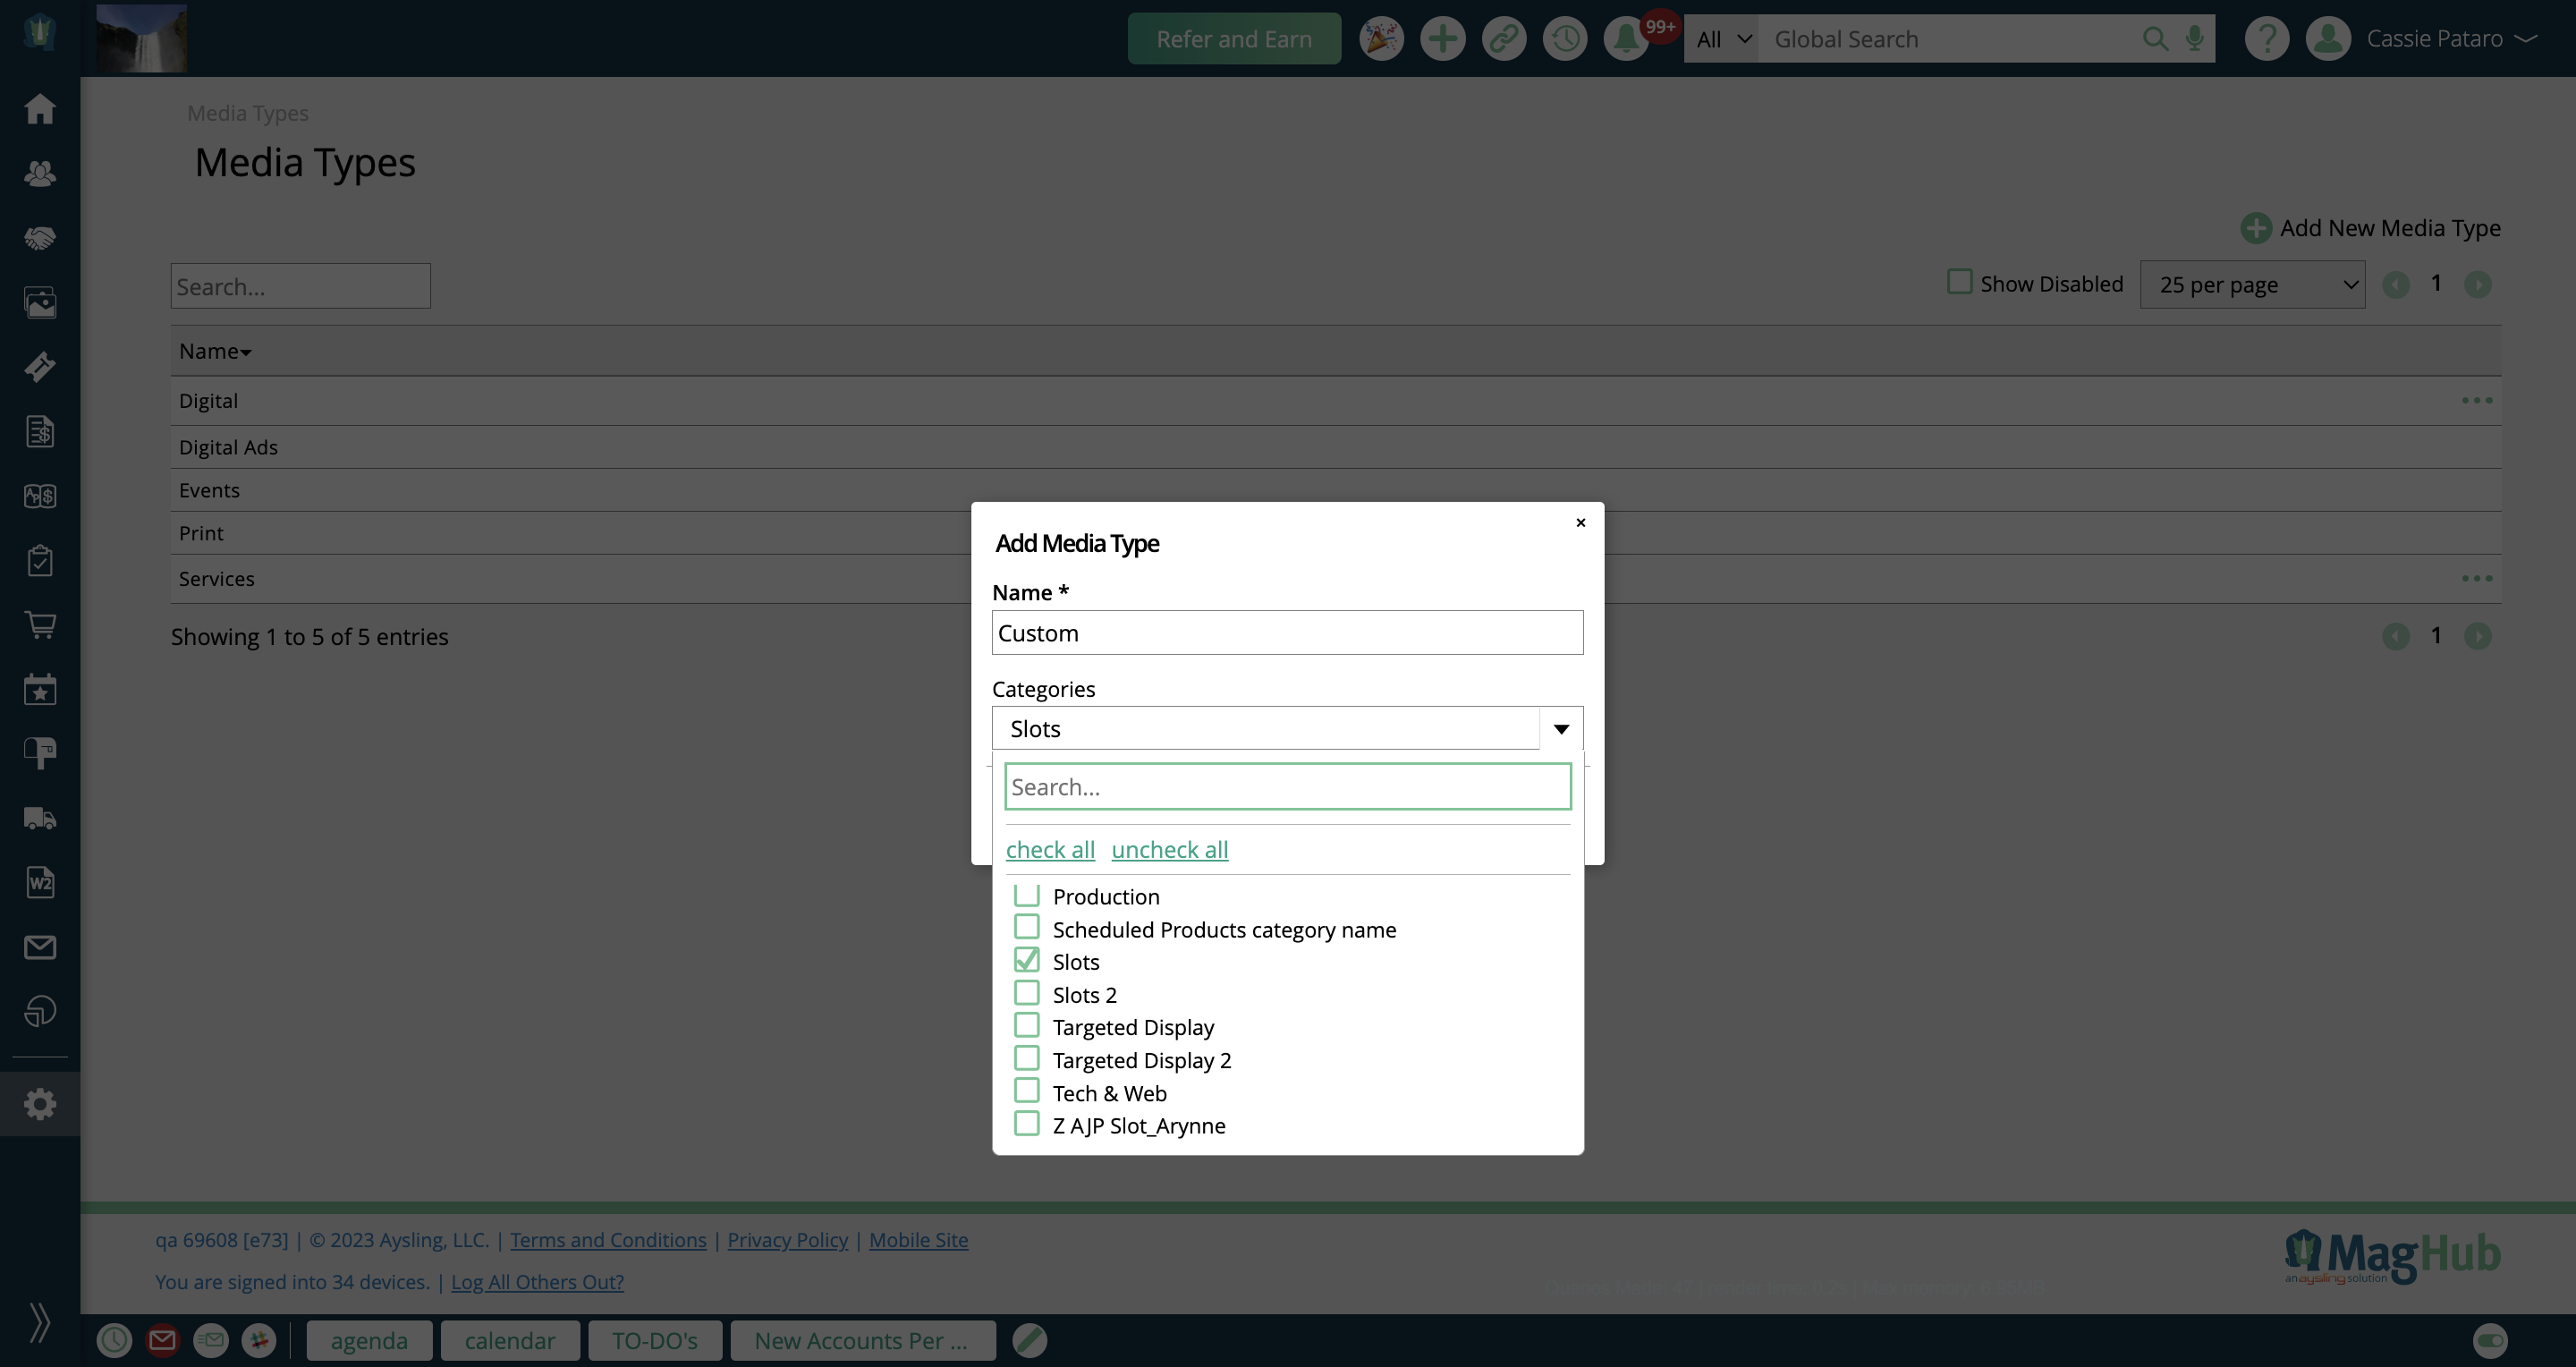
Example Media Type
We have four digital media product types - Impressions, Slots, Targeted Display, and Reserved. But maybe your terminology is 'eNewsletters' and you use both our Slot and Reserved digital media products for your different eNewsletter sales. Using Media Types, you could set this up for your sales reps to add 'eNewsletter' items to orders. You could name your Media Type 'eNewsletter', and in the product categories choose your 'eNewsletter Slots' and 'eNewsletter Reserved' categories.
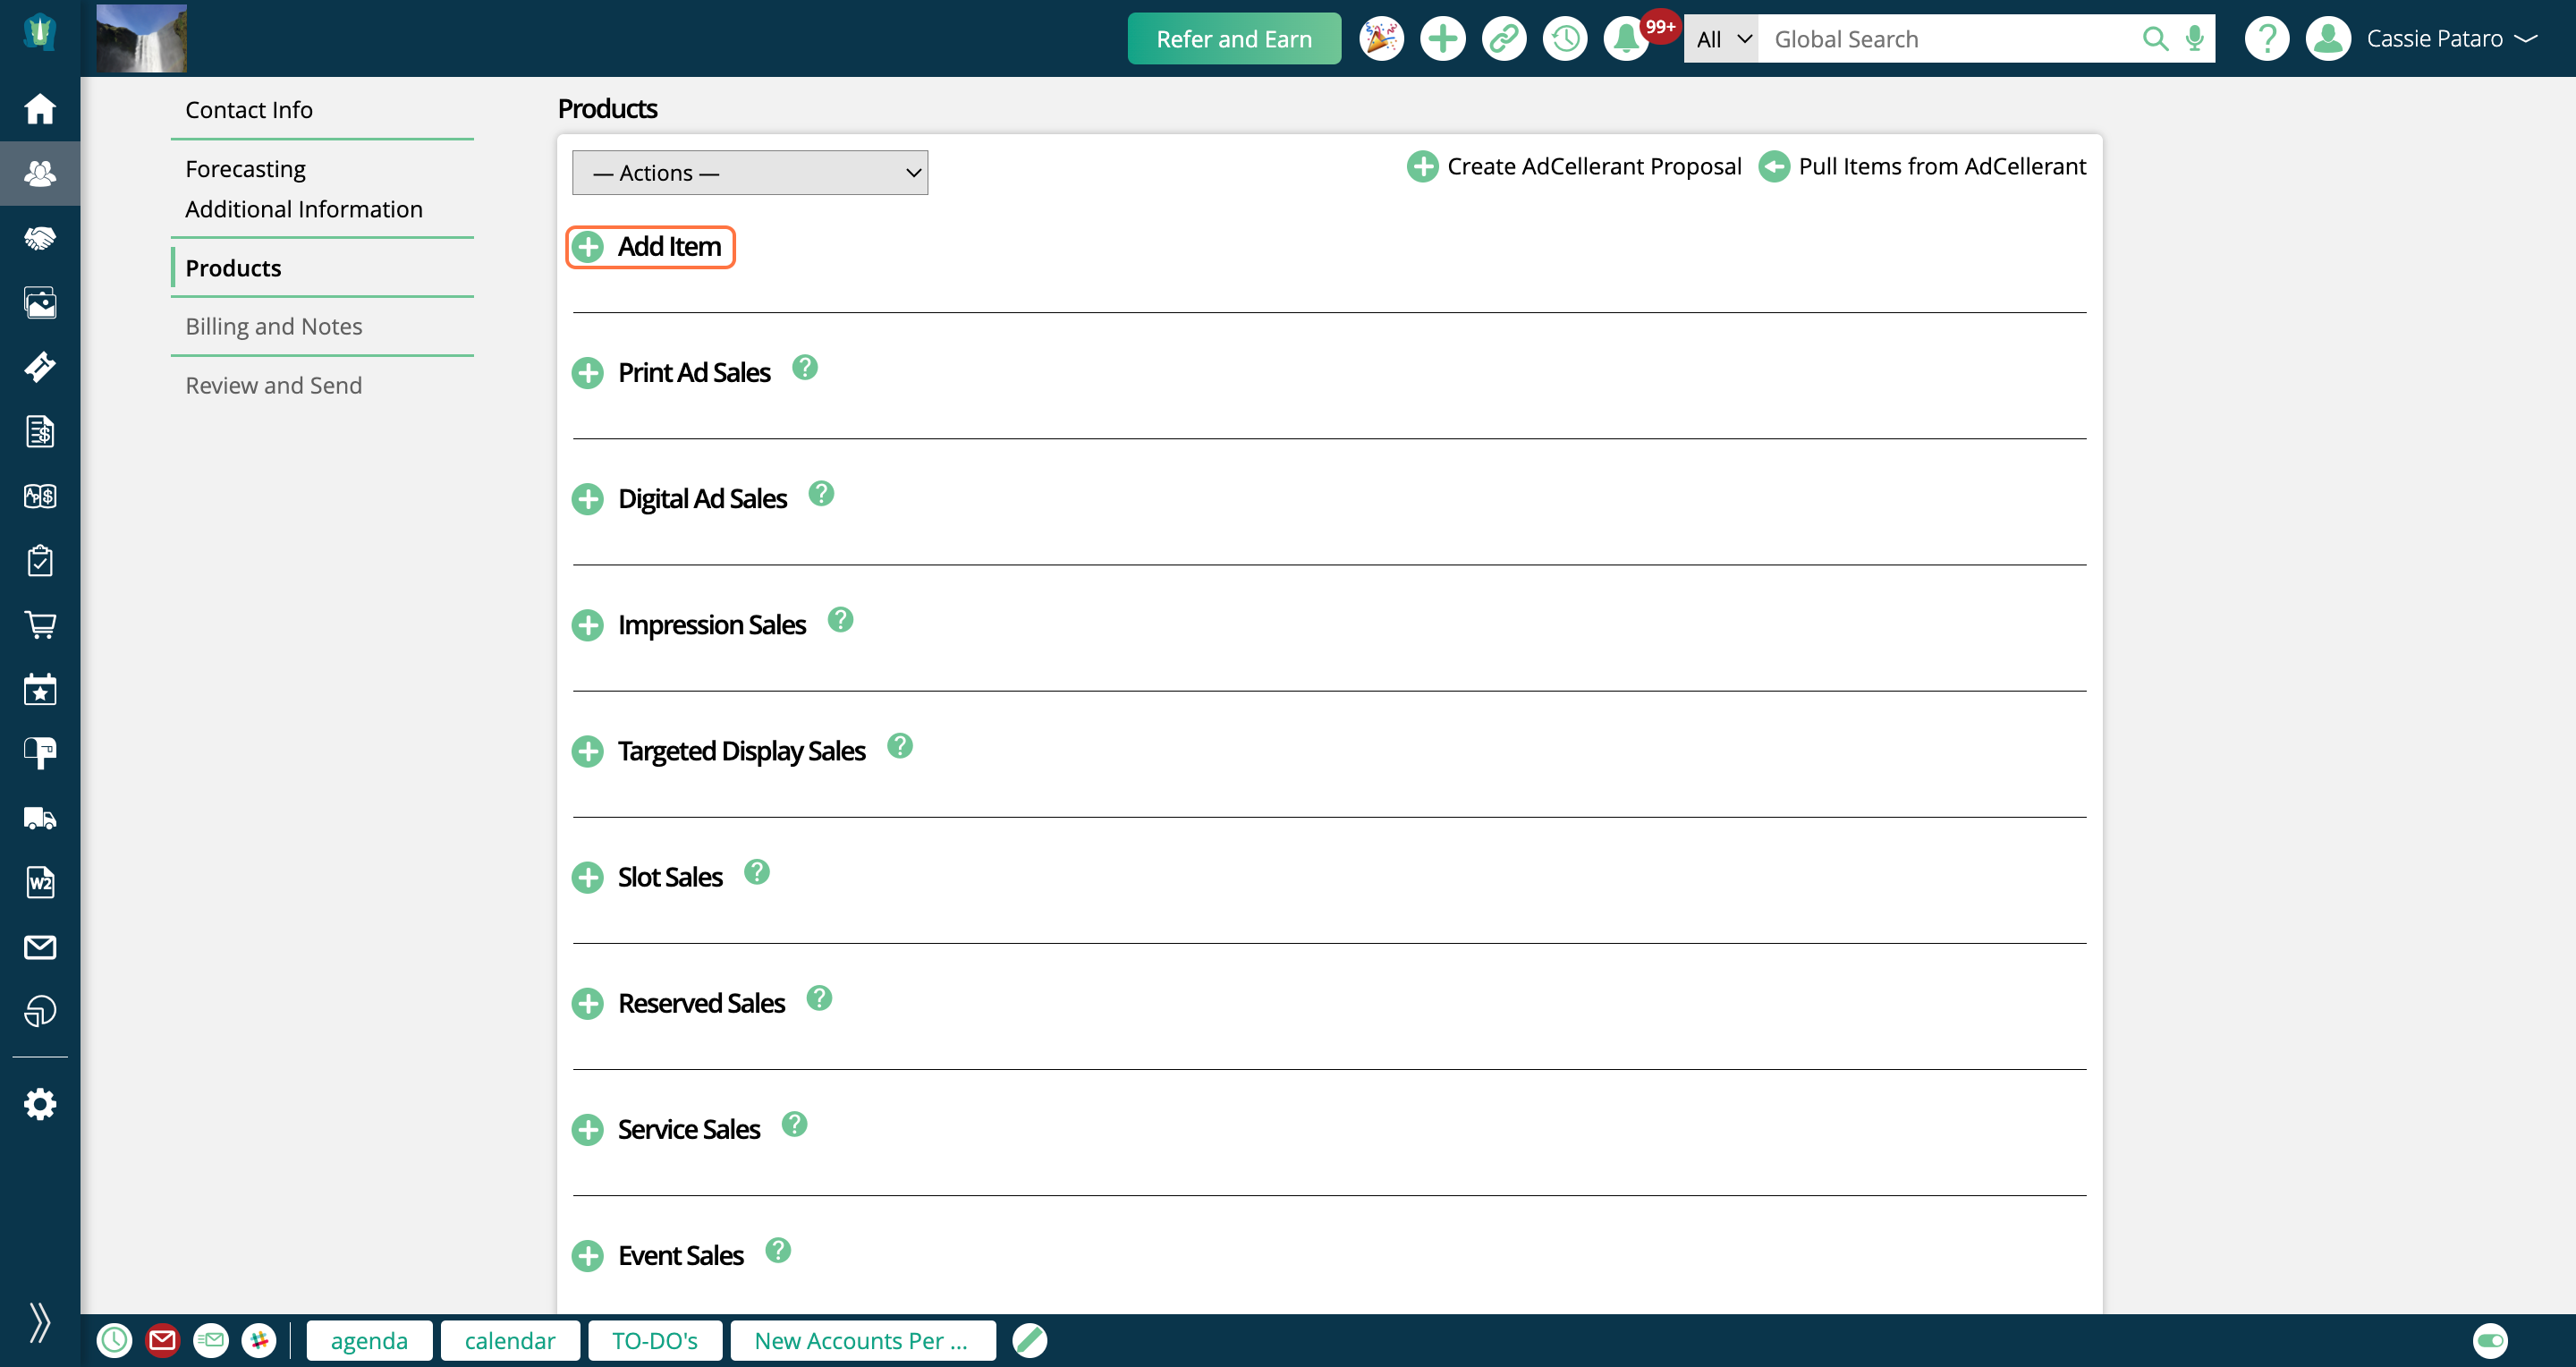
Once your Media Types are set up, on the Products step of creating an order, you will see the option to 'Add Item'.
This Add Item button is what lets you use your Media Types to add items to your order, rather than going through the product specific add workflows, such as clicking the '+ Impression Sales' button.
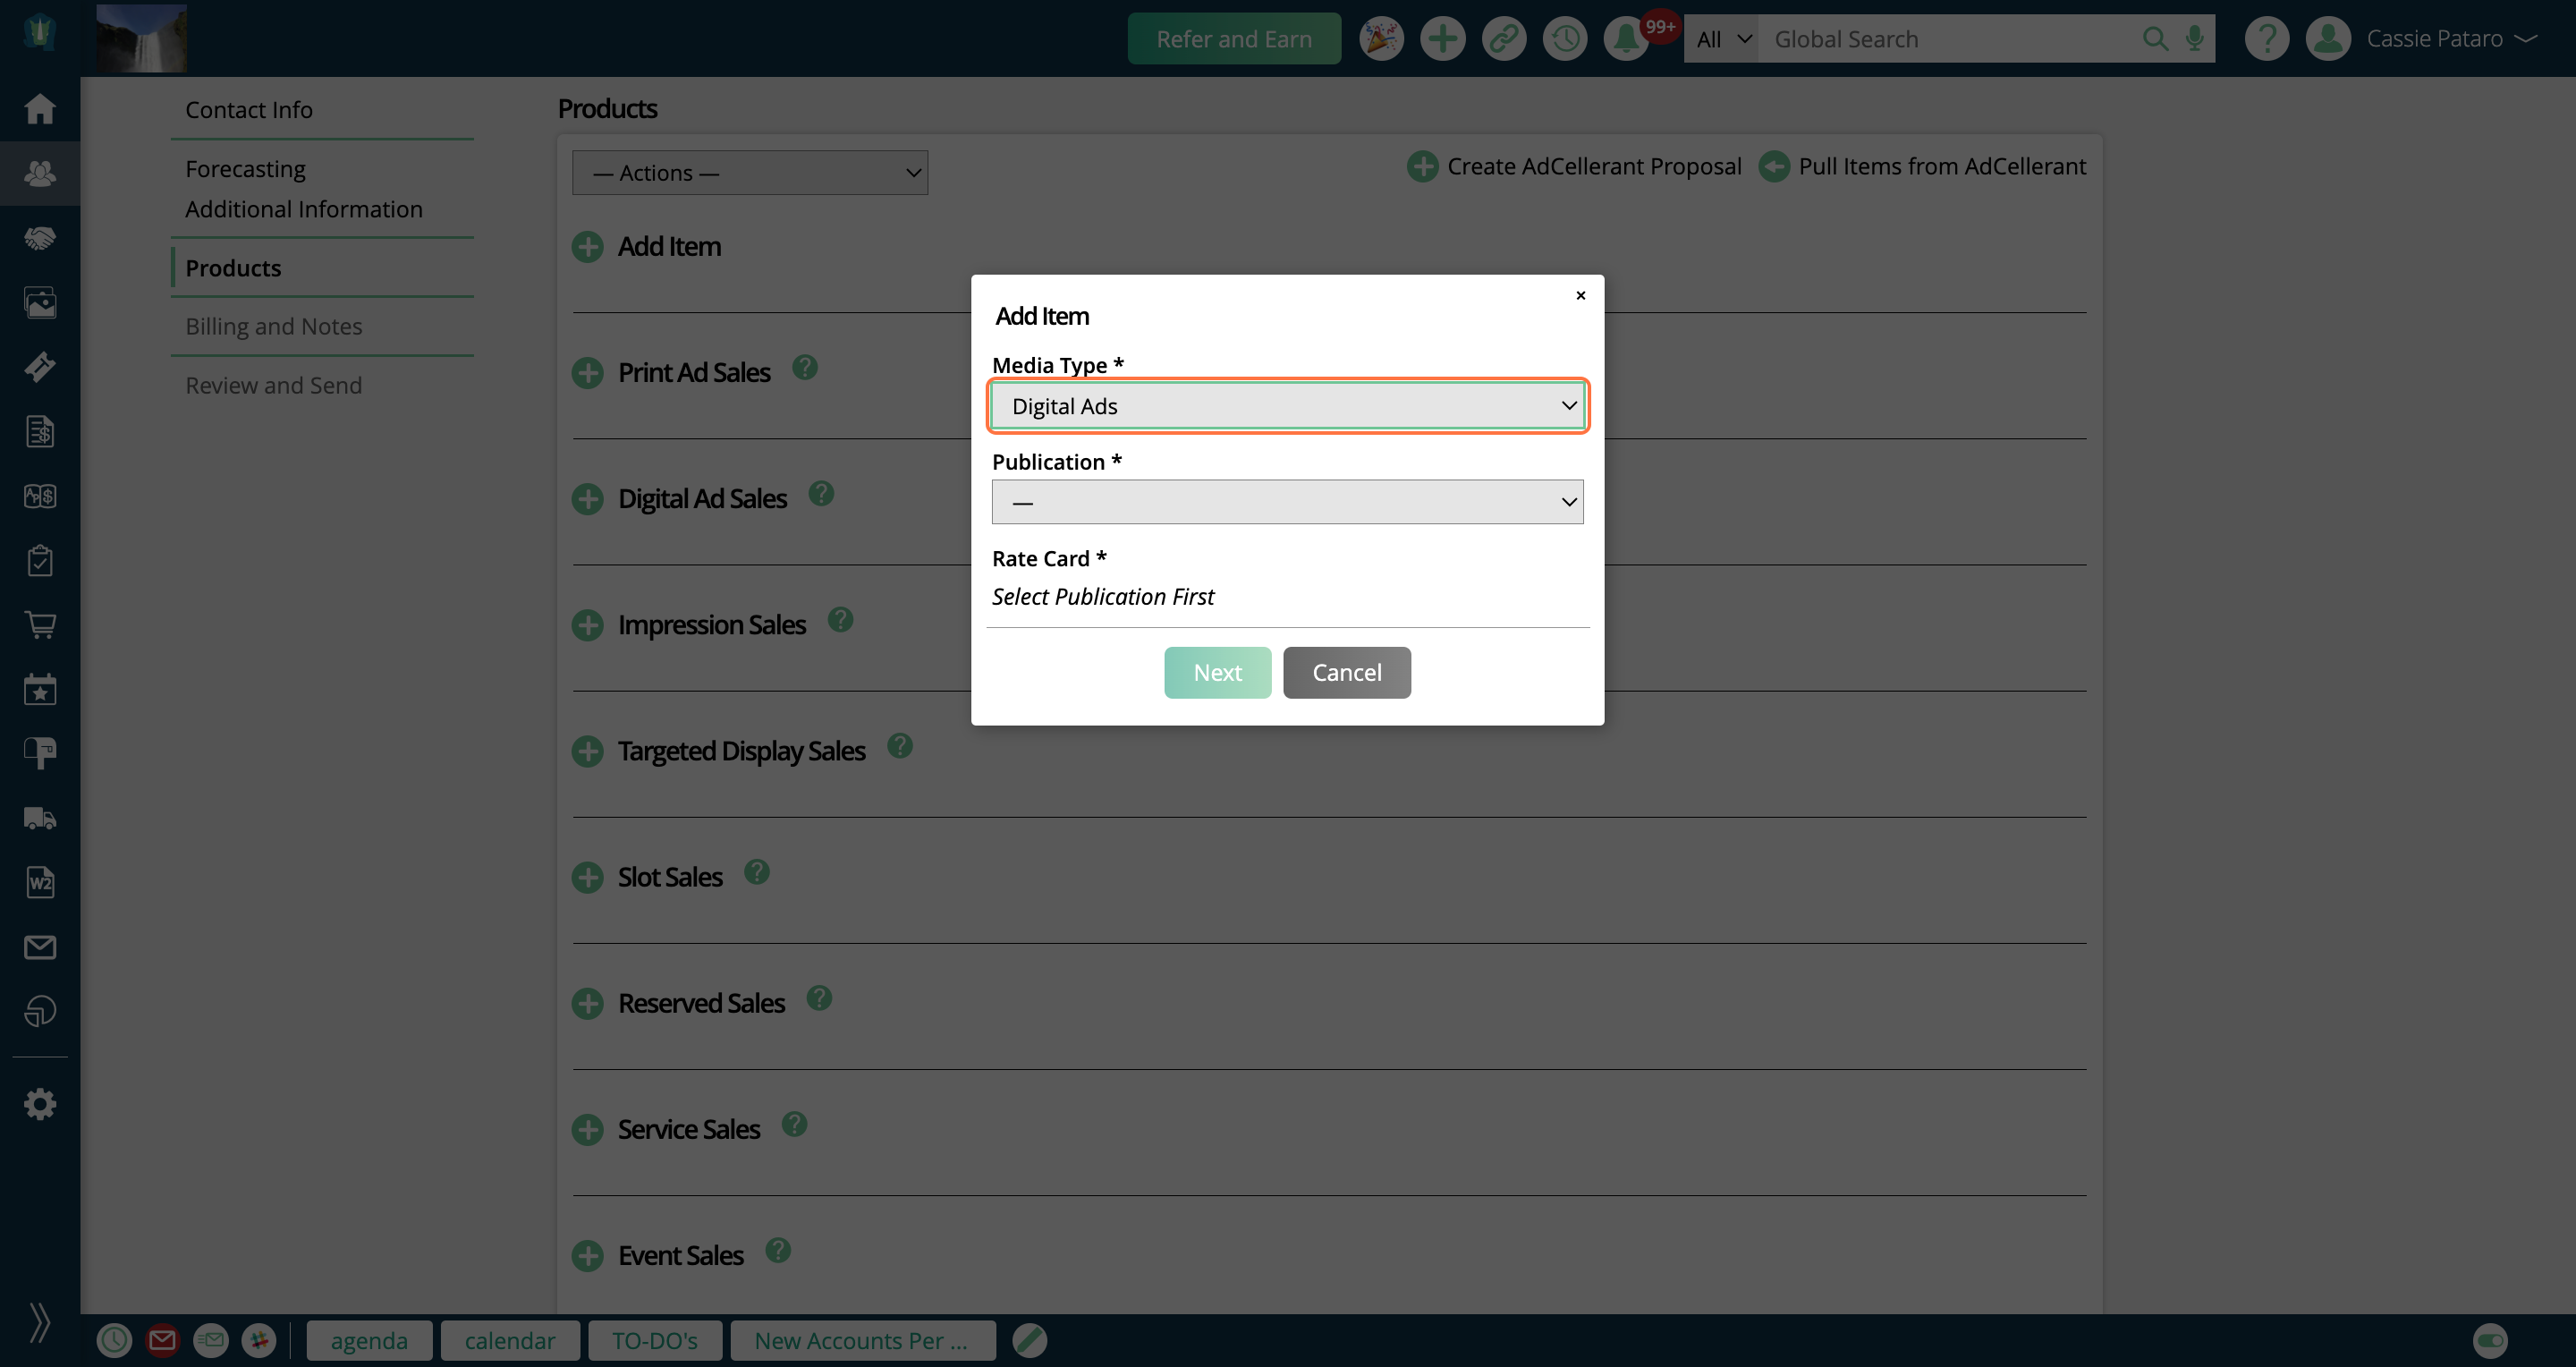
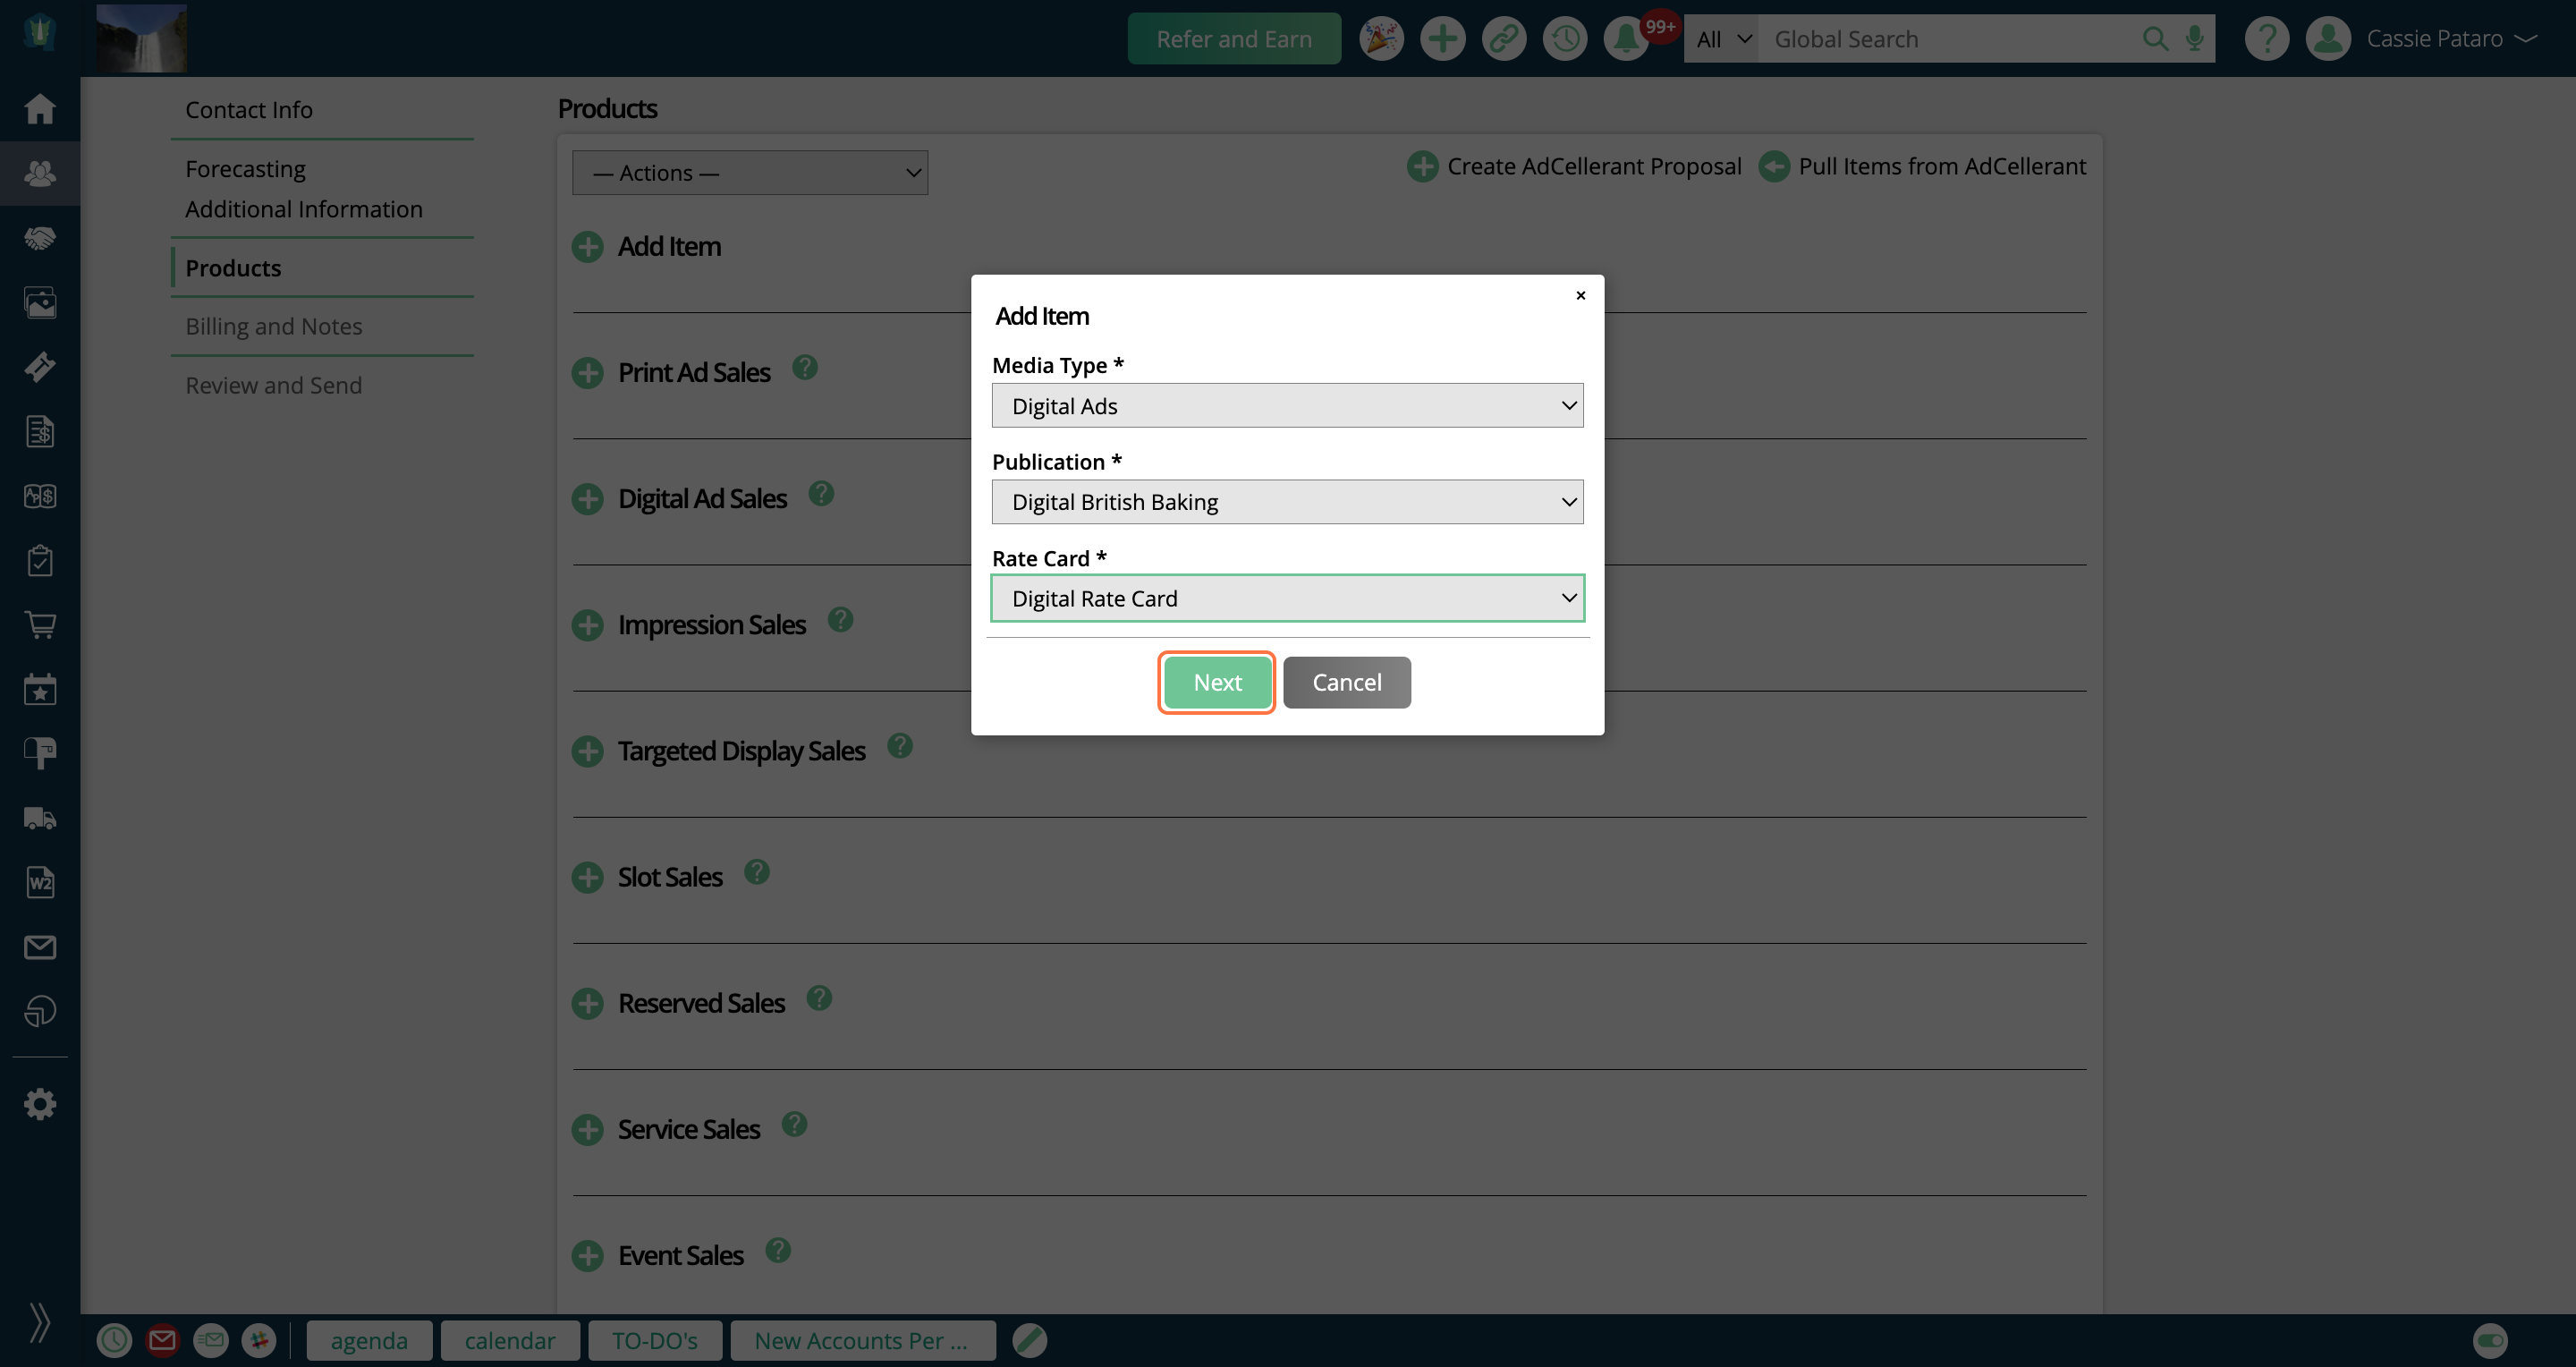
The Add Item form will change depending on which Media Type you select. If you choose the Digital Ads type, you'll also be required to select which publication to use, as well as rate card.
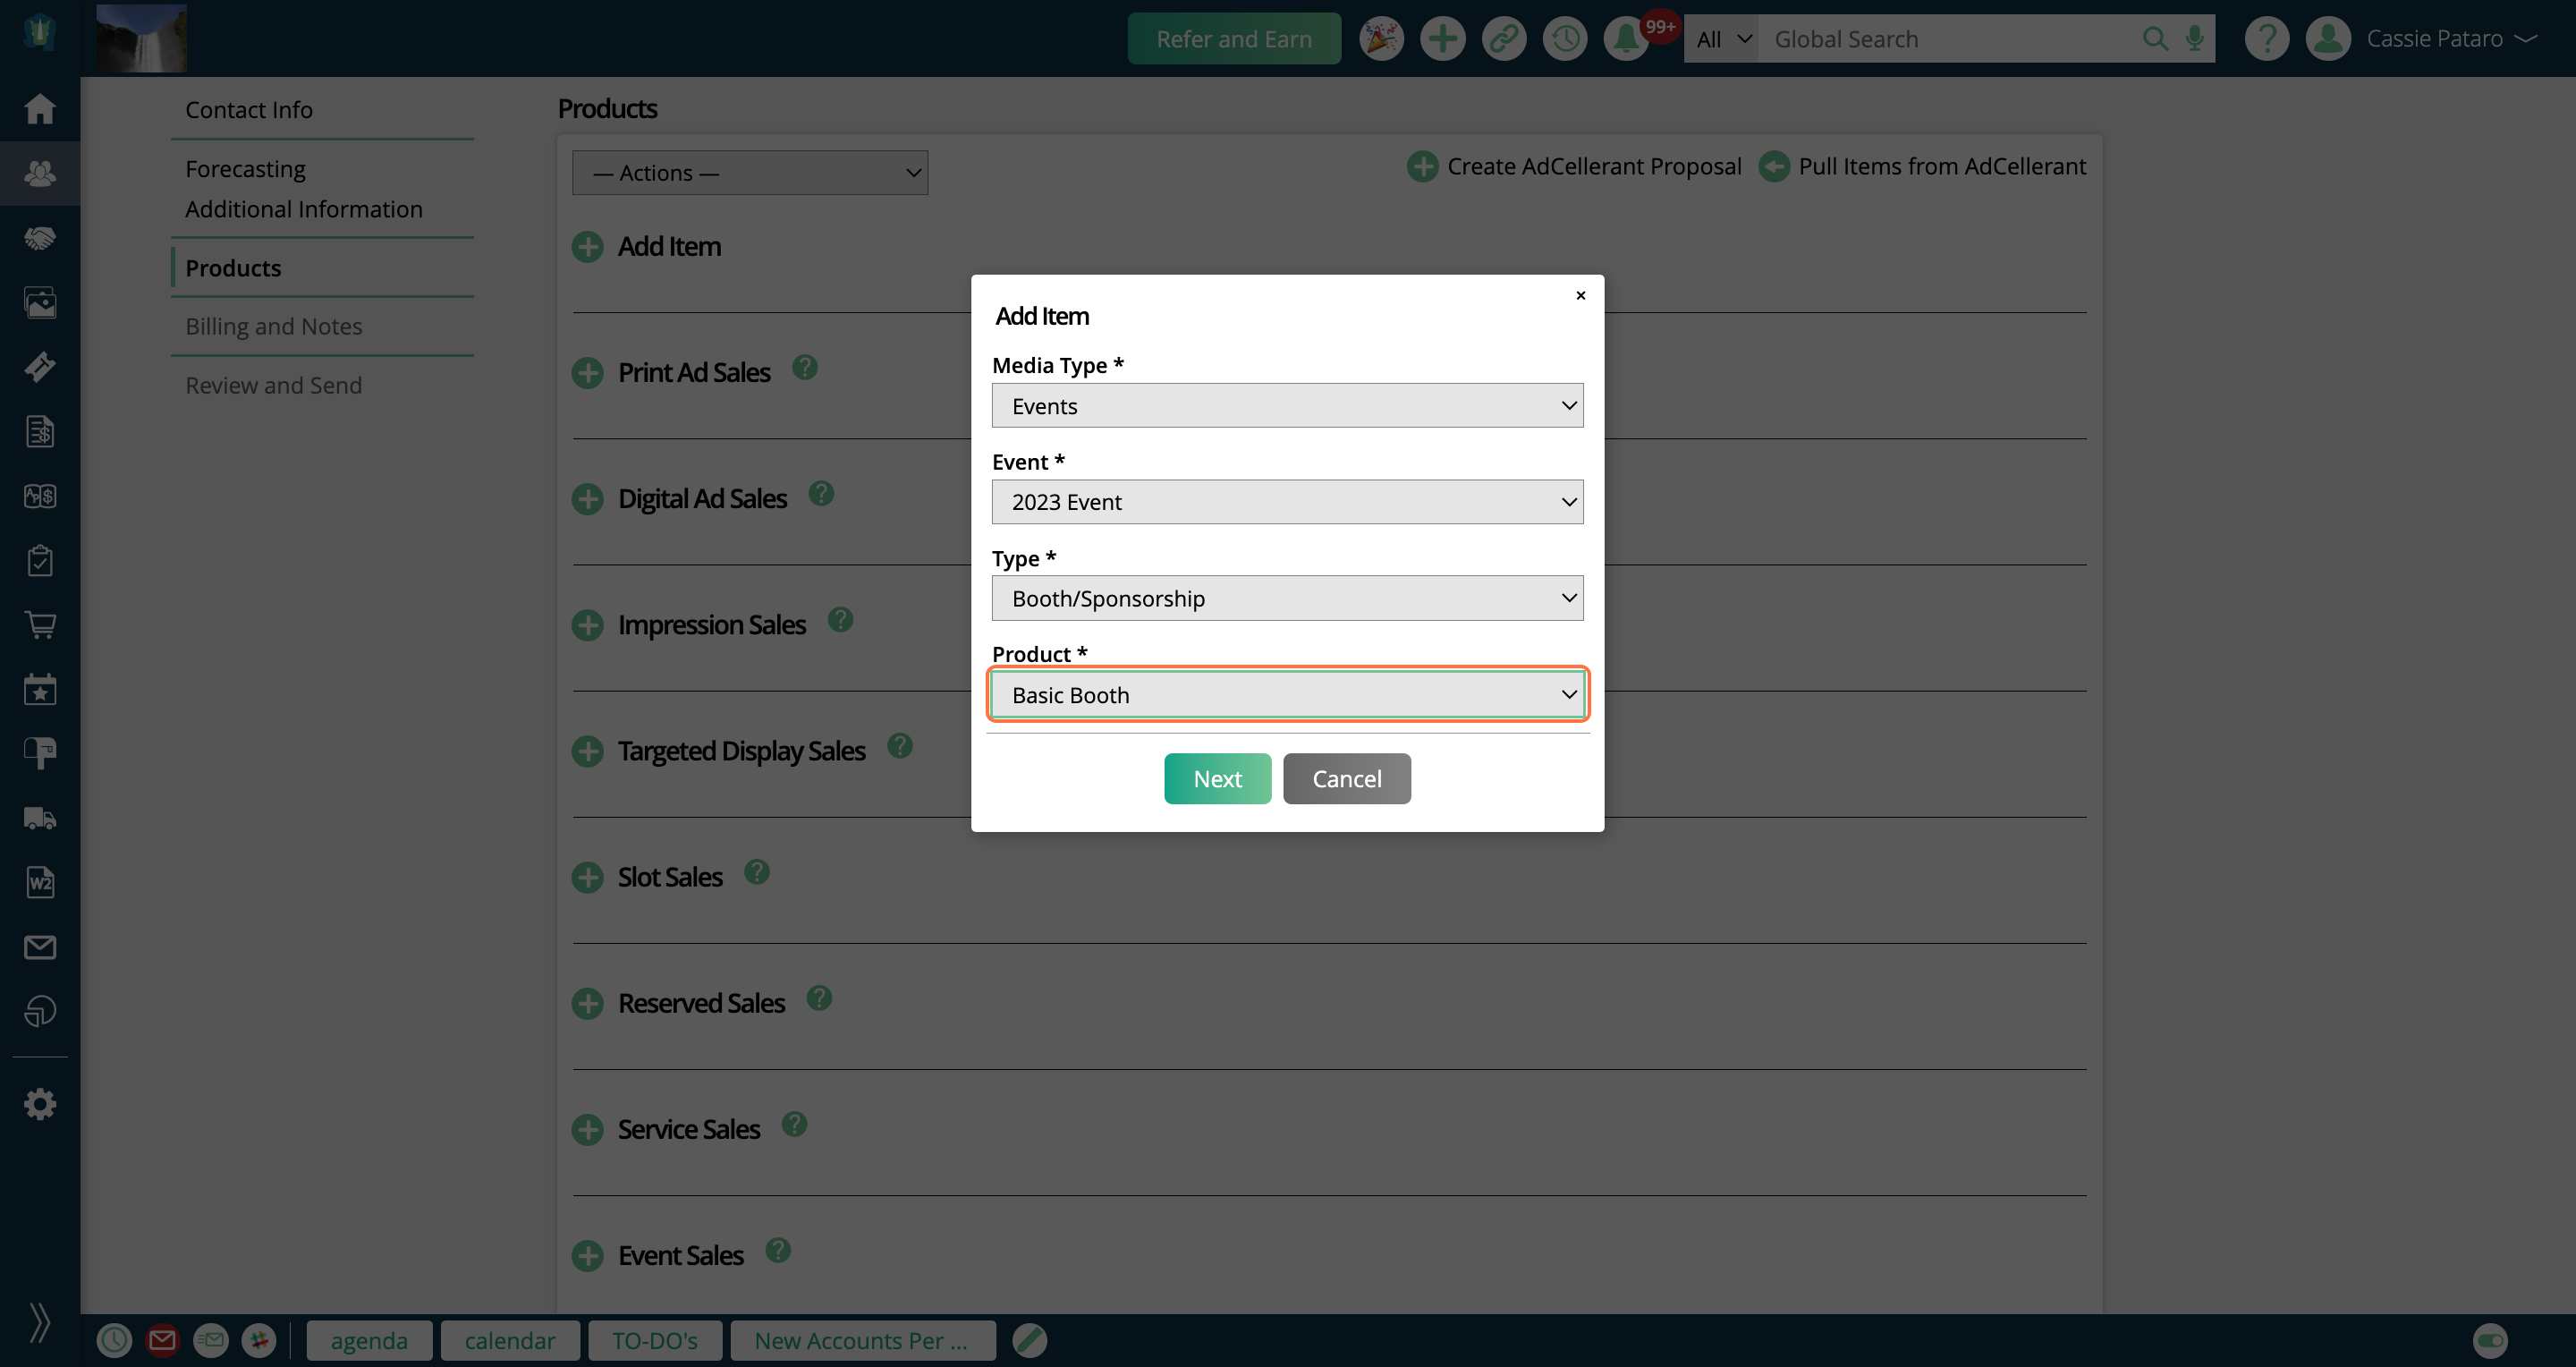
The Events Media Type requires you to choose the event, type (ticket or booth/sponsorship), and product prior to continuing.
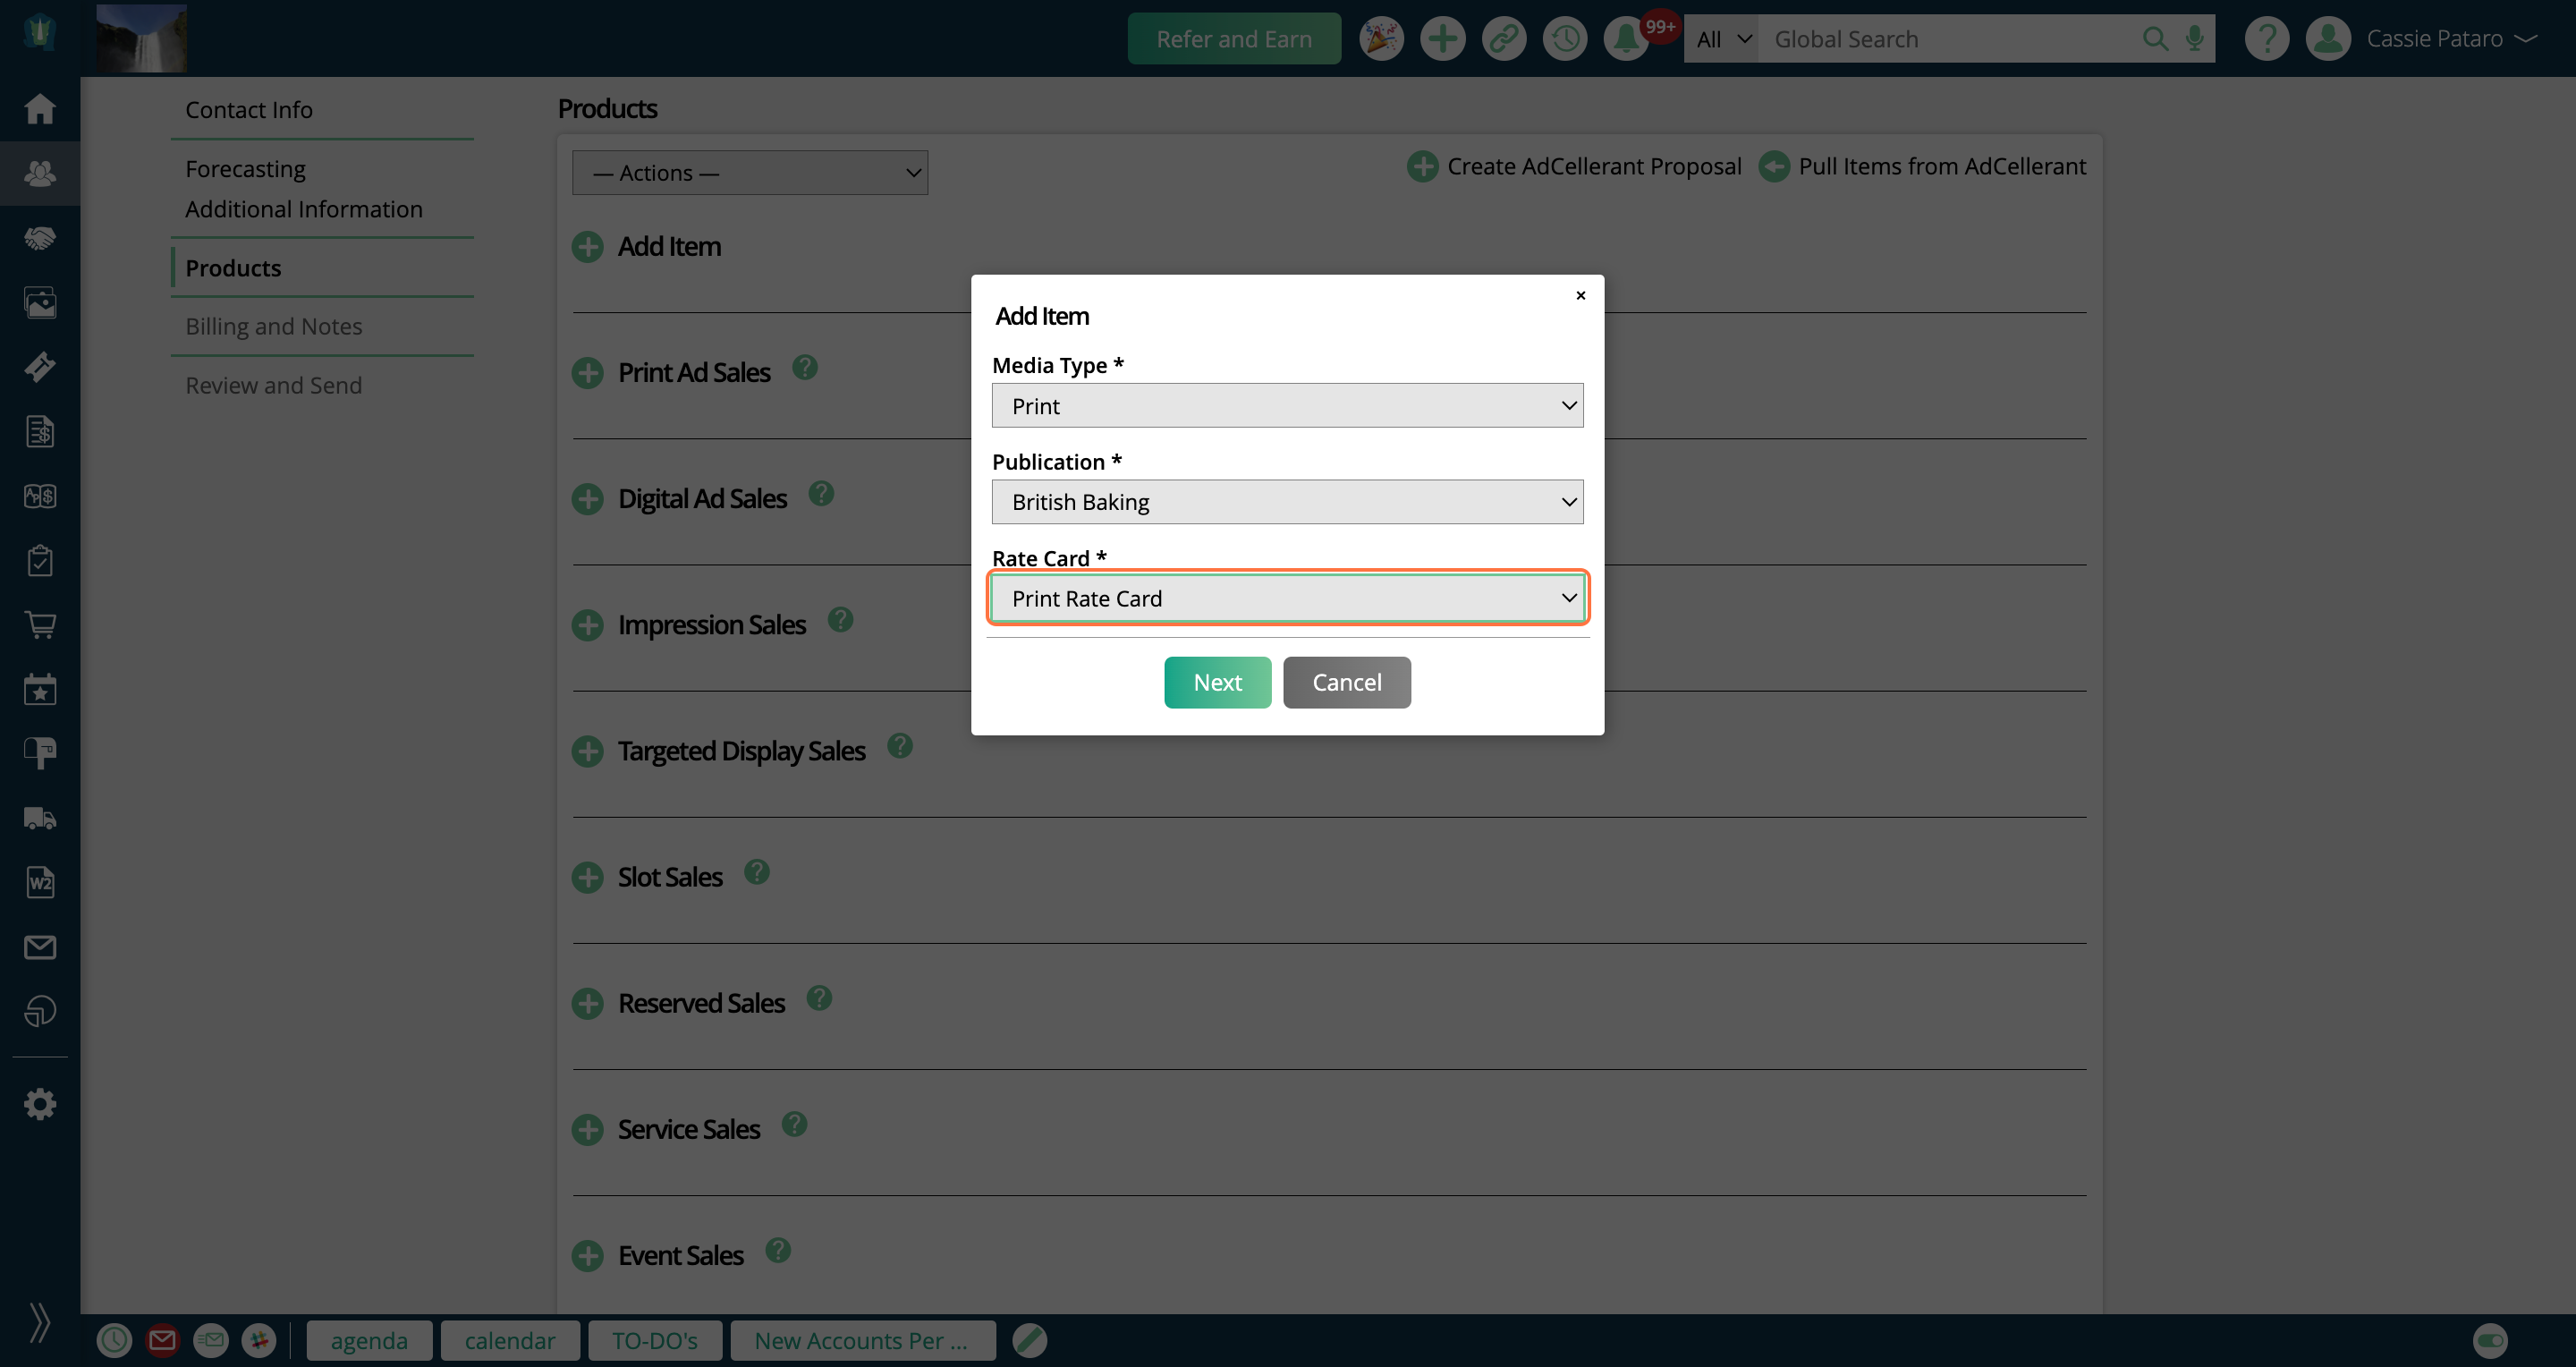
The Print Media Type requires publication and rate card.
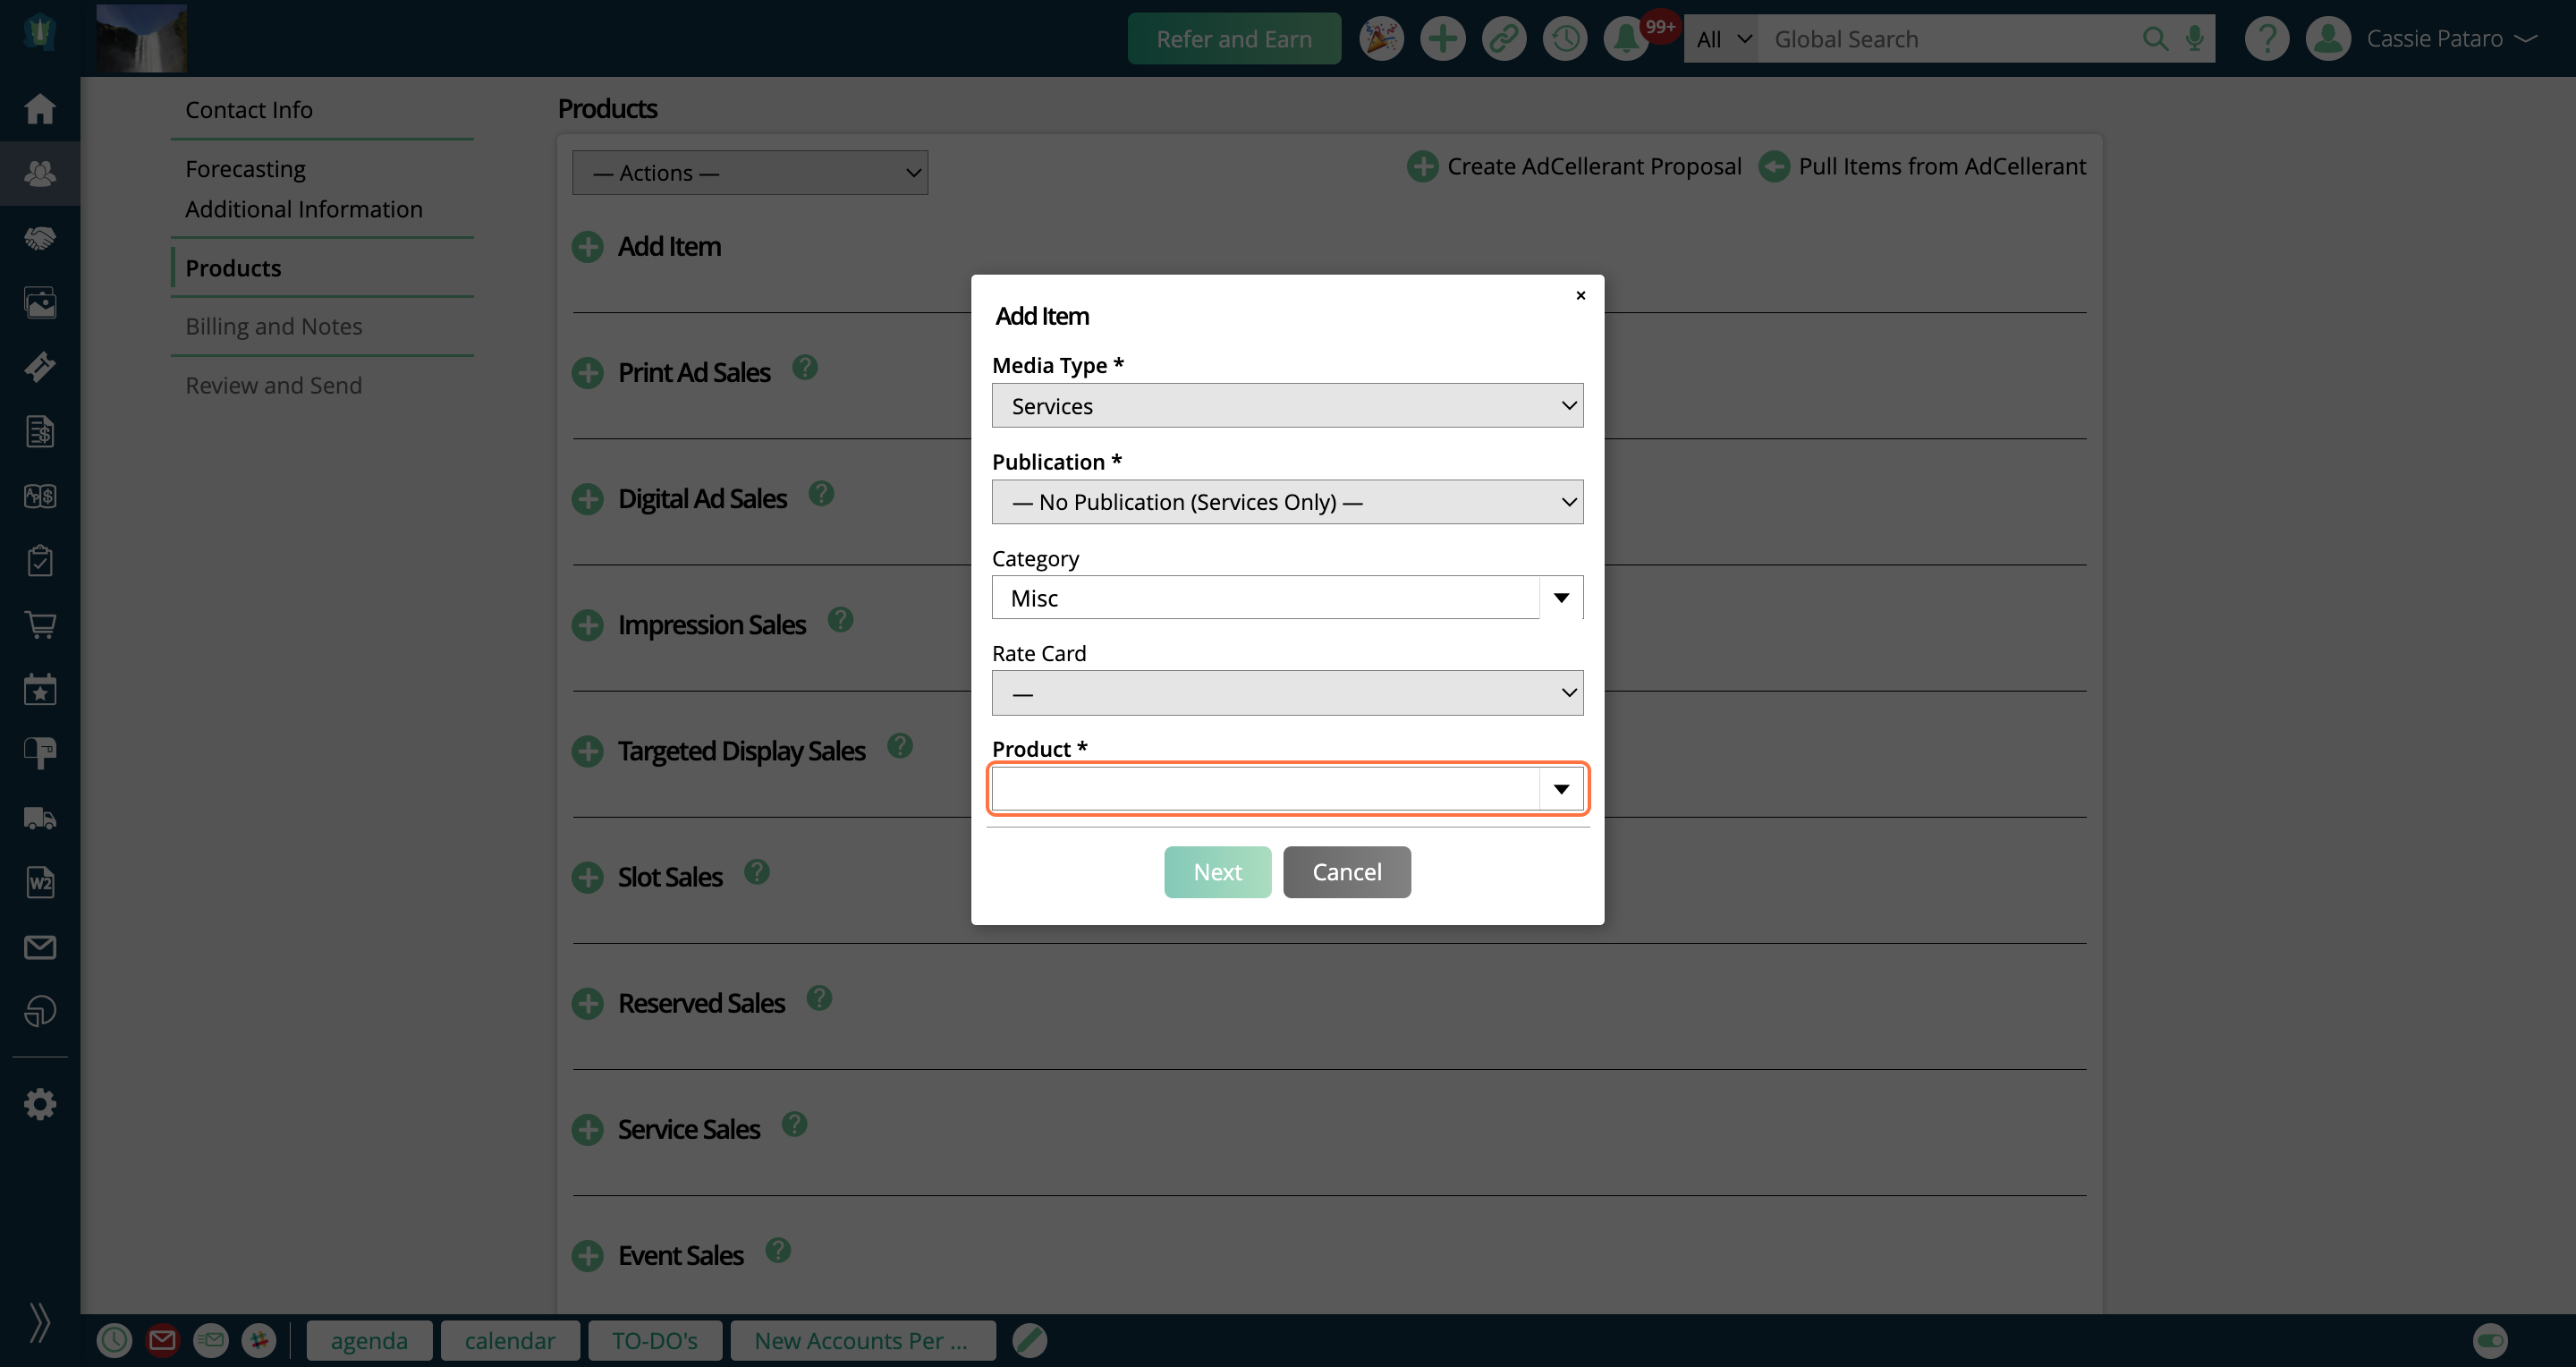
The Services and Digital Media Types, as well as any custom types you create will show the same required and optional fields.
Publication - If you want to add a digital media product, you'll need to select a publication from the dropdown. If you want to add a service item, you can select the 'no publication' option.
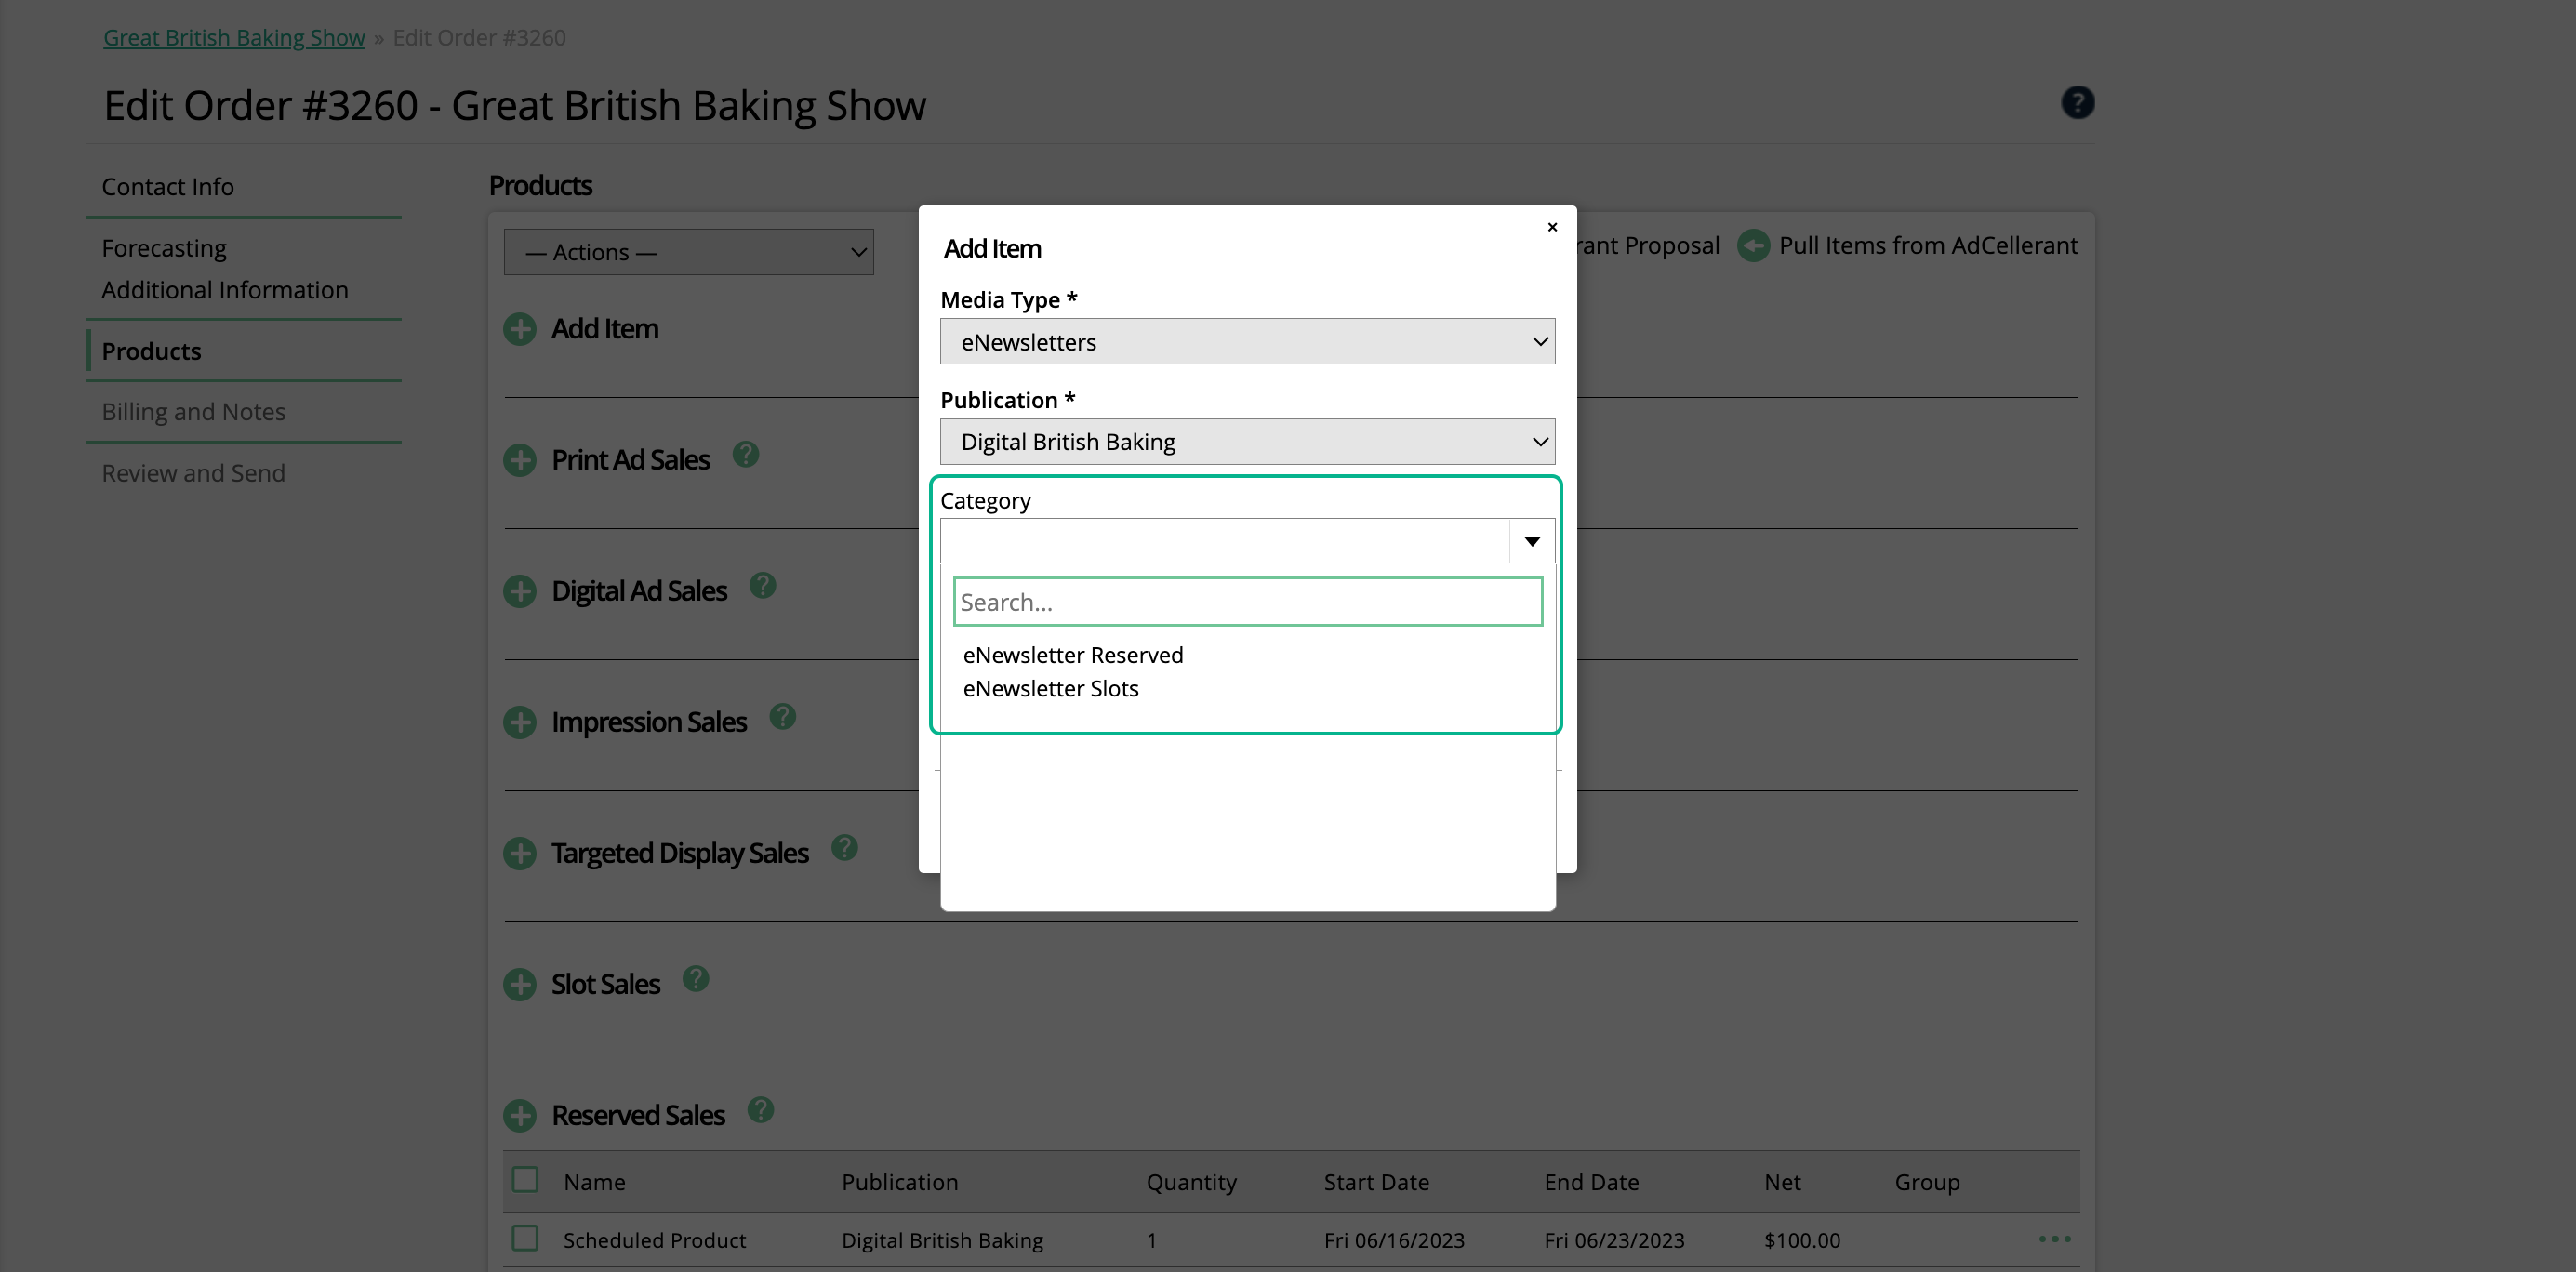
Category - The category field is optional, and is a way to filter your product list. The categories that show up in this dropdown are those that are included in that Media Type.
Rate Card - The rate card field will only show as required if you have the digital media module enabled in your site, and your system configurations are set up to require rate cards on digital media. If you are adding a service item, you can select a 'no rate card' option.
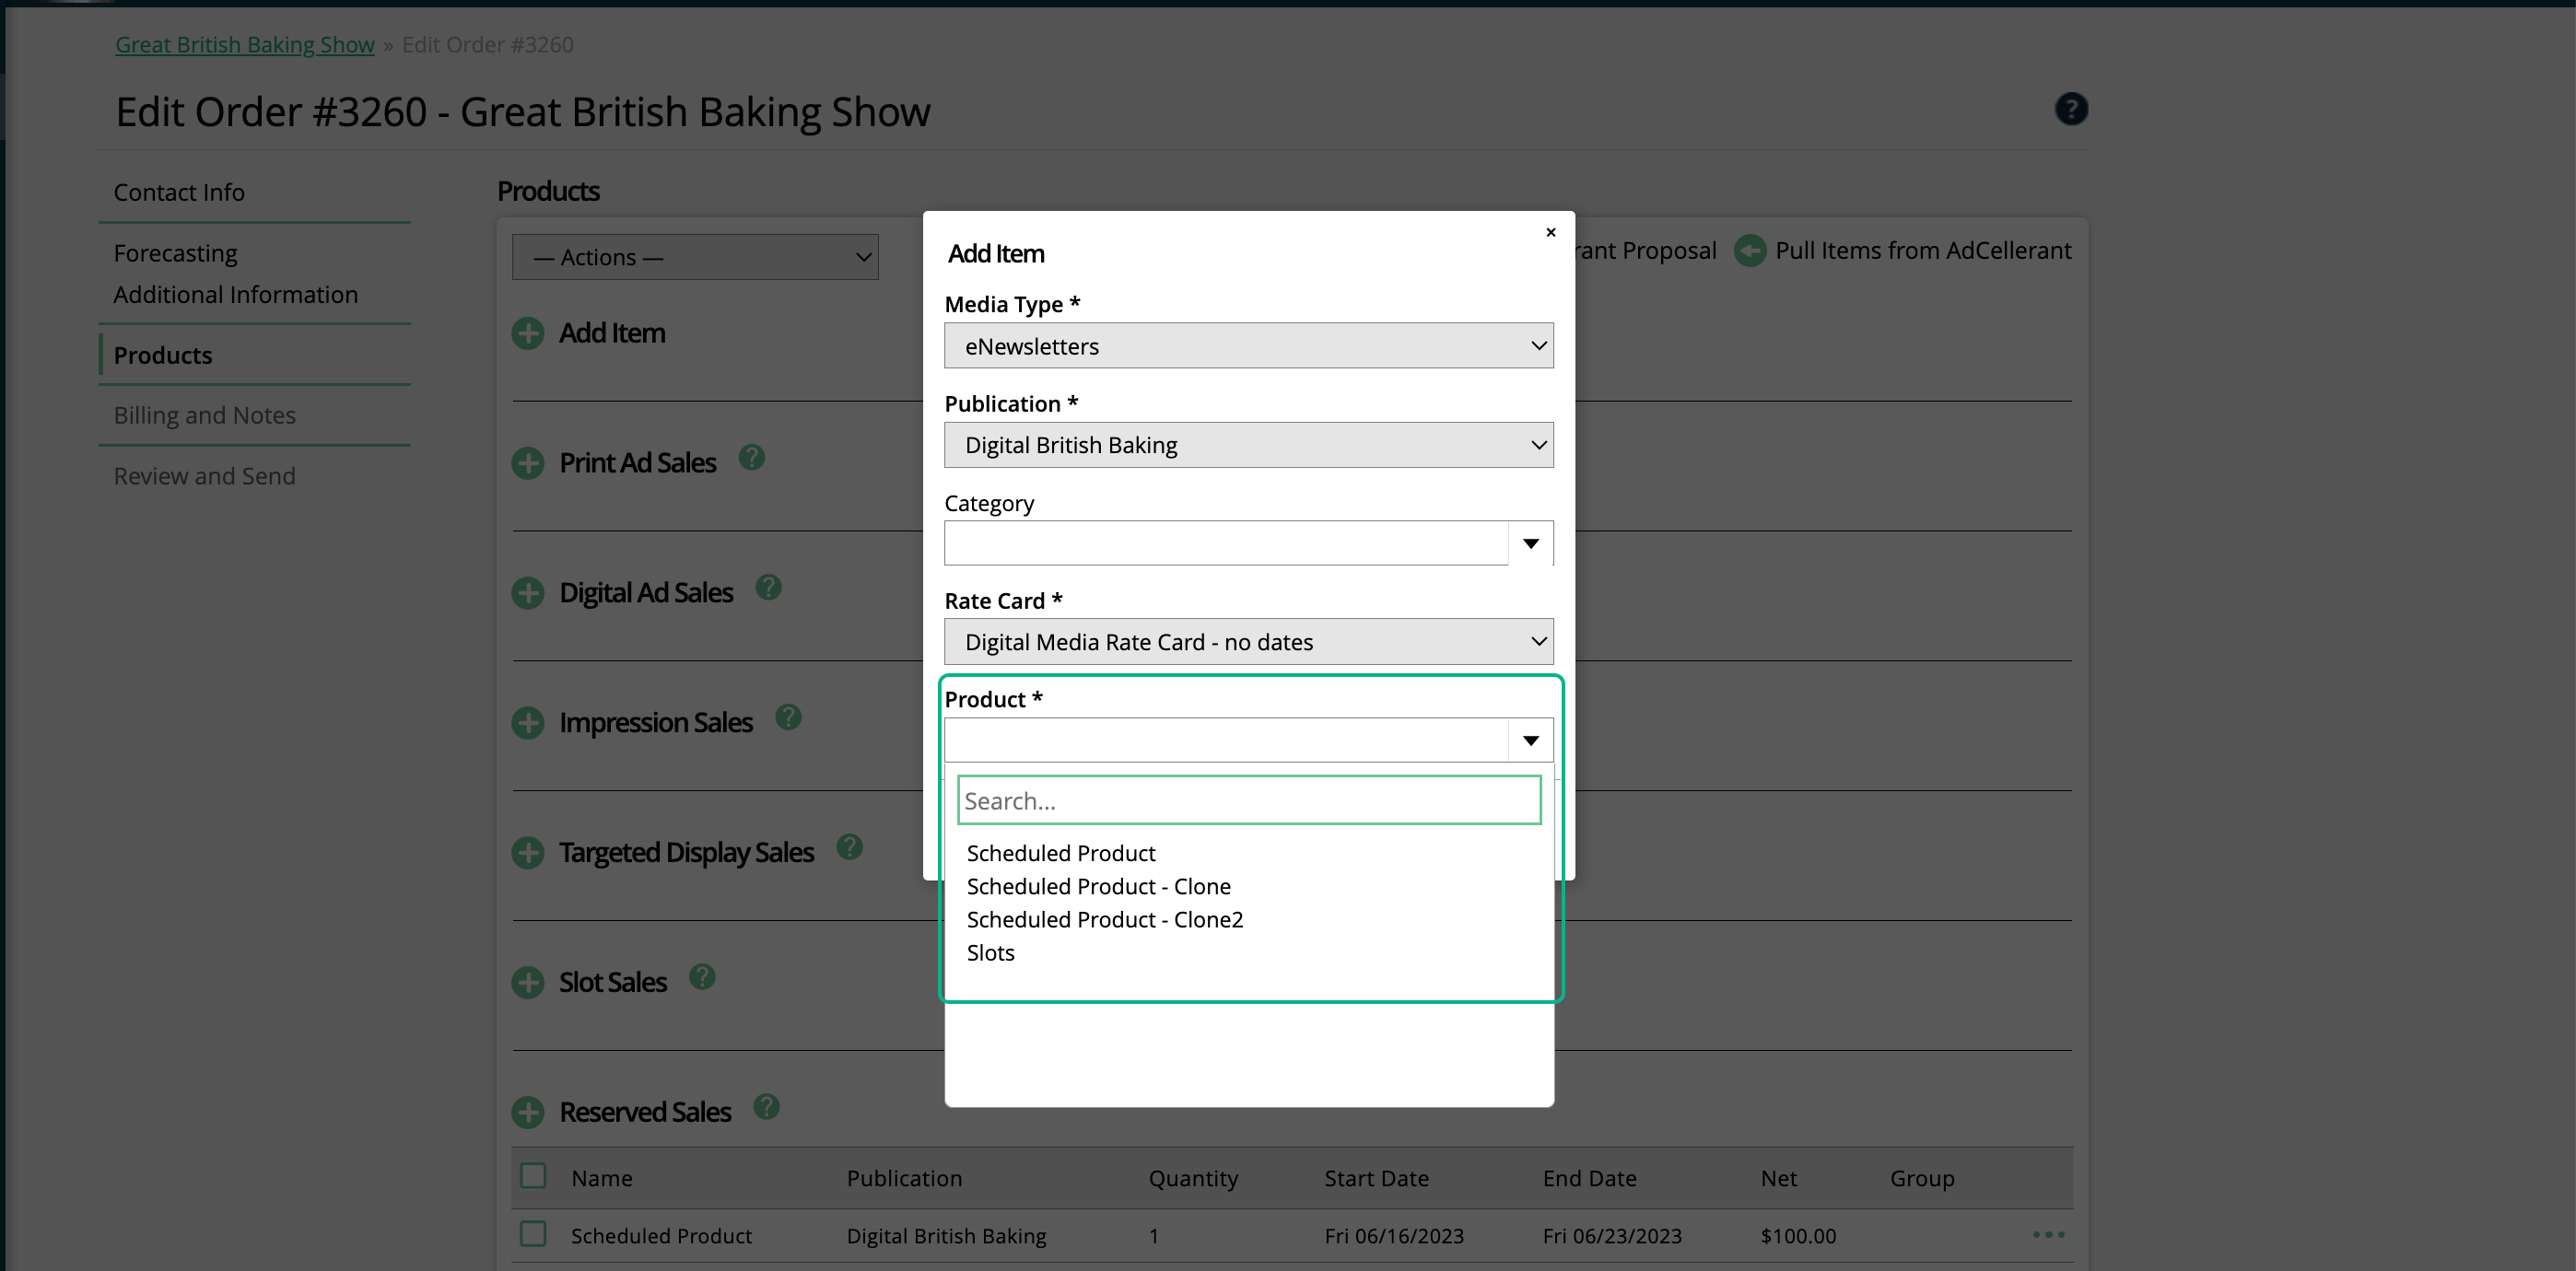
Product - If you did not select a Category, the product list will include every product that falls within every category for that Media Type, filtered by publication and rate card if applicable. If you did select a Category, the product list will only show items included in that category.
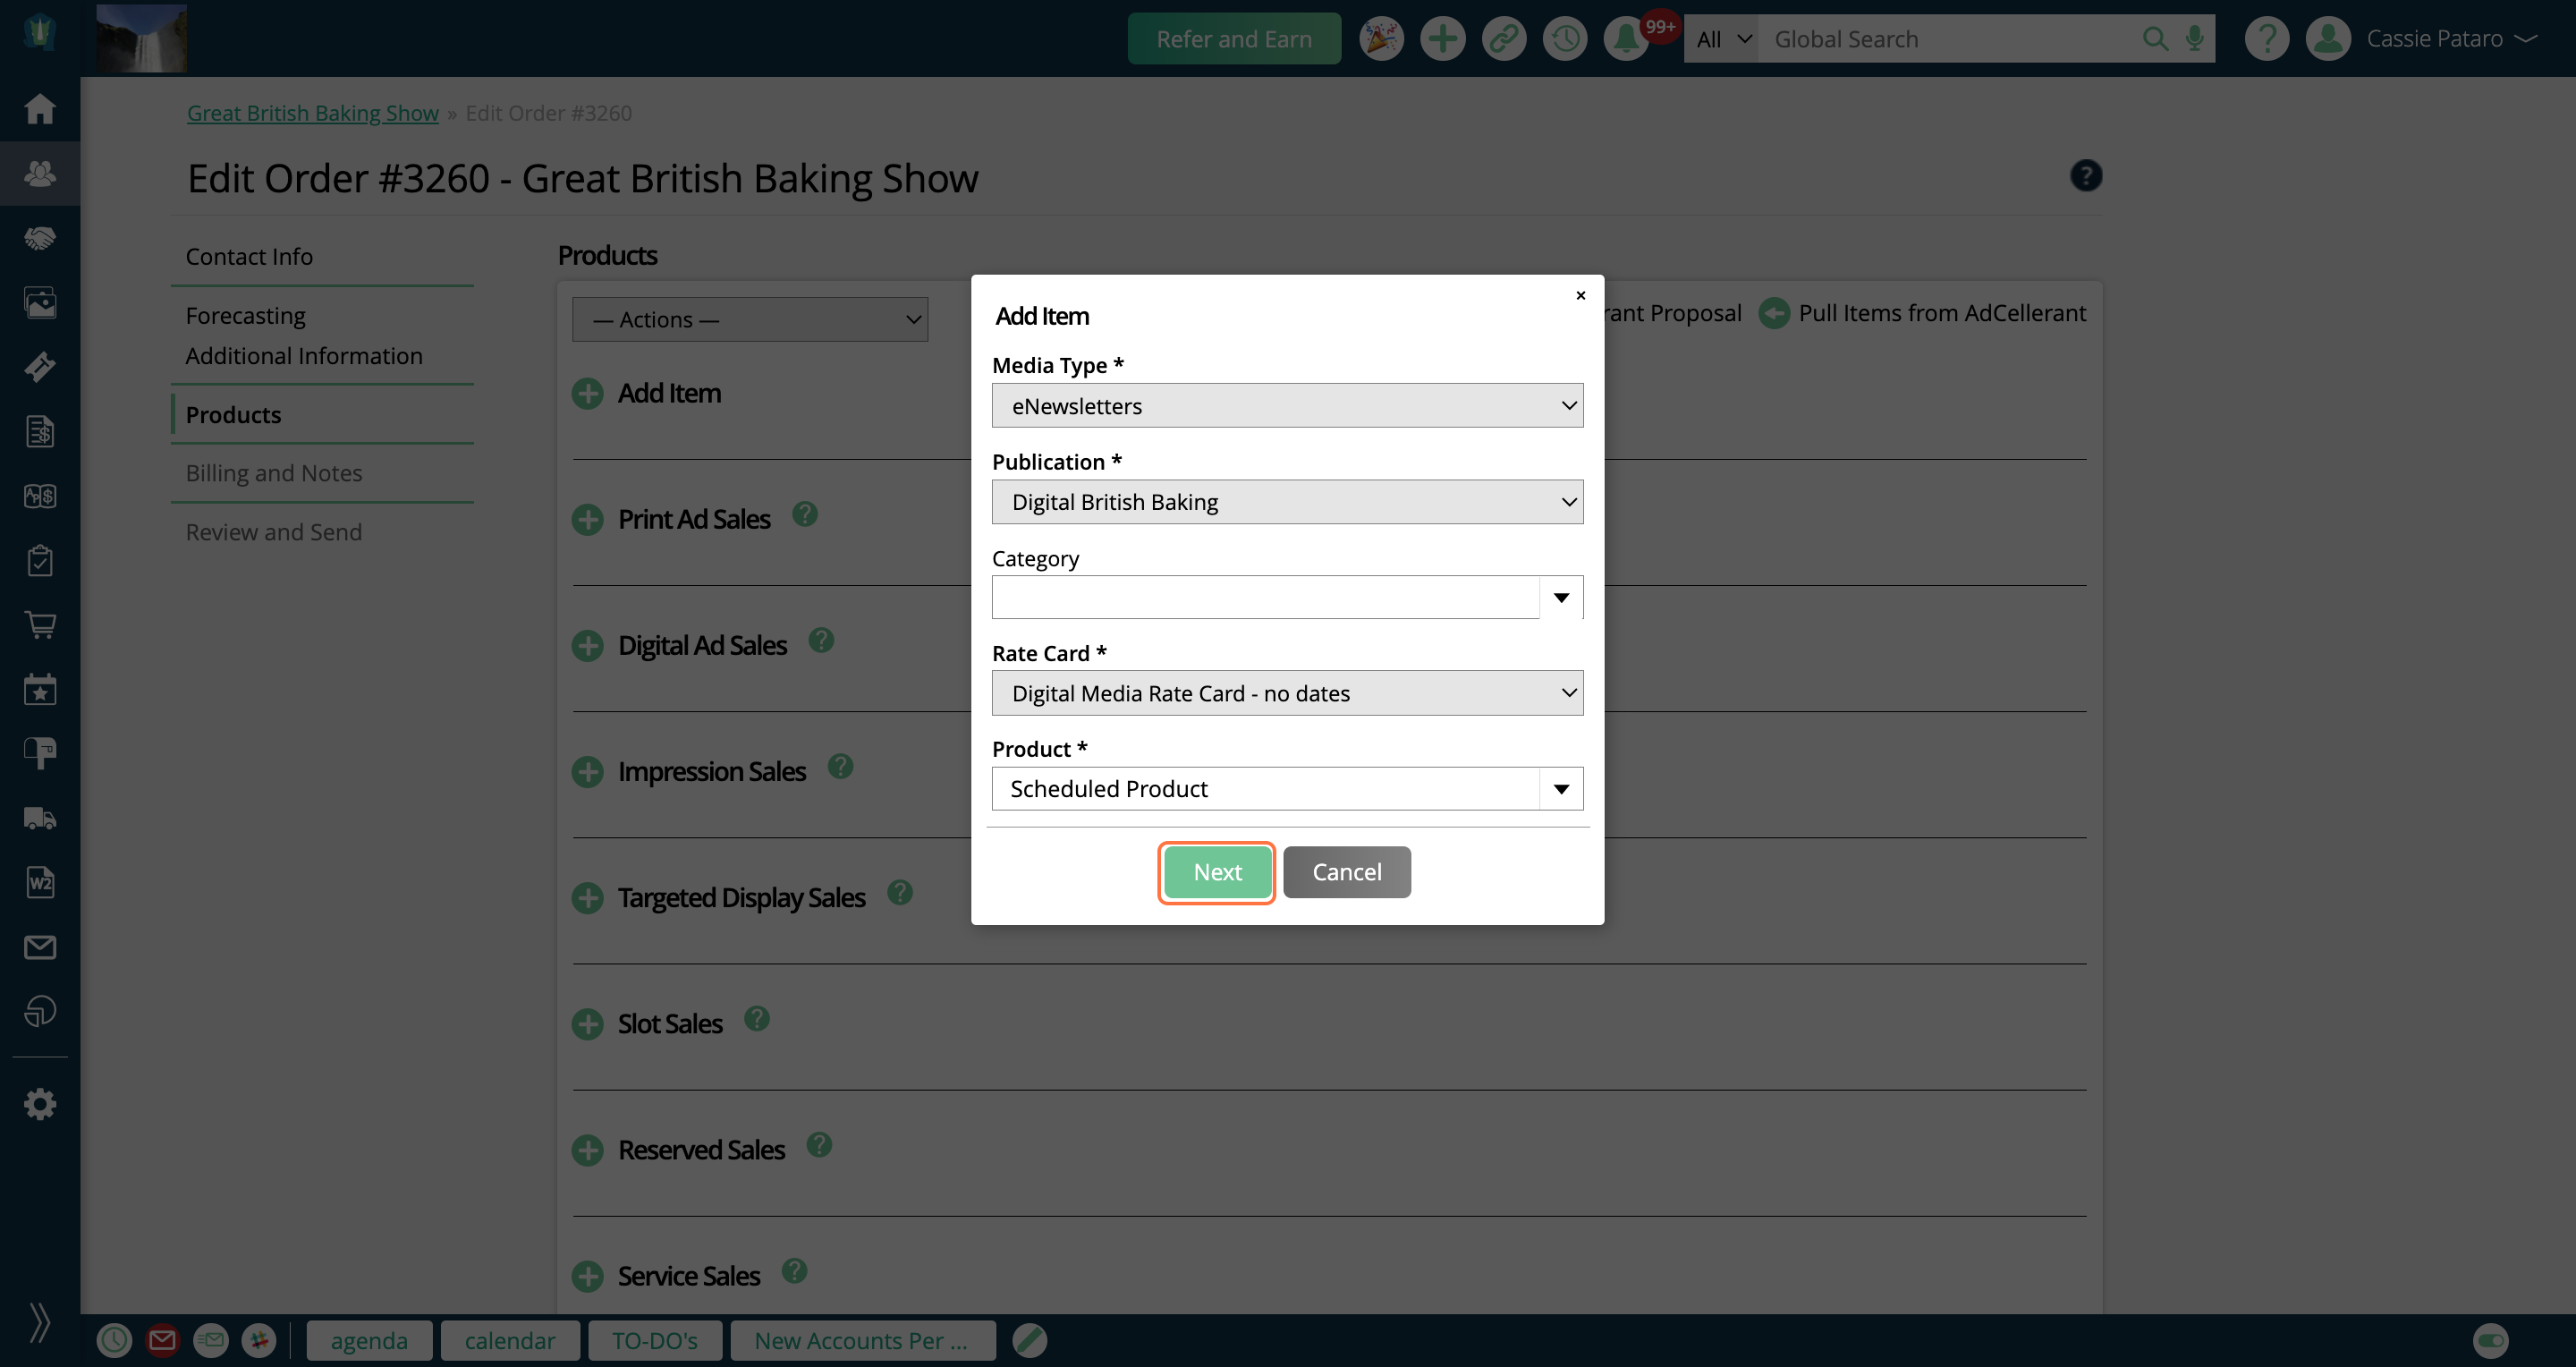
No matter which Media Type you've selected, once the required information in this popup is filled out, you can click Next to continue.
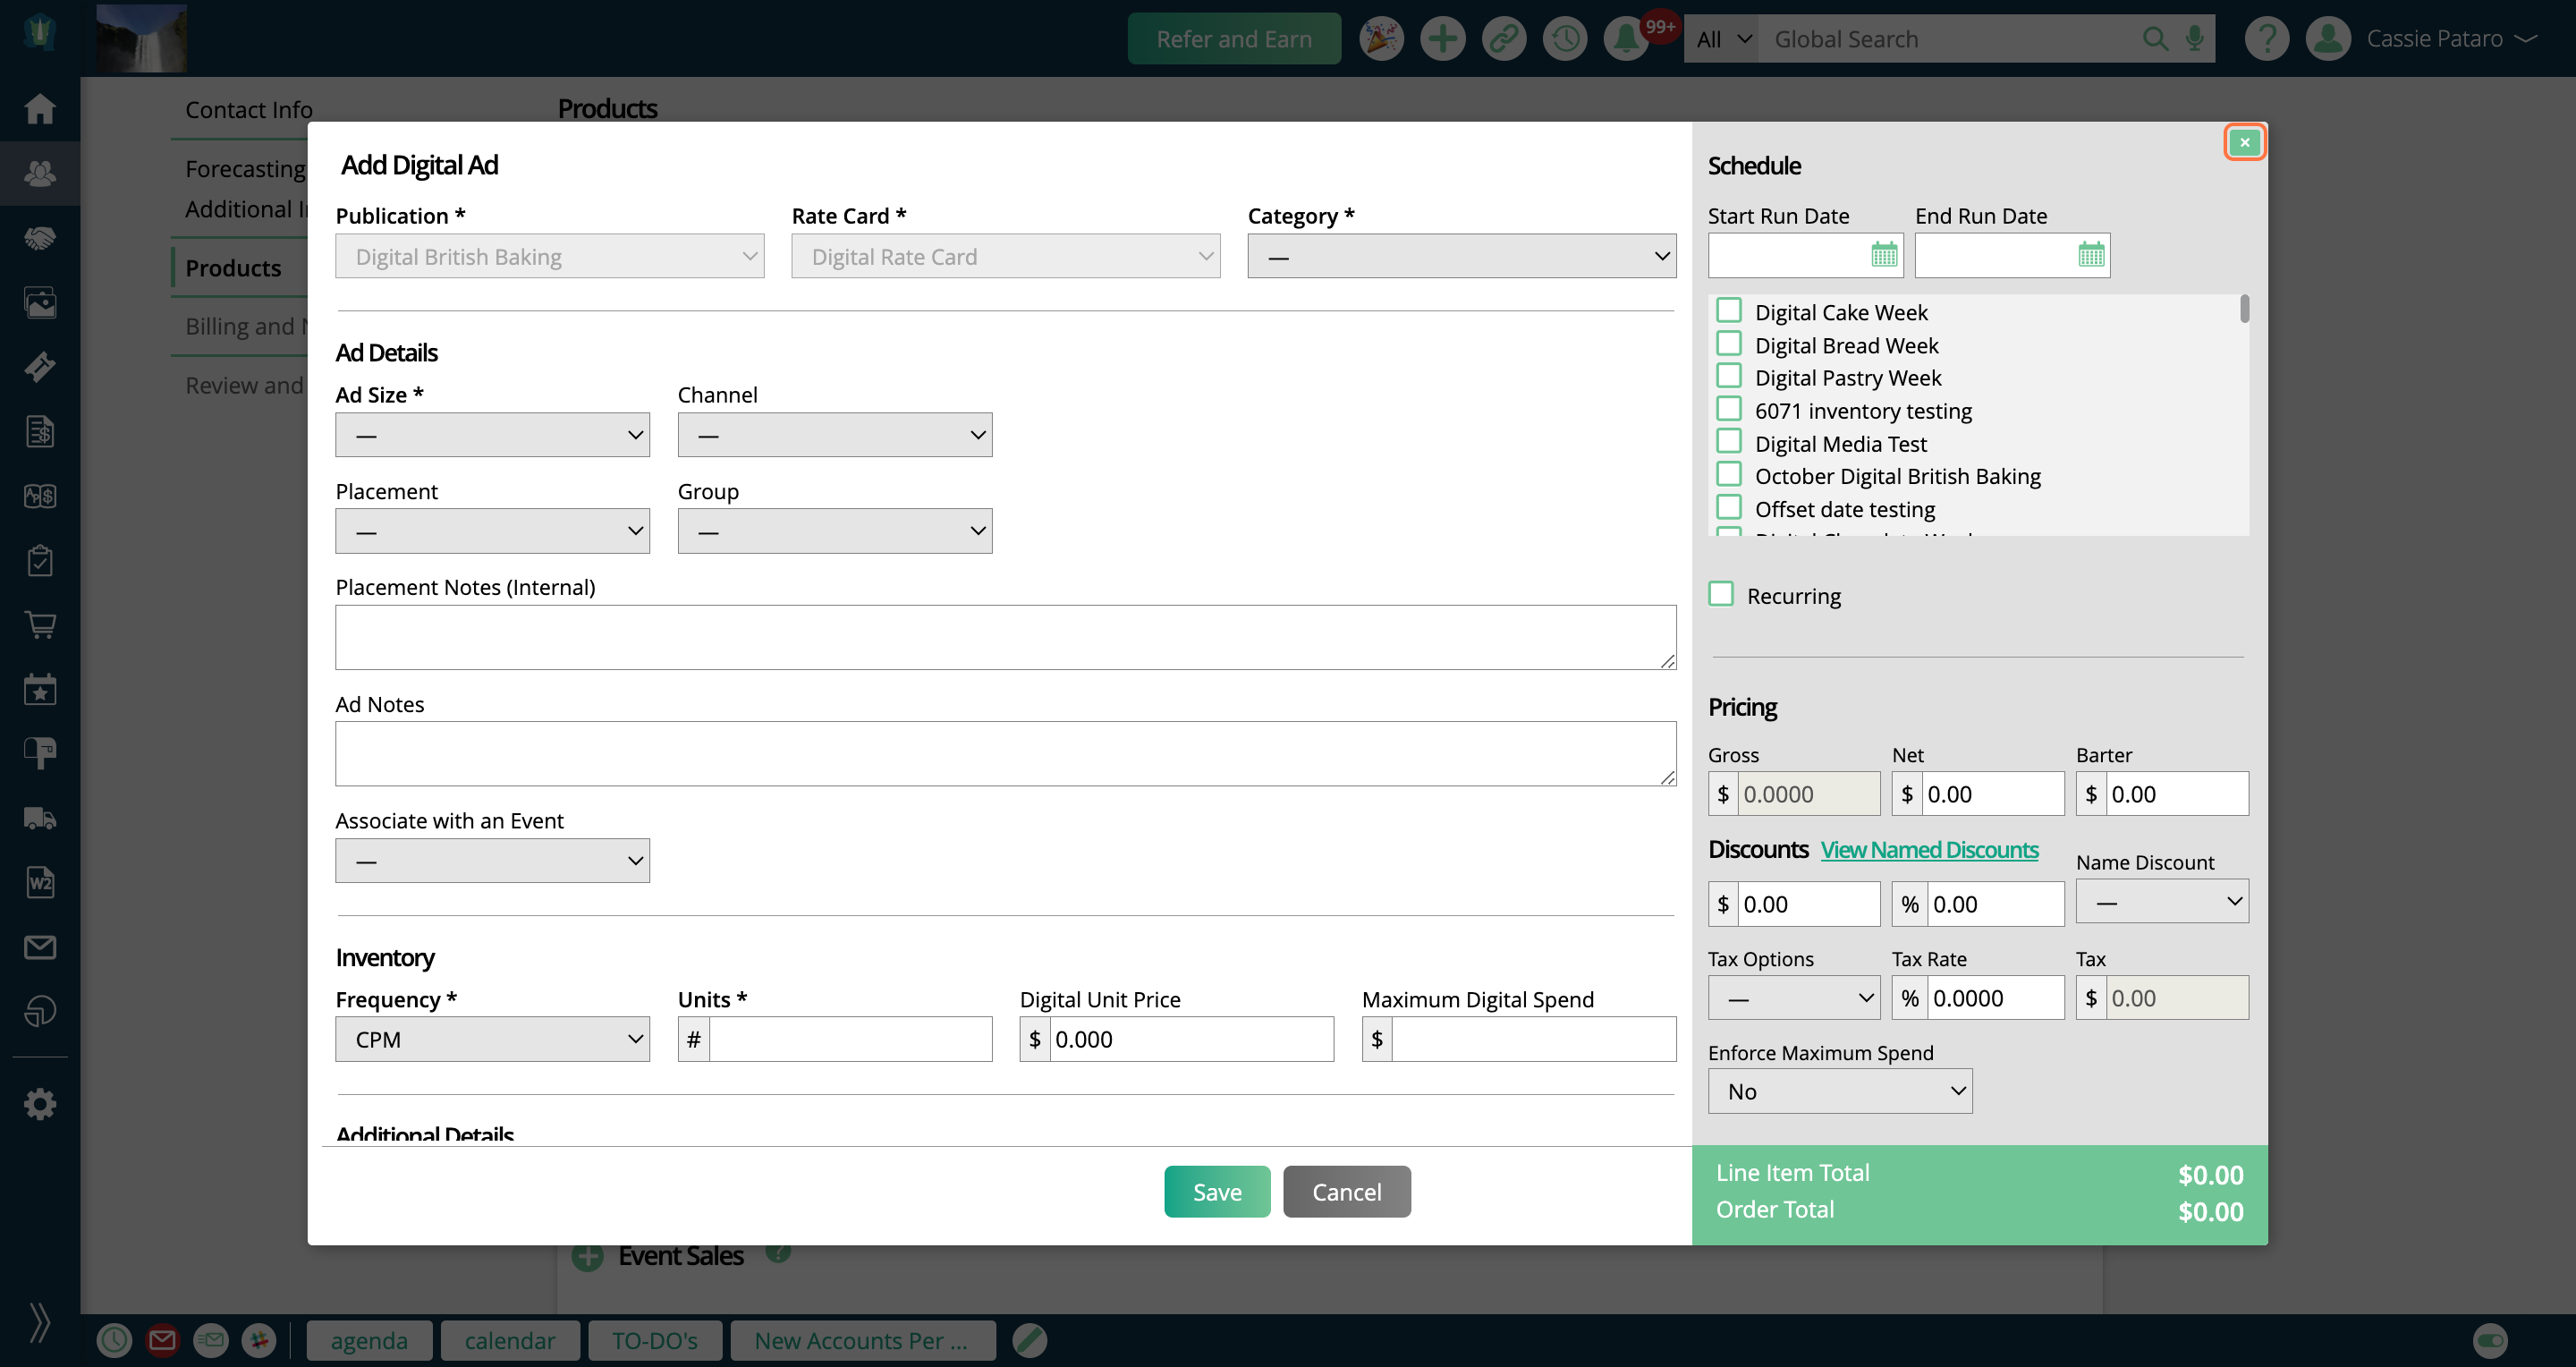
This will bring you to the full add line item popup, where you can continue filling out any other relevant fields for the line item.
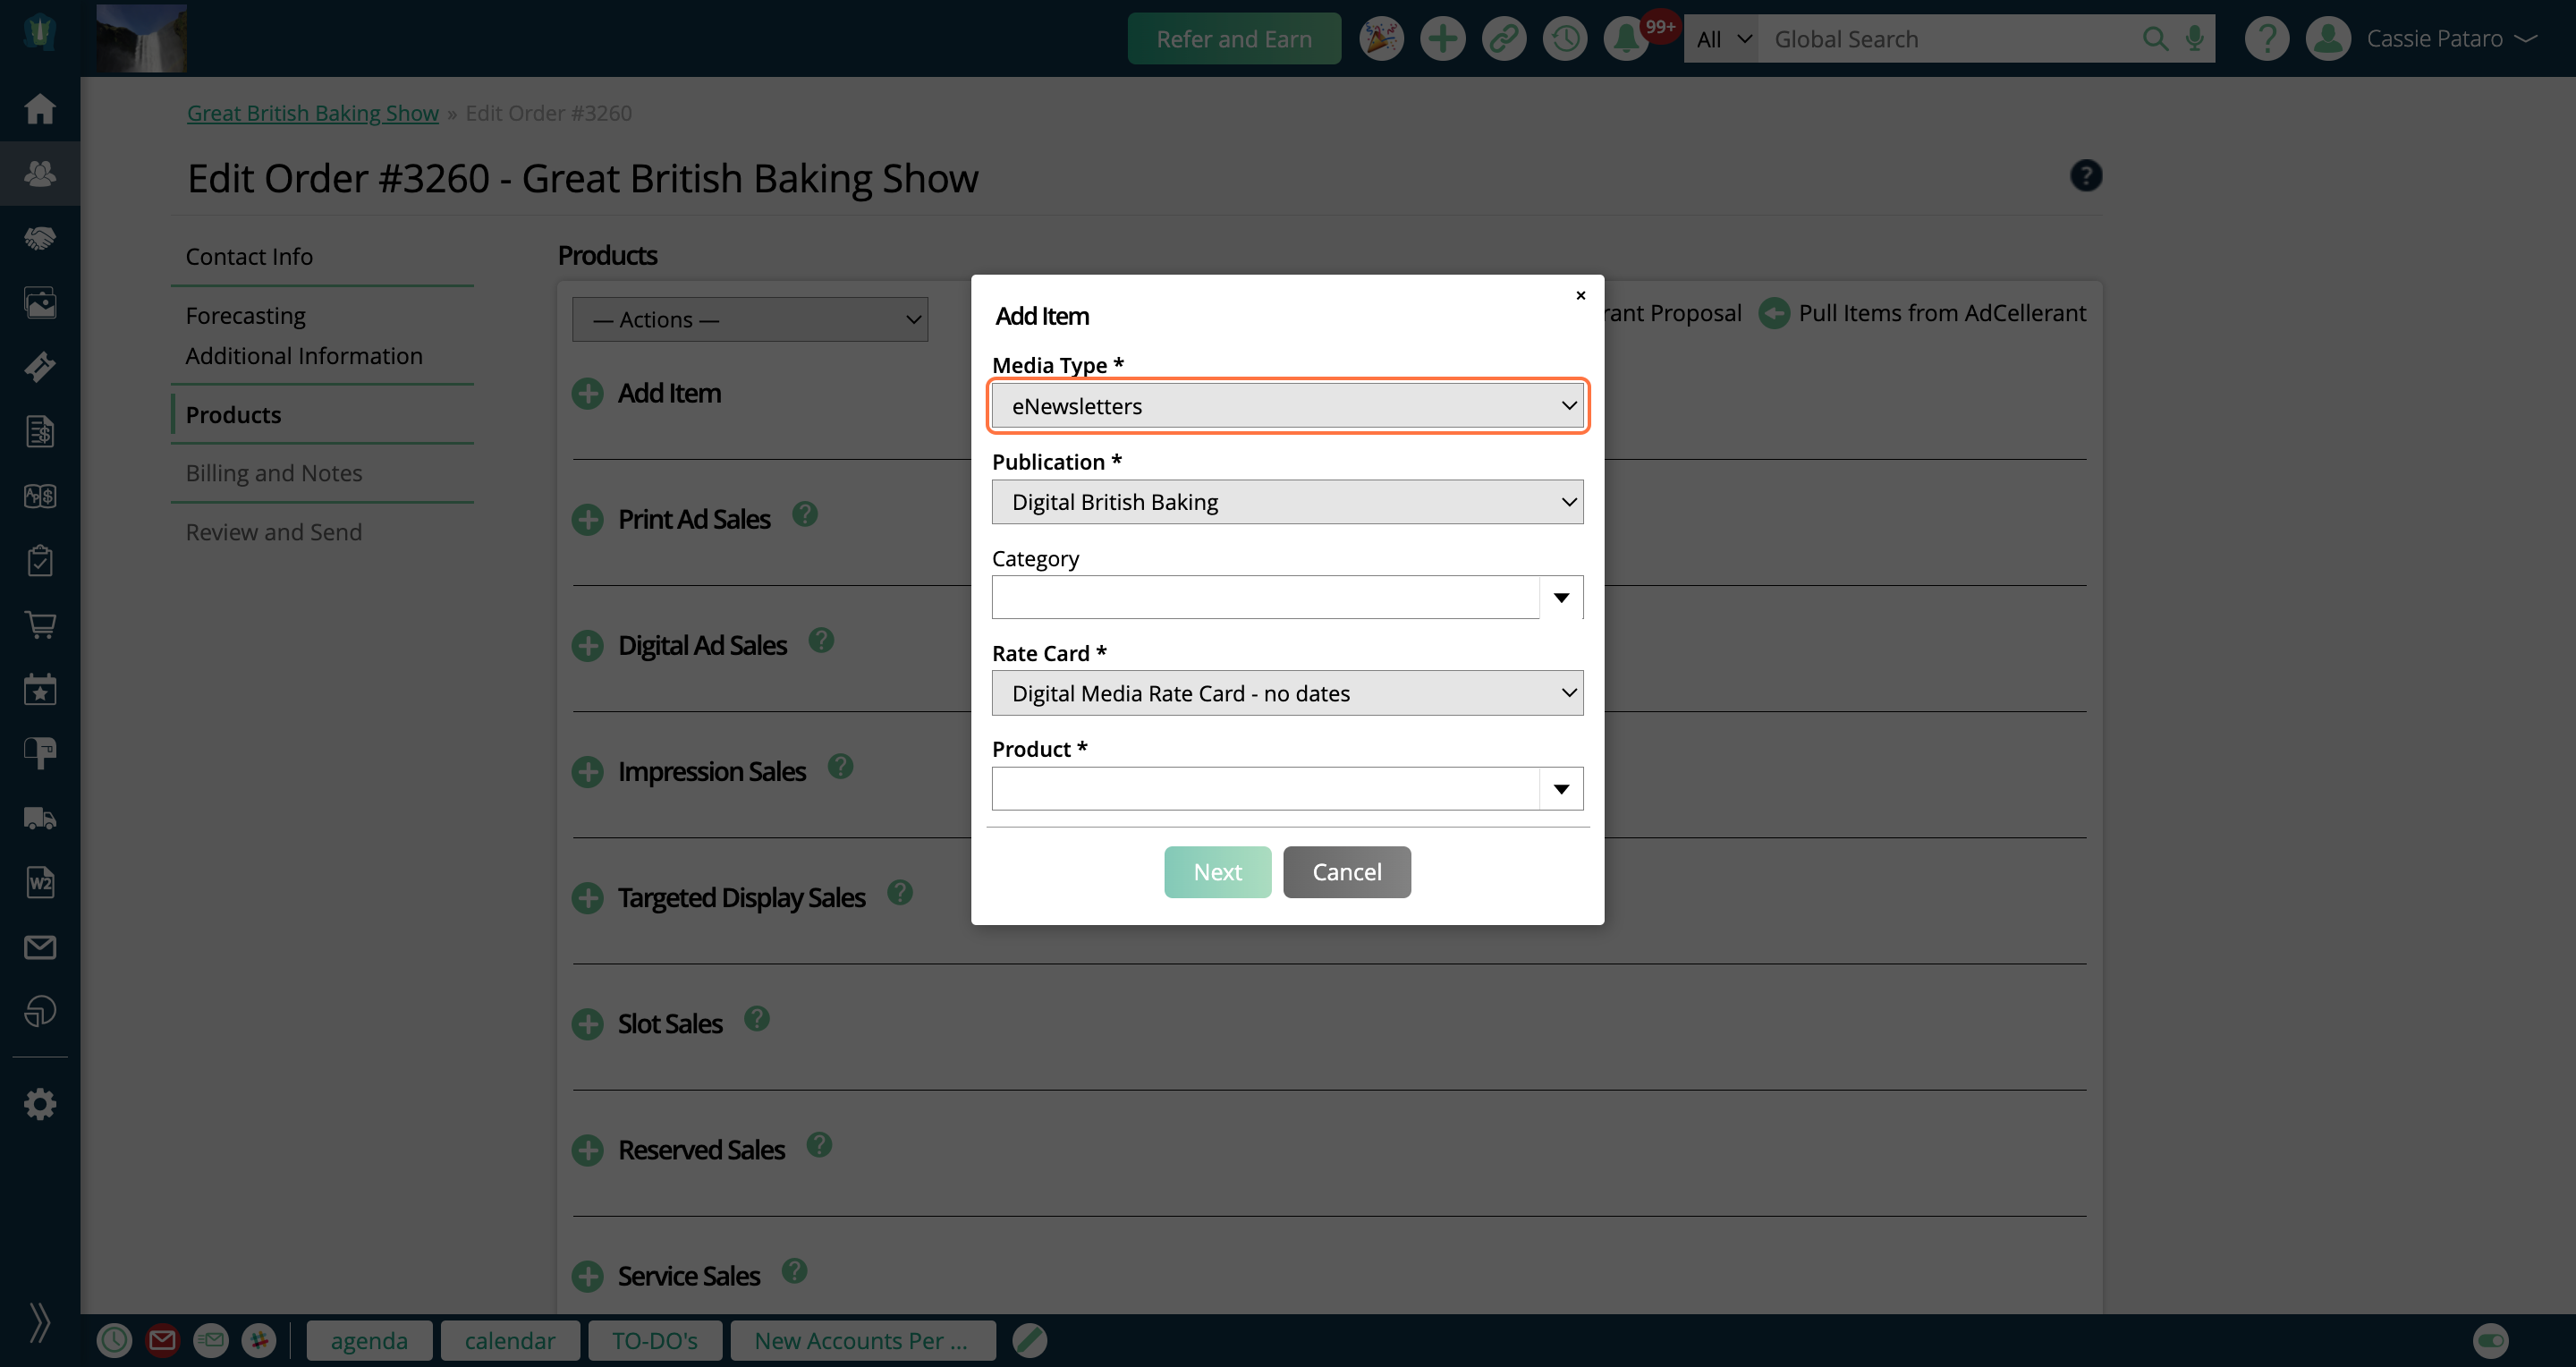
Continuing with our 'eNewsletters' example from earlier, this is what your workflow could look like when adding an 'eNewsletter' item to an order.
In the popup, I've chosen my eNewsletters Media Type, then selected a publication and rate card.
The two Categories that show up are those that I added to my Media Type.
And the Product list includes every product in my system that falls under those two Product Categories, filtered by publication and rate card.
I chose my 'Scheduled Product', and clicked Next.
This brings me to the full add line item form for a 'Reserved Media' product, where I can fill out the rest of the required information.
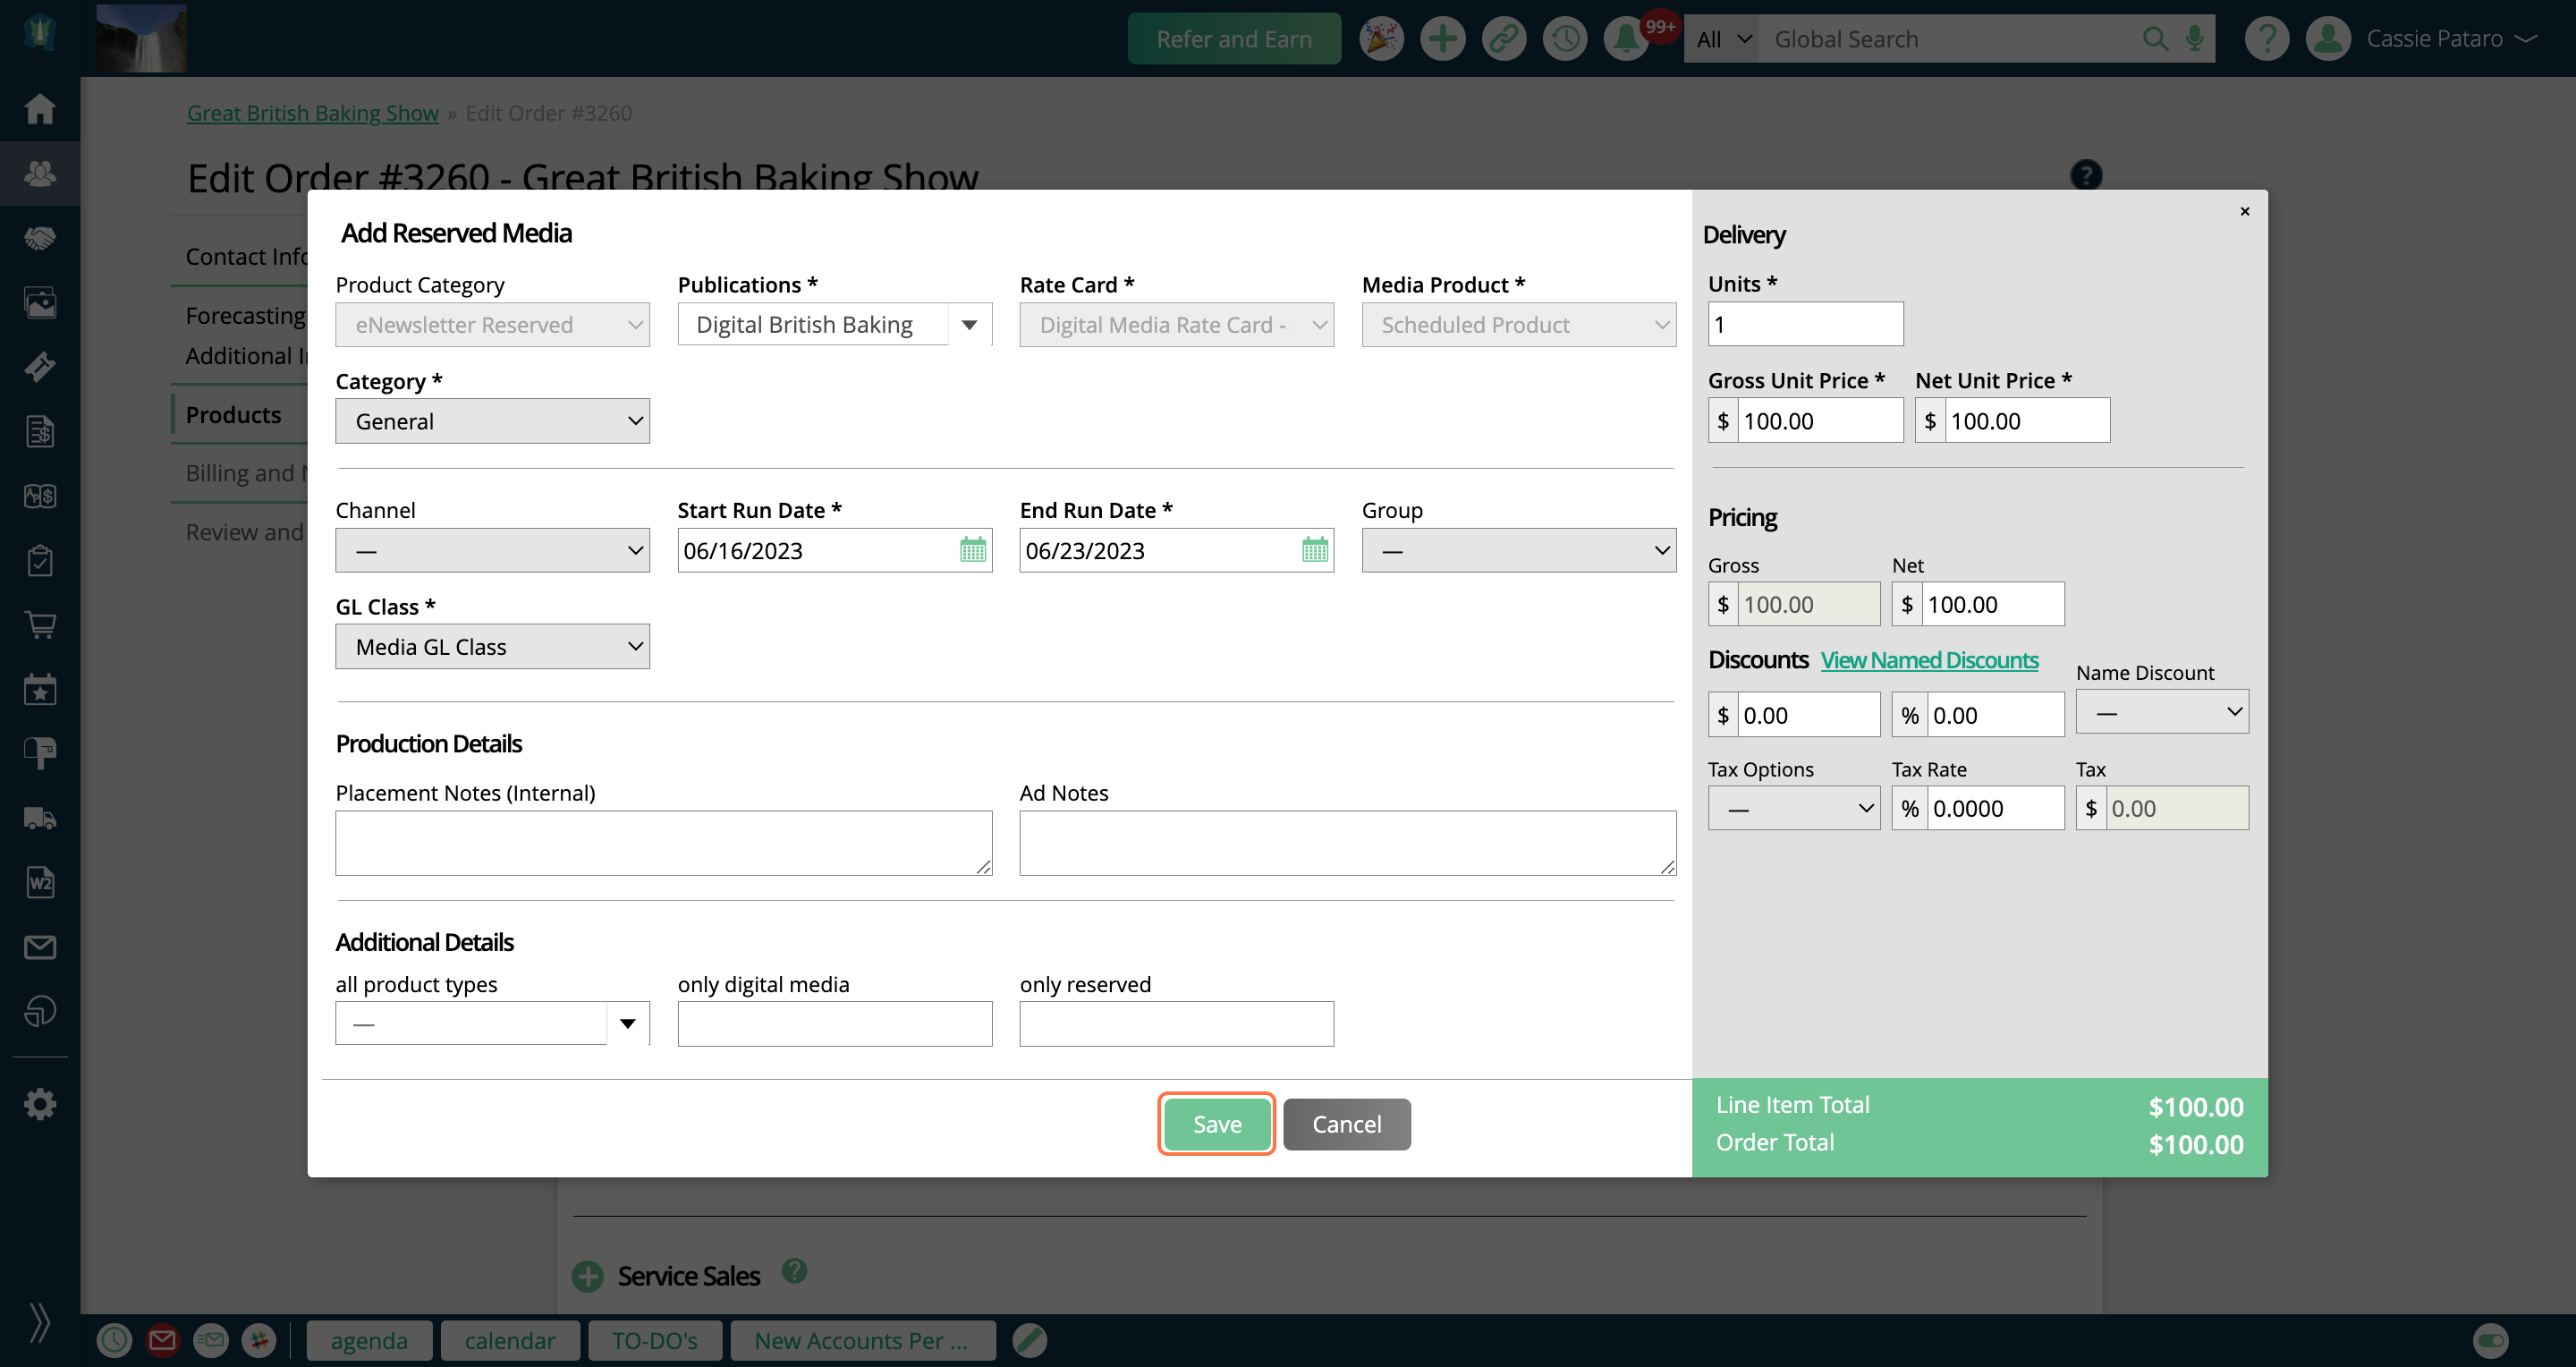
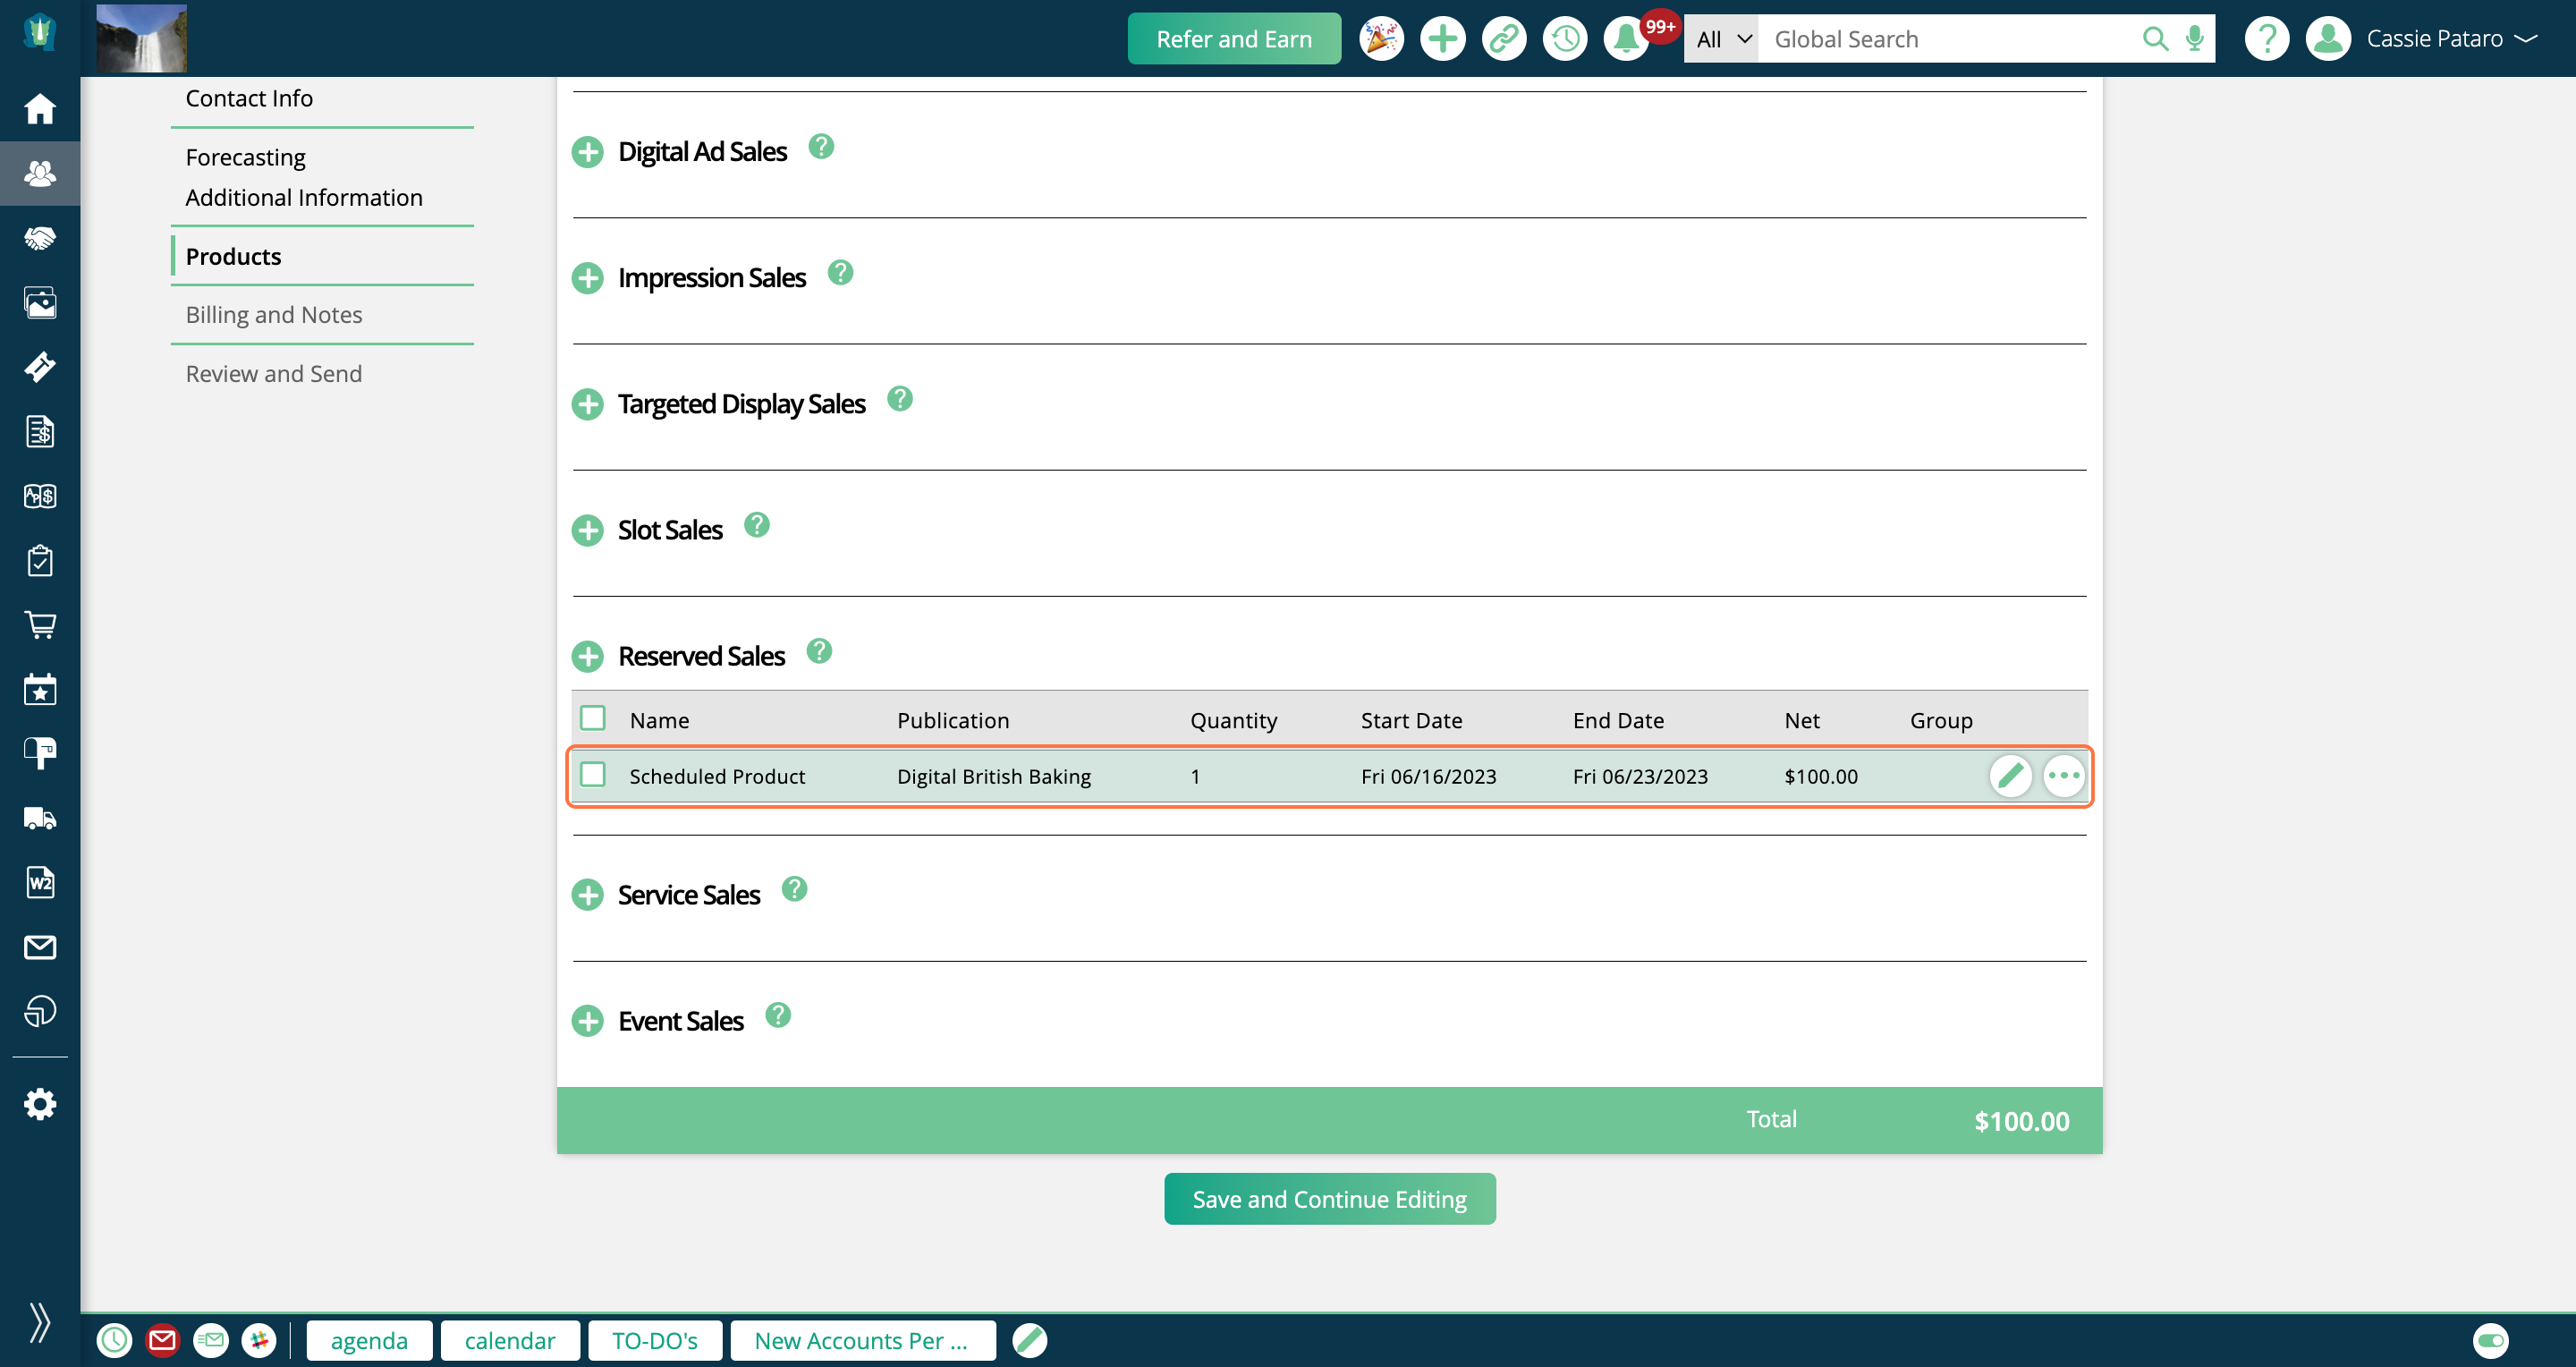
When I click Save in the popup, the item is added to my order, and gets categorized under the 'Reserved Sales', since that is the product I added using my eNewsletter Media Type.
New 6/09/2023