Setting Up User Roles
User Roles are used to manage permissions for groups of users so you don't have to assign permissions one-by-one to individual users. For example, you may want all of your sales reps to have access to the same areas of the site and be able to perform the same actions within the system. By leveraging User Roles, you could create a role of Sales Rep, and assign that role to each sales rep in your system, which will automatically give them all of the permissions of the Sales Rep User Role, without needing to add and edit the permissions on each user's record.
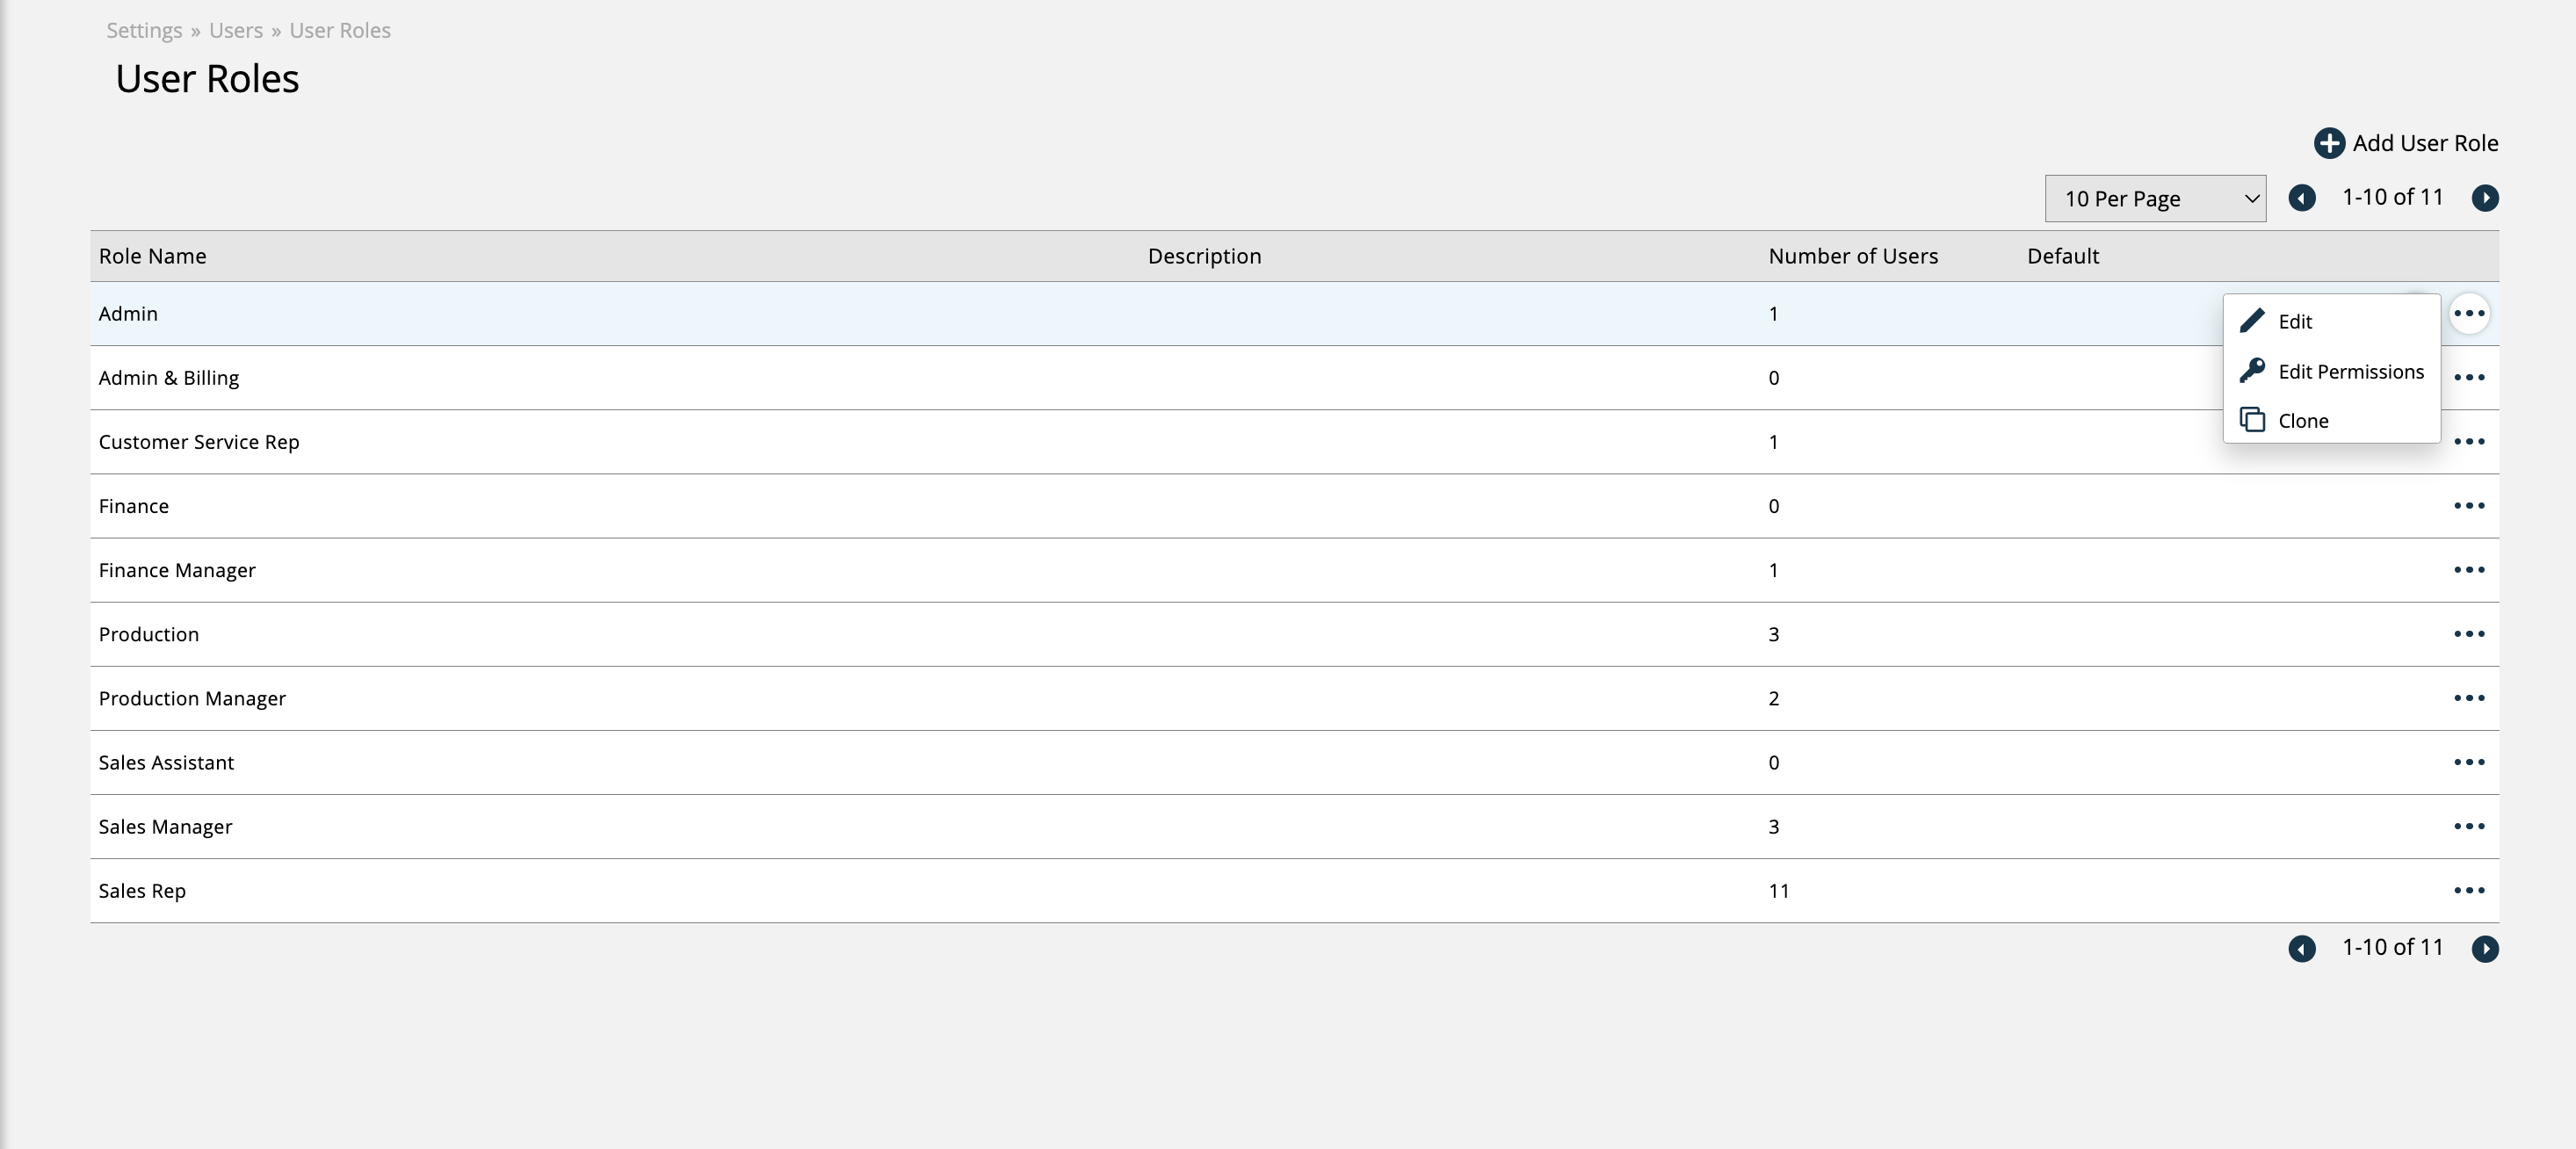
To set up and manage User Roles, navigate to Settings > Users > User Roles. To access this page, you need the User Permission 'User Roles'.
On the User Roles page, you can add new, and edit existing roles. The table shows each role's name, with how many users are assigned to it, as well as if it is a limited access role or not. To add a new role, click 'Add User Role' and enter a name in the popup. To edit the name of existing roles, click the Edit Role icon.

User Roles can also be cloned. Cloning a role will duplicate the role's setup and permissions, but the cloned role will not be automatically applied to any users.
To edit the permissions for each role, click on the ellipsis, then select the Edit Permissions icon. This will bring you to the User Permissions page for that User Role. The permissions page contains all of the same User Permissions that are found on individual user records, such as Administration, Contacts, Reports, Production, etc. Pick and choose the permissions you would like each user with that role to have, and make sure to click Save when you are finished.
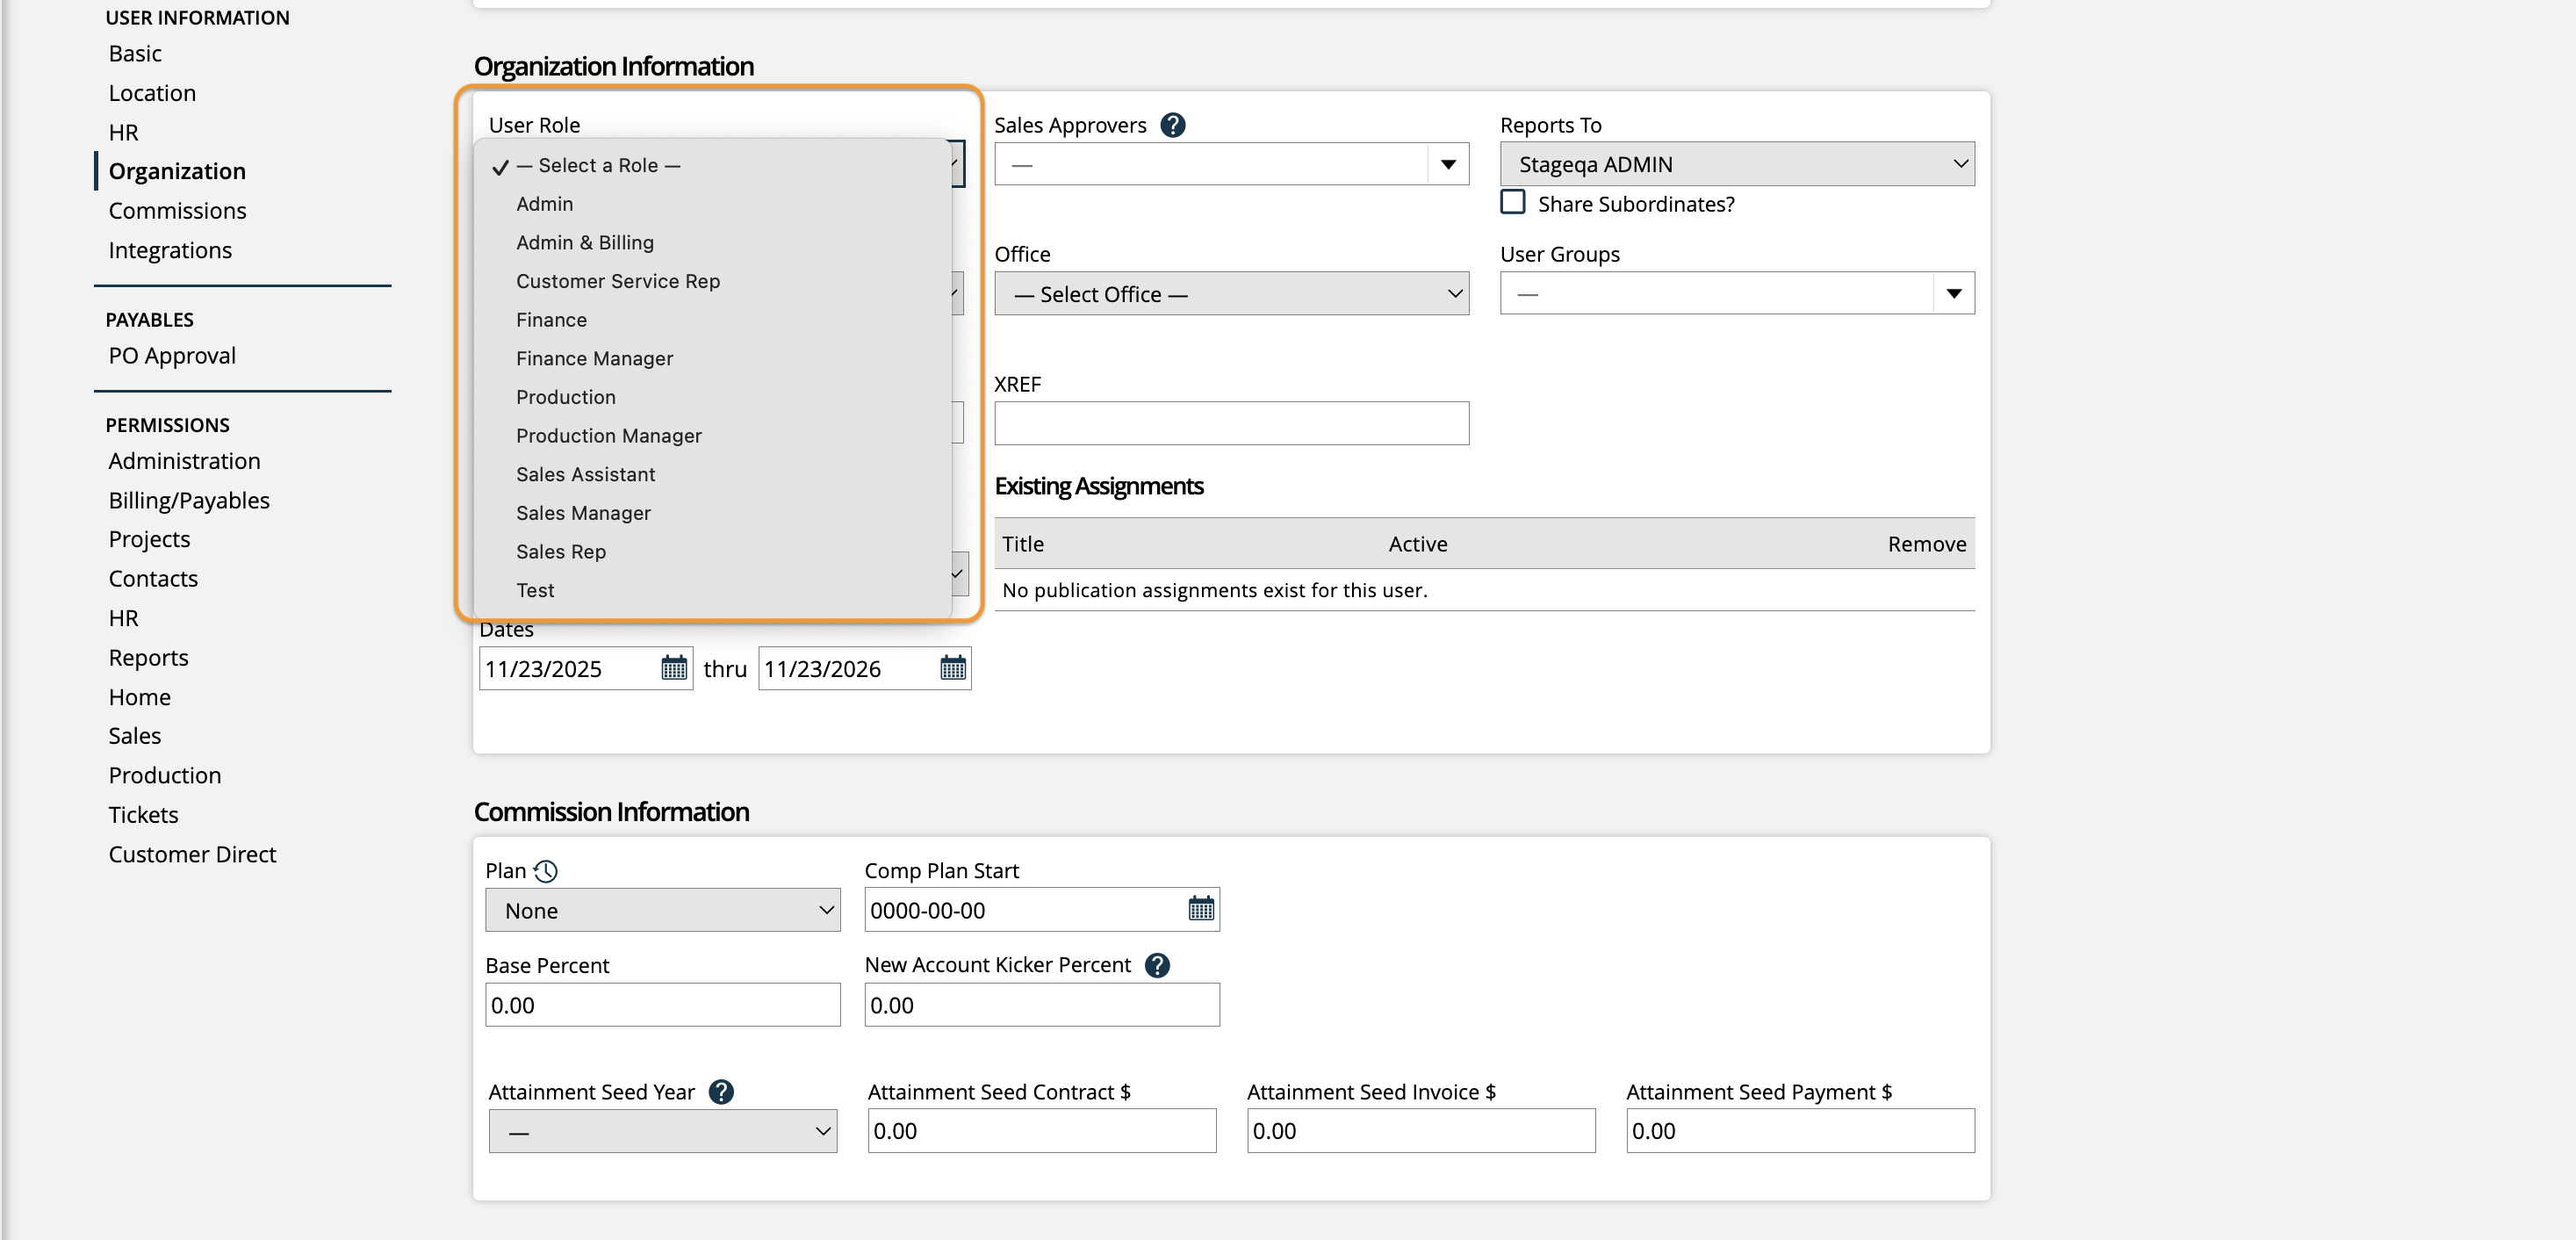
Once your User Role is set up, when adding or editing a user, you can assign the user that role. On the user edit page, under the Organization section, you will see the User Role field, where you can select from the roles you have created. Once you choose a User Role, and click Save, that user will have the role's permissions.
Important
When you assign a User Role to a user, it will override any of the user's existing permissions. Additionally, if you edit a User Role's permissions, it will update the permissions of any user with that role.

There is also the ability to create Limited Access User Roles. Limited Access users only have access to specific parts of the site, and therefore have fewer permission options than a full access user. If you do not have Limited Access Users enabled, contact your support representative.
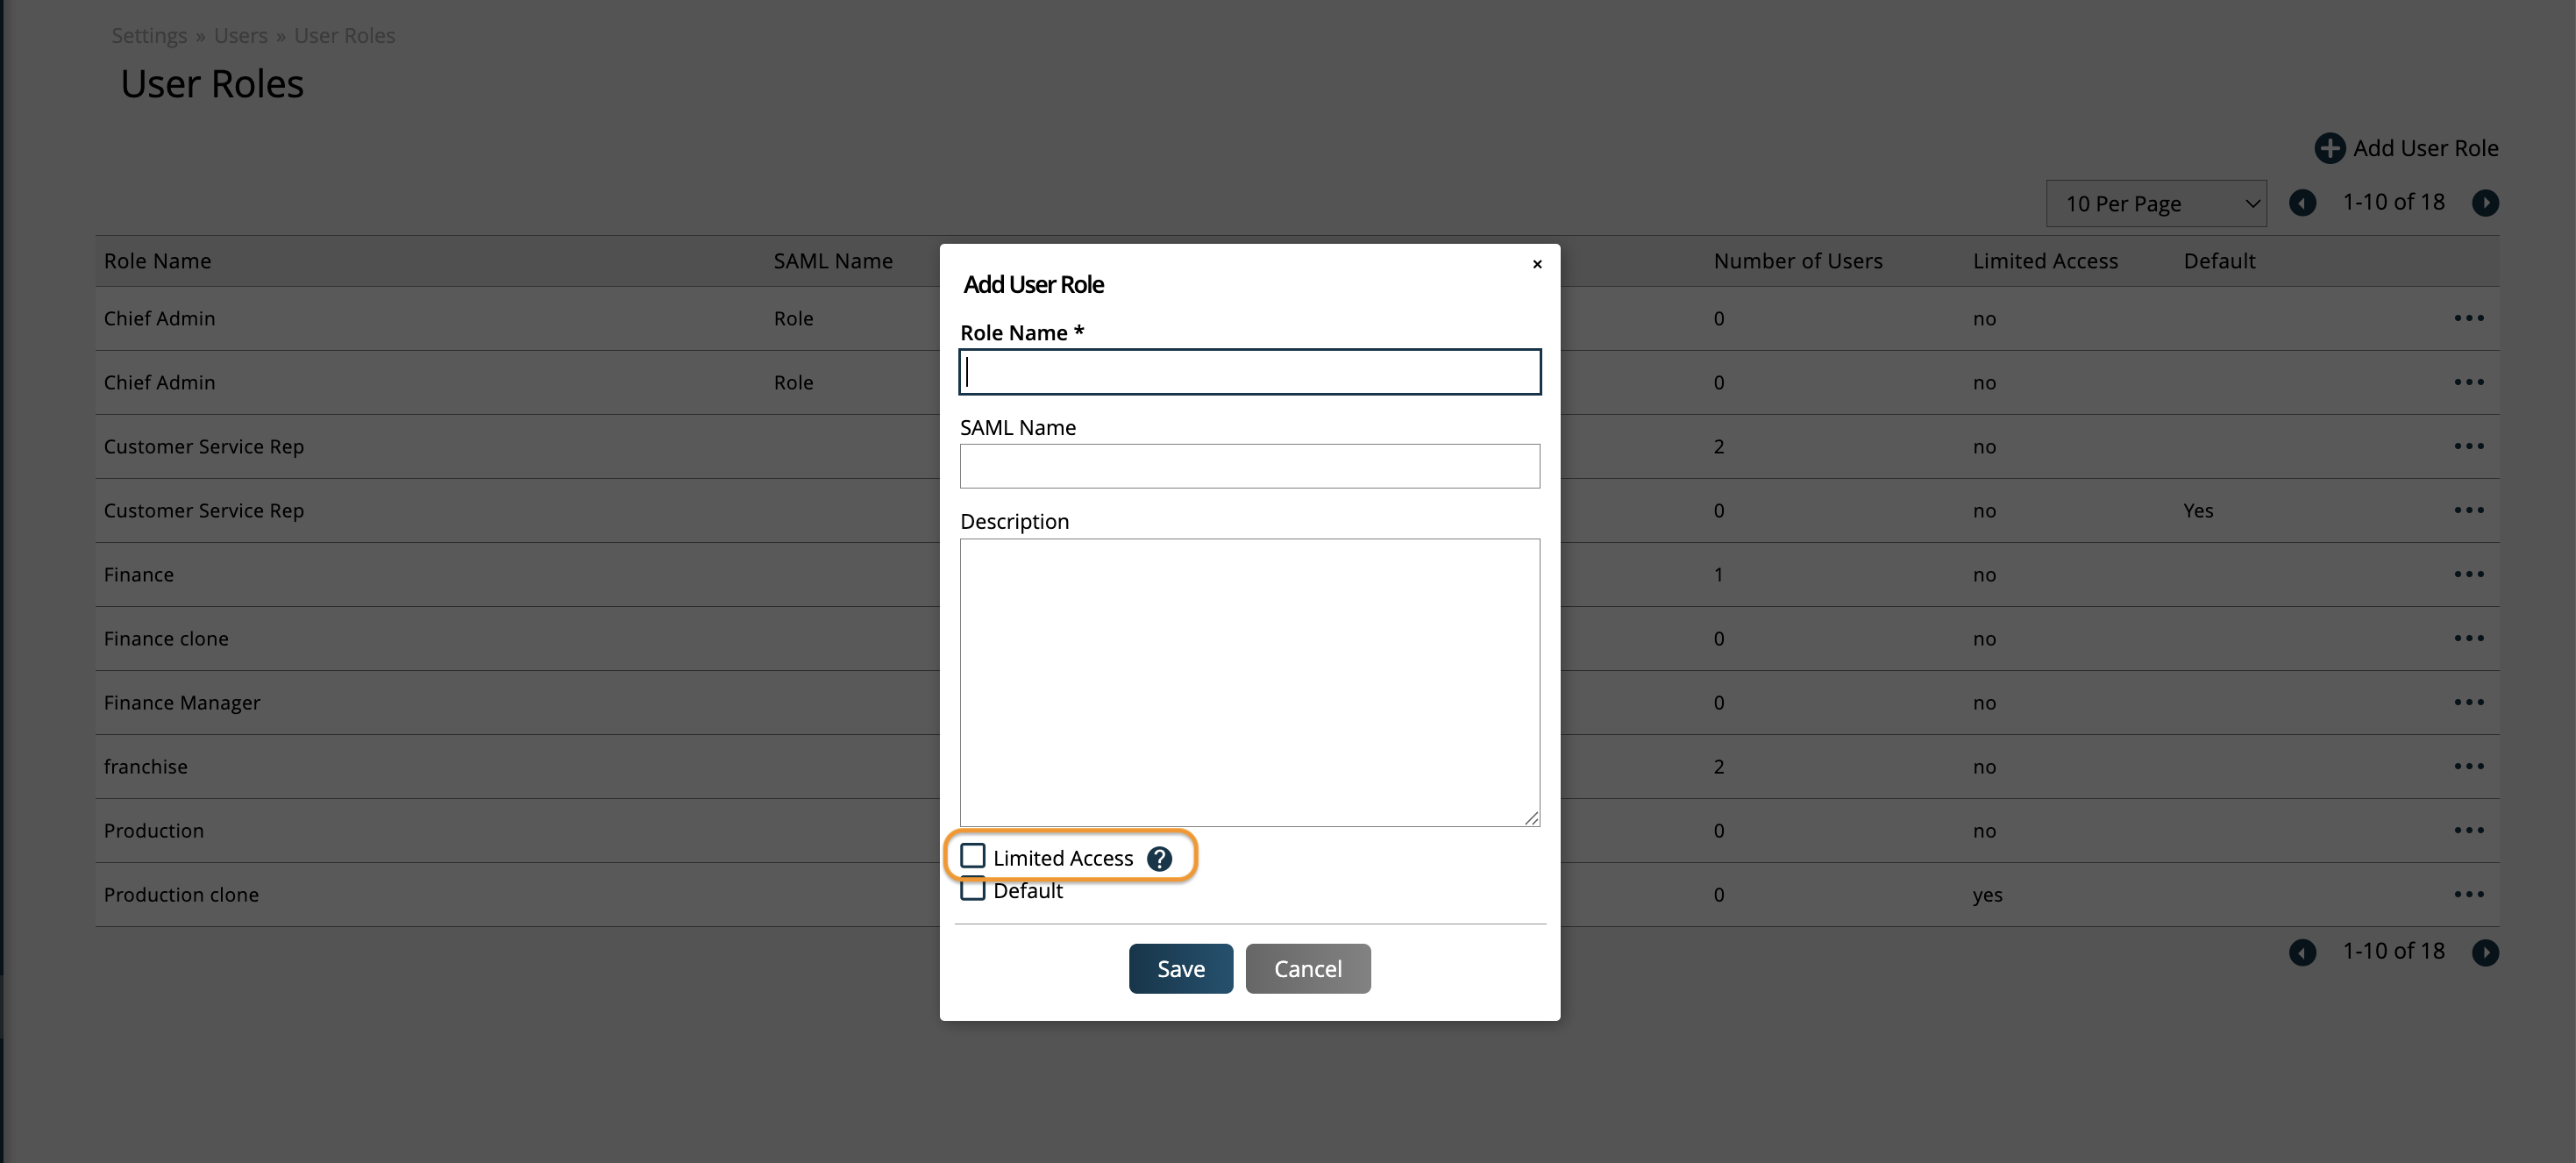
To create a Limited Access User Role, navigate to the User Roles page. You can set a User Role as limited access if the role is either new, or no users have been assigned to the role yet. Either create a new role, or edit an existing one without any users, and check the Limited Access box in the popup.

When you edit the Limited Access User Role's permissions, you will see fewer available options than full access users. Pick and choose the permissions you would like this user role to have, and make sure to click Save.
Once the Limited Access role is configured, you can assign users that role. On the user add/edit page, under the Organization section there is the User Role field. Underneath the User Role dropdown, check the Limited Access box. When the Limited Access box is selected, only User Roles that are limited access will show up as options in the User Role field. Select the role you want, and click Save. The user will then have the permissions given to that Limited Access User Role.

Updated 11/23/2025