Entering and Submitting Time Sheets
In order to use the system’s timesheets, you must have the User Permission ‘HR Access’. There are a handful of sub-permissions under ‘HR Access’ which determine your other timesheet permissions, including the ability to edit or view other users’ timesheets, and approving or rejecting submitted timesheets.
To add time to a timesheet, navigate to HR > Timesheets.
If you have the permission to view or edit other users’ timesheets, you will see a drop-down where you can choose the user and the default week to view.
Whether you have access to other users’ timesheets or not, the timesheet will by default be the current week. You can, however, change the dates to add hours to a different week by using the calendar icon.
To record hours, you will first need to add a task, which can be done a couple of different ways.
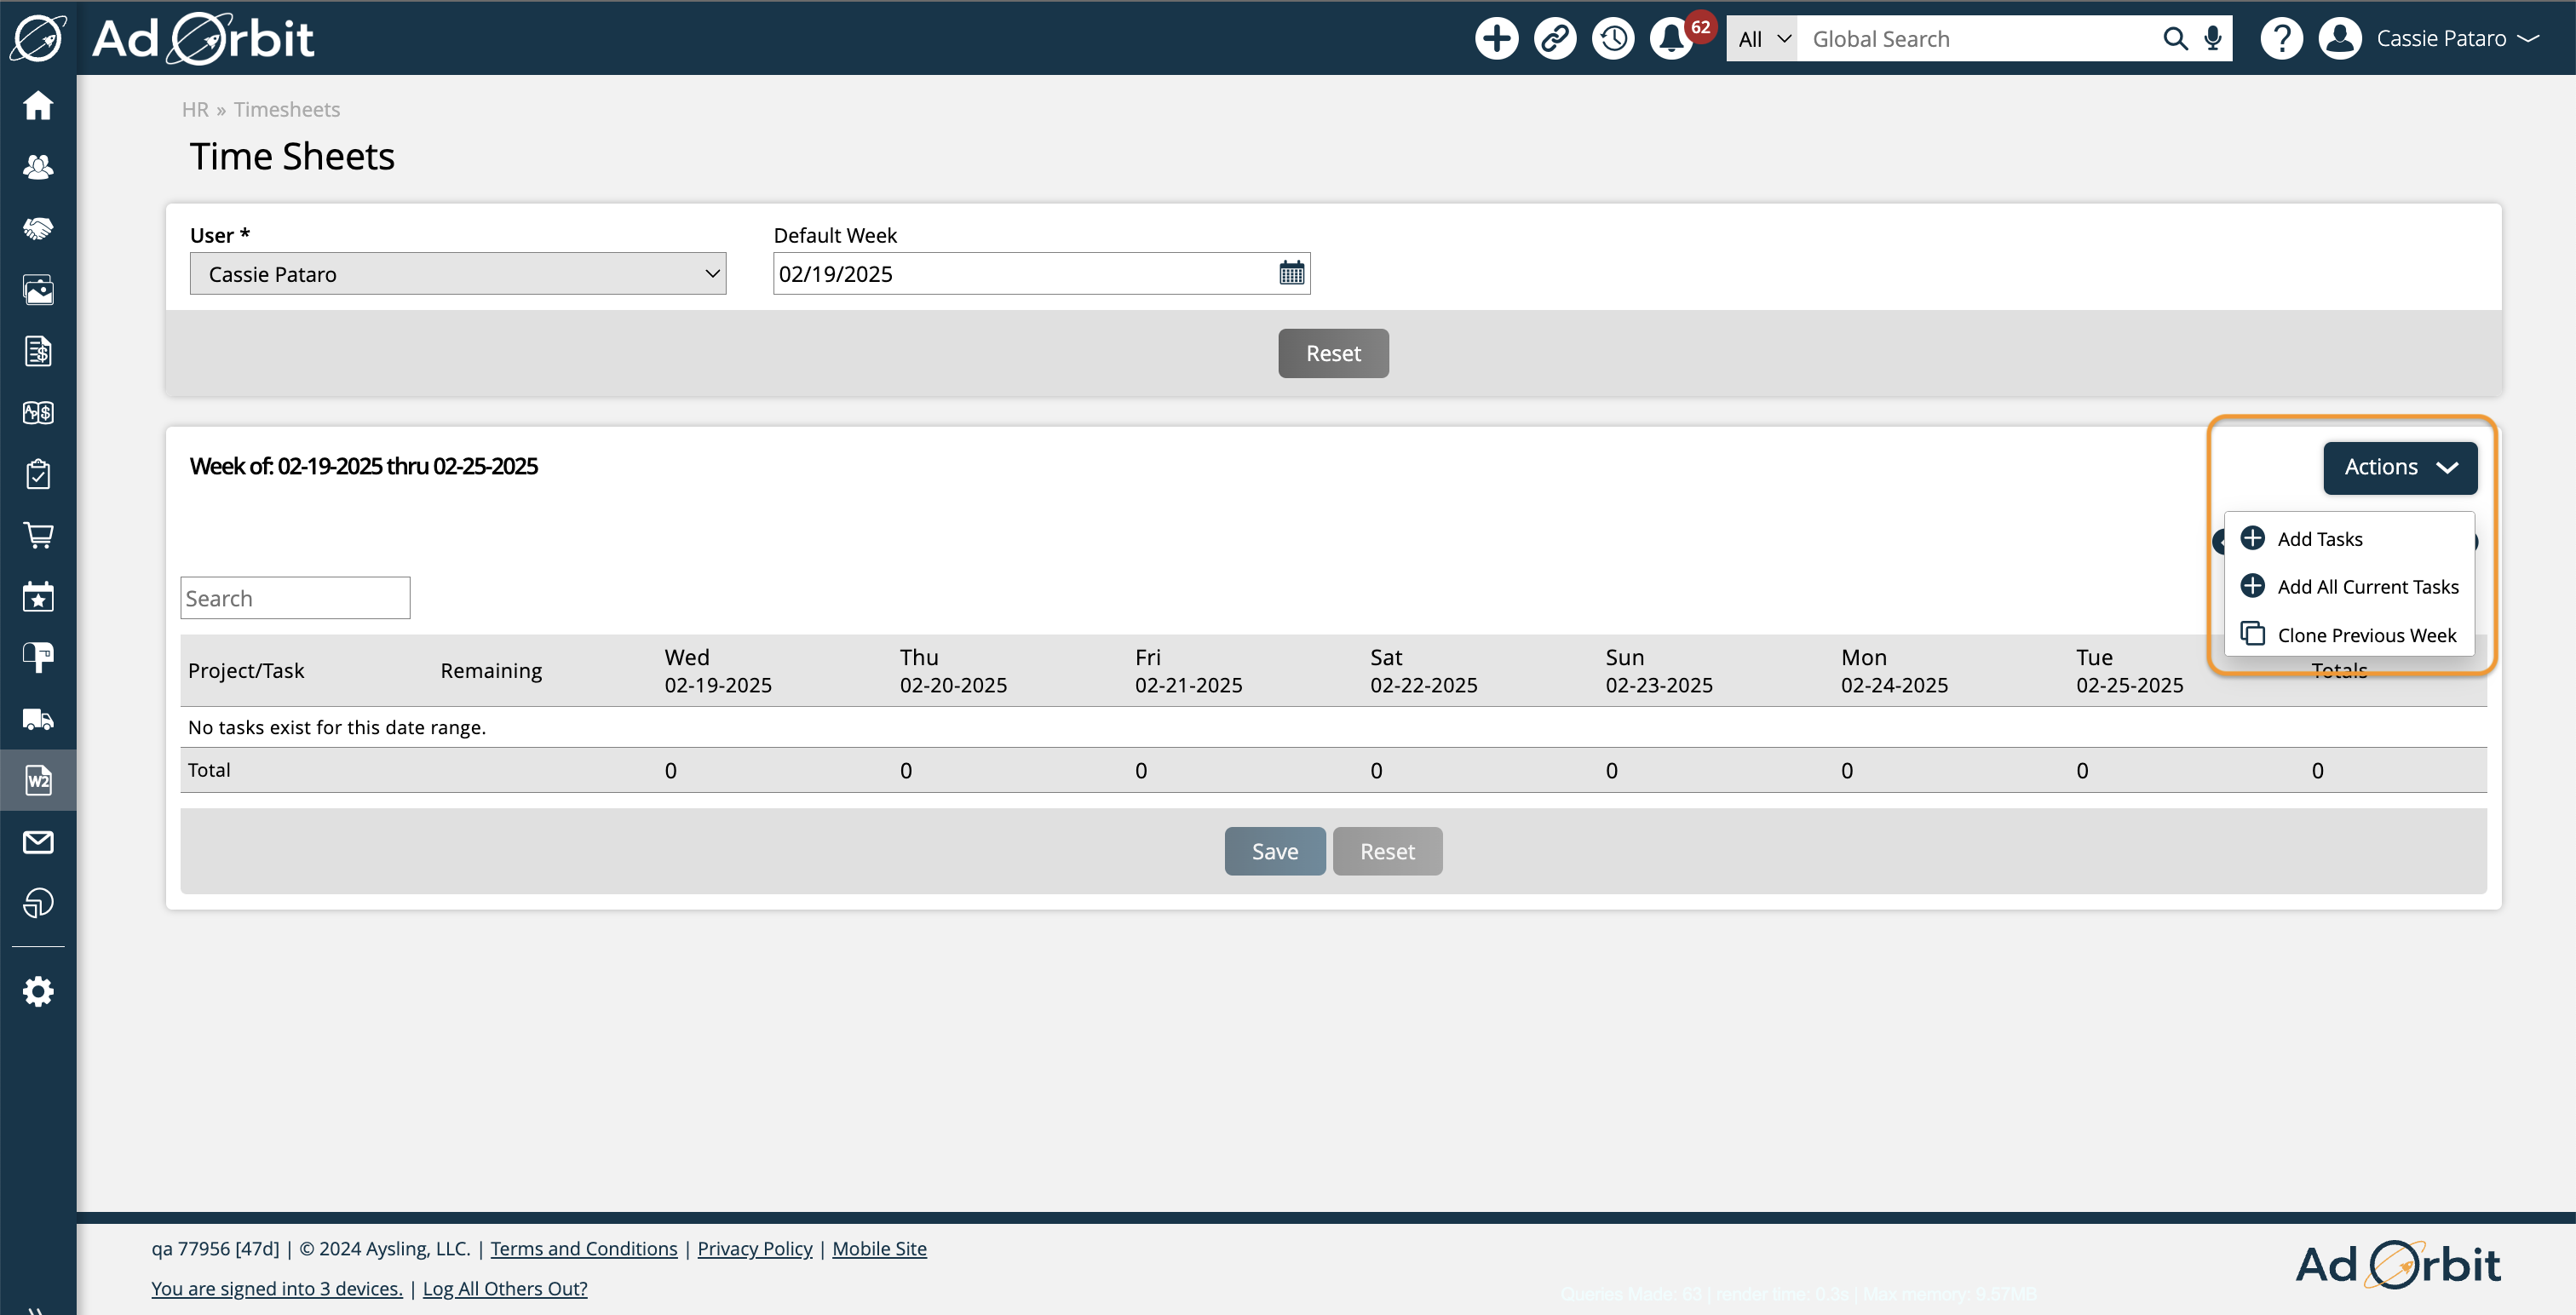
Add Tasks: To find tasks for a specific project, choose this option under the Actions dropdown. In the pop-up, you will first need to choose a project. Once a project has been selected, you can use the task multi-select to choose one or multiple tasks from that project to add to your timesheet. This option is helpful for finding specific projects or tasks to add.
Add All Current Tasks: Use this option under the Actions dropdown to bulk add all, or many, of your tasks. In the pop-up, there will be a multi-select drop down which displays every current task you are a participant in, listed by the project name, followed by the task name so you know which project the task belongs to. You can easily unselect any tasks you do not want to add, but the intention for this option is that it is a bulk action.
Clone Previous Week: You can transfer all of your projects and tasks from a previous timesheet to your current timesheet by using this option. The pop-up will display a list of previous timesheets to choose from, and all projects and tasks from that timesheet that can be cloned. You have the option of unselecting specific projects or tasks that you do not want transferred over. Click Clone to generate the tasks for your current timesheet.
Using the Project Timer: There is always the option of adding tasks, or hours to tasks to your timesheet by using the Project Timer, which is found on your dock and can be used anywhere in the site. Any hours recorded on the timer will be added to your timesheet, without needing to navigate to the Timesheets page. For more information about how to use the timer, click here.
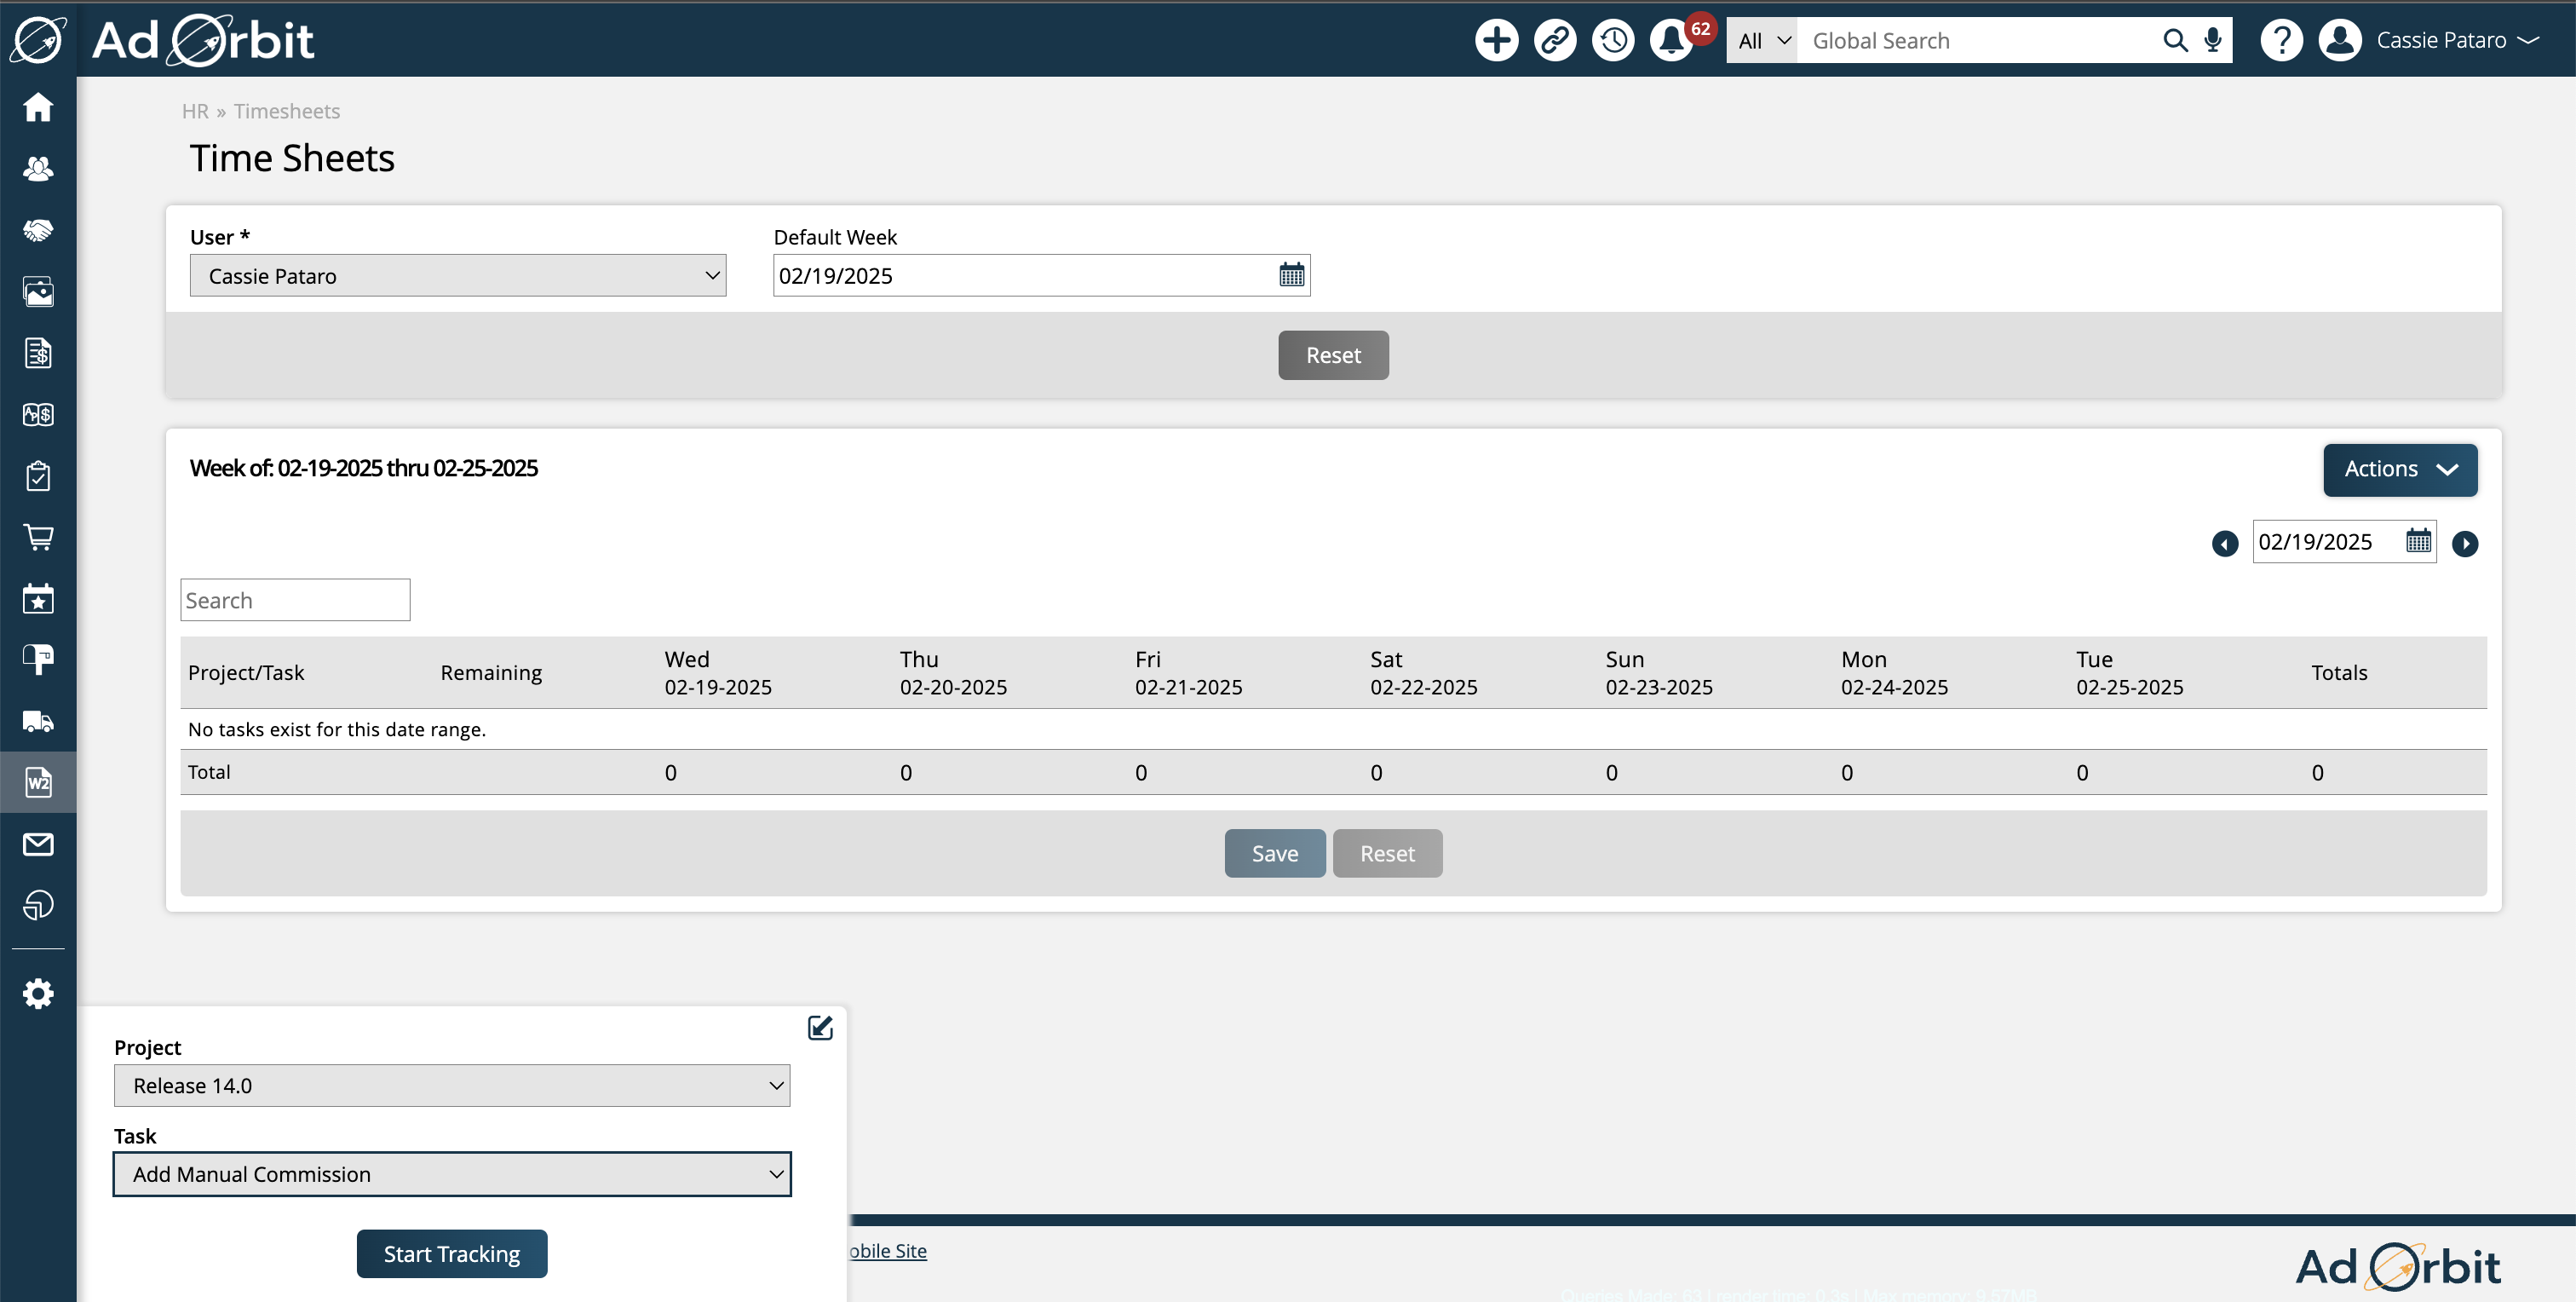
Once a task is visible on your timesheet, you can begin adding hours to it. You can enter ¼ hour increments or even decimals to record time. Make sure to click save when you are done adding your hours. If timesheet notes are required in your system configurations, you will be required to enter a note when adding hours. Otherwise, the notes field will be optional.
Note
You cannot enter more than 24 hours for a specific workday. If the total hours add up to more than 24, you will be prompted to adjust the records.
Important
Only projects and tasks in which you are a participant will show up as available for you to add to your timesheet.
Once you have some tasks added to your timesheet, you can start taking advantage of the various timesheet actions
Each project, task, and sub-task name is a quick link, which will bring you directly to the corresponding project, task, or sub-task in the site.
There are arrows on the left of projects and tasks that have sub-tasks, which allow you to either display or collapse any of its sub-information (all tasks and sub-tasks when collapsing a project, and all sub-tasks when collapsing a task).
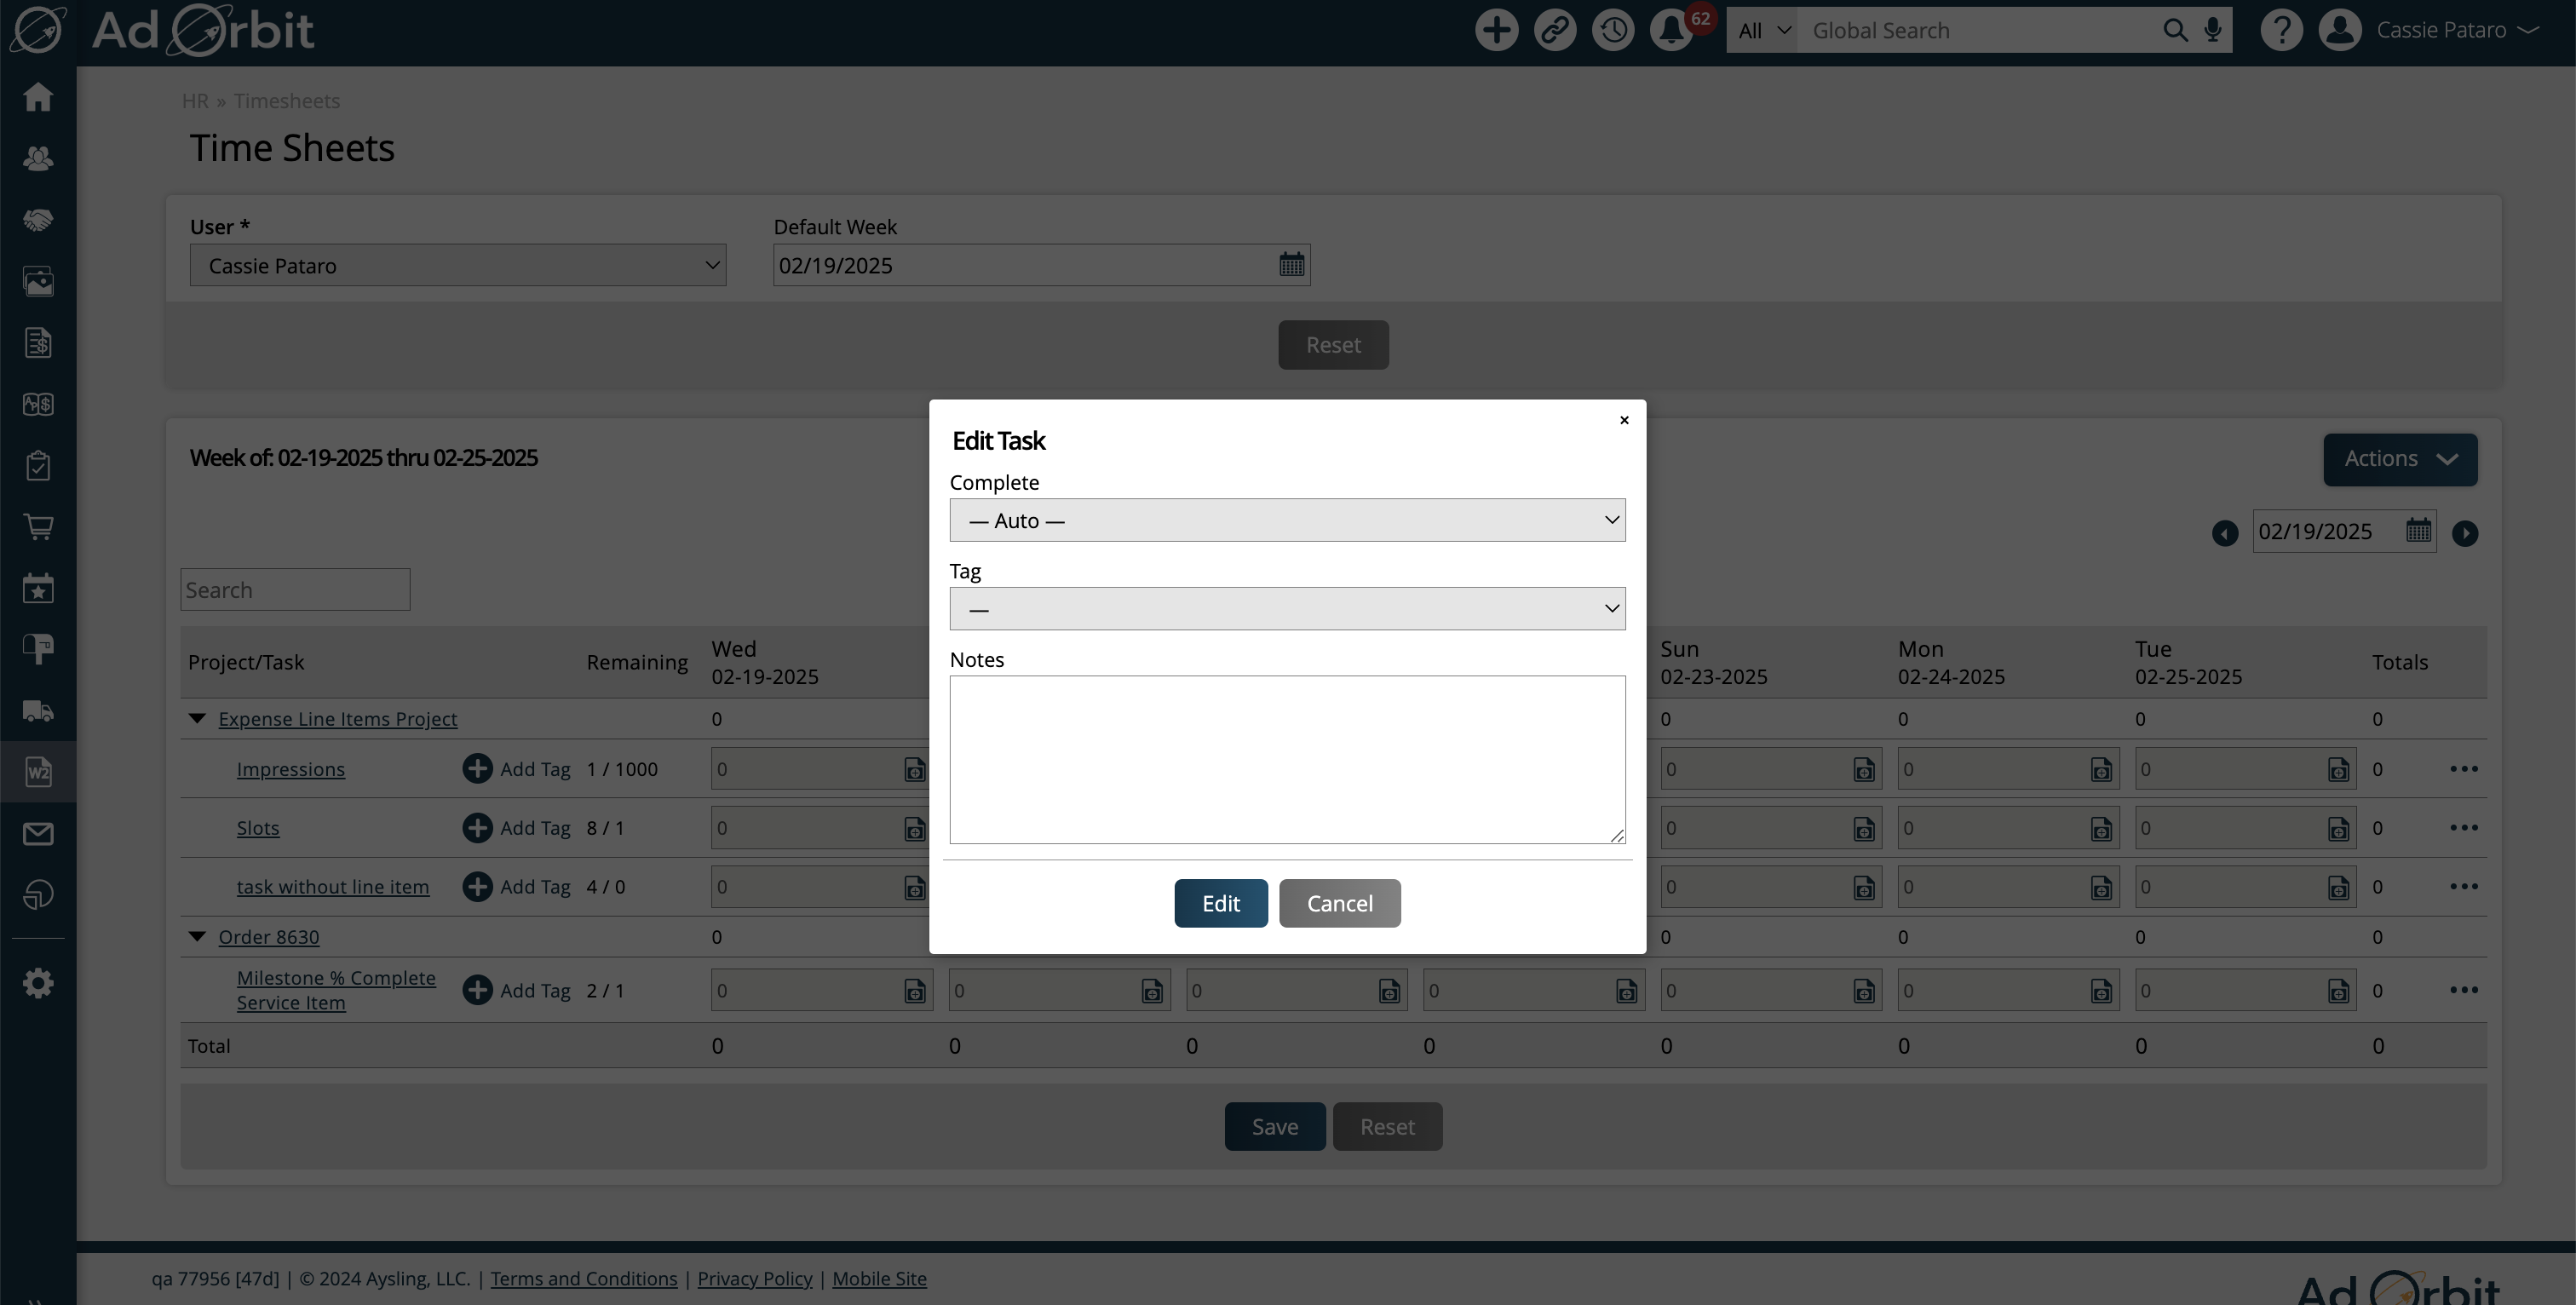
Use the ellipsis actions on the right side of a task to edit the task or remove it from your timesheet. The Edit Task pop-up allows you to change the task’s complete percentage or add a note, which will display under the task’s name.
Tip
You can also add notes for a task for a specific day by clicking that day’s note icon. Depending on your system configurations, notes may be required before you can submit your timesheet.
If you have many tasks on your timesheet, you can use the search bar found on the top left of the timesheet to find specific tasks or projects, and quickly enter your hours for that item.
Timesheet Tags
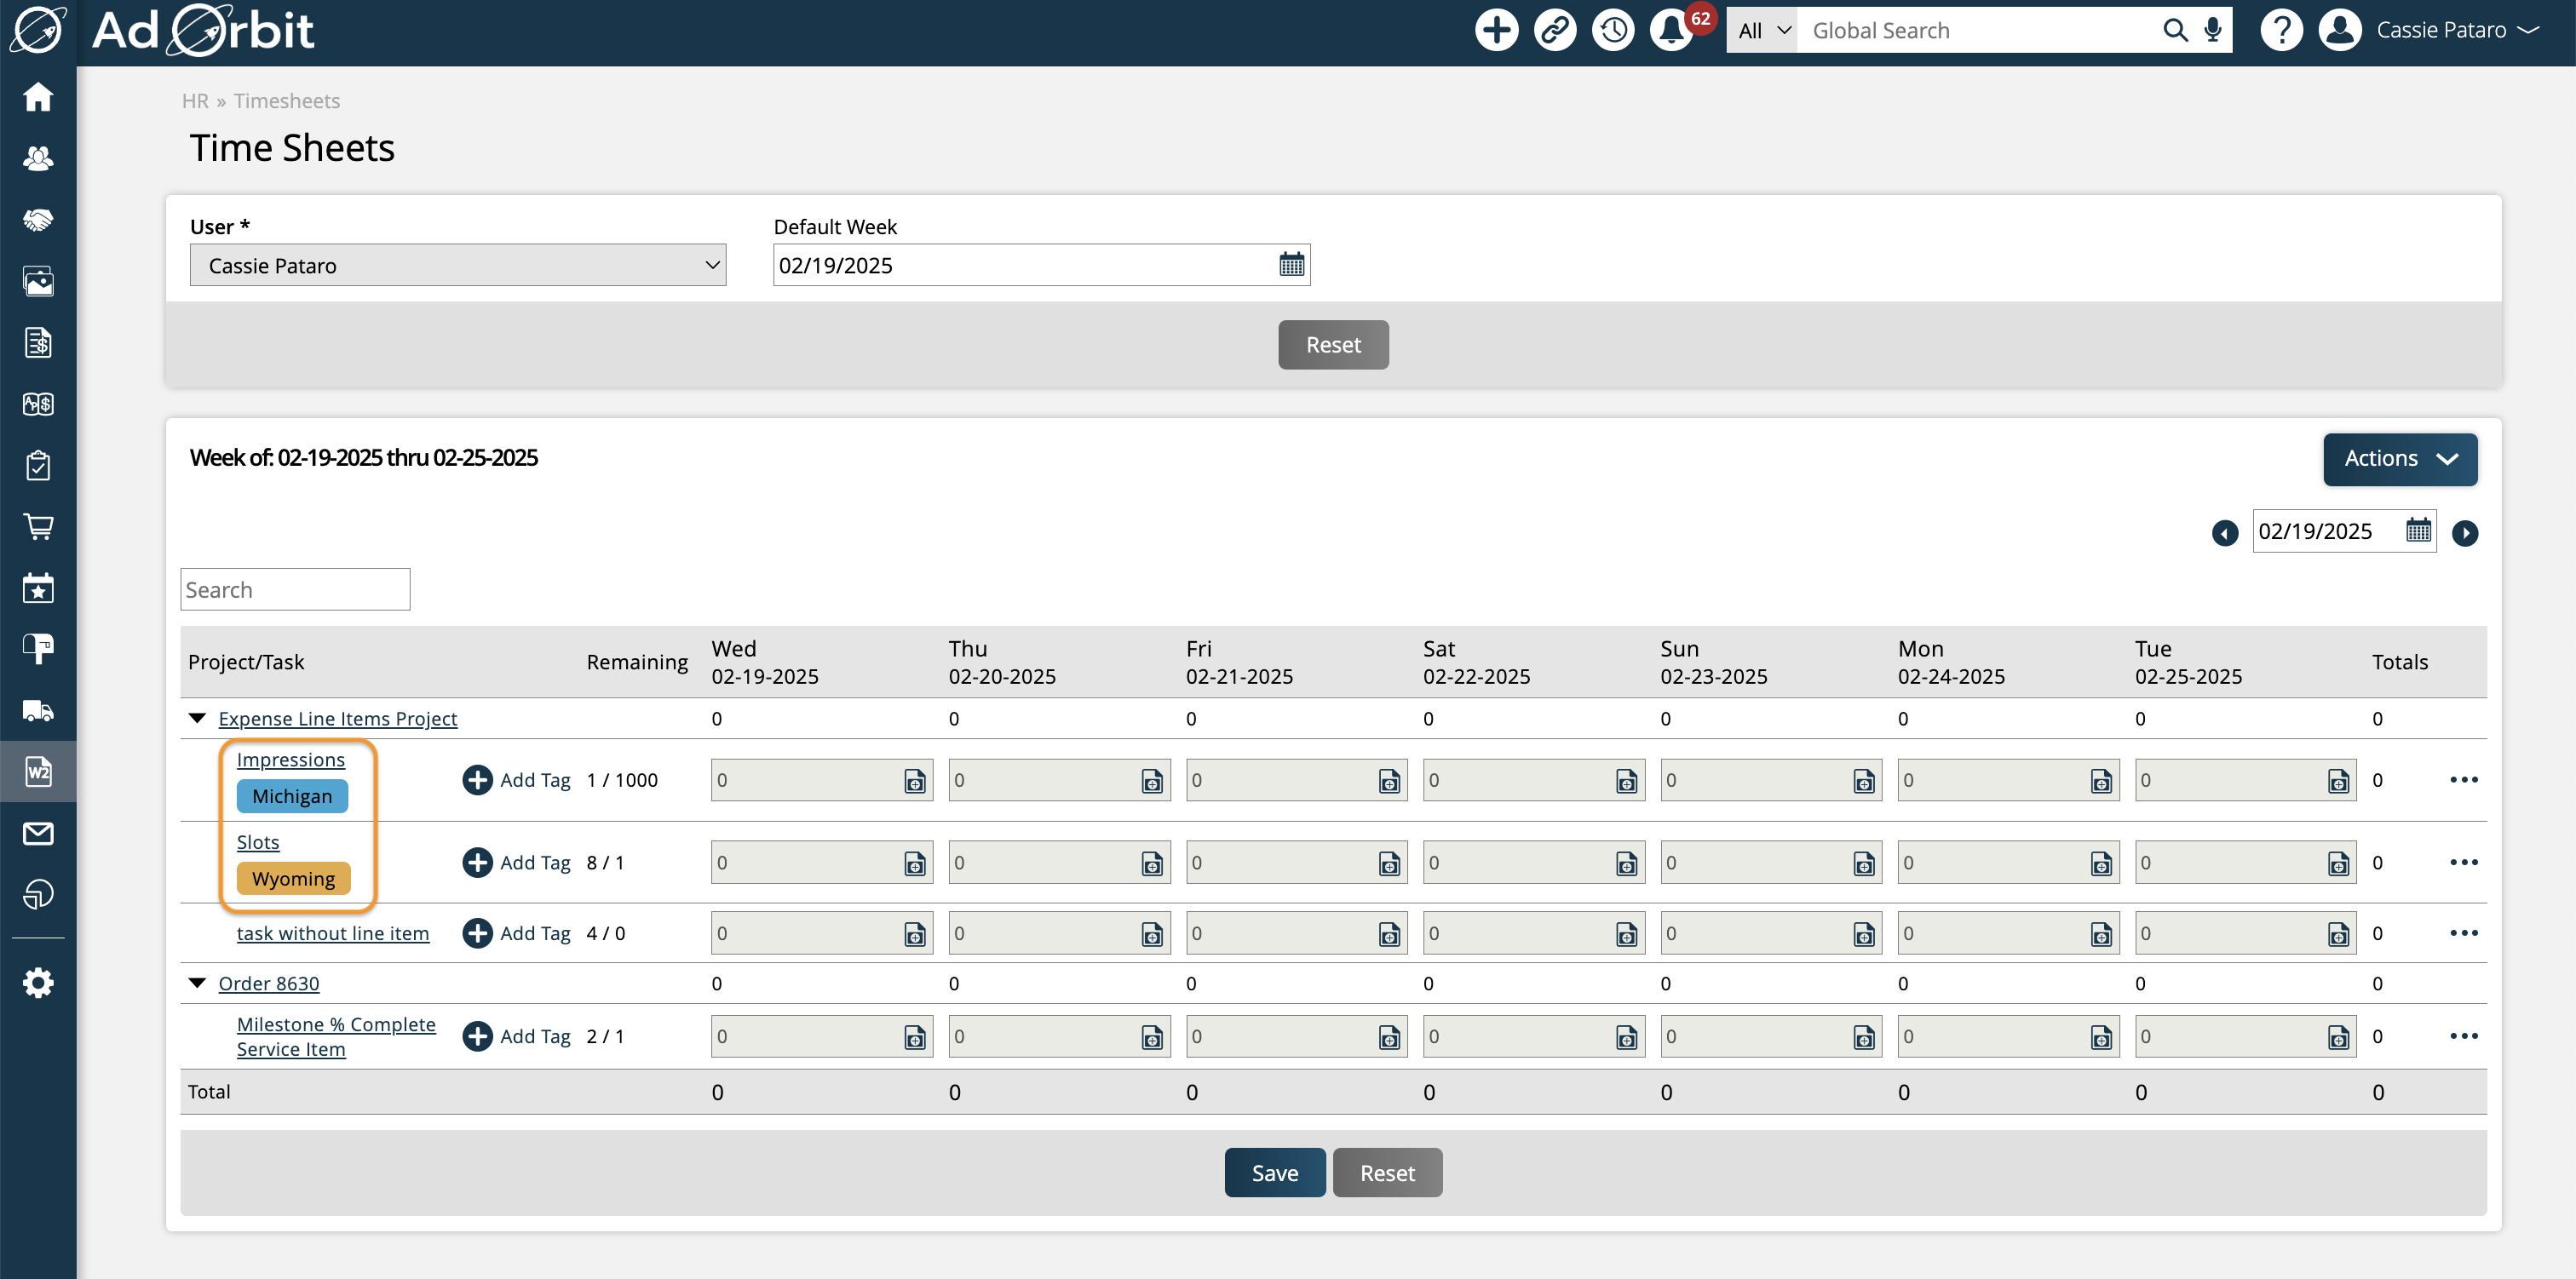
If your team utilizes timesheet tags, they can be added when adding tasks by project, or when editing a specific task. Use the Tag dropdown to choose how to tag your task. Any tag will display underneath the task name, and the tag can be edited or removed by editing the task. To learn more about timesheet tags, click here.
At the end of the workweek, you can submit your timesheet to your manager or supervisor by clicking on the 'Submit this week's timesheet for approval' action.
In the popup, you’ll see some basic information about each day on the timesheet you’re submitting. By default, each day will be checked off, meaning each day will be submitted for approval. If you want to only submit some of the days and not others, you can uncheck the box for that day.
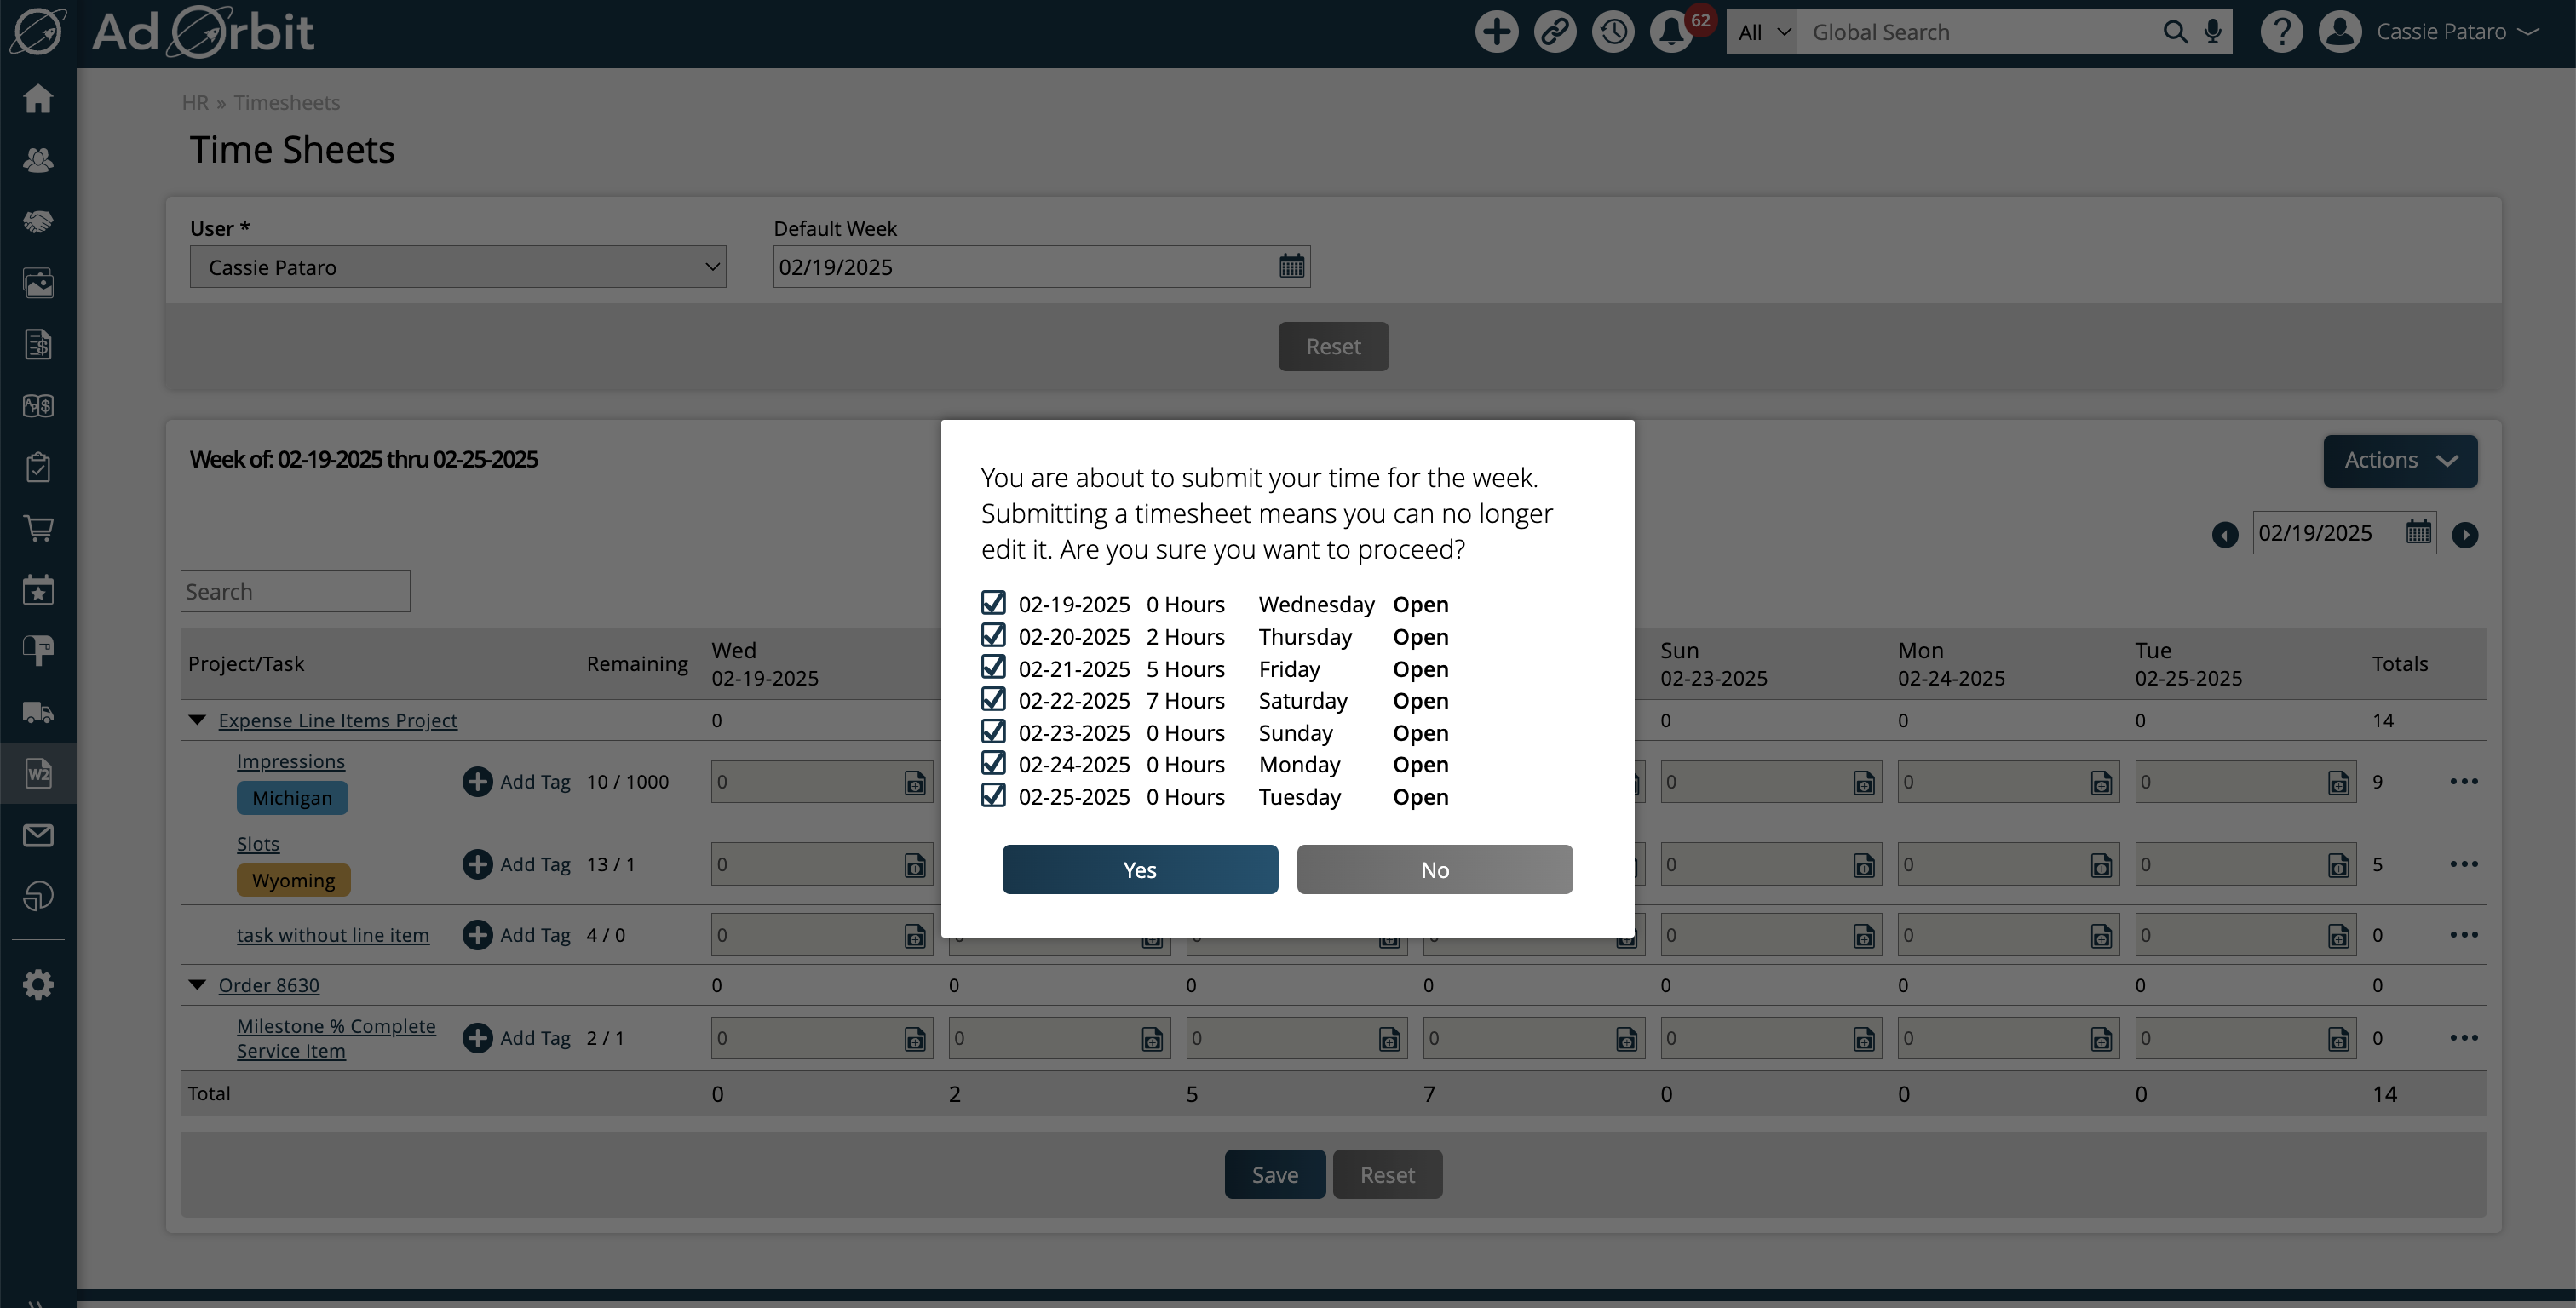
Once your timesheet is submitted, you can no longer edit the entries.
Each day on the timesheet will show its status, unless it is ‘Open’, meaning it hasn’t been submitted yet. Otherwise, you may see the statuses Submitted, Approved, or Rejected.
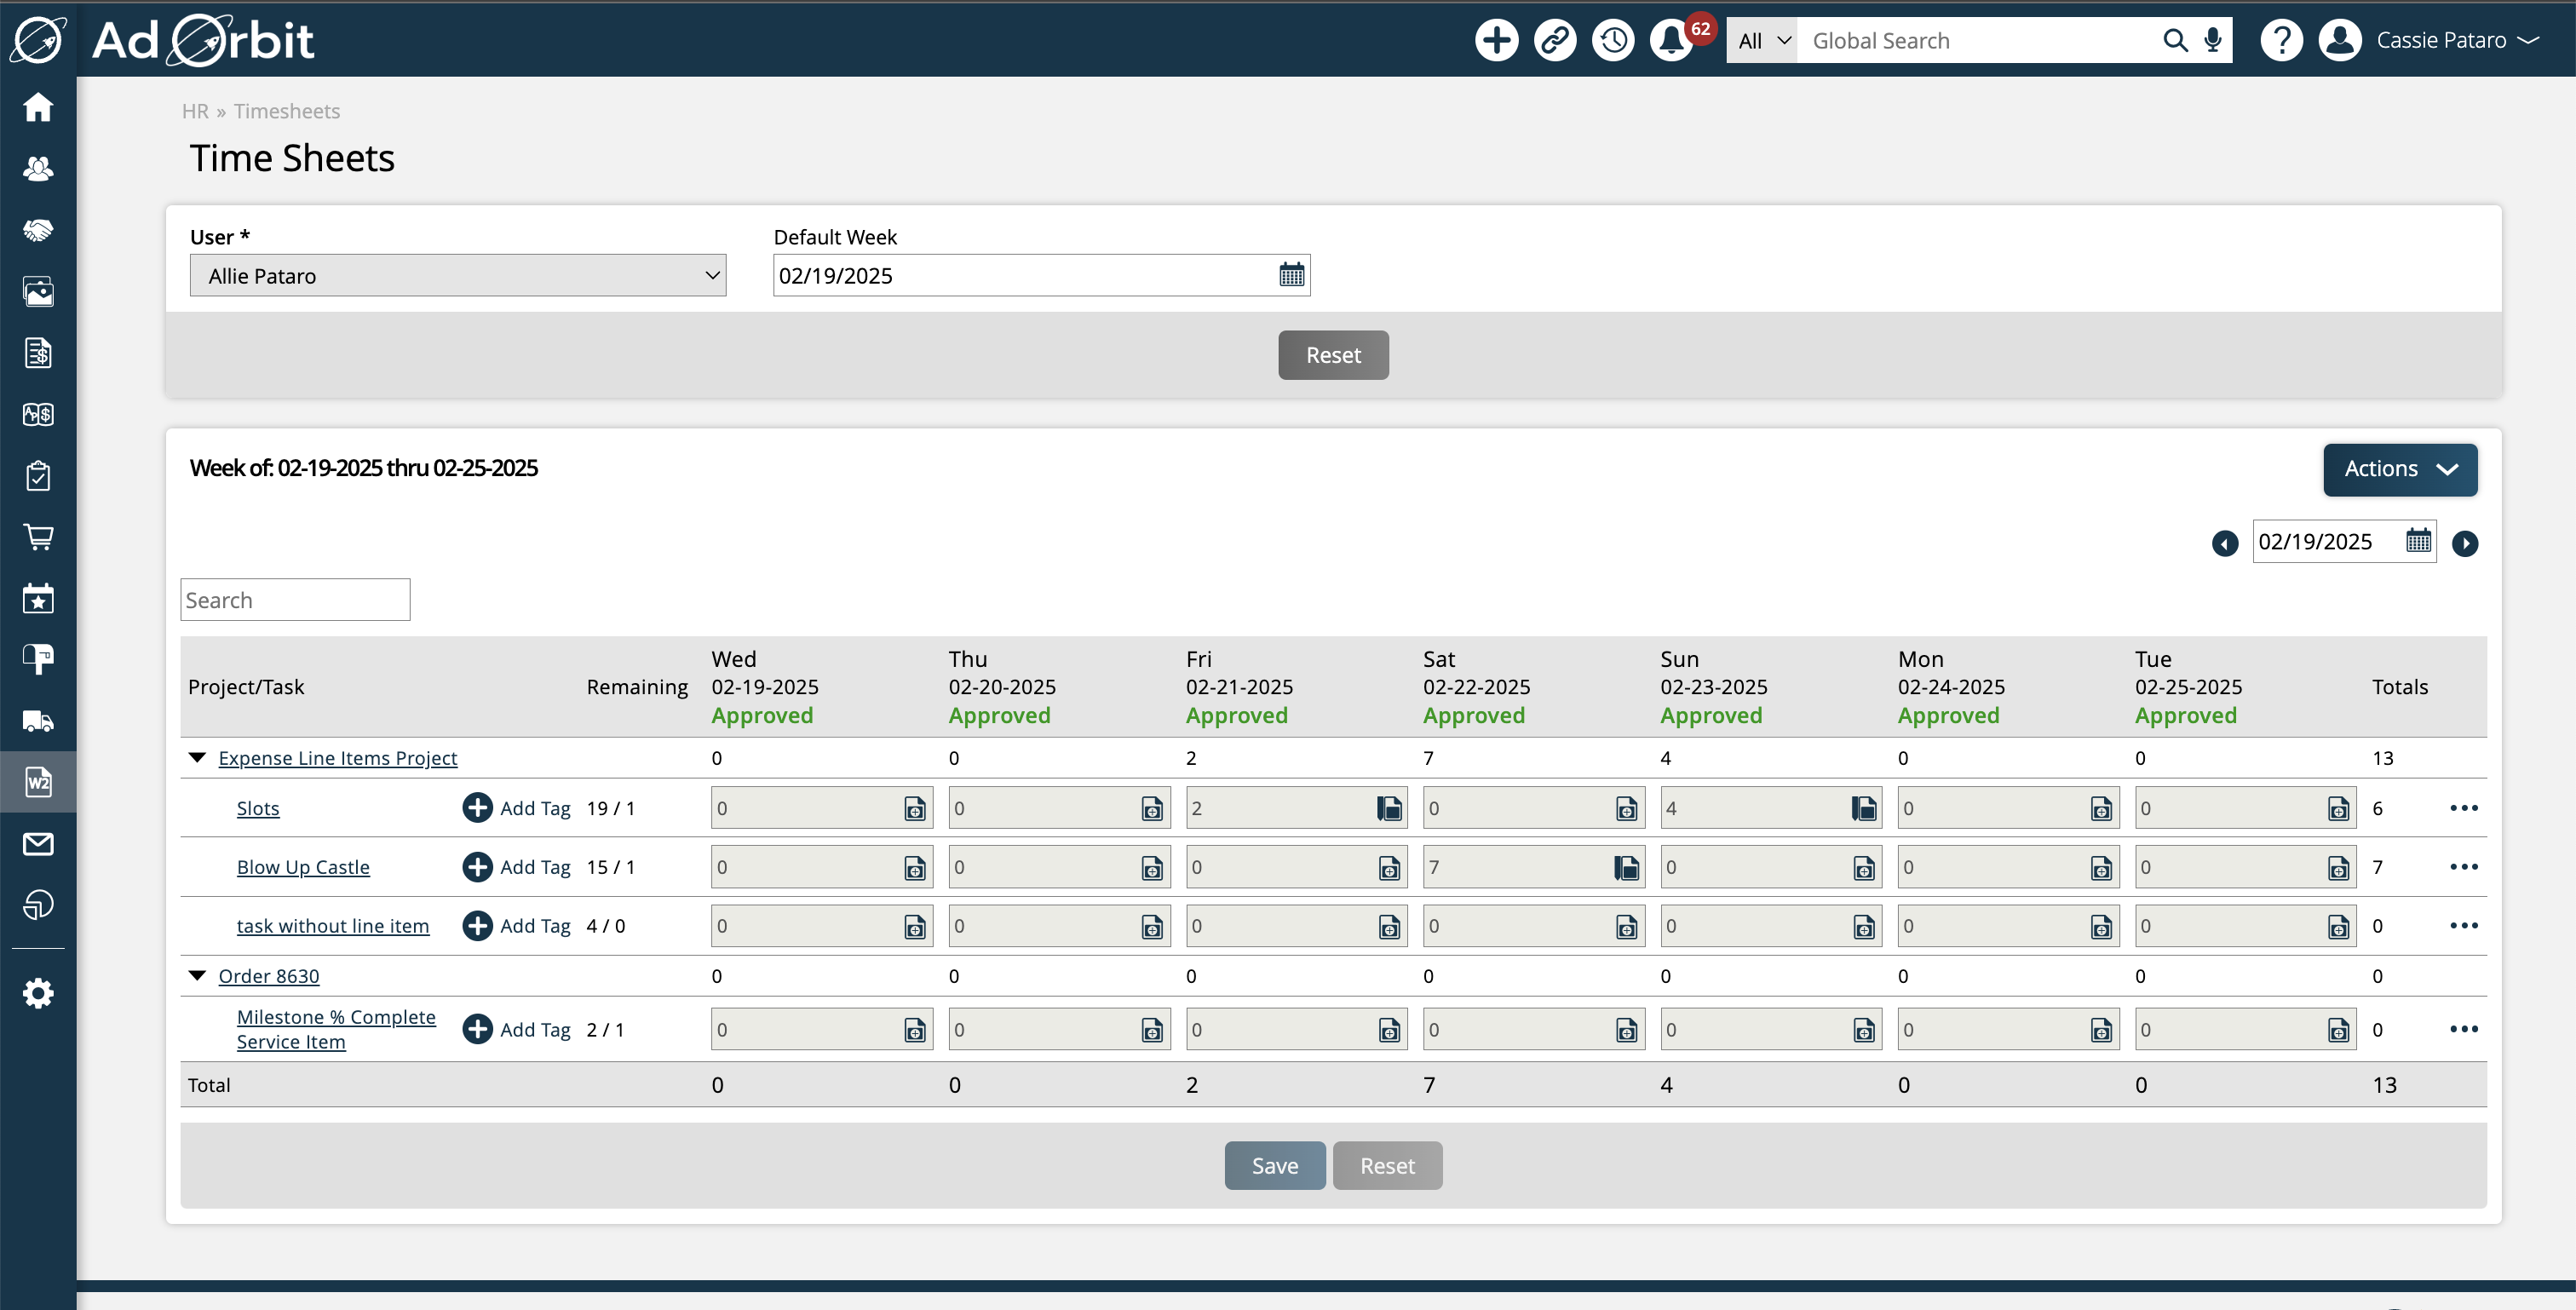
When submitted, the timesheet will be sent to your manager, who will get an email to approve your timesheet.
Notice
If your time sheet is rejected, you will be alerted via email; make any necessary changes and then resubmit.
Prior to your timesheet being approved, you also have the option of 'Revoking this week’s timesheet for approval’, which will allow you to edit the entries again.
Important
Once submitted and accepted, you cannot go back and make any changes, so be sure that you've entered everything, prior to submission.
Updated 2/20/2025