SendMyAd Setup
The SendMyAd platform is a portal advertisers can use to upload materials for upcoming issues. The integration allows you to use Ad Orbit’s sales and billing, while also taking advantage of SendMyAd’s preflighting features. If you already have a SendMyAd account, this integration is for you! This specific help center document will walk you through the integration’s setup process. Once set up, please check out our other SendMyAd documents to learn about how to use the integration.
The first step in the SendMyAd setup process is to turn on the SendMyAd module.
This must be done internally by our support team. To turn on the module, please reach out via live chat, or enter a support ticket. Once the module is enabled in your instance, you can continue with the rest of the setup process.
To access the setup page, you need the User Permission ‘SendMyAd’, which can be found in the Administration section of the User Permissions.
When you have the permission, go to Settings > Integrations > SendMyAd.
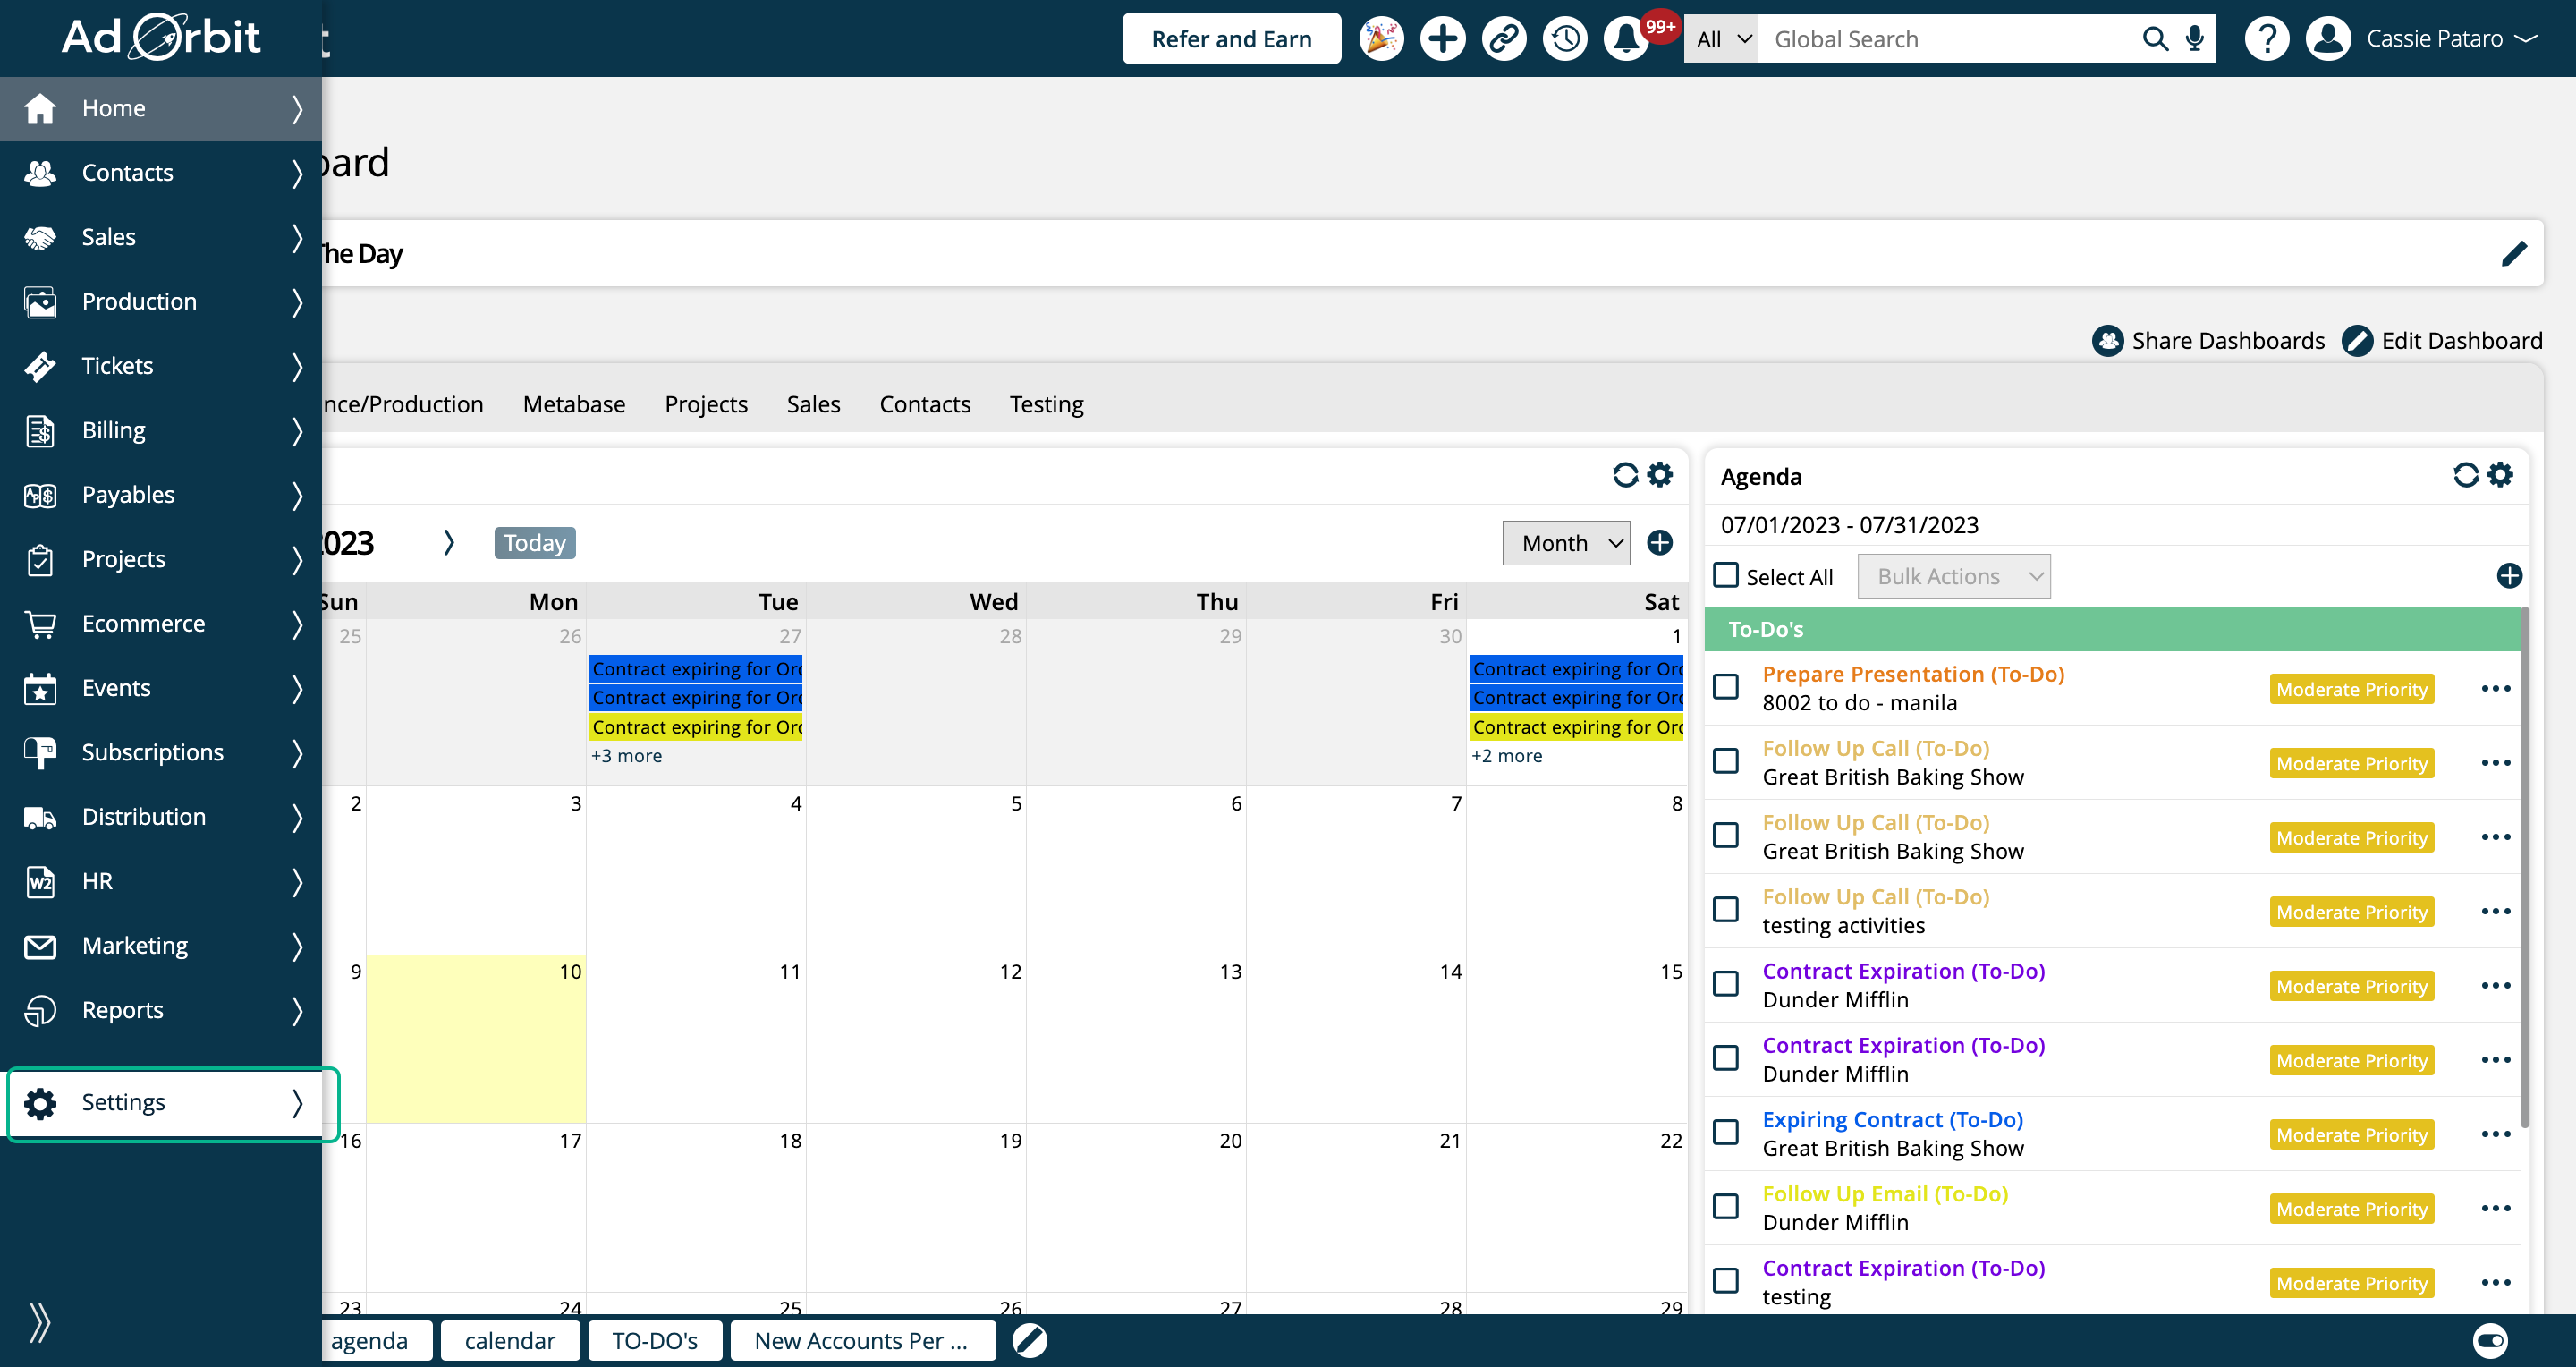
Click on Integrations
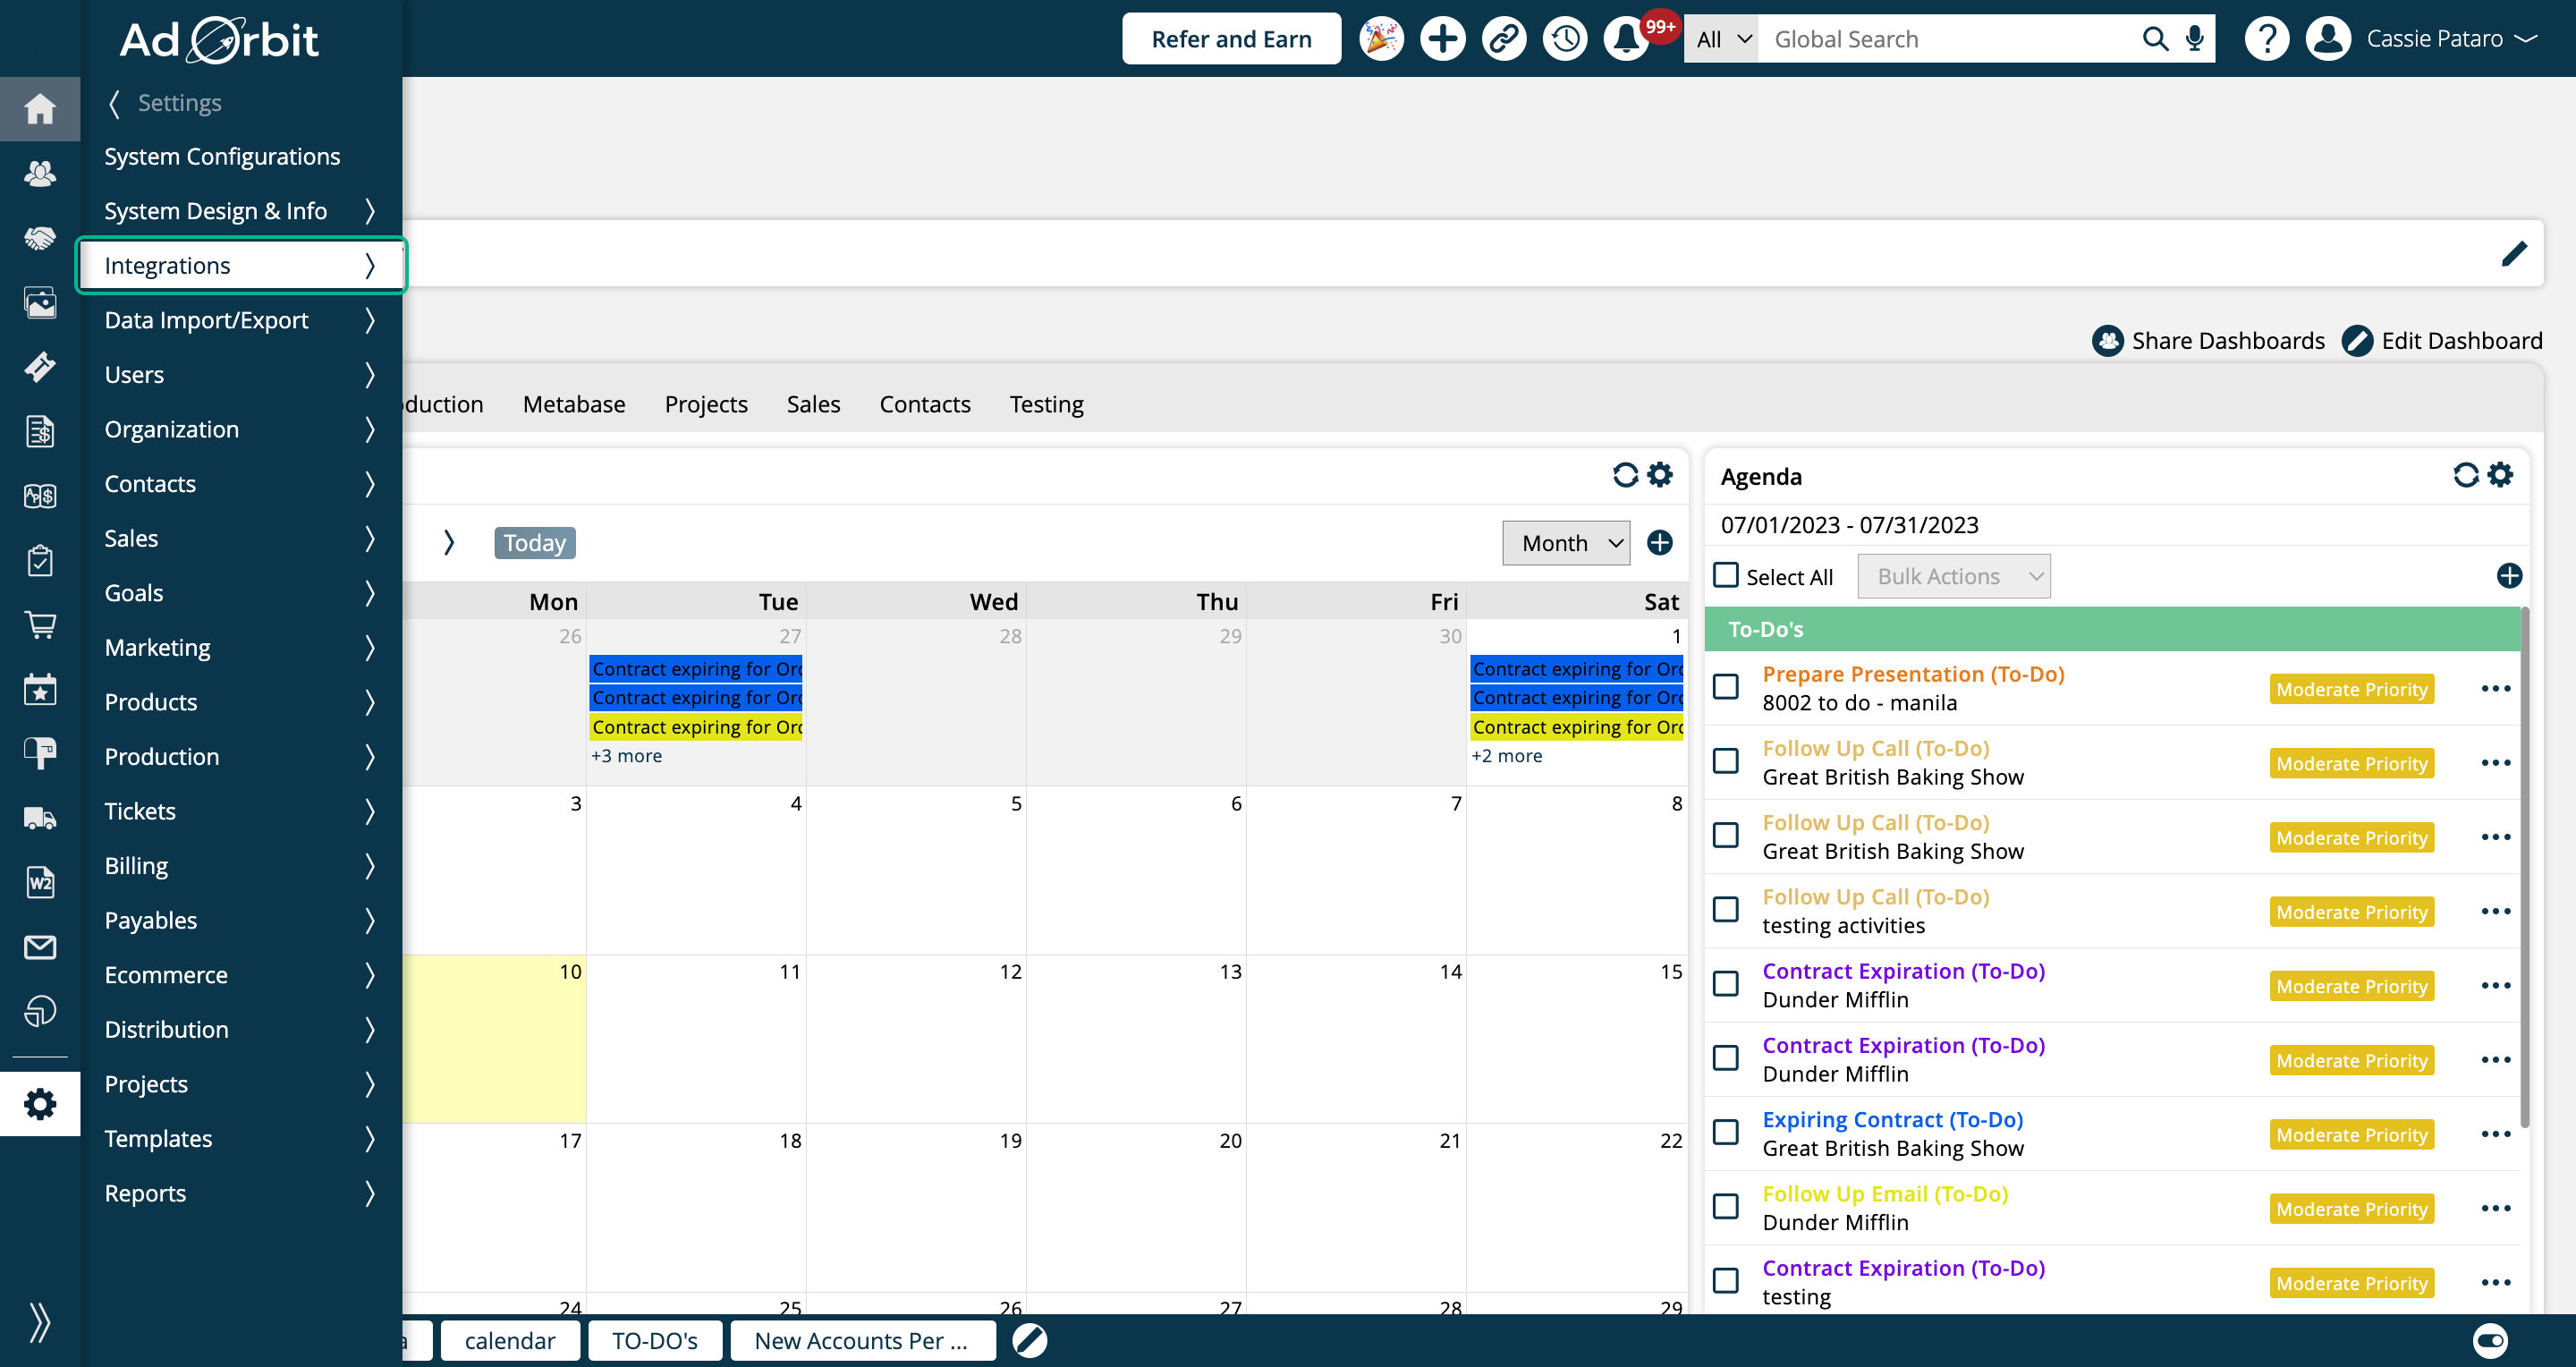
Click on SendMyAd
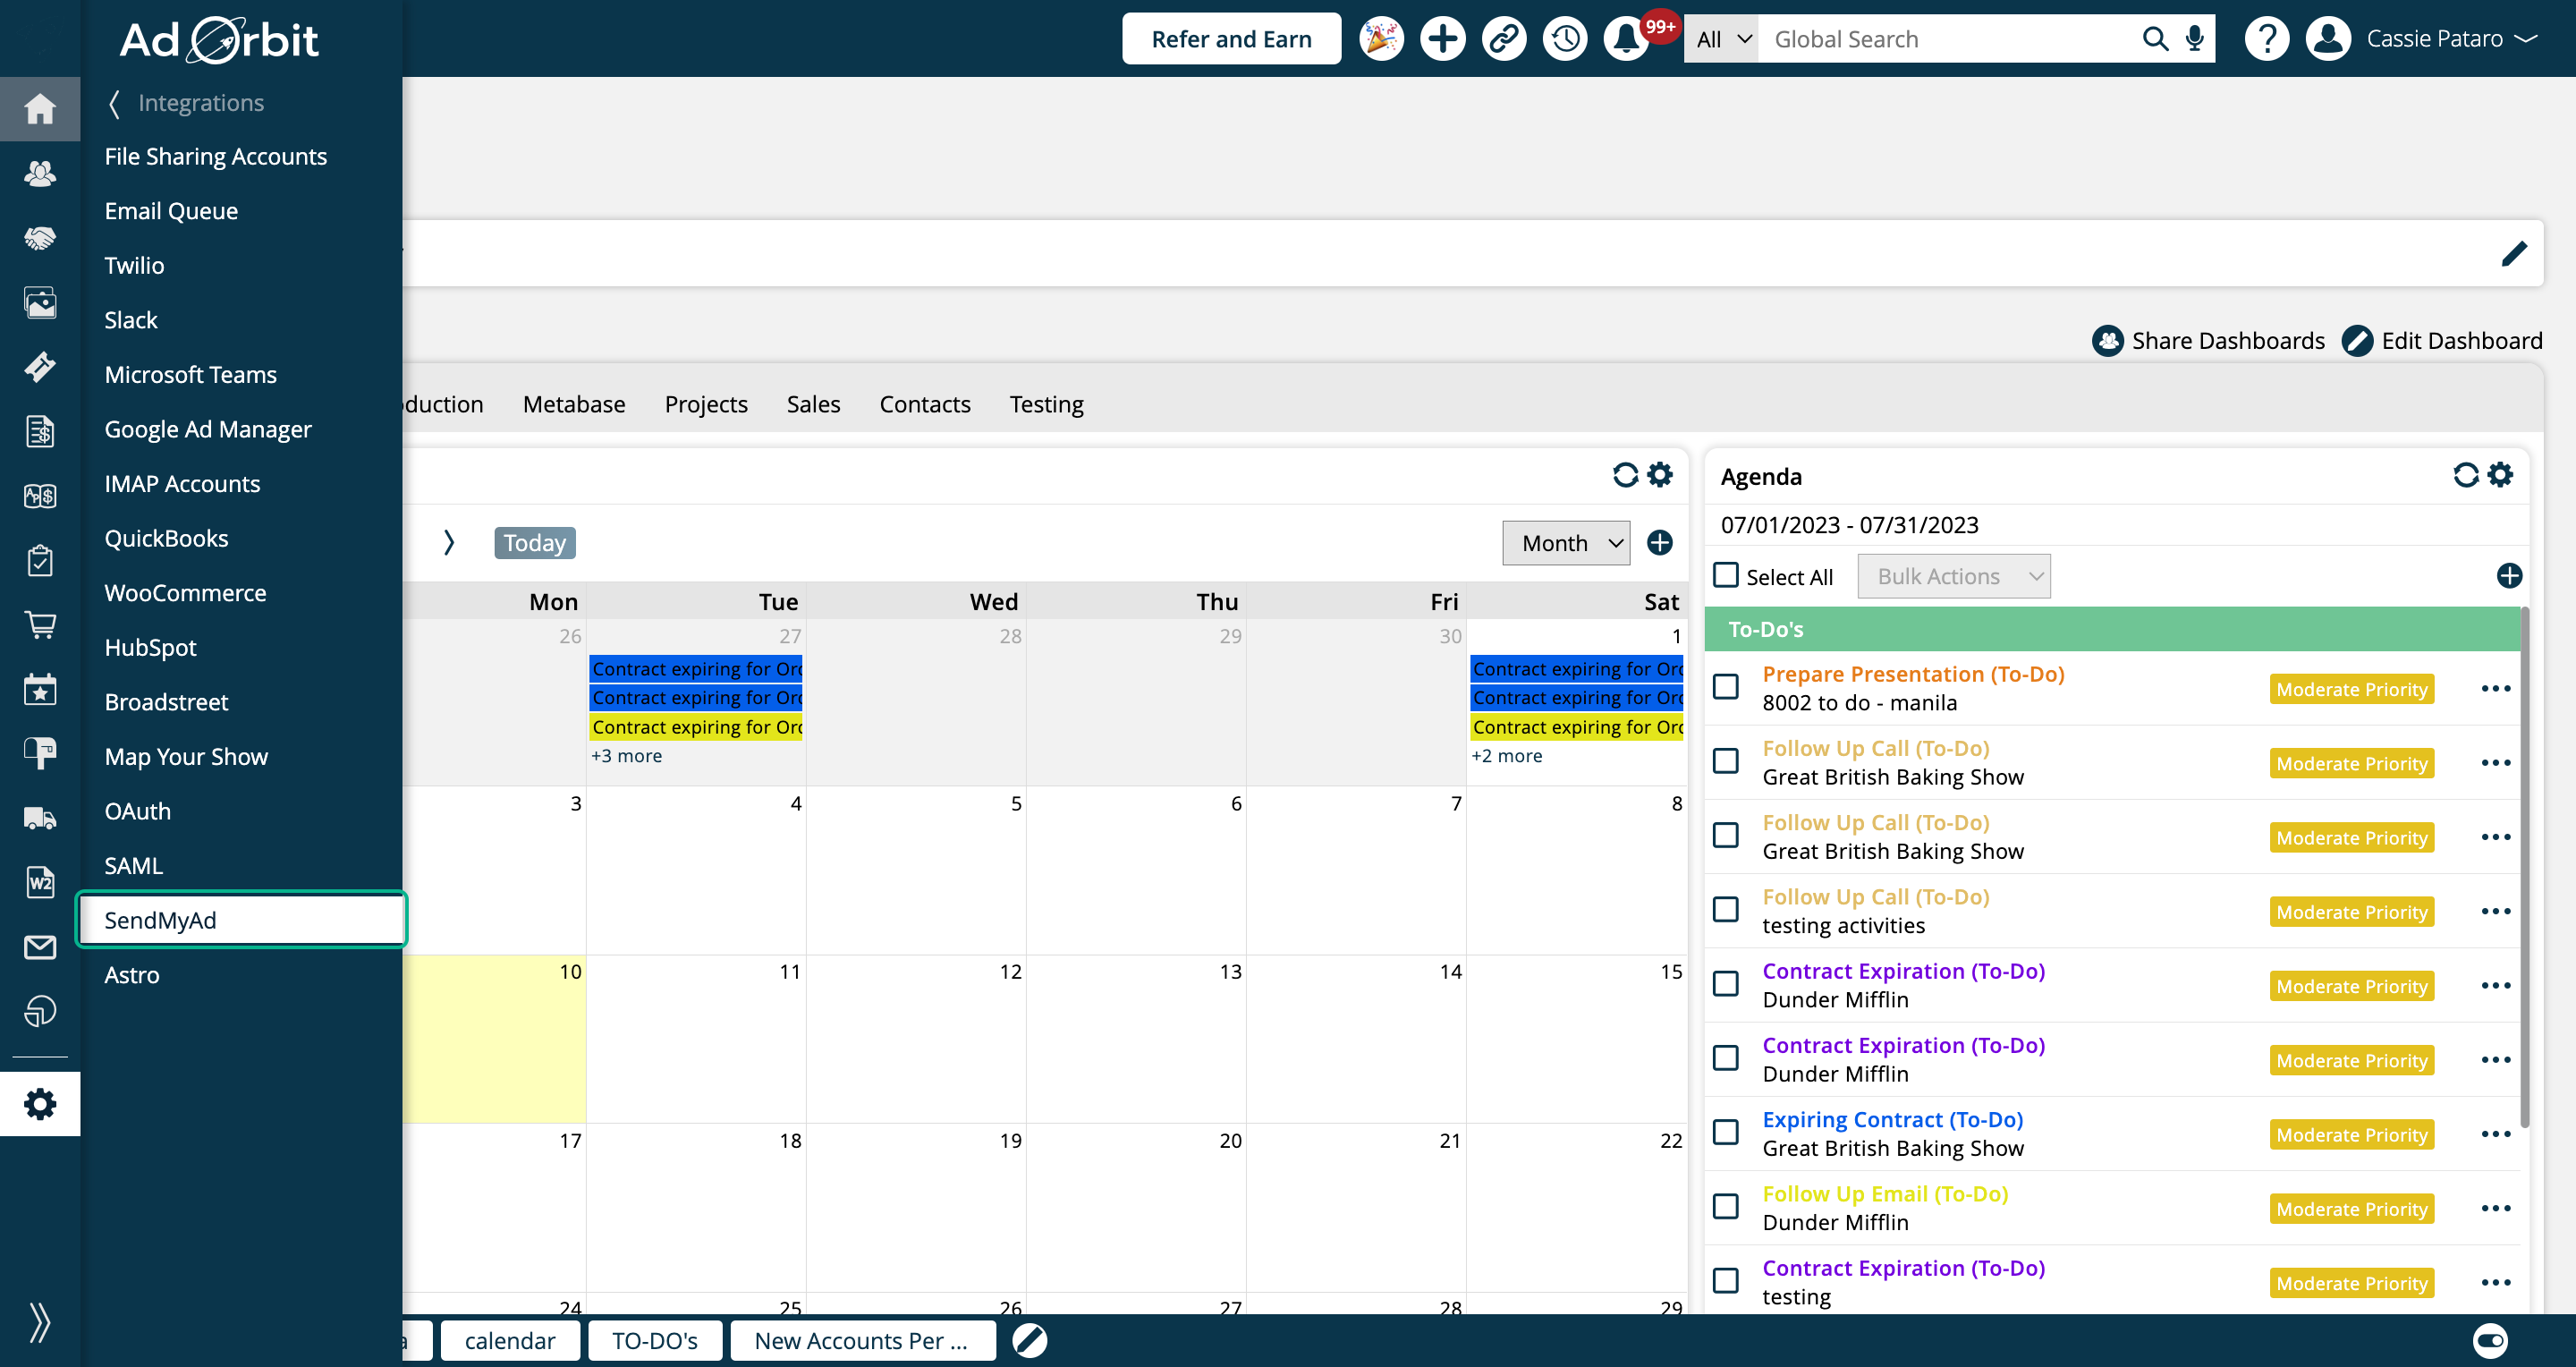
Click on Publisher Setup
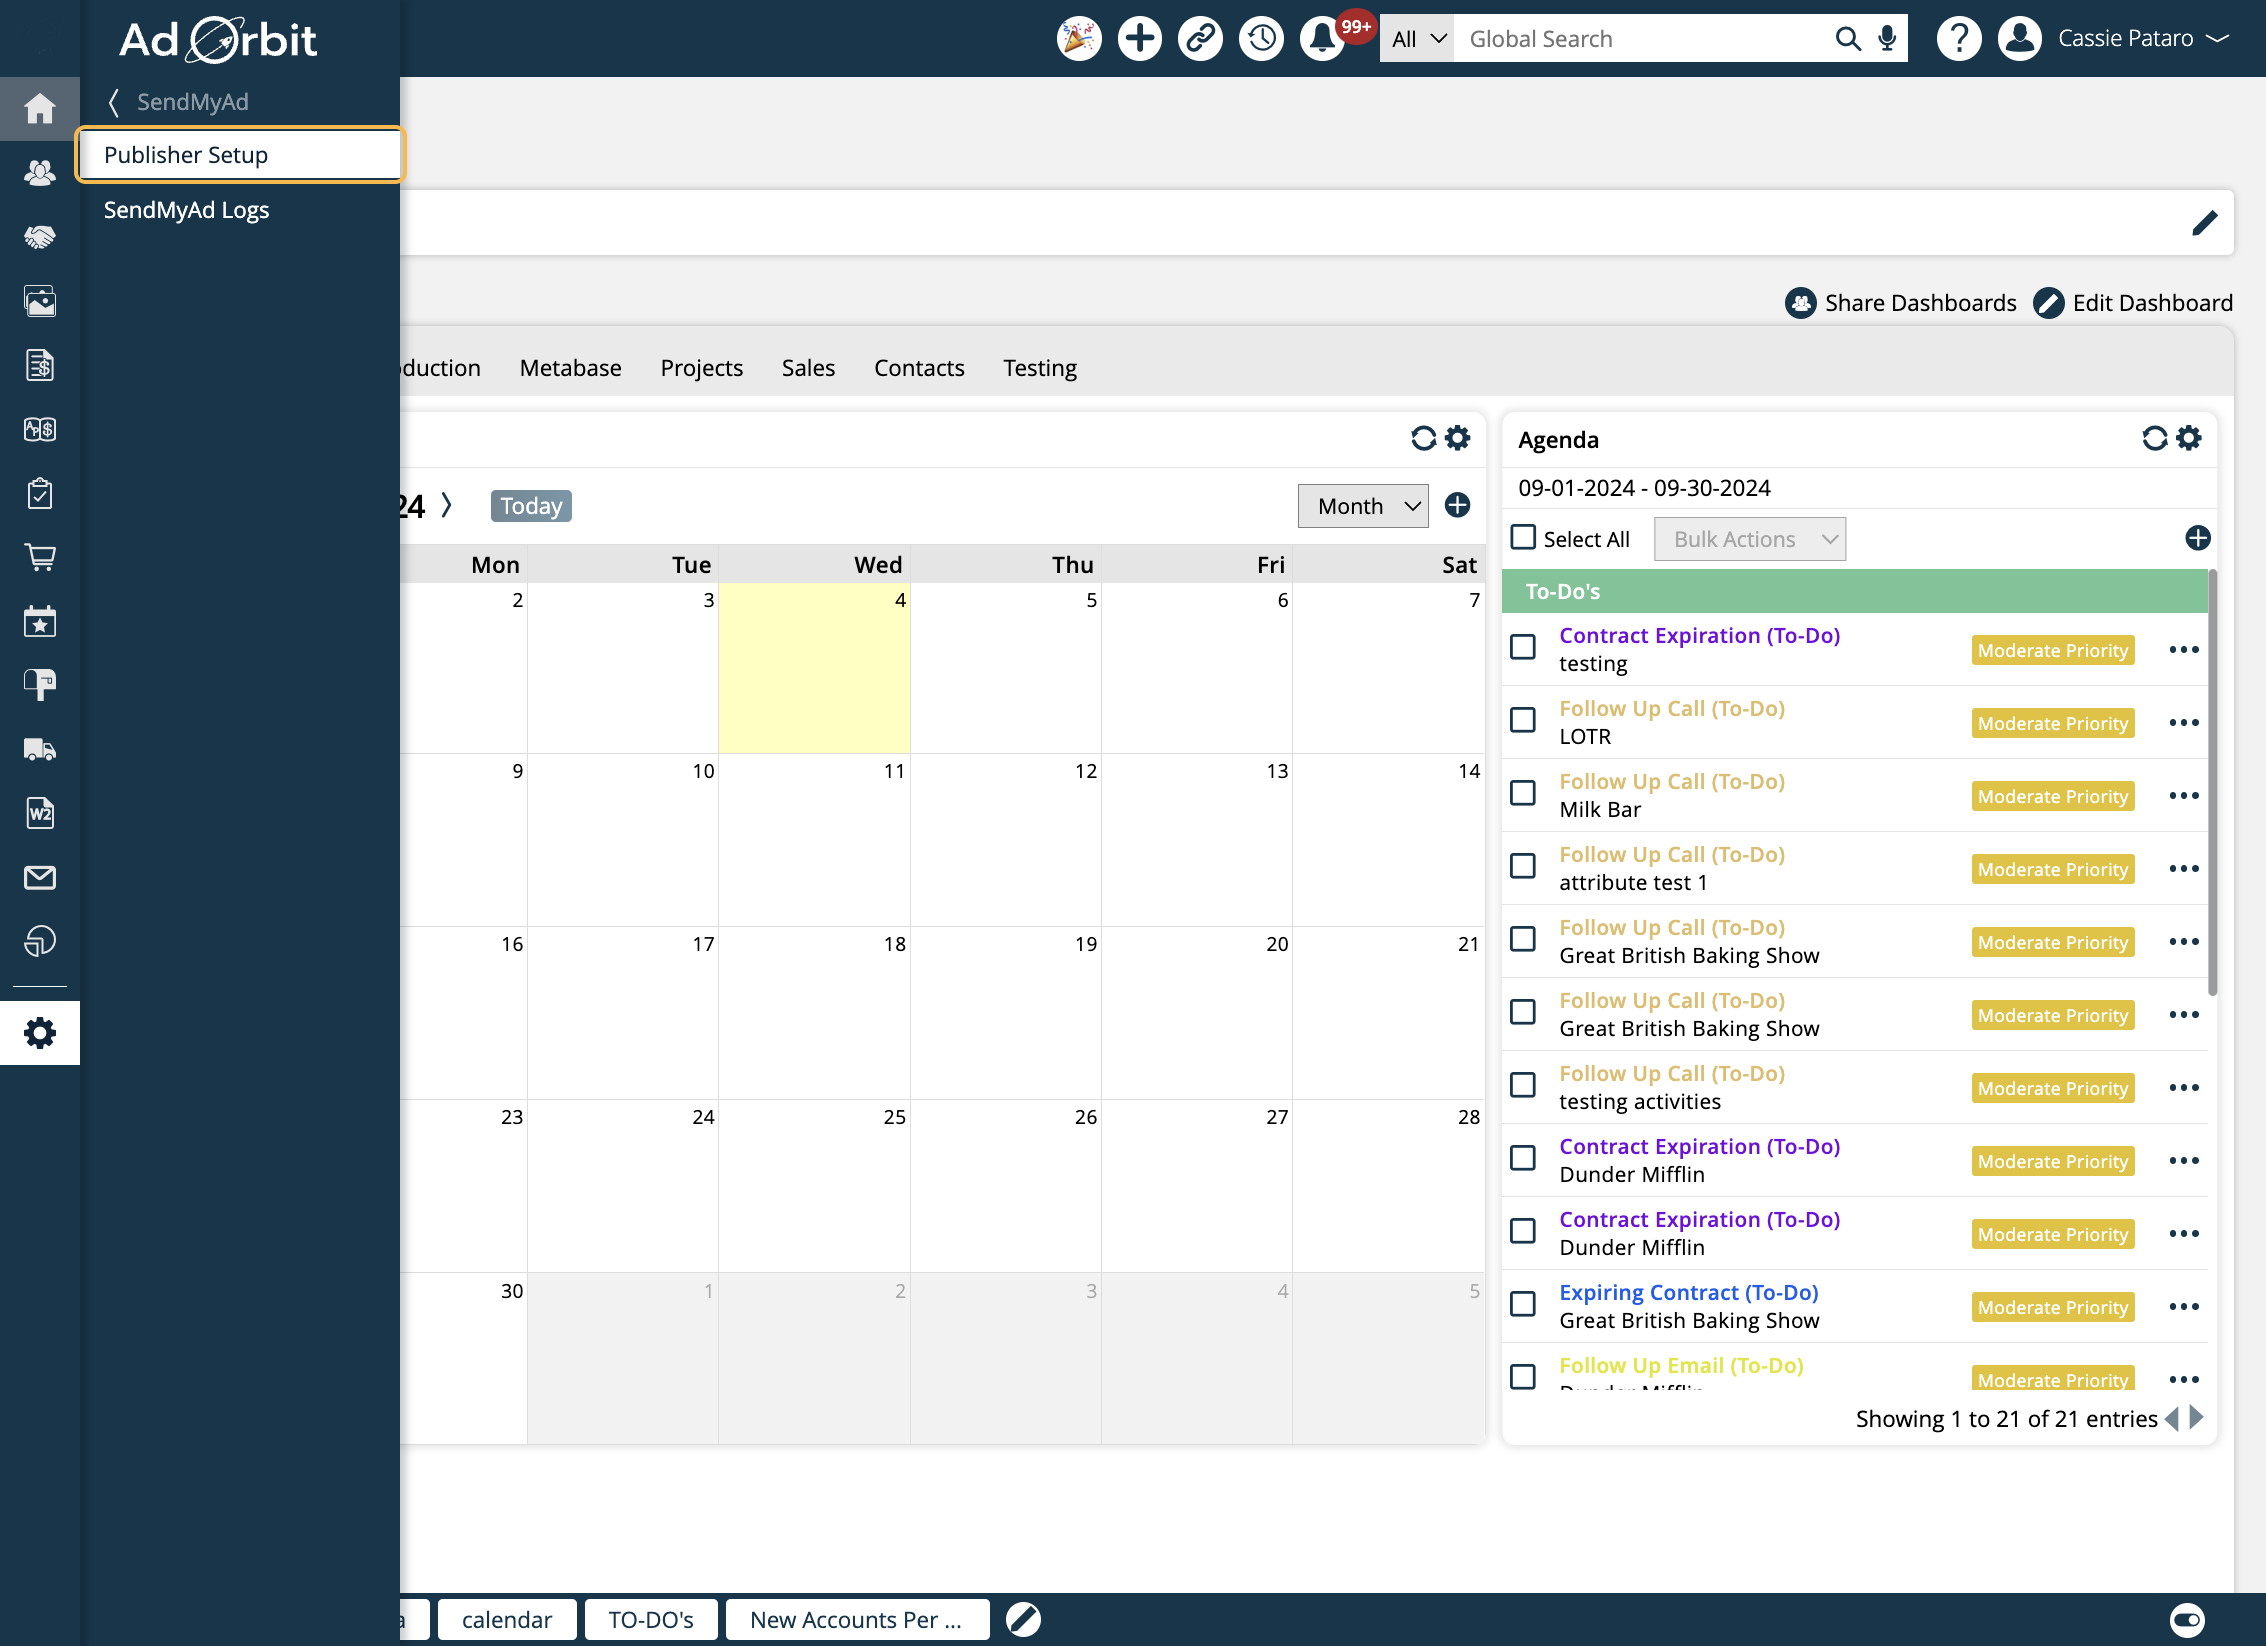
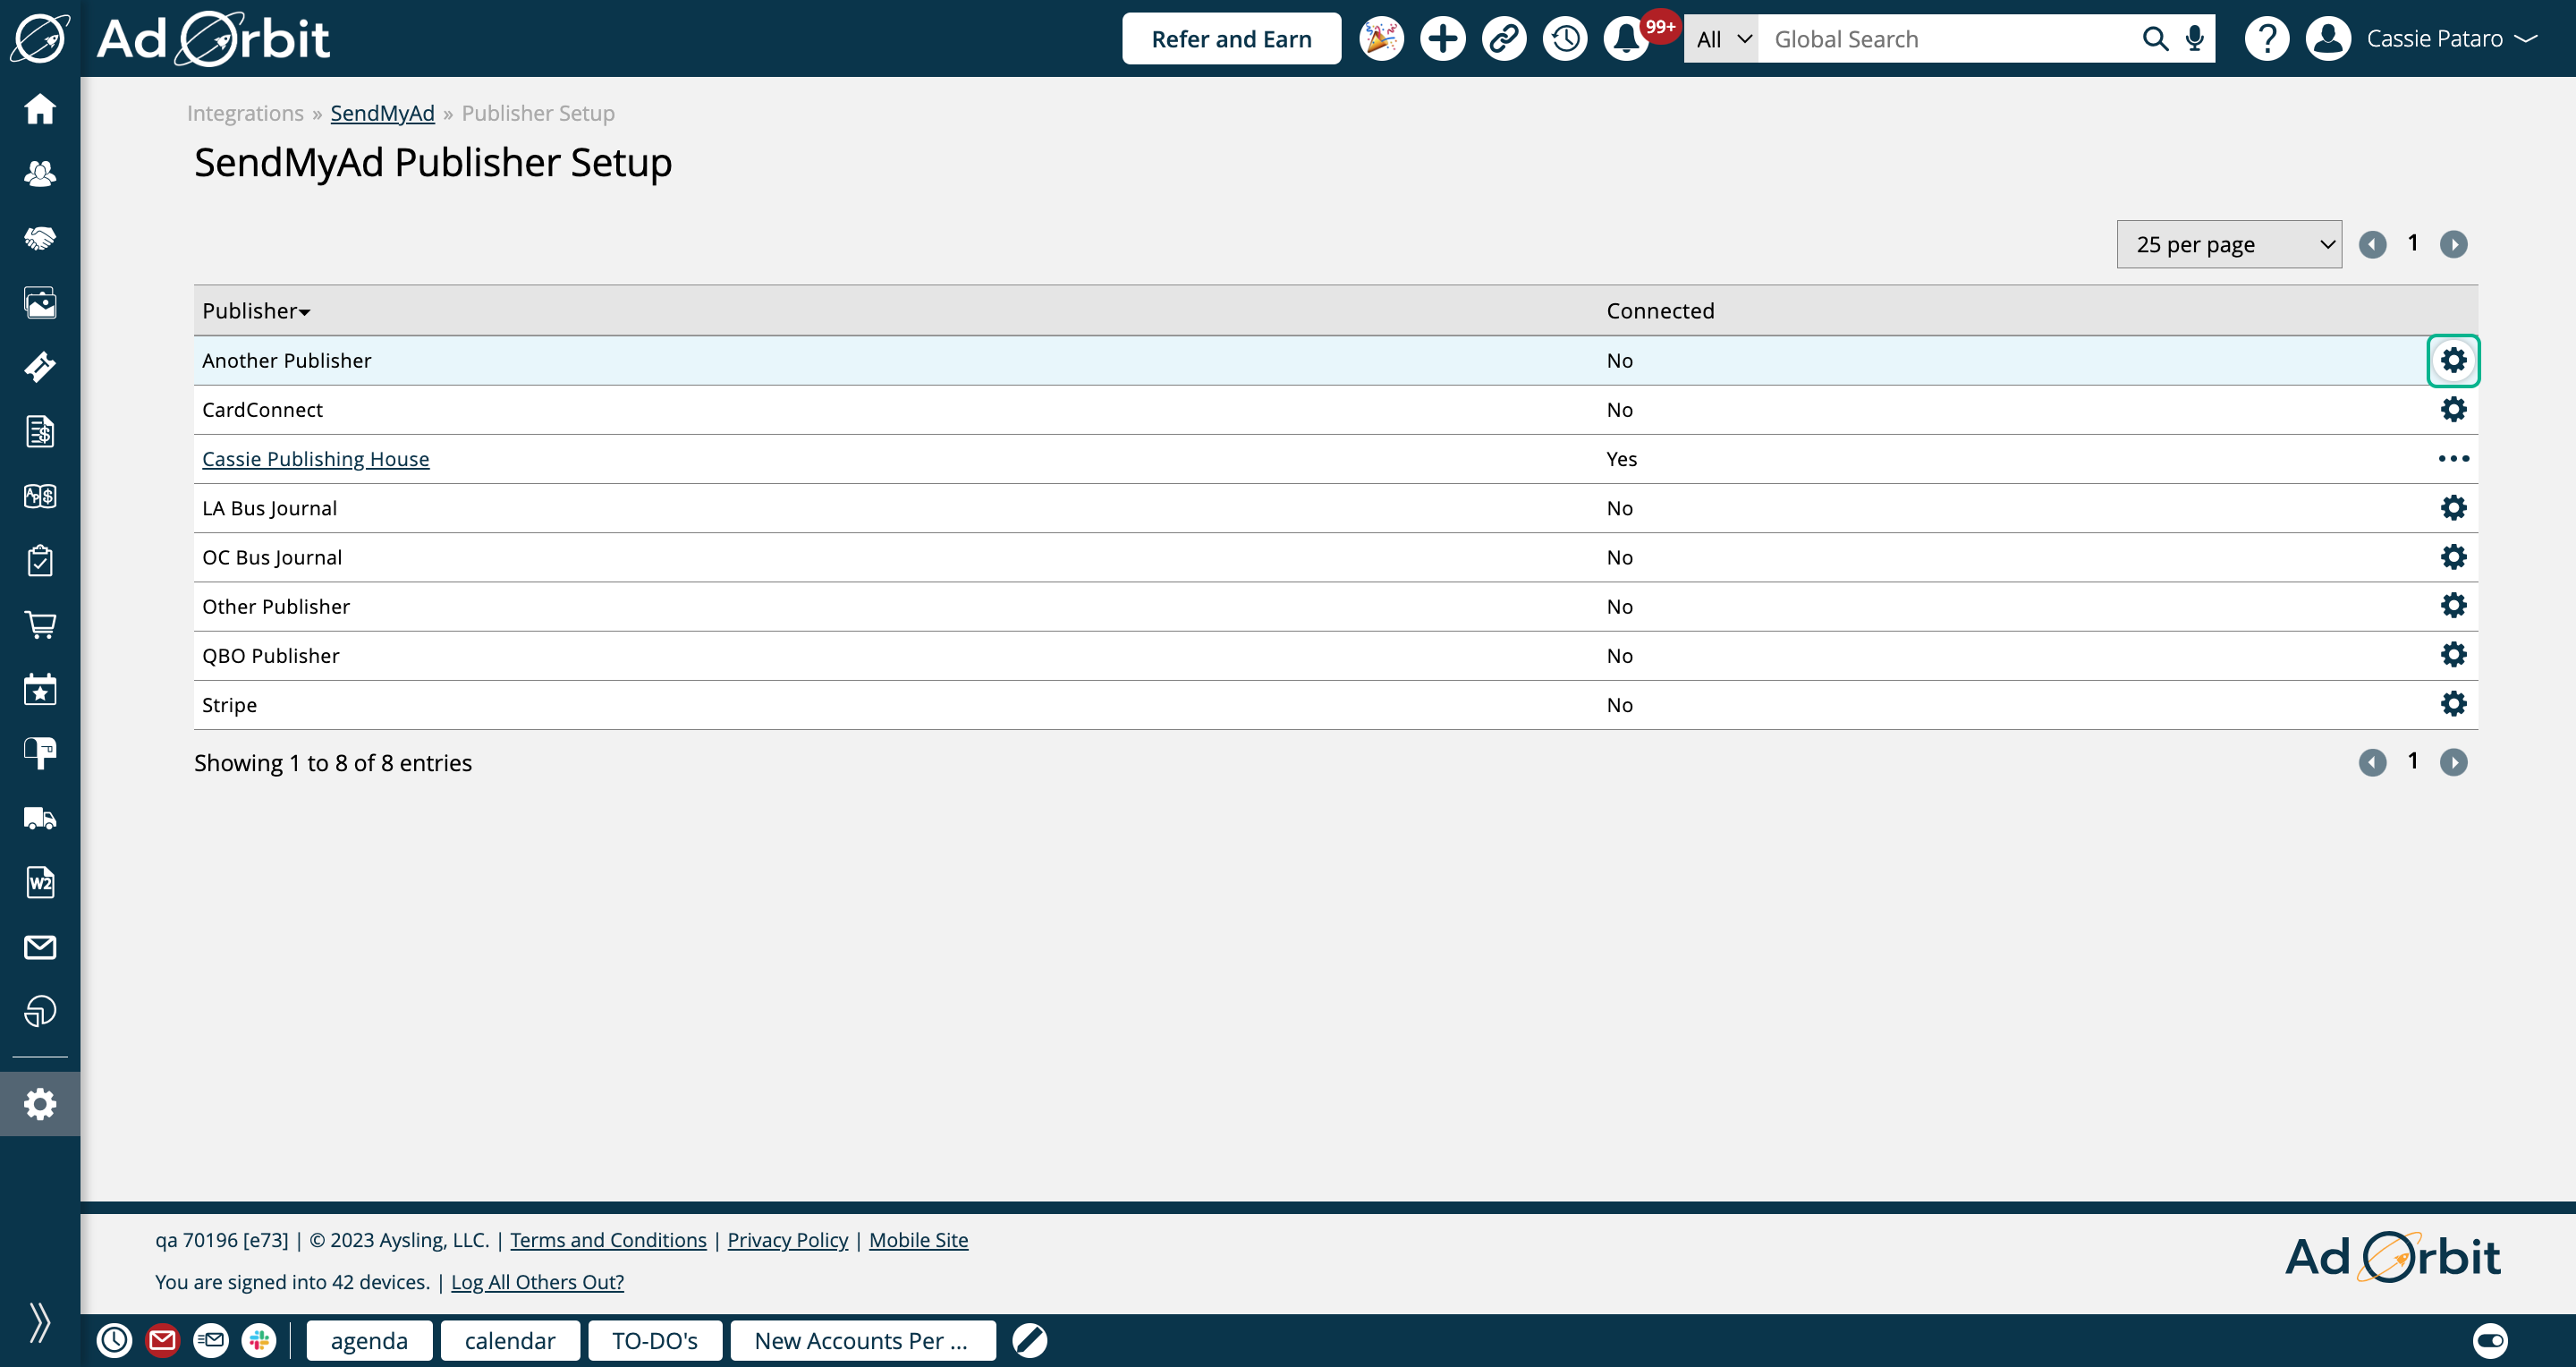
Click on the gear icon for the Ad Orbit Publisher you wish to connect to a SendMyAd Publisher.
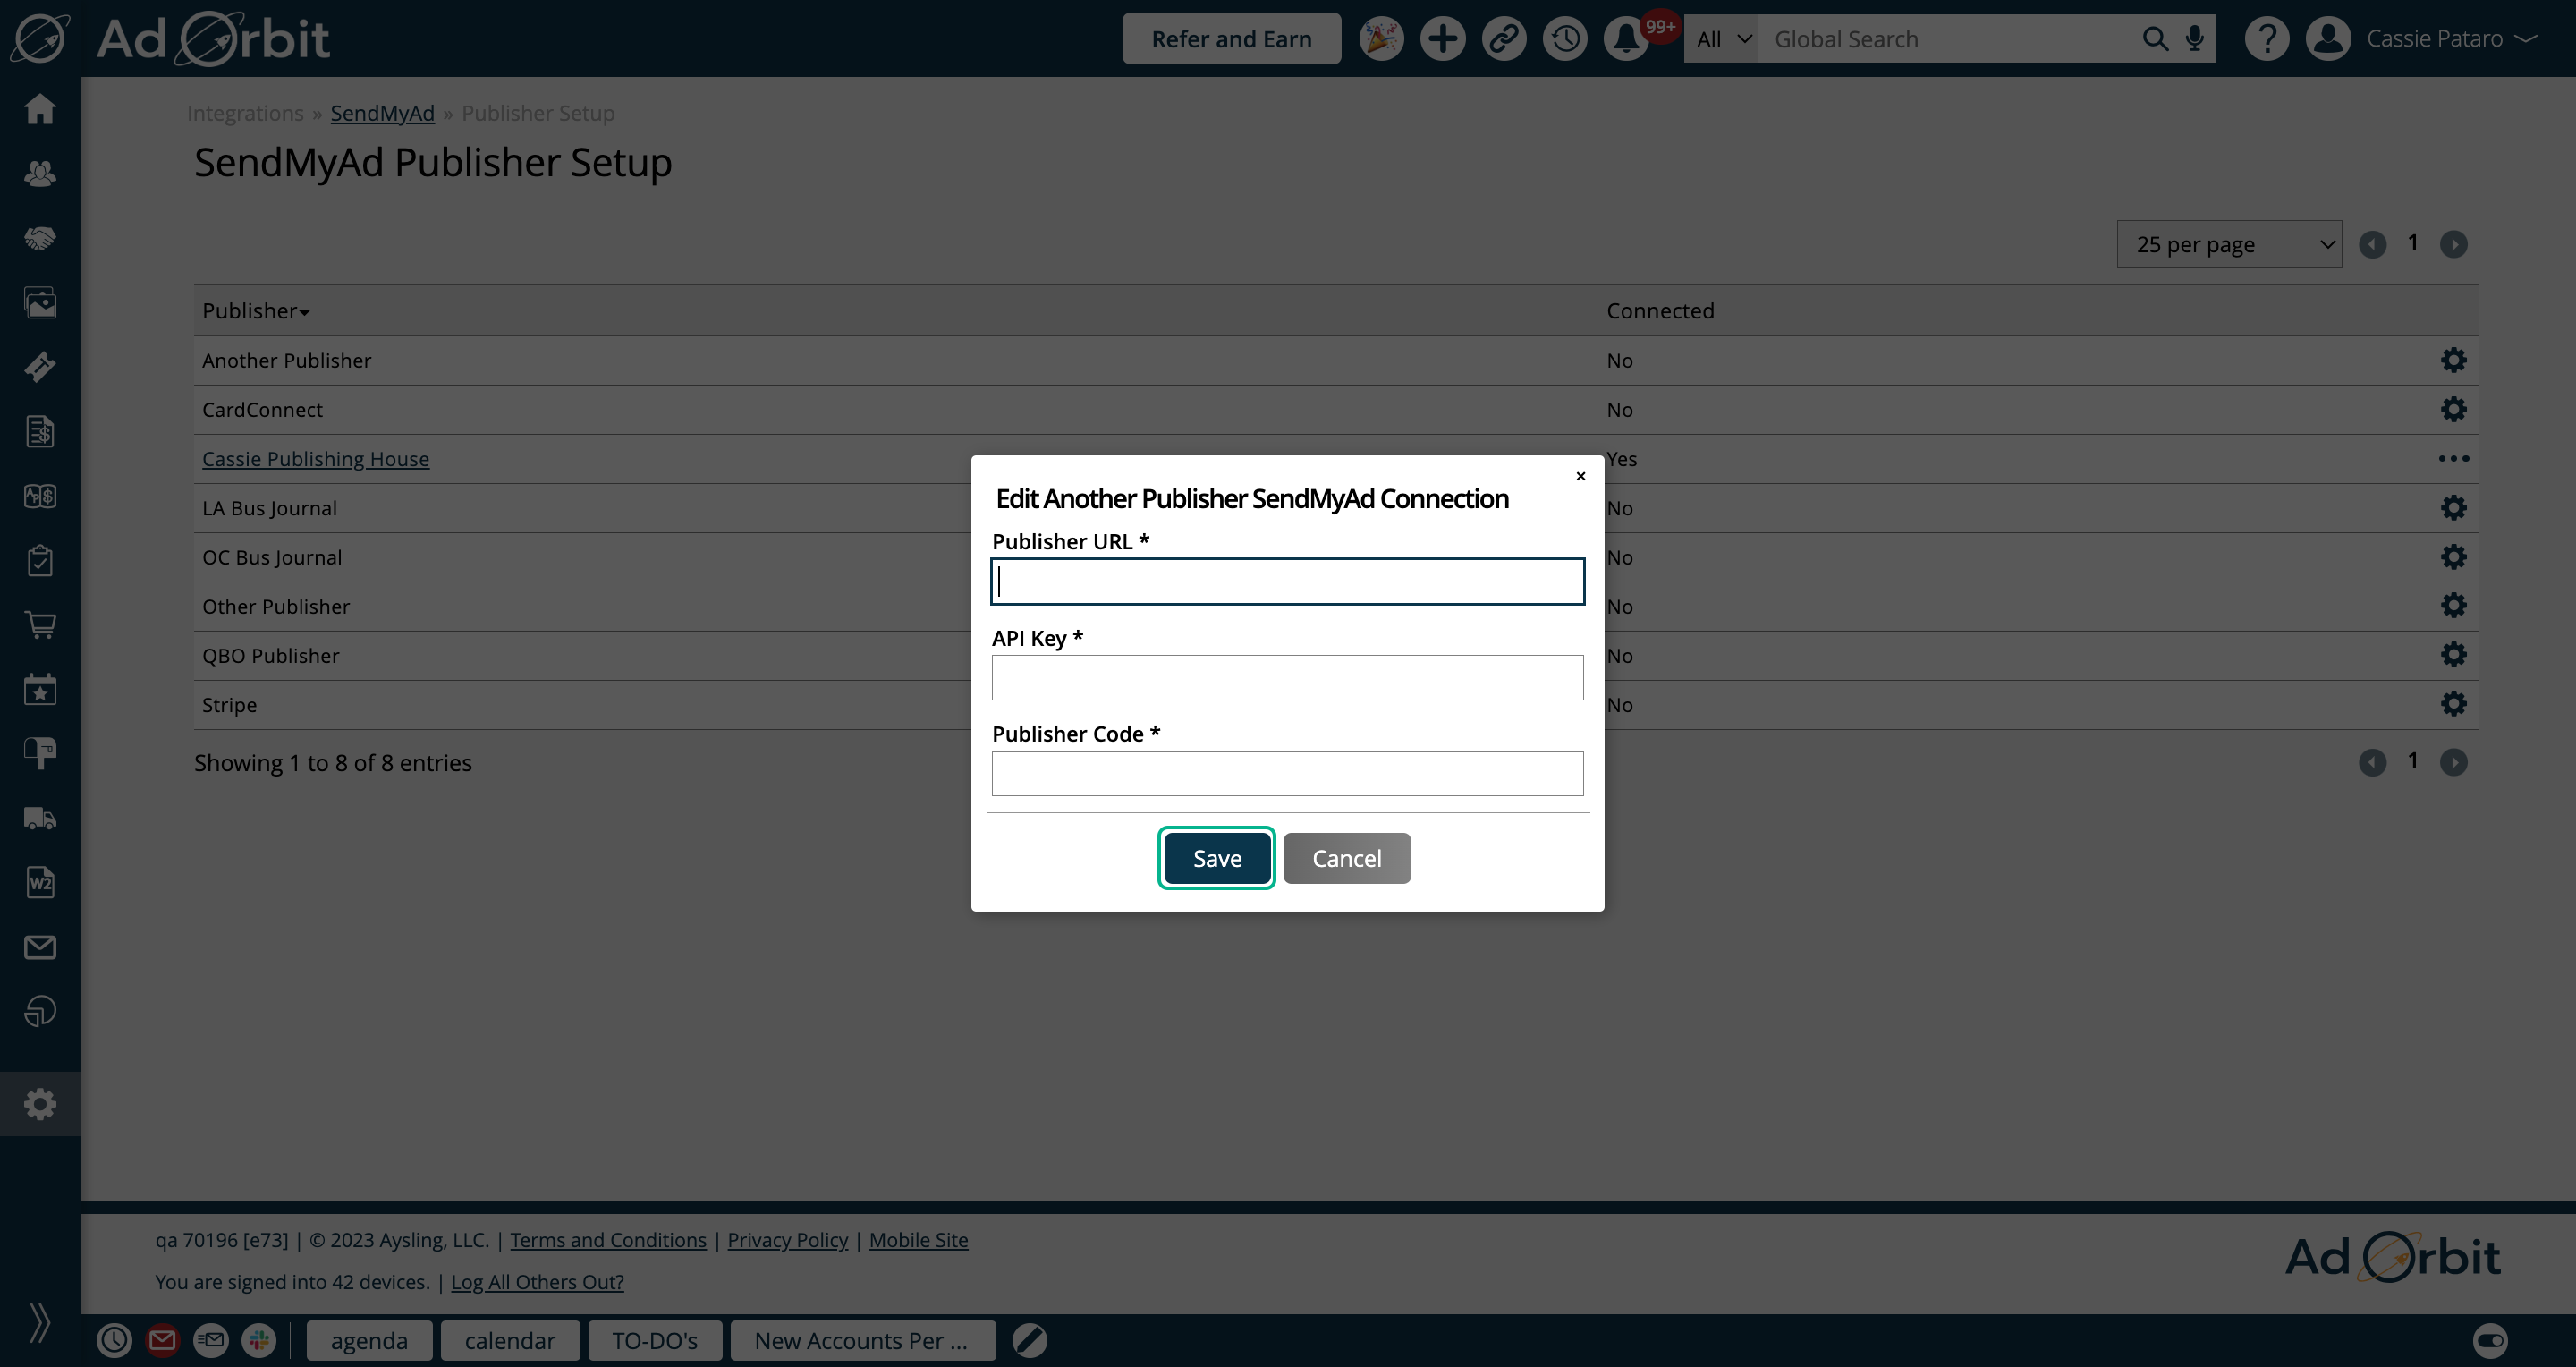
This will open a popup where you can enter the necessary credentials.
Important
You must reach out to SendMyAd to get your publisher credentials. This is not something that we can provide, or you can find in the system; they must be sent to you from SendMyAd. Once you have the credentials, you can enter them on the Publisher setup.
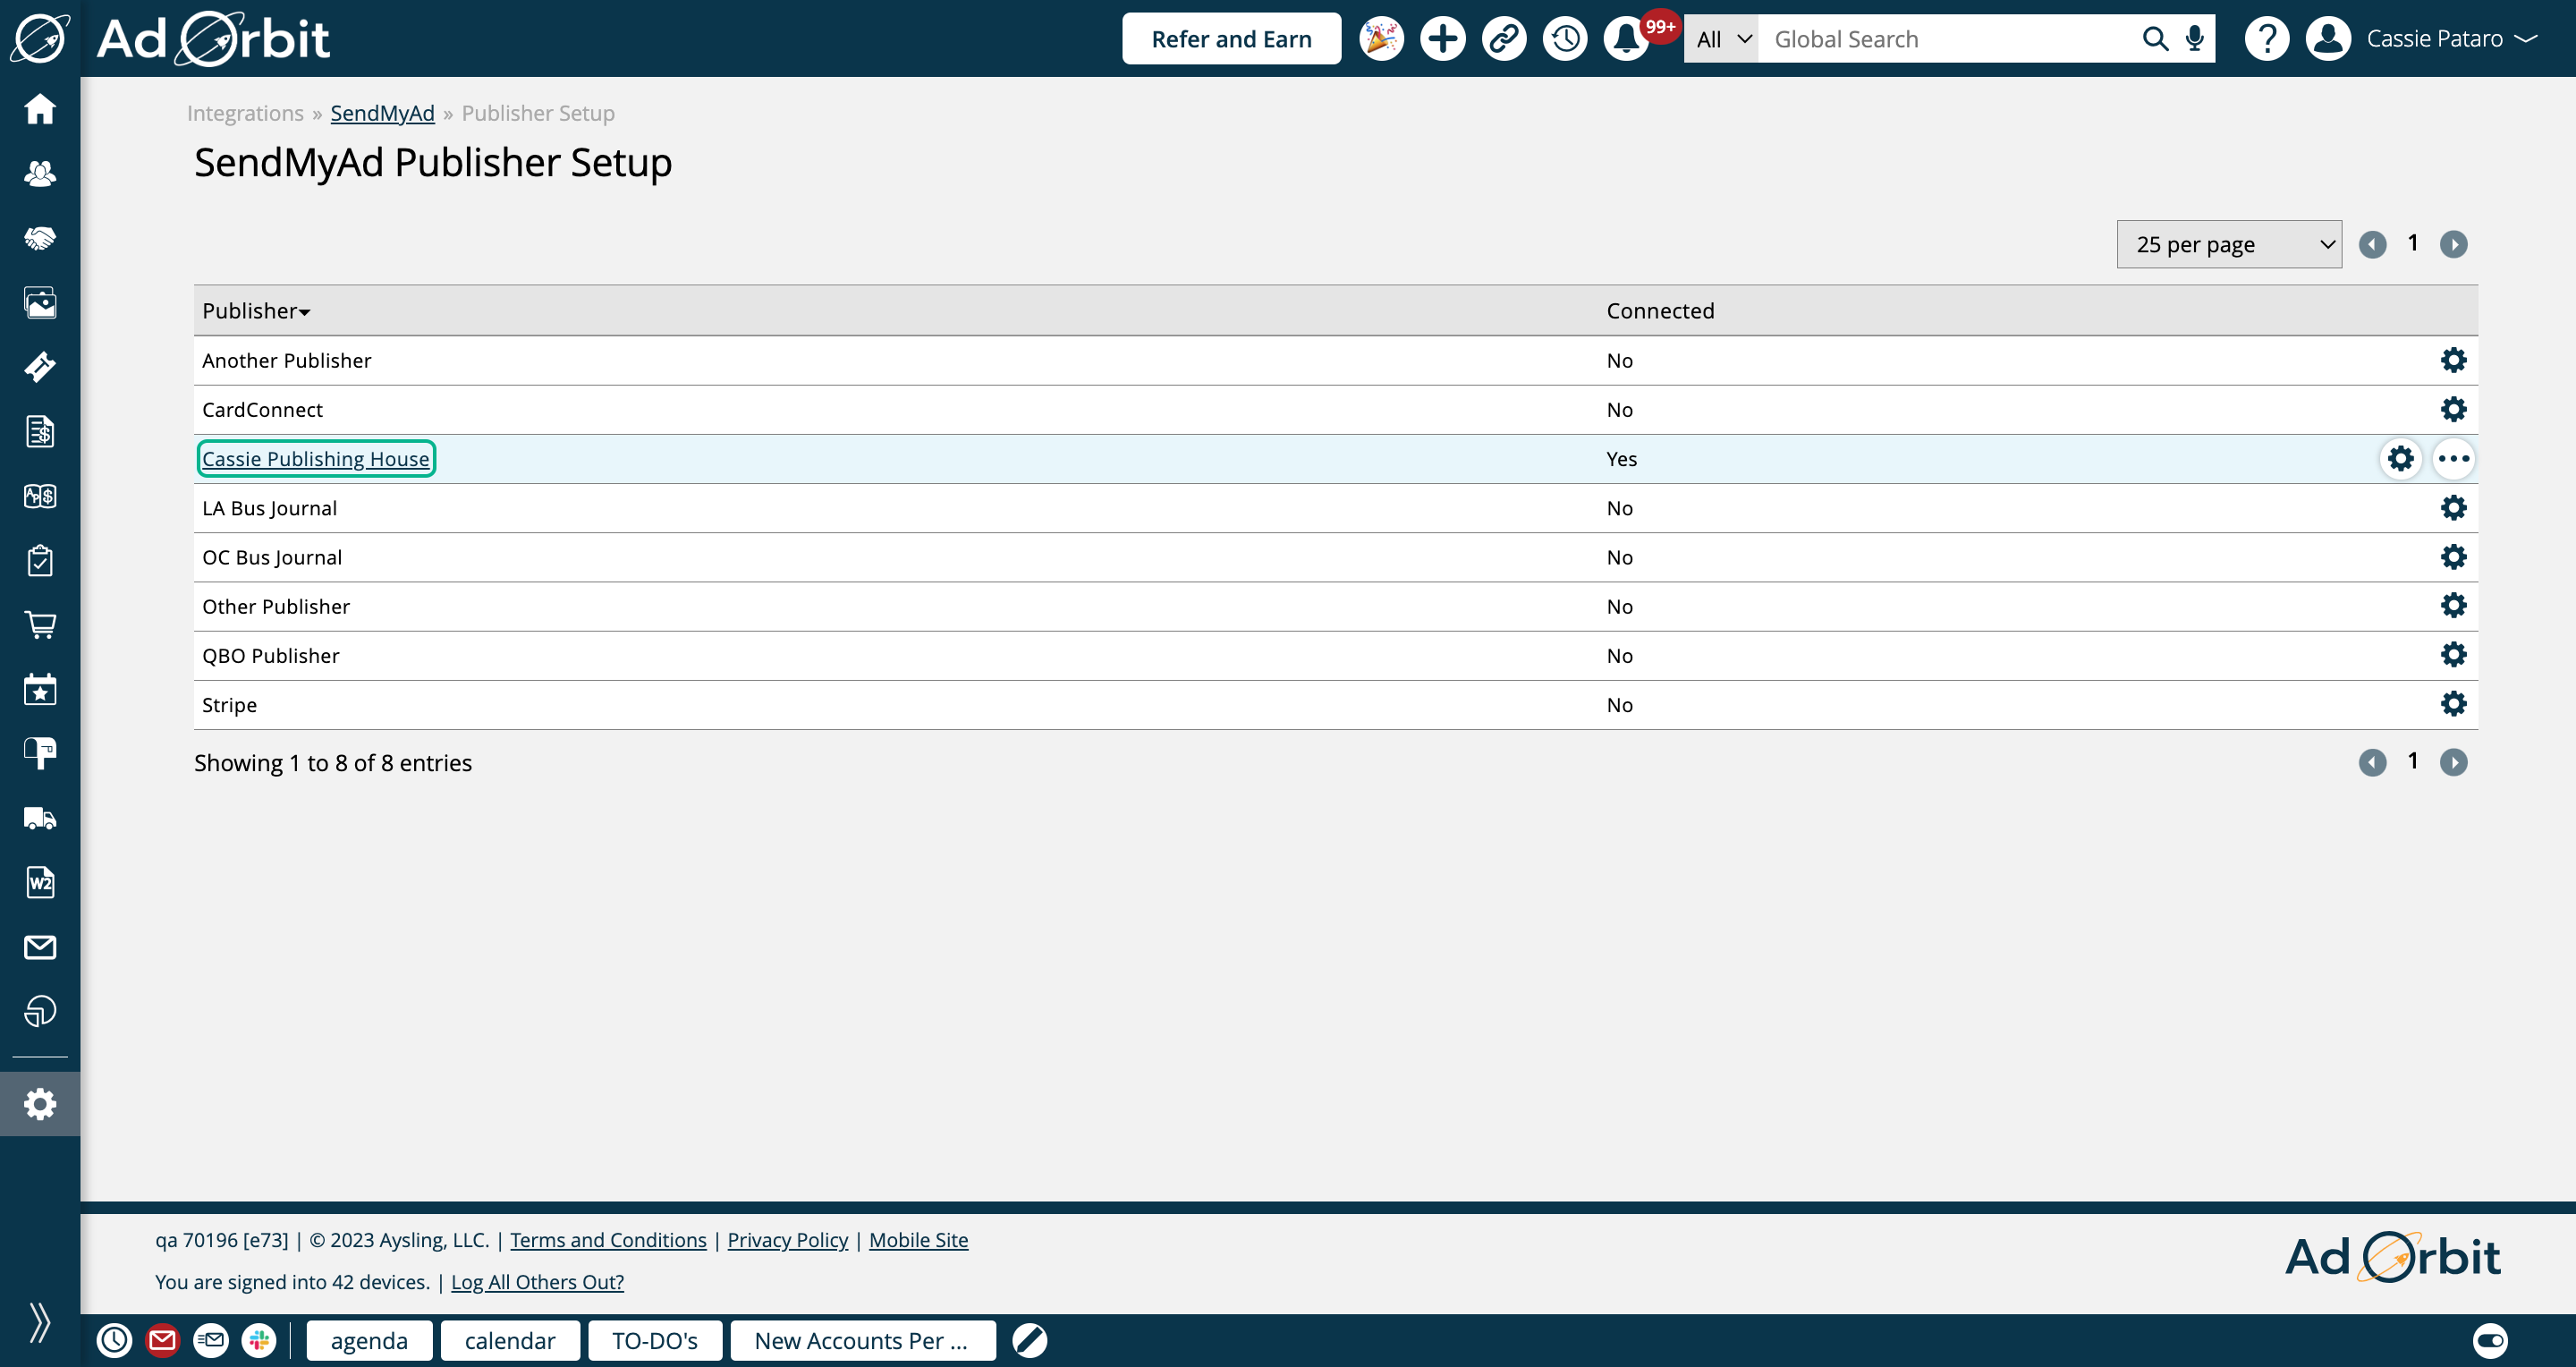
When your Publisher is connected, you can click on the publisher's name, or the gear icon to continue to the next step – Publication Setup.
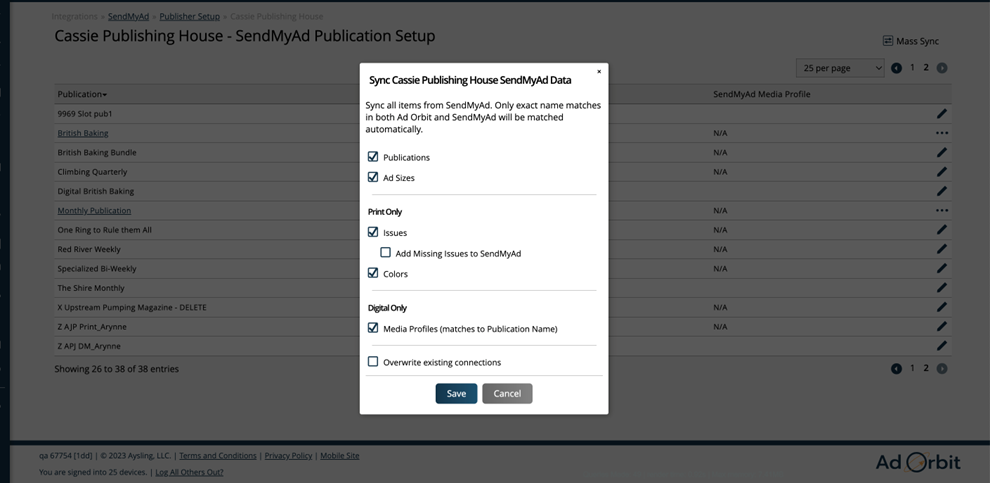
On this page, you can either choose to ‘Mass Sync’ your data or connect items individually. Click Mass Sync in the upper right corner to view the mass sync options. Using the Mass Sync means any items with identical names in both Ad Orbit and SendMyAd will get connected.
For example, a Publication called ‘The Shire Monthly’ in Ad Orbit would get connected to a SendMyAd Publication called ‘The Shire Monthly’. But a Publication called ‘The Shire Monthly’ in Ad Orbit would not get connected to a Publication called ‘Shire Monthly’ in SendMyAd.
In the Mass Sync popup, you can choose which items to connect, including Publications, Ad Sizes, Issues, and Colors. If there are any existing connections, they will not be overridden.
If you are connecting Issues, there is also the option to create a SendMyAd issue automatically based on your Ad Orbit issues. When this option is selected, any issues with upcoming reporting dates that do not already exist within SendMyAd will be automatically created with the same name as the Ad Orbit issue, and all the SendMyAd dates will be set to the issue’s Reporting Date.
If you wish to connect items one at a time, rather than using the Mass Sync, continue reading below.
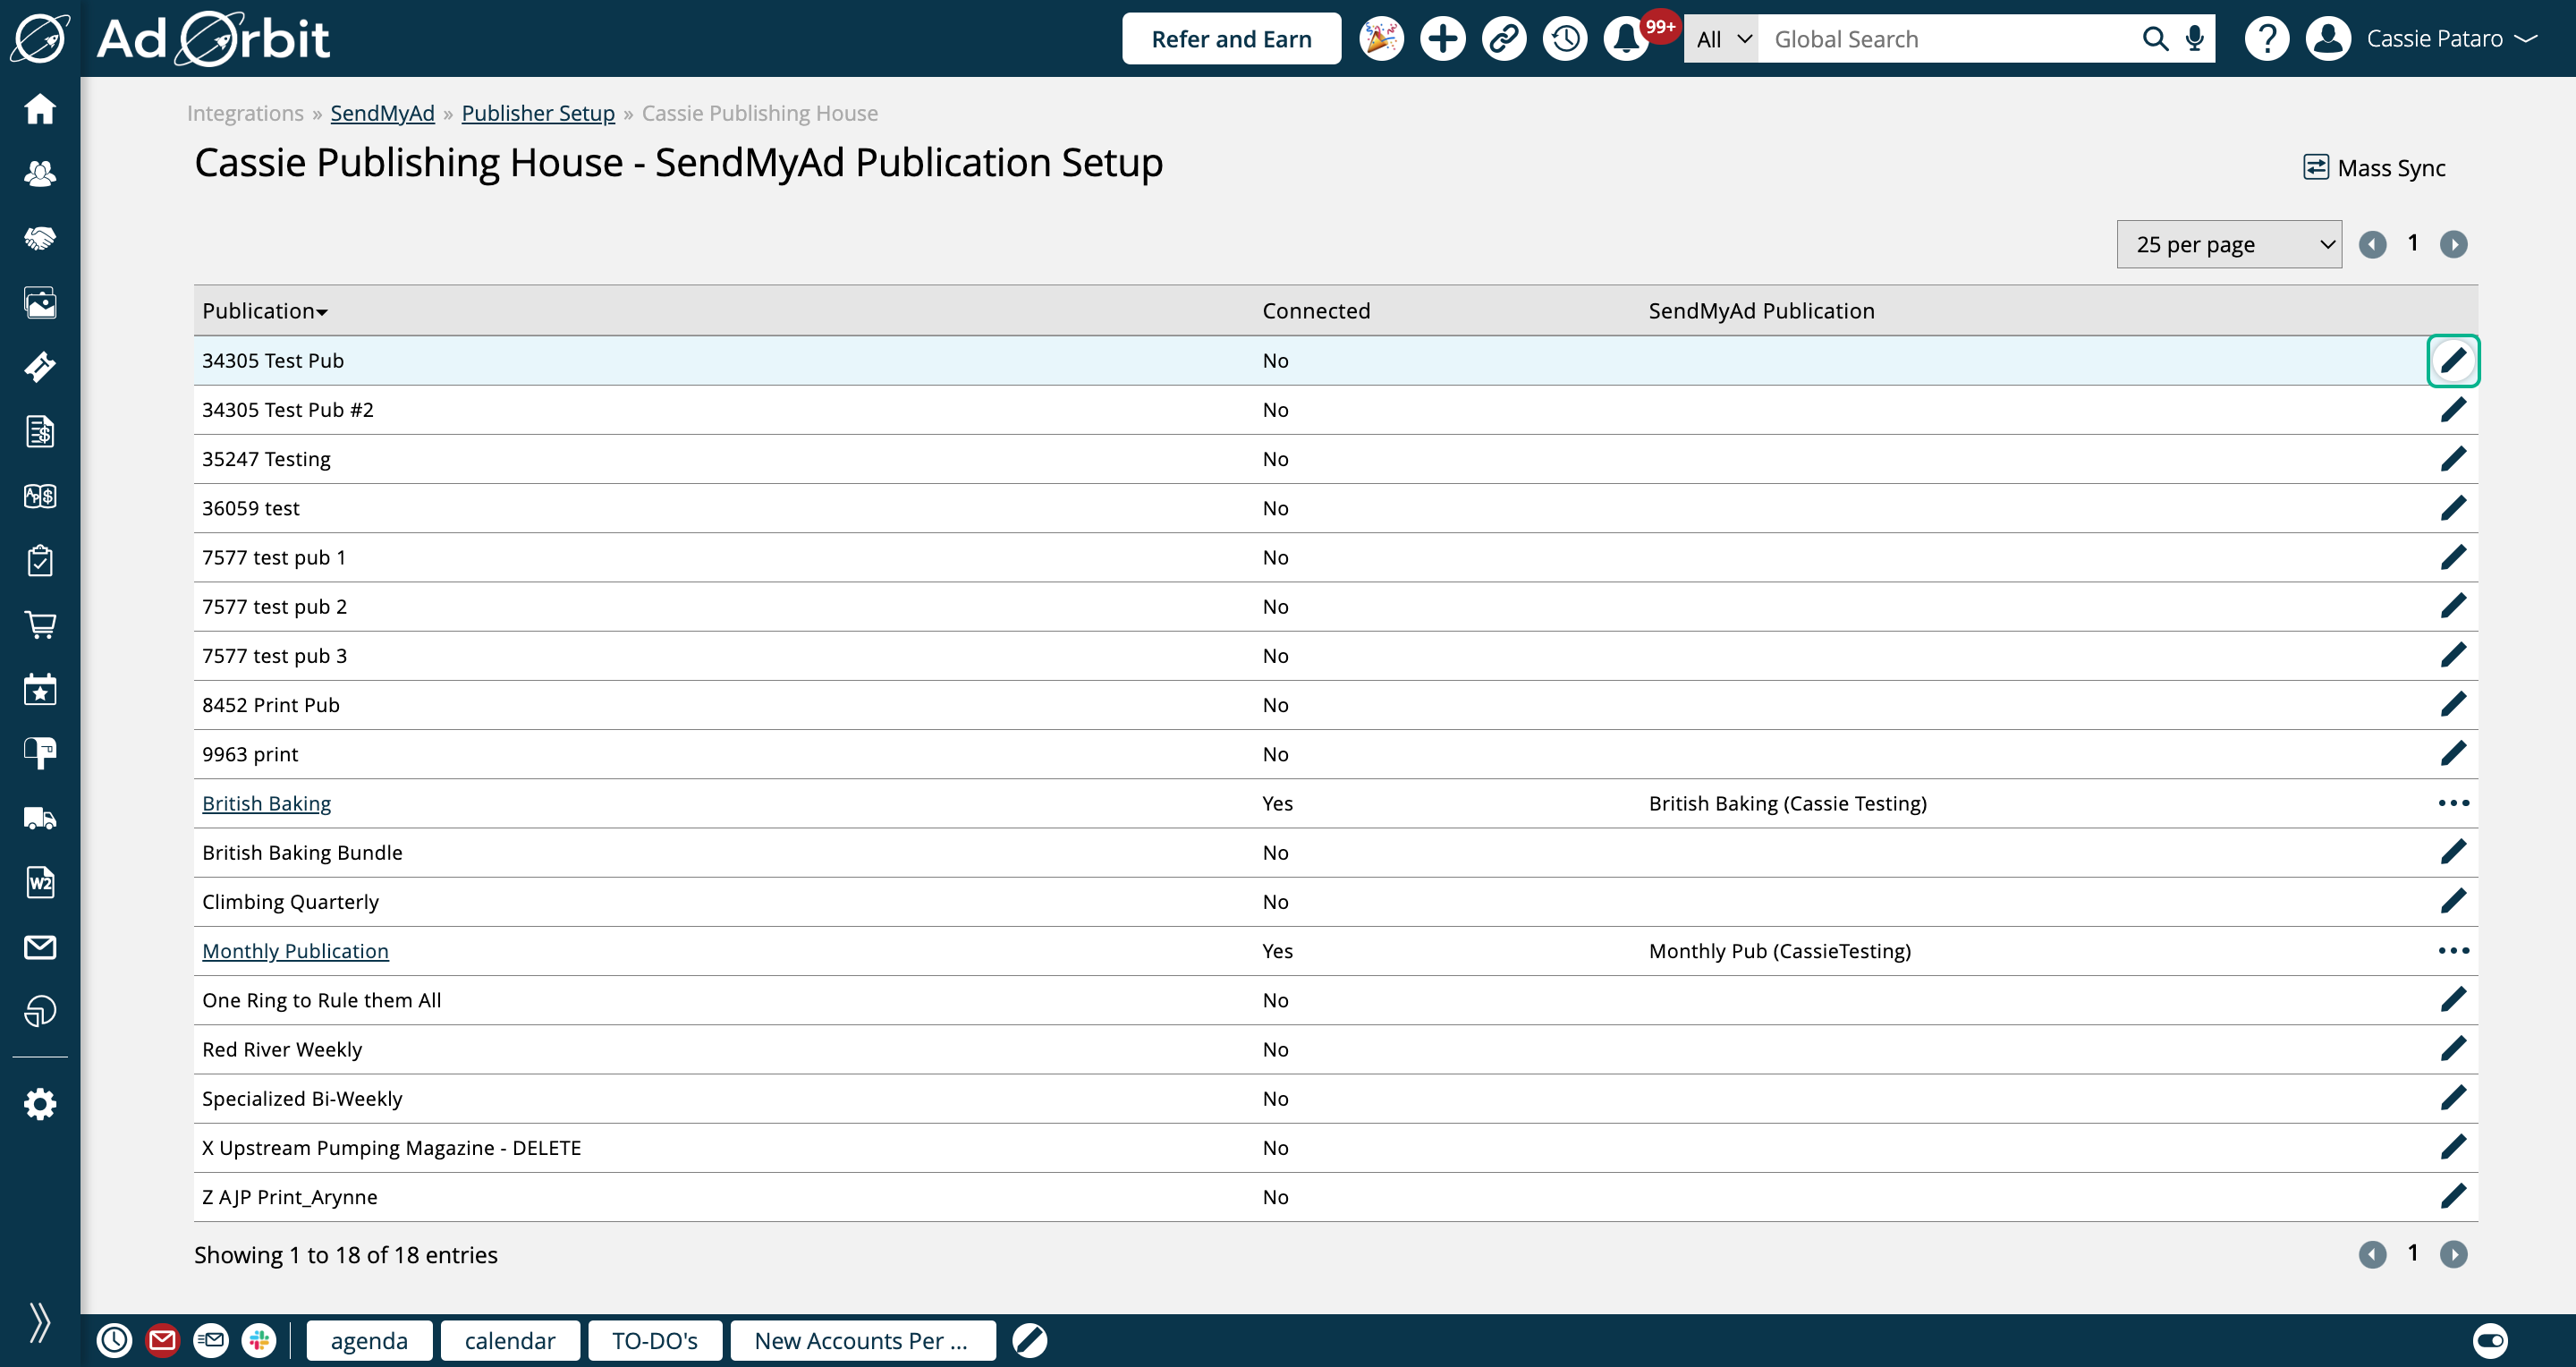
The Publication Setup table will show every print publication associated with your connected publisher. Click the edit icon to connect a publication.
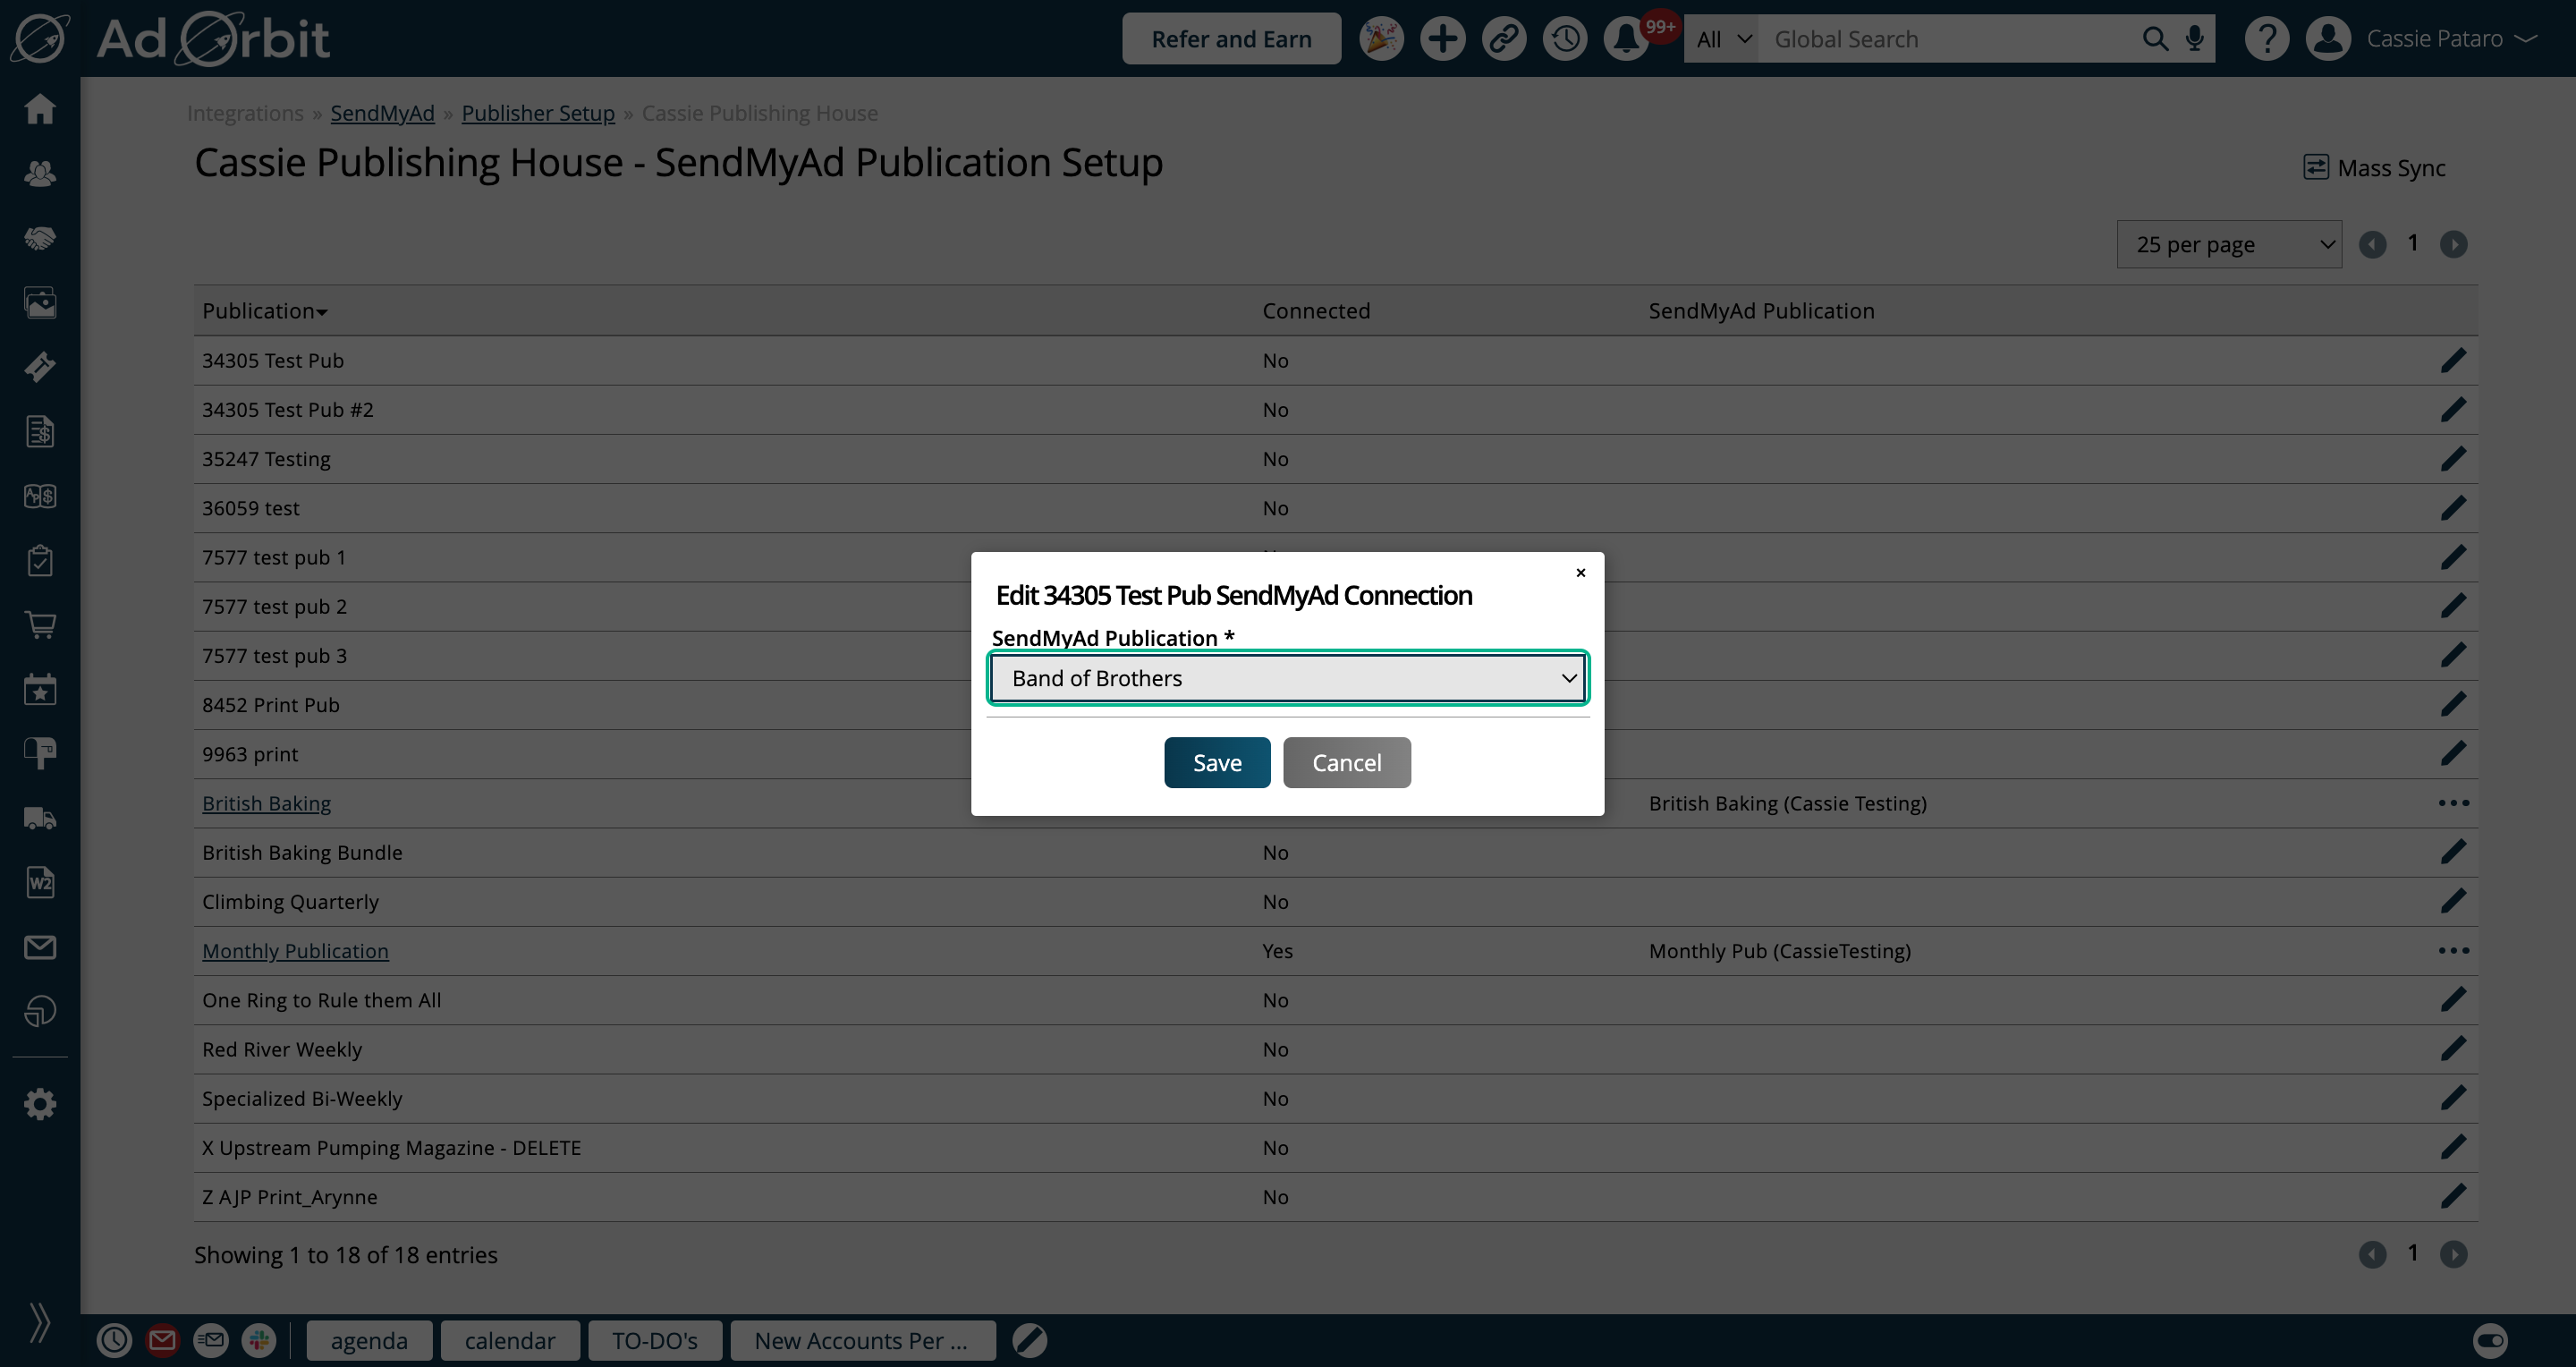
In the popup, you can choose from any of your SendMyAd publications for that publisher. If you are connecting a digital publication, you must also specify the SendMyAd Media Profile.
Once your publication is connected, click the publication name or the gear icon to continue to the Issue, Ad Size, and Color Setup. The Issues, Ad Sizes, and Colors must be connected per publication.
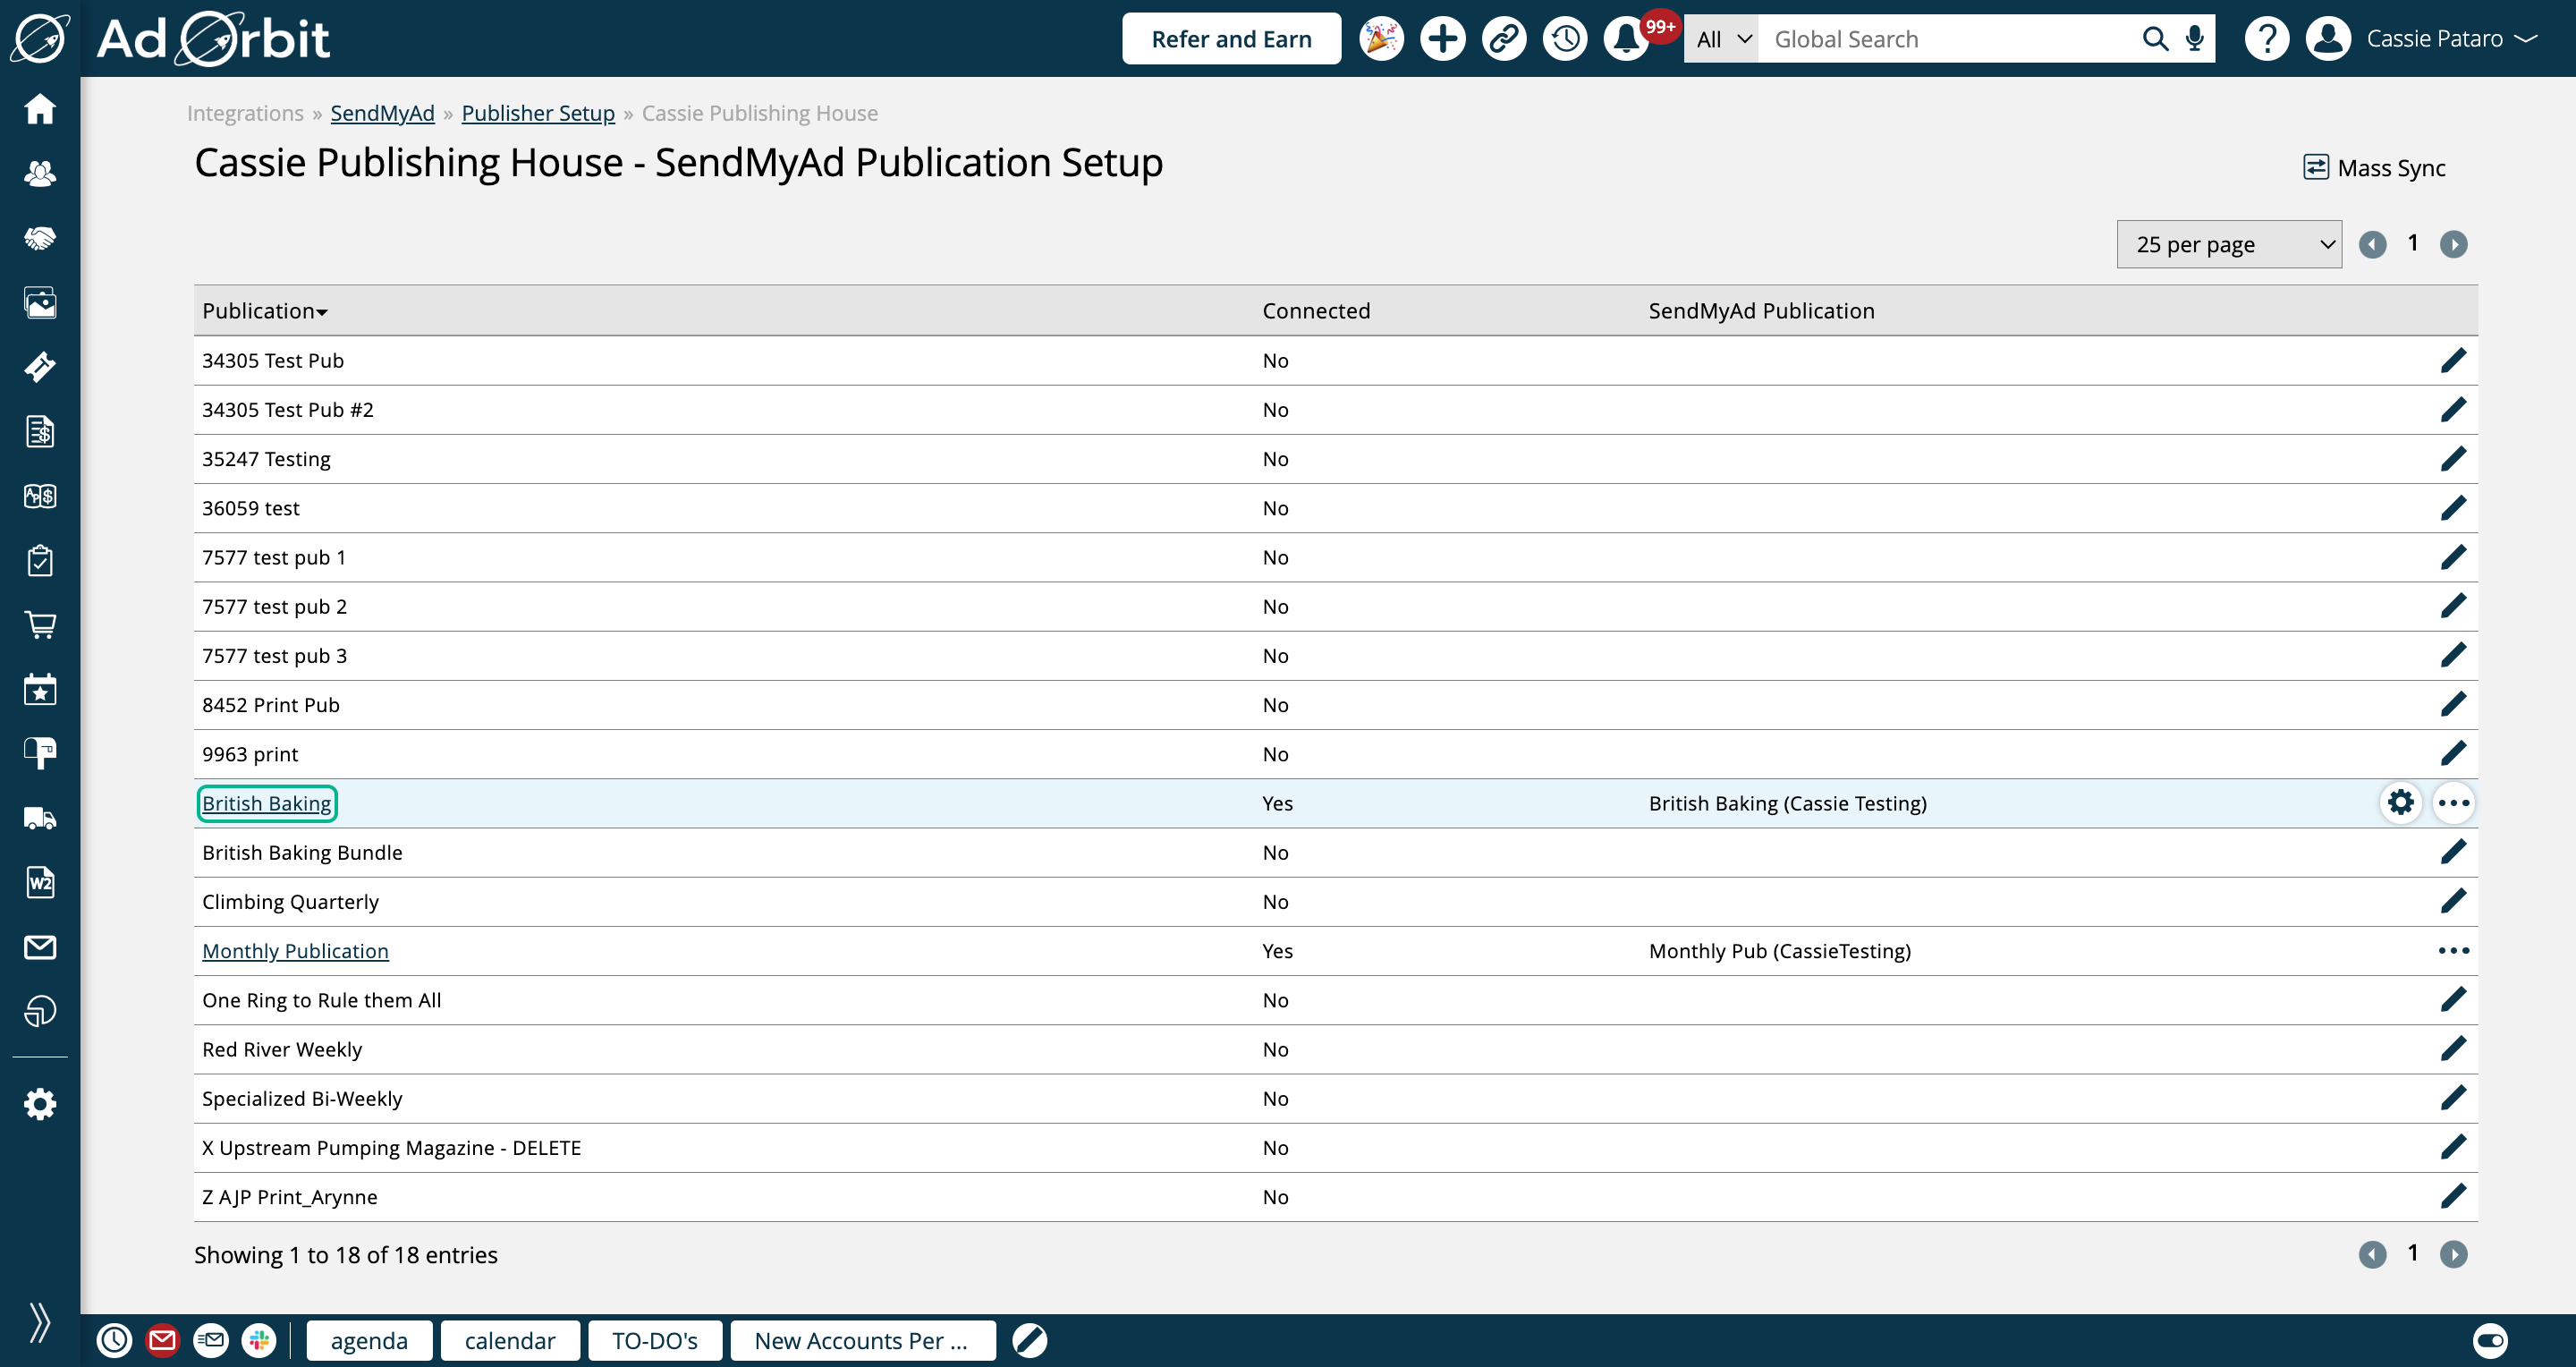
On this page, there are three tabs for print publications: Issues, Ad Sizes, and Colors. For digital publications you will only see an Ad Size tab.
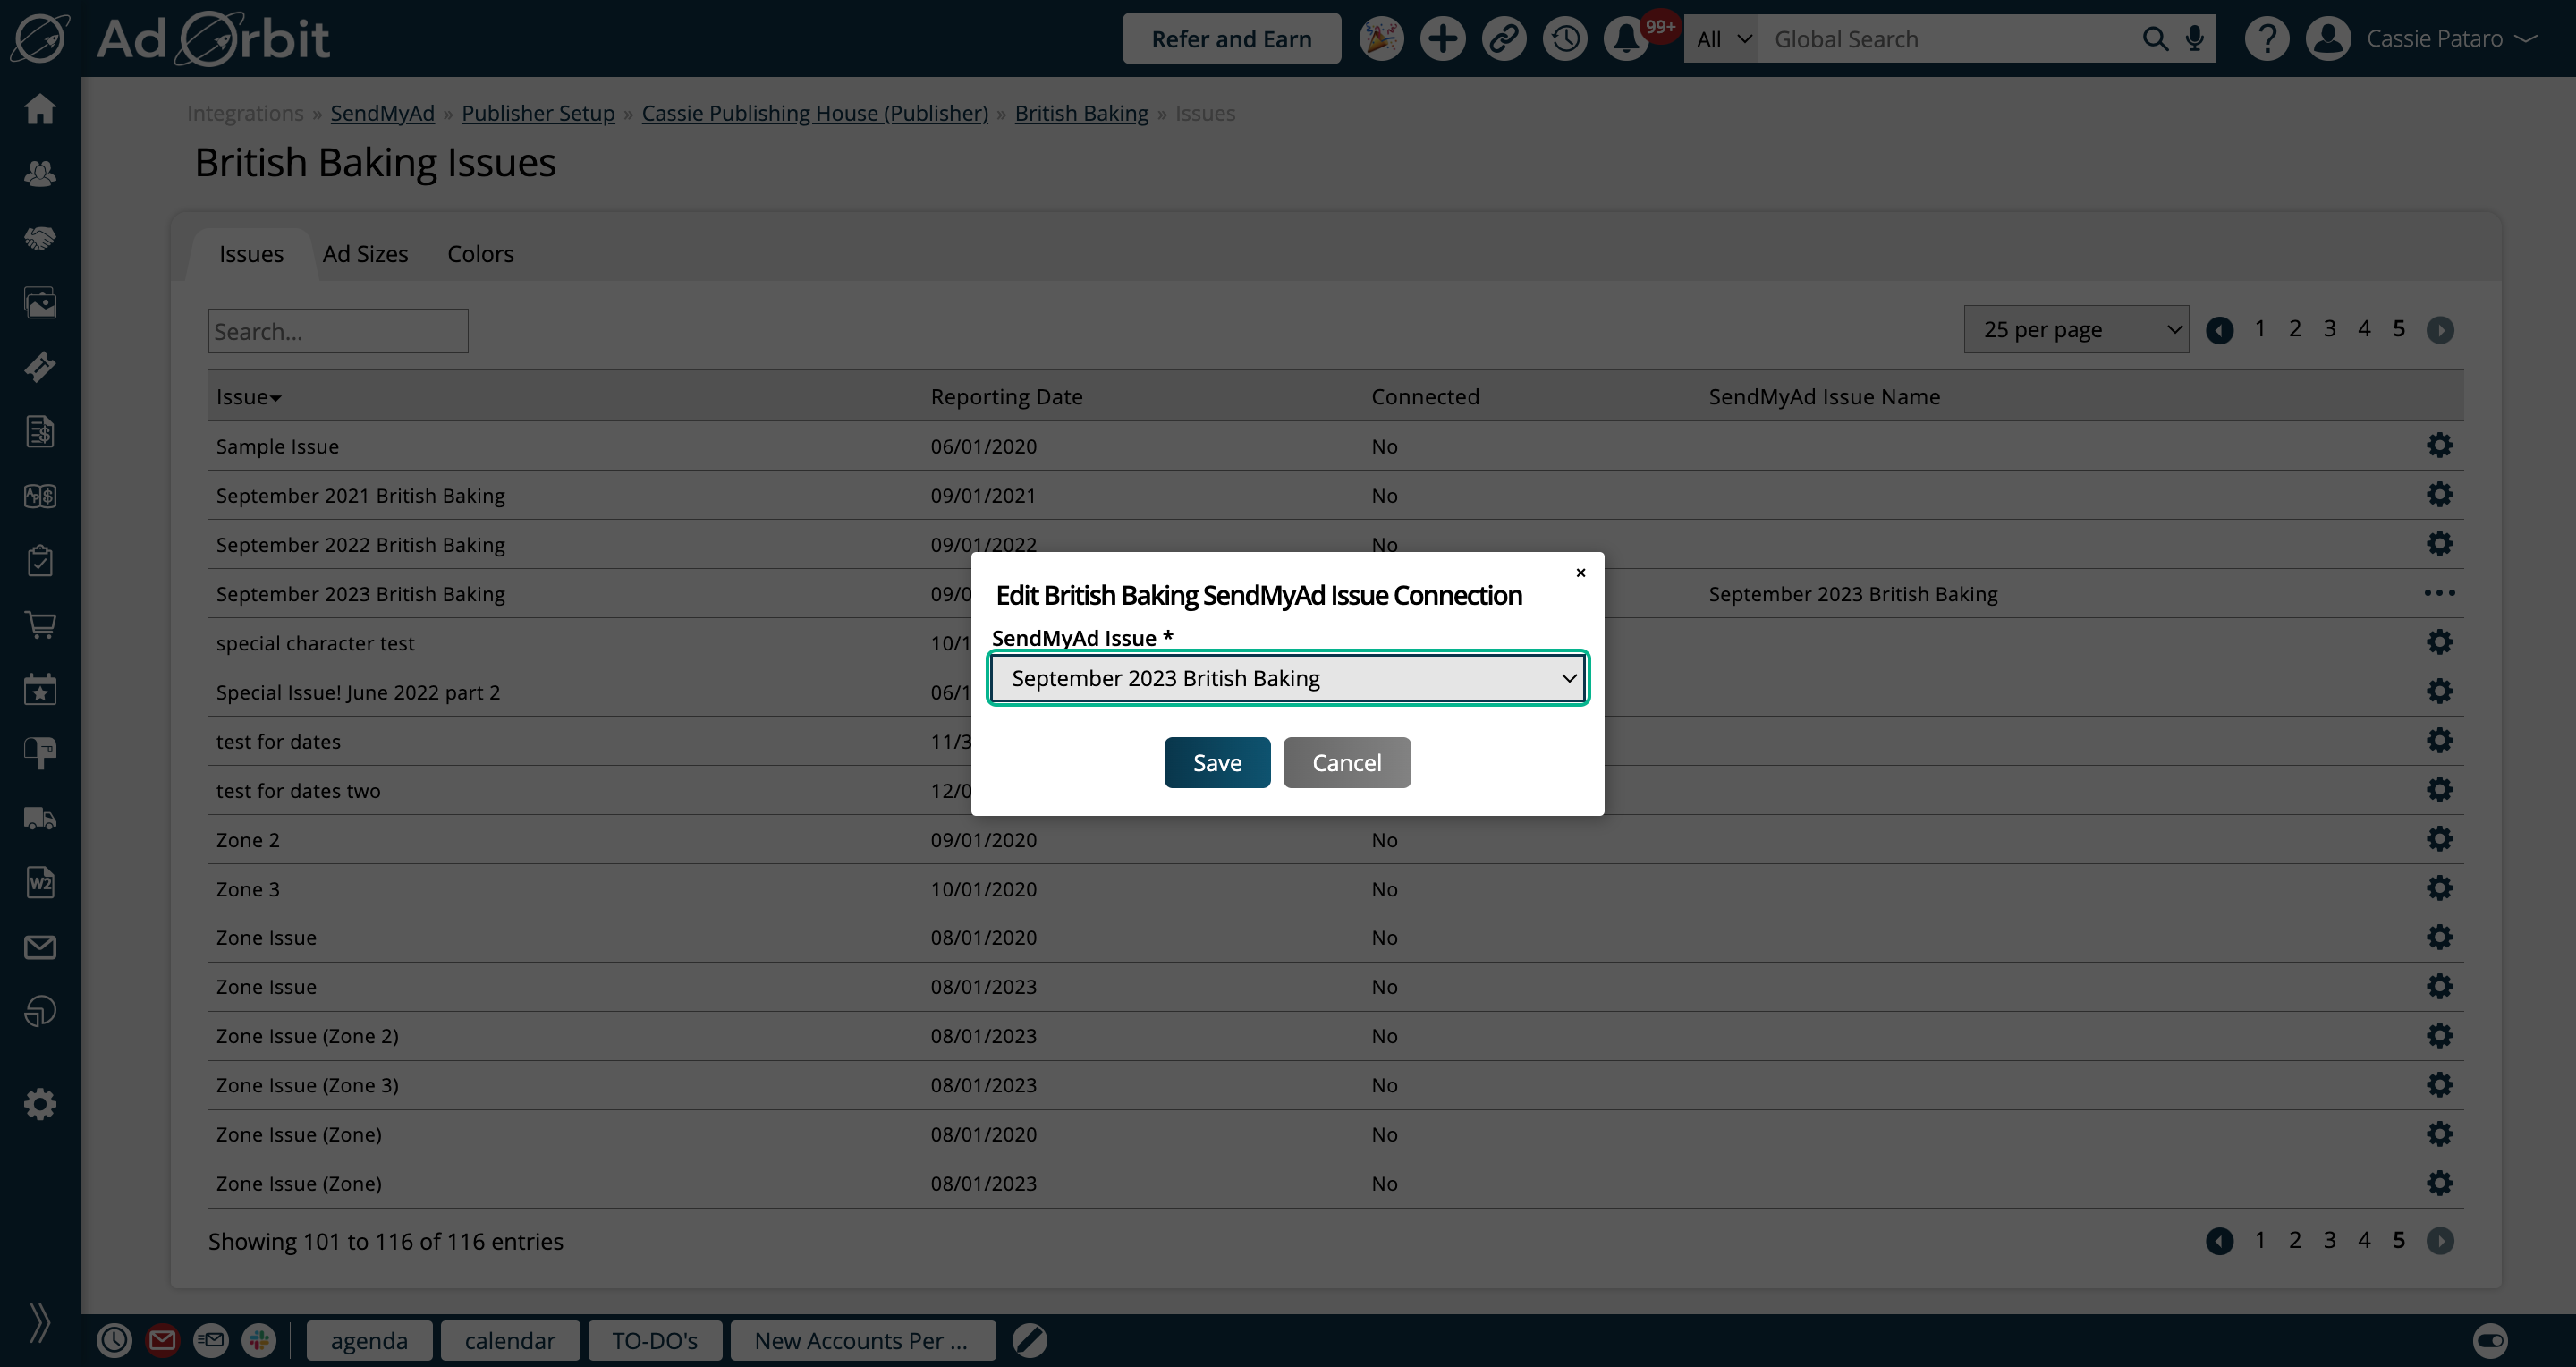
The issues that display are all of your Ad Orbit issues associated with your connected publication. To connect an Ad Orbit issue with a SendMyAd issue, click the gear icon.
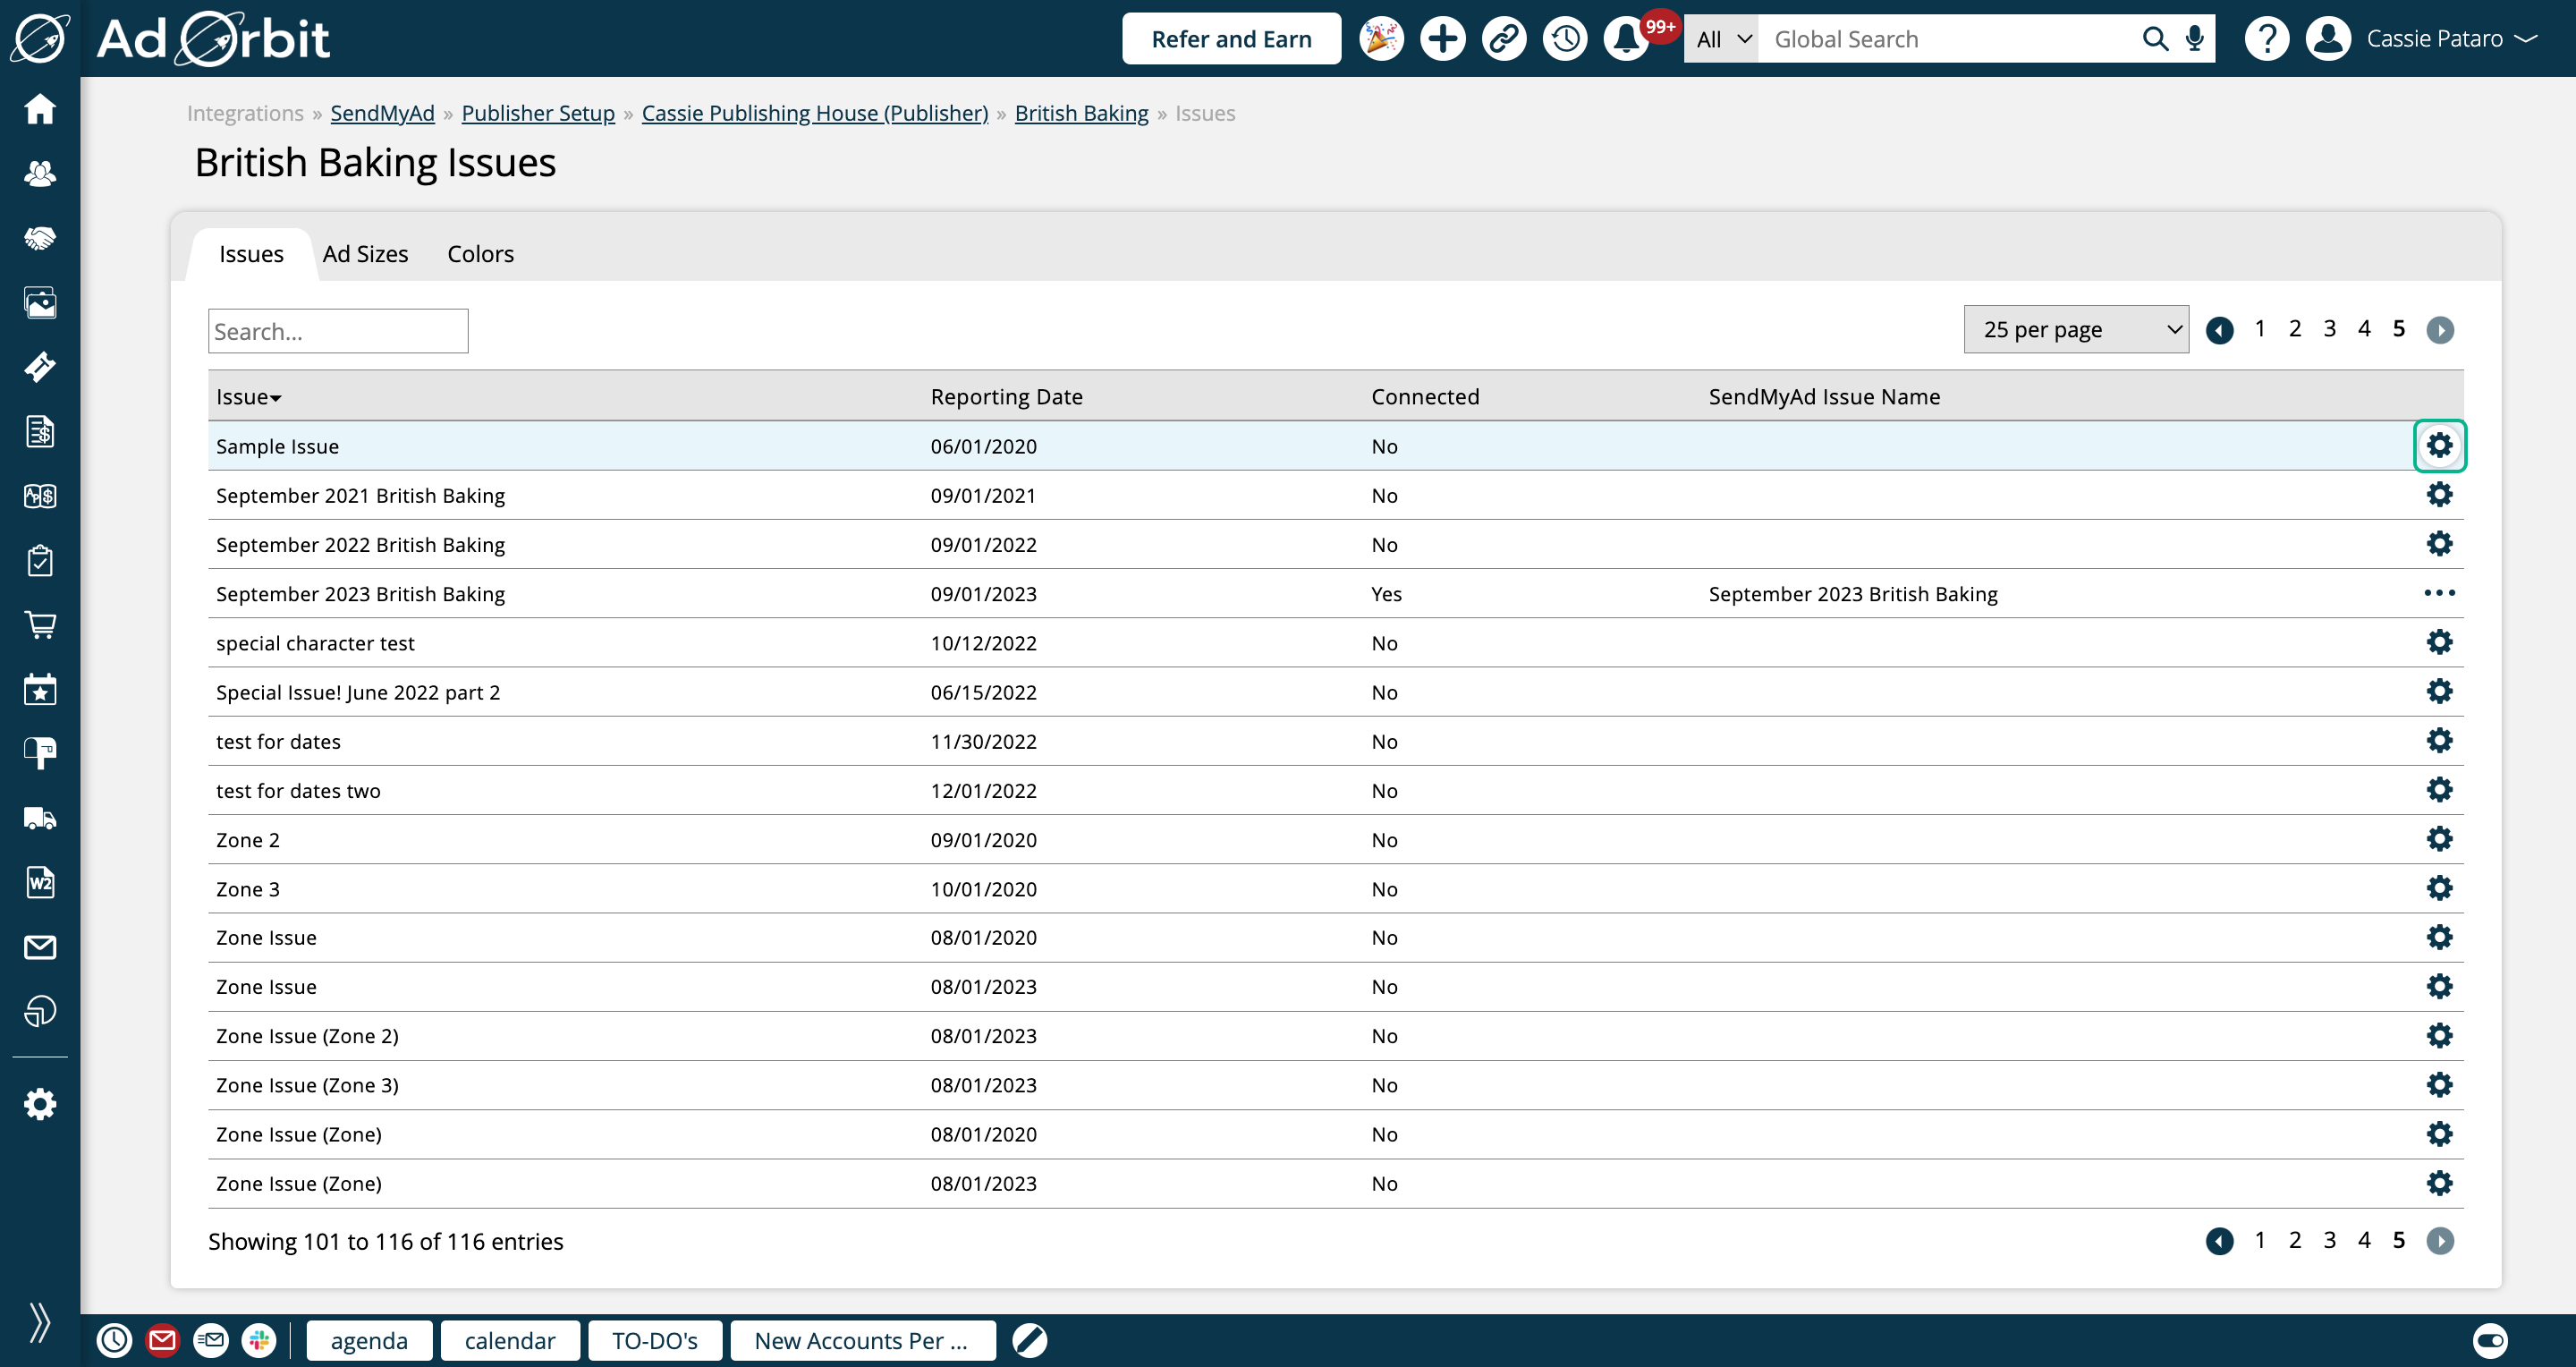
In the popup, choose which SendMyAd issue to connect.
The Ad Sizes table shows every print ad size you have created in your Ad Orbit instance.
To map your ad sizes, click the gear icon.
Note
Ad Orbit ad sizes are set up on the Settings > Products > Rate Card & Ad Setup page.
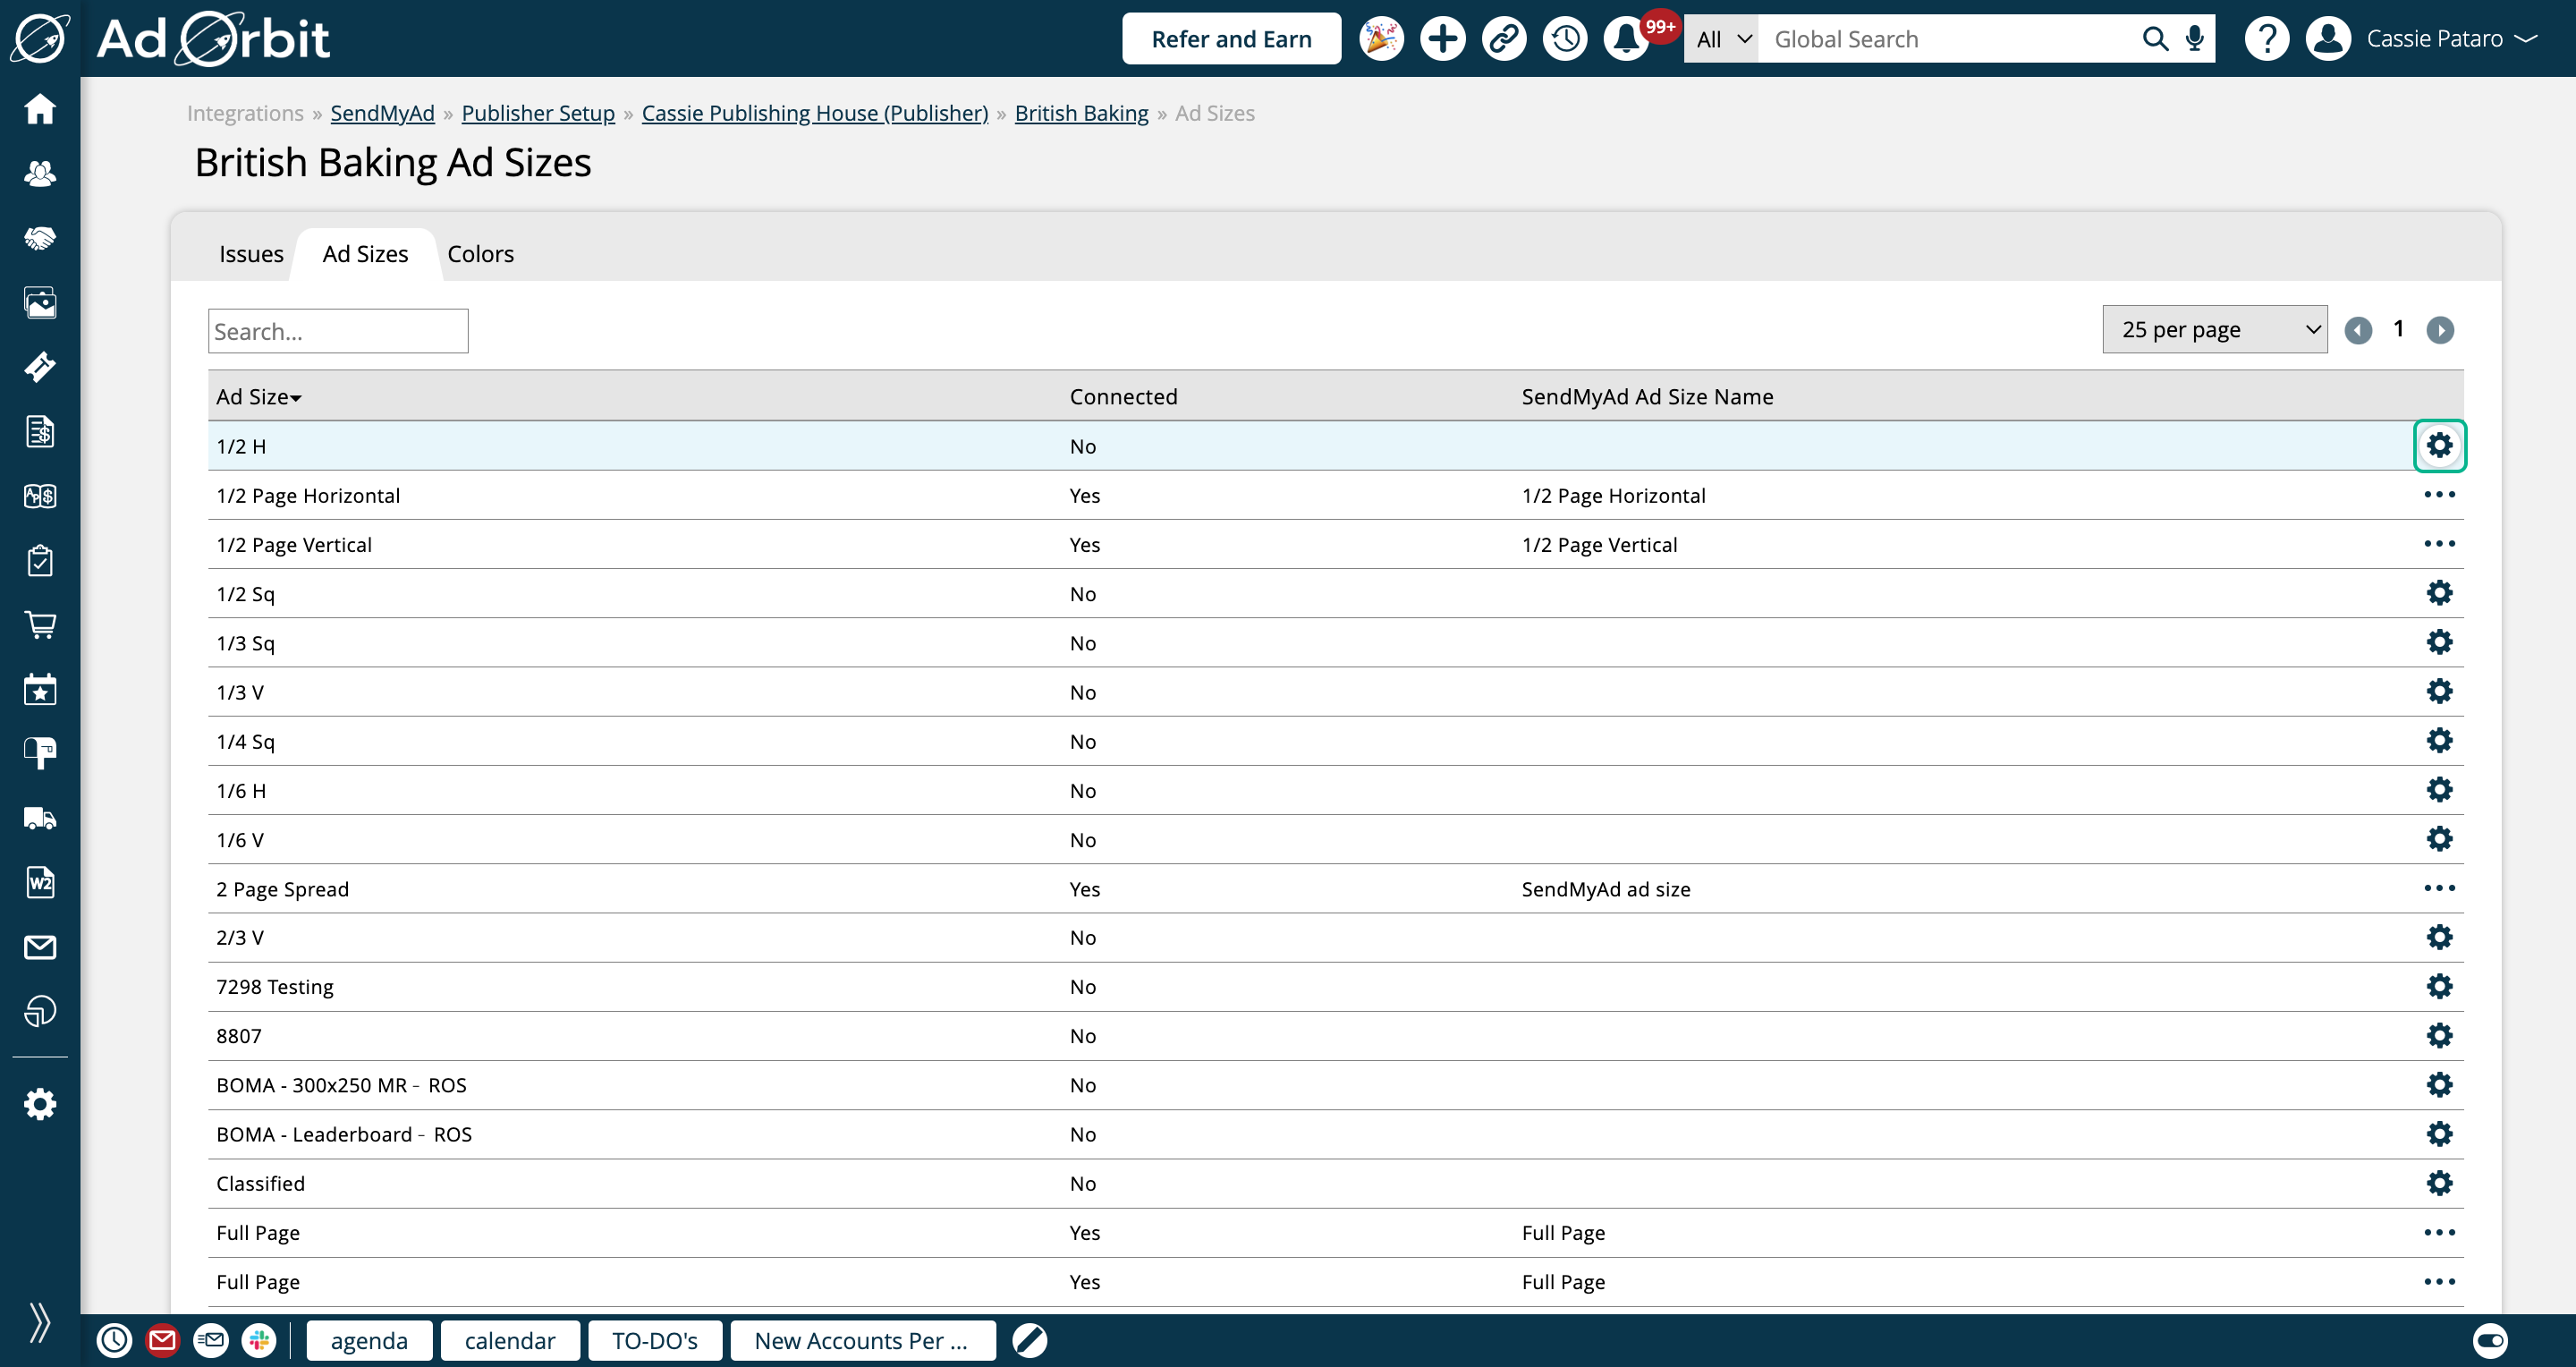
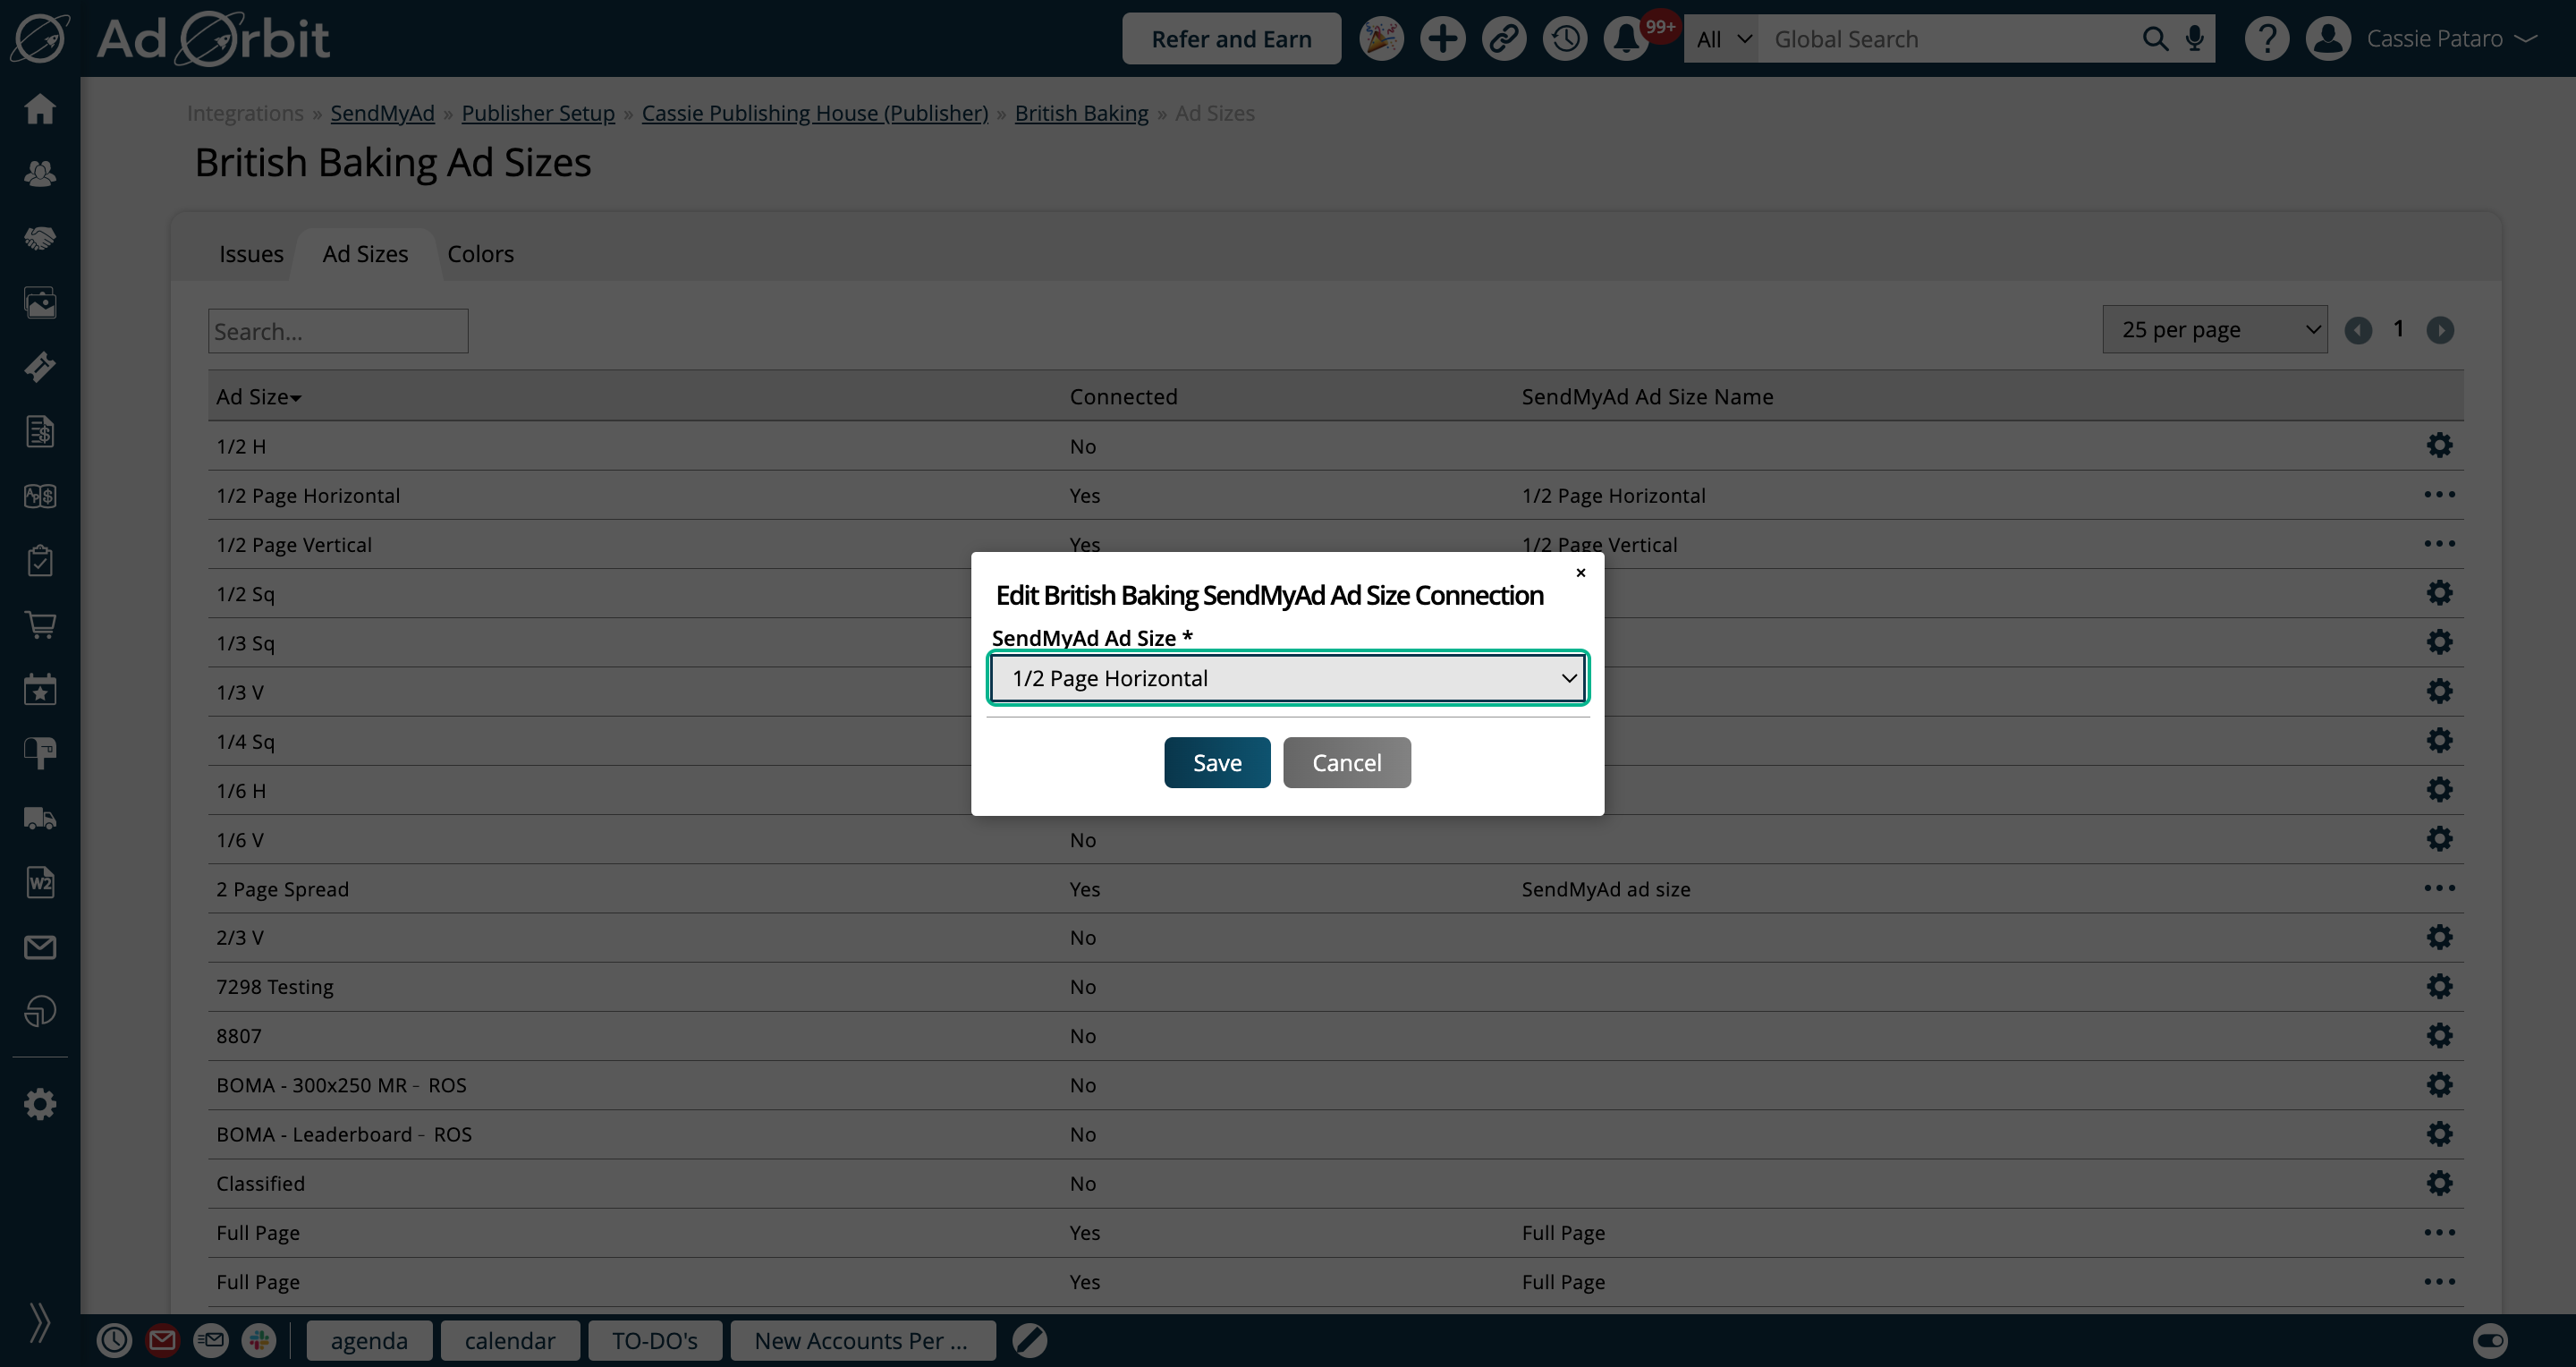
In the popup, you can choose from your SendMyAd ad sizes.
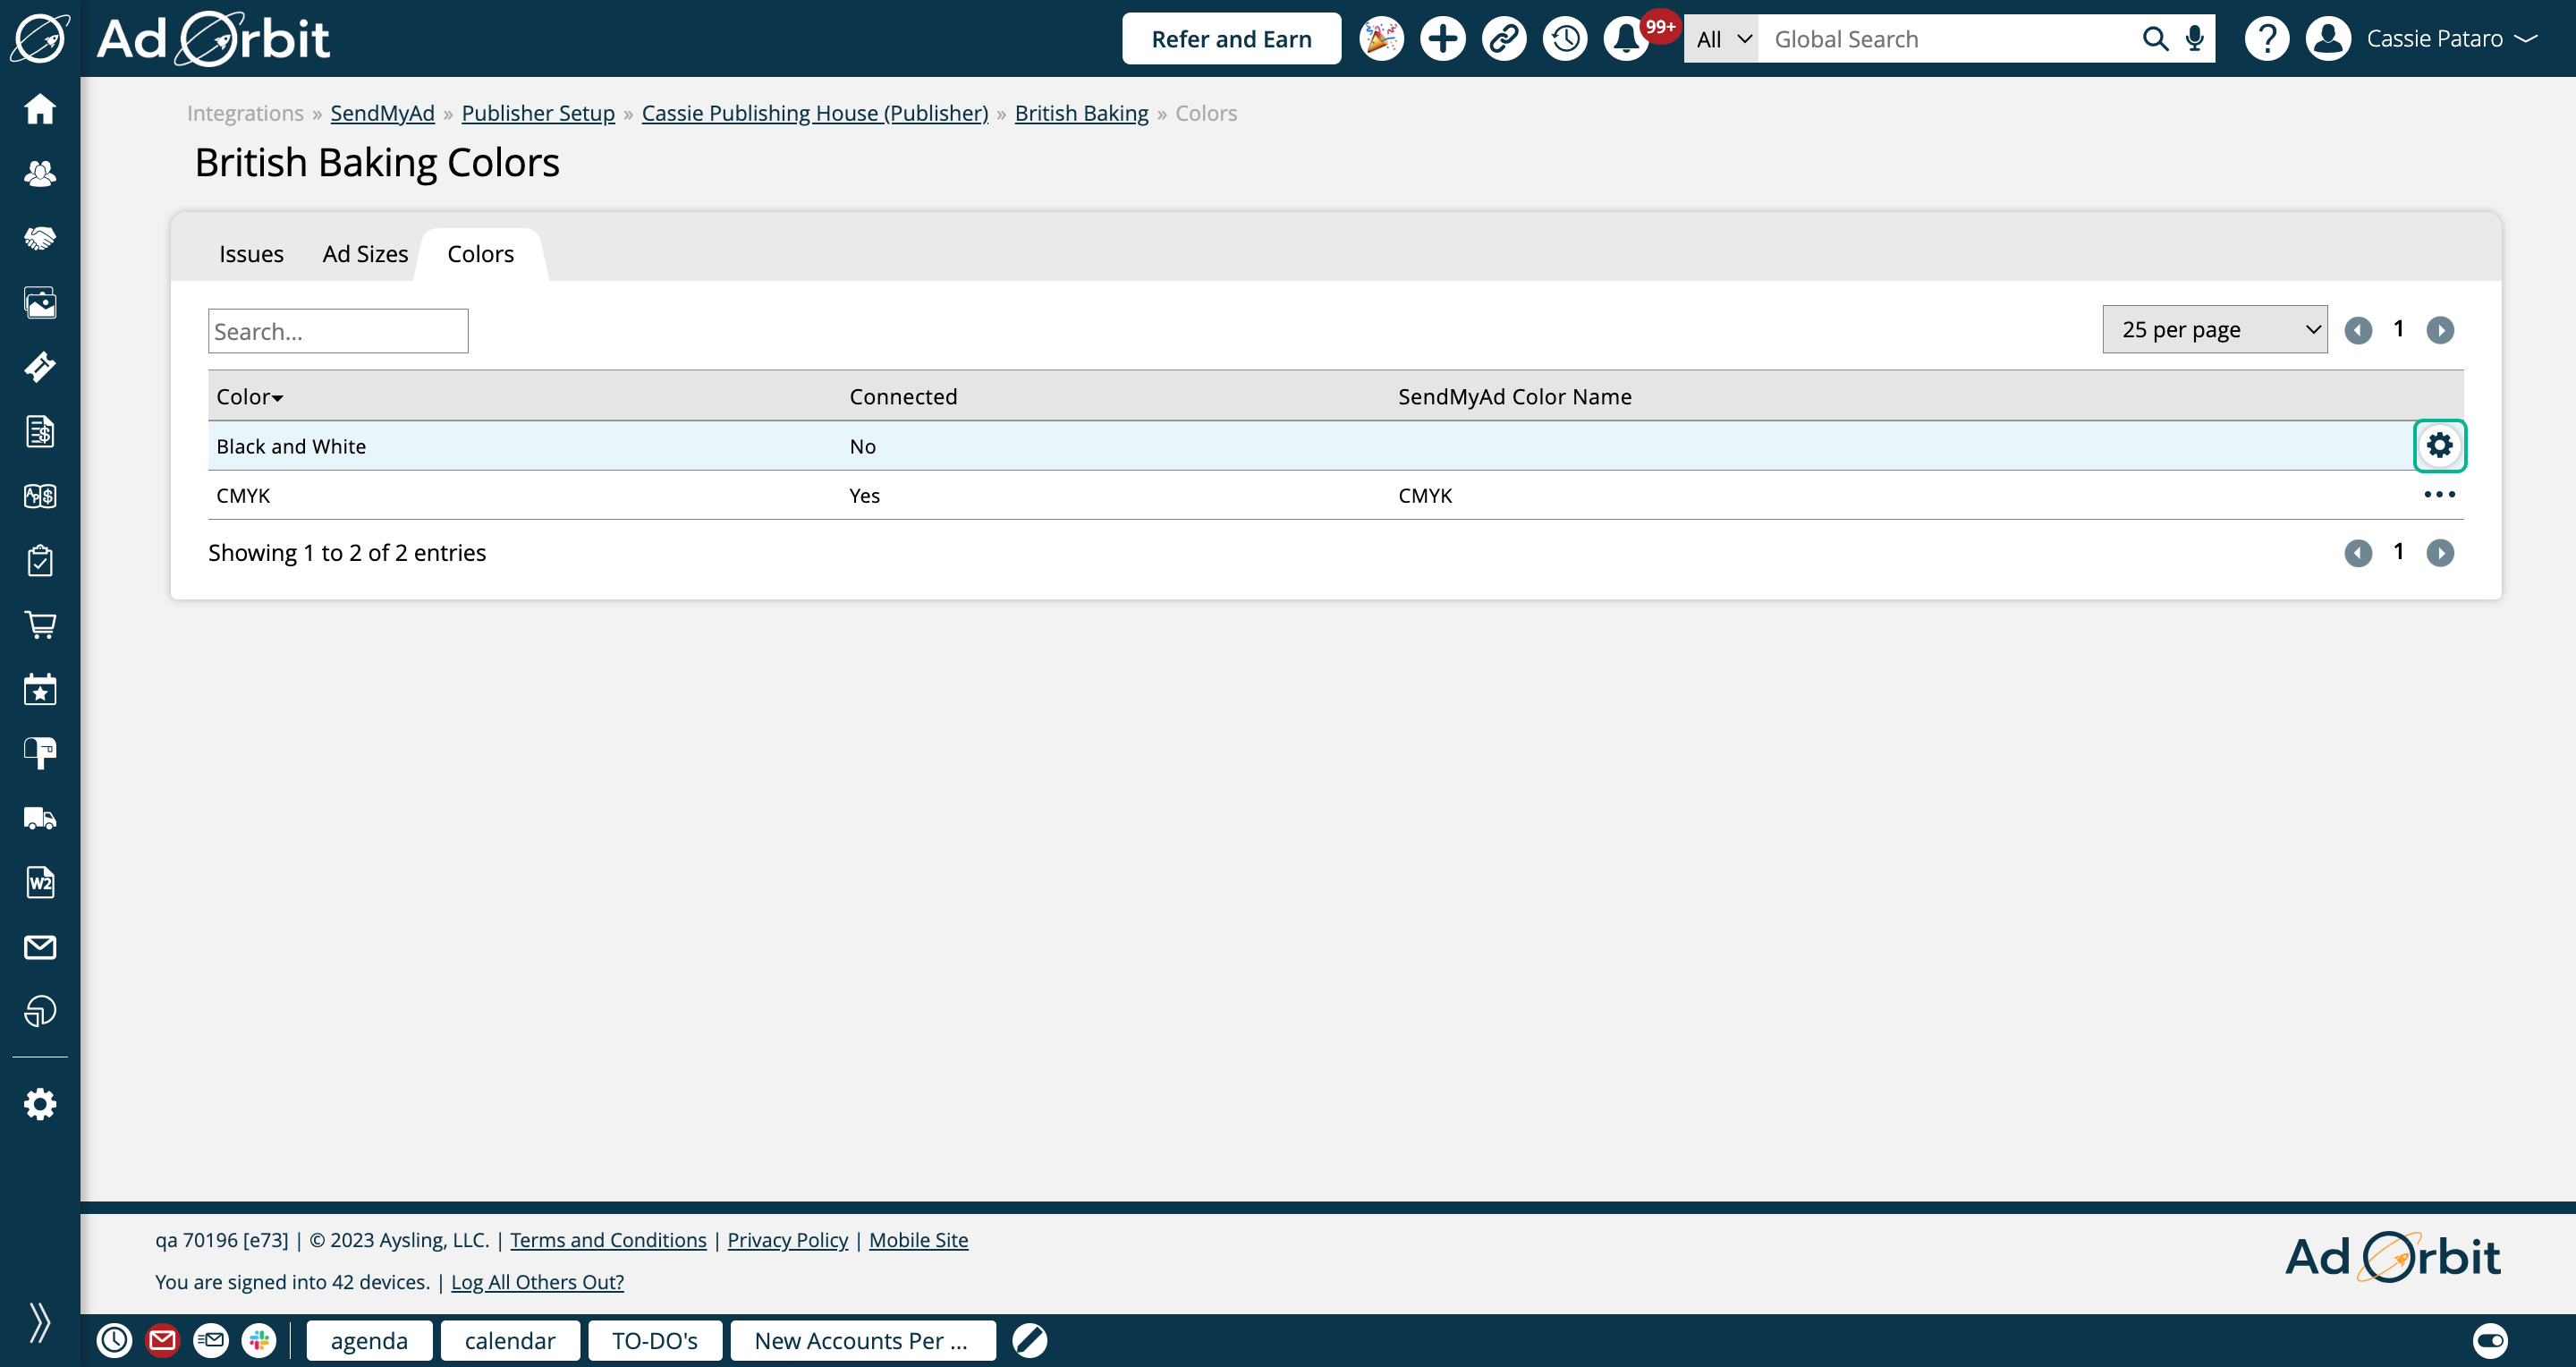
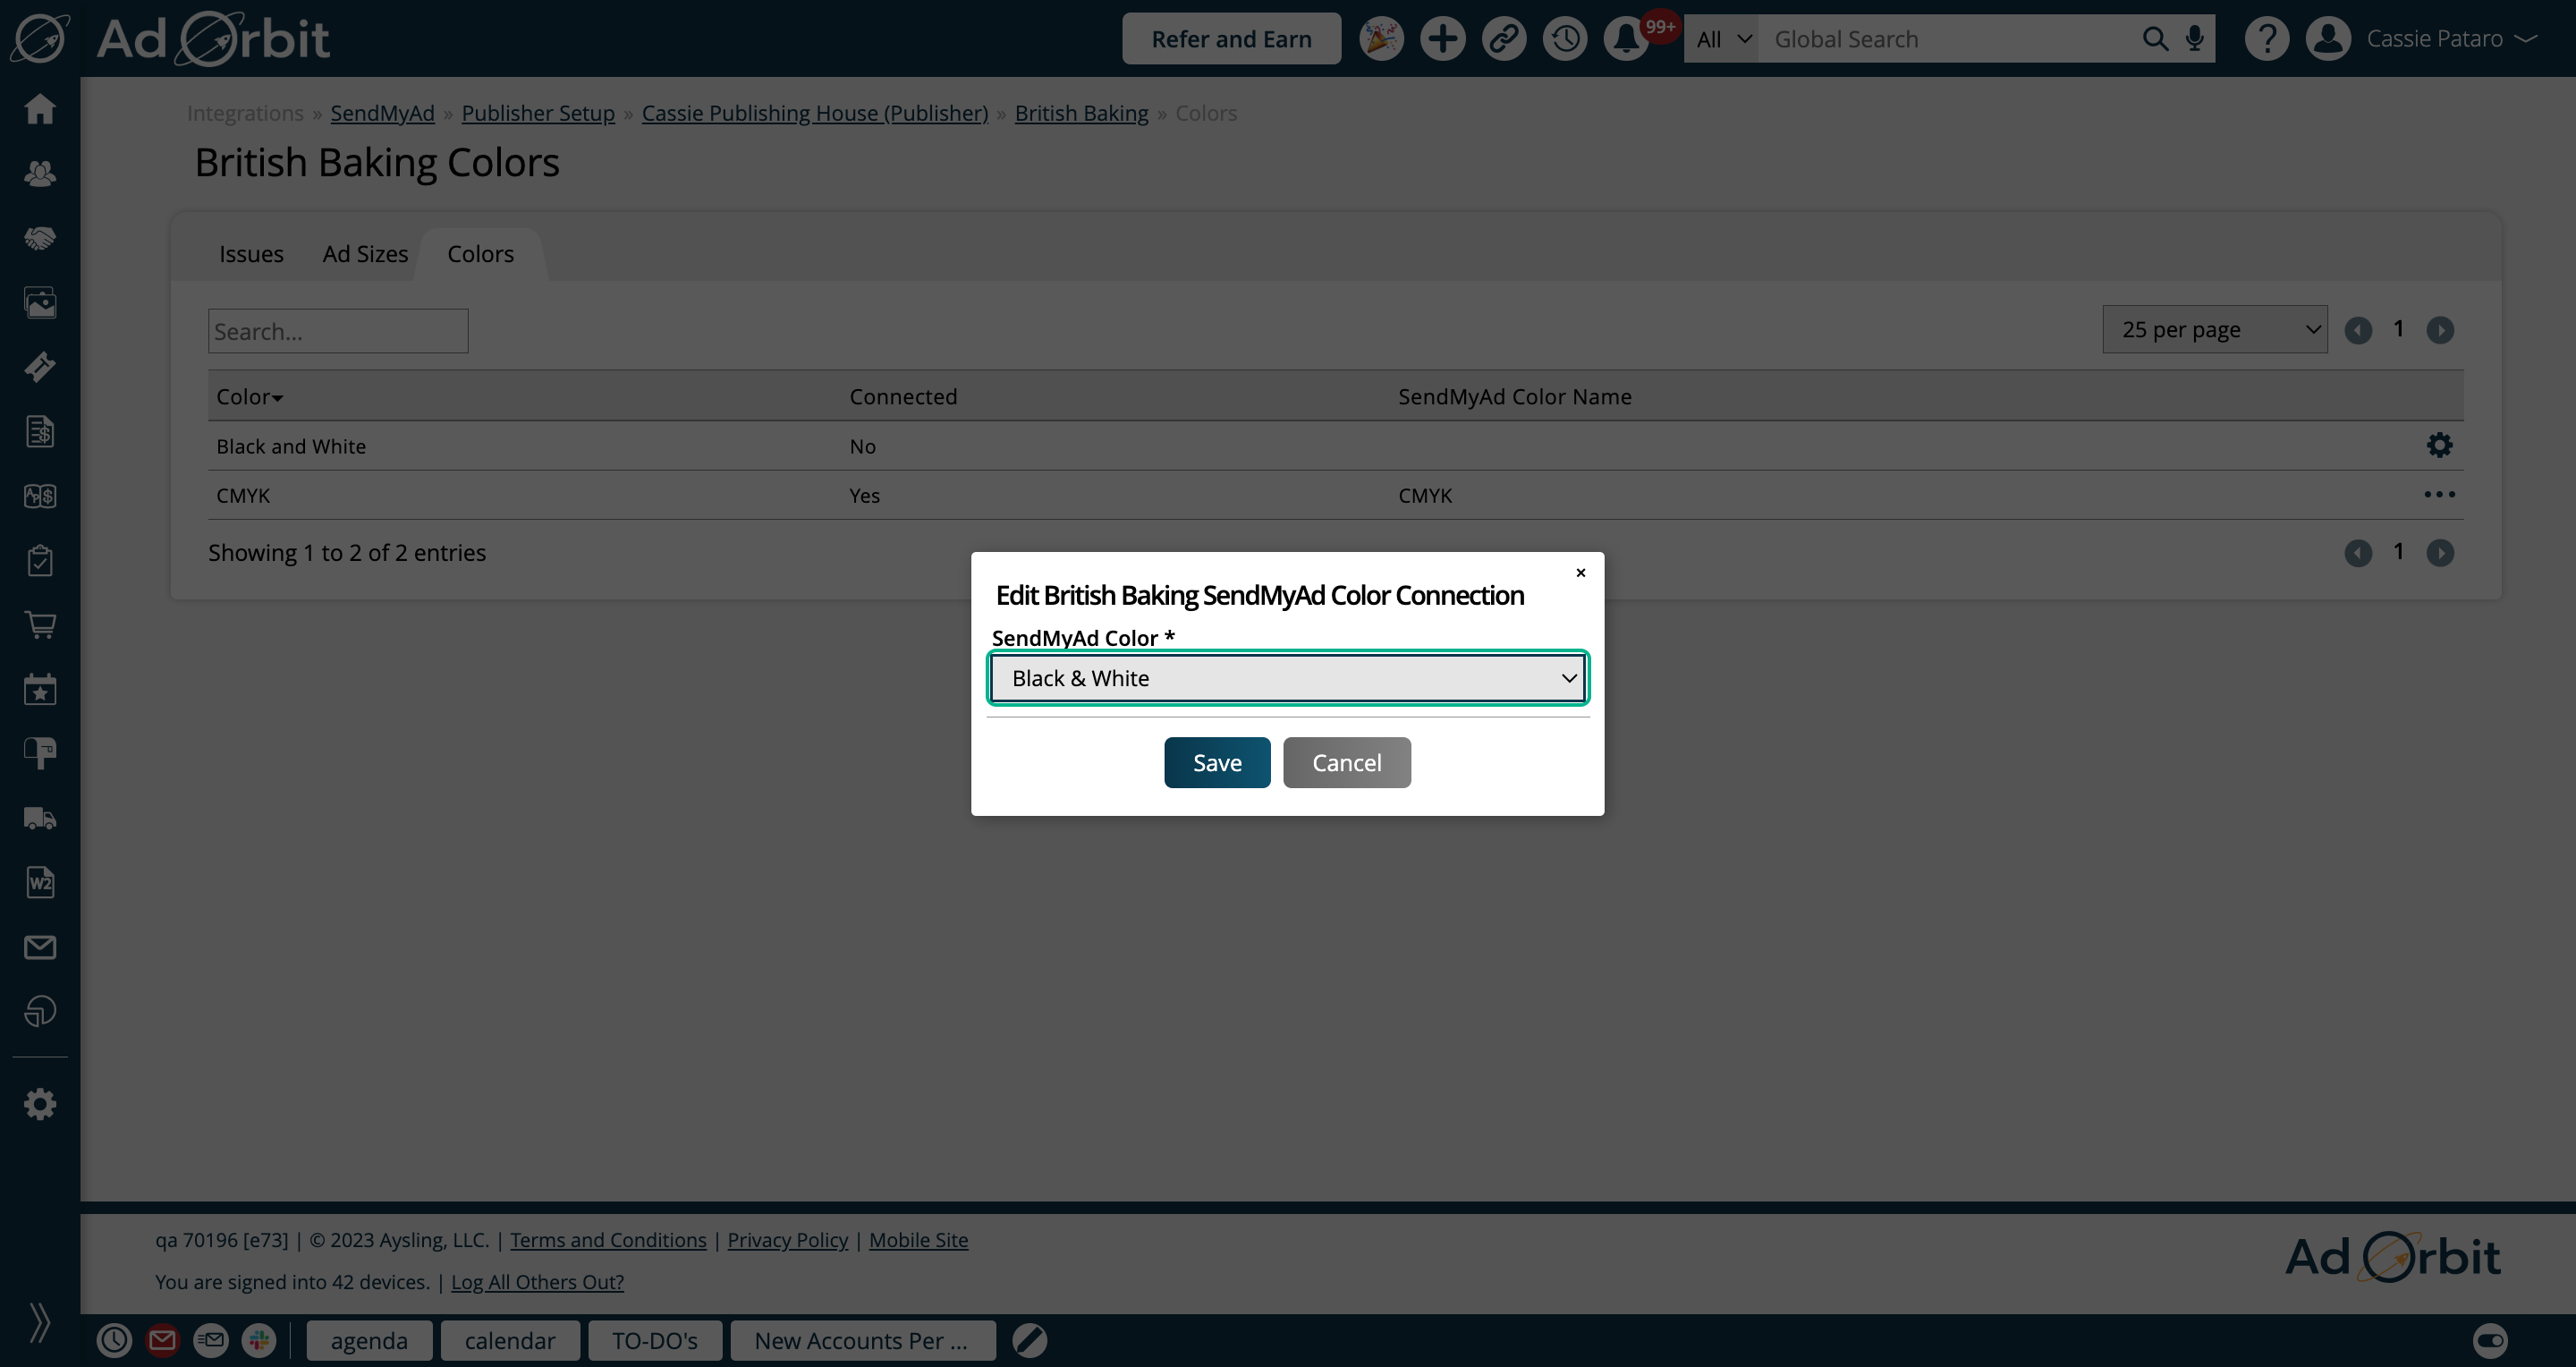
The Colors table shows every print ad color you have created in your Ad Orbit instance.
Click the gear icon on a color to map that Ad Orbit color to a SendMyAd color.
Note
Ad Orbit colors are set up on the Settings > Products > Rate Card & Ad Setup page.
In the popup, you can choose from all of your SendMyAd colors.
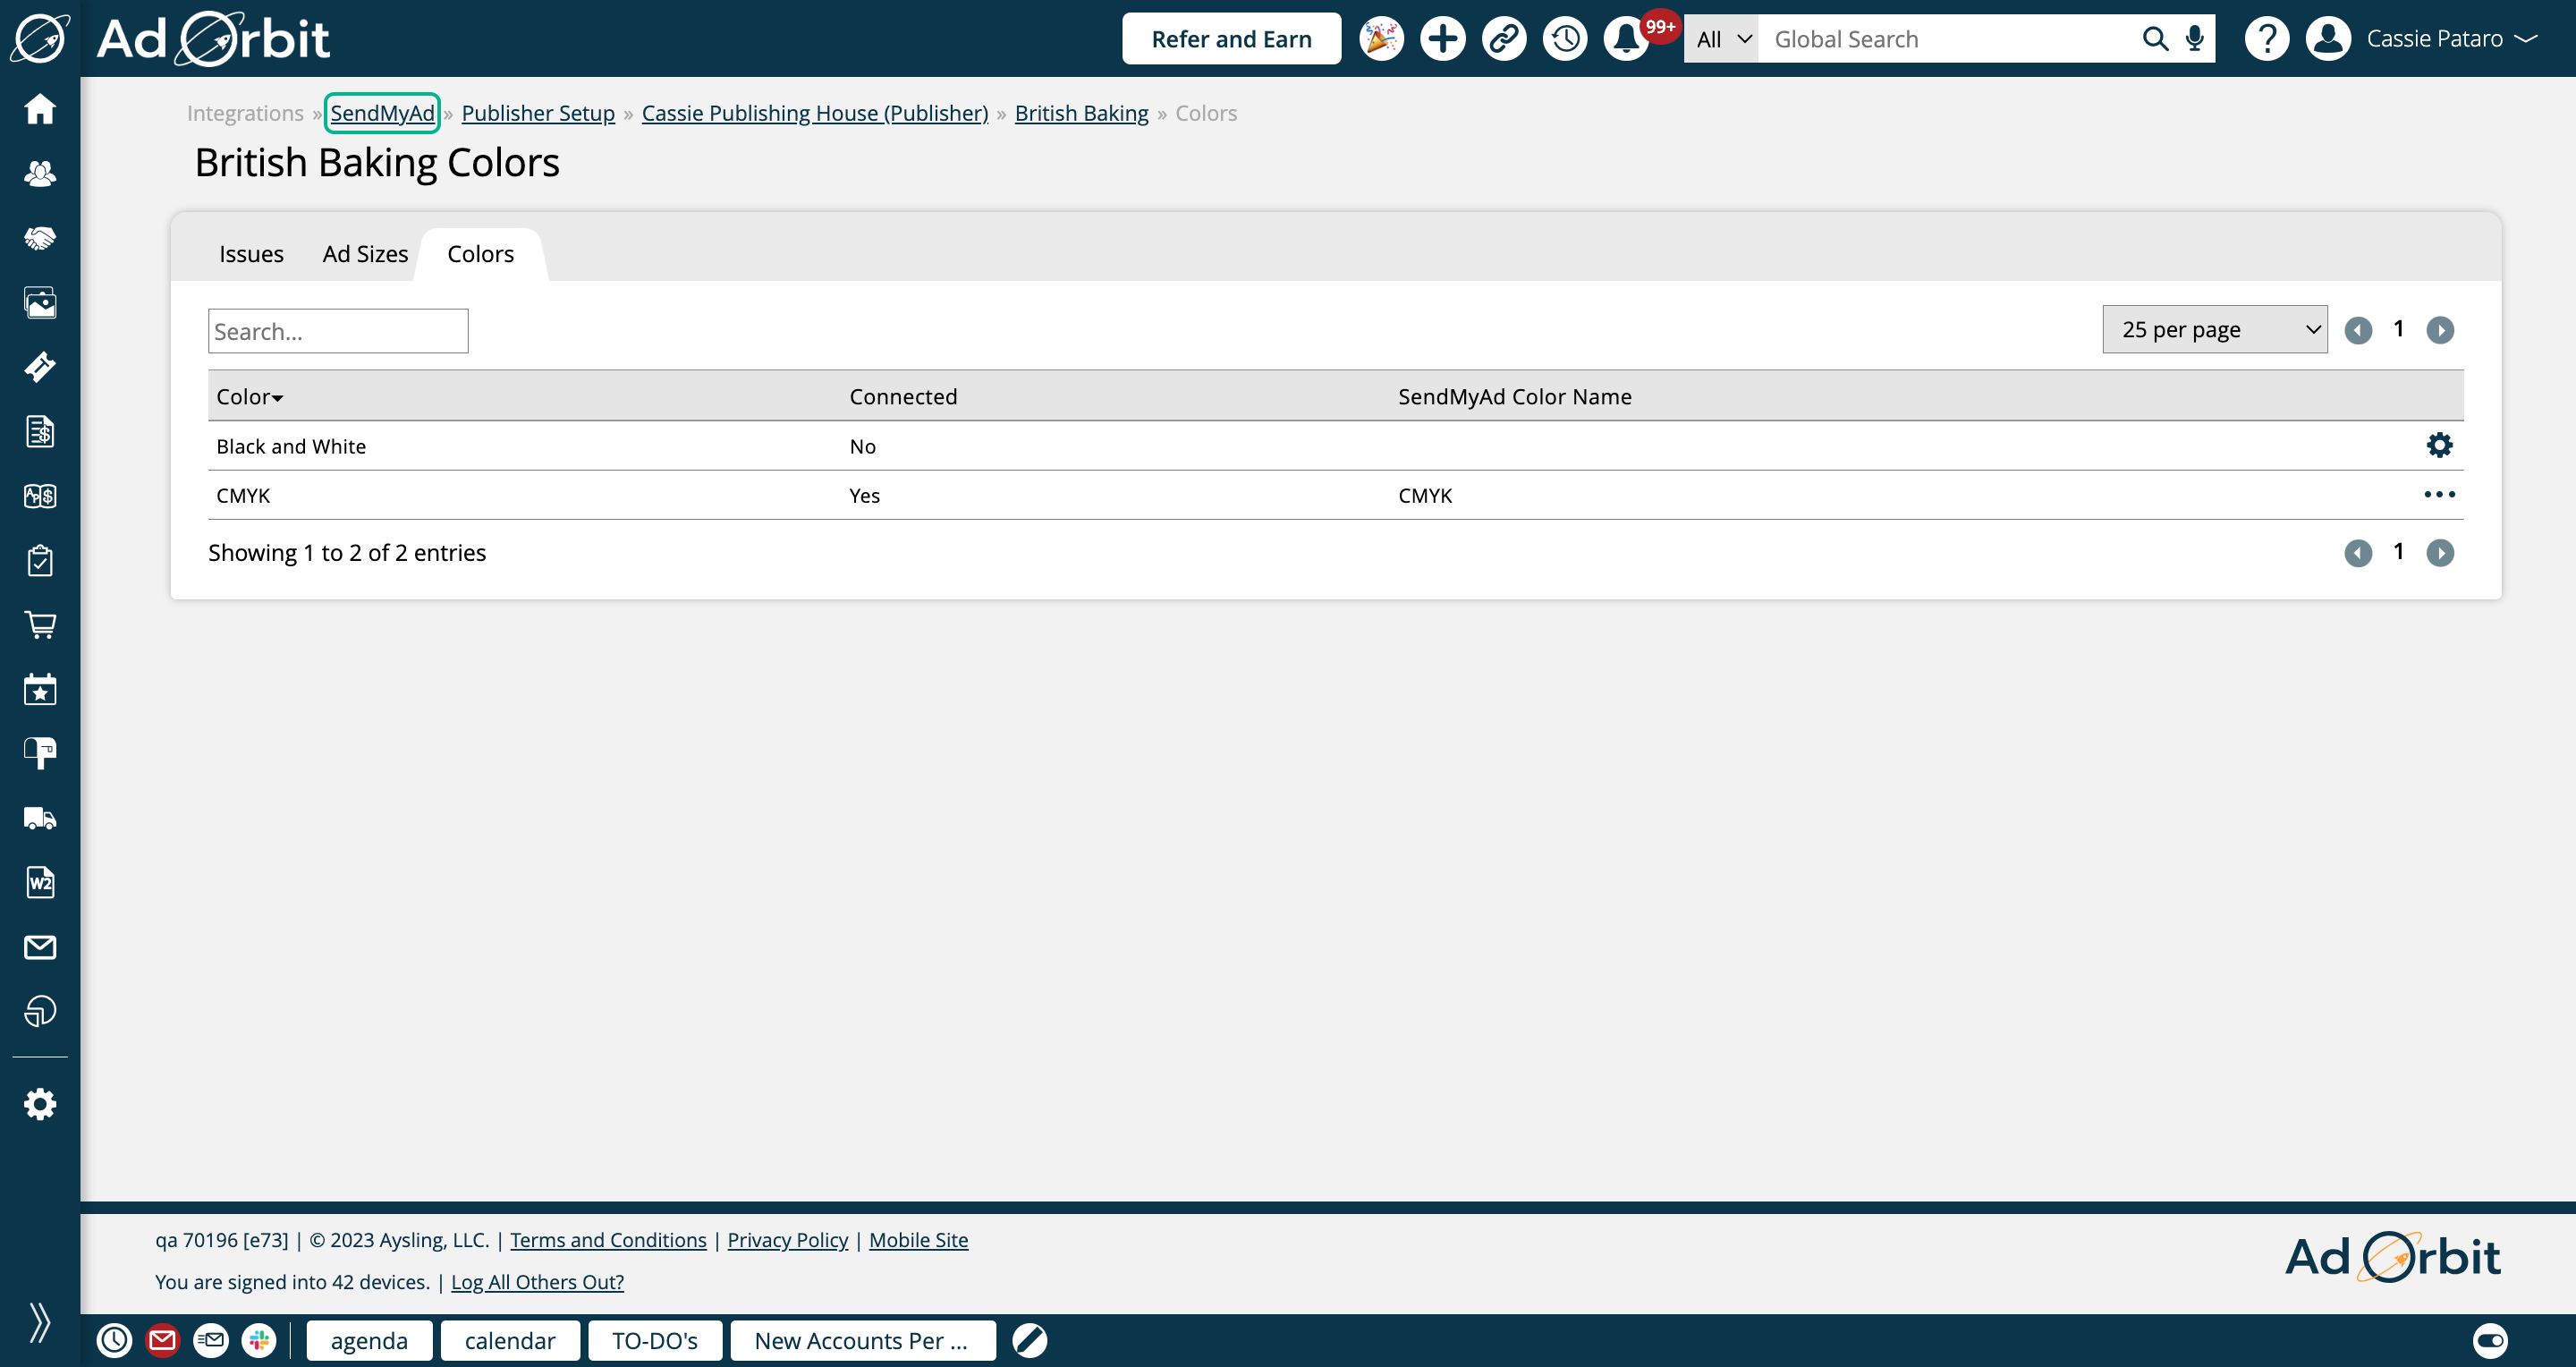
After you have gone through the mapping process for your Publishers, go back to the main SendMyAd setup page.
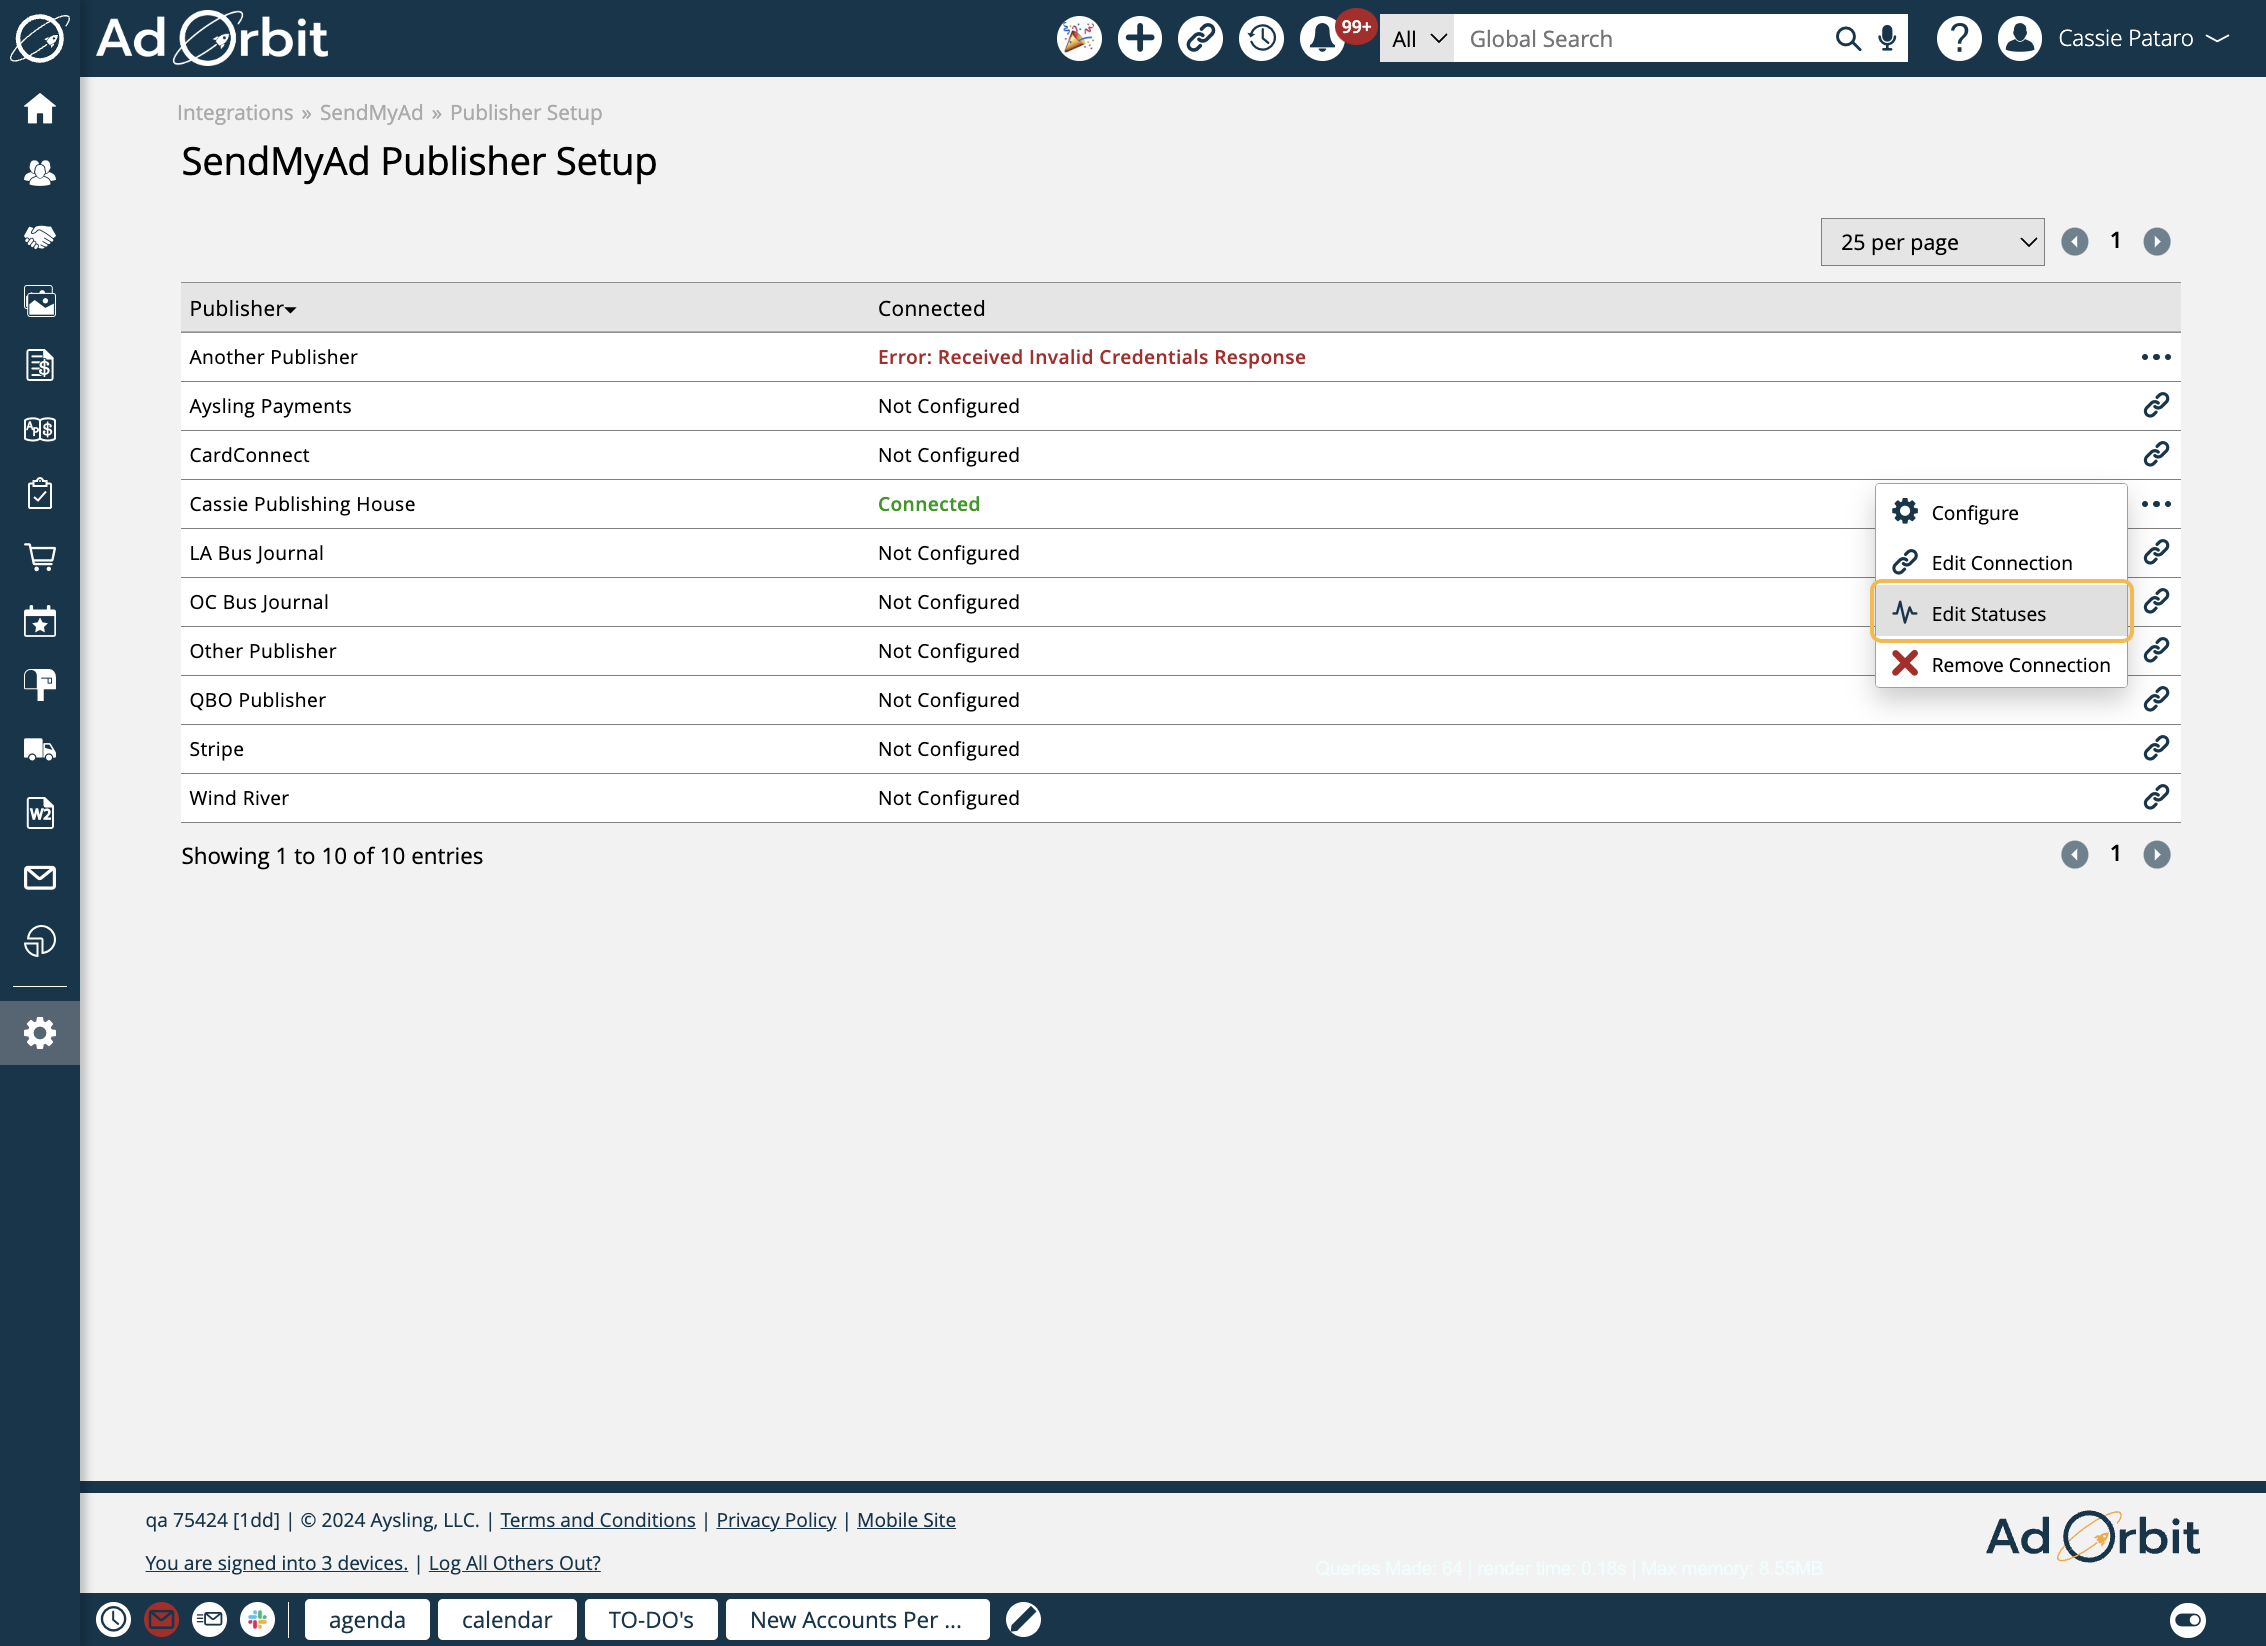
Click on the 'Edit Print Statuses' or 'Edit Digital Statuses' action for a connected publisher.
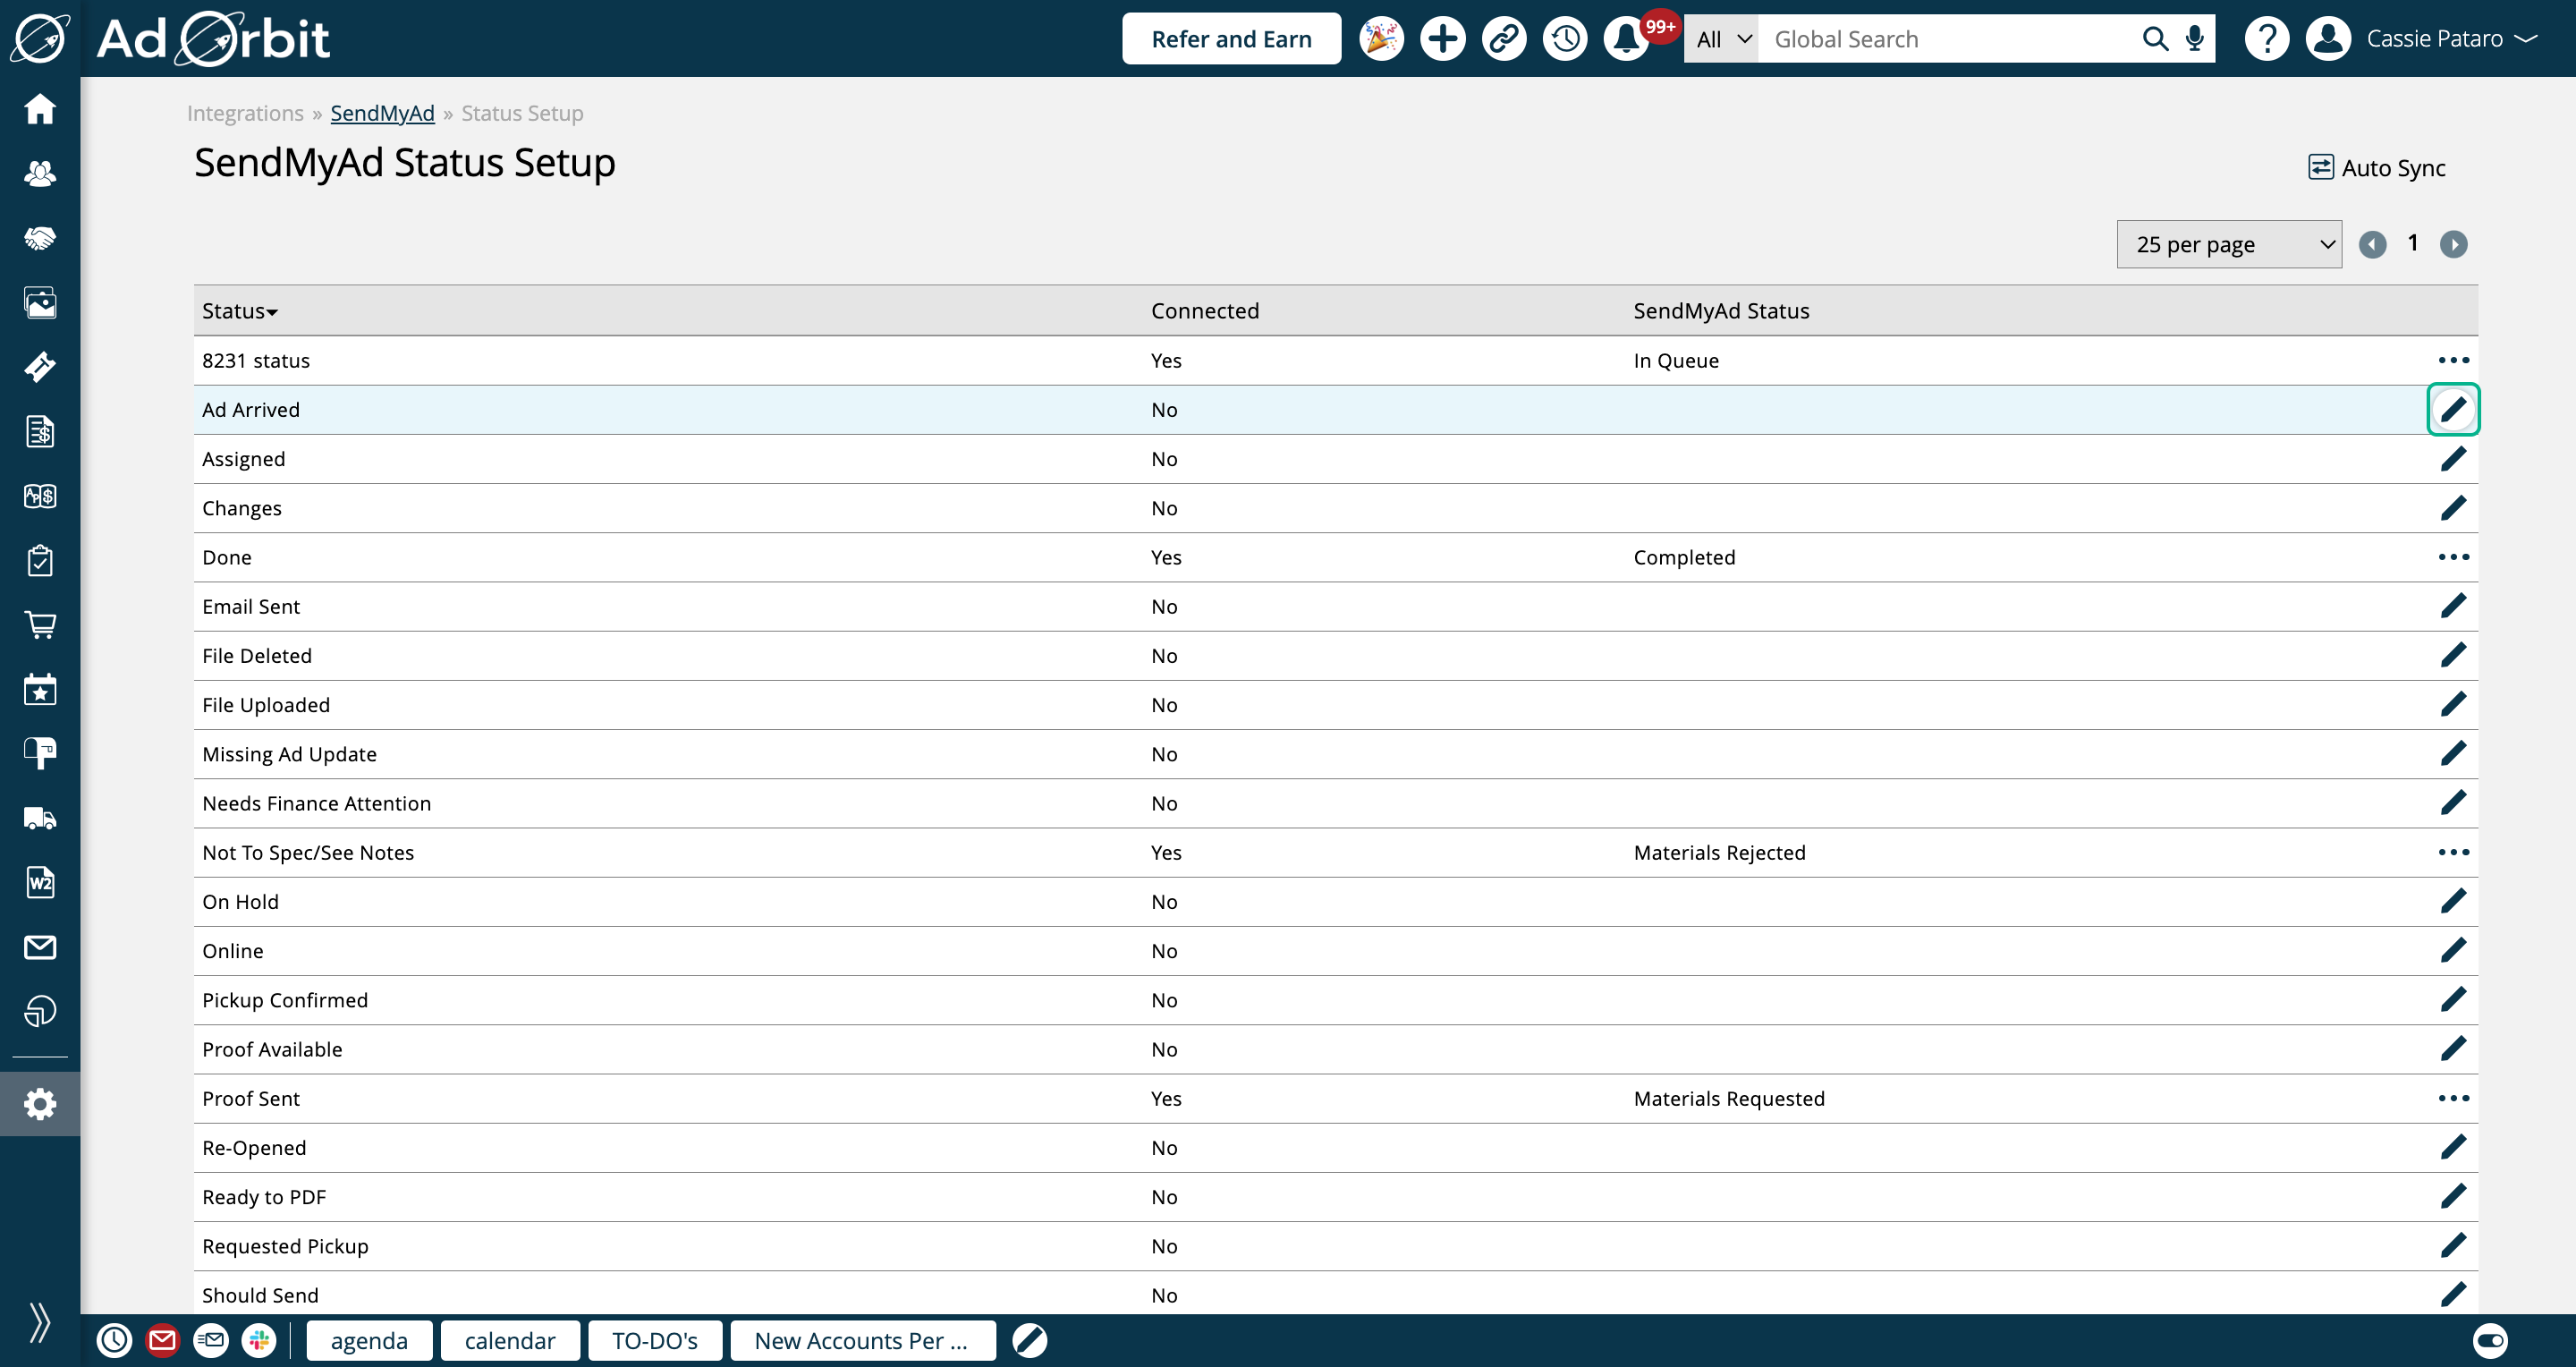
The final stage in the setup process, this allows you to map your Ad Orbit ticket statuses to SendMyAd statuses.
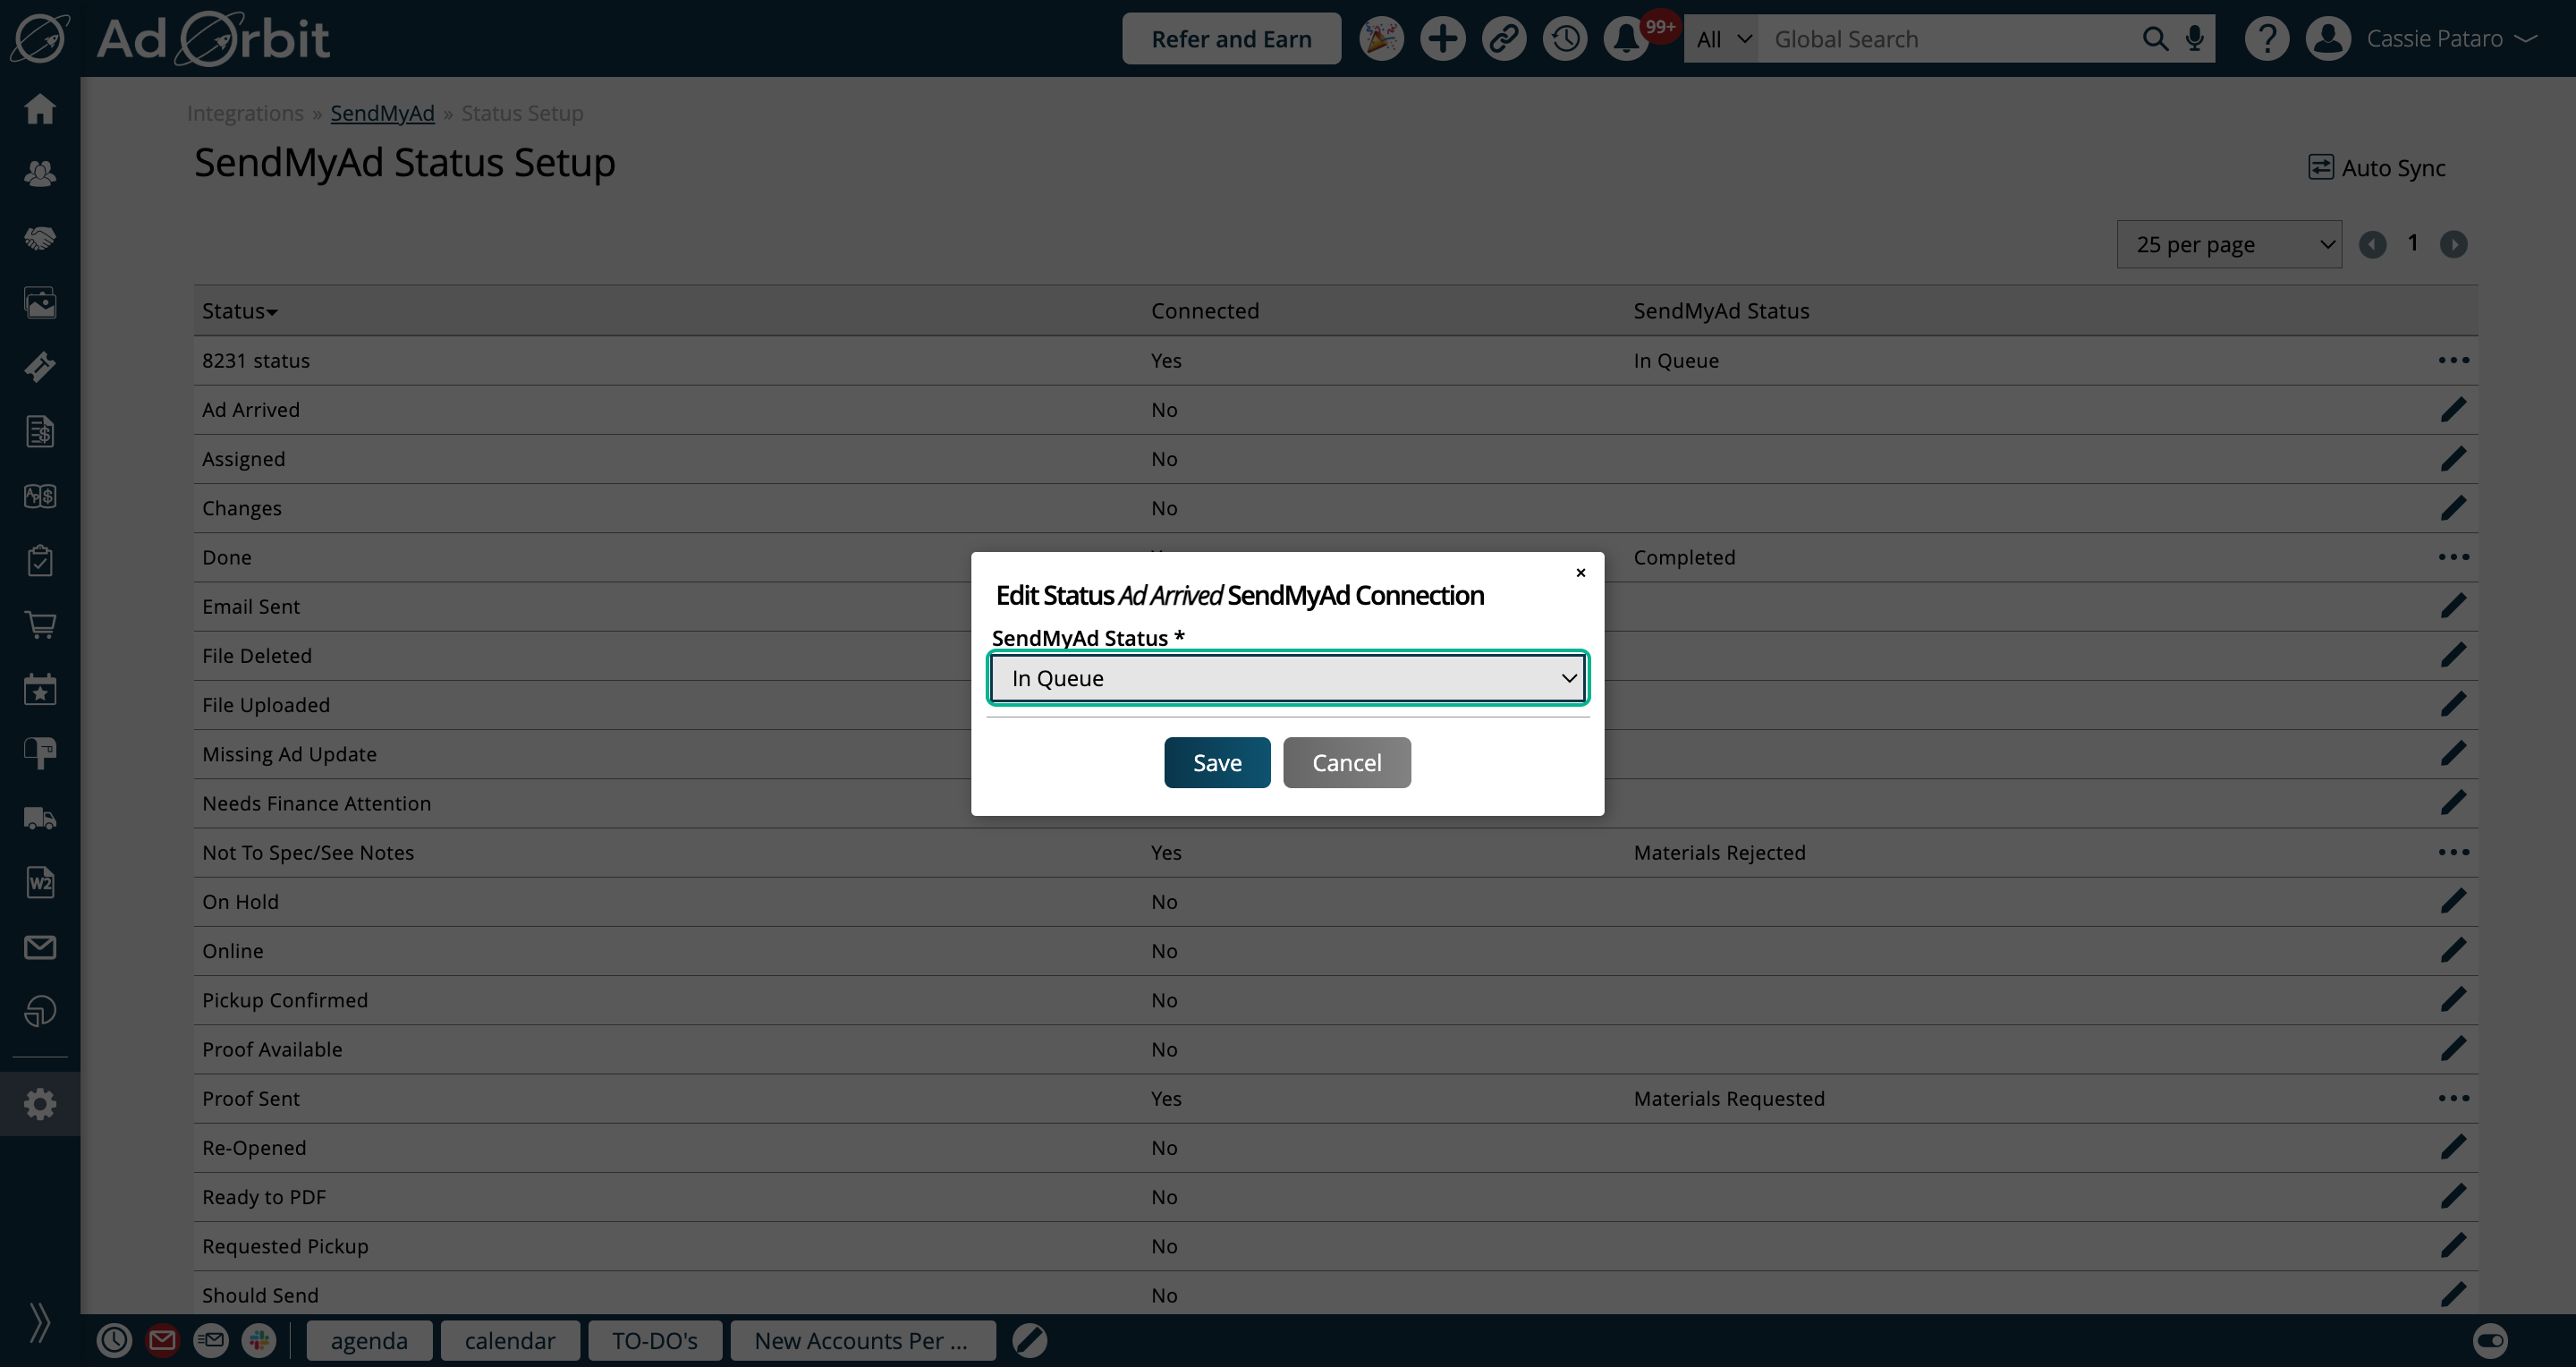
If connecting print, your Ad Orbit ticket statuses will be mapped to SendMyAd 'record' statuses. All of the SendMyAd statuses will be listed in the table, and you can click on the edit icon on a status to map an Ad Orbit status to the SendMyAd status.
In the popup, you can choose which SendMyAd status to associate with your Ad Orbit ticket status.
If connecting digital, your Ad Orbit ticket statuses can be mapped to different combinations of SendMyAd statuses, including SendMyAd Delivery Status, Approval Status, Ad Form Approval Status, and Preflight State.
To connect a digital status, click the 'Add Status Mapping' in the upper right corner of the page. In the popup, you can select a combination of SendMyAd statuses to connect to the desired Ad Orbit status.
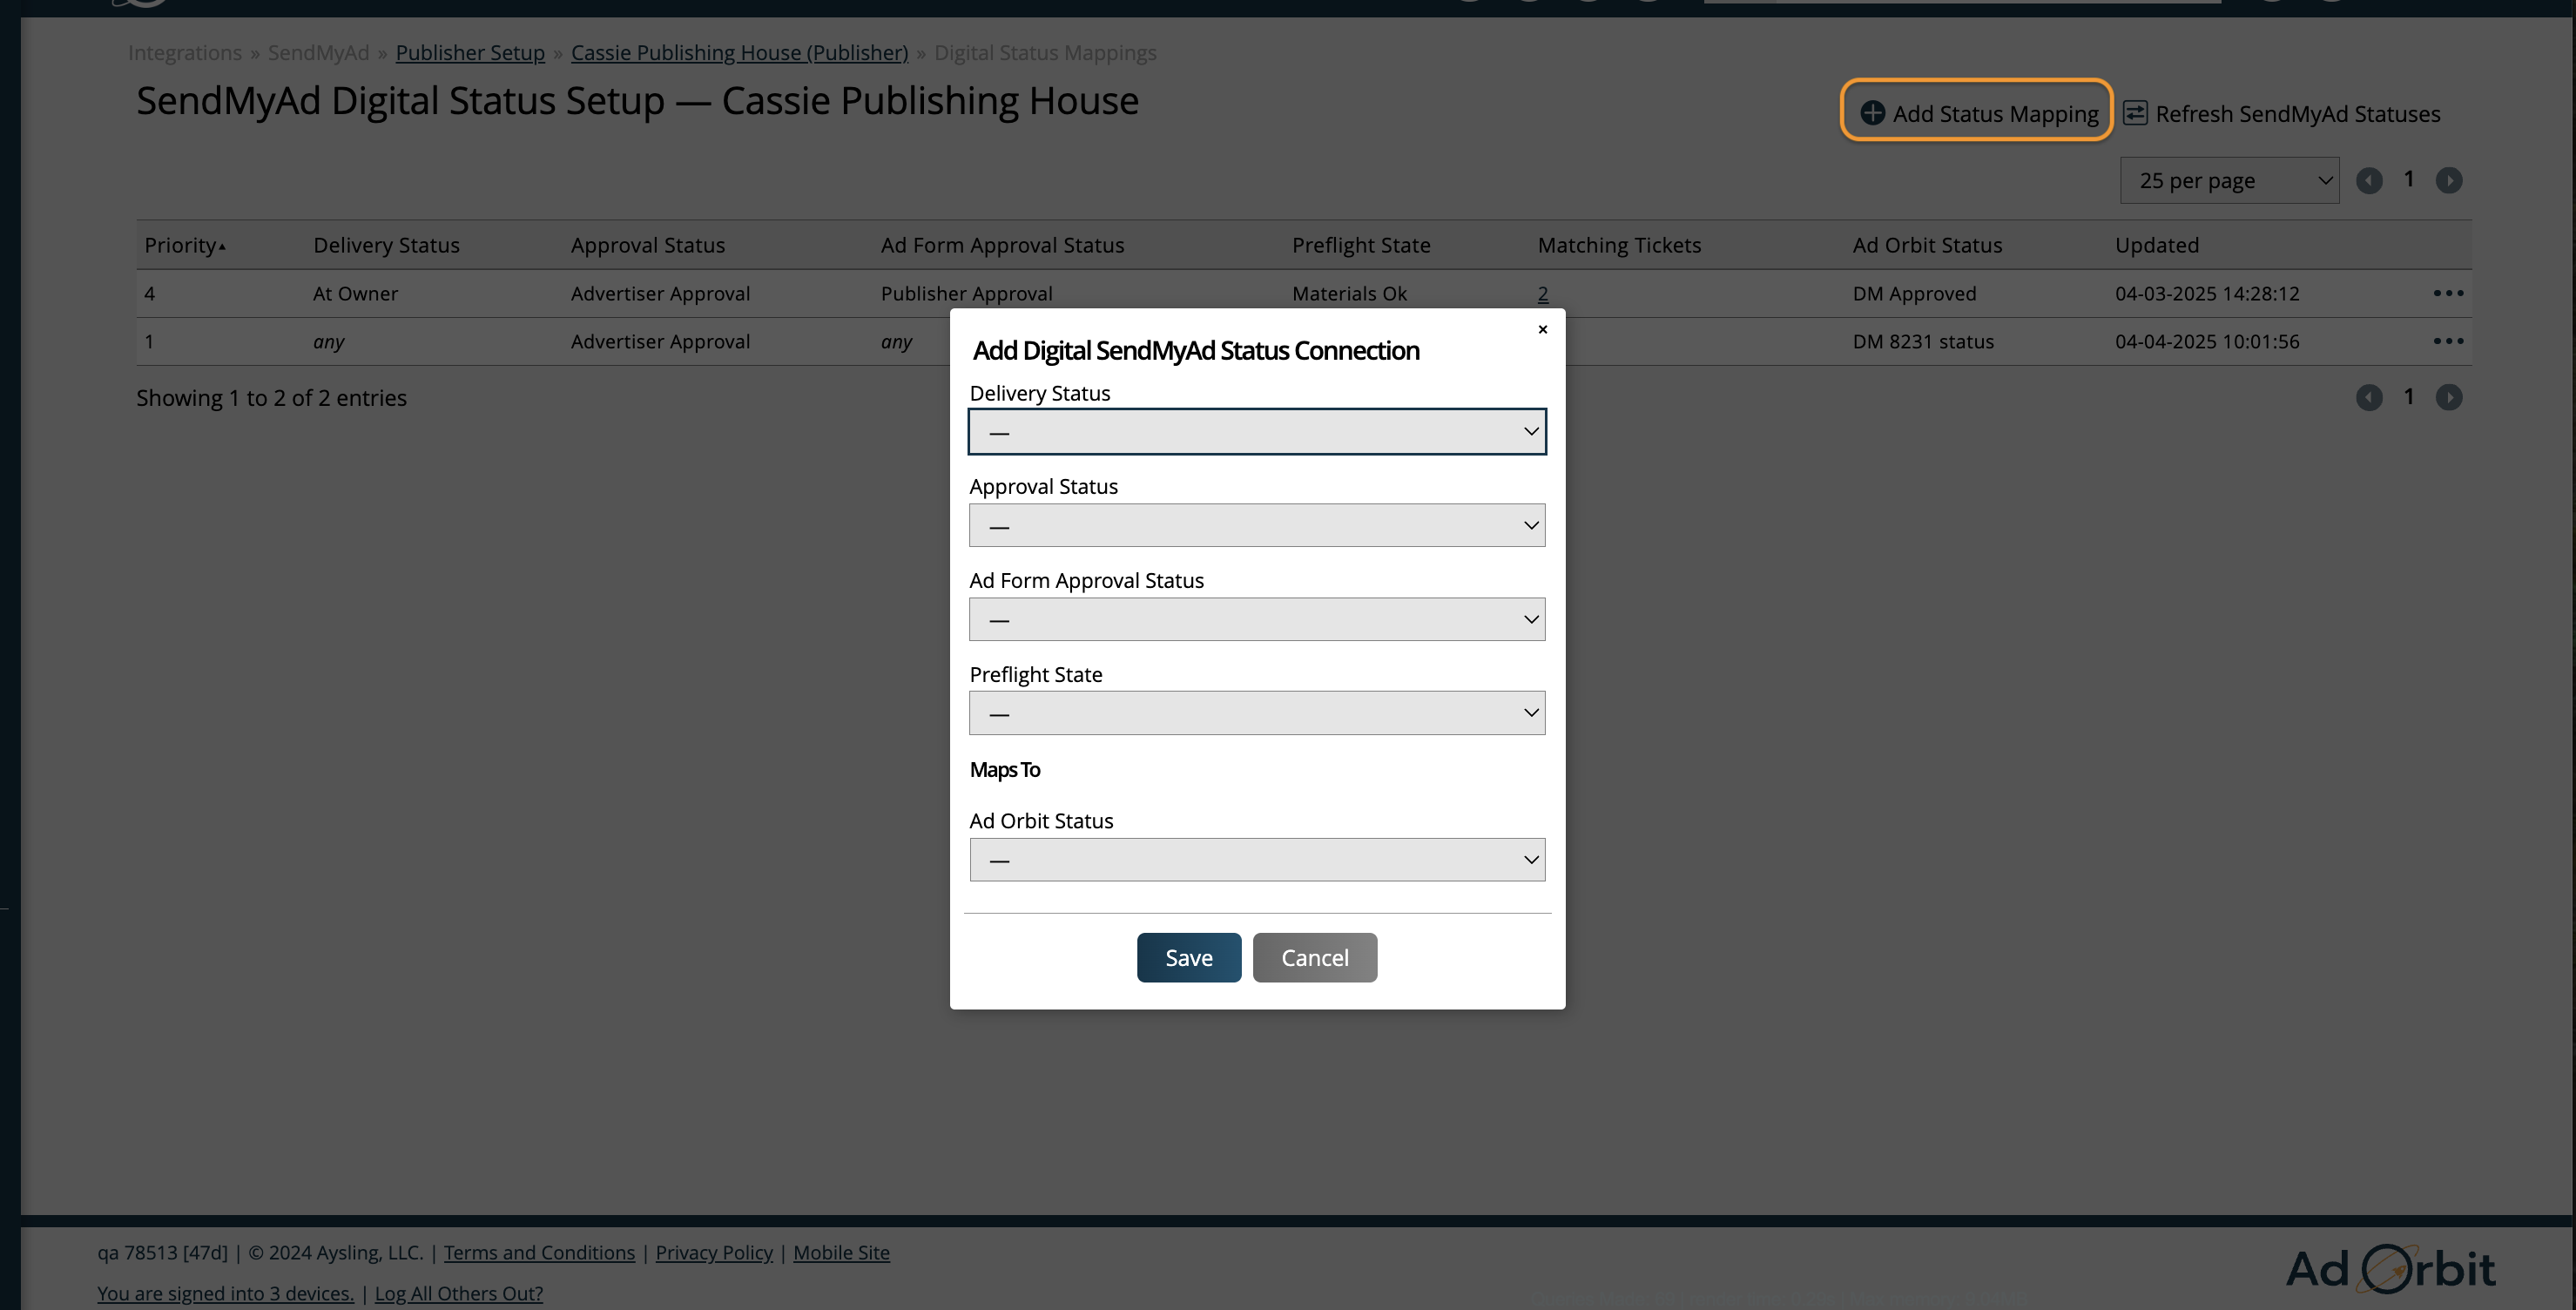
There are different ways to set up the digital mapping depending on how you want the statuses to map. For instance, you can just map the SendMyAd 'Delivery Status' to your Ad Orbit status. Or, you could select fields for all of the SendMyAd status options to map to your Ad Orbit status. In this case, the ticket would only update to the chosen Ad Orbit status if all of the mapped statuses match.
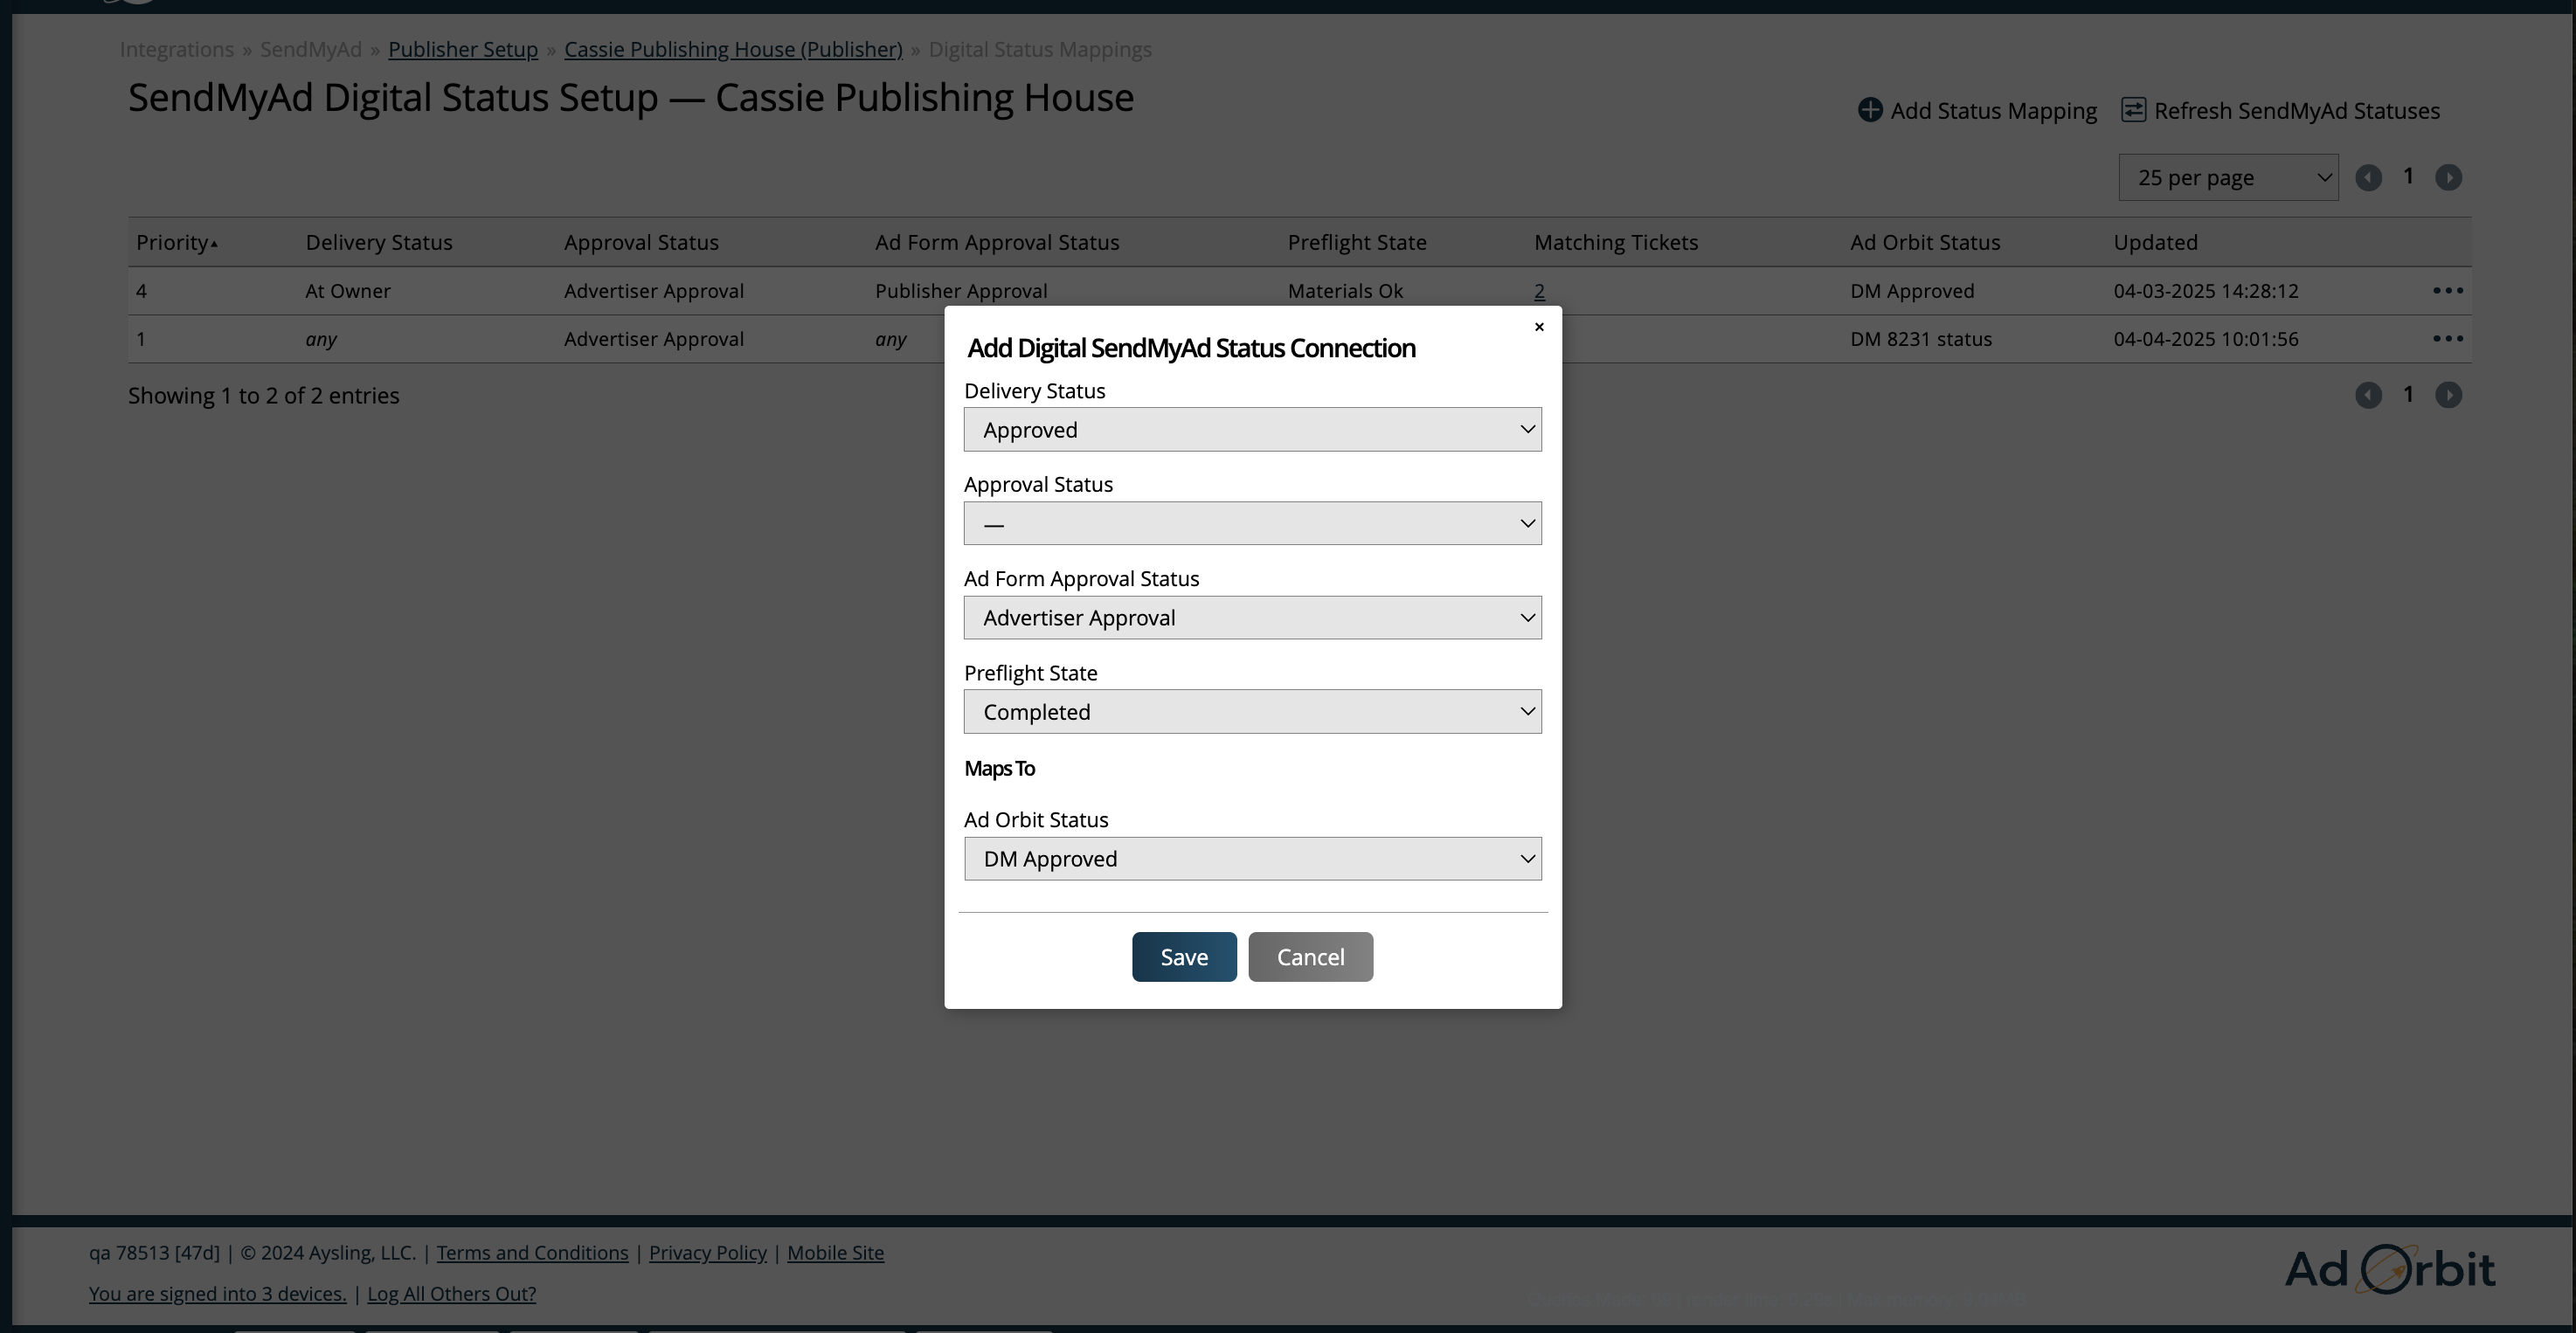
Any mapped statuses will be automatically pulled in on connected items between the systems, updating the status on your Ad Orbit tickets. Statuses can also be manually synced if necessary.
You have now finished the SendMyAd setup process, and any mapped items will begin to flow into SendMyAd as tickets are created in Ad Orbit. Any tickets for non-mapped publications, issues, sizes, colors, etc., will not be brought into your SendMyAd account.
Note
Only items for future issues will sync. You may not see items showing up in SendMyAd even if you have everything mapped, if the issue date is in the past.
Updated 4/4/2025