HubSpot Lockbox
If on the HubSpot Setup page you have the Use Lockbox option set to 'Yes', there will be an additional HubSpot Lockbox page, where incoming contacts from HubSpot can be reviewed, and approved or rejected.
To navigate to the HubSpot Lockbox, go to Settings > Integrations > HubSpot > Lockbox. To access this page, you need the User Permission 'HubSpot Lockbox'.
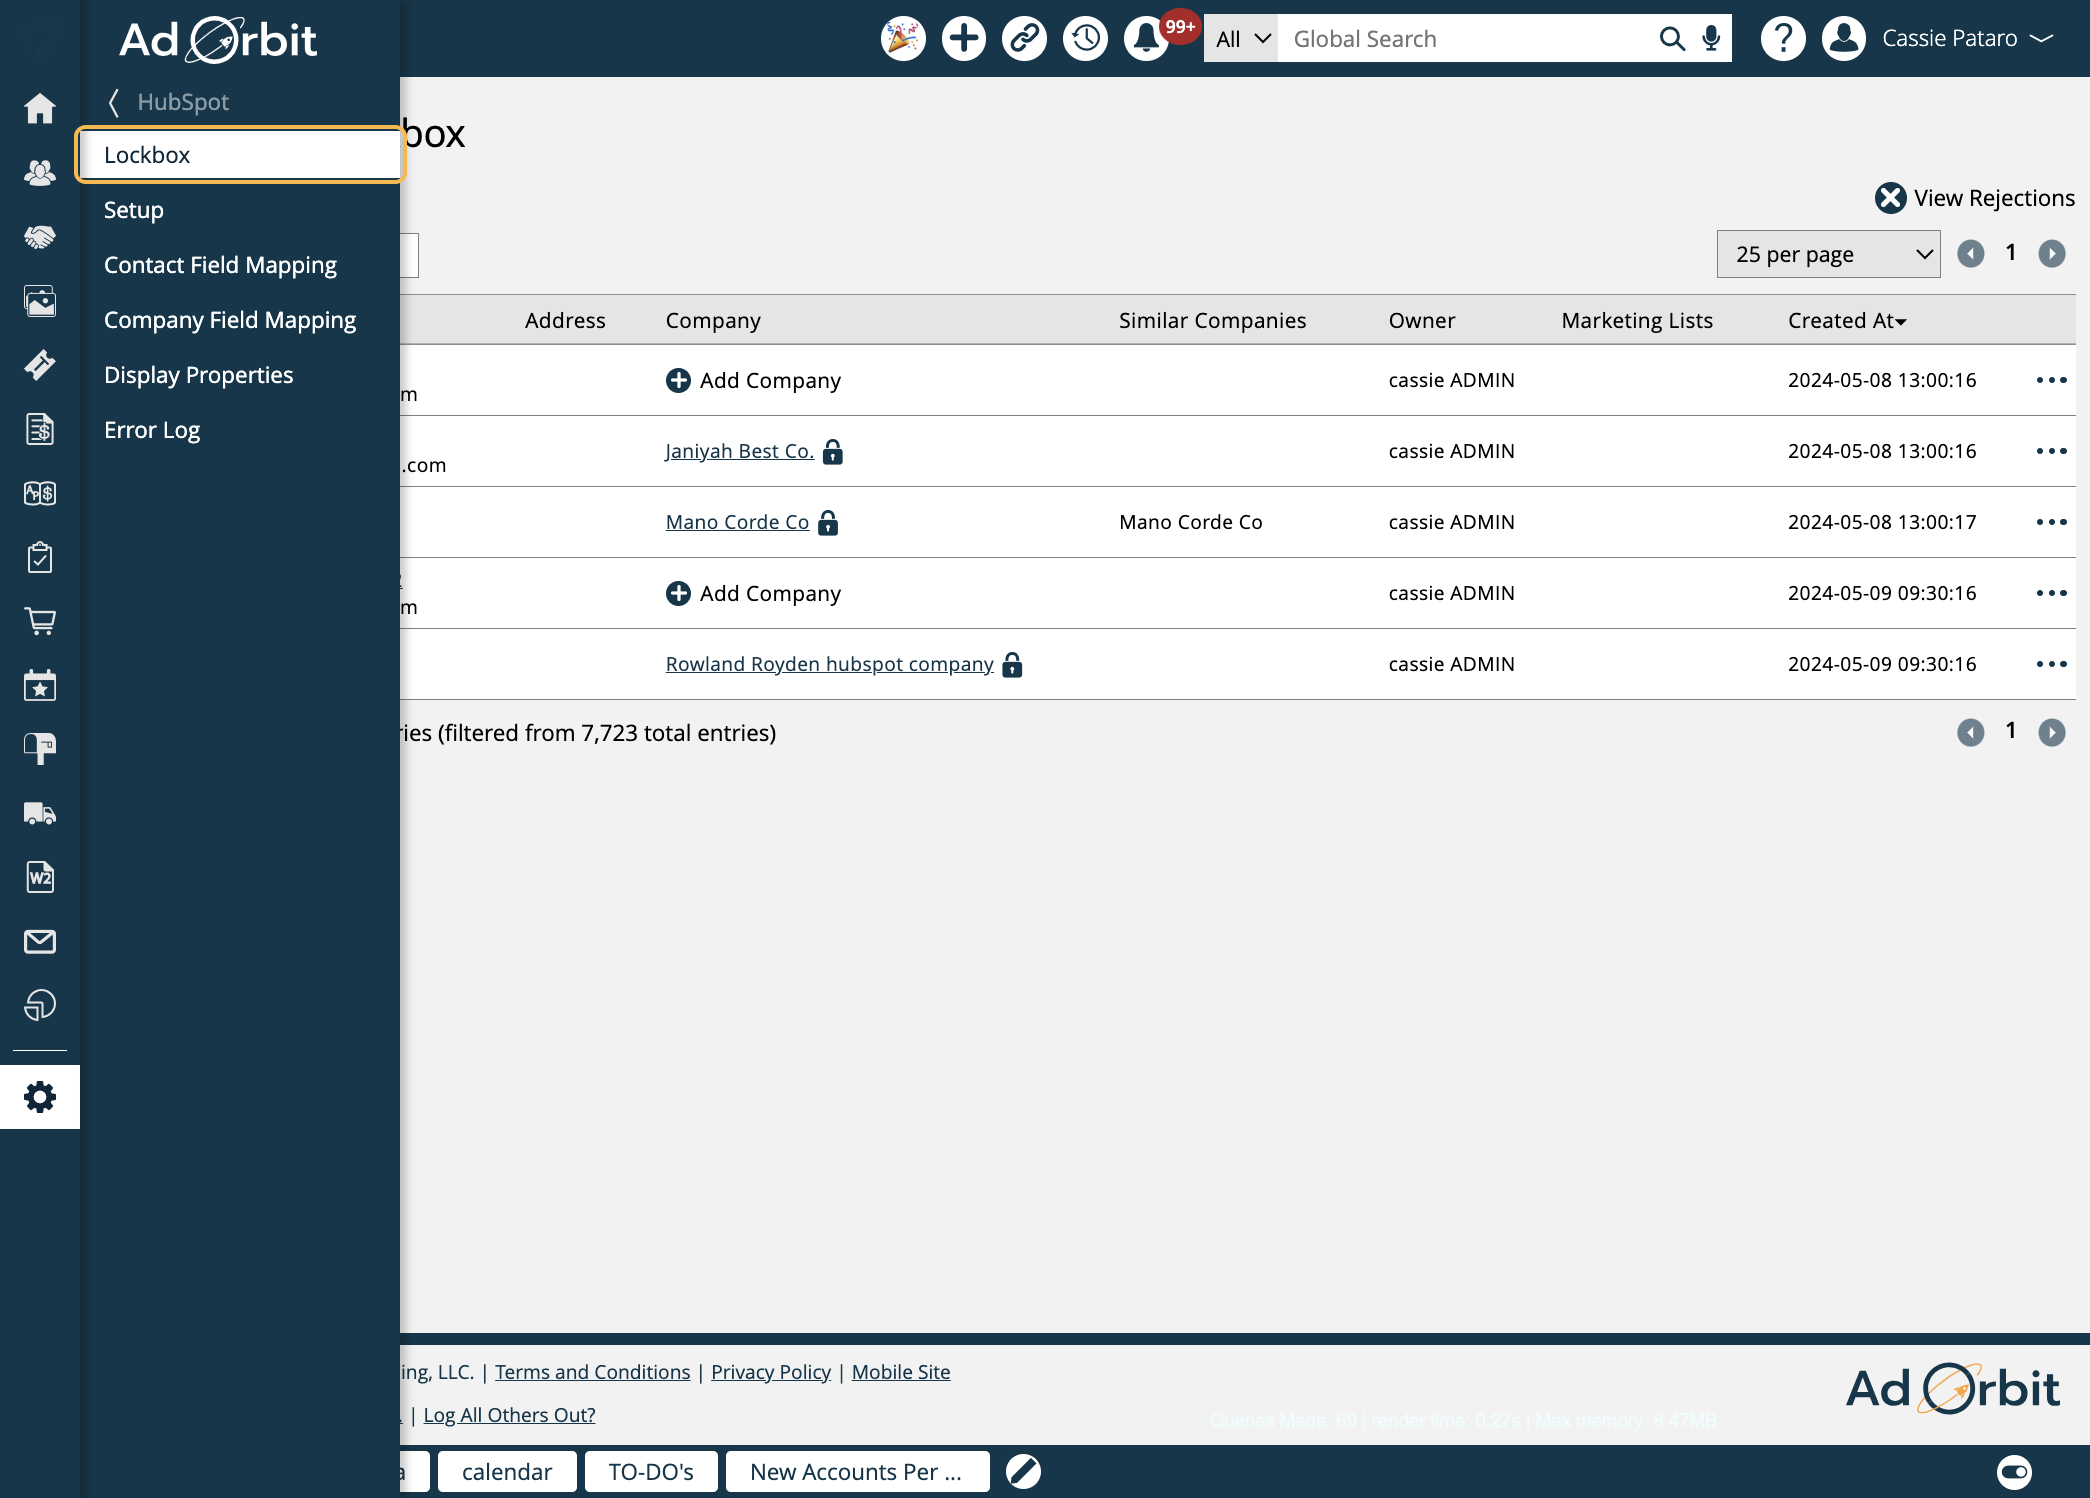
Any contacts who meet the following criteria will bypass the lockbox and be brought directly into your Ad Orbit site.
If the incoming contact matches one existing contact by email address exactly, the contacts will be linked and will not need to go through the lockbox.
If the incoming contact matches one existing contact by email address and the company name matches exactly then they will both be linked and not enter the lockbox.
If the incoming contact email address is new or matches one existing contact, and the contact's email address domain matches the domain of one company, the contact will not enter the lockbox.
If the incoming contact email address is new or matches one existing contact, and the contact's email address domain matches the domain of one primary contact, the contact will not enter the lockbox.
Any other contacts that do not meet the criteria will be brought into the lockbox.
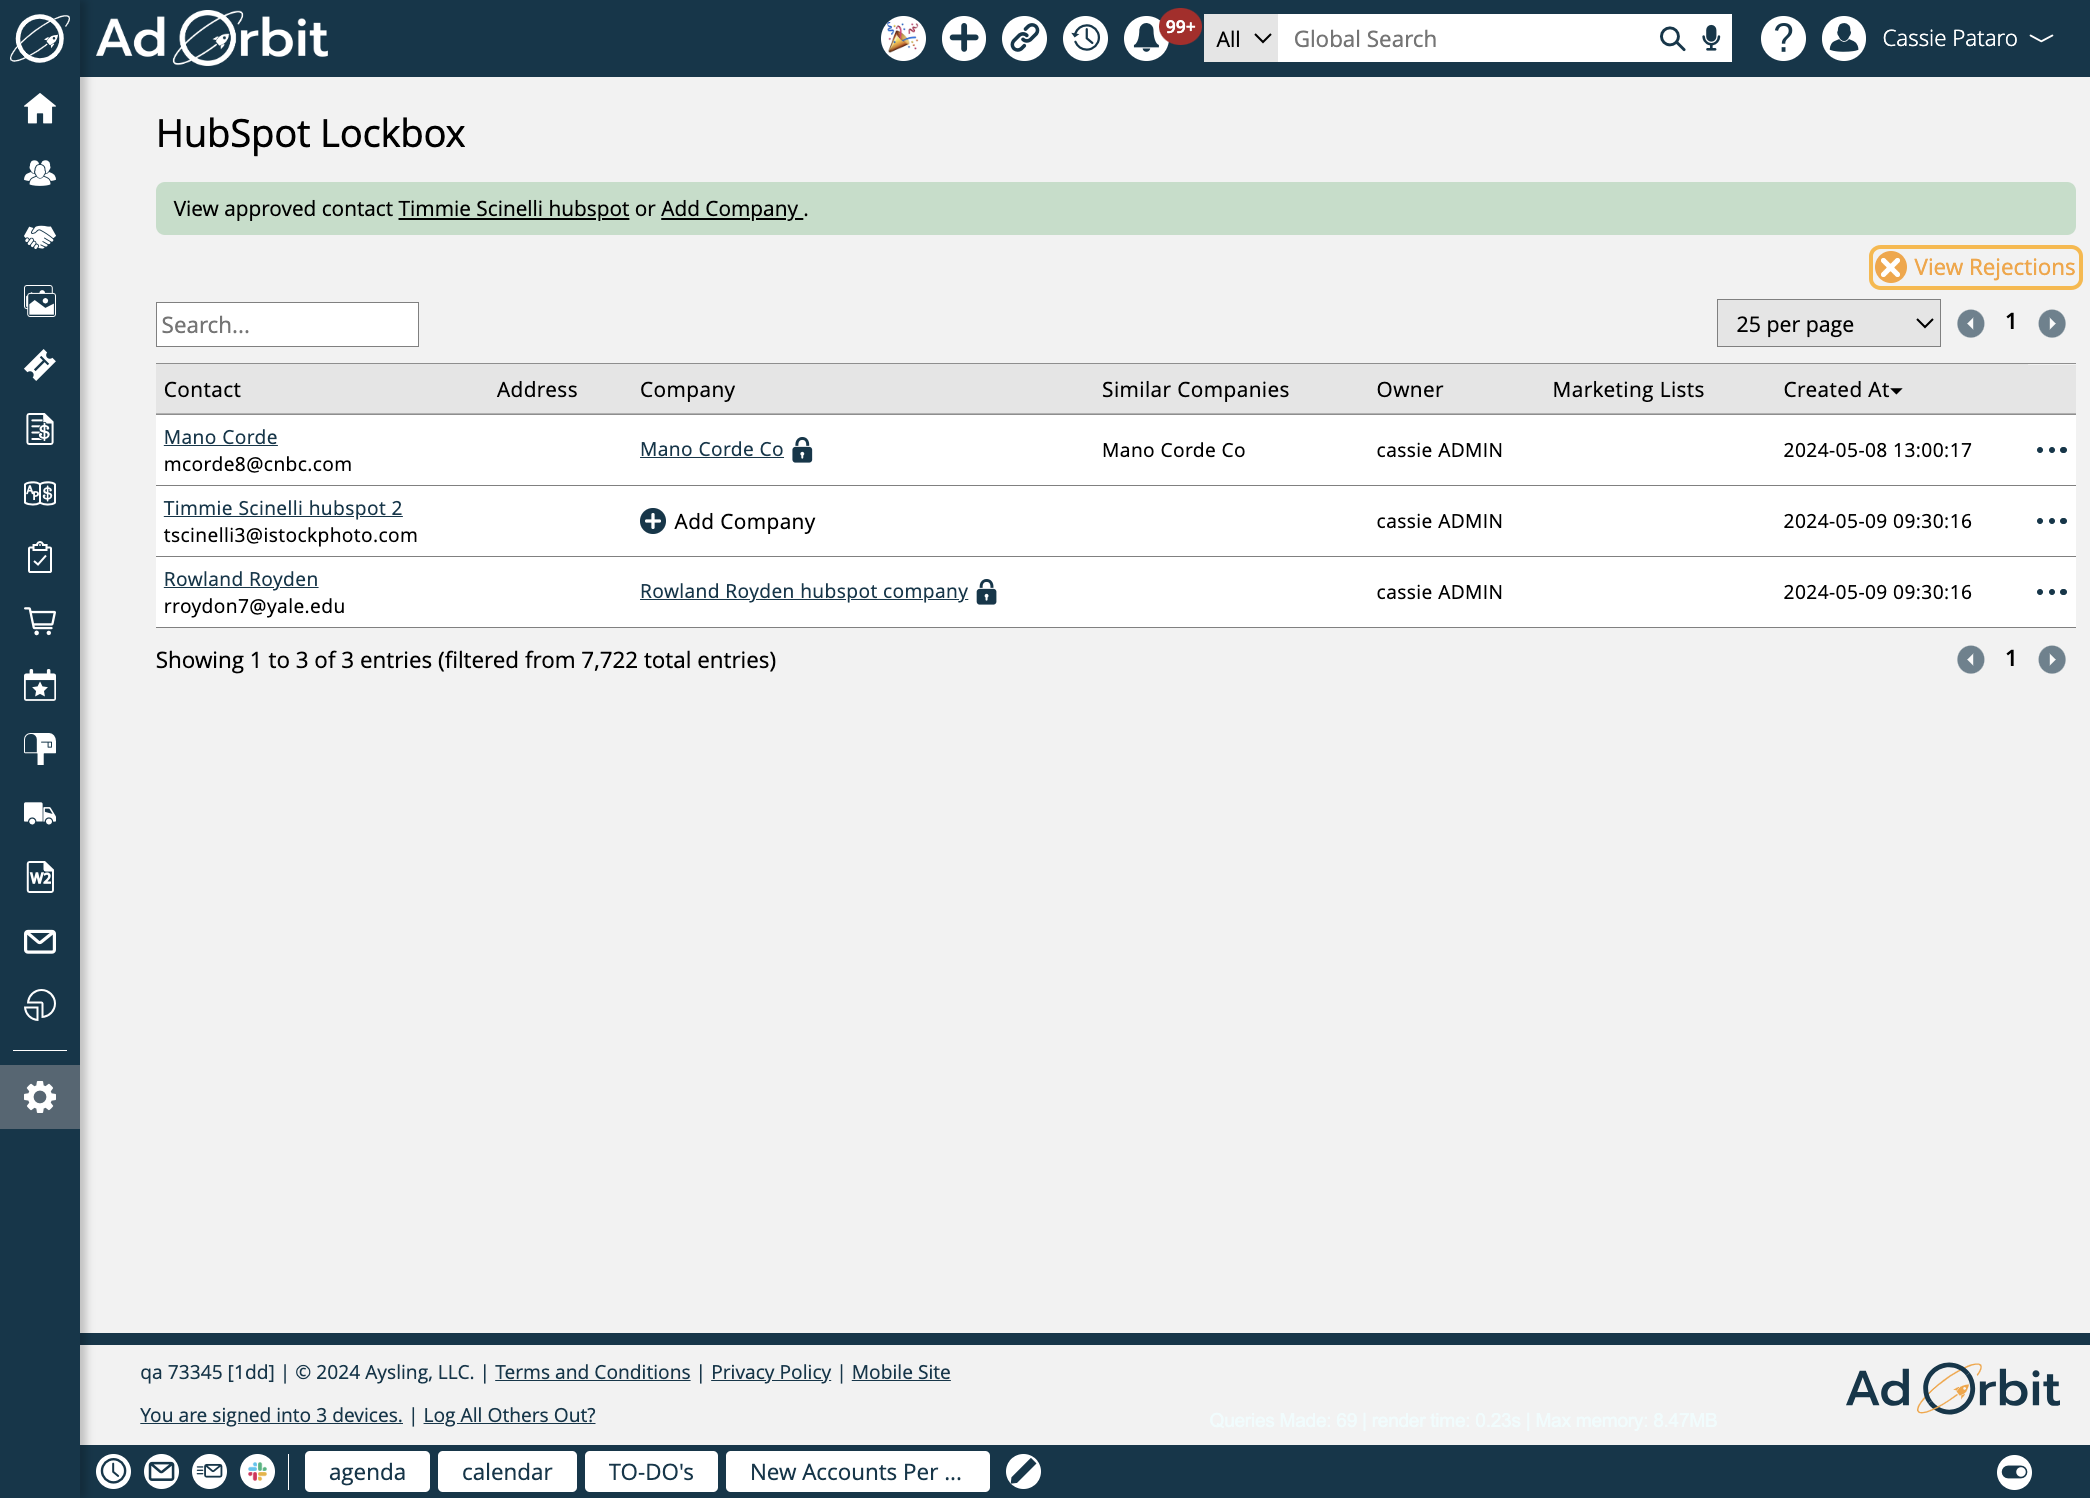
The lockbox will display each contact's name and email address. You'll also see physical address information, if set.
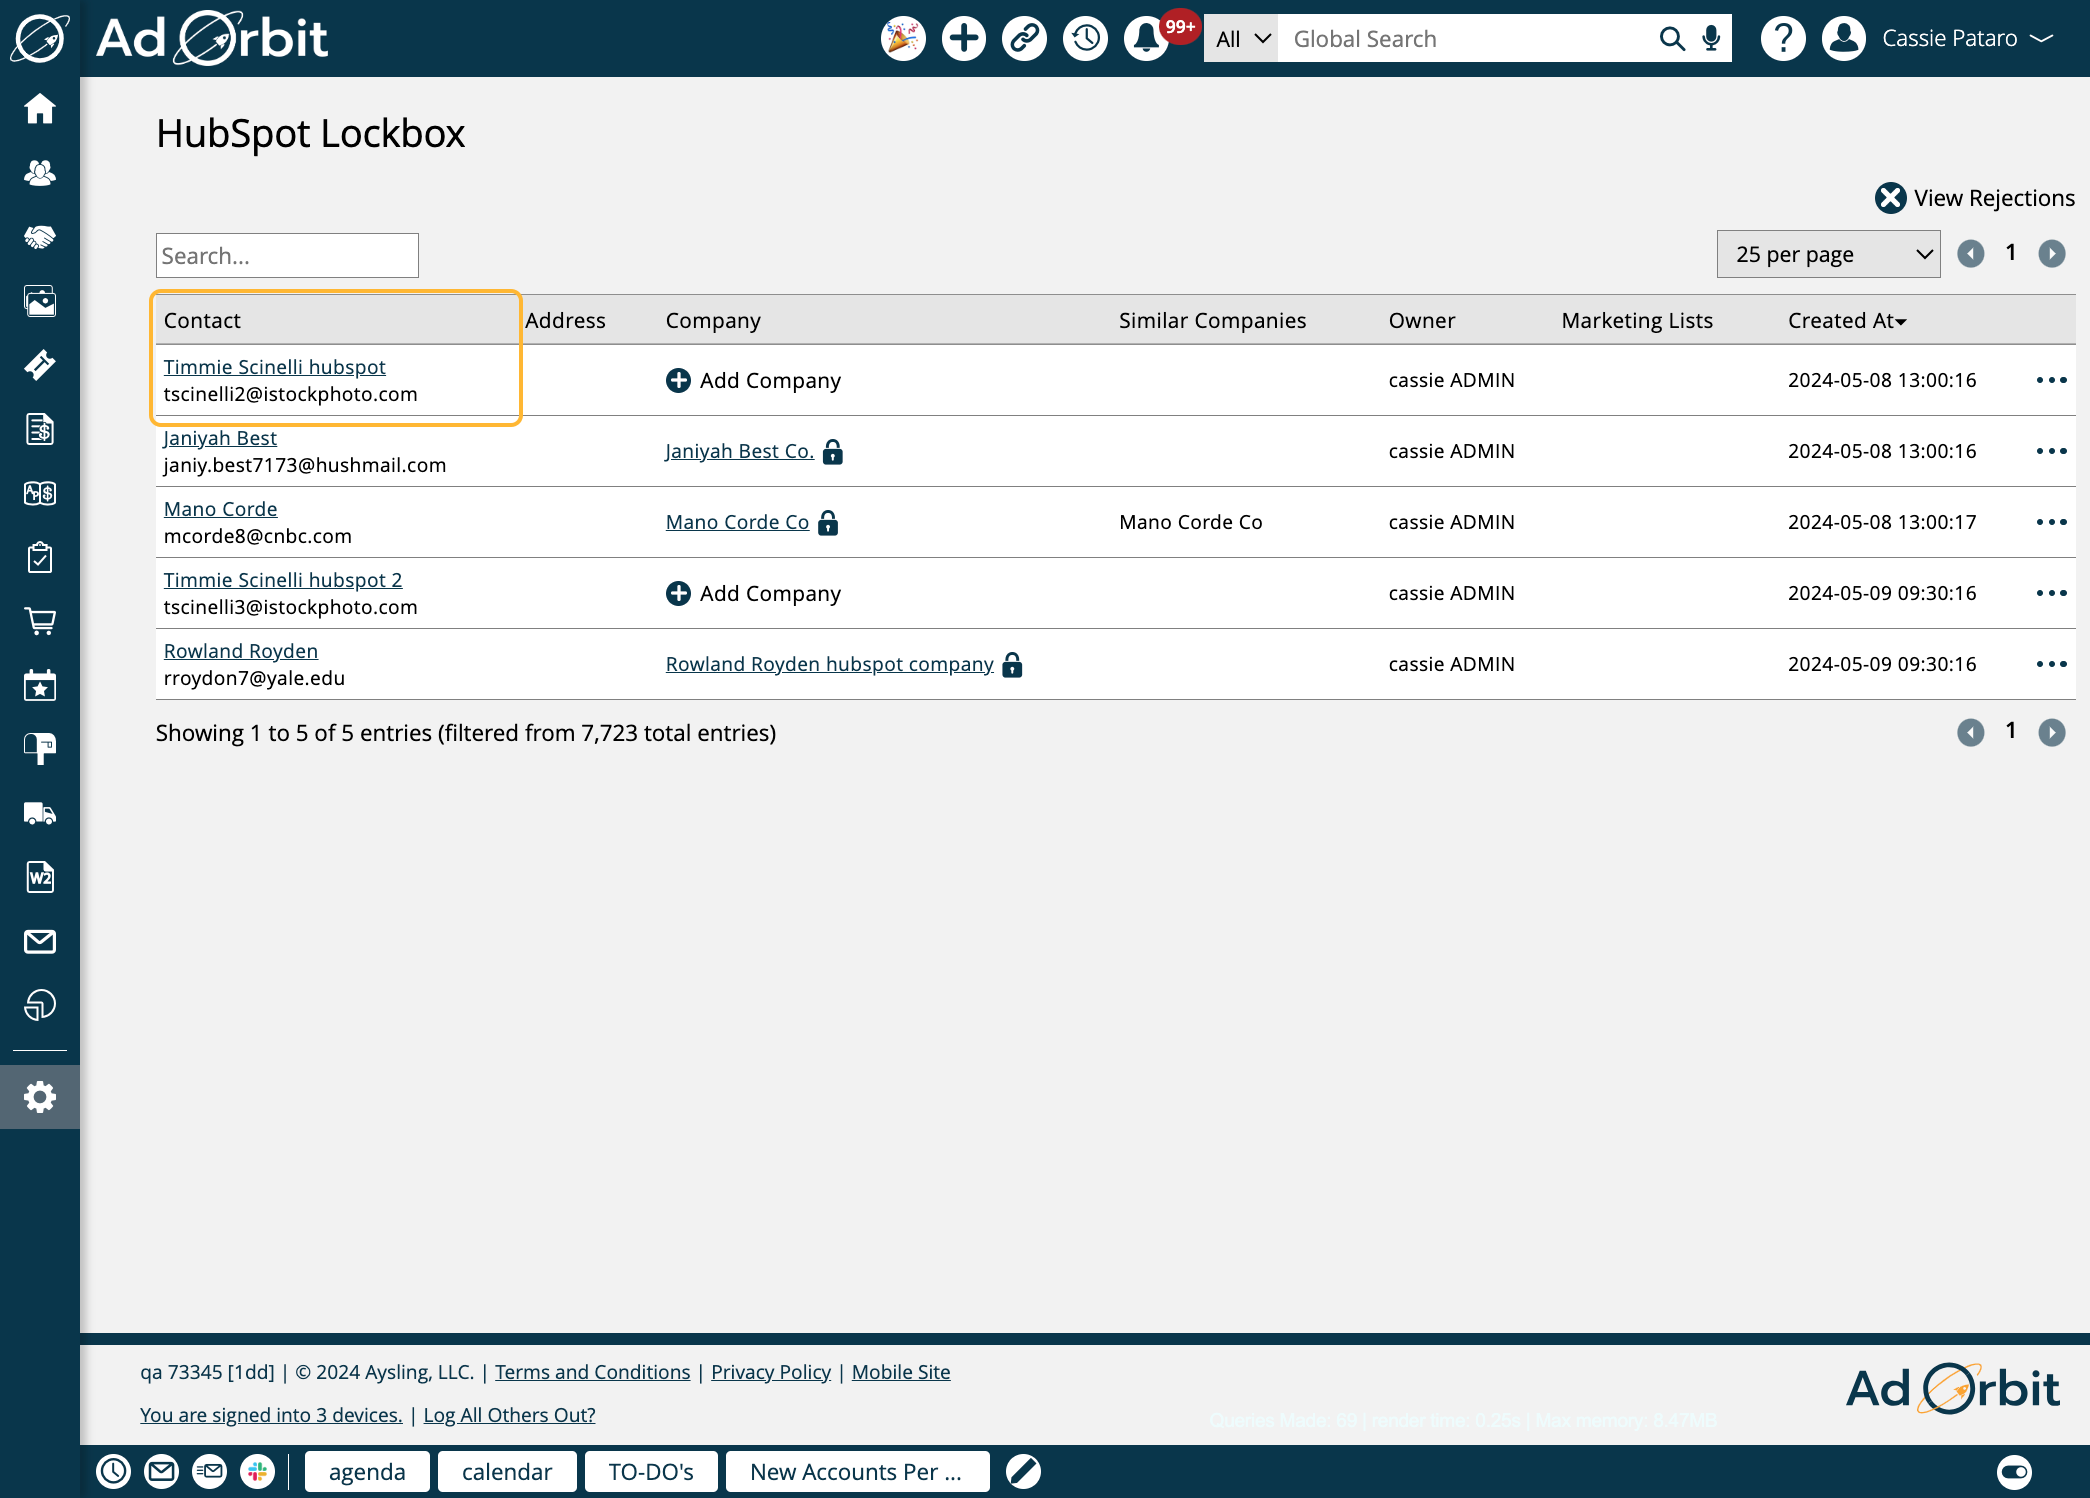
The Company column will either show the name of the HubSpot company tied to the contact, or will show an option to add a new company.
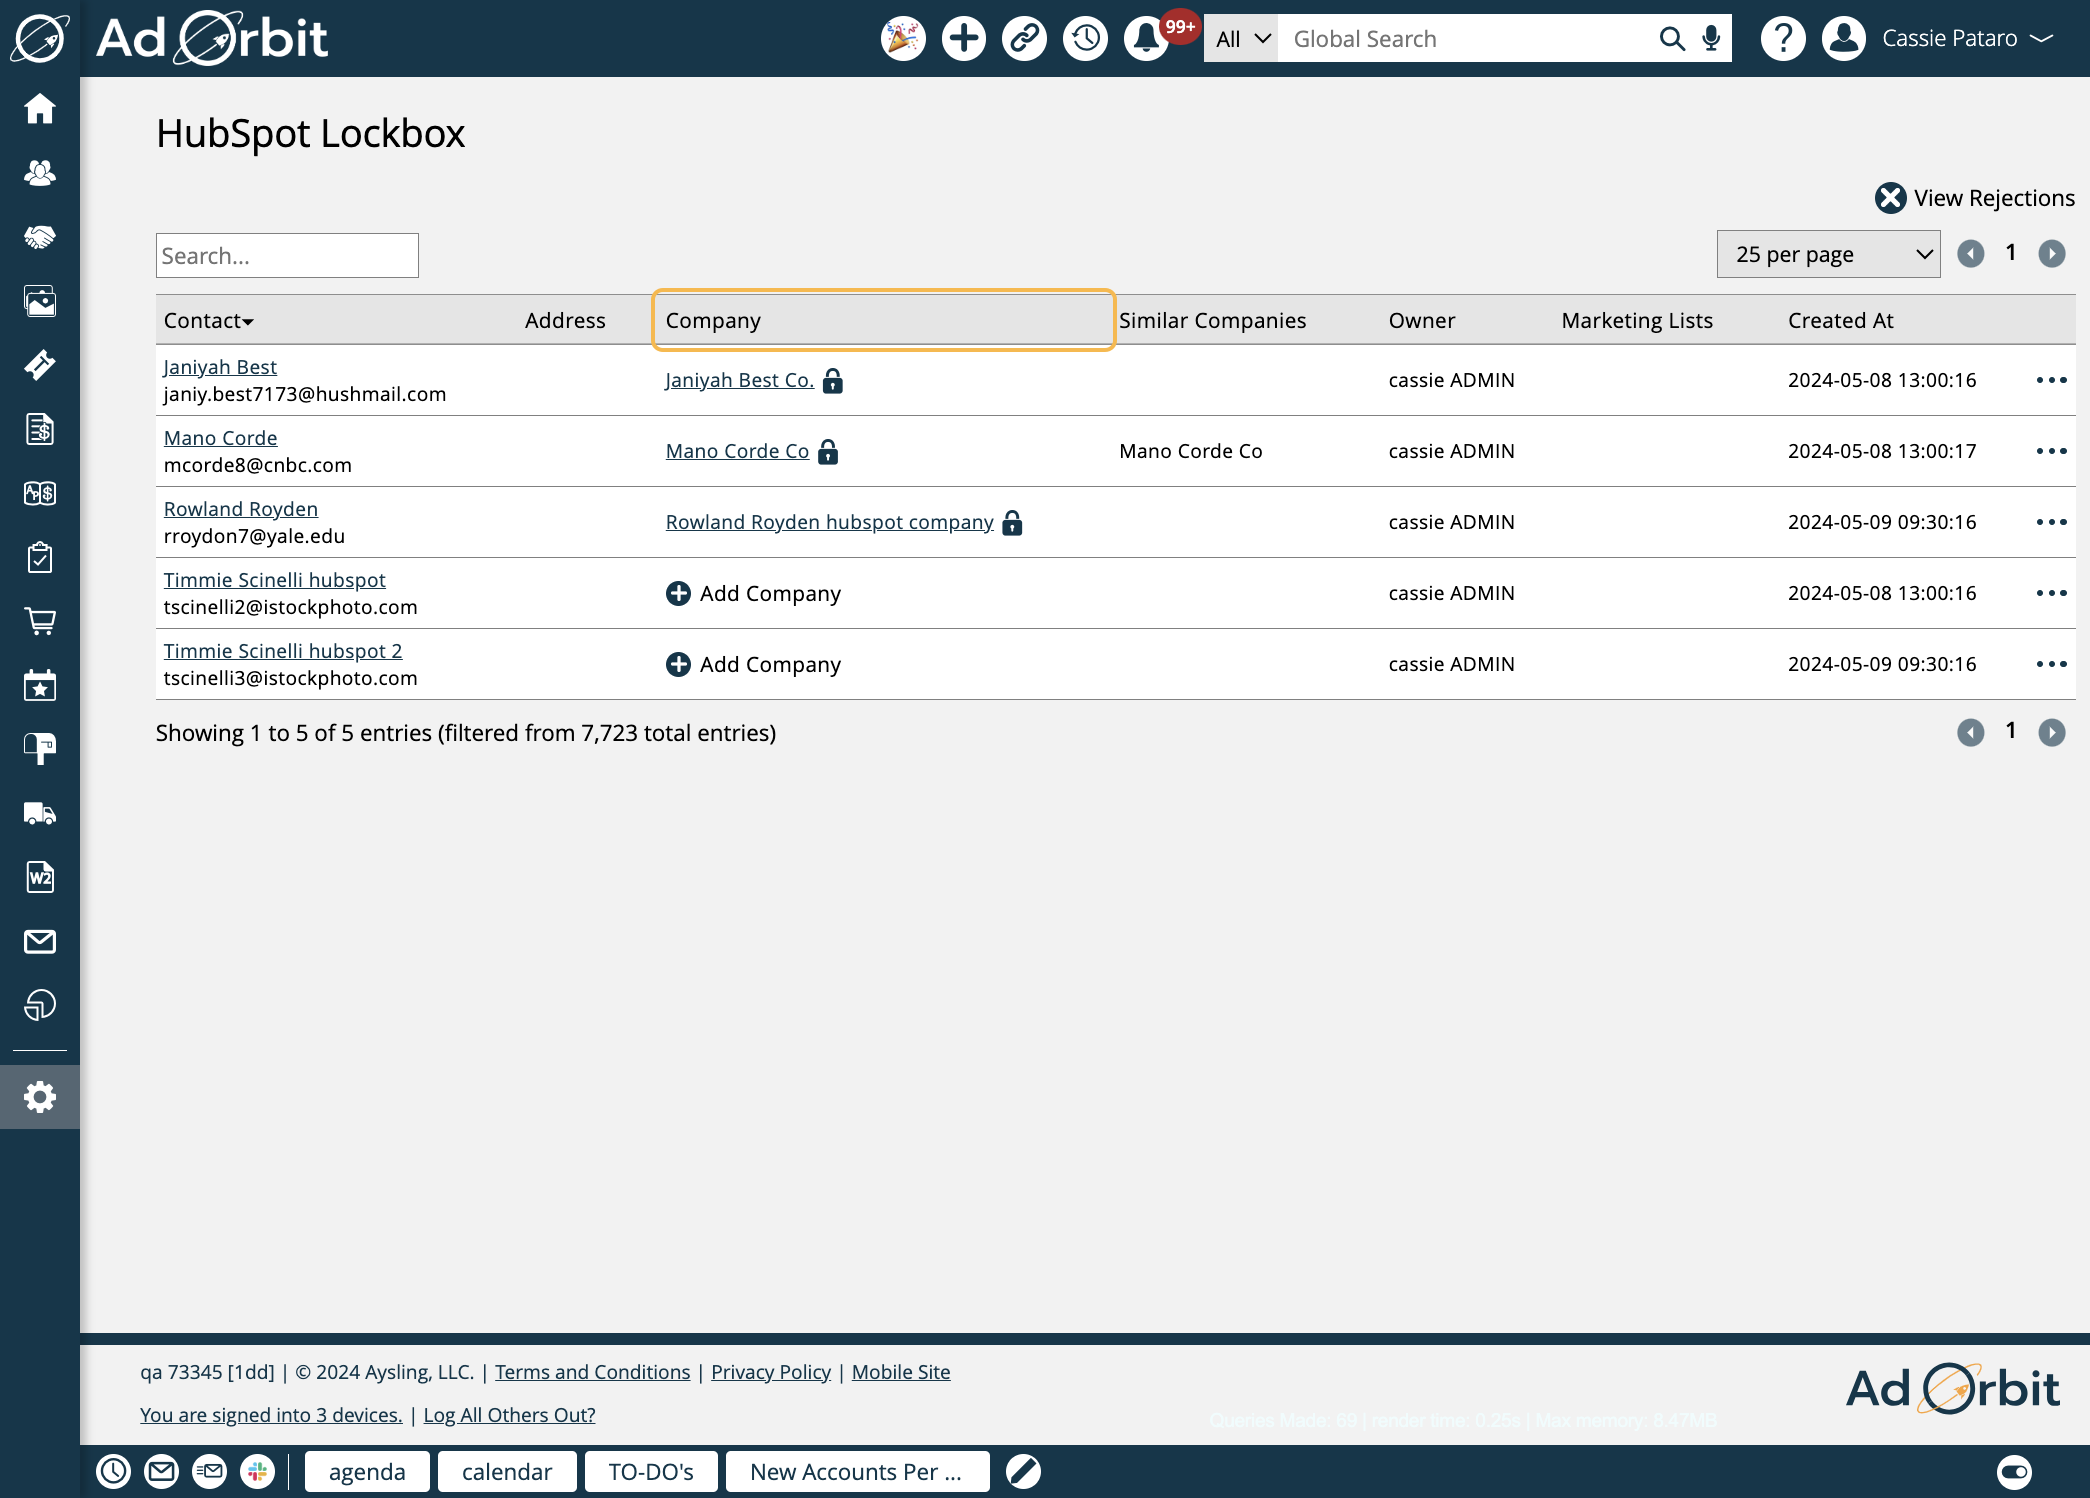
If any companies within Ad Orbit meet the similarity threshold specified in your system configurations for the company name coming from HubSpot, they will be shown in the Similar Companies column.
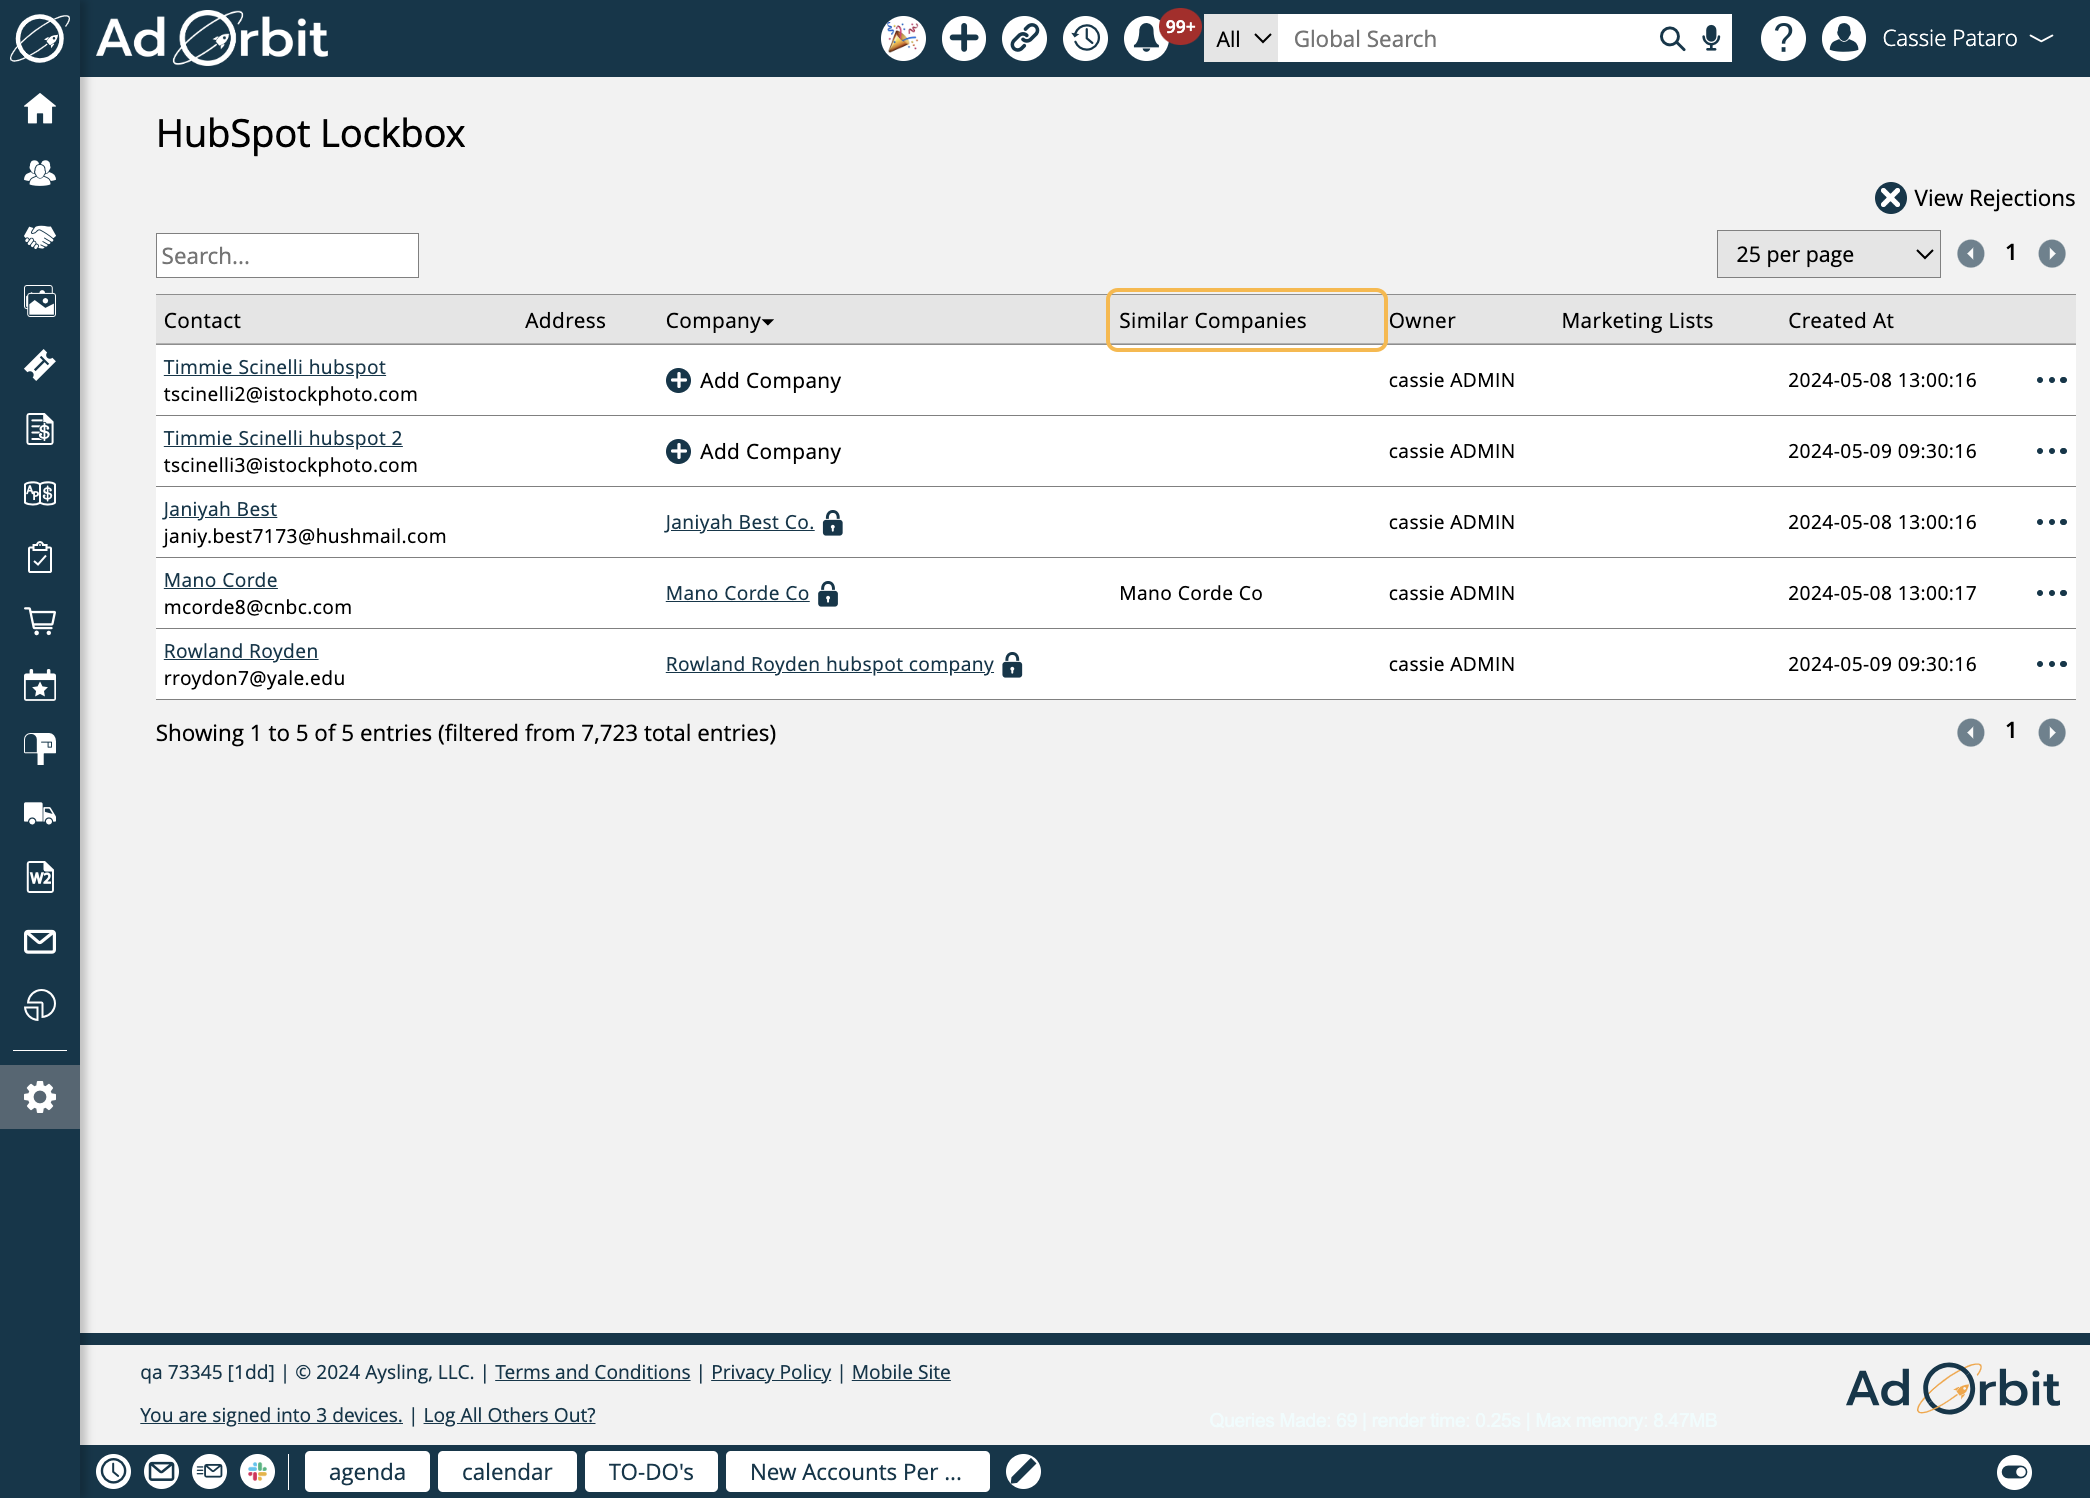
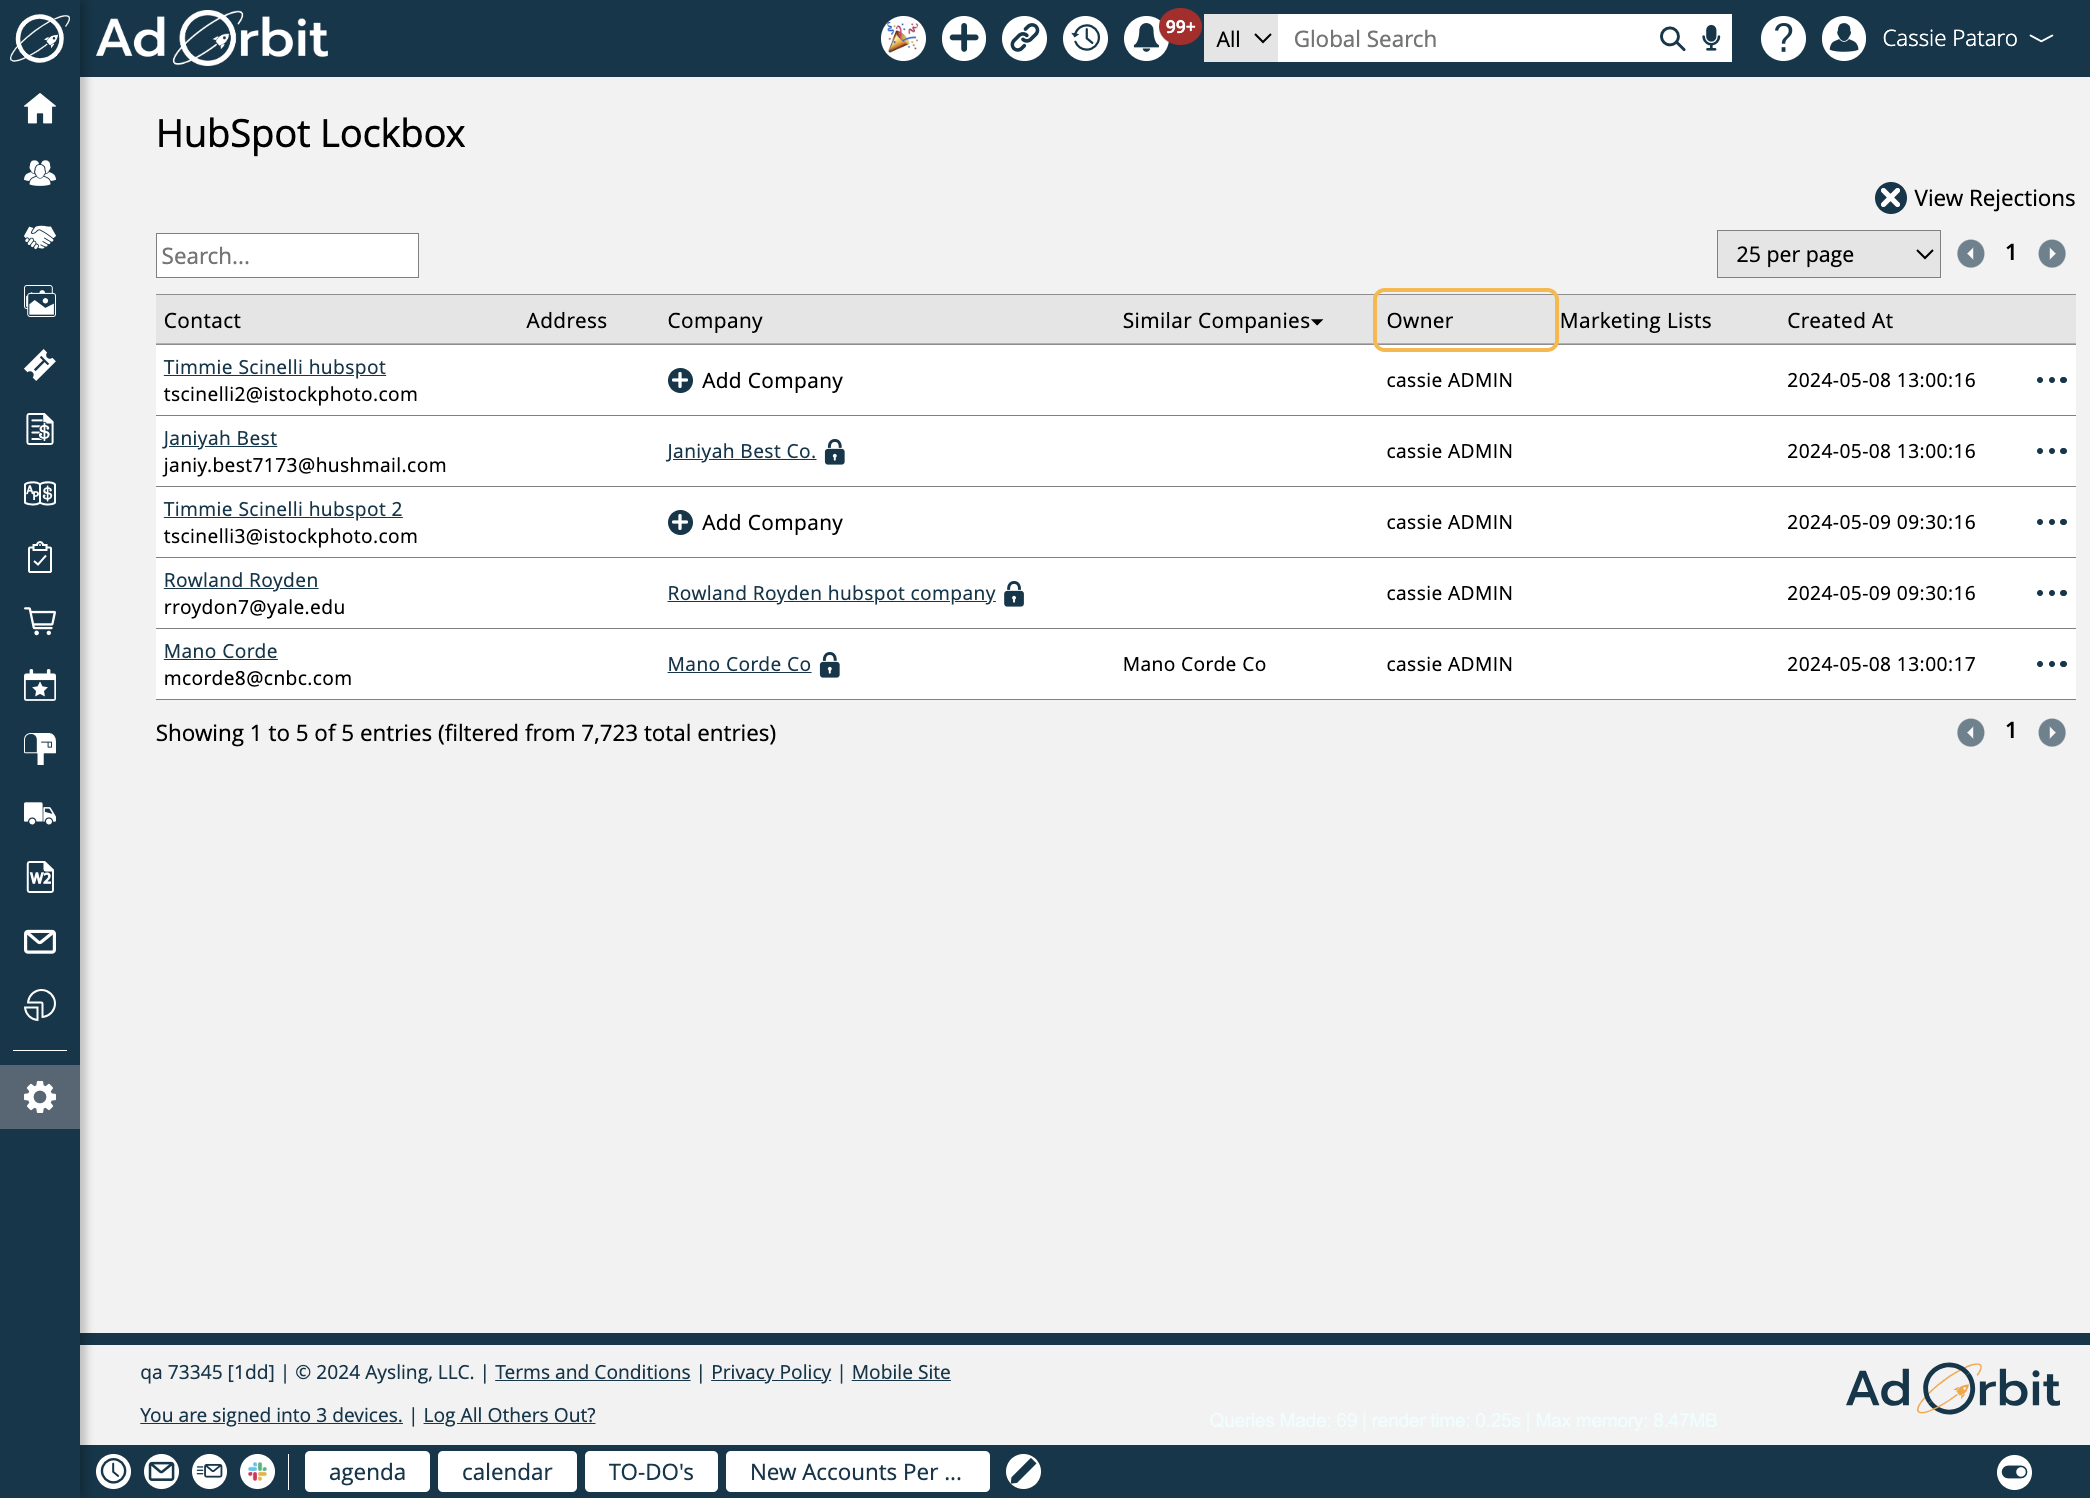
The Owner field displays which user will be set as the contact's owner when imported.
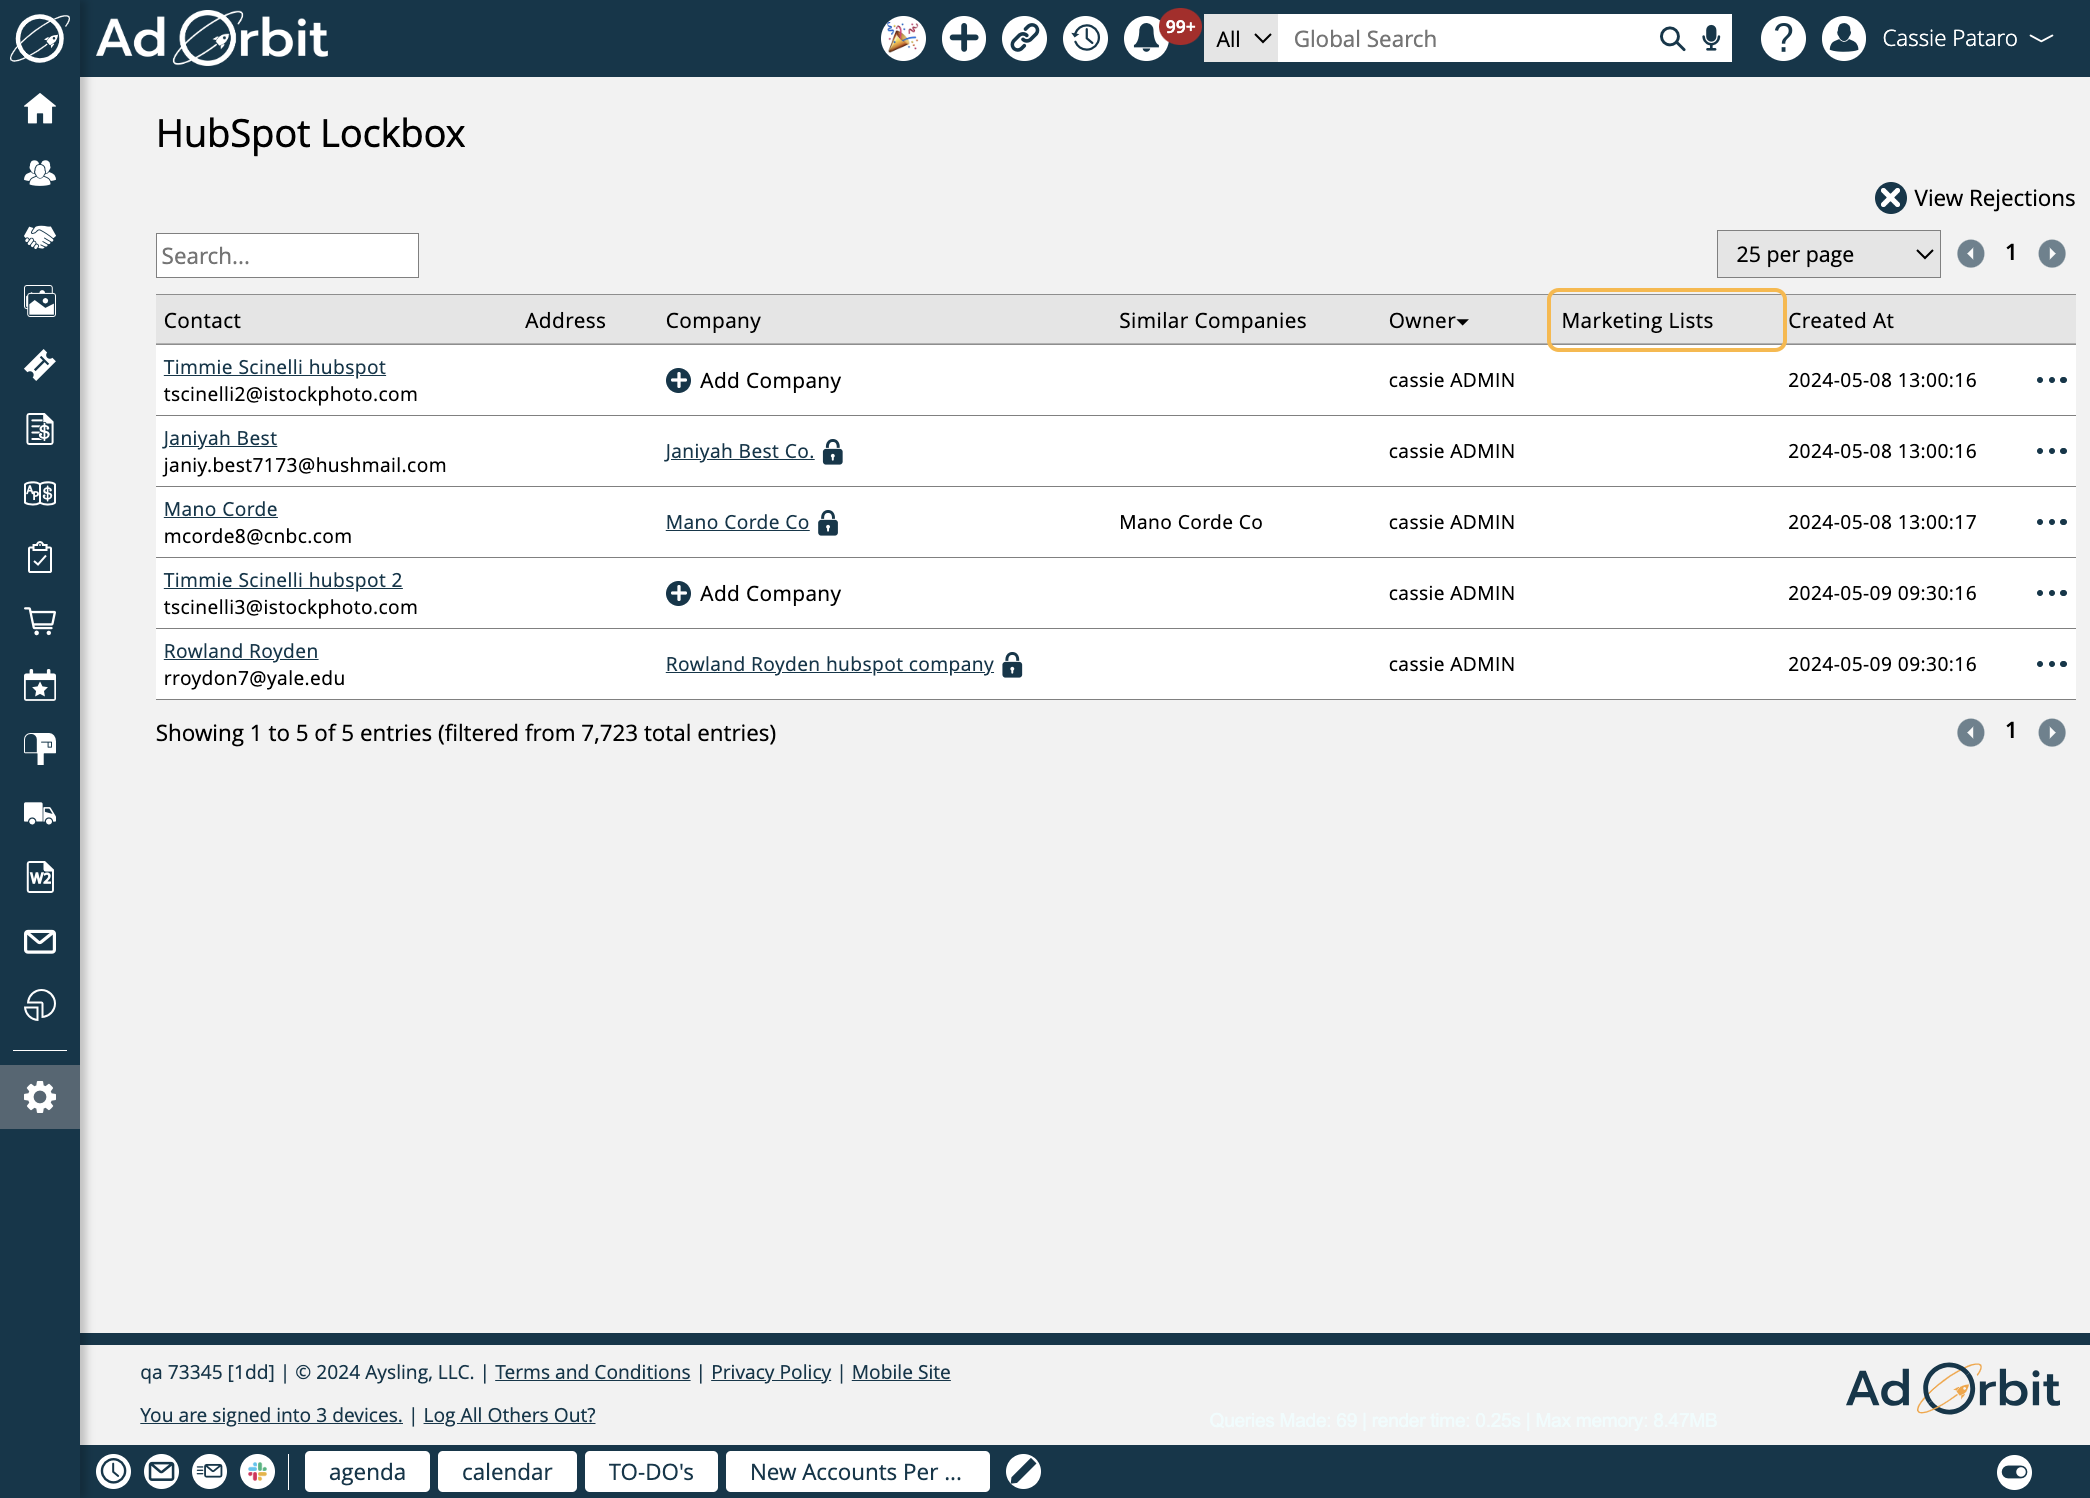
If using the 'Marketing List Field' on the HubSpot setup page, any contacts coming in with Marketing Lists specified will show the list name in this column.
The Created At column reflects when the contact was brought into the lockbox.

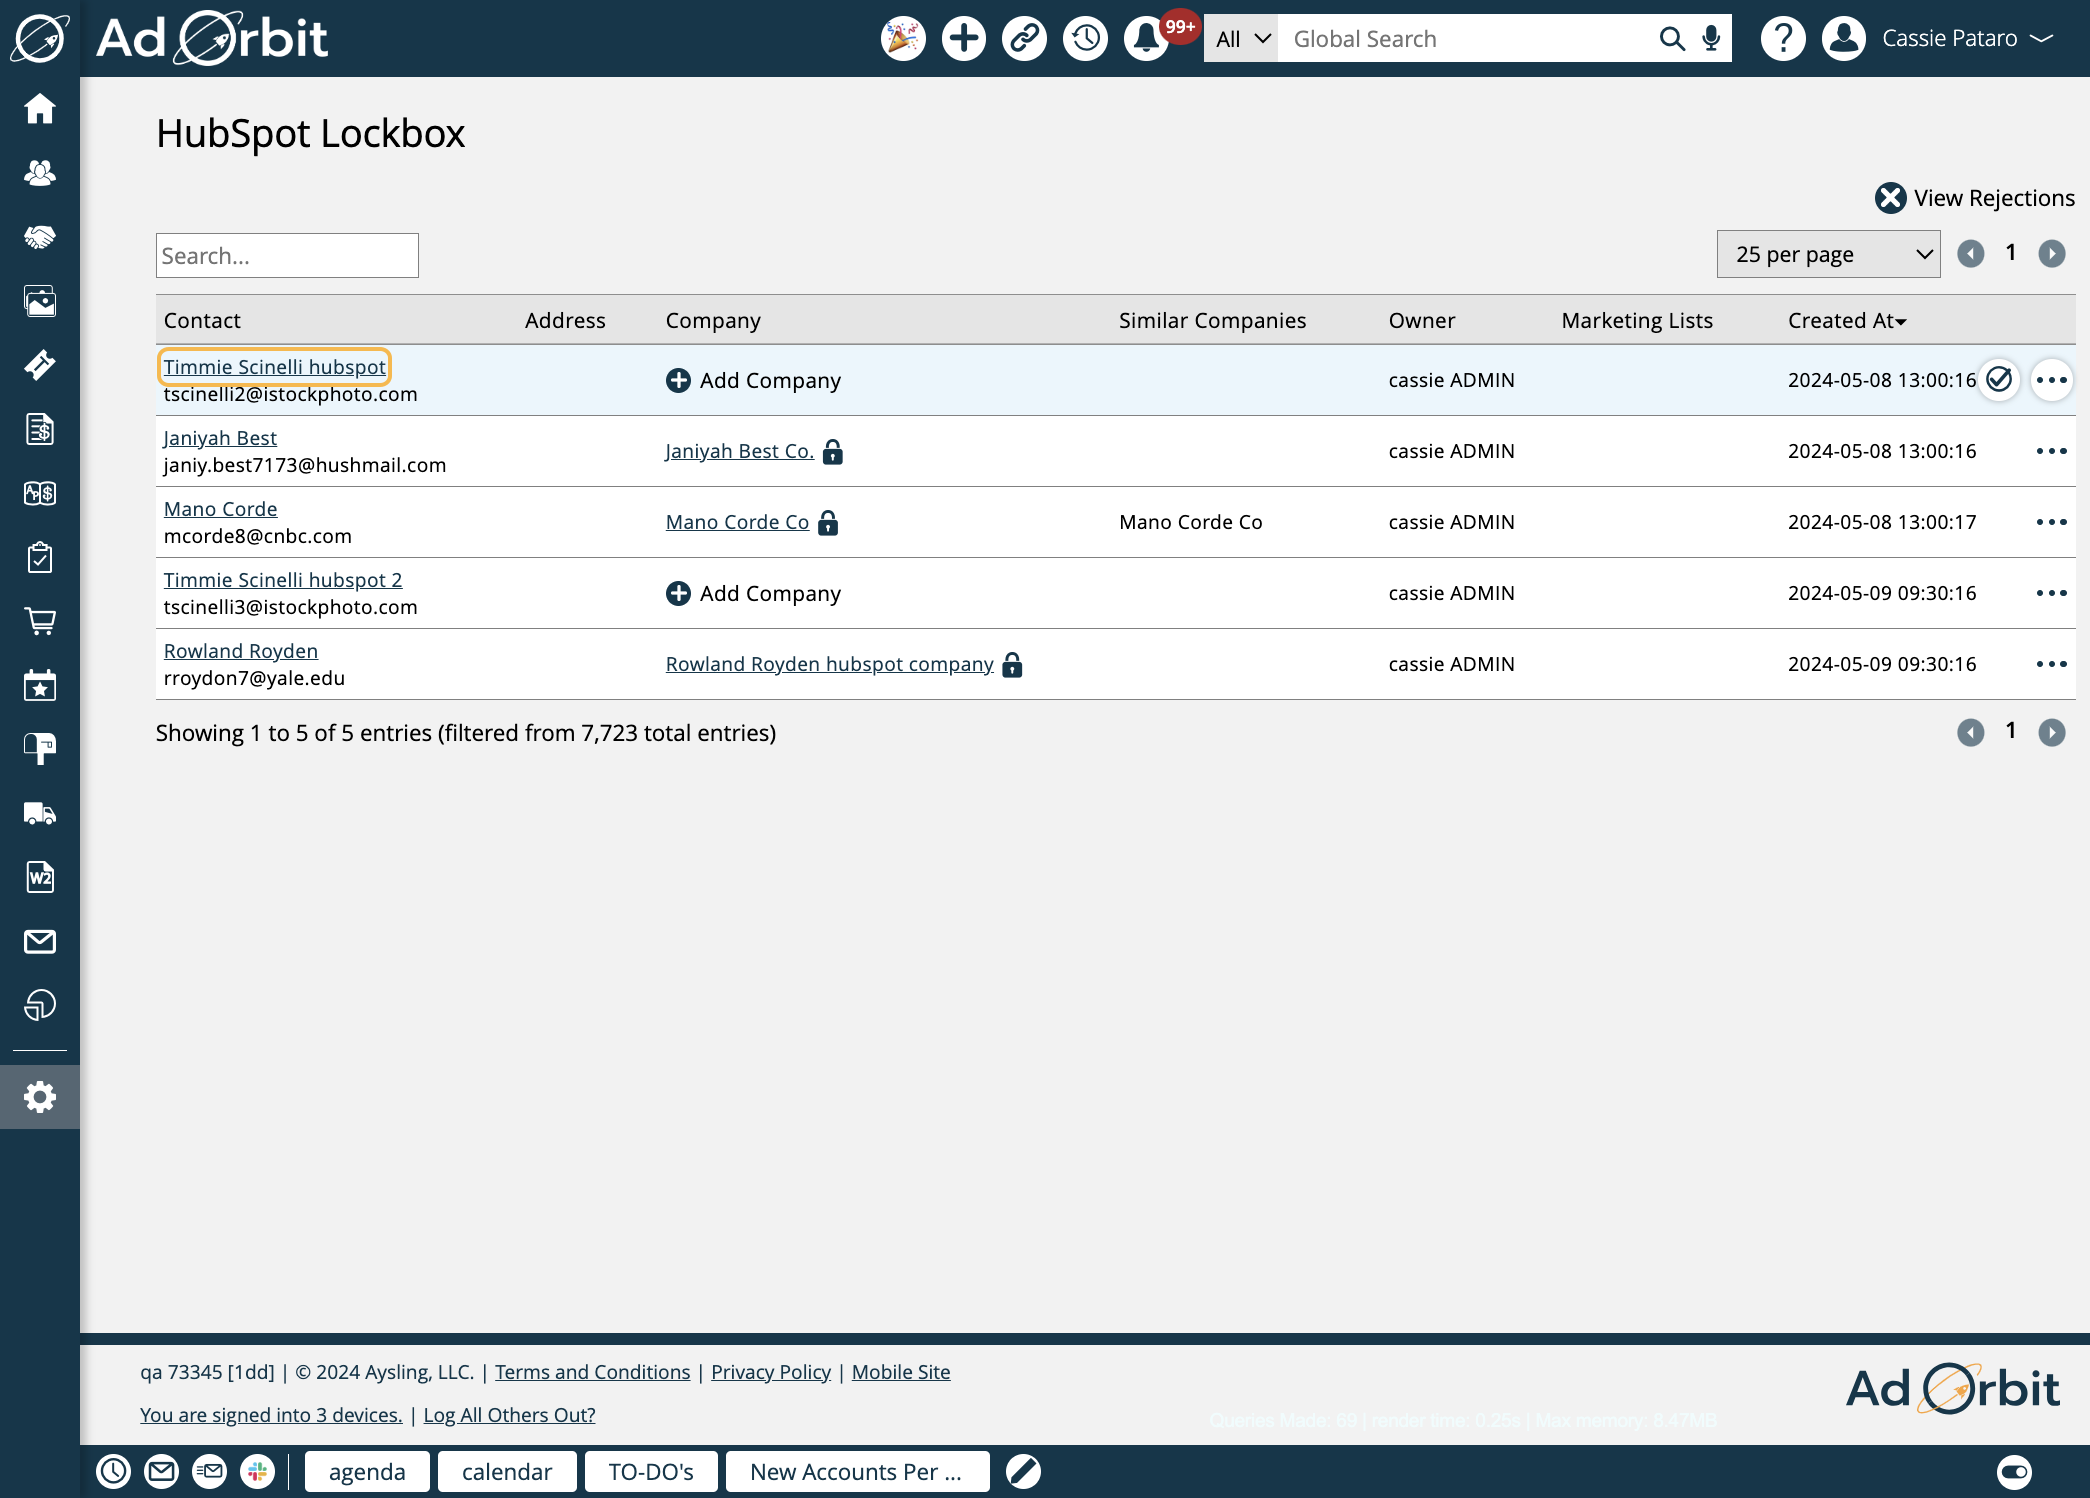
Click on the contact's name to open the contact's overview page within HubSpot.
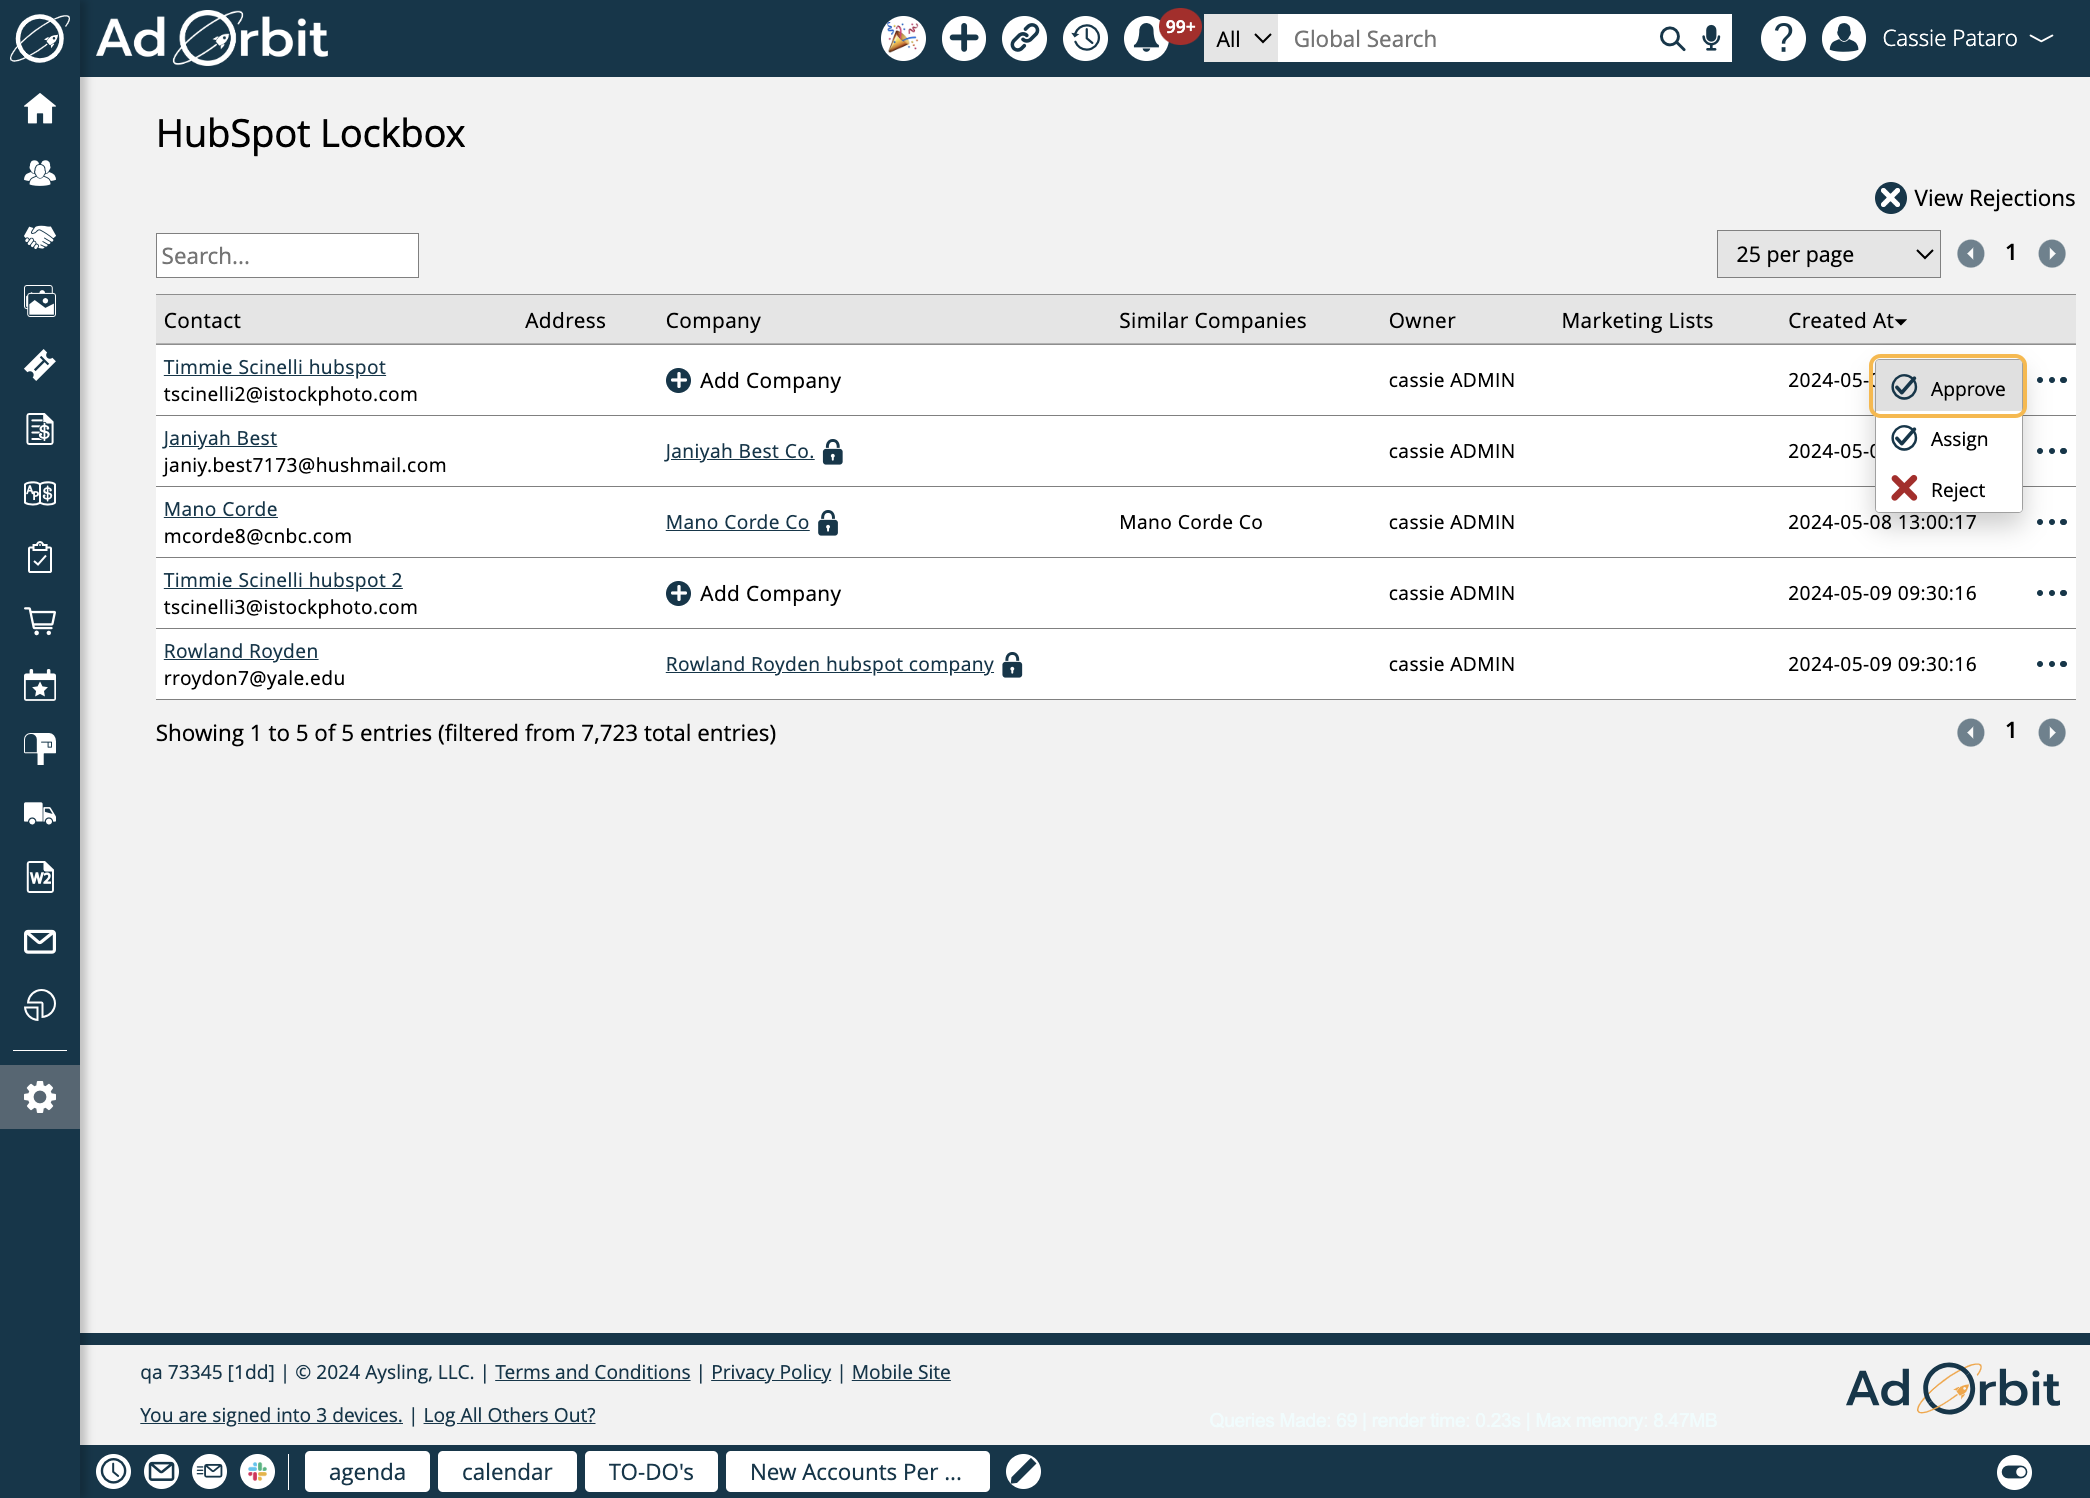
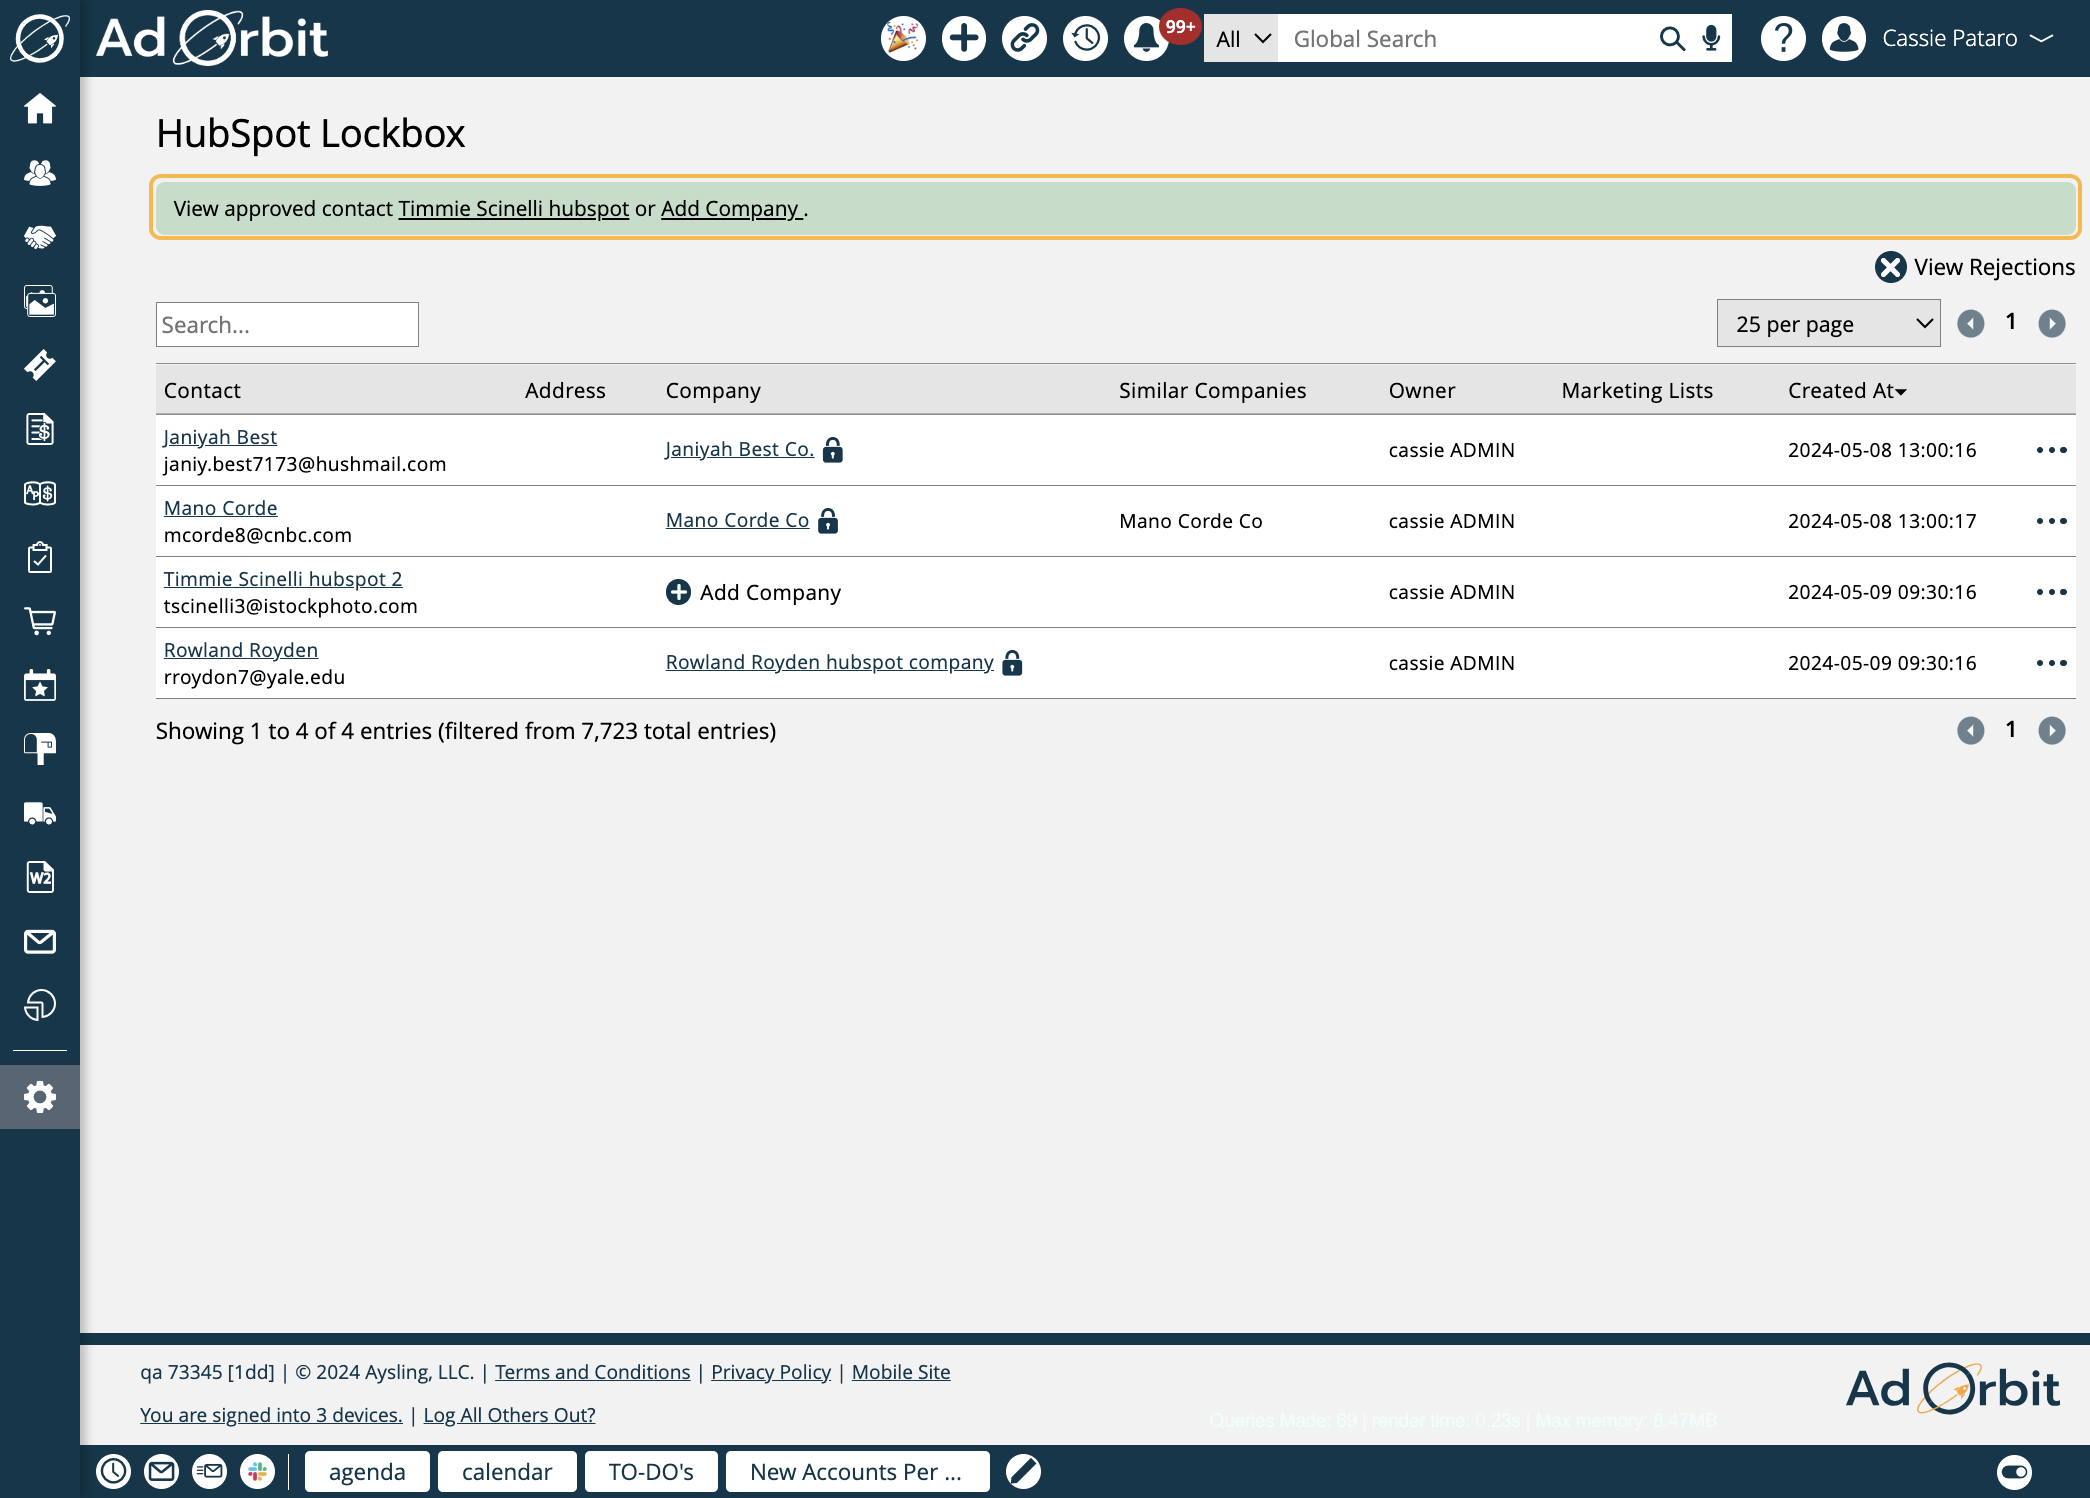
There are multiple actions that can be taken by clicking the ellipses icon. The first is to approve the contact. Approving the contact will create the record within Ad Orbit.
At the top of the page, you should see a confirmation message that the contact was approved.
Alternatively, you can use the Assign action.
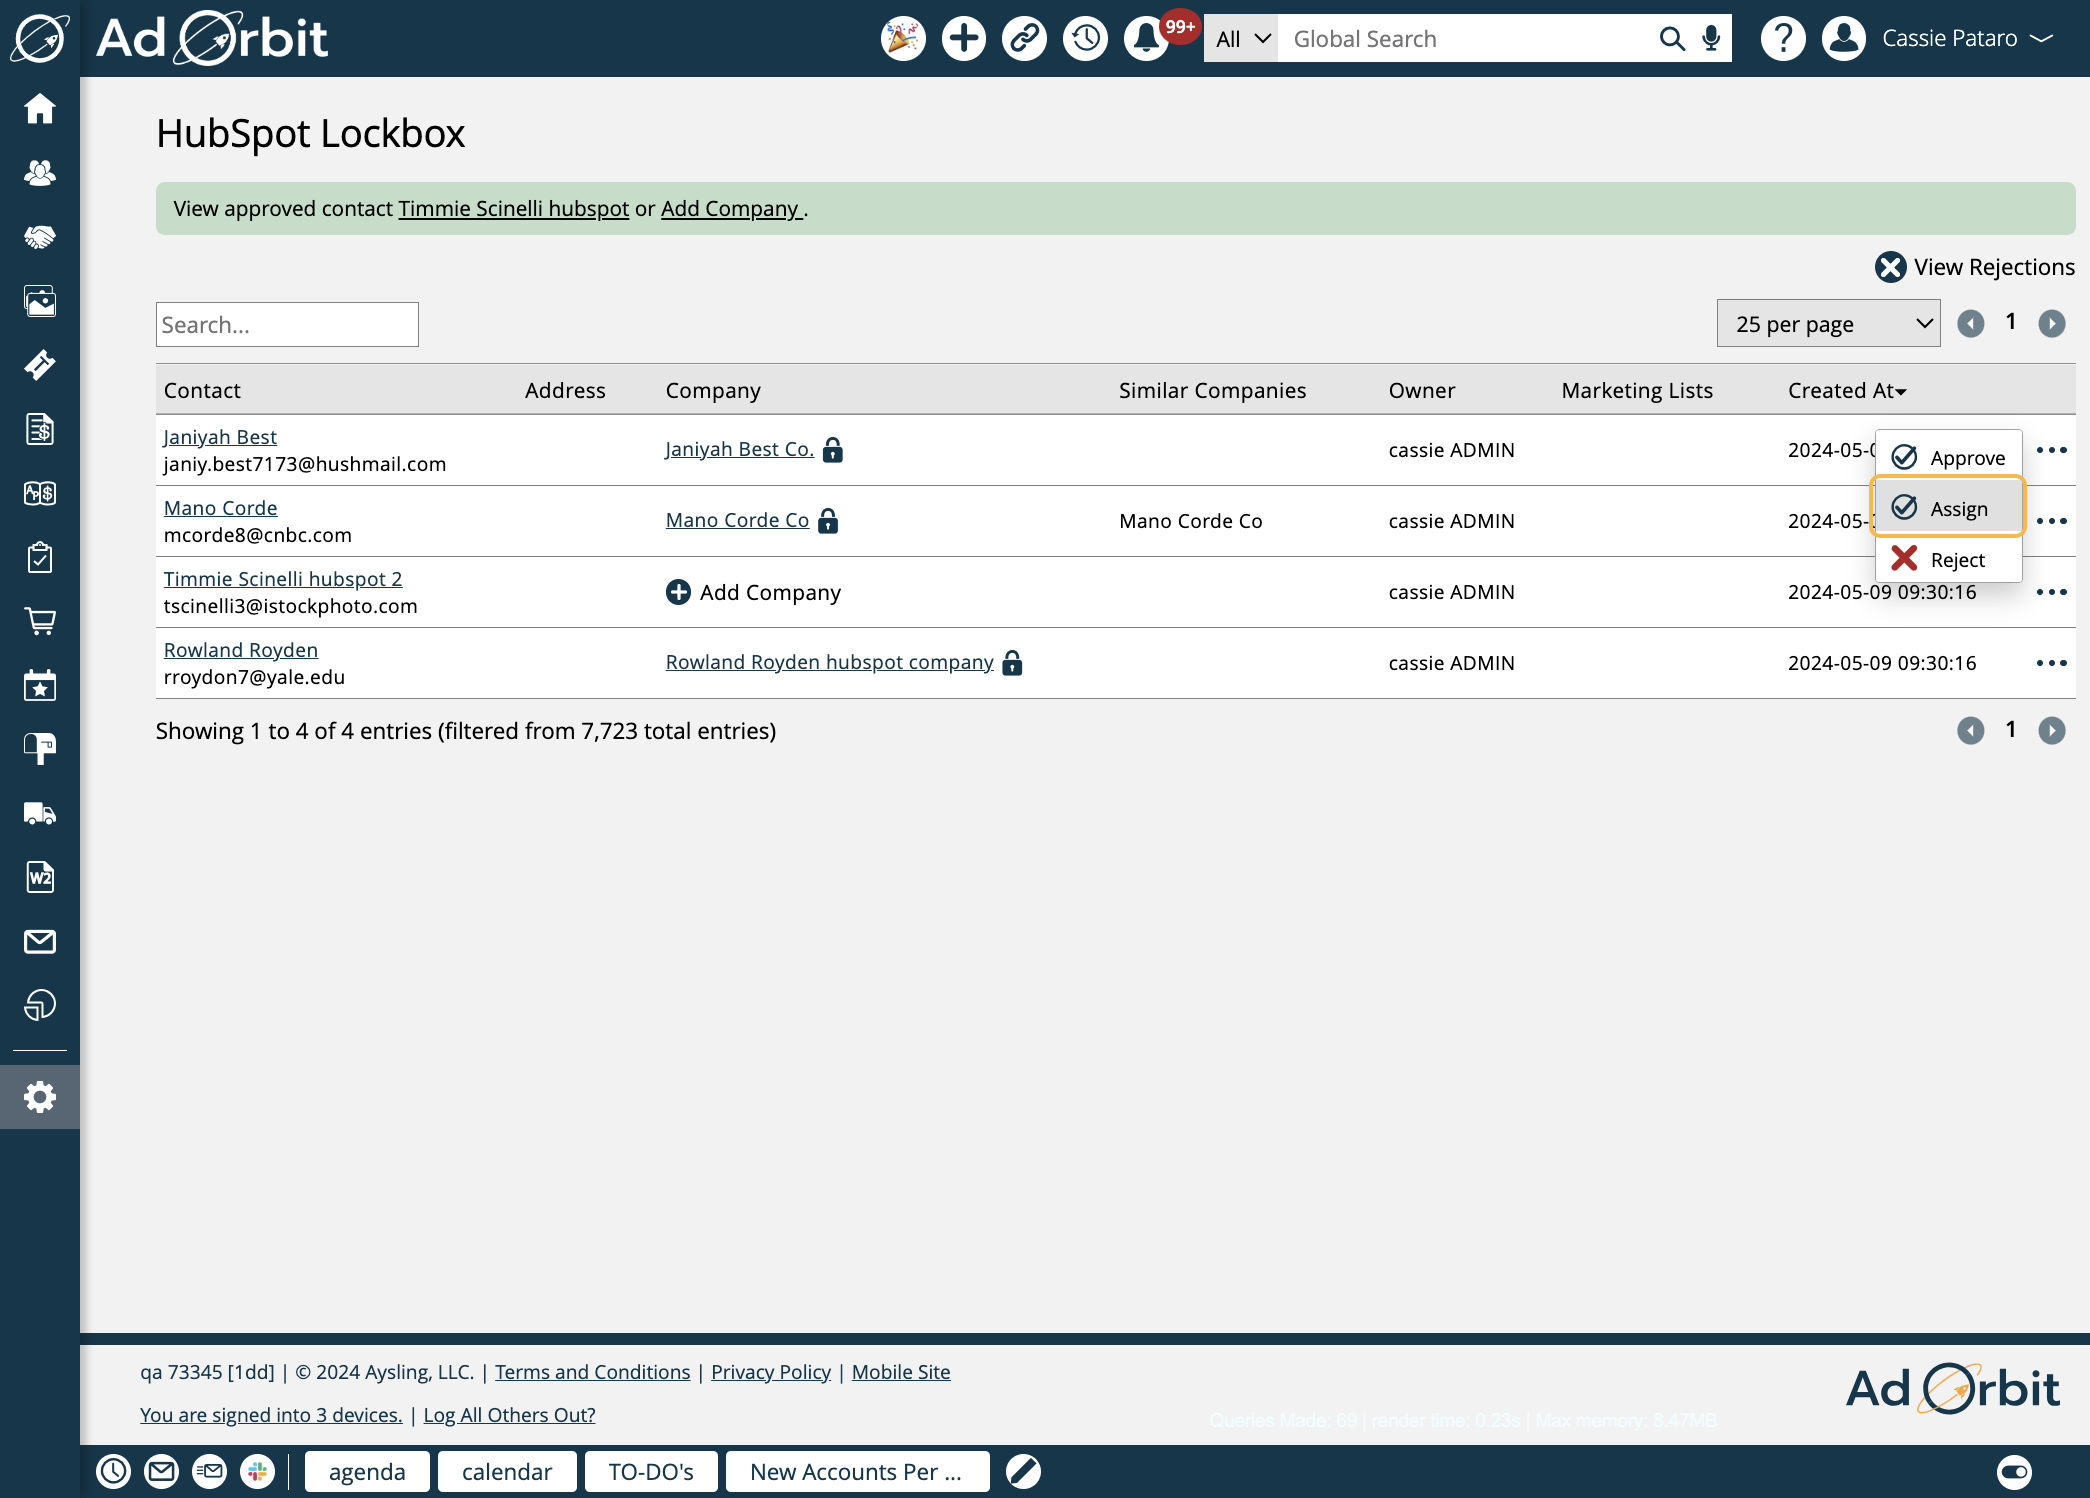
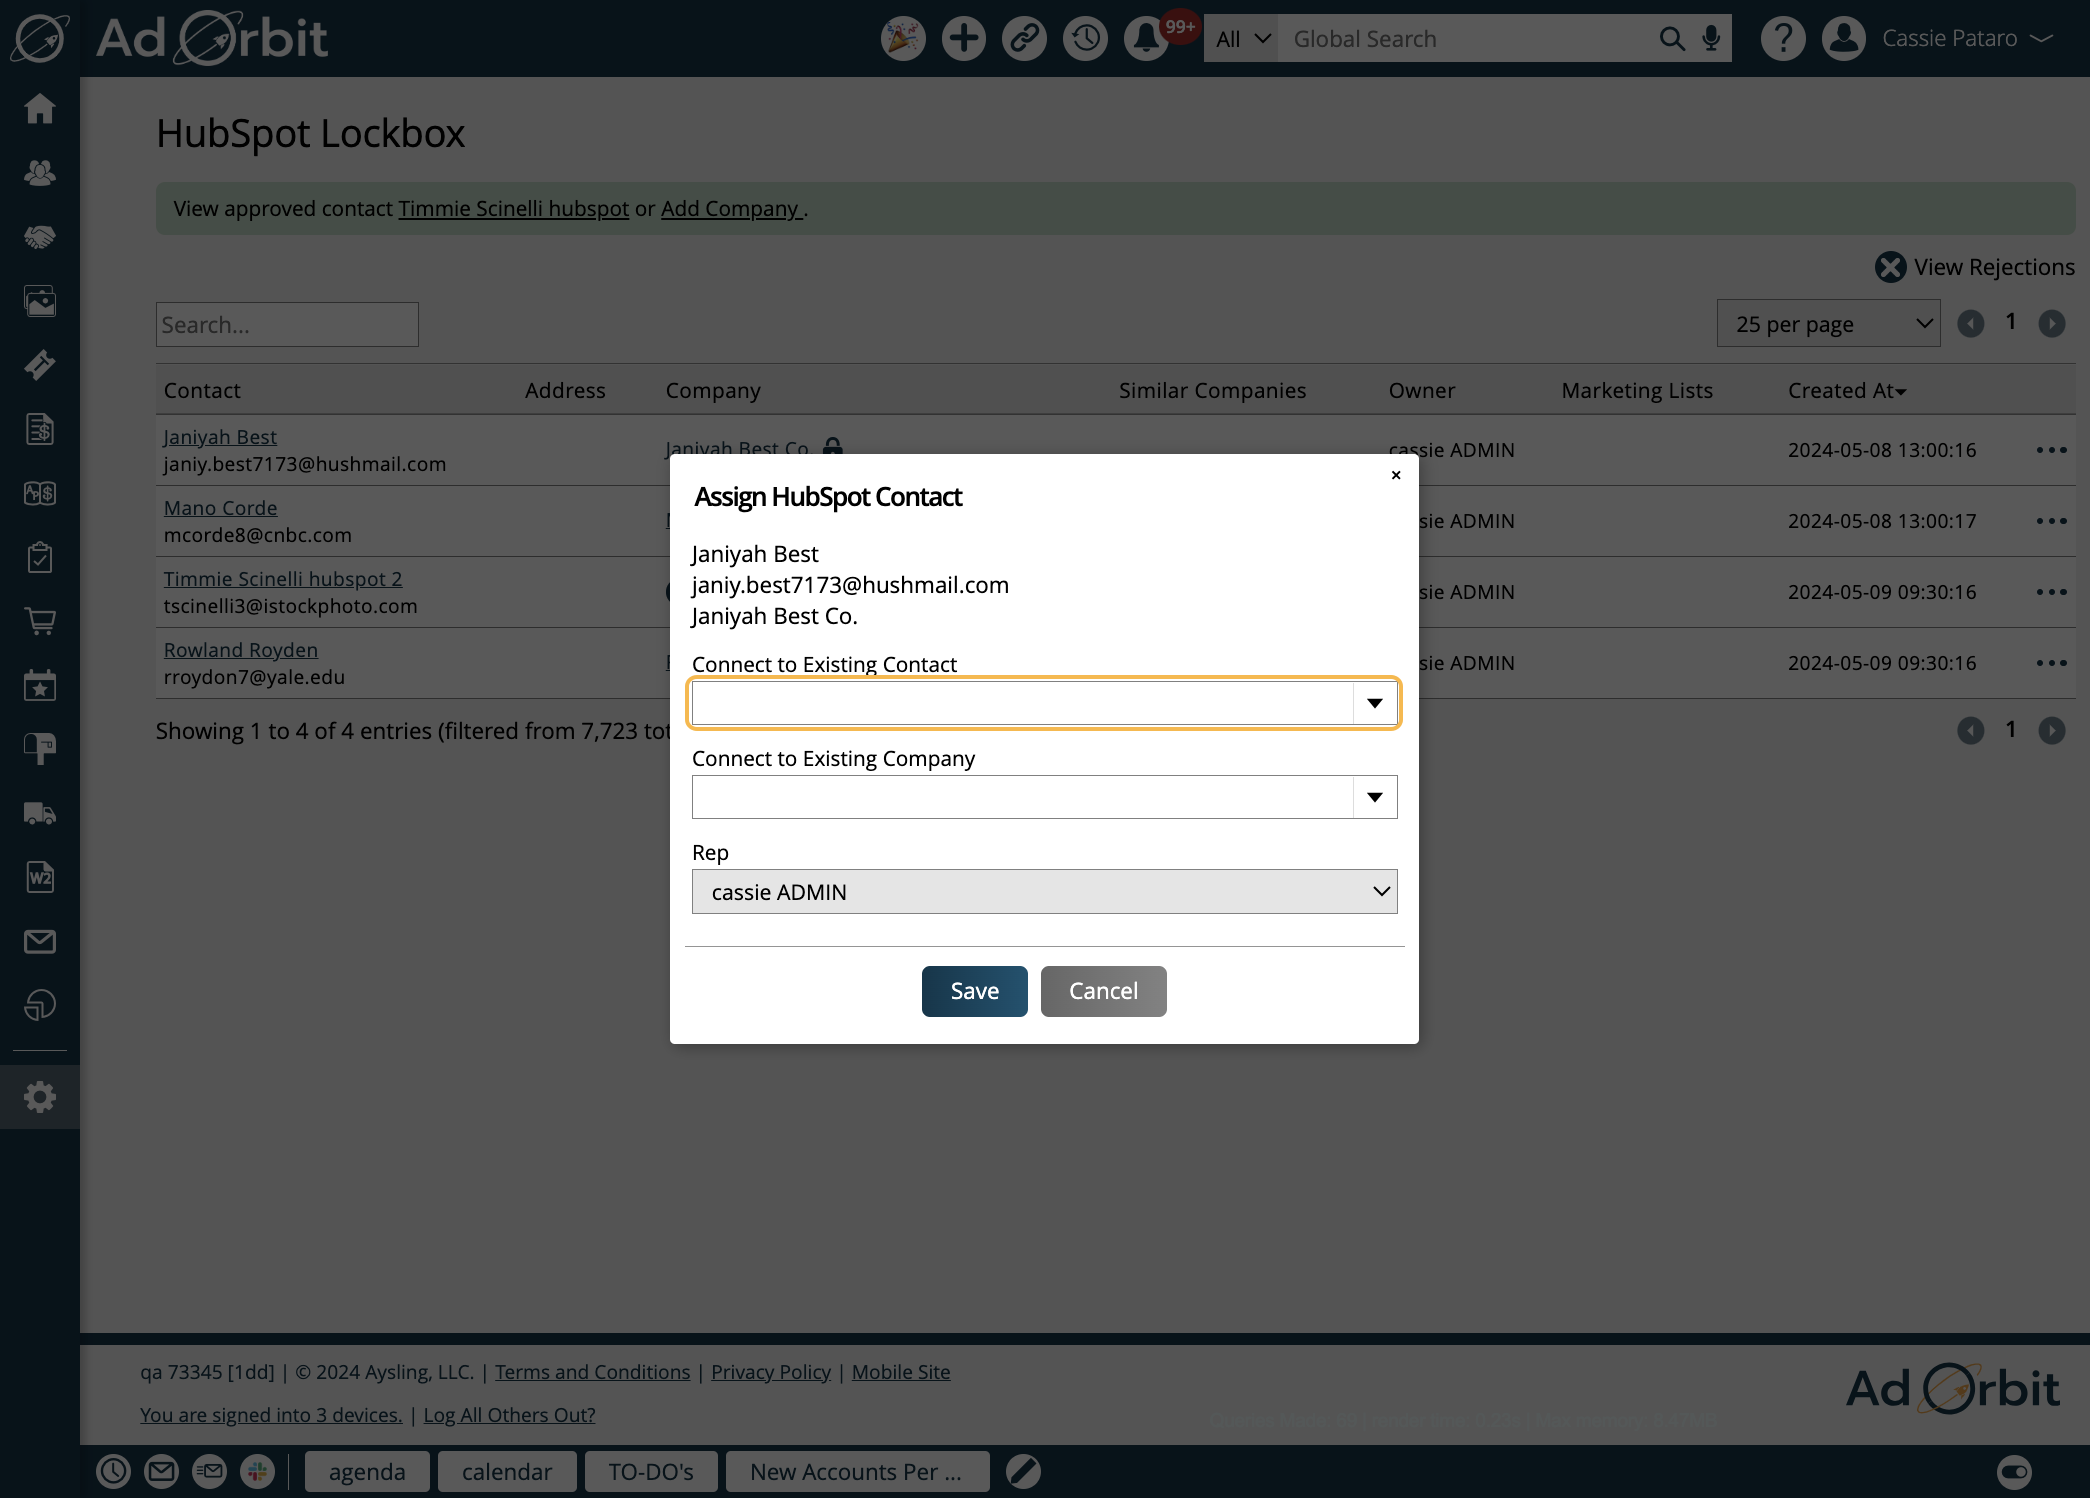
The Assign action allows you to associate the contact being imported with an existing contact or company within Ad Orbit, and assign a contact owner.
Contacts can also be Rejected. This will prevent them from being brought into Ad Orbit.
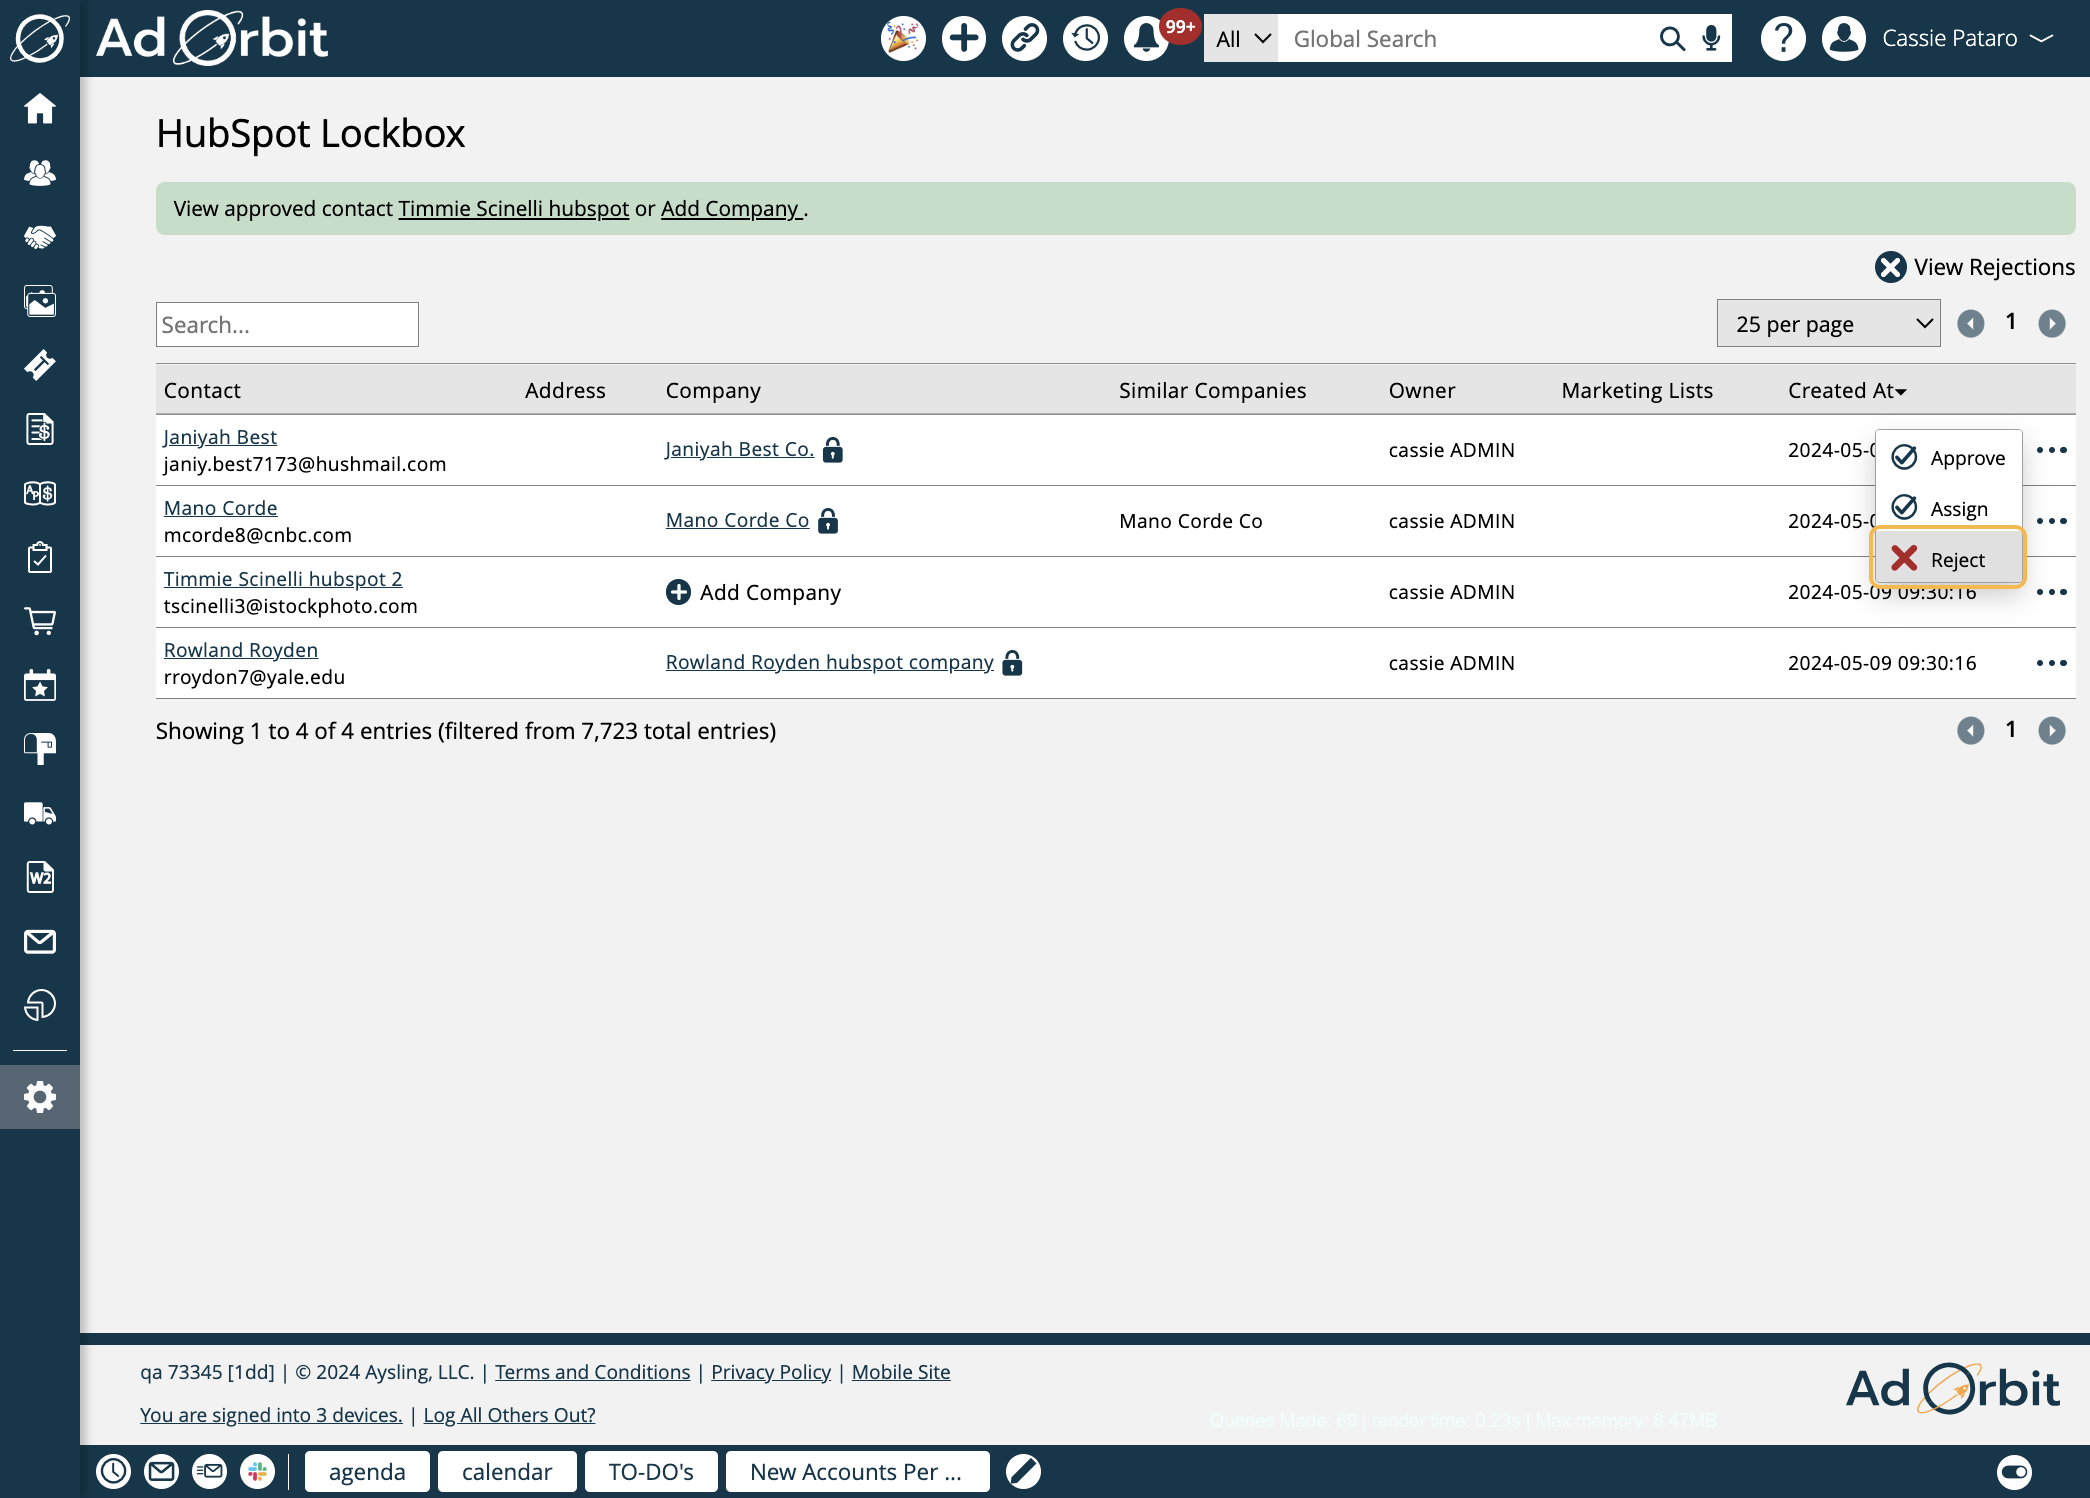
Any rejected contacts will still remain in the lockbox in a different table. To view them, click 'View Rejections' in the upper right corner.
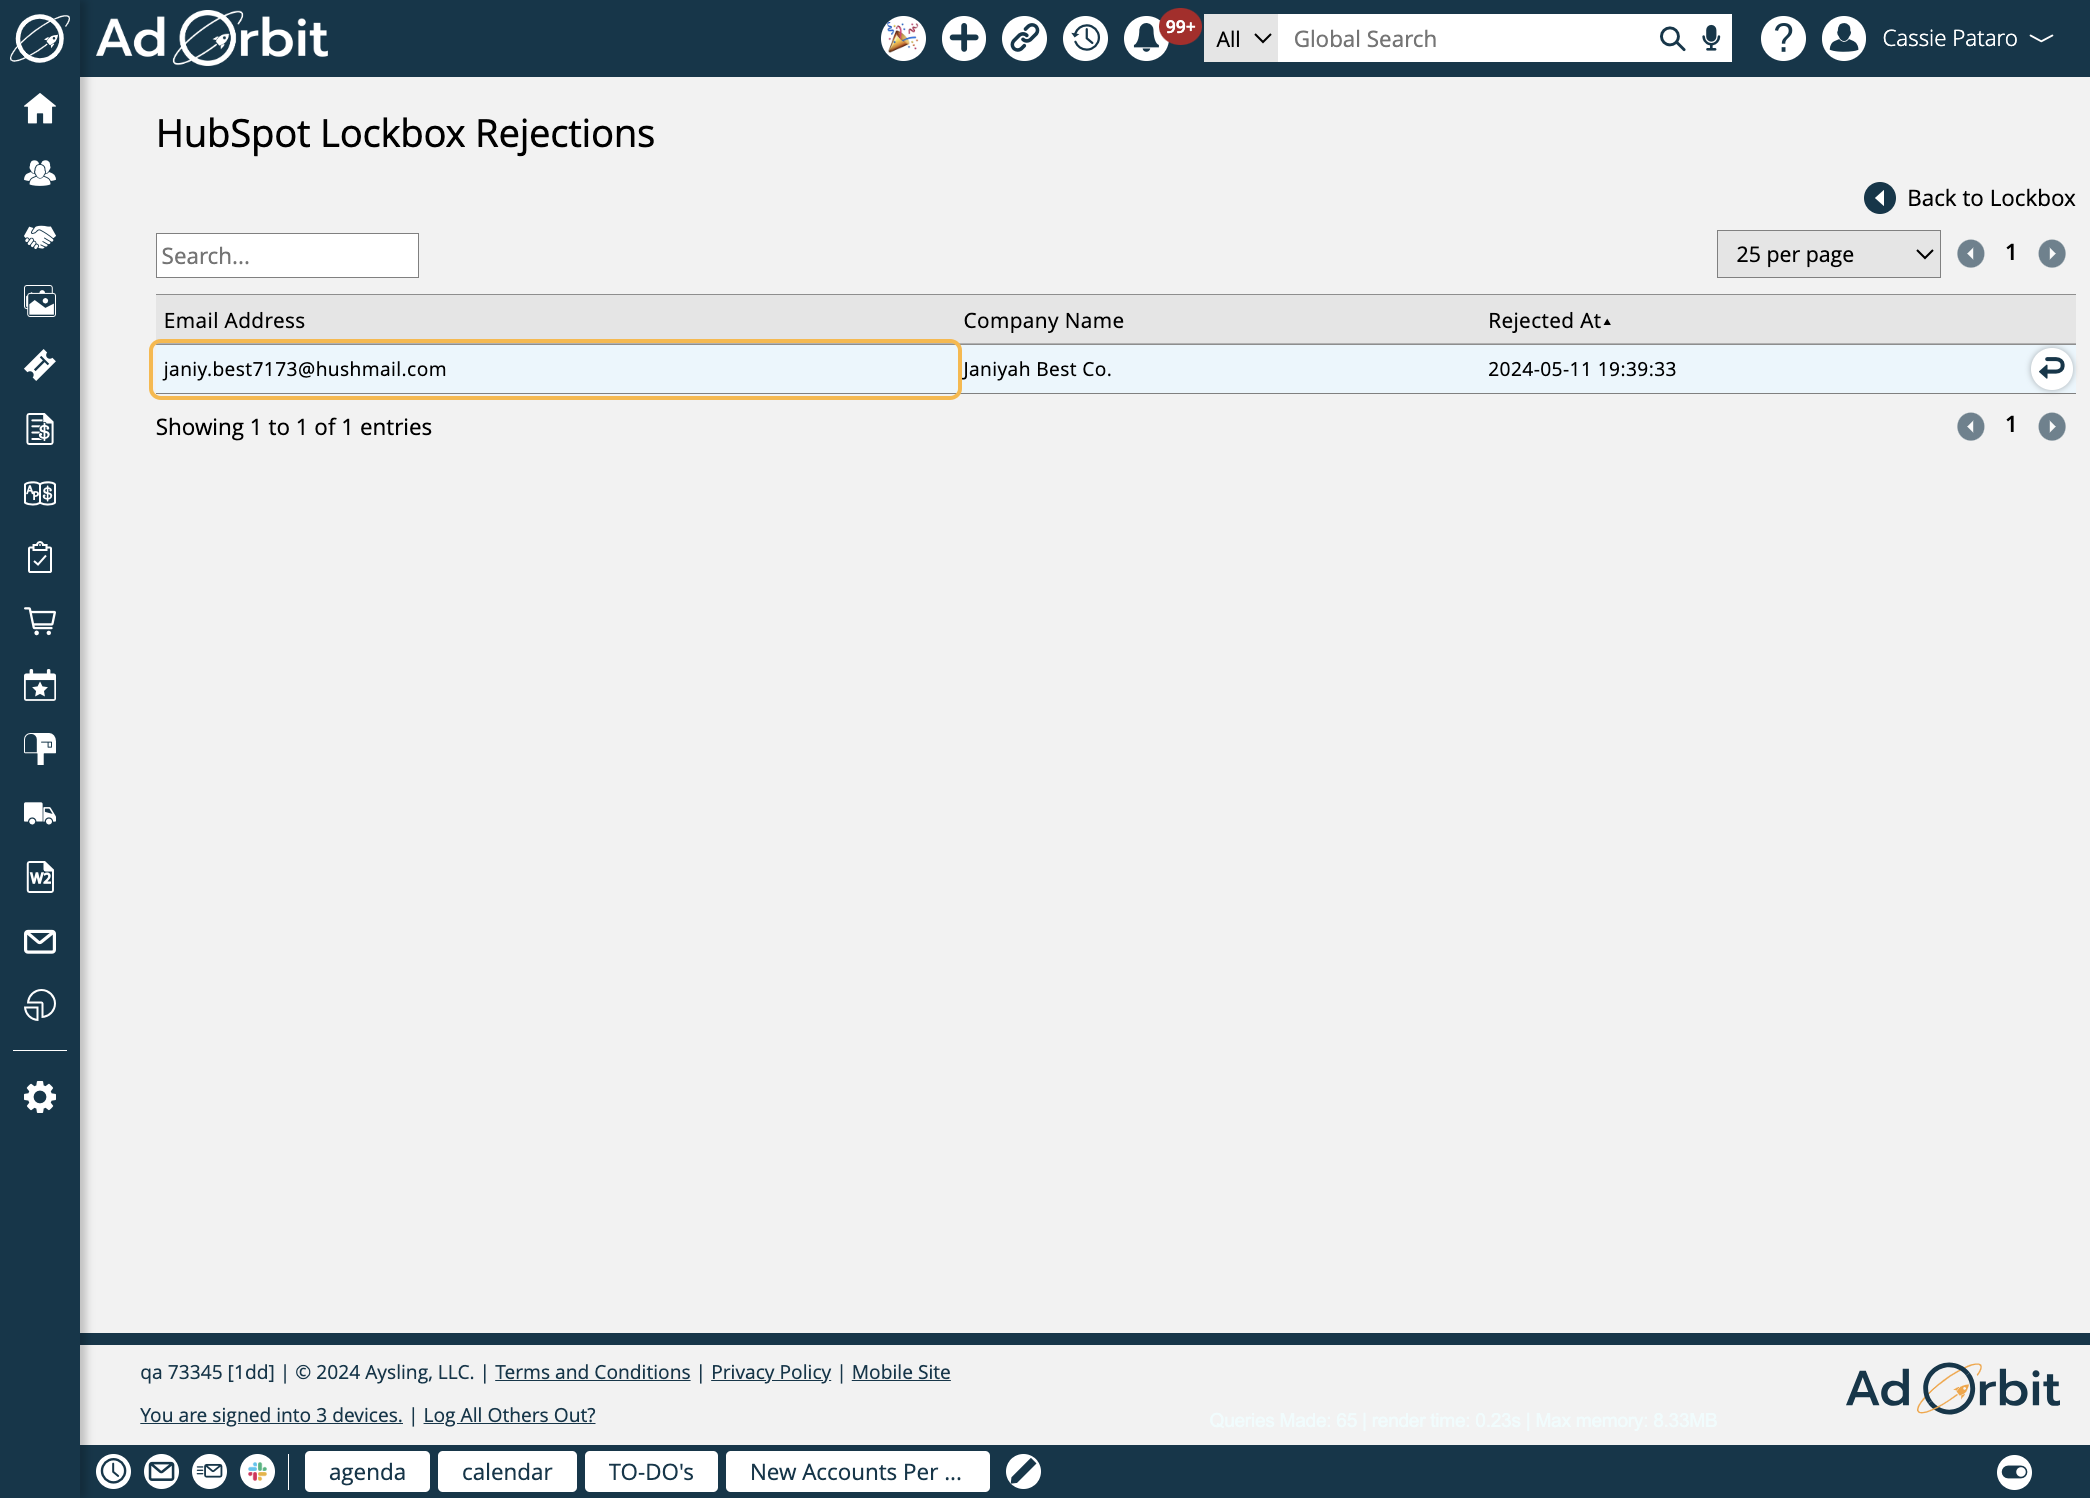
Contacts that were rejected will display their email address, and company name if set. The table will also show when the contact was rejected.
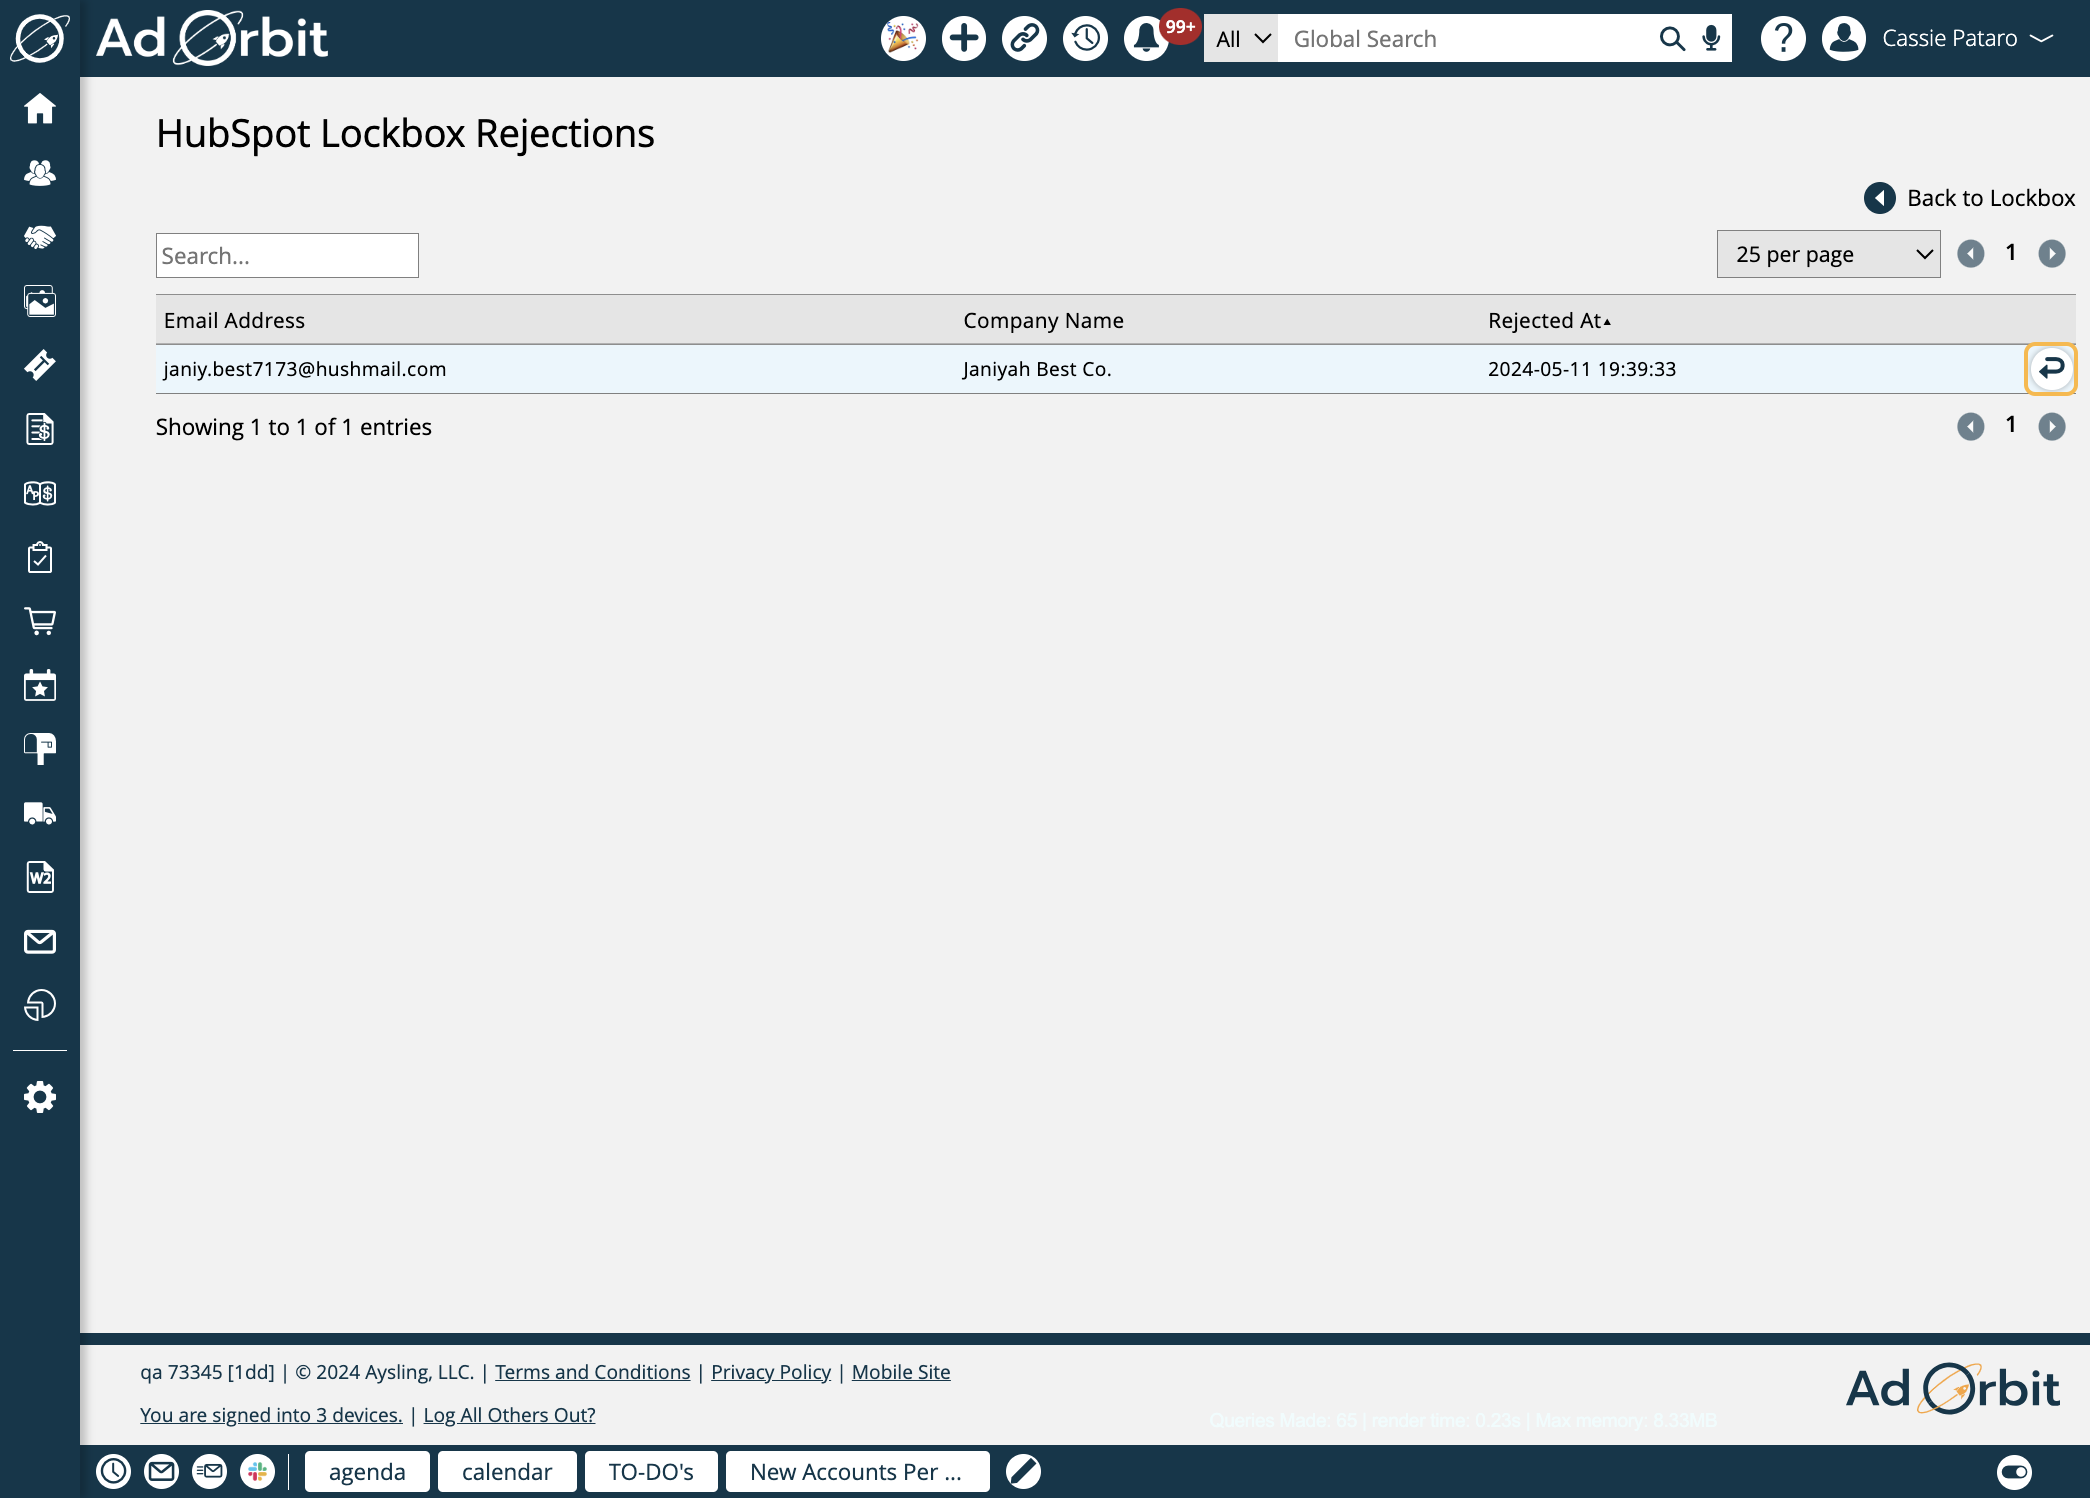
If needed, you can click the 'Undo' action, which will remove the contact and allow them to re-sync from HubSpot.
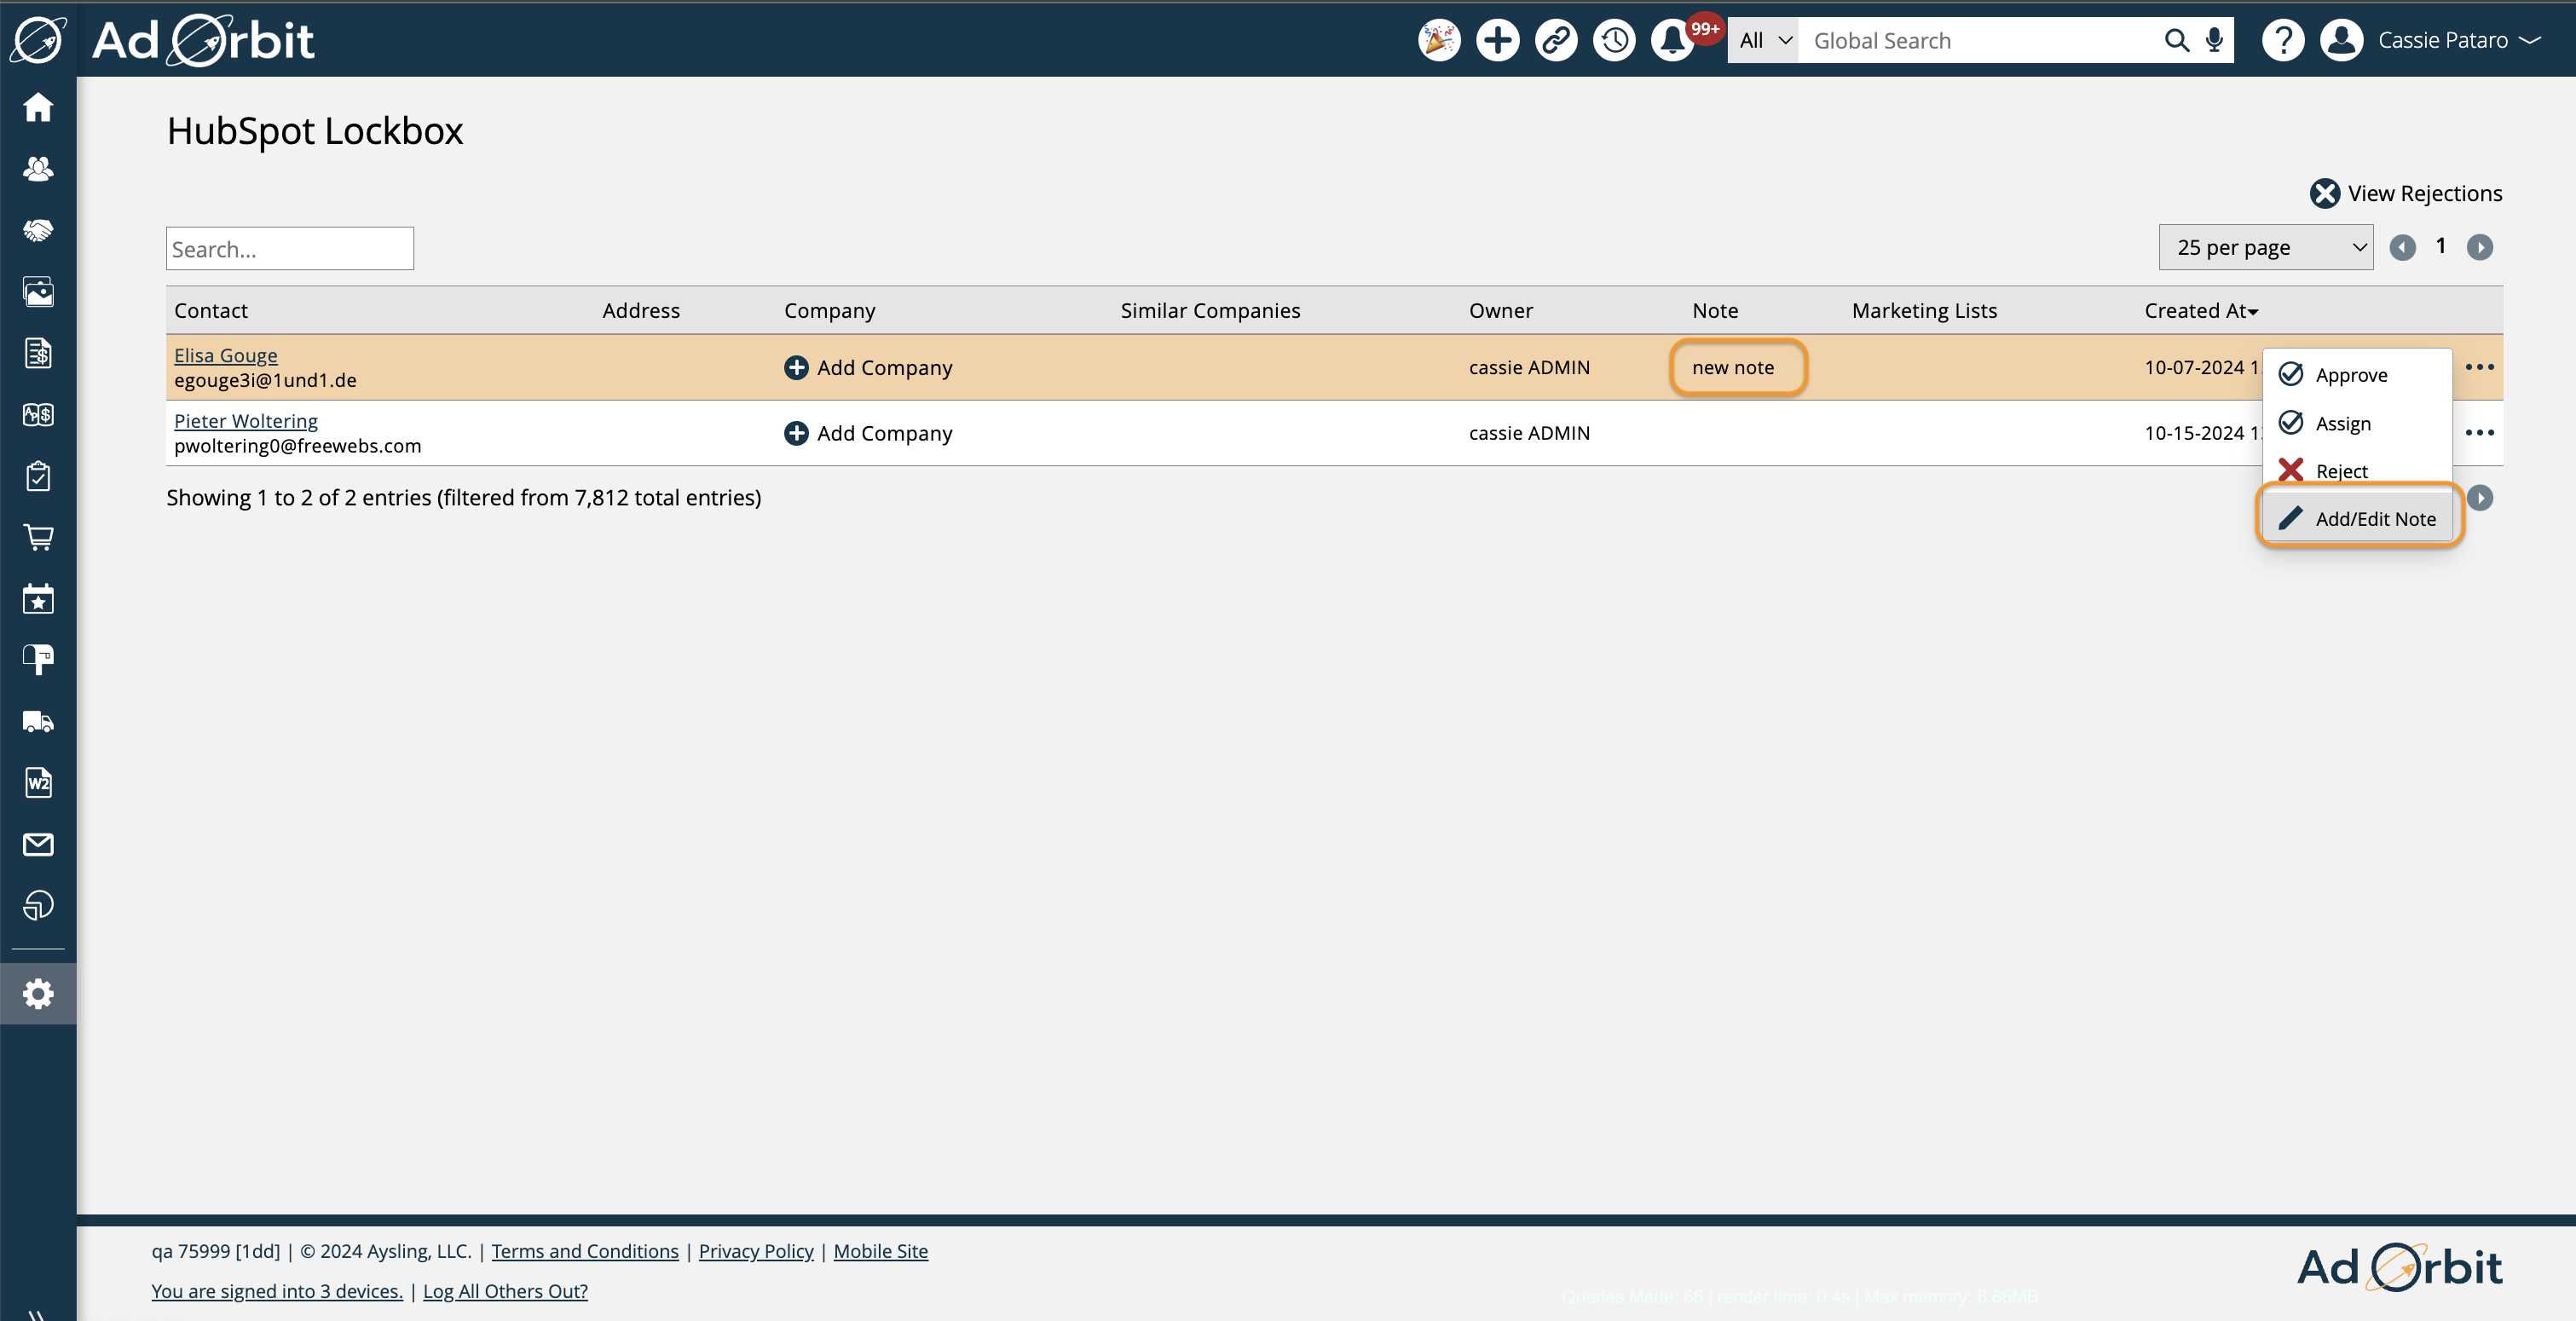
Finally, you can add and edit notes on contact lockbox records. Any contacts in the lockbox who have notes added will be highlighted, and if the contact is created in Ad Orbit, the note from the lockbox will be brought onto the contact in Ad Orbit.
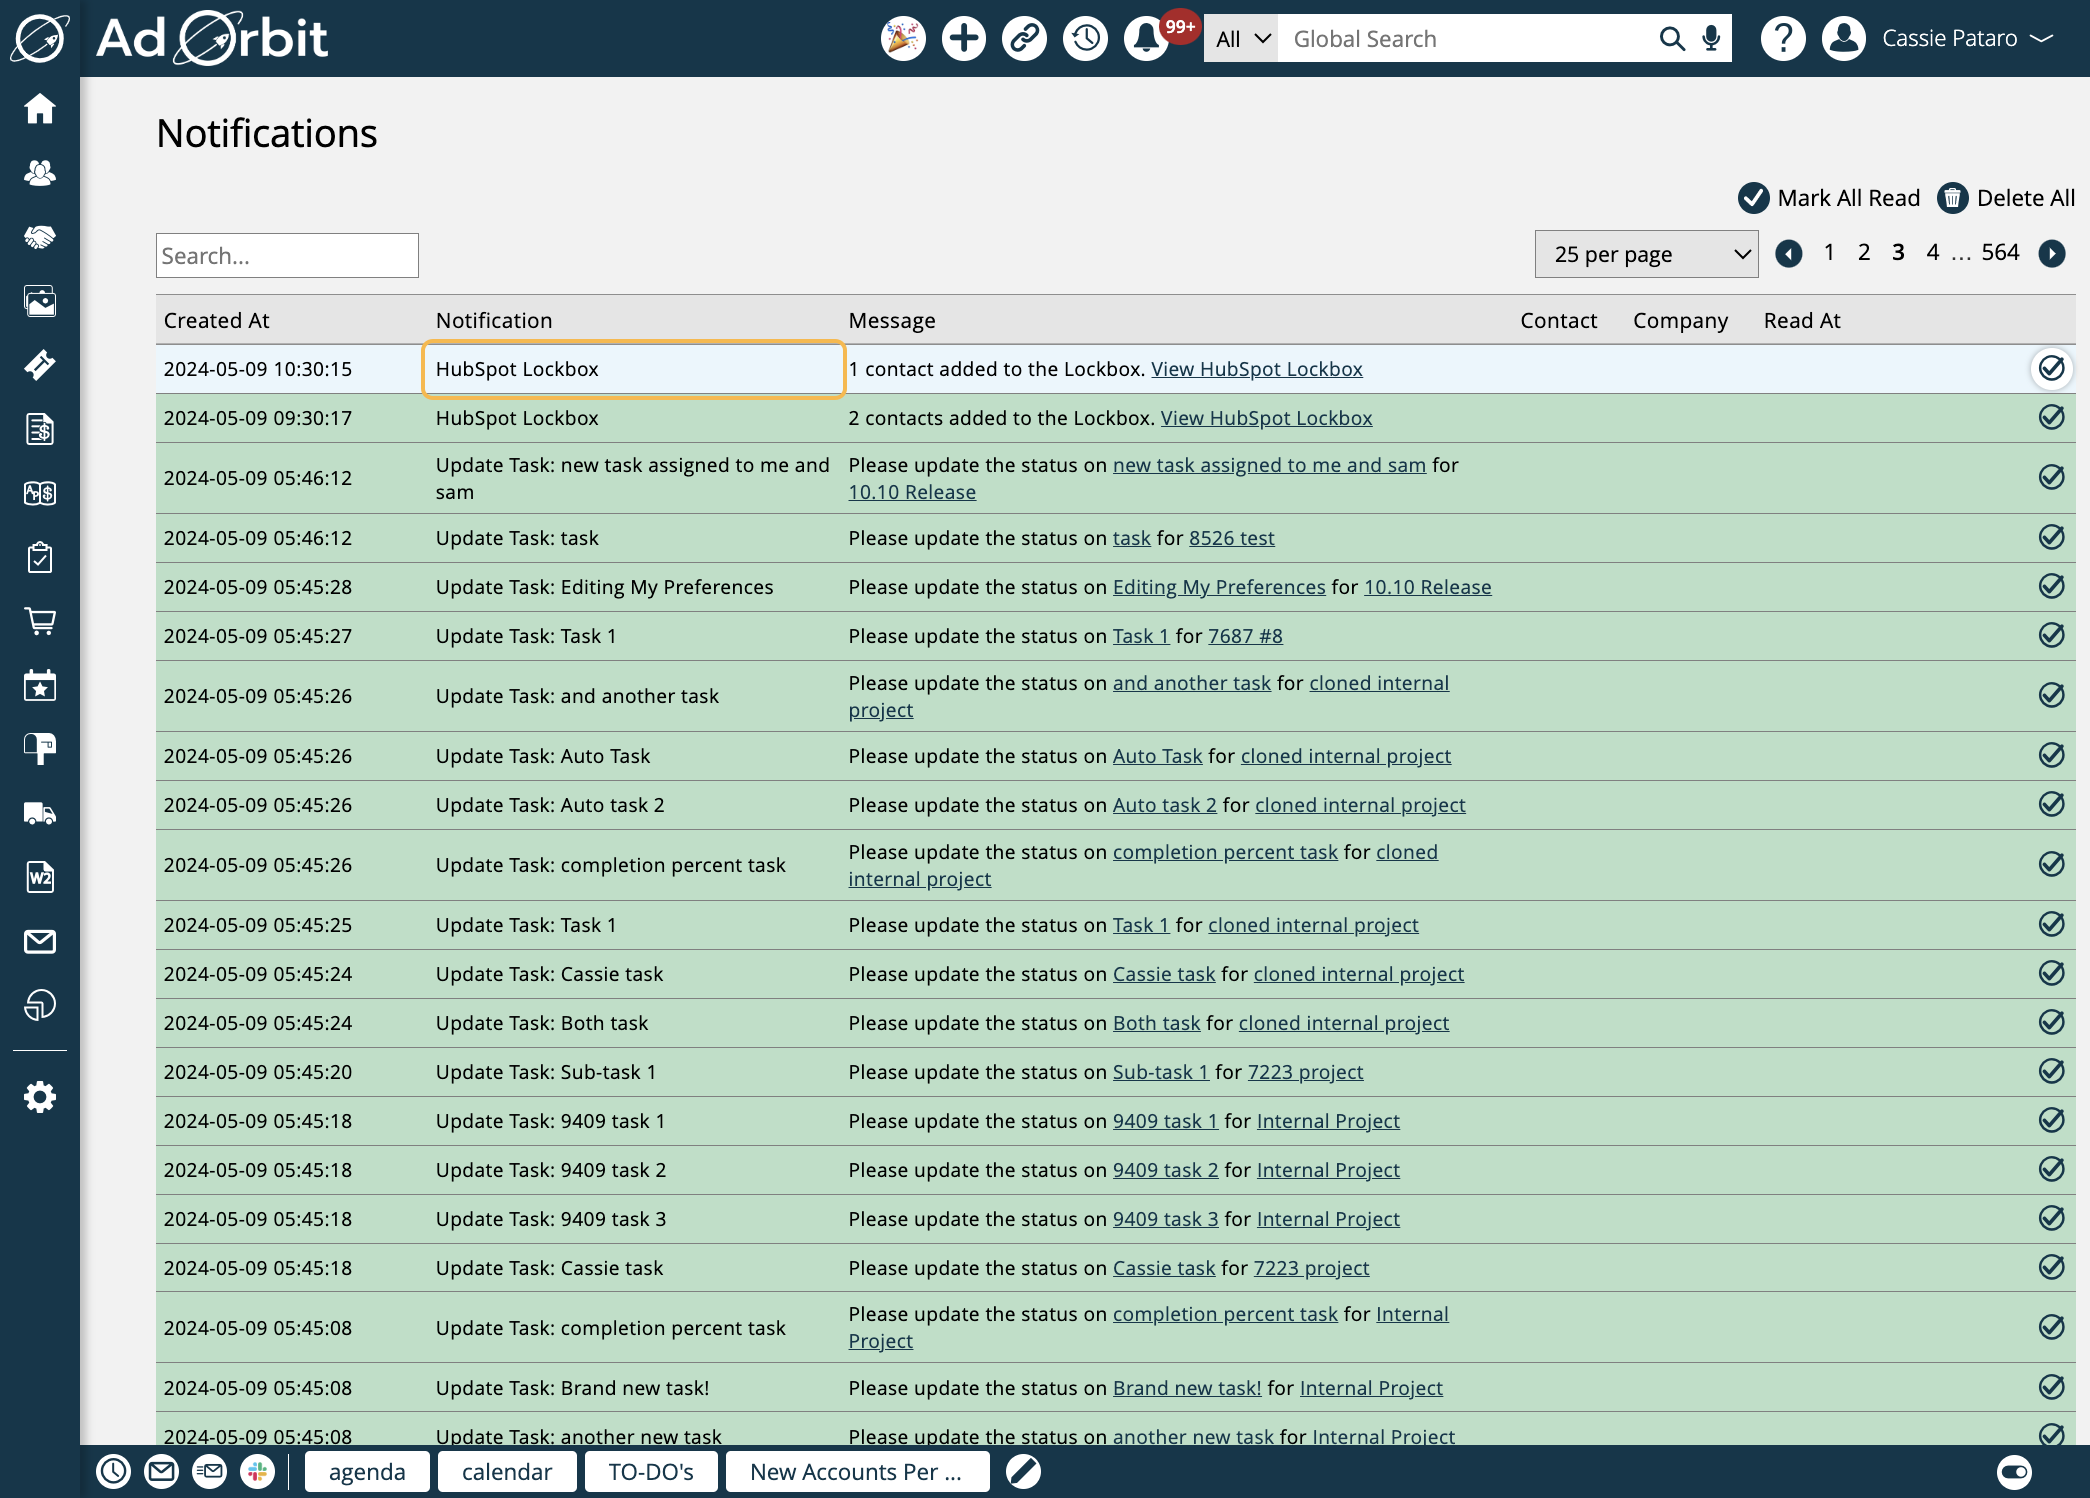
Anytime a contact is brought into the lockbox, users with lockbox access will receive a notification that can be viewed by clicking on their bell icon in the top menu.
Updated 10/17/2024