Service Item Reminder Workflows
Service Item Reminder workflows are a specific type of ticket automation workflow. This workflow type prompts tickets to go through the workflow based on various service dates. No other ticket workflow types are based on dates.
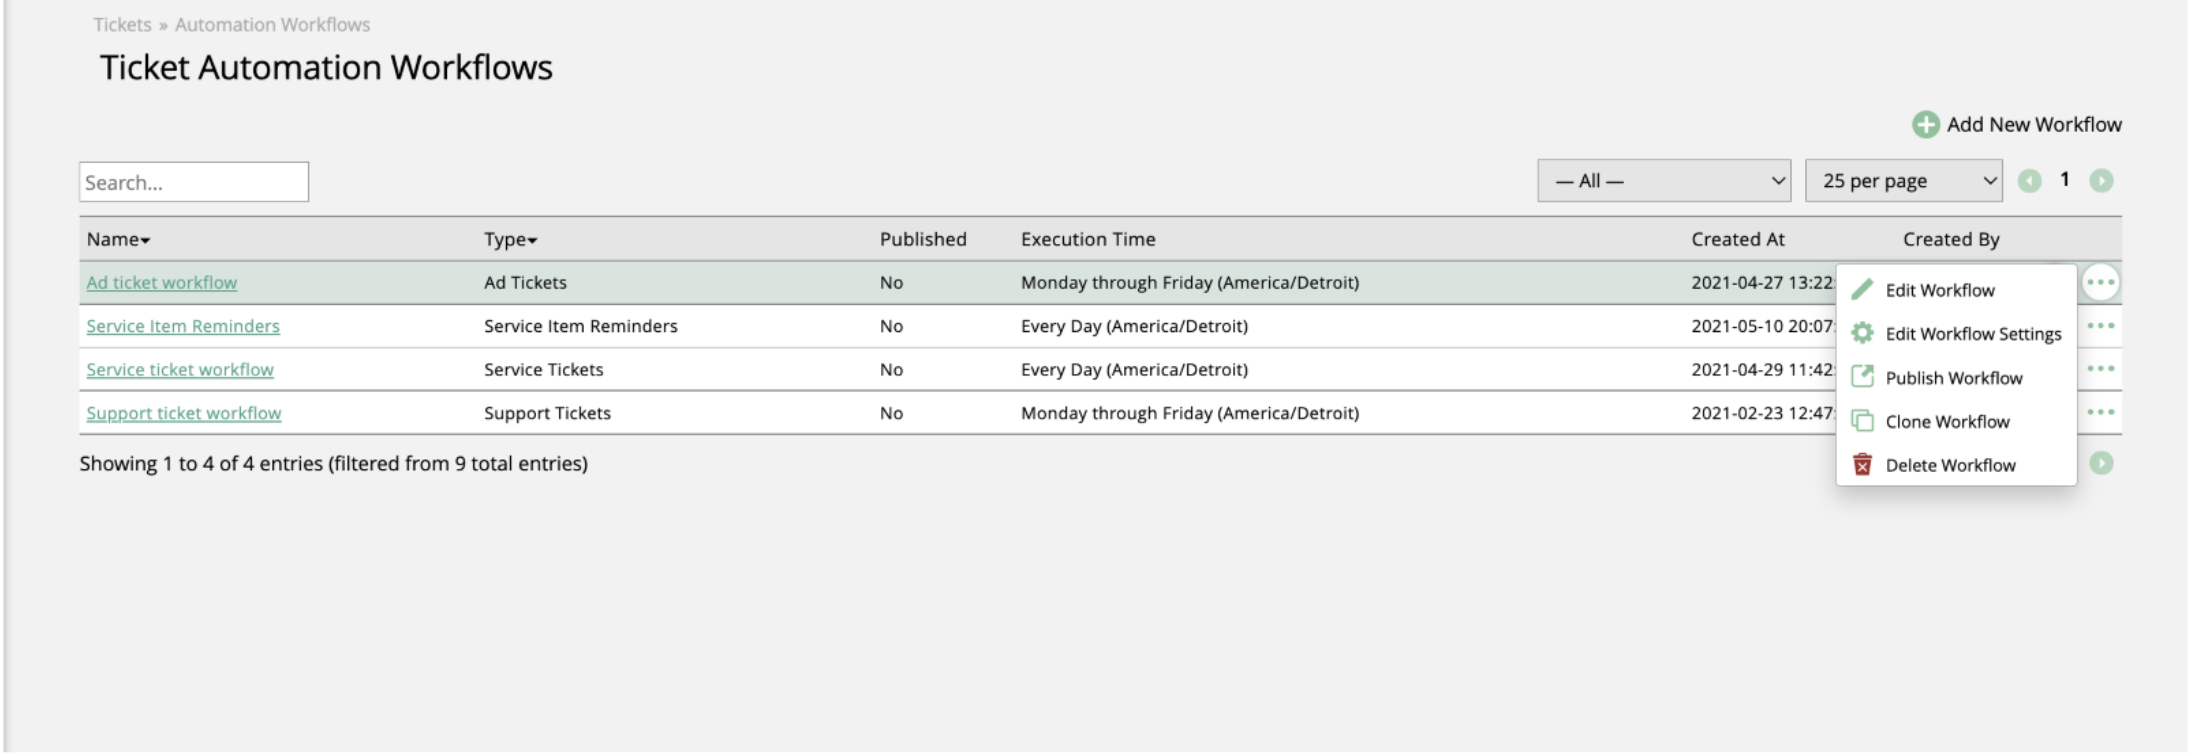
To create Service Item Reminder workflows, go to Tickets > Automation Workflows. You can click the + icon in the upper right corner to create a new workflow, or if you already have some created, you can use the ellipses icon in the table to edit an existing workflow.

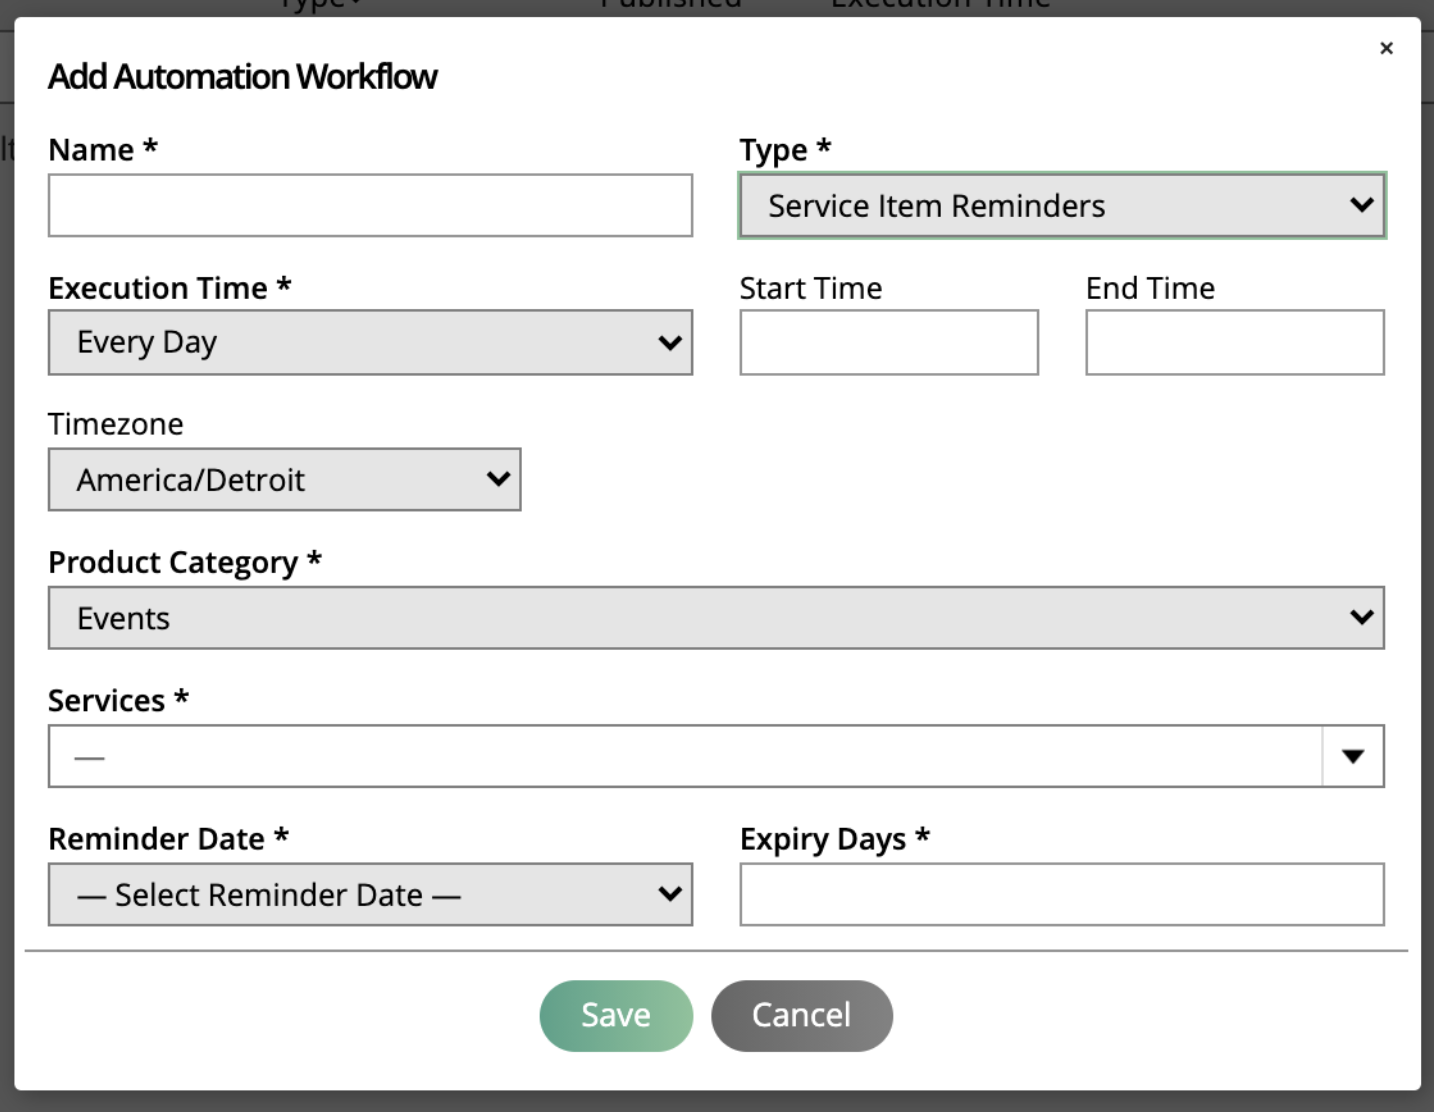
This document is specifically walking through Service Item Reminder workflows, so in the Add Workflow popup, you should choose Service Item Reminder for the workflow Type. If you need information about other ticket automation workflow types, please check out the help center document Ticket Automation Workflows.

Once you’ve chosen the Service Item Reminder type, pick your execution times. You can choose from either every day, or Monday through Friday if you only want the automation to run during the work week. You can also set a start and end time if you wish.
The next step is to choose the product category, the services, which dates to reference for the reminder, and the expiry days.
You can only choose one product category per workflow, but can select multiple services.
The Reminder Date options are Billing Date, Due Date, Event Date, and Scheduled Date. This is what the expiry days are based off of for each service.
Once you’ve chosen which date to use, set your expiry days. The Reminder Date and Expiry Days fields work together. For example, if you set up a workflow for Due Date and 5 expiry days, the workflow will be triggered 5 days before the service item’s due date.
Once you’ve created your workflow, the next step is to add triggers and actions. To do this, either click on the workflow name in the table, or use the ellipses icon on the right side and click Edit Workflow.
Here, you can use the + icon to add new actions, and set the action types and conditions in the popup. You can always edit existing actions by using the pencil icon, or remove an action by using the trash can. There are a few action types for Service Item Reminder workflows.

If/Then Branches
For If/Then Branch actions, you must choose a condition that will trigger the action. The following are the available conditions for If/Then Branches for Service Item Reminder workflows. Tickets that meet the criteria set up in the branch will flow down the Yes branch, and tickets that don’t meet the conditions will be sent down the No branch.
Current Ticket Status: This condition will find all tickets with a current status, regardless of if the status was changed from something else. For example, if you have a default ticket status set up for when tickets are initially created, the ‘Current Ticket Status’ condition will capture those tickets.
Is Invoice Paid: Sends a ticket down a yes or no path depending on if the ticket is on an invoice that has been paid.
Is Invoiced: This condition triggers tickets to go down one branch or the other depending on if the item is on an invoice or not.
Note
Depending on the condition you choose, you may be required to enter more specifics. For example, for the Current Ticket Status condition, you will also be required to choose which ticket status to use.
You can make the branch more specific by using the AND and OR buttons to add another condition. For example, you could create a branch that routes all tickets down the Yes path if the Current Ticket Status is ‘Done’, and it has been invoiced.
Send Slack/Microsoft Teams Message: Send a message to a Slack or Microsoft Teams Channel to alert someone of a ticket update.
Send Internal Email: Send an email to a user to alert them of a ticket update.
Delay: Have the system wait before moving to the next step. For example, you may want to wait a few days after a ticket status is changed and then send a reminder if the status is the same.
Set Ticket Owner: Assigns a specific user to the ticket.
Update Ticket Status: Change the ticket status based on the previous trigger.
Create To-Do: This action allows you to automatically create activities for your reps. Activities created this way will automatically be assigned to the order rep. Your reps will see these to-dos show up in their calendars and agendas.
Depending on the action you choose, you may be required to enter more specifics. For example, when using the Send Internal Email action, you will also be required to choose which user the email will be sent to (order rep, ticket owner, etc.) as well as set a subject line and body for the email that will be sent.
Note
Anywhere there is an exclamation icon means that the workflow is incomplete, and you need to add another action by clicking on the + icon. You will not be able to publish the workflow until this is resolved.
Publishing the Workflow
When you are finished creating your workflow, the next step is to publish the workflow so that your tickets can begin flowing through it. You can click Publish on the page where you add the actions, or by using the ellipses icon and clicking the Publish button on the main ticket automation page.
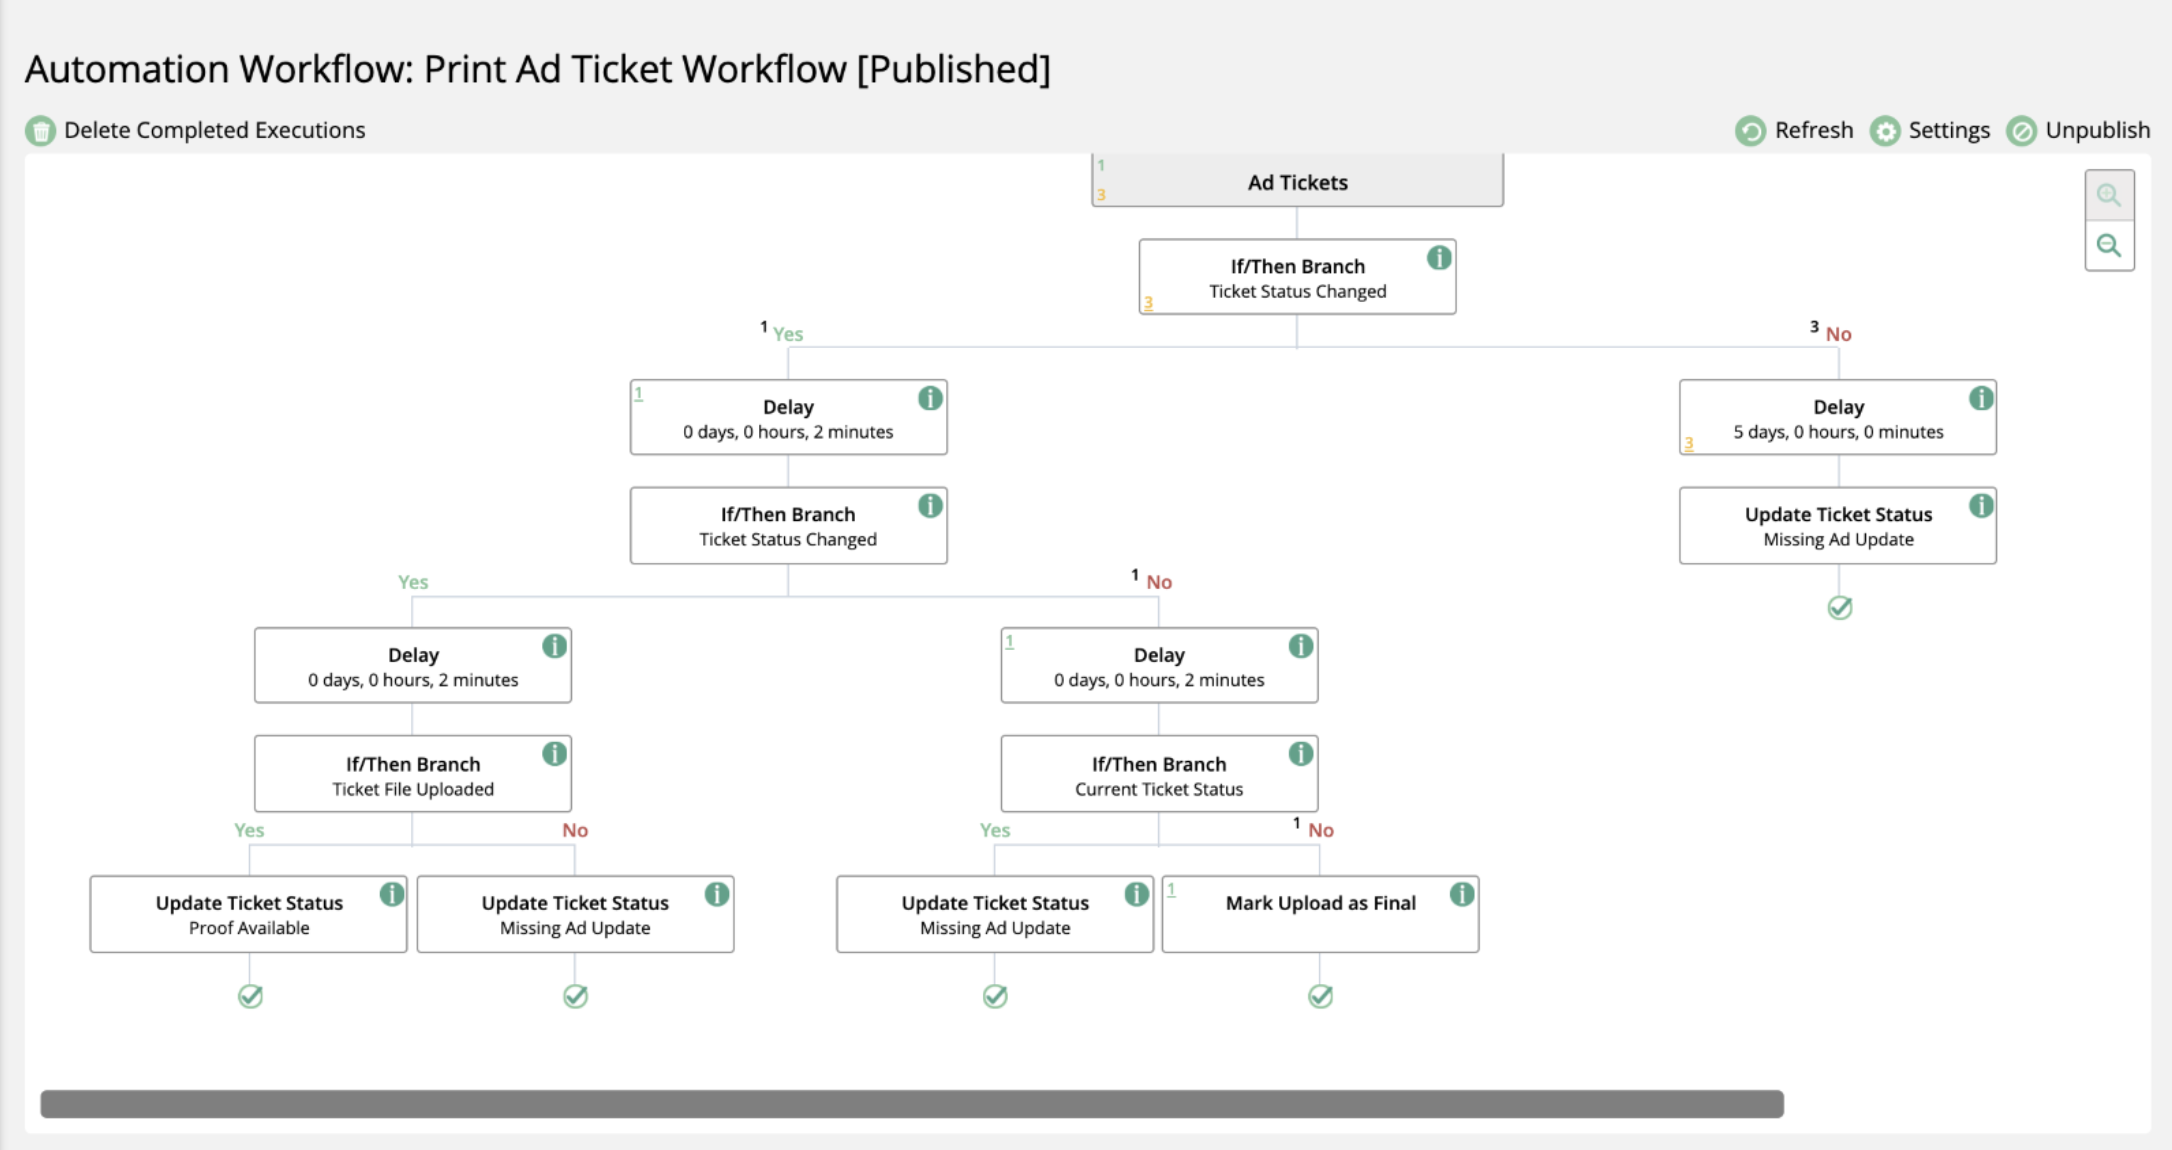
On the page where you set up the workflow actions, you can view information about the items that are going through the published workflow.
Click on the details icon in the upper right corner of each action to see the action and the conditions. You will not be able to edit the action when the workflow is published.
There will be numbers in the actions that show how many tickets are currently being processed at that stage of the workflow. You are able to click on these numbers, and they will take you to different pages depending on the action and the color. All of the pages will give you more information about the tickets that are at that particular stage.
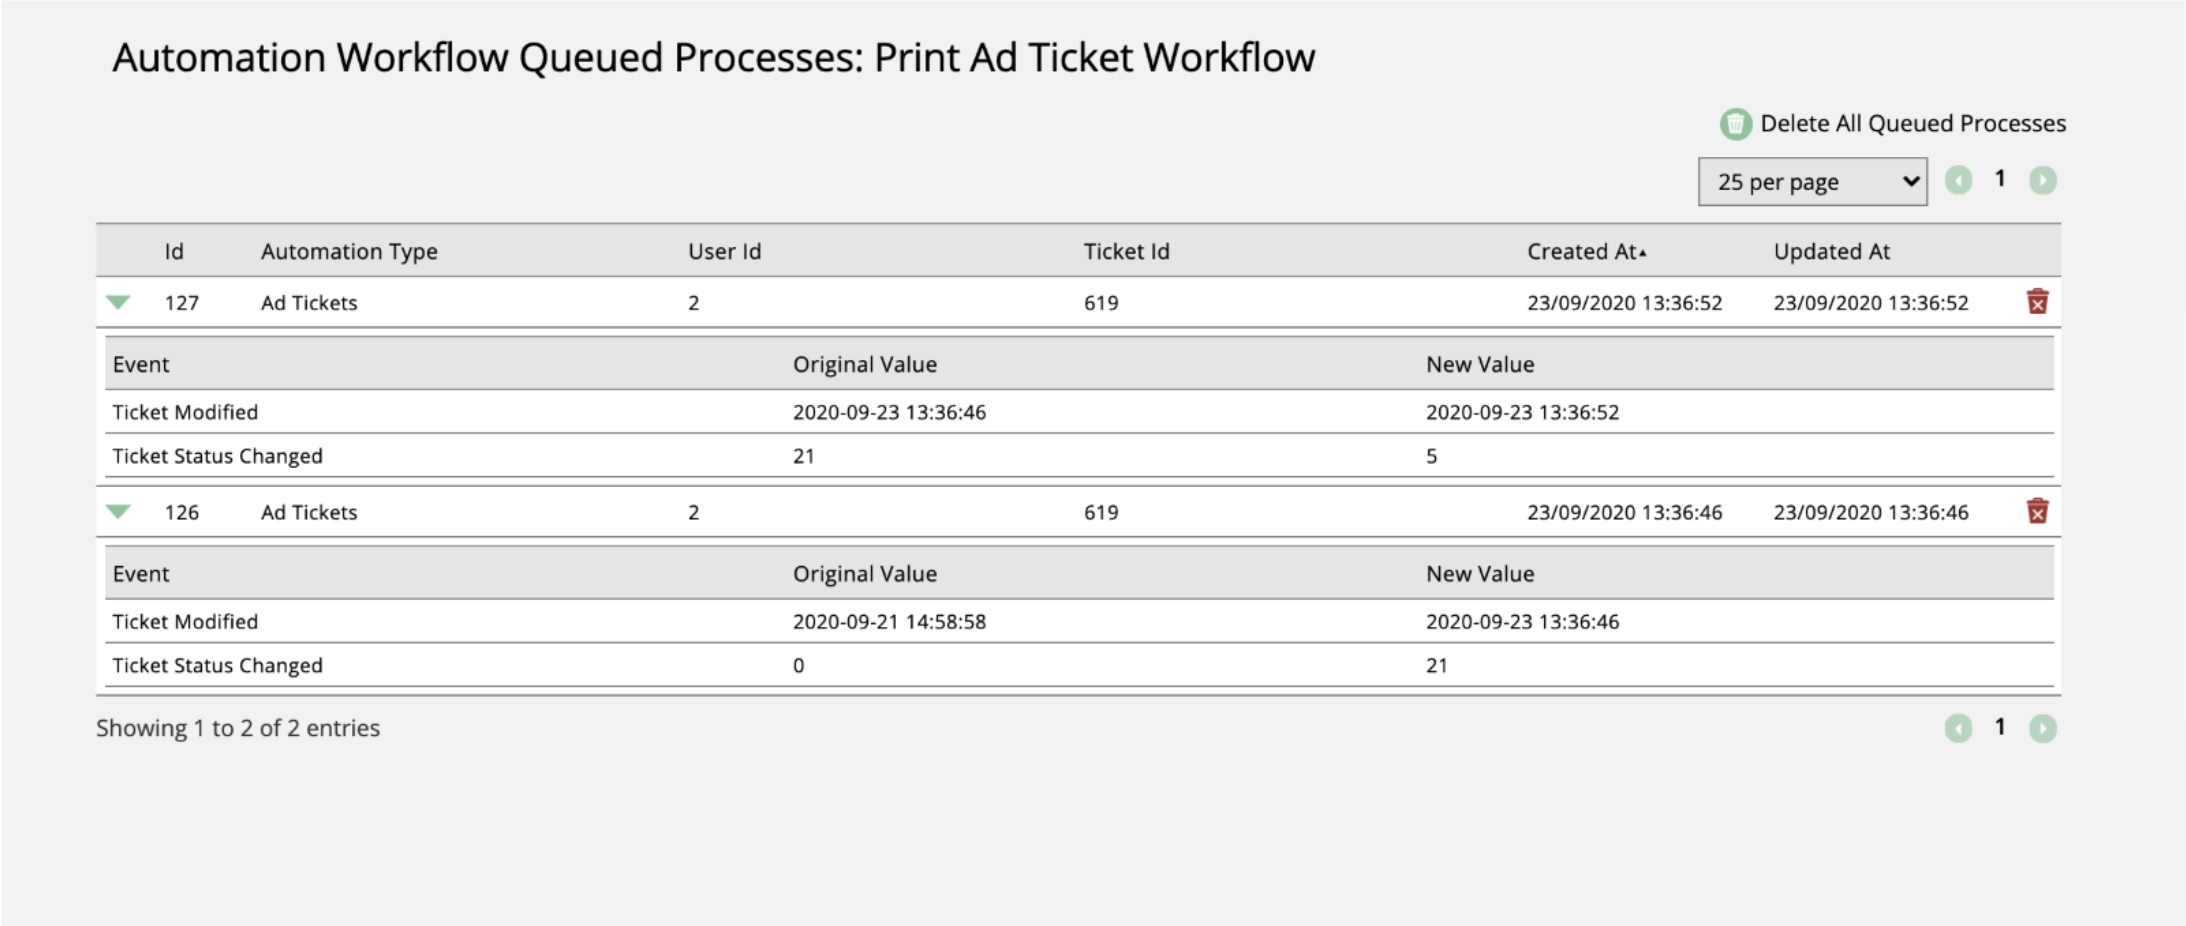
At the very top of the workflow is a grayed out box that may also have numbers in it. If you click on these numbers, if will take you to the Queued Processes page. On this page, you can see more detailed information about the tickets that are about to go through the workflow. You are able to delete queued processes from this page if you would like, on an individual or a bulk basis.


For the rest of the workflow, if you see a number that is orange, it means the status for the action is ‘pending’. This will be very common especially for Delay actions. If you see a green number, it means the status for the action is ‘success’. If the number is red, it means a status of ‘failed’, and the item did not pass through that stage of the workflow. Clicking on any of the numbers will take you to the Automation Workflow Executions page which displays information about the action and status.


At the top of an If/Then Branch, you can see how many tickets went in each direction, and you can use the process IDs as reference to track the specific item throughout the workflow.
New 7/2/2024