Autodrafts
Our AI Astro can be used to generate marketing emails and schedule them to send in specific windows of time. Read through the document below to learn about setting up and using these Autodrafts.
To access Autodrafts, you need the Astro integration enabled, and the User Permission 'Astro Autodrafts'.
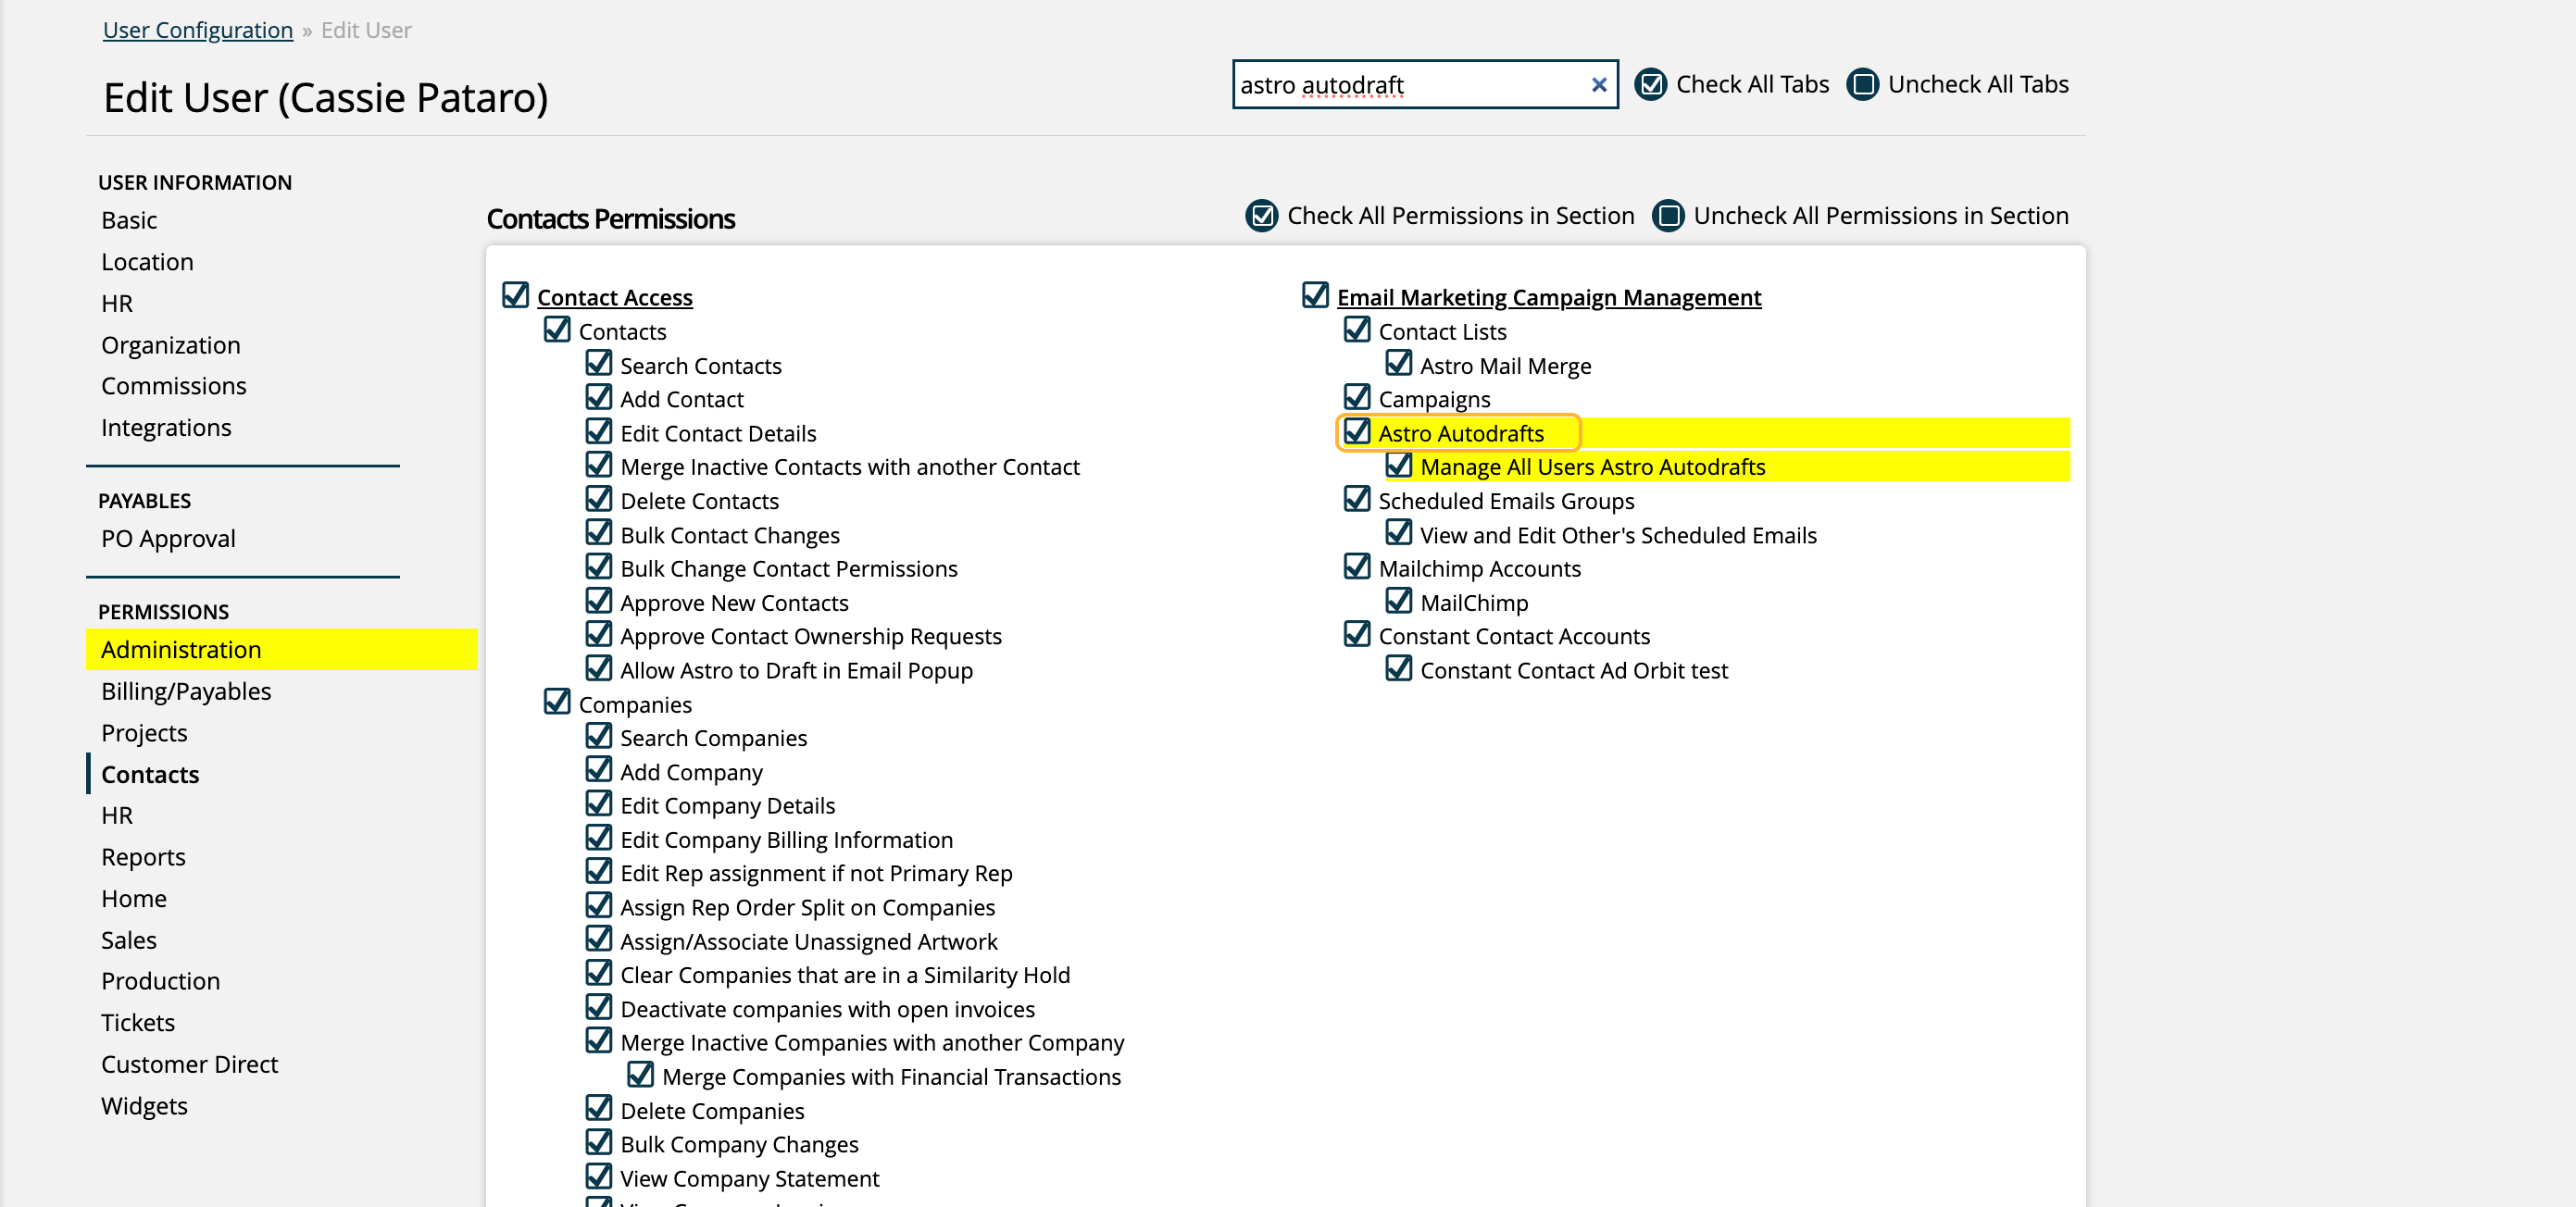
To view and manage all users' Autodrafts, not just your own, you need the sub-permission 'Manage All Users Astro Autodrafts'.

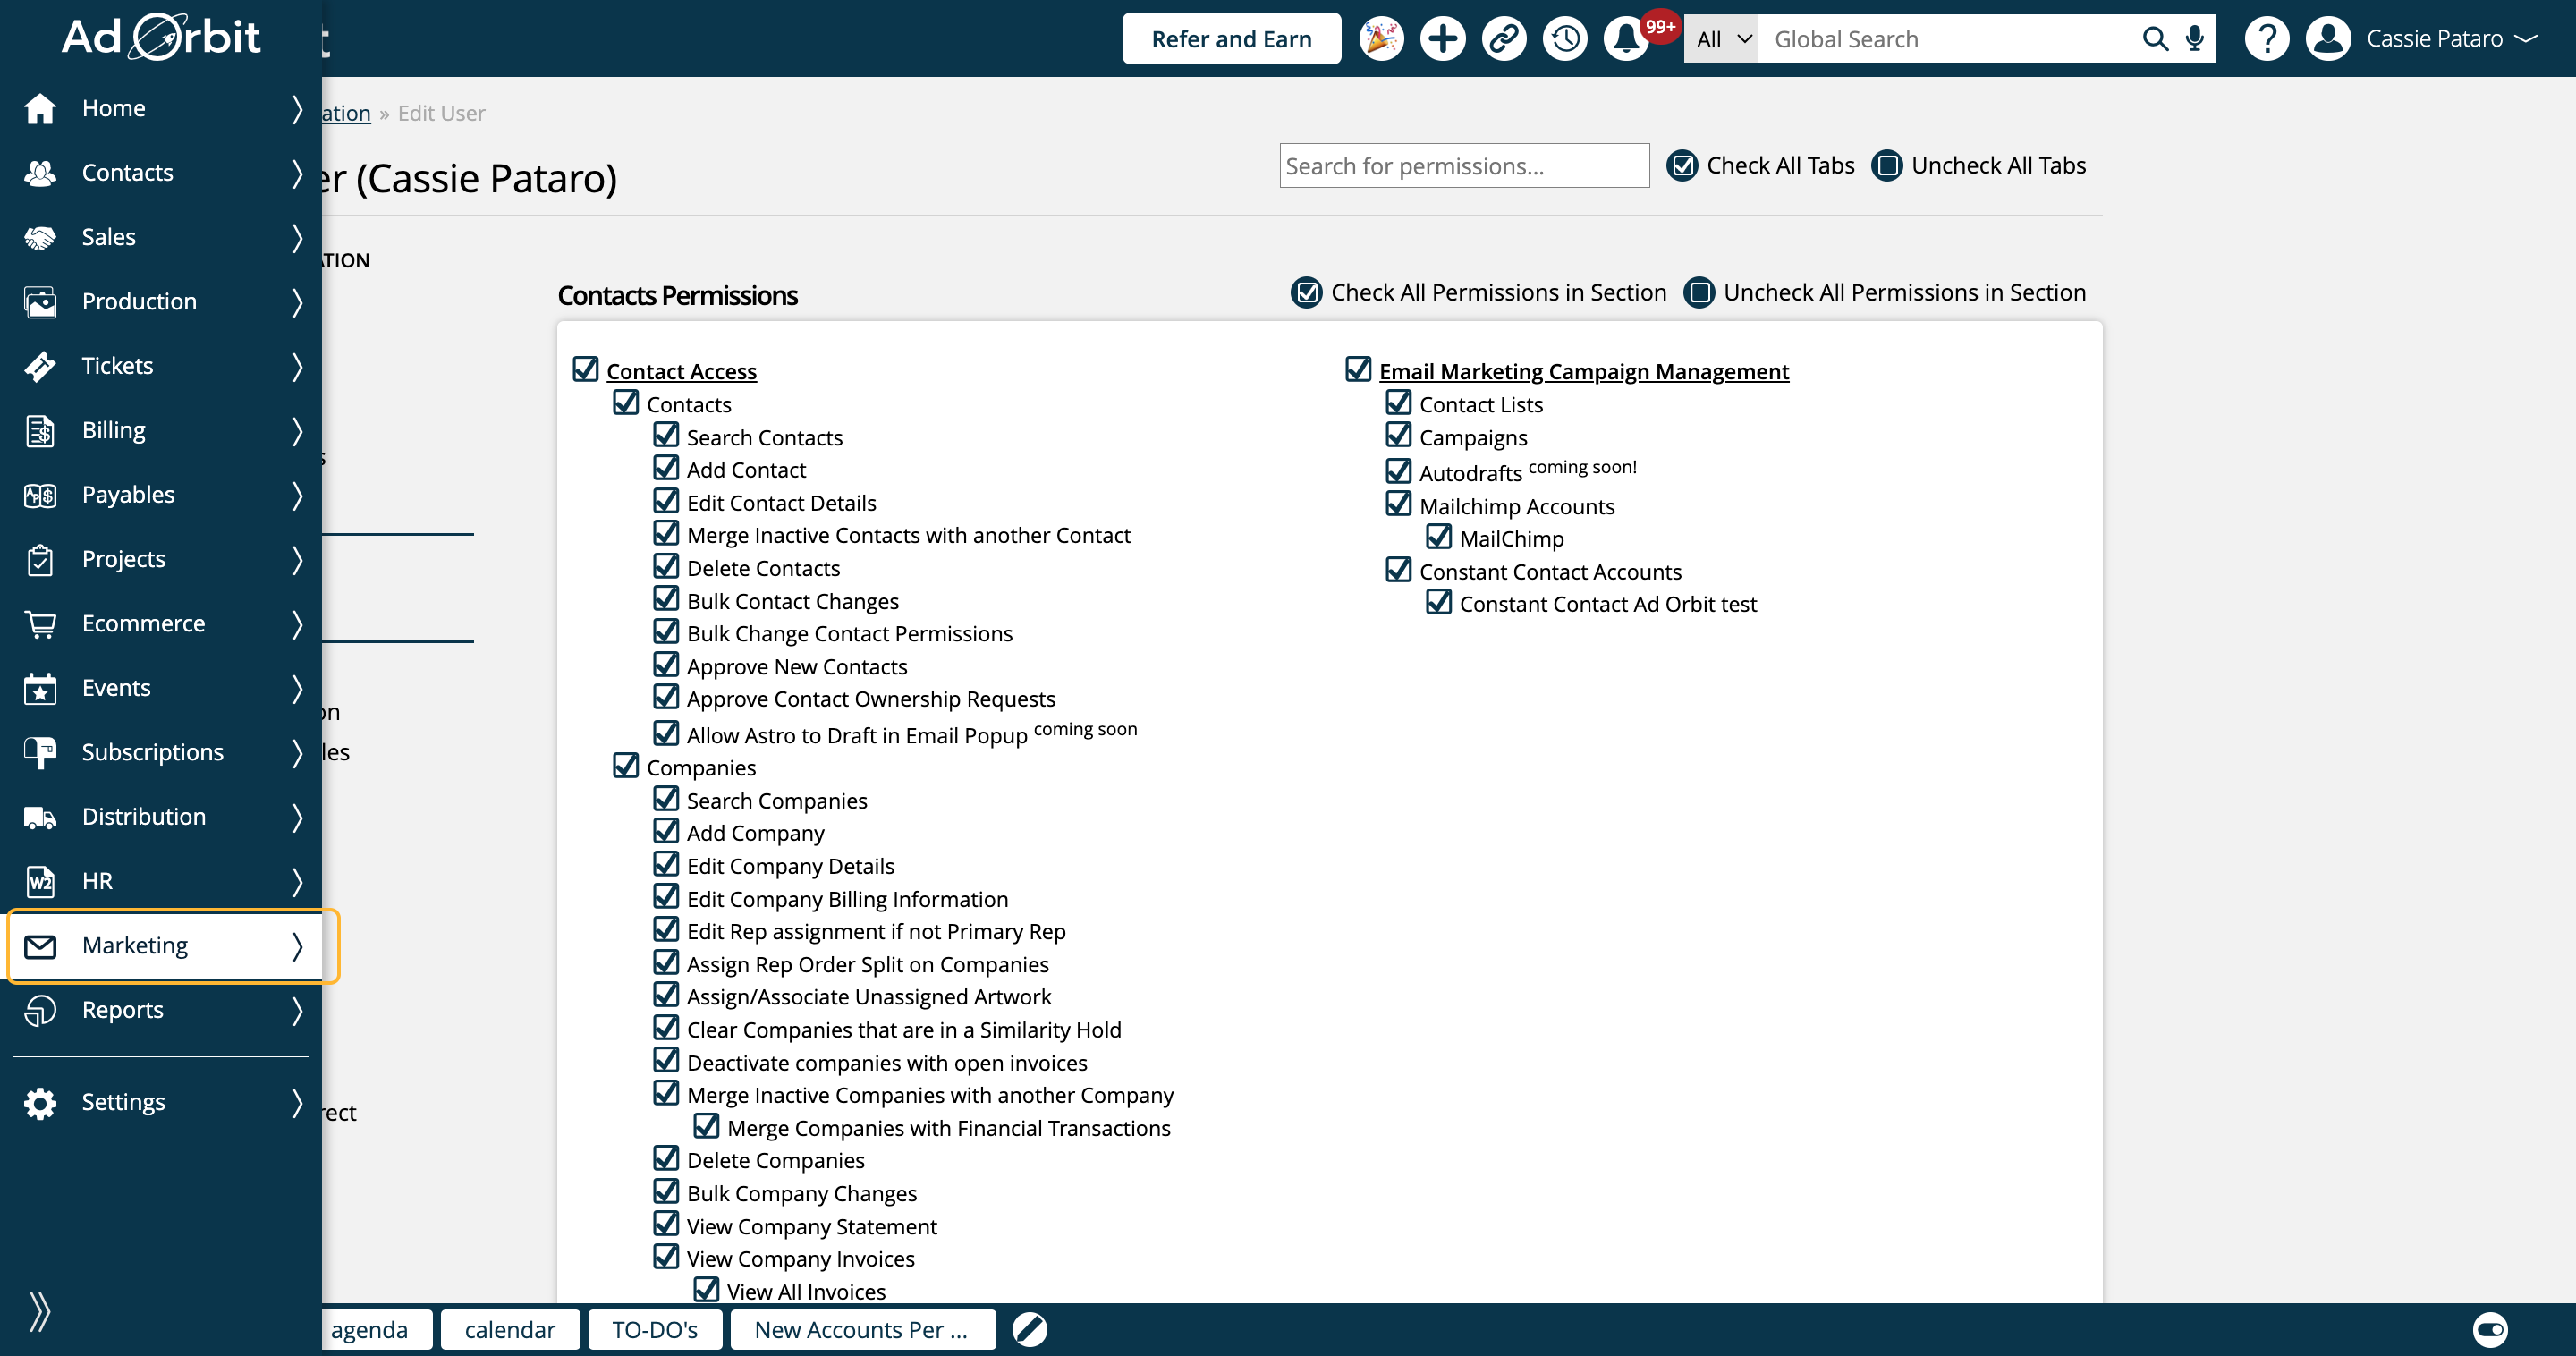
To get to your Autodrafts, click on Marketing.
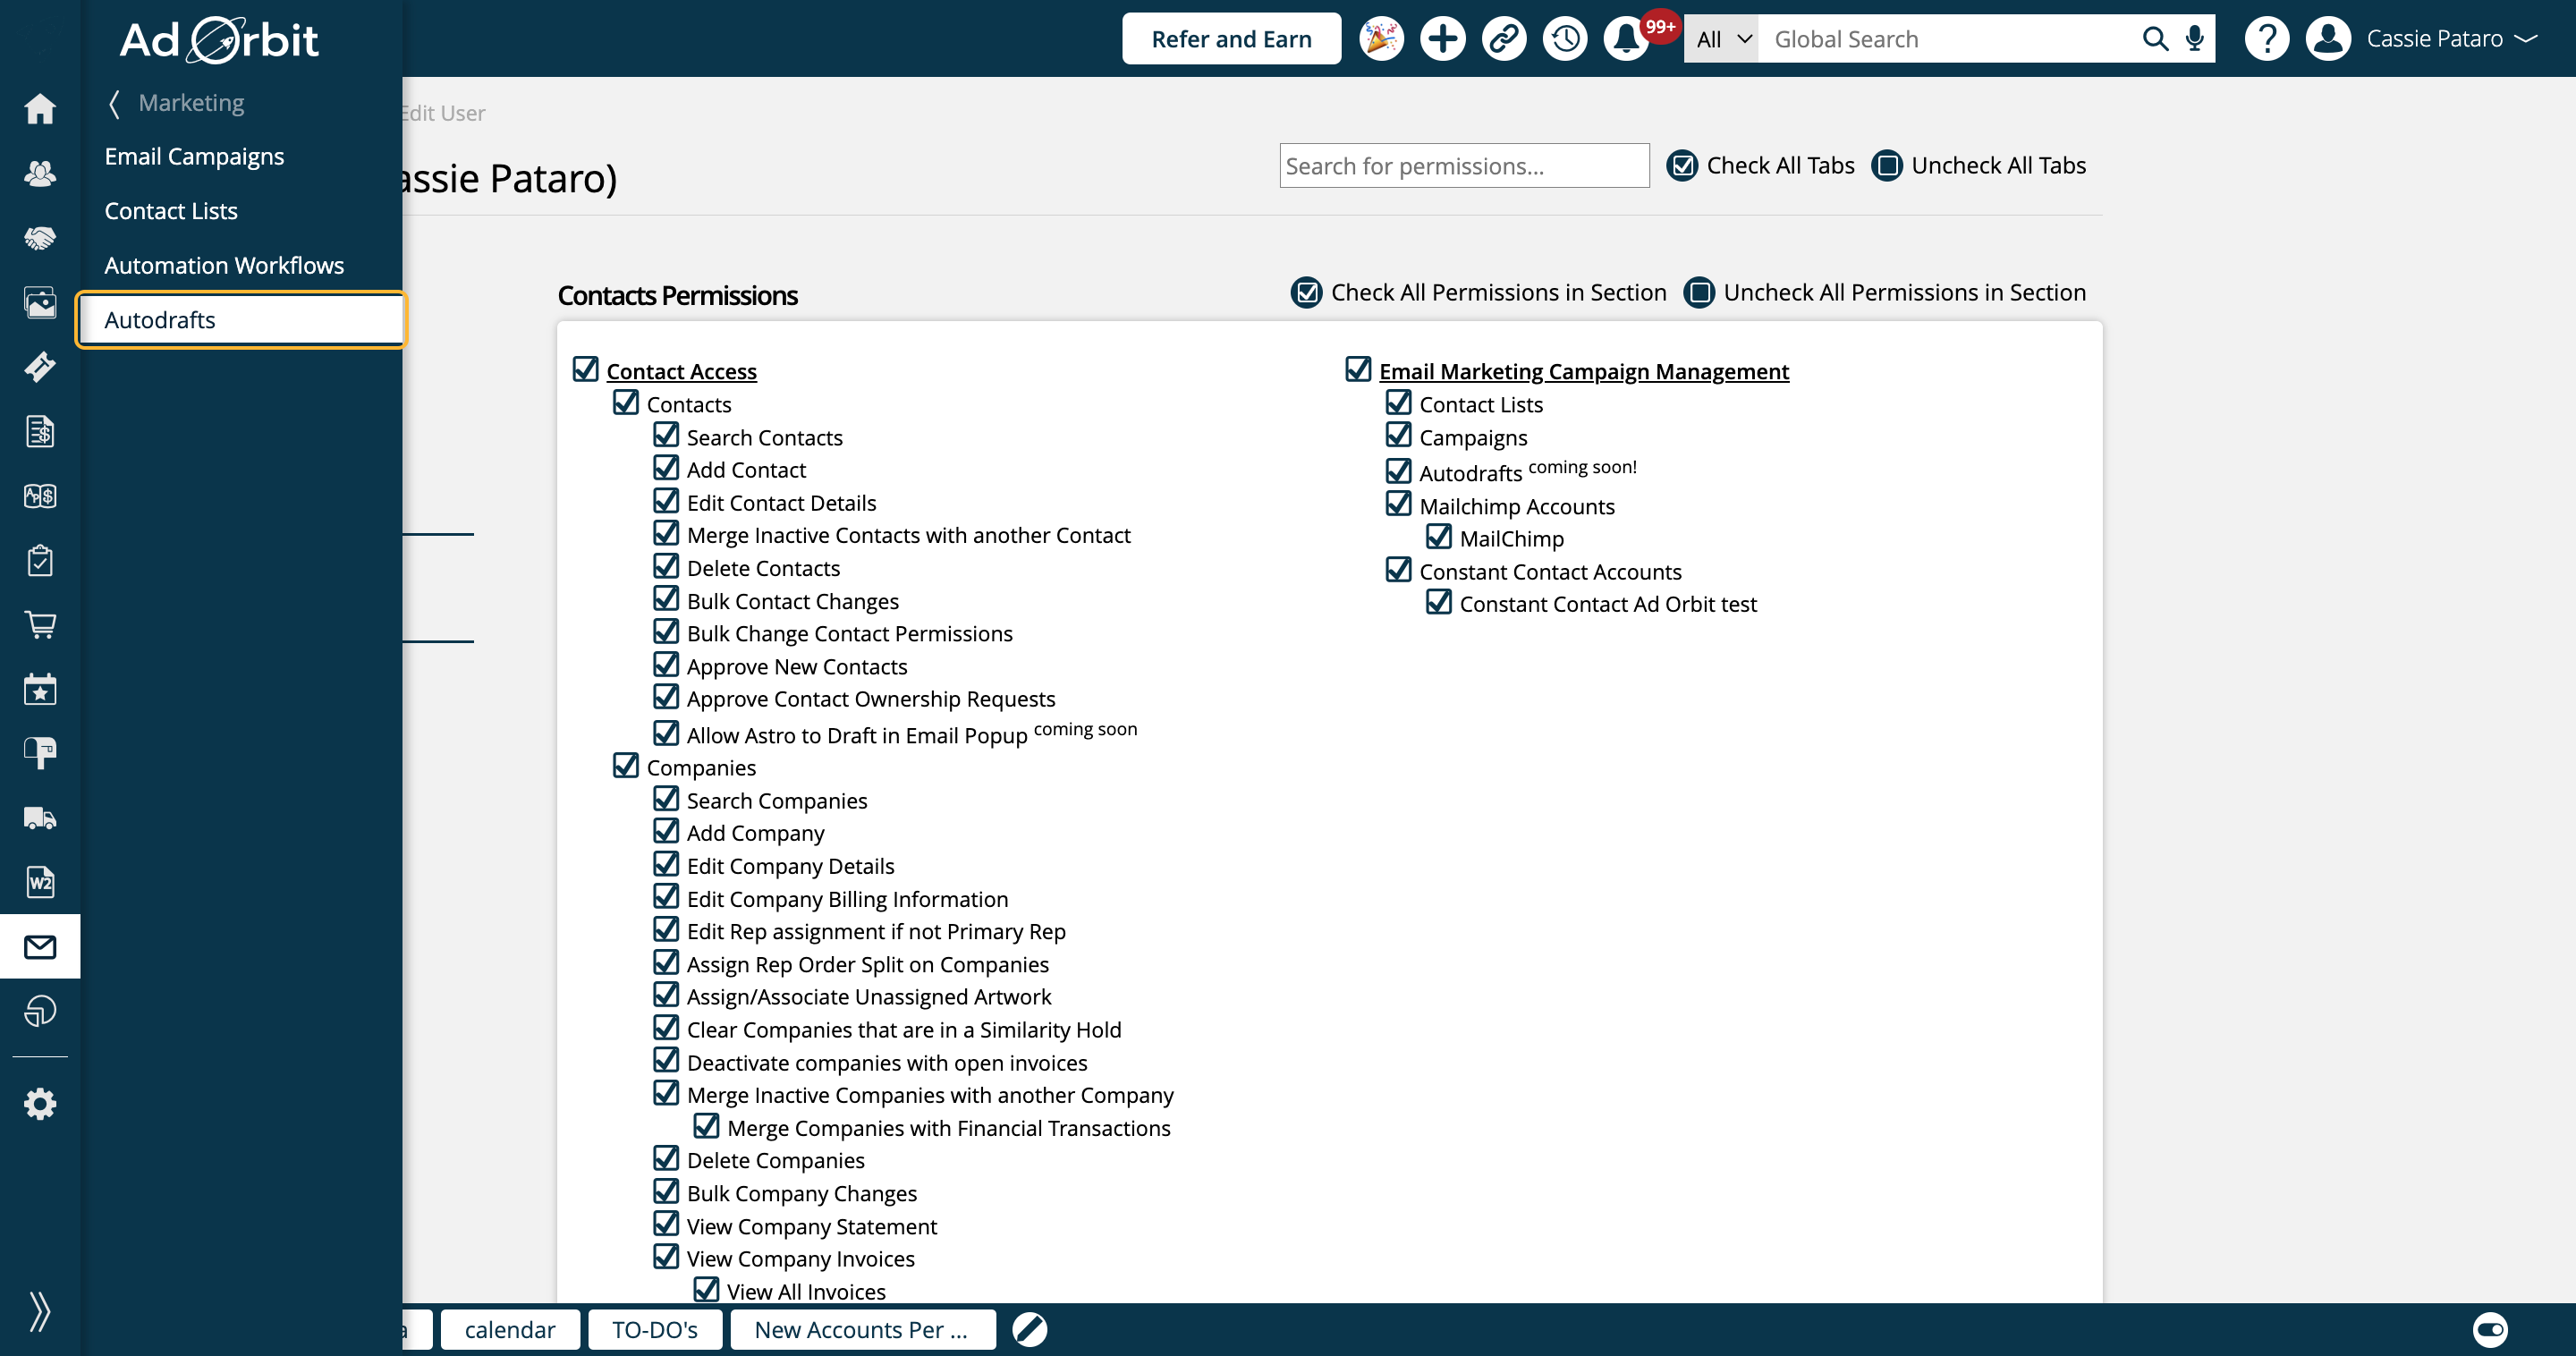
Then click on Autodrafts
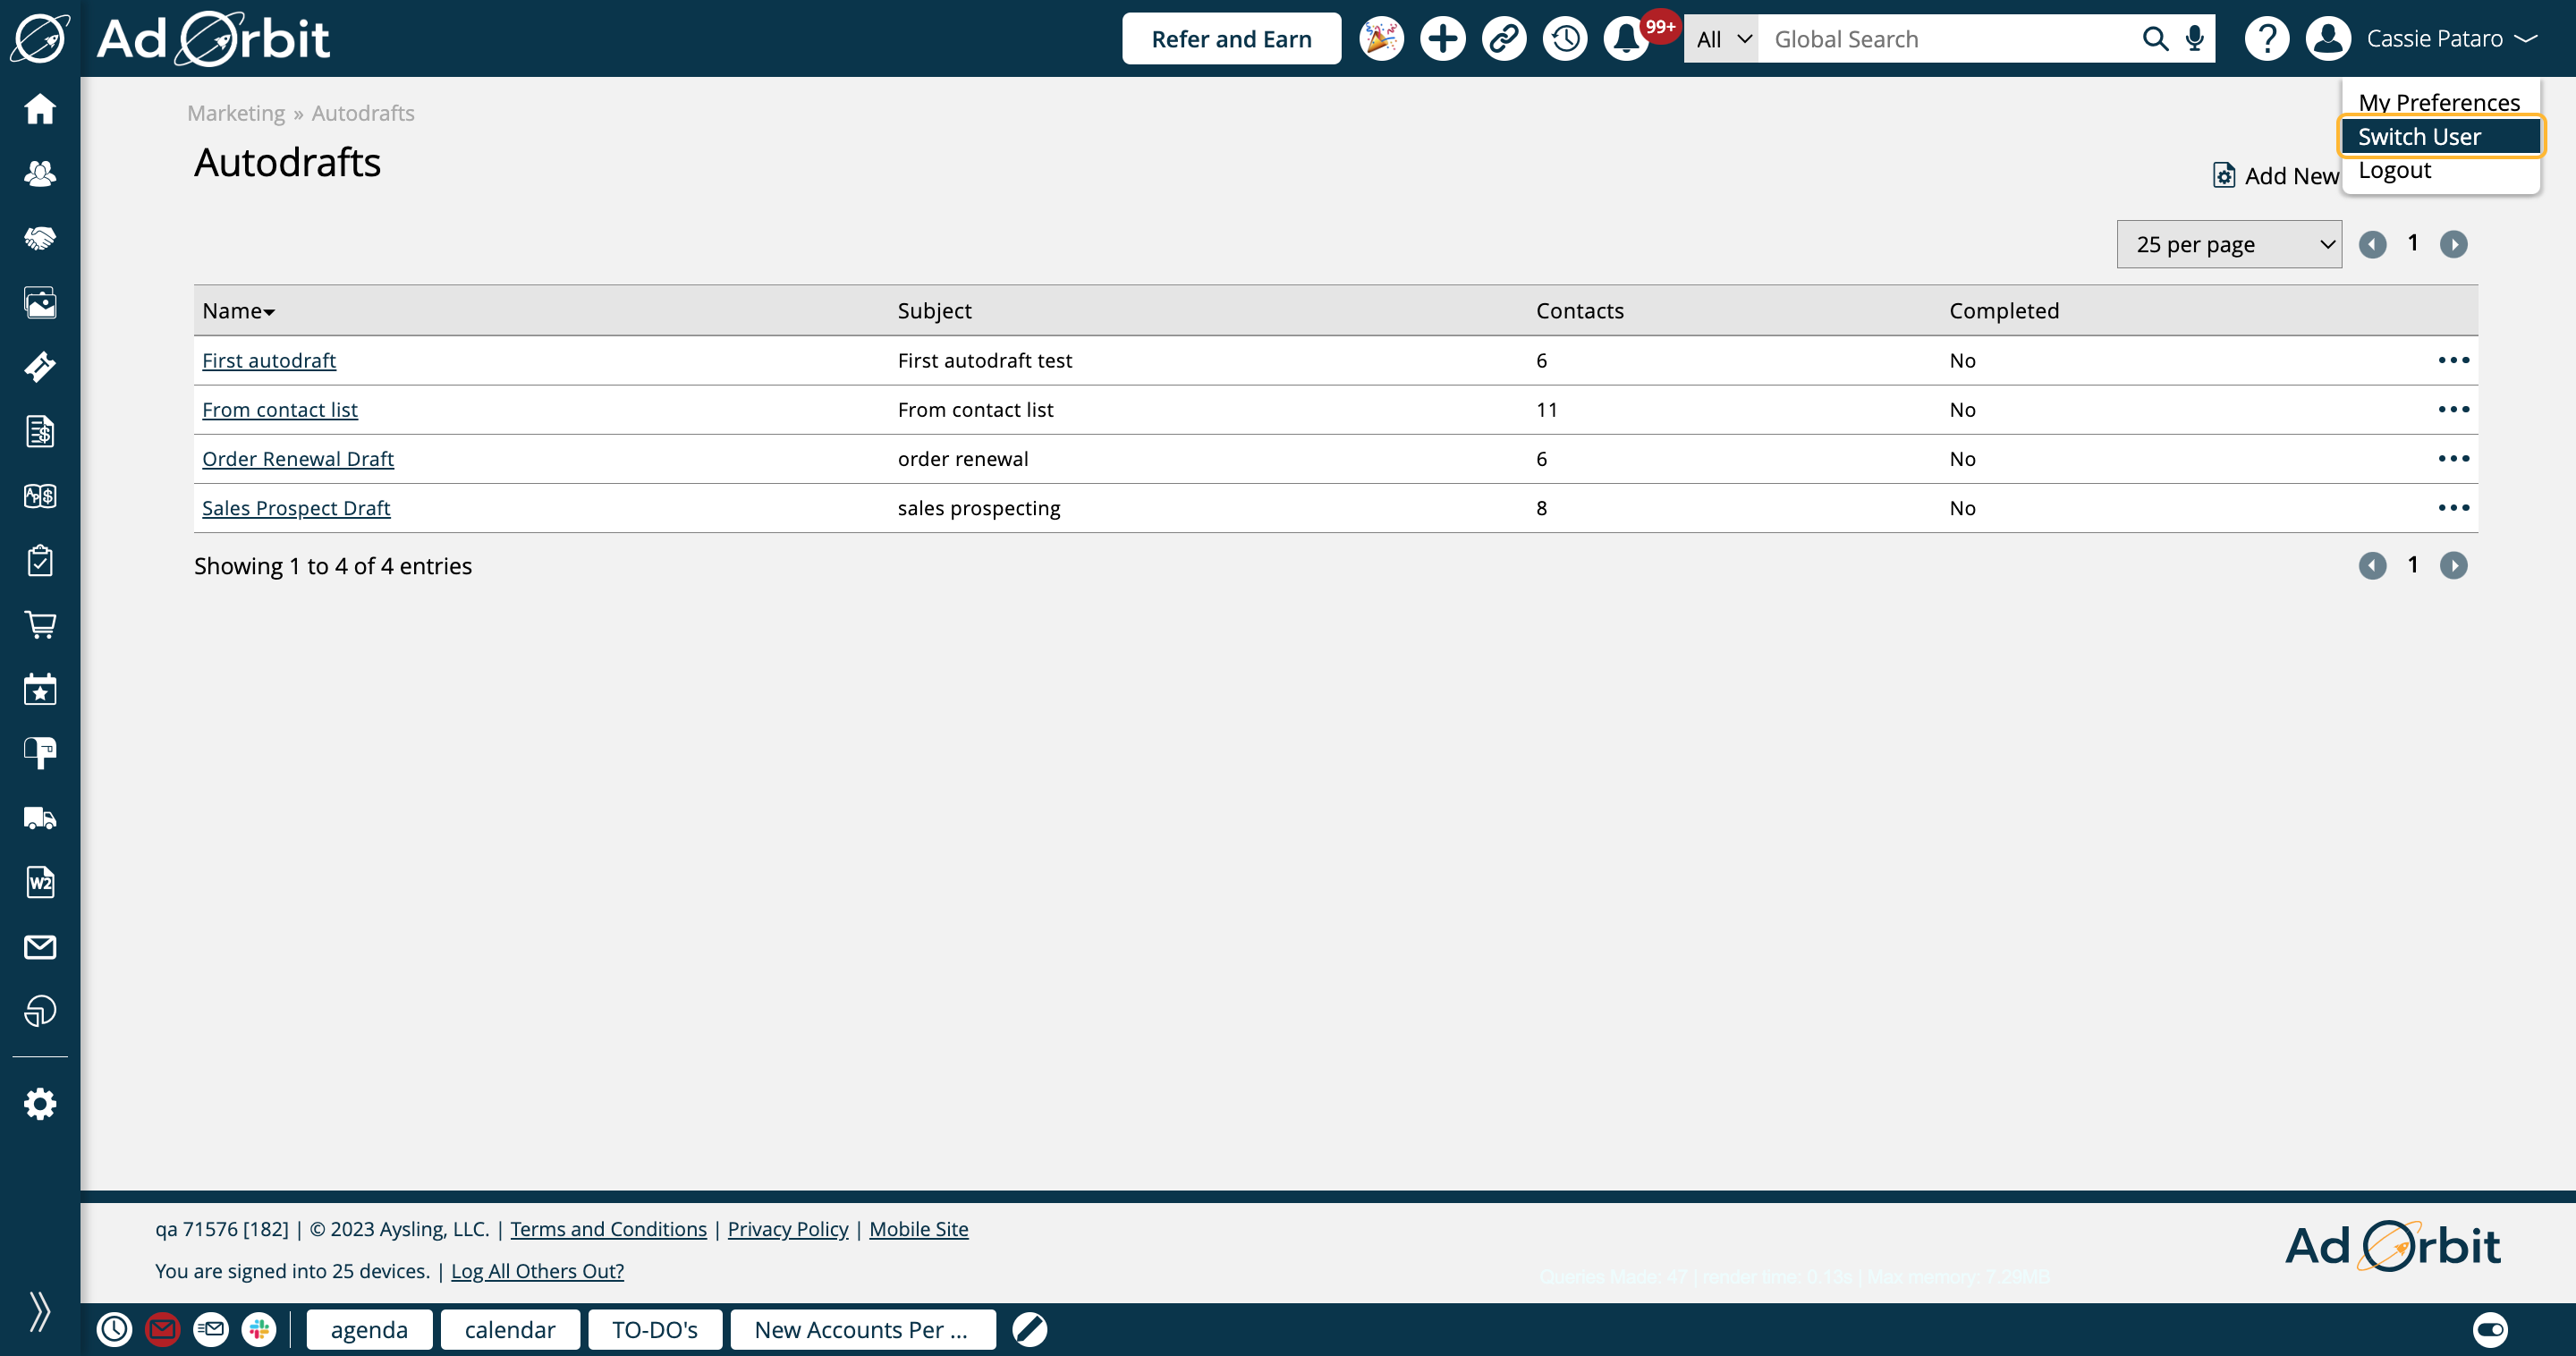
On the Autodrafts page, you can create new Autodrafts and manage existing ones.
Note
On the Autodrafts page, you can create new Autodrafts and manage existing ones.
To create a new Autodraft, click the 'Add New Autodraft' button in the upper right corner.
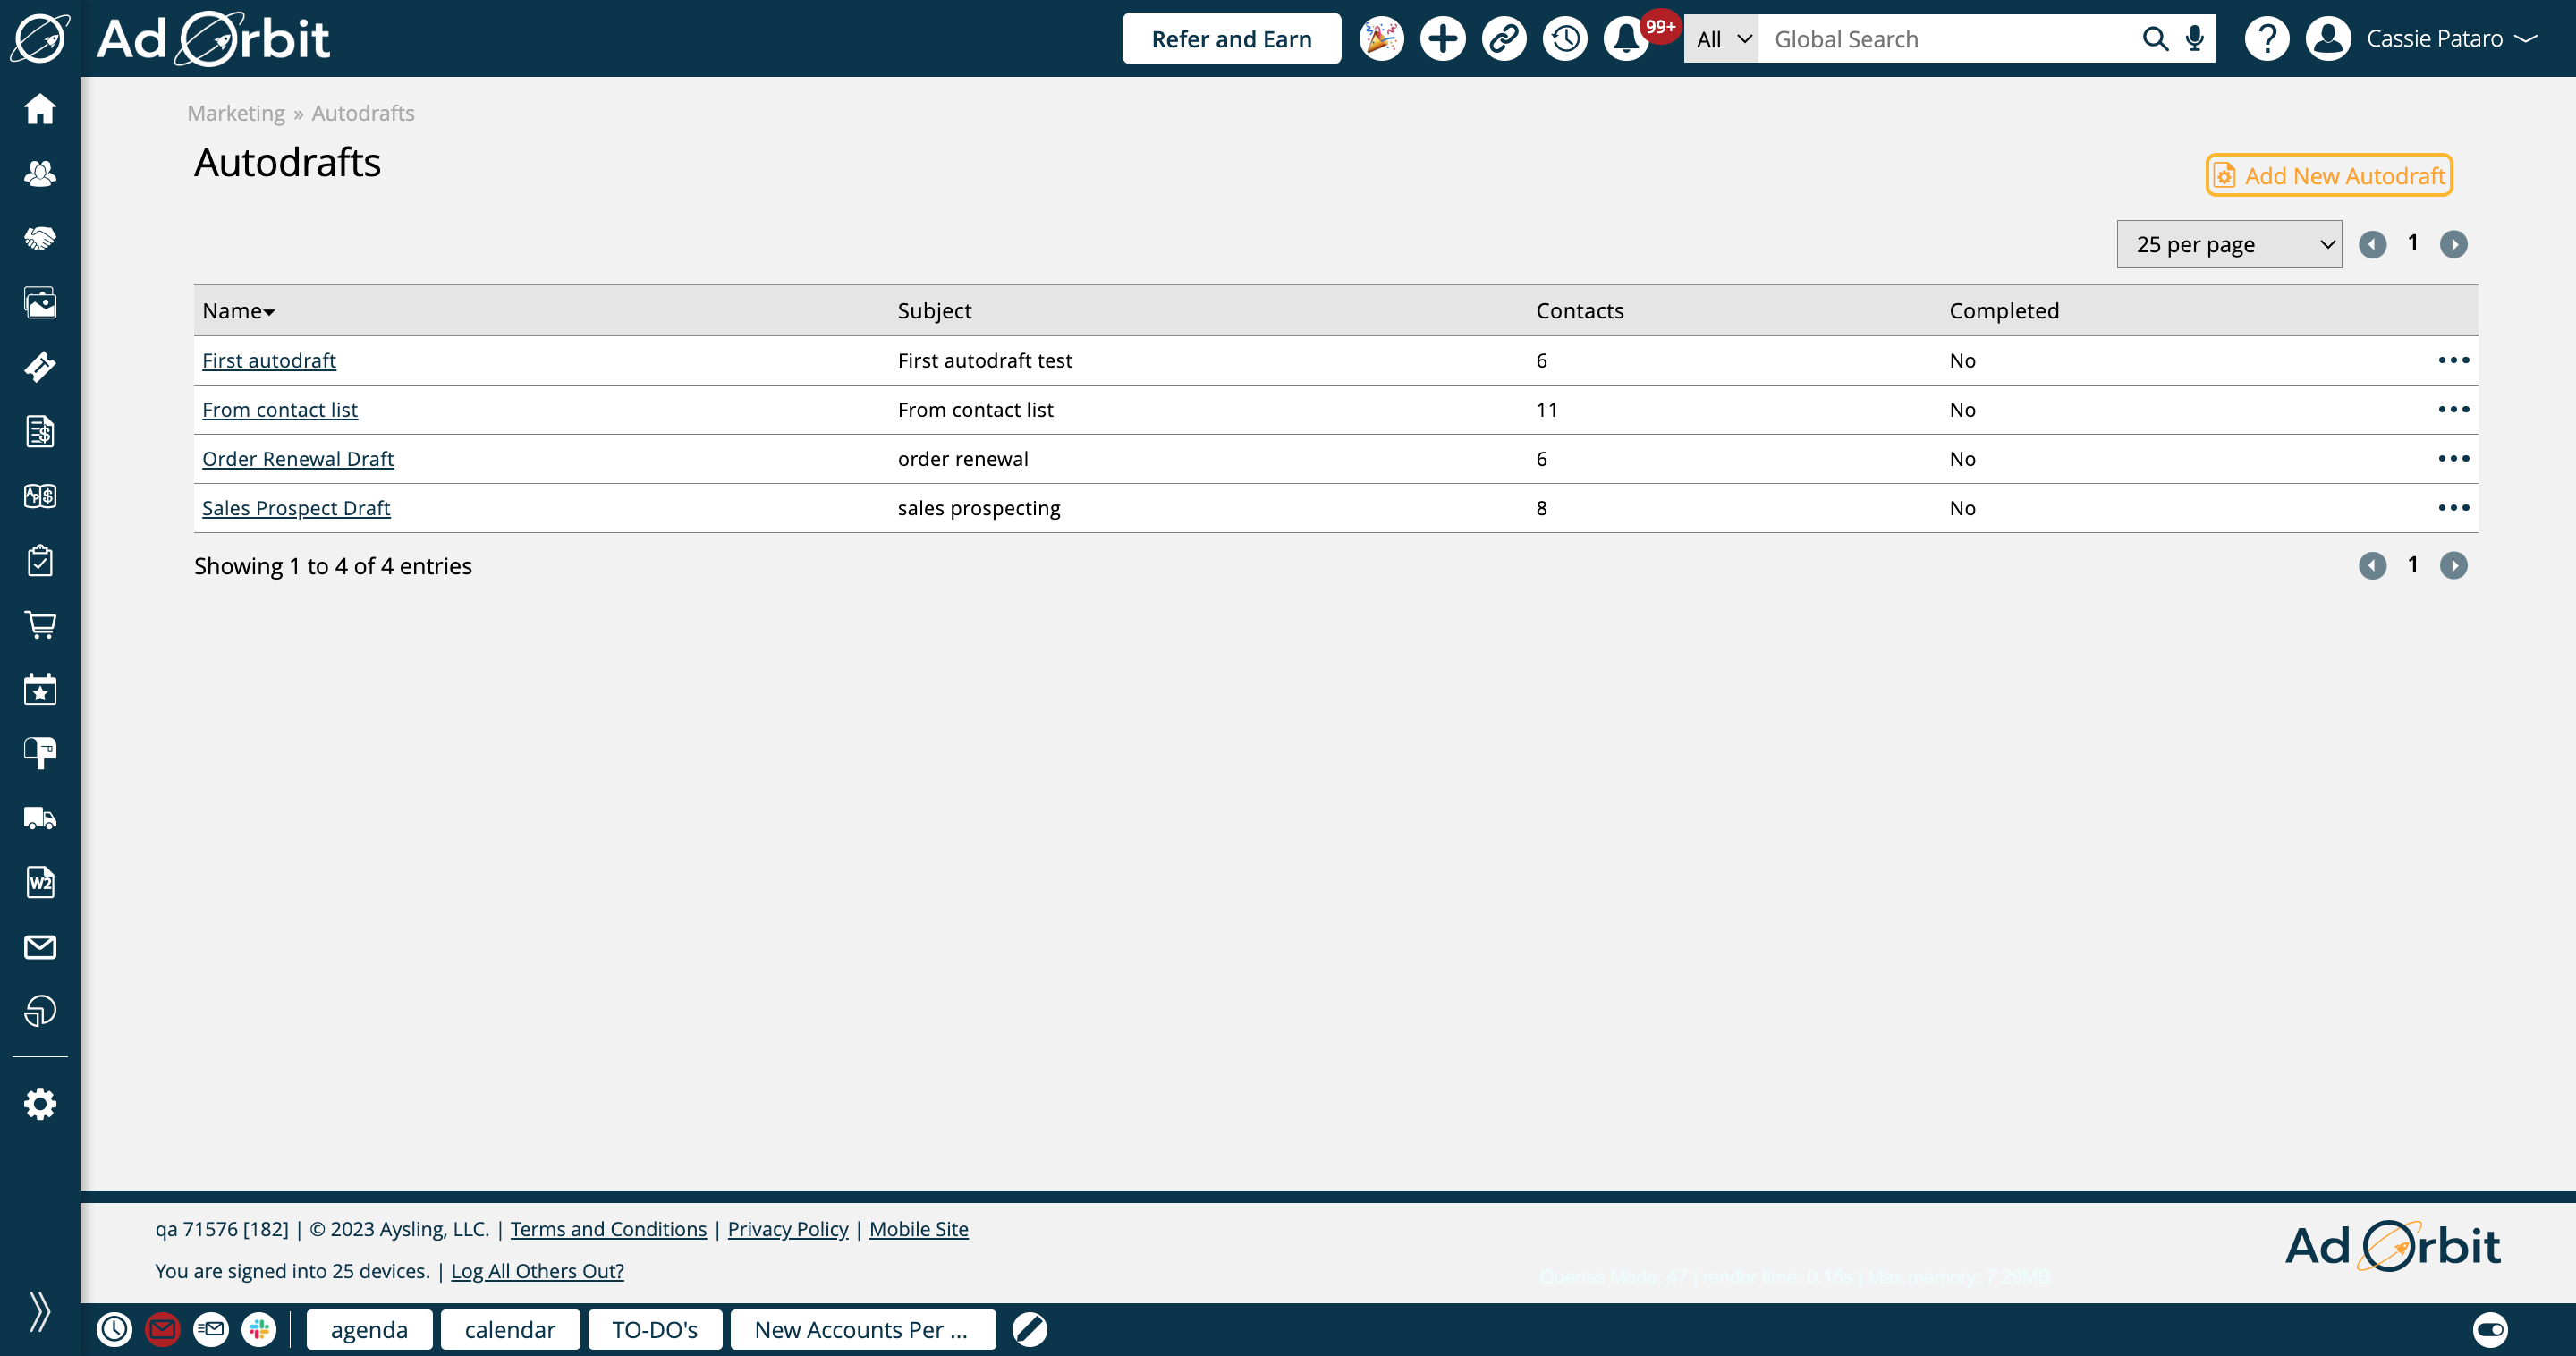
In the Add/Edit Autodraft popup, there are a handful of required fields, including Name, Subject, and Type. The three current types are Sales Prospecting, Order Renewal, and Raw Prompt.
There are different optional fields you can enter depending on the type you choose, that can help Astro to make your drafts feel more personal. These fields include items such as Tone, Length, Publication, and Issue.
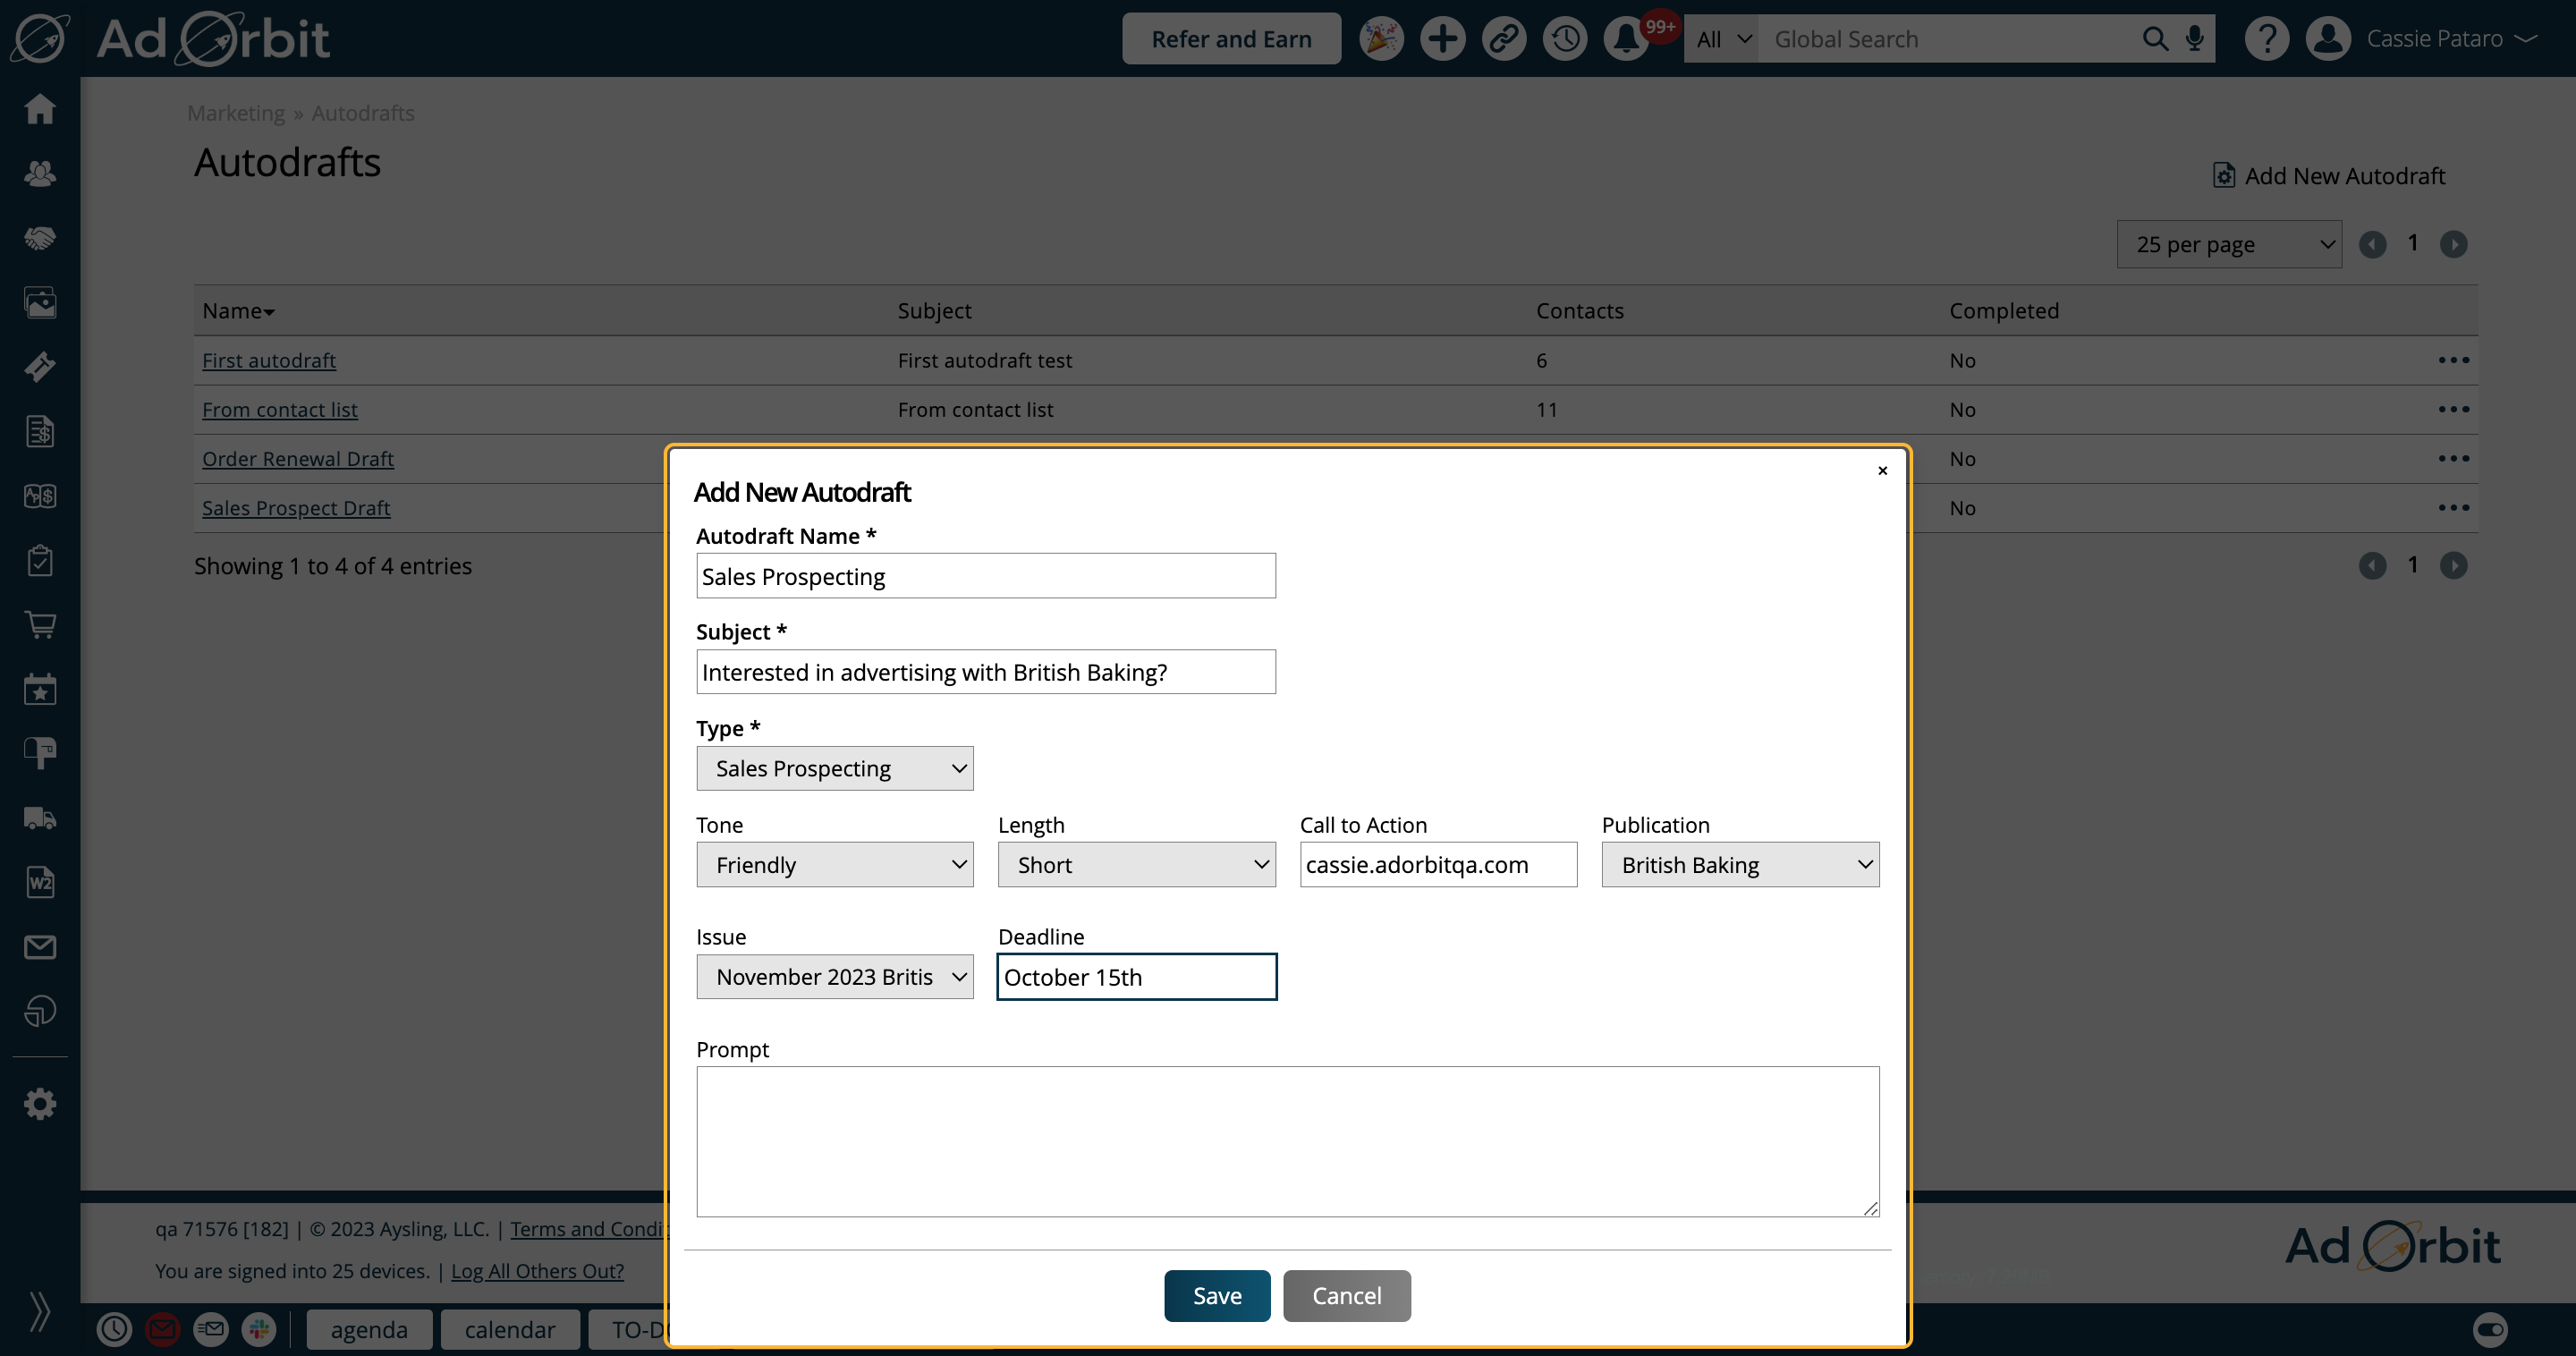
If you have the permission to access other users' Autodrafts, you'll also see an 'Autodraft Owner' field in this popup.
You can choose to set the Autodraft owner as yourself, or anyone else on your team who has the 'Autodraft' user permission.
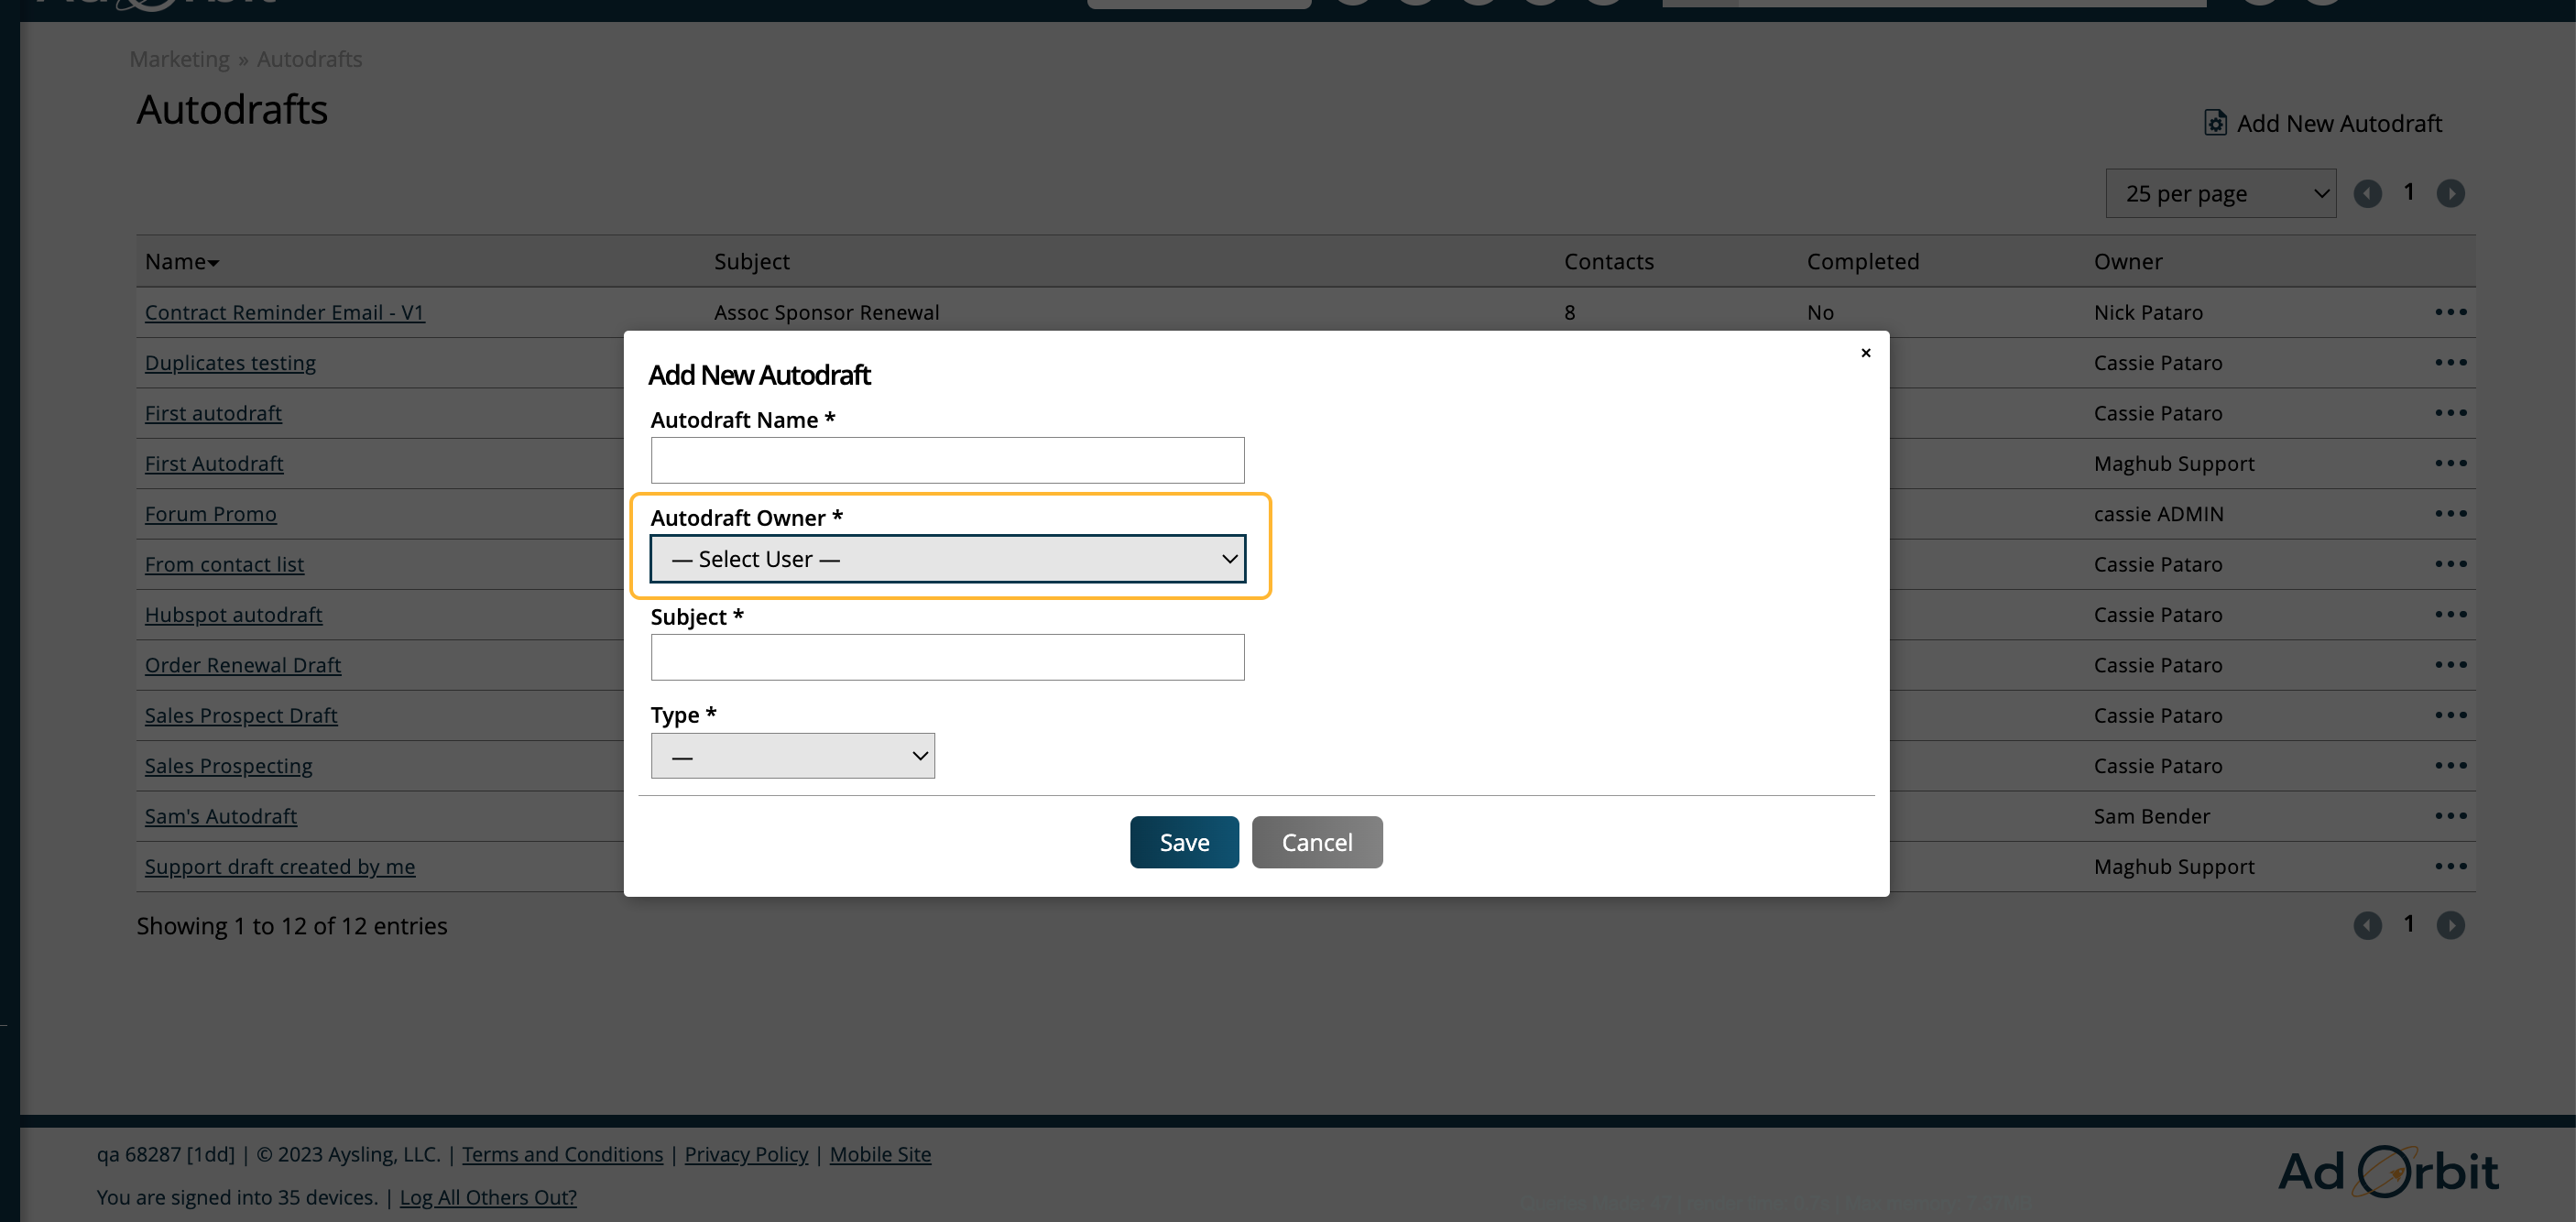
There are two final optional fields that can really help you customize the drafts that will get generated. These are the Autodraft Template, and Prompt fields.
The Autodraft Template field allows you to create static content that will be the same in every draft generated for that particular Autodraft. Within the Autodraft Template, you can insert the tag ##AUTODRAFT_PROMPT## which will use all of the other information you set up for the Autodraft (type, tone, length, prompt, etc.) and insert content generated by AI. This content will likely vary slightly in each of the emails generated. There are also a handful of merge tags you can insert here to help customize your content, such as contact first and last name.
The Prompt field is where you can enter some information to help Astro generate good email content. For instance, in your prompt you could tell Astro to talk about a special promotion you are running.
To see how these fields can work together, take a look at the image below. You'll see a basic email layout in the Autodraft Template field, and information about a current promotion in the Prompt field.
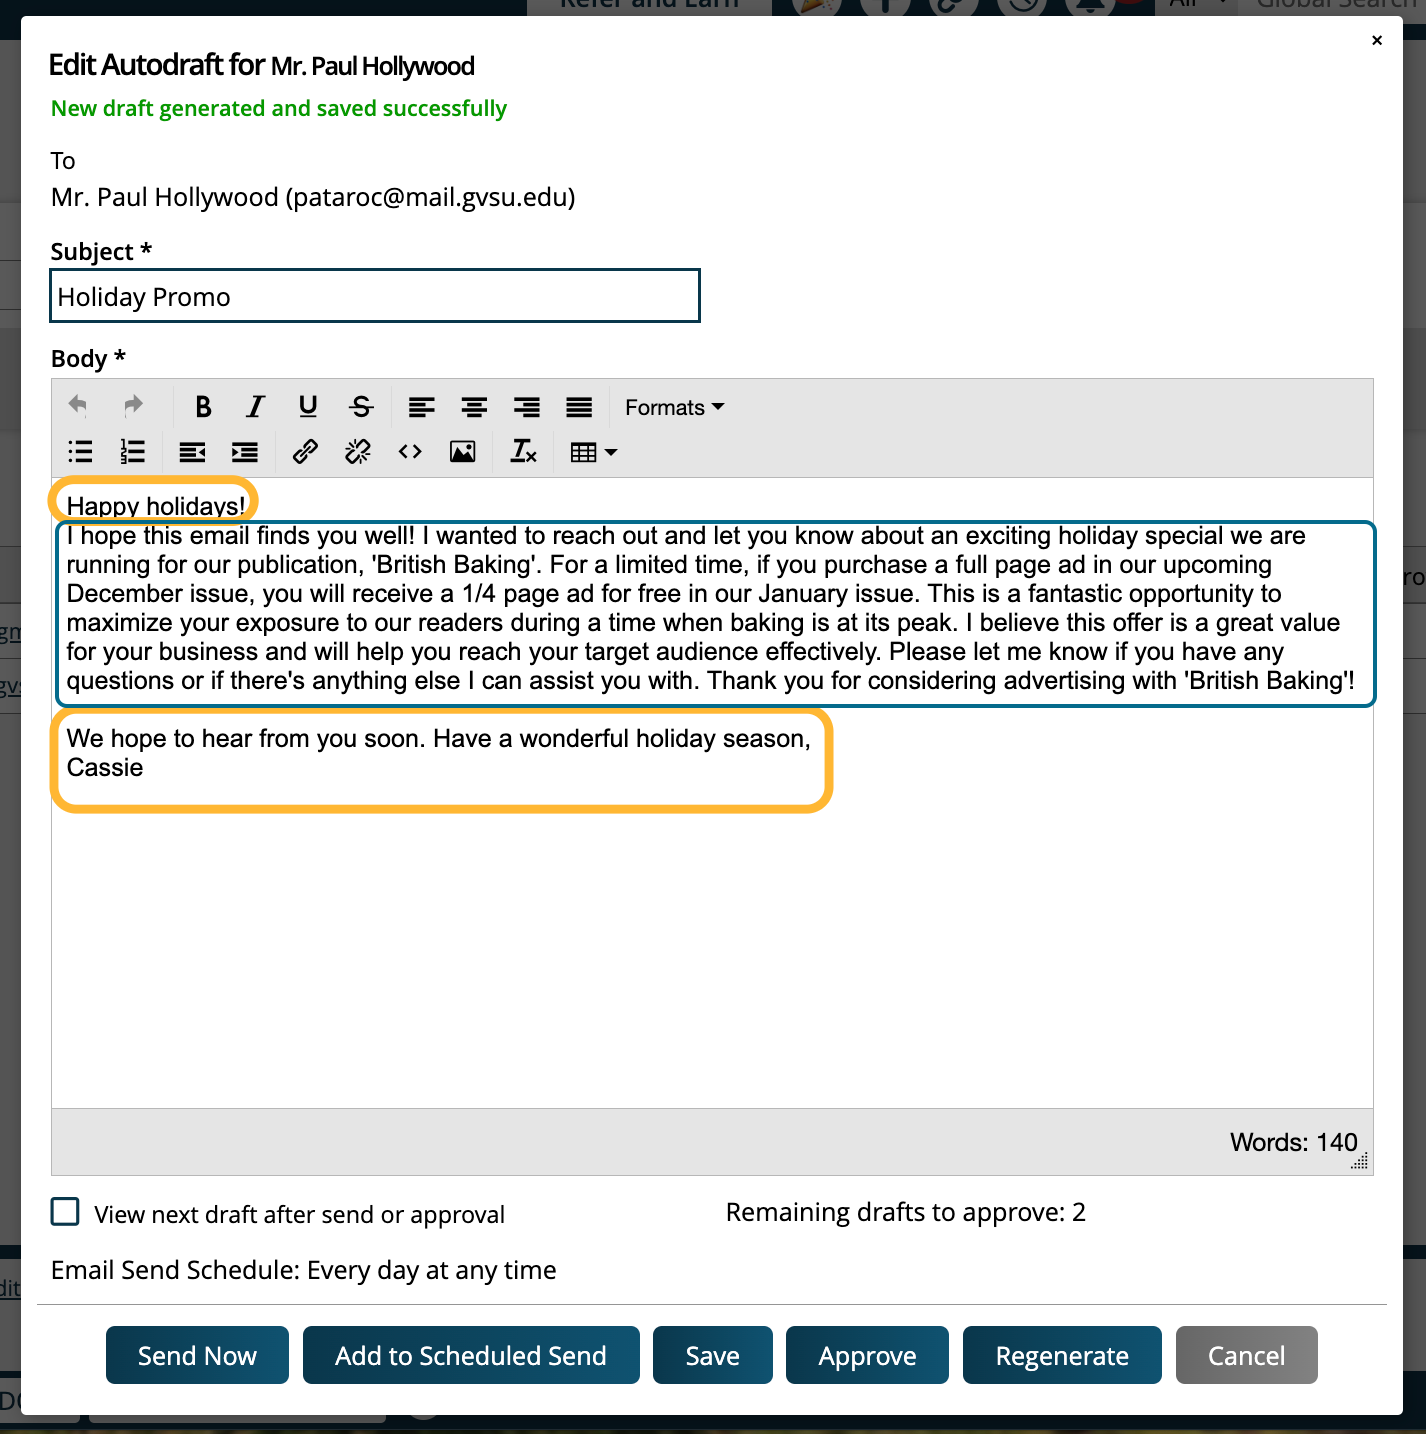
Below is what an actual generated draft would look like based on the scenario set up above. The static Autodraft Template content is highlighted in orange, and the Astro generated content based on the Prompt is highlighted in blue.
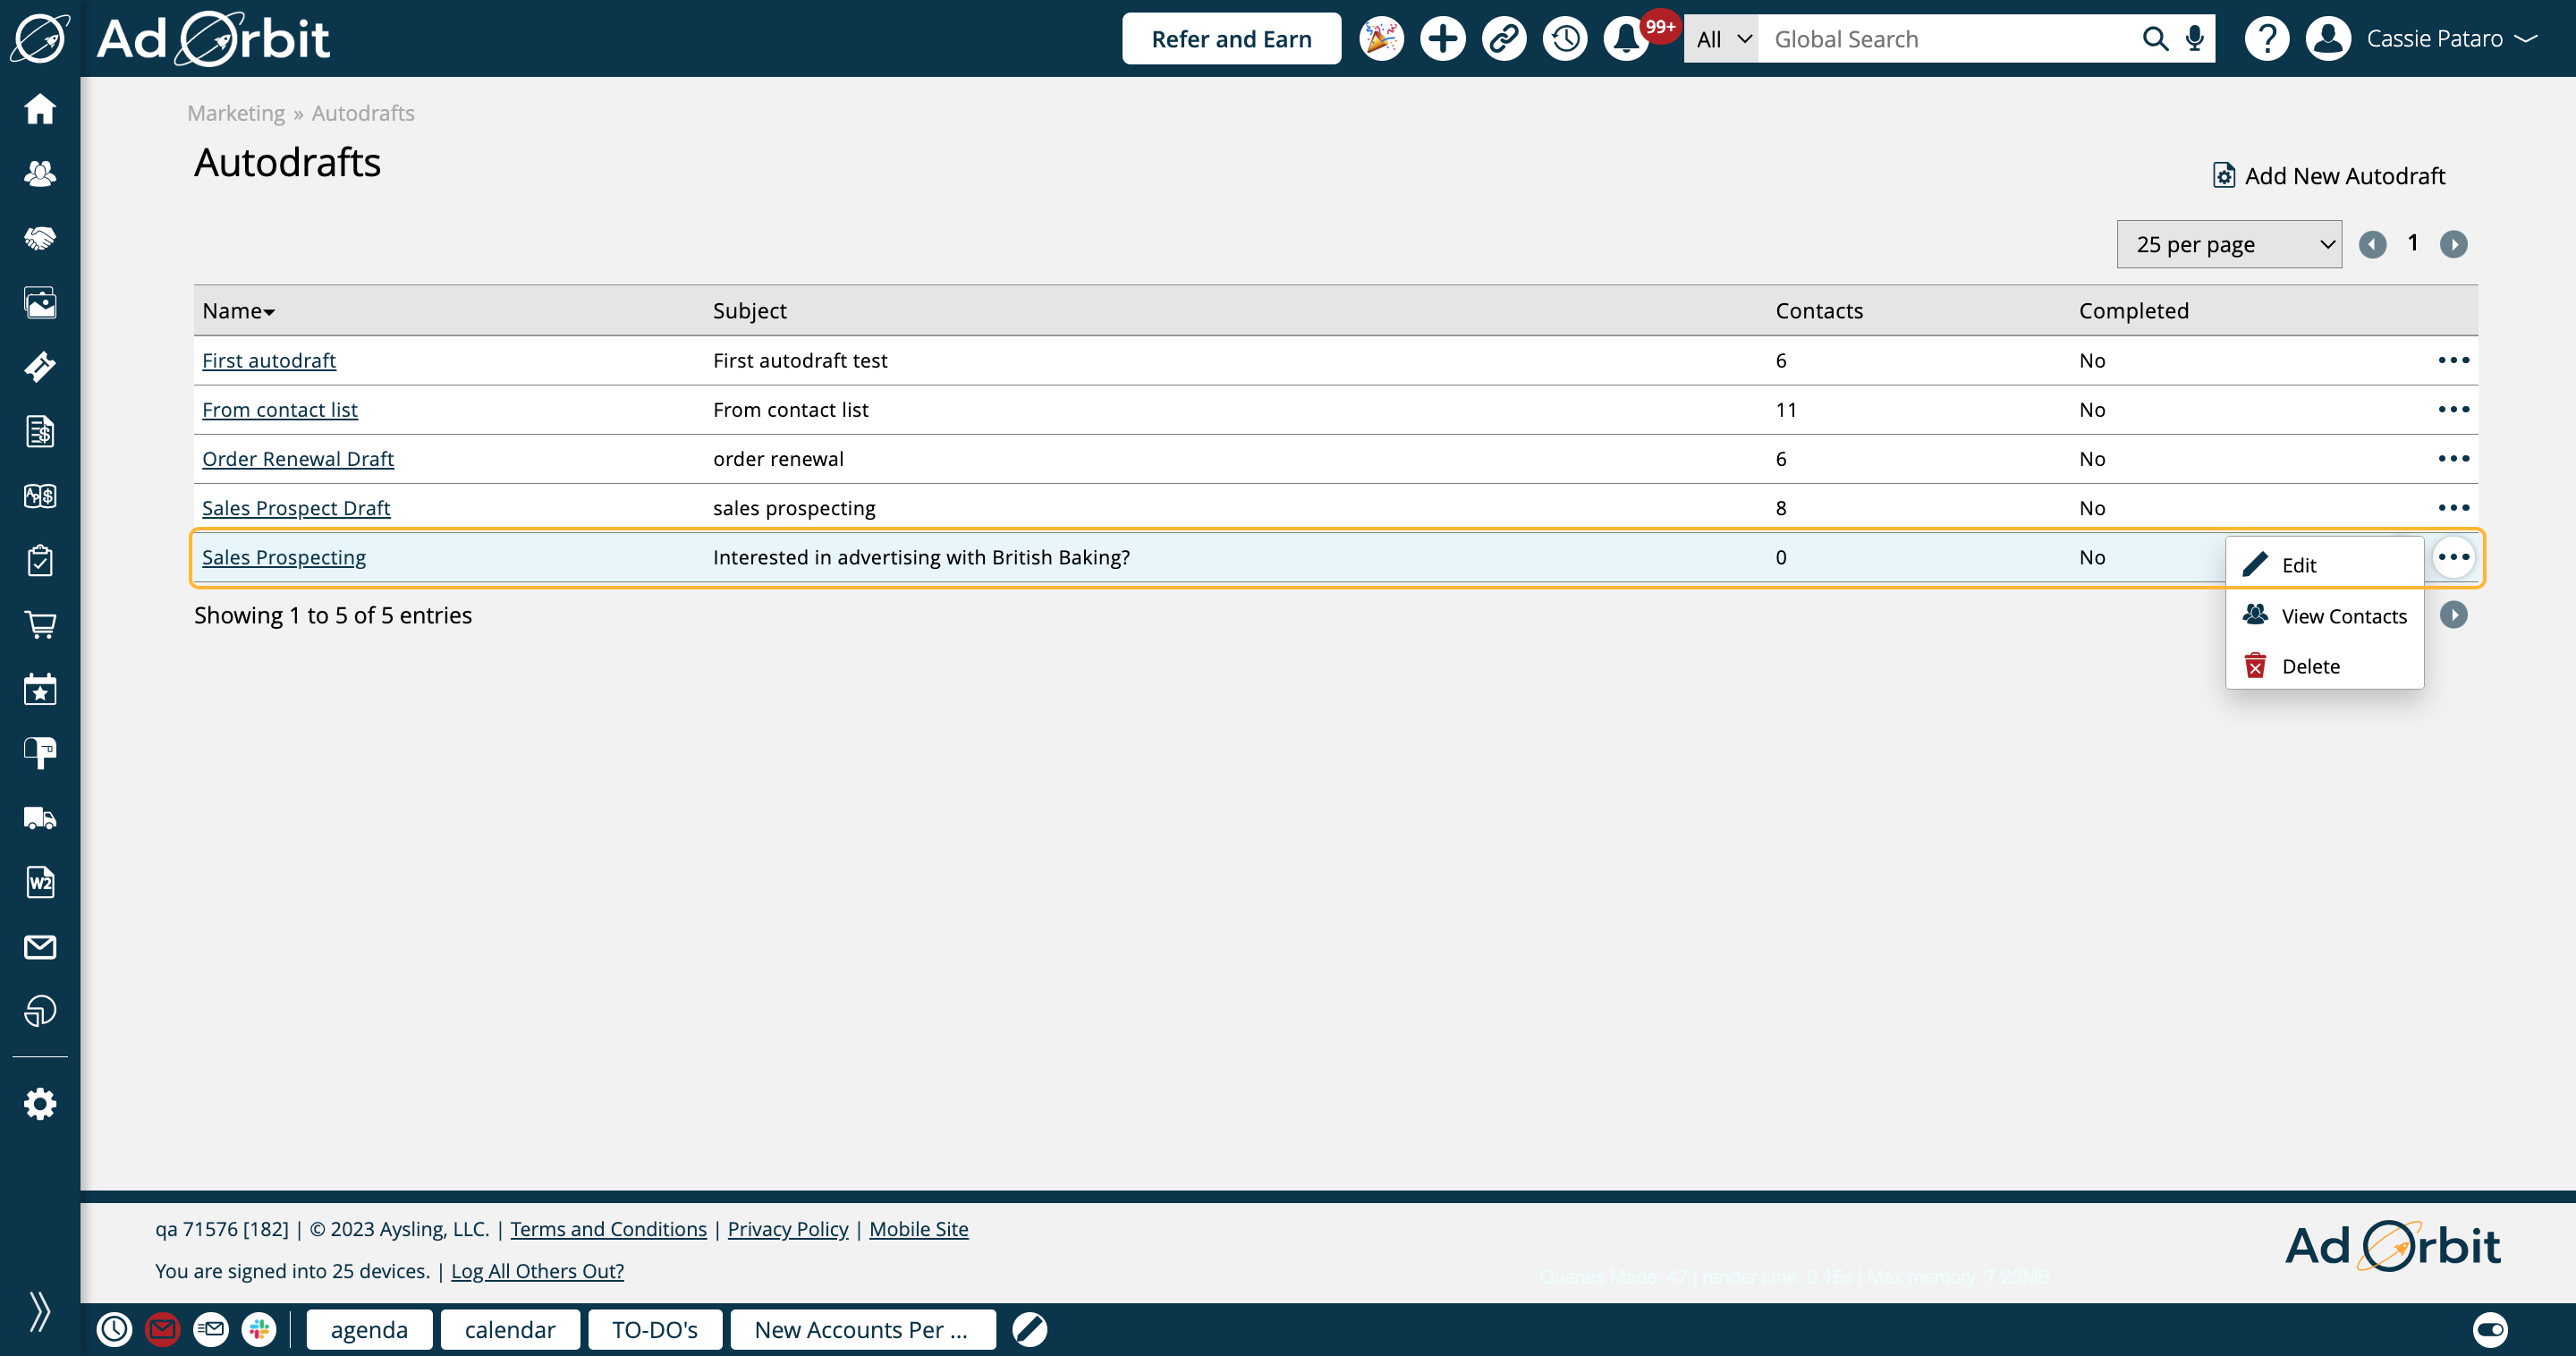
There are various actions you can perform on existing Autodrafts, including editing the Autodraft, viewing the contacts that are set up to receive the Autodraft, and deleting it. You can also view the contacts by clicking on the Autodraft name.
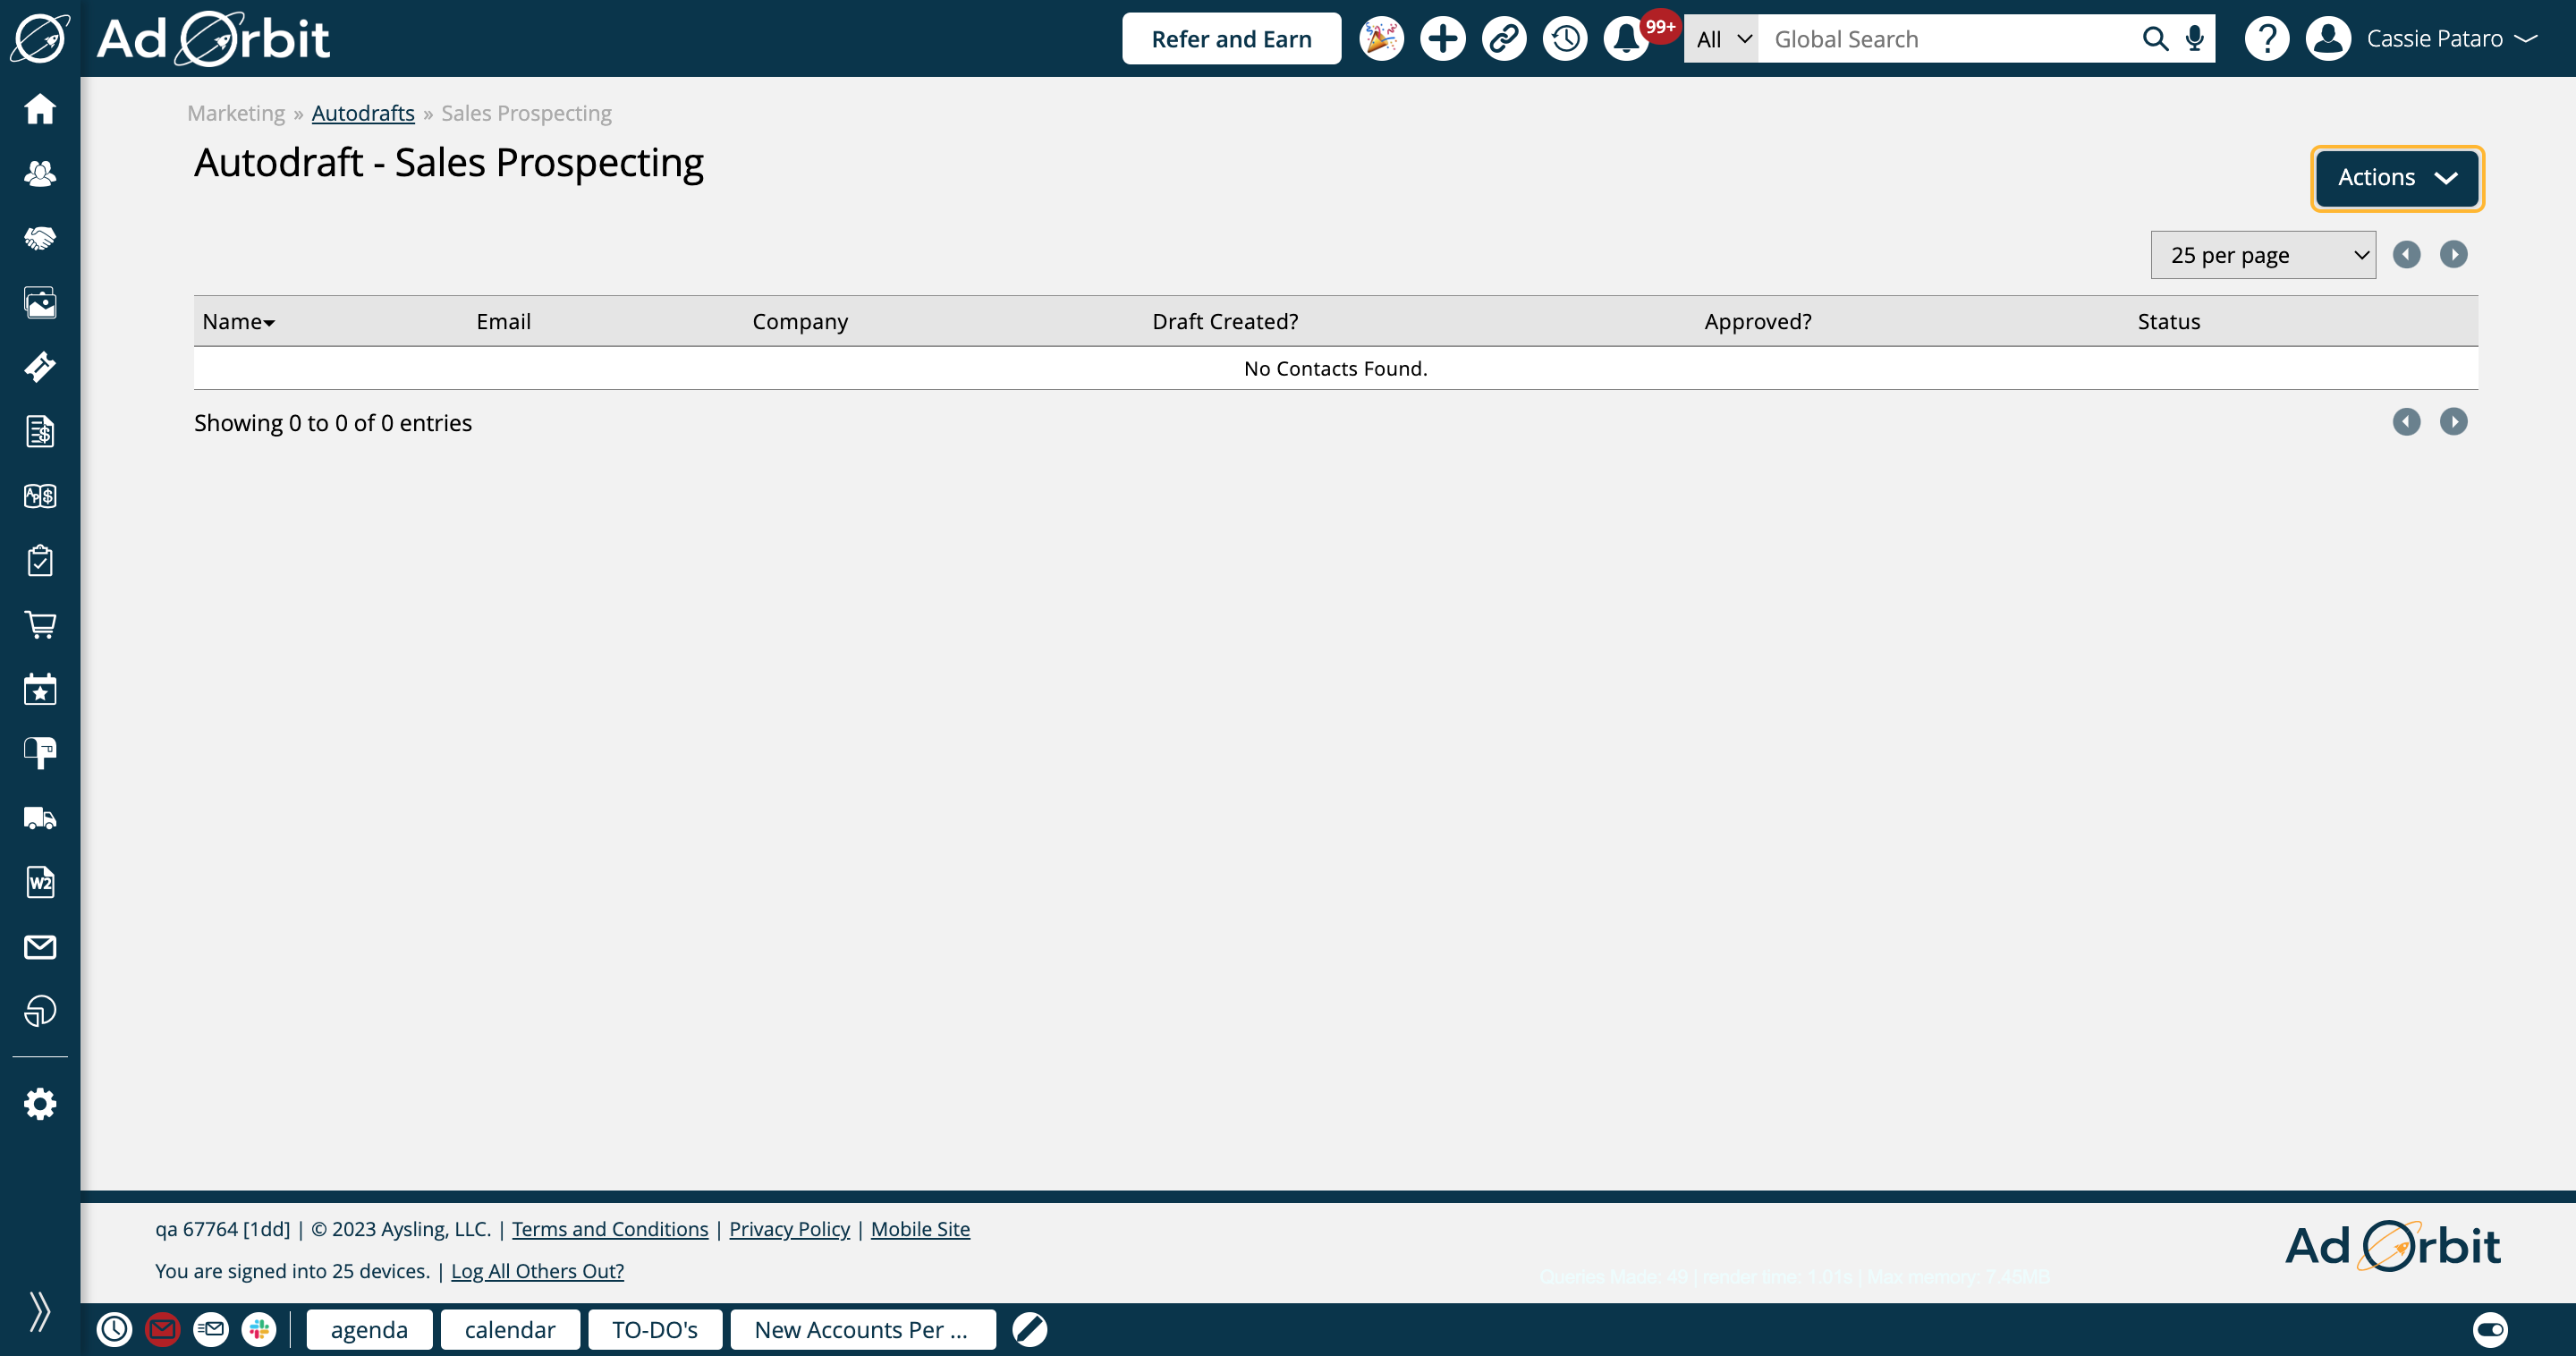
The 'View Contacts' page of the Autodraft is where most of the interaction with the Autodraft is done, including adding contacts, generating and approving drafts, and scheduling email sends.
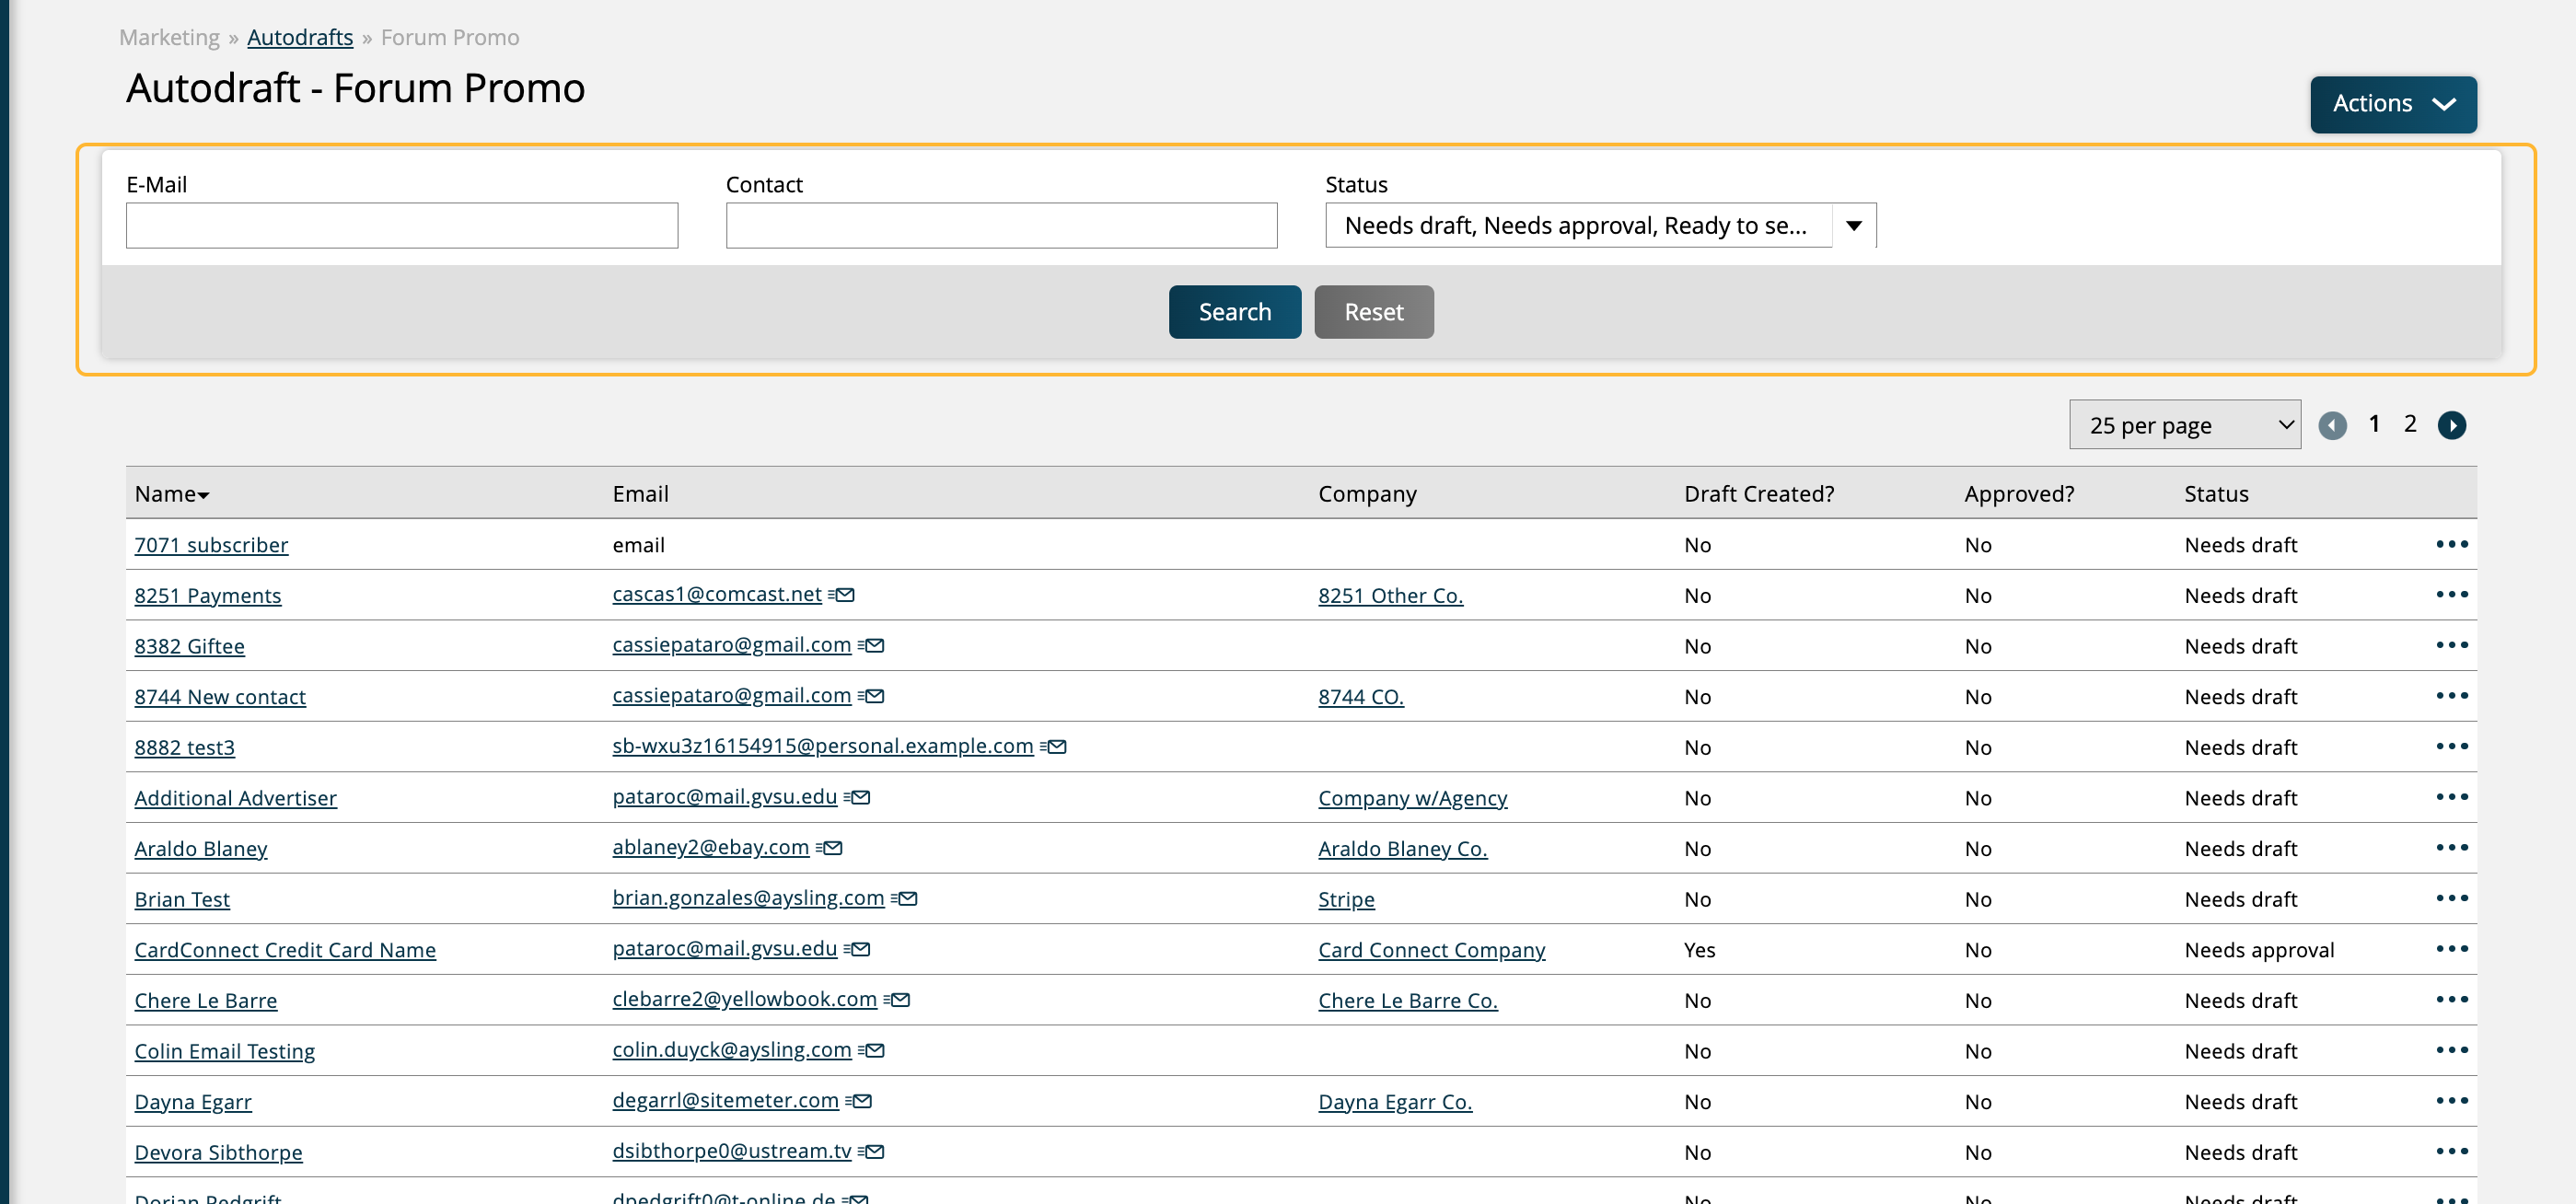
You can find contacts in your Autodraft list by using the search fields at the top of the page, which include email address, contact name, and status. By default, the Status search field will include all statuses except for 'Sent'.
Click on the Actions menu to see how you can interact with the Autodraft. The first option is Edit Autodraft, which opens the Add/Edit Autodraft popup, where you can make changes to the prompt if needed.
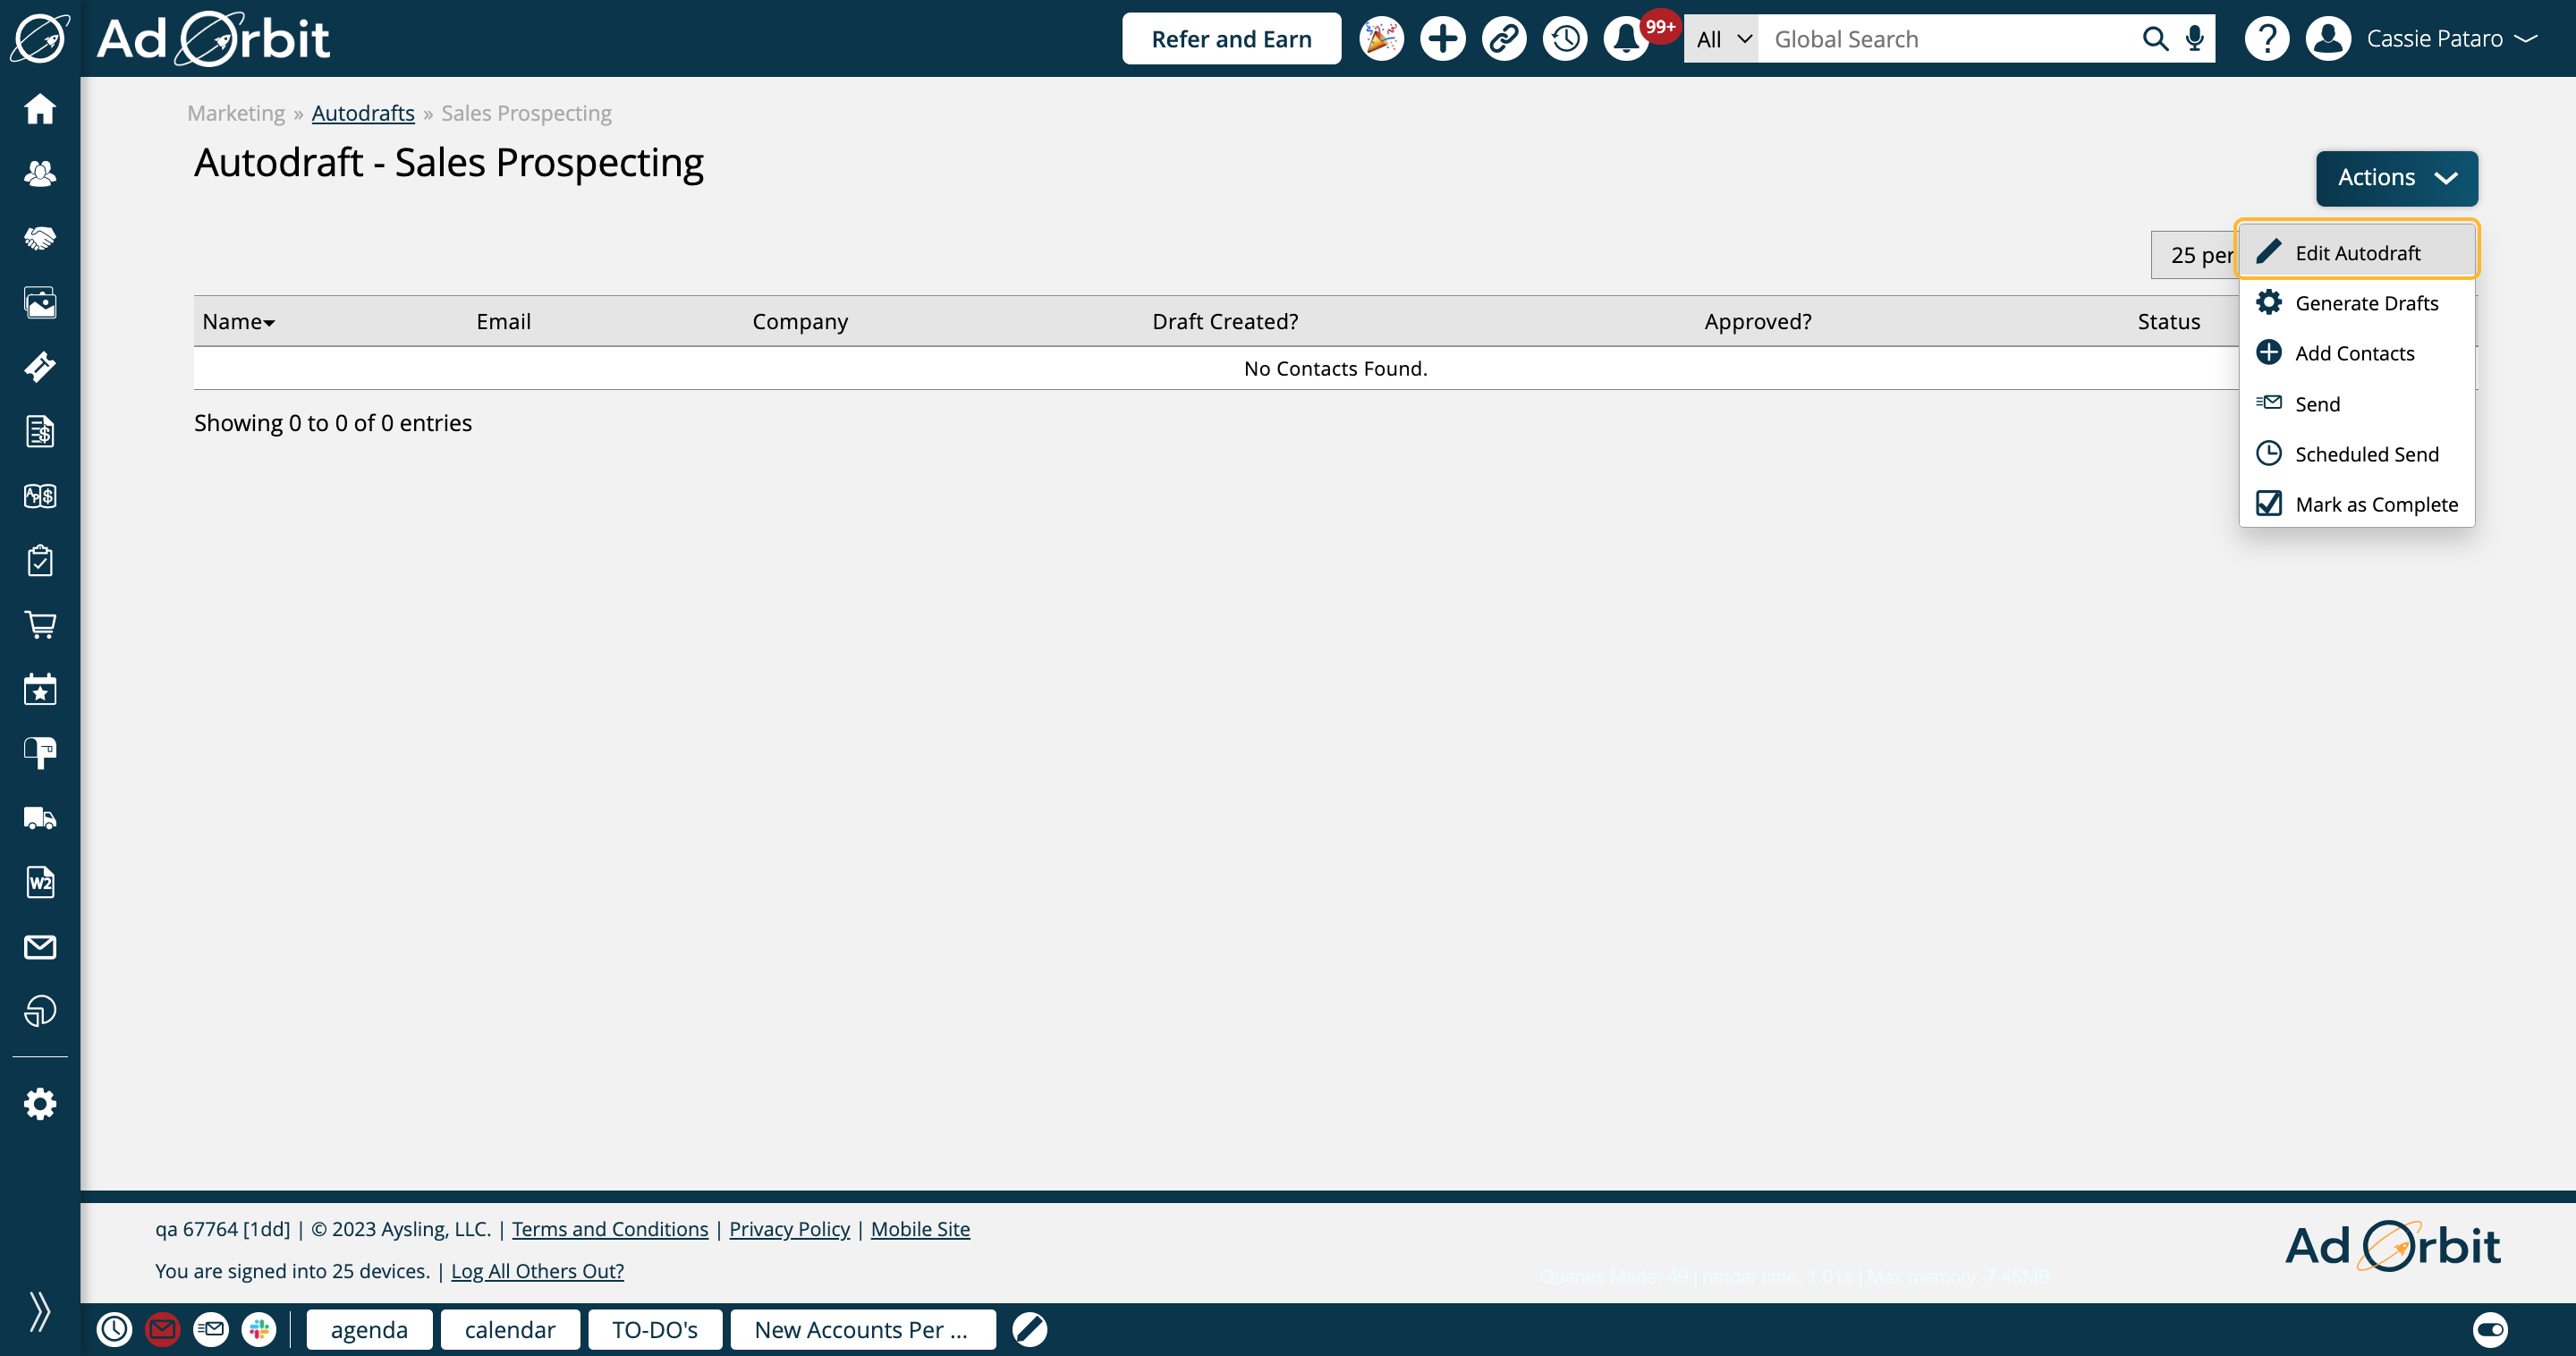
The Add Contacts action opens a popup where you can type contact names to add them to the Autodraft. Any contacts that have unsubscribed from emails cannot be added here.
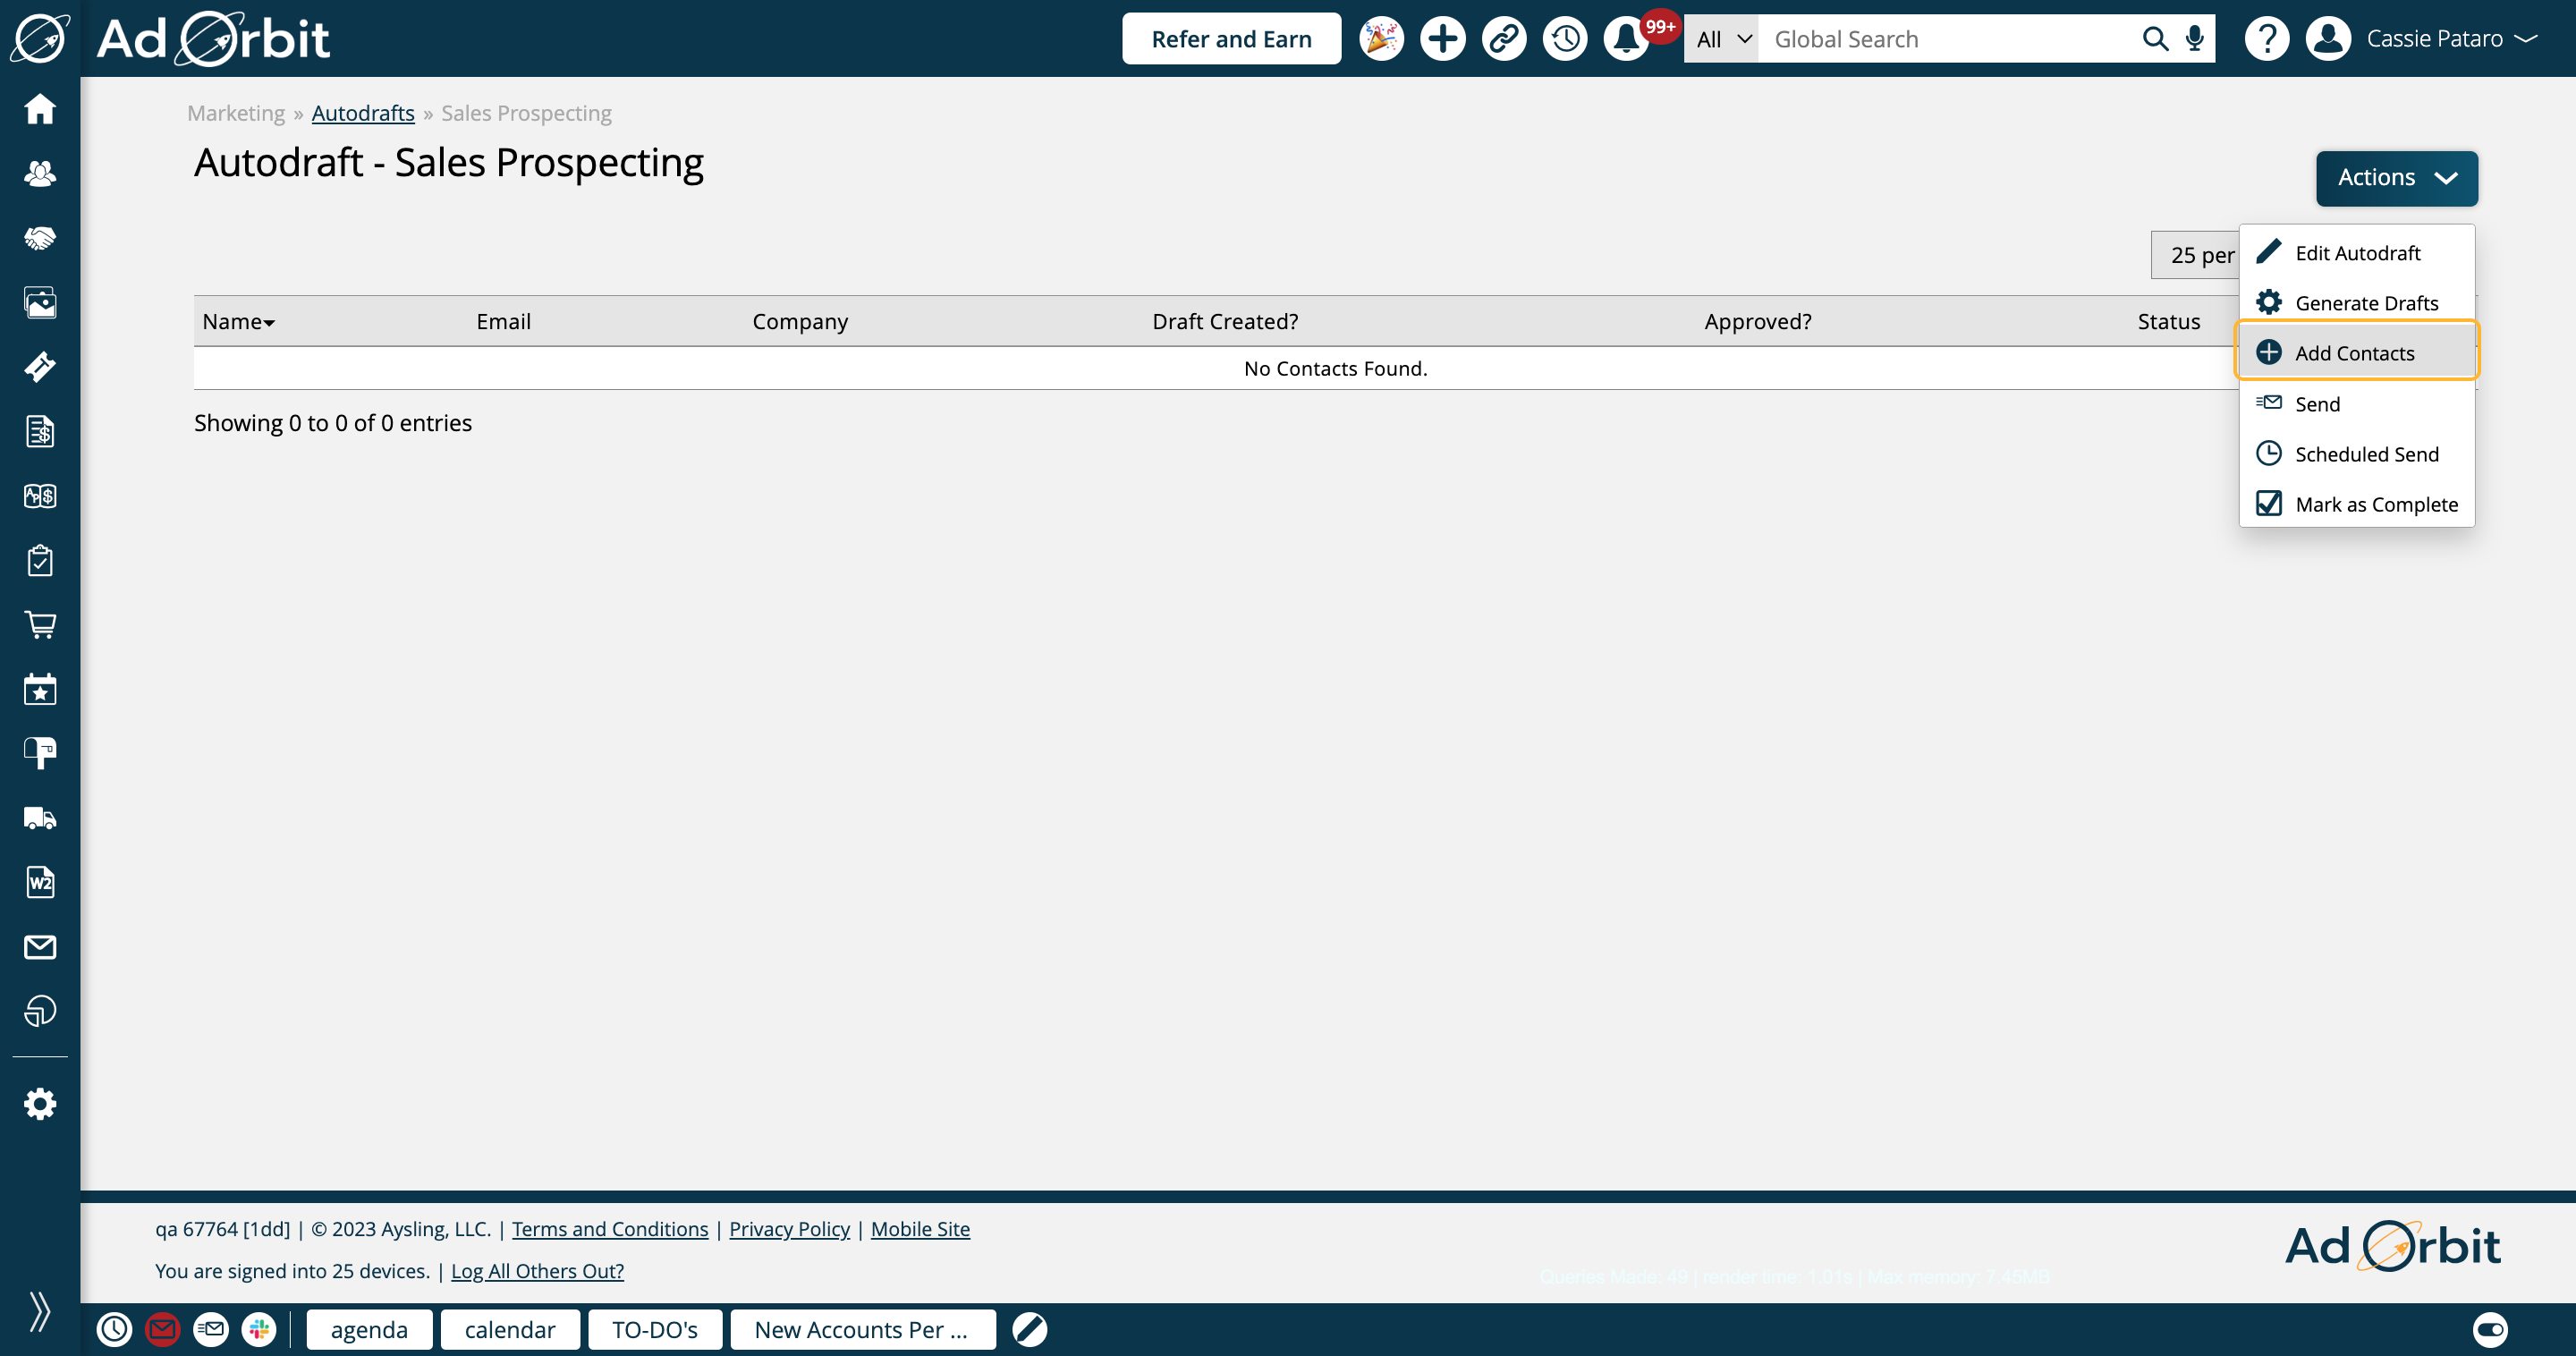
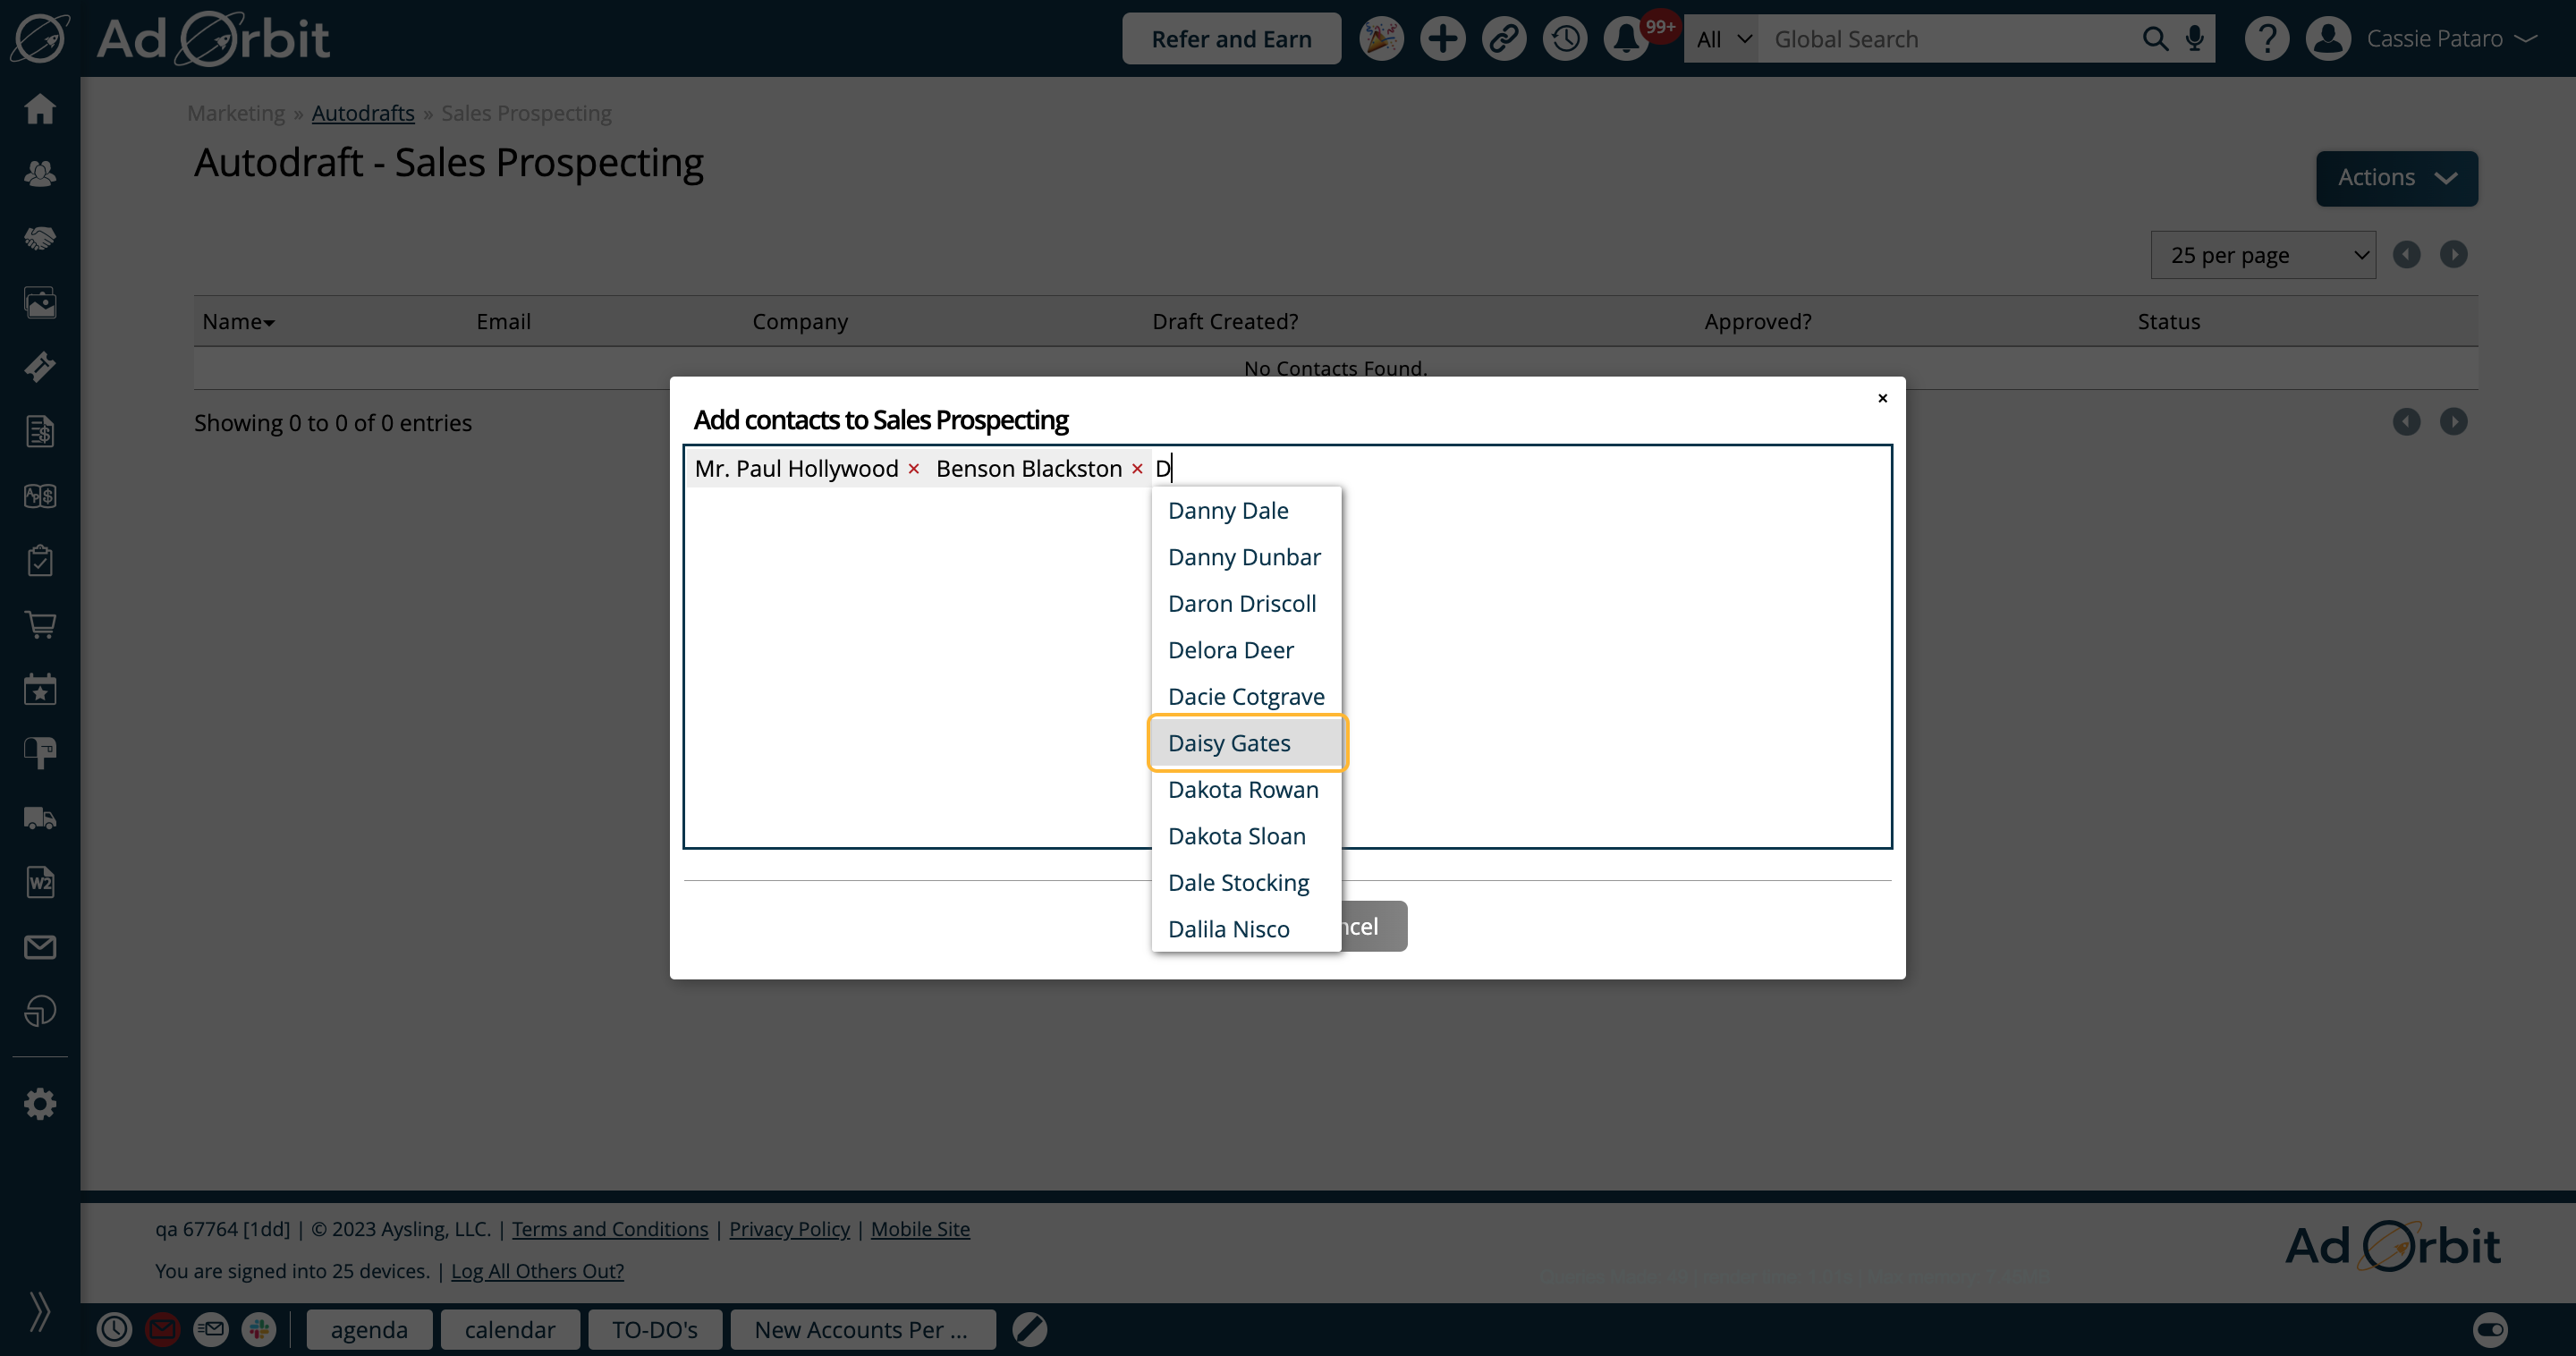
Begin typing in this popup to select your contacts.
Tip
Want to more easily add contacts to your Autodrafts, rather than adding them one by one? You can add entire Contact Lists to Autodrafts, or add your Autodrafts to our Automation Workflows. Check out these other help center documents for more information:
Once contacts have been added to the list, you can generate drafts for individual contacts by clicking the ellipsis icon. You can also remove contacts here if you wish.
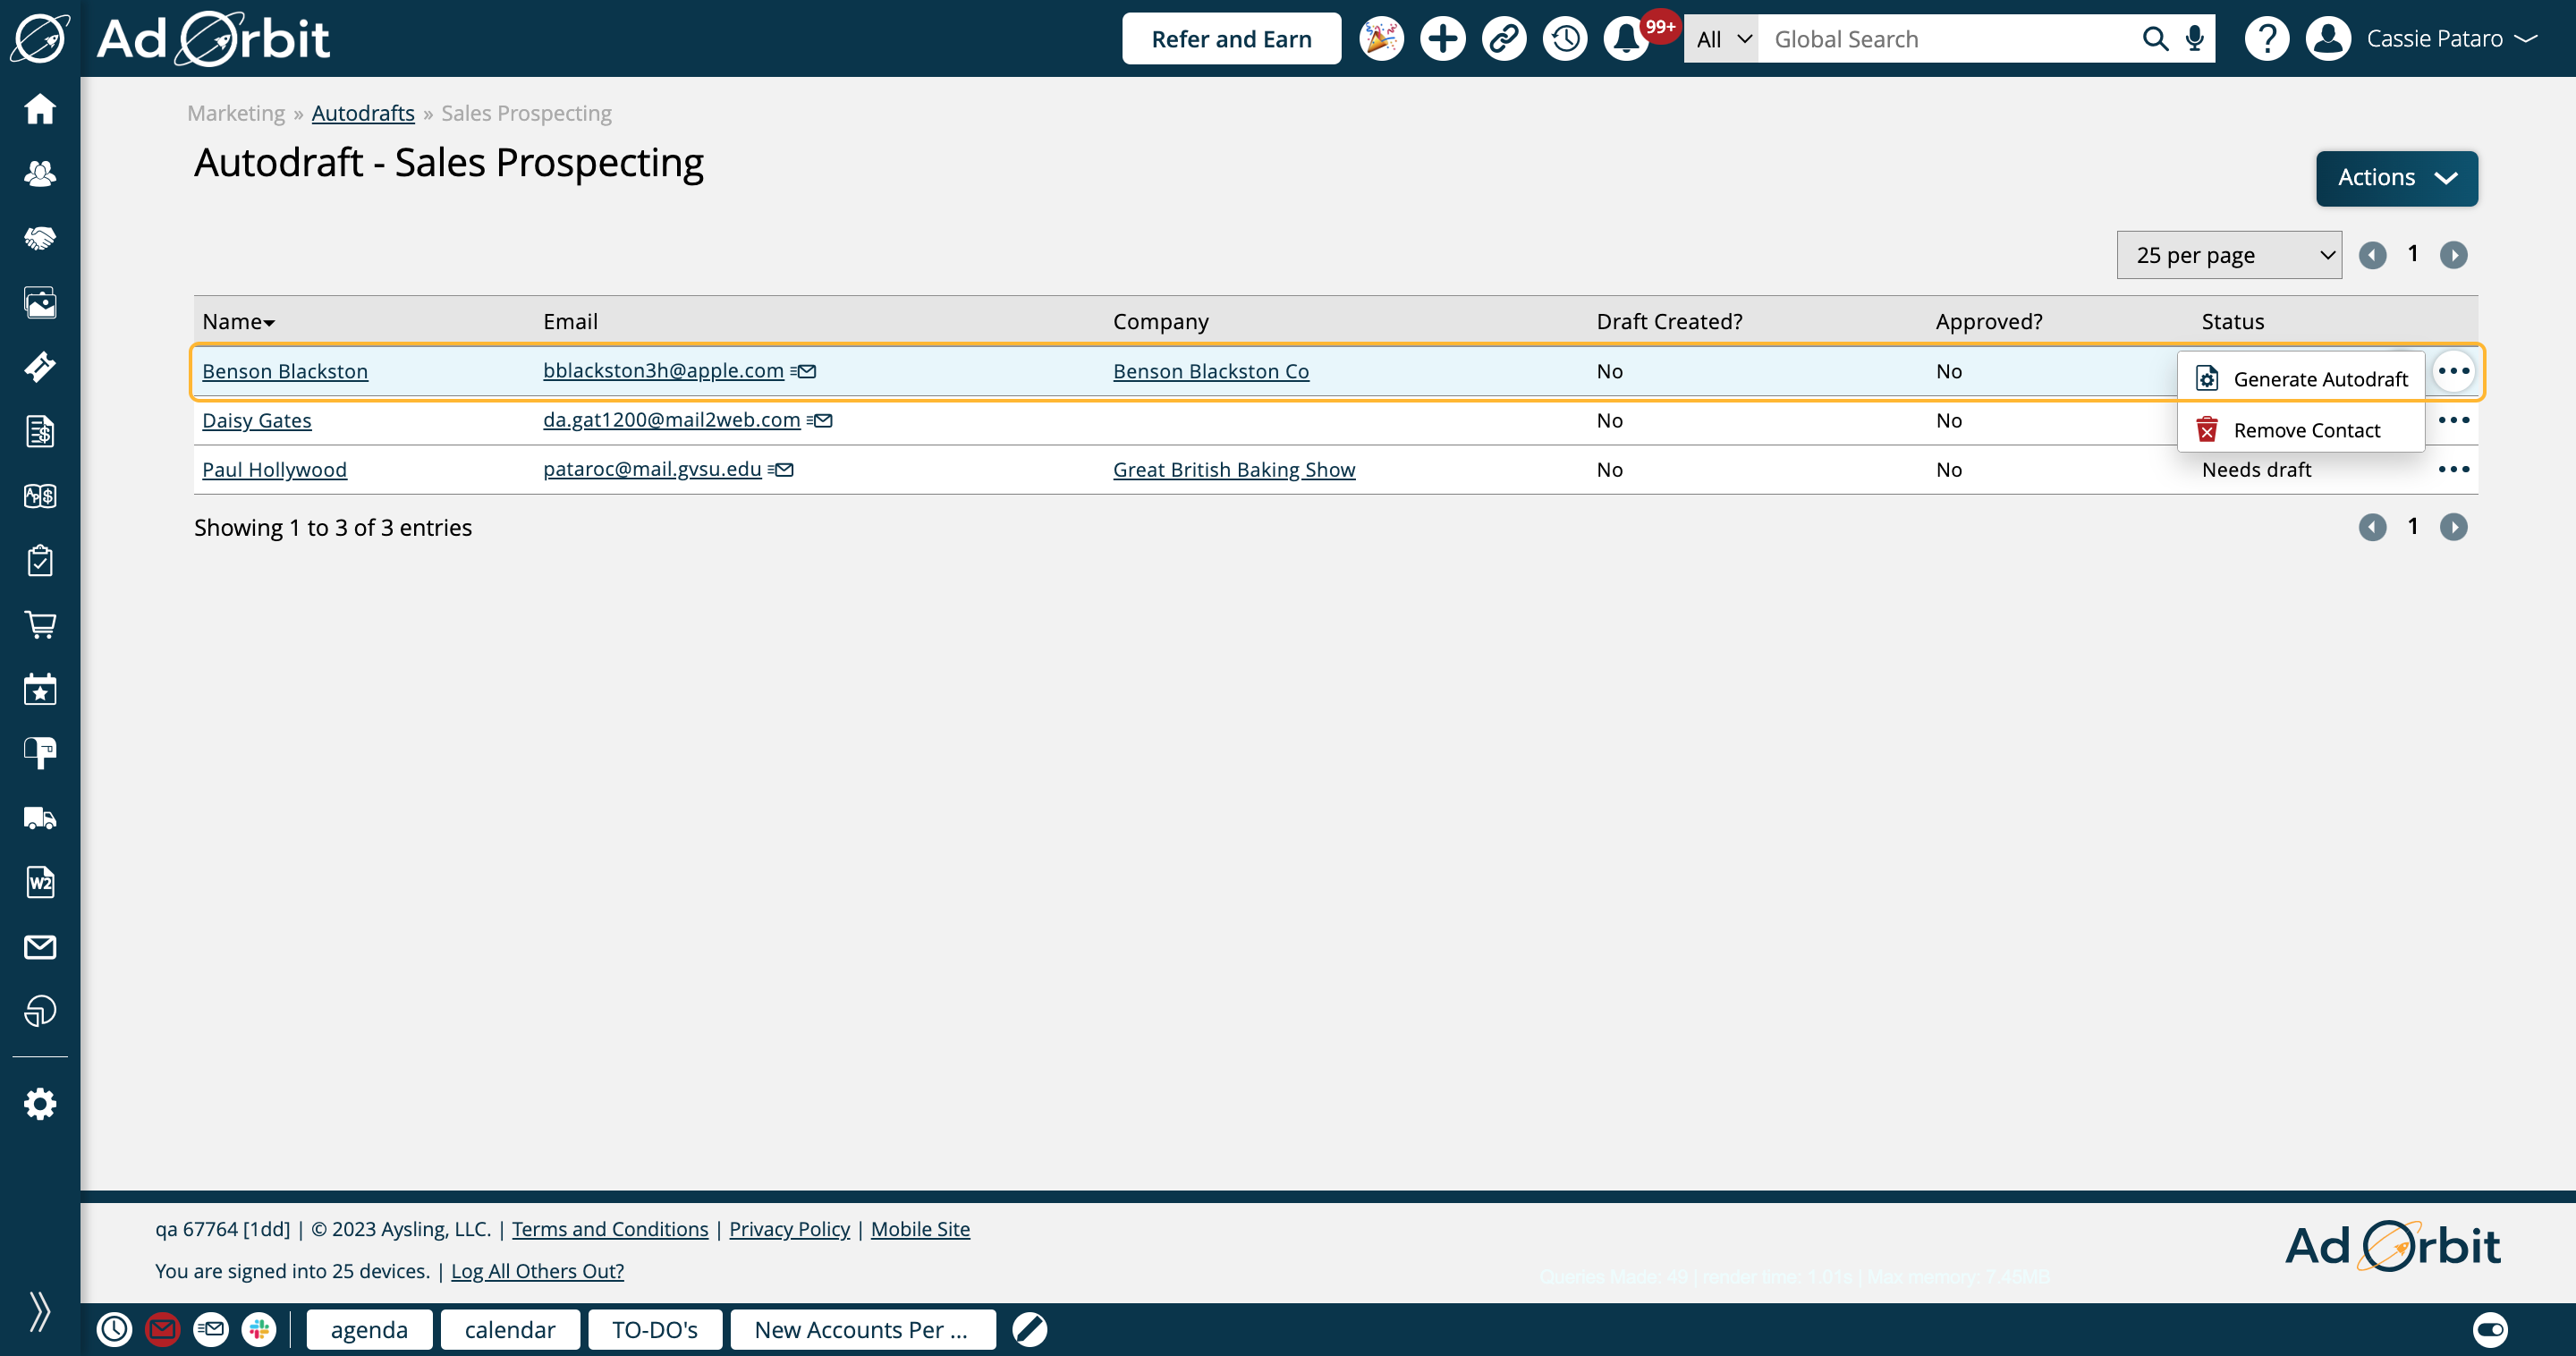
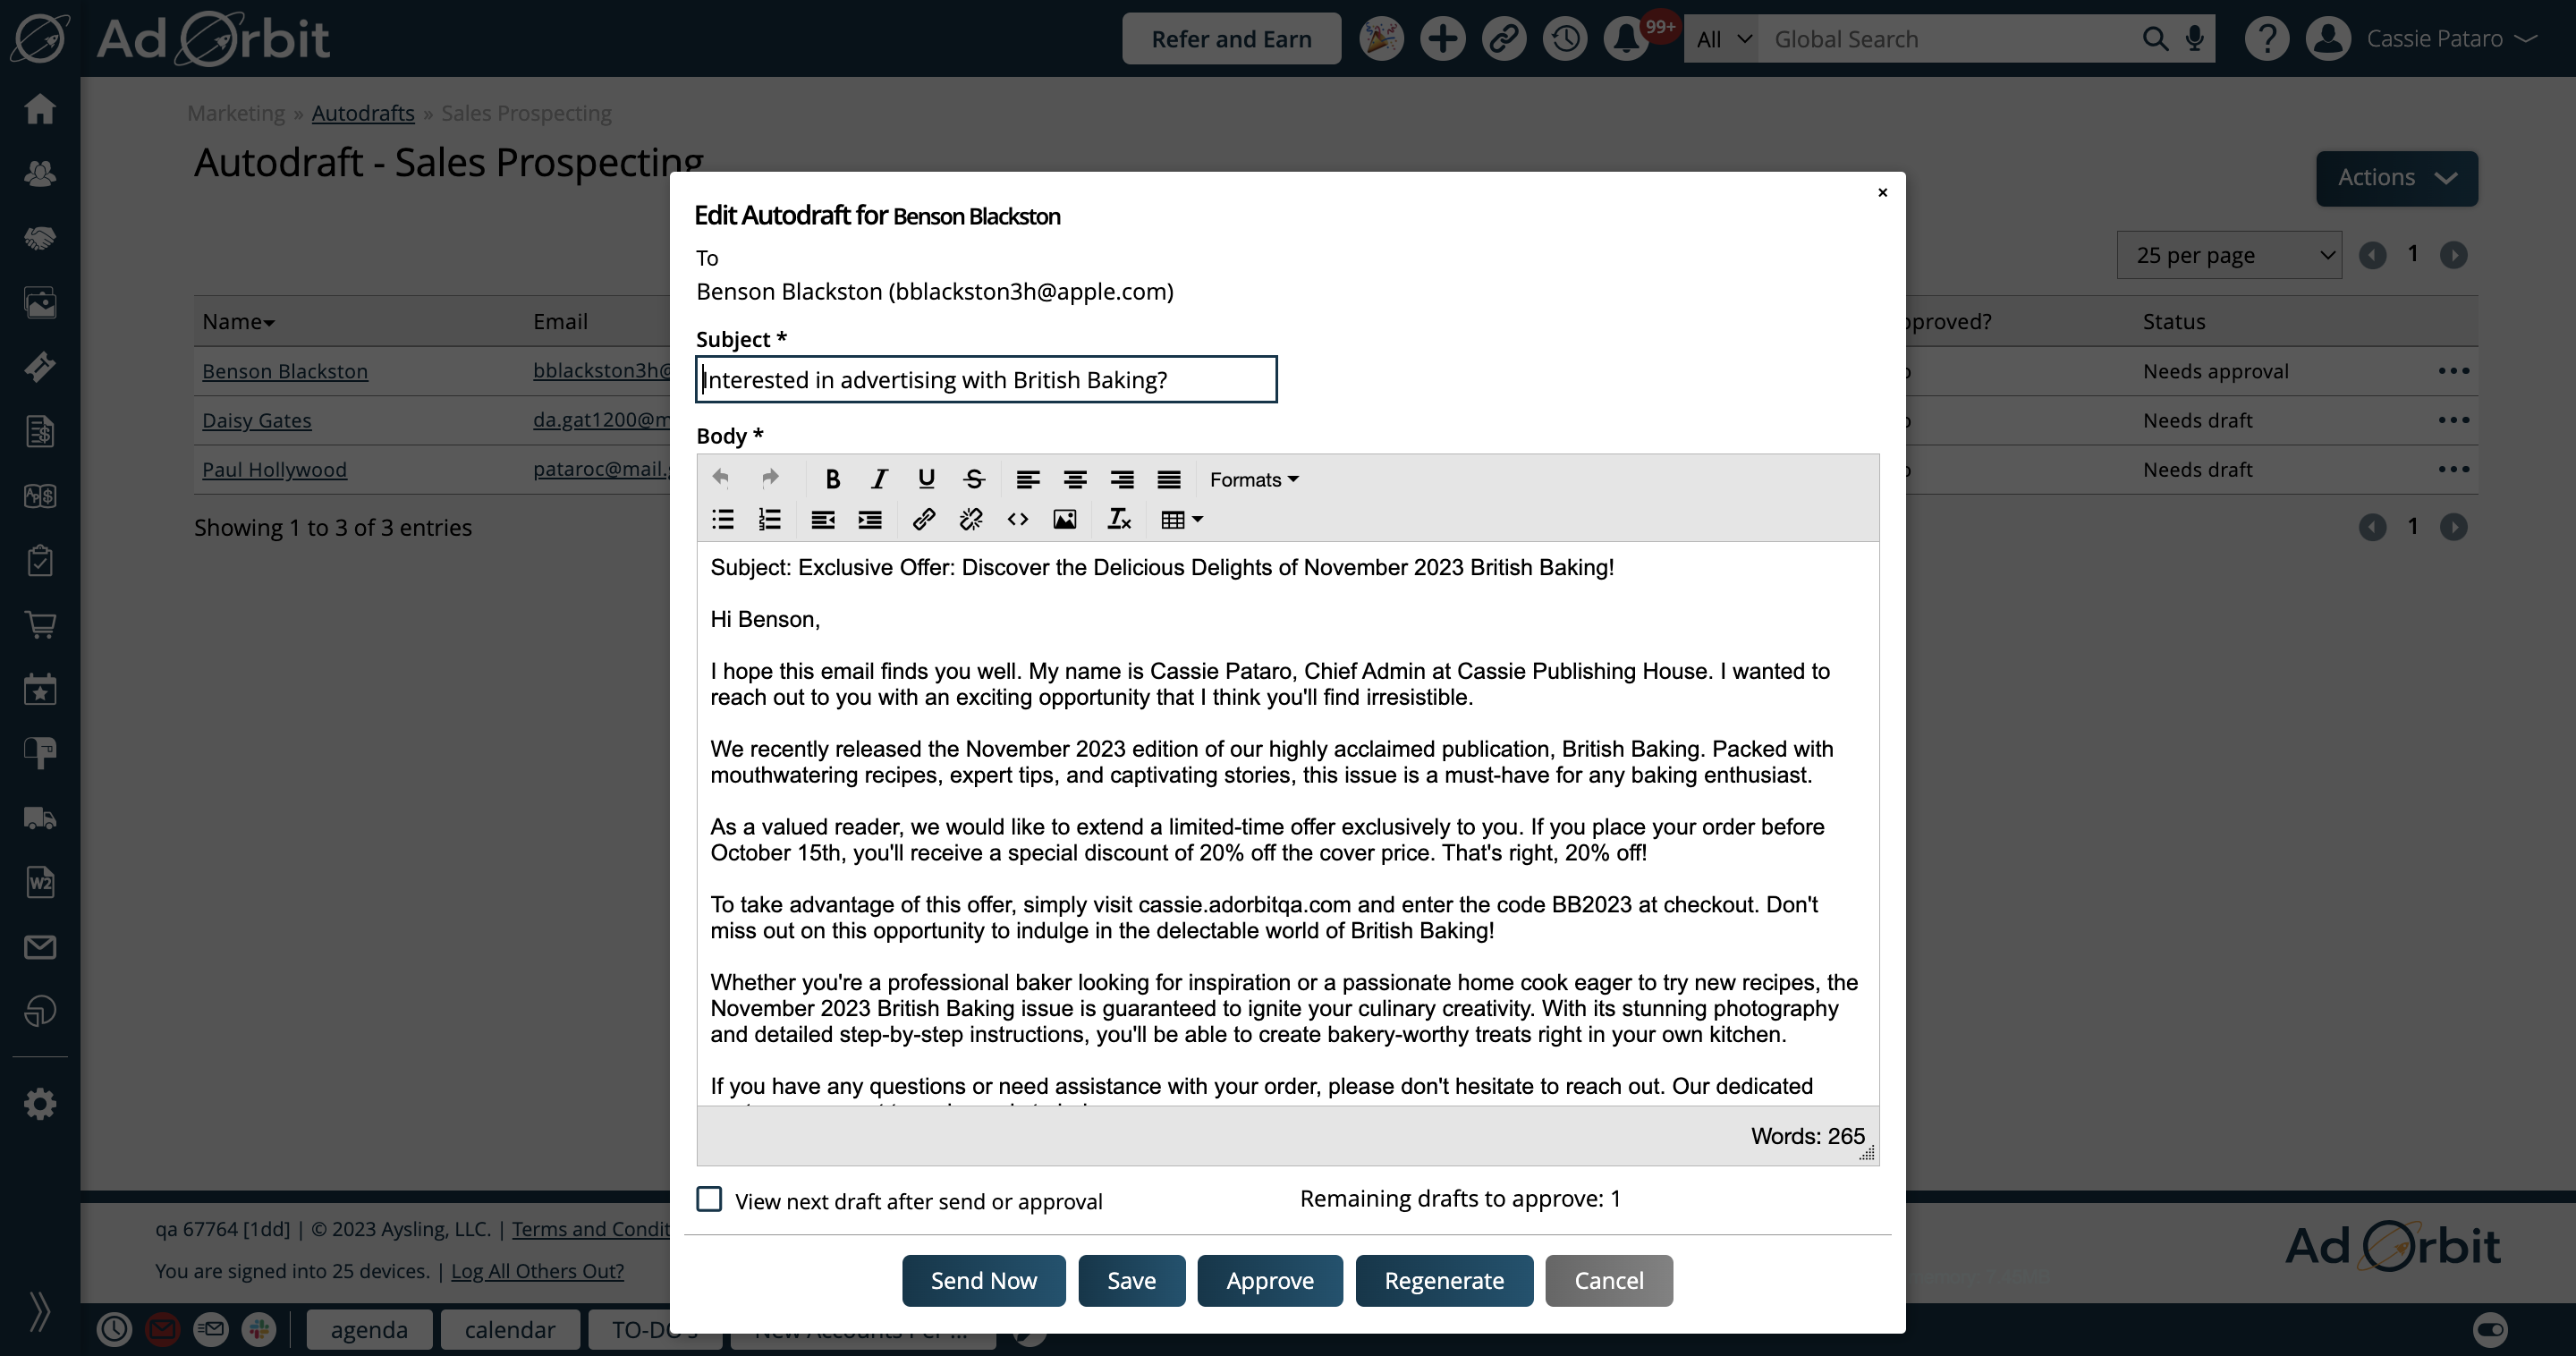
When you click Generate Autodraft for a contact, Astro will create an email based on your Autodraft settings, and information about the contact when applicable. Each generated draft will ask for your approval.
Caution
We recommend approving each draft, as Astro may have some AI language oddities, or offer discounts that you don't want to give out.
There are various actions you can take when viewing a generated draft.
The 'View next draft after send or approval' checkbox makes it easy to quickly look through each of your drafts.
Send Now does exactly what it sounds like, and will send the email once clicked.
Approving the draft means you have reviewed it and the email content looks good to you. Approved drafts will be queued to be sent in the scheduled timeframe, if you set up a Scheduled Send.
If you don't like the draft, you can choose to Regenerate it, and Astro will re-make the draft with different content.
And finally, you can click 'Cancel' which will close the popup and not save any changes you've made.
You are also able to manually make edits to the email if needed.
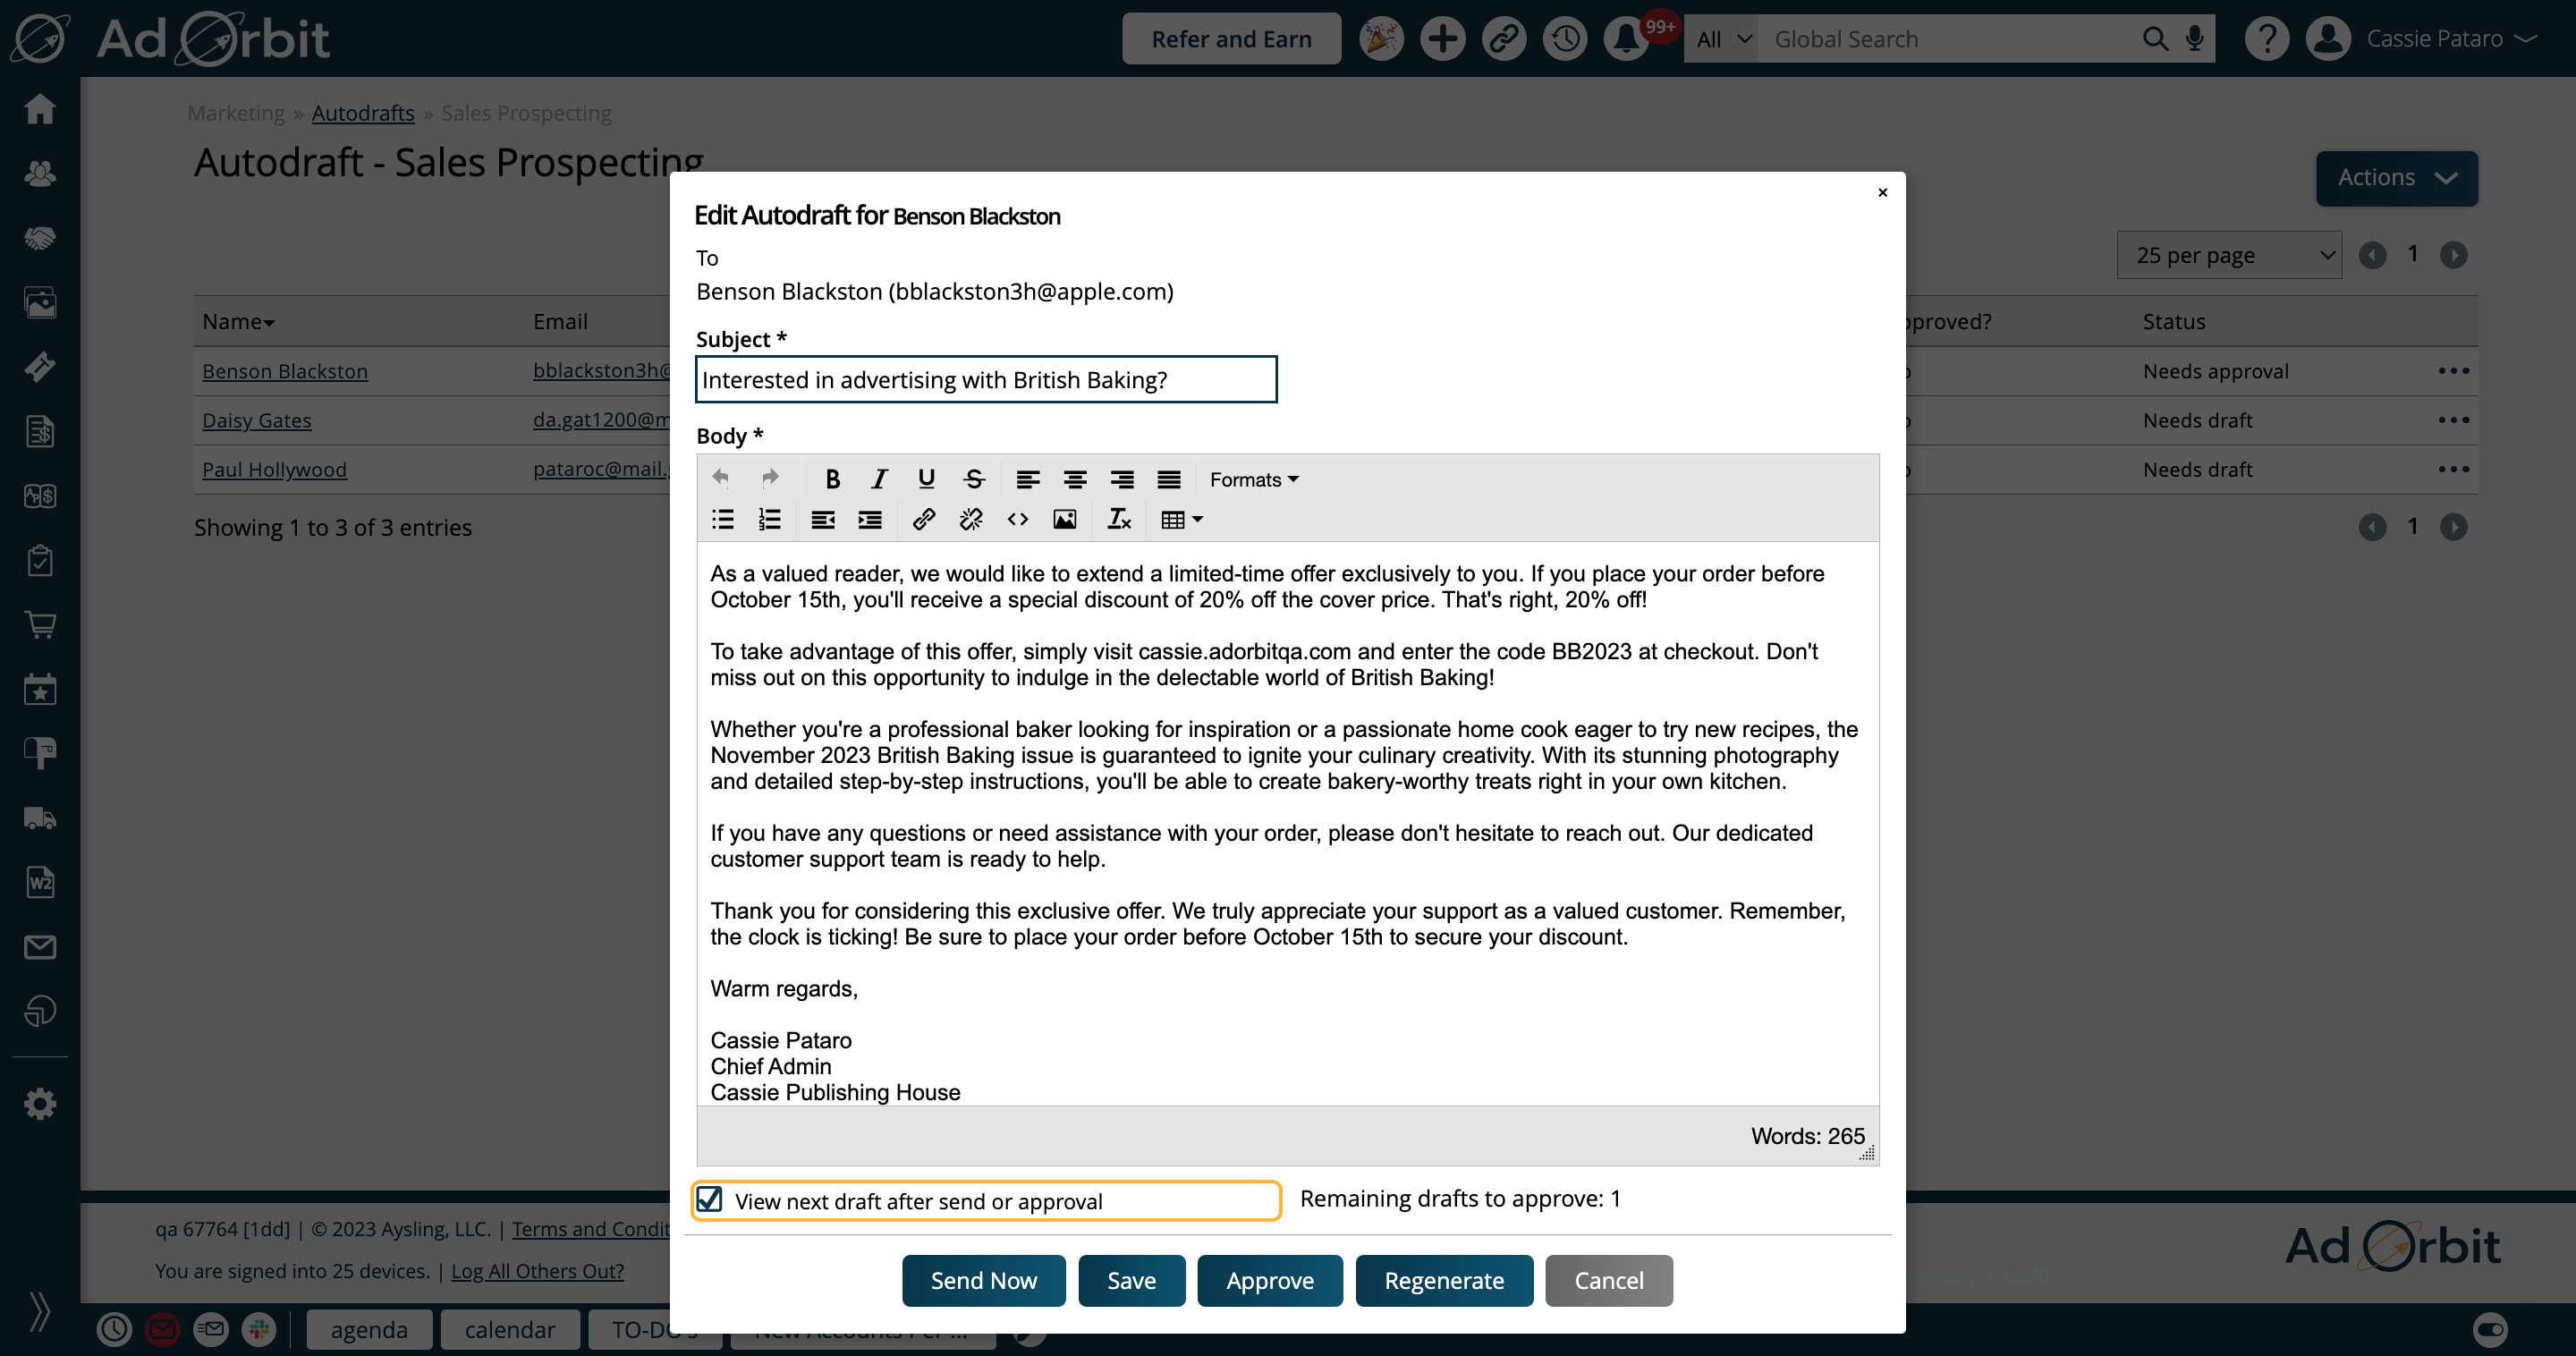
If you wish to generate drafts for all the contacts on the list, rather than one at a time, click the Generate Drafts action in the dropdown menu.
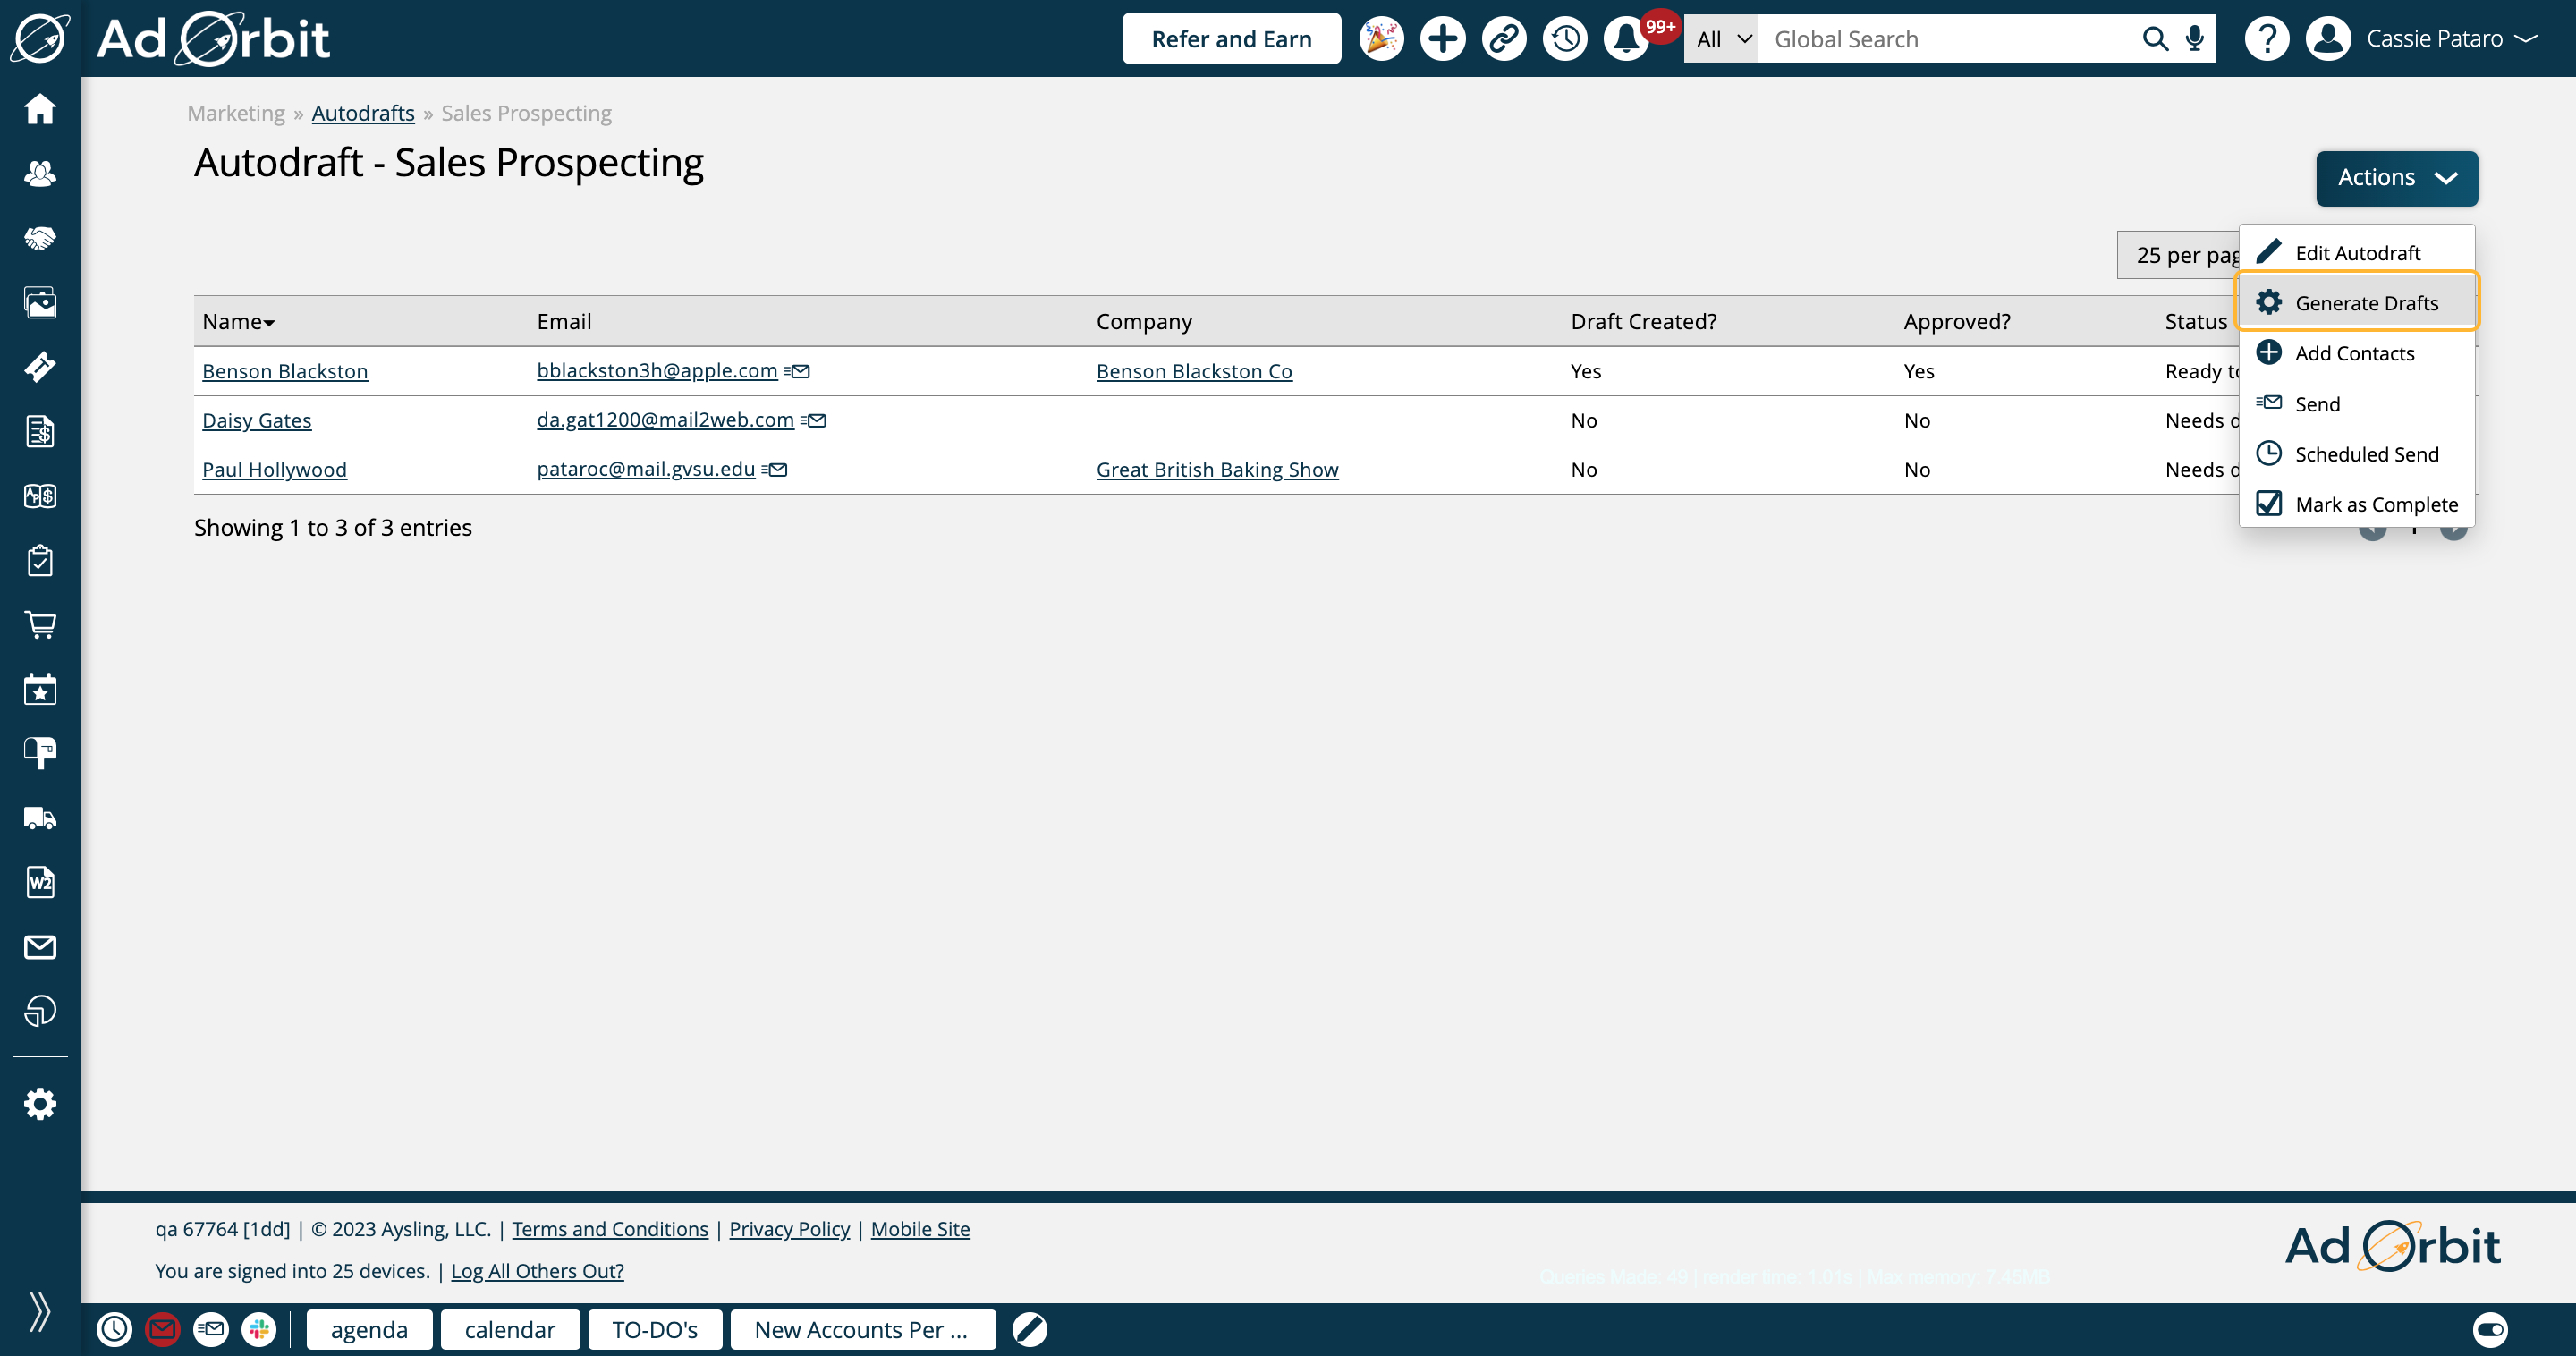
When generating drafts, you can choose whether or not to override any drafts that already exist.
Your drafts will be generated in the background, and you will receive an email notification when the drafts have been created.
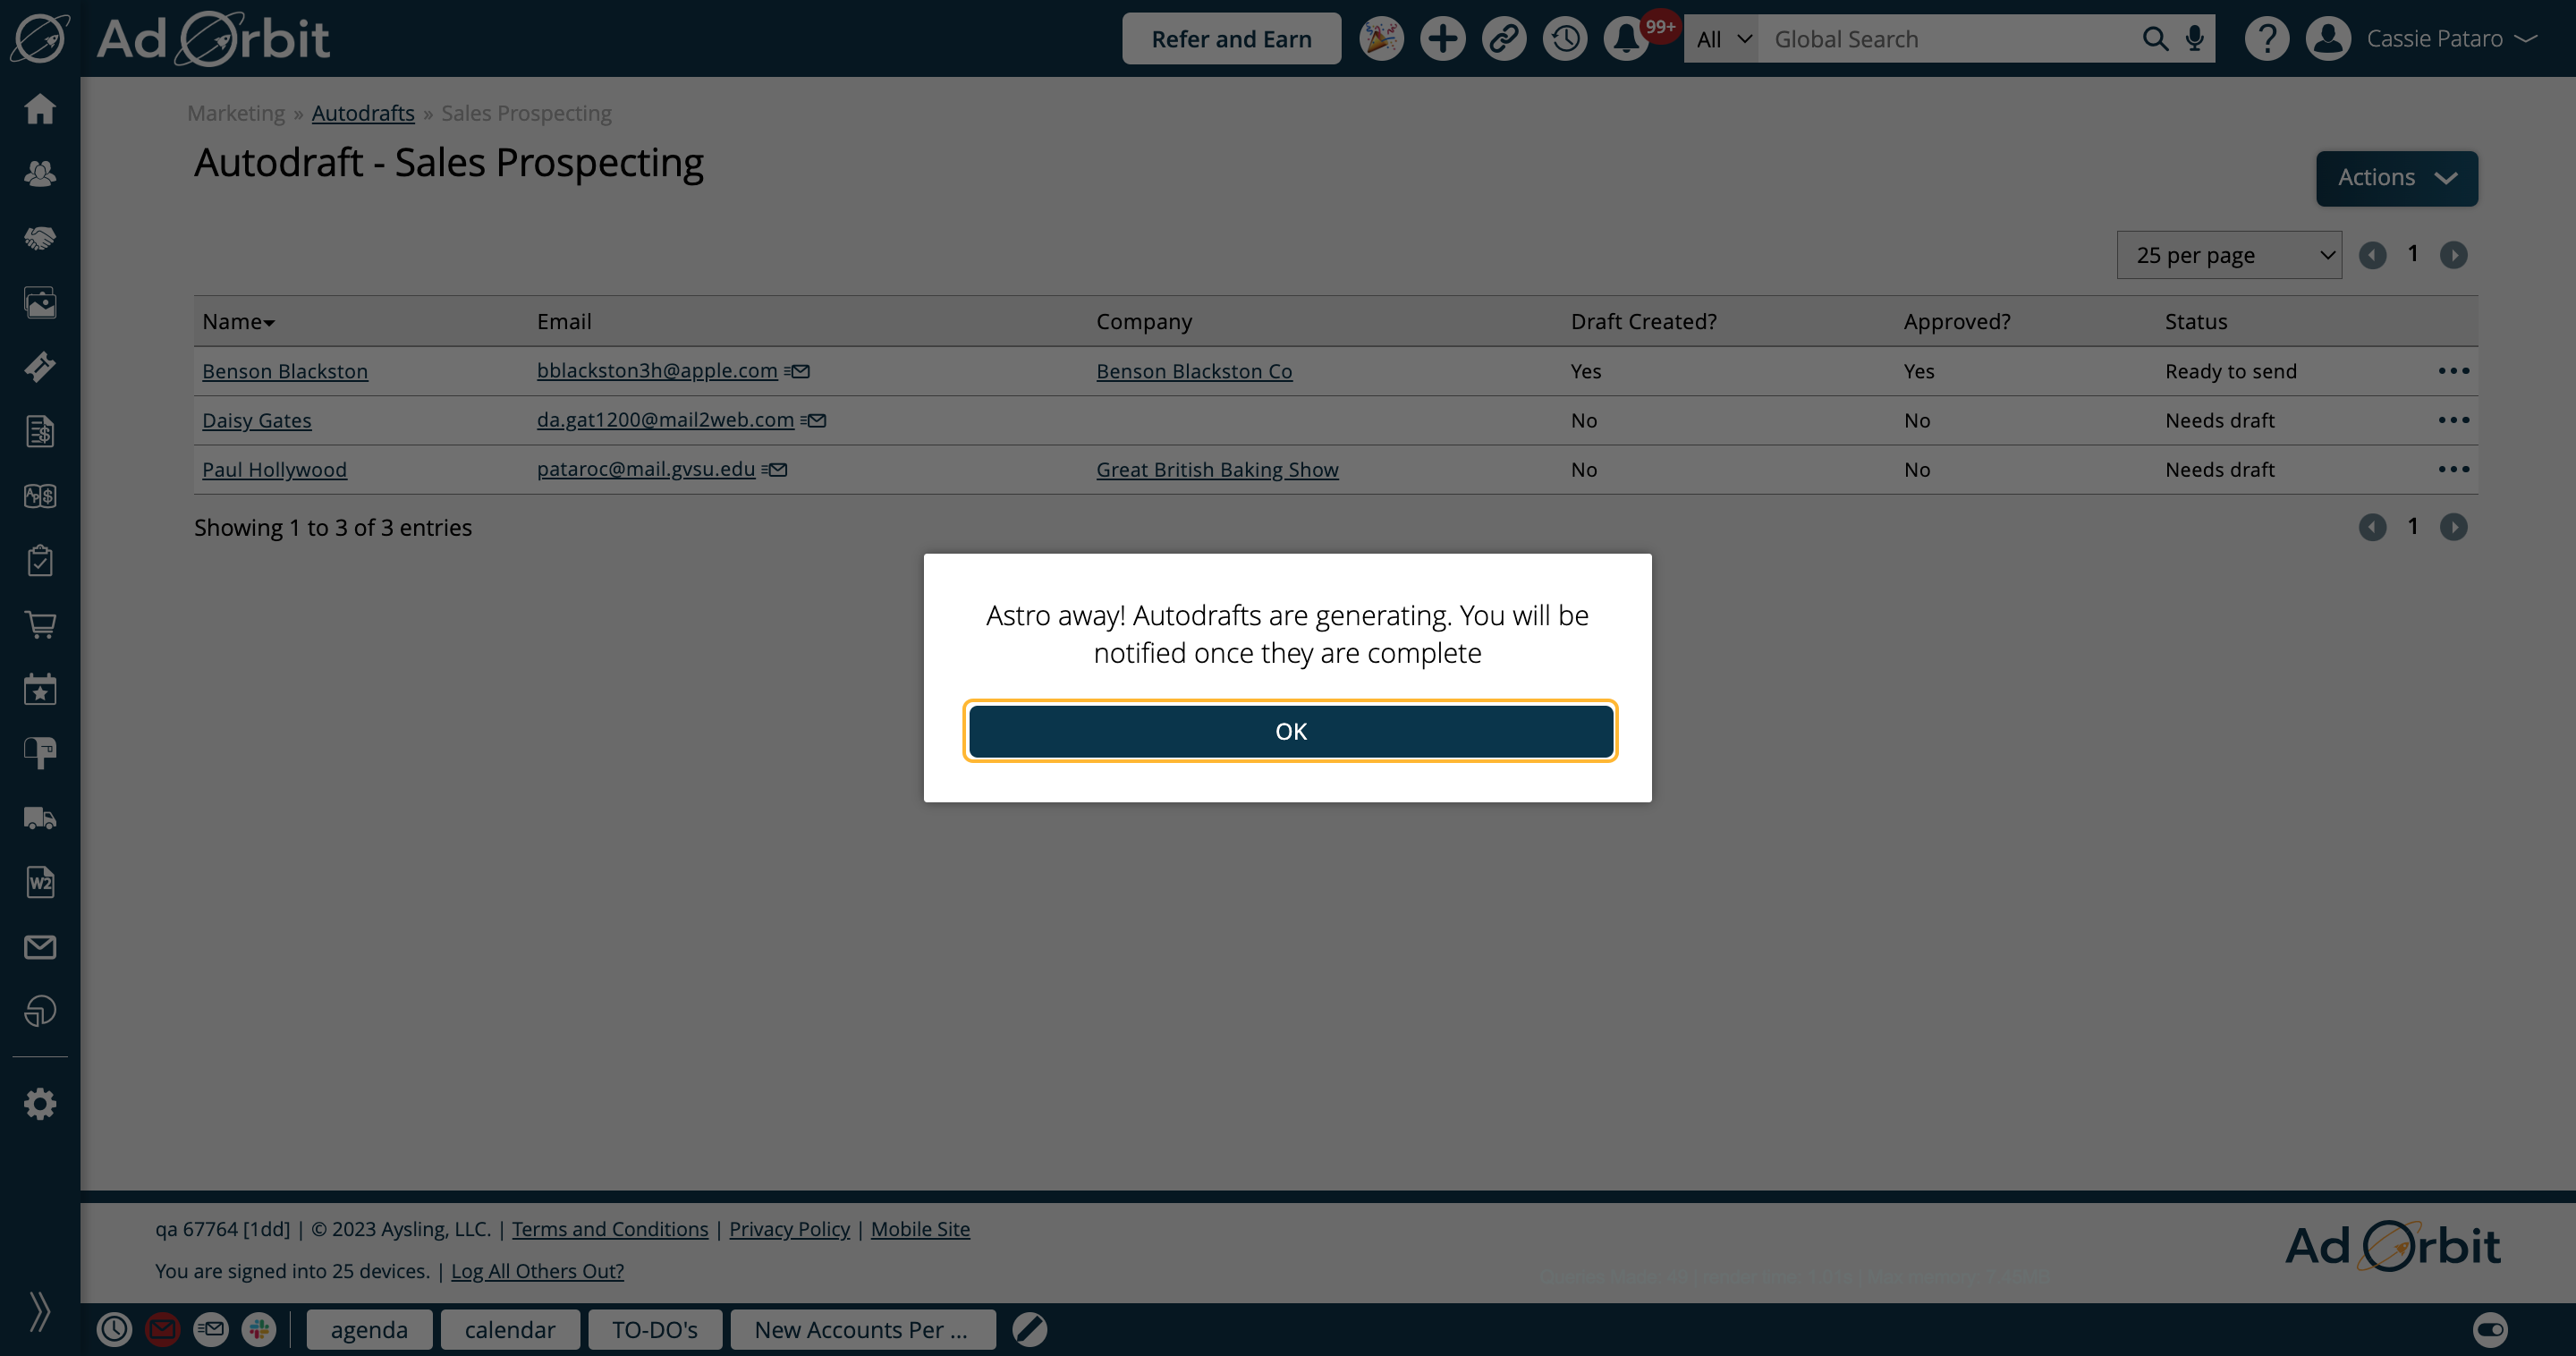
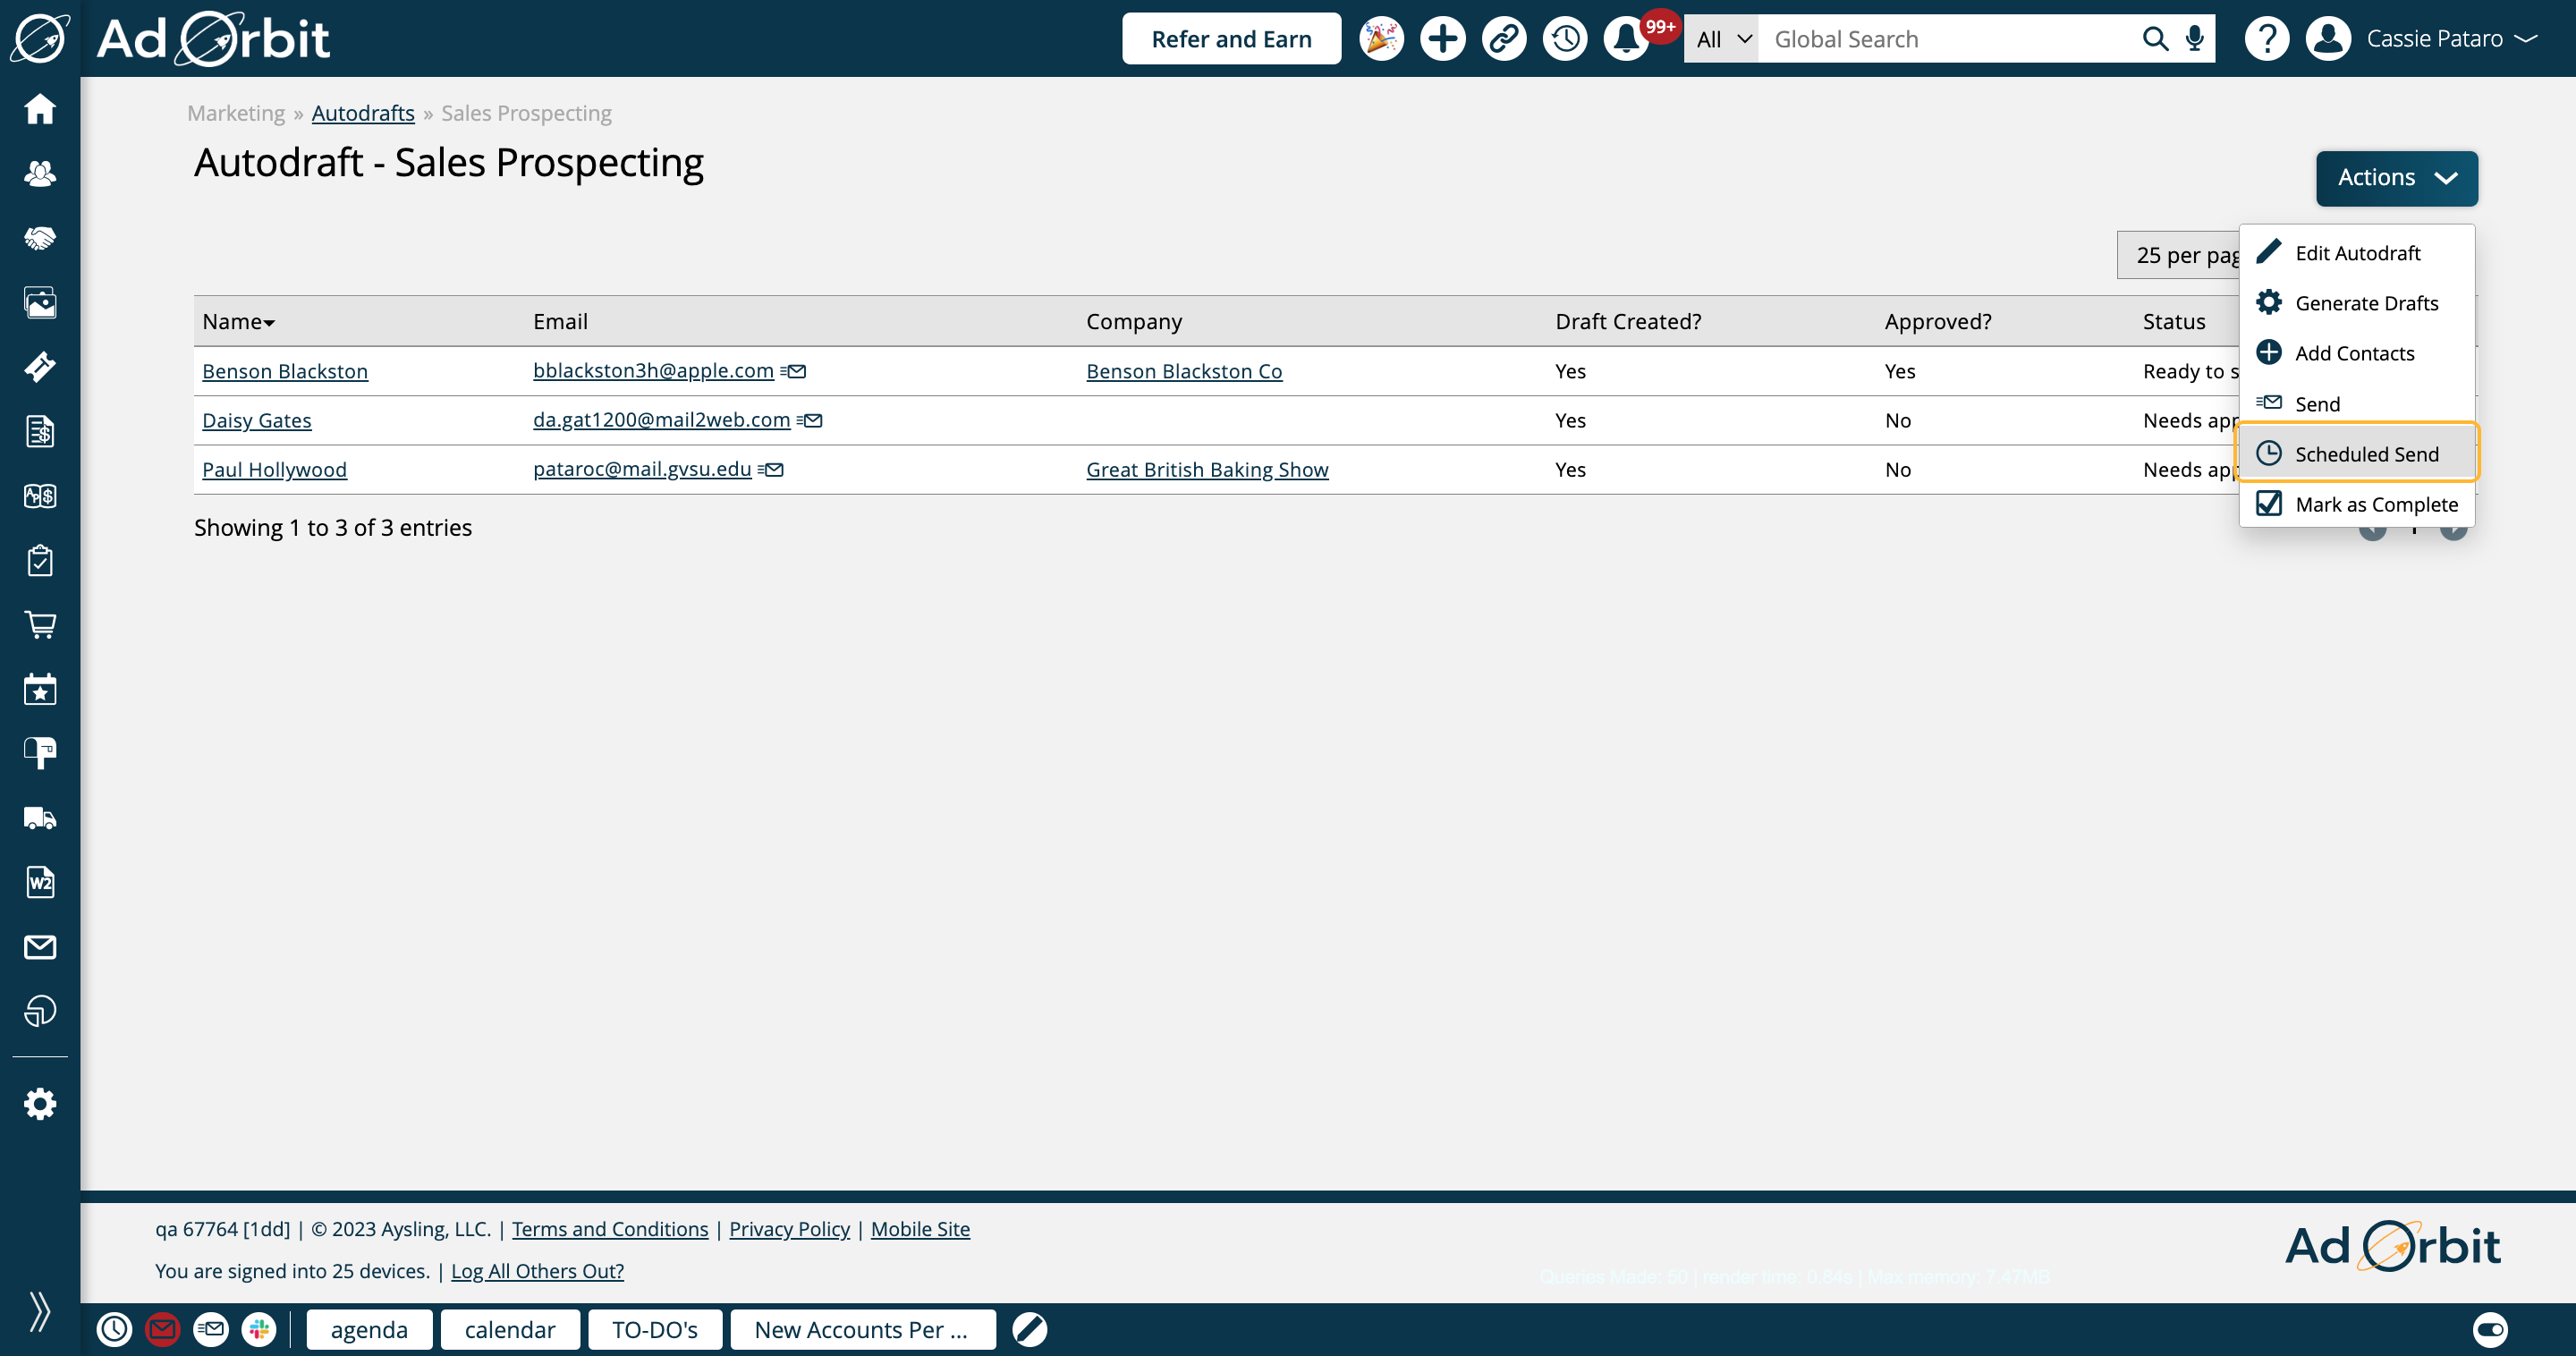
The next two actions in the dropdown are Send and Scheduled Send. Send means you would like to send all of the emails now. When sending Autodrafts now, you can choose whether or not to include drafts that have not been approved by you.
Tip
We recommend approving all drafts before sending. This helps to prevent errors.
The Scheduled Send action allows you to set the start date and time when the emails should begin sending.

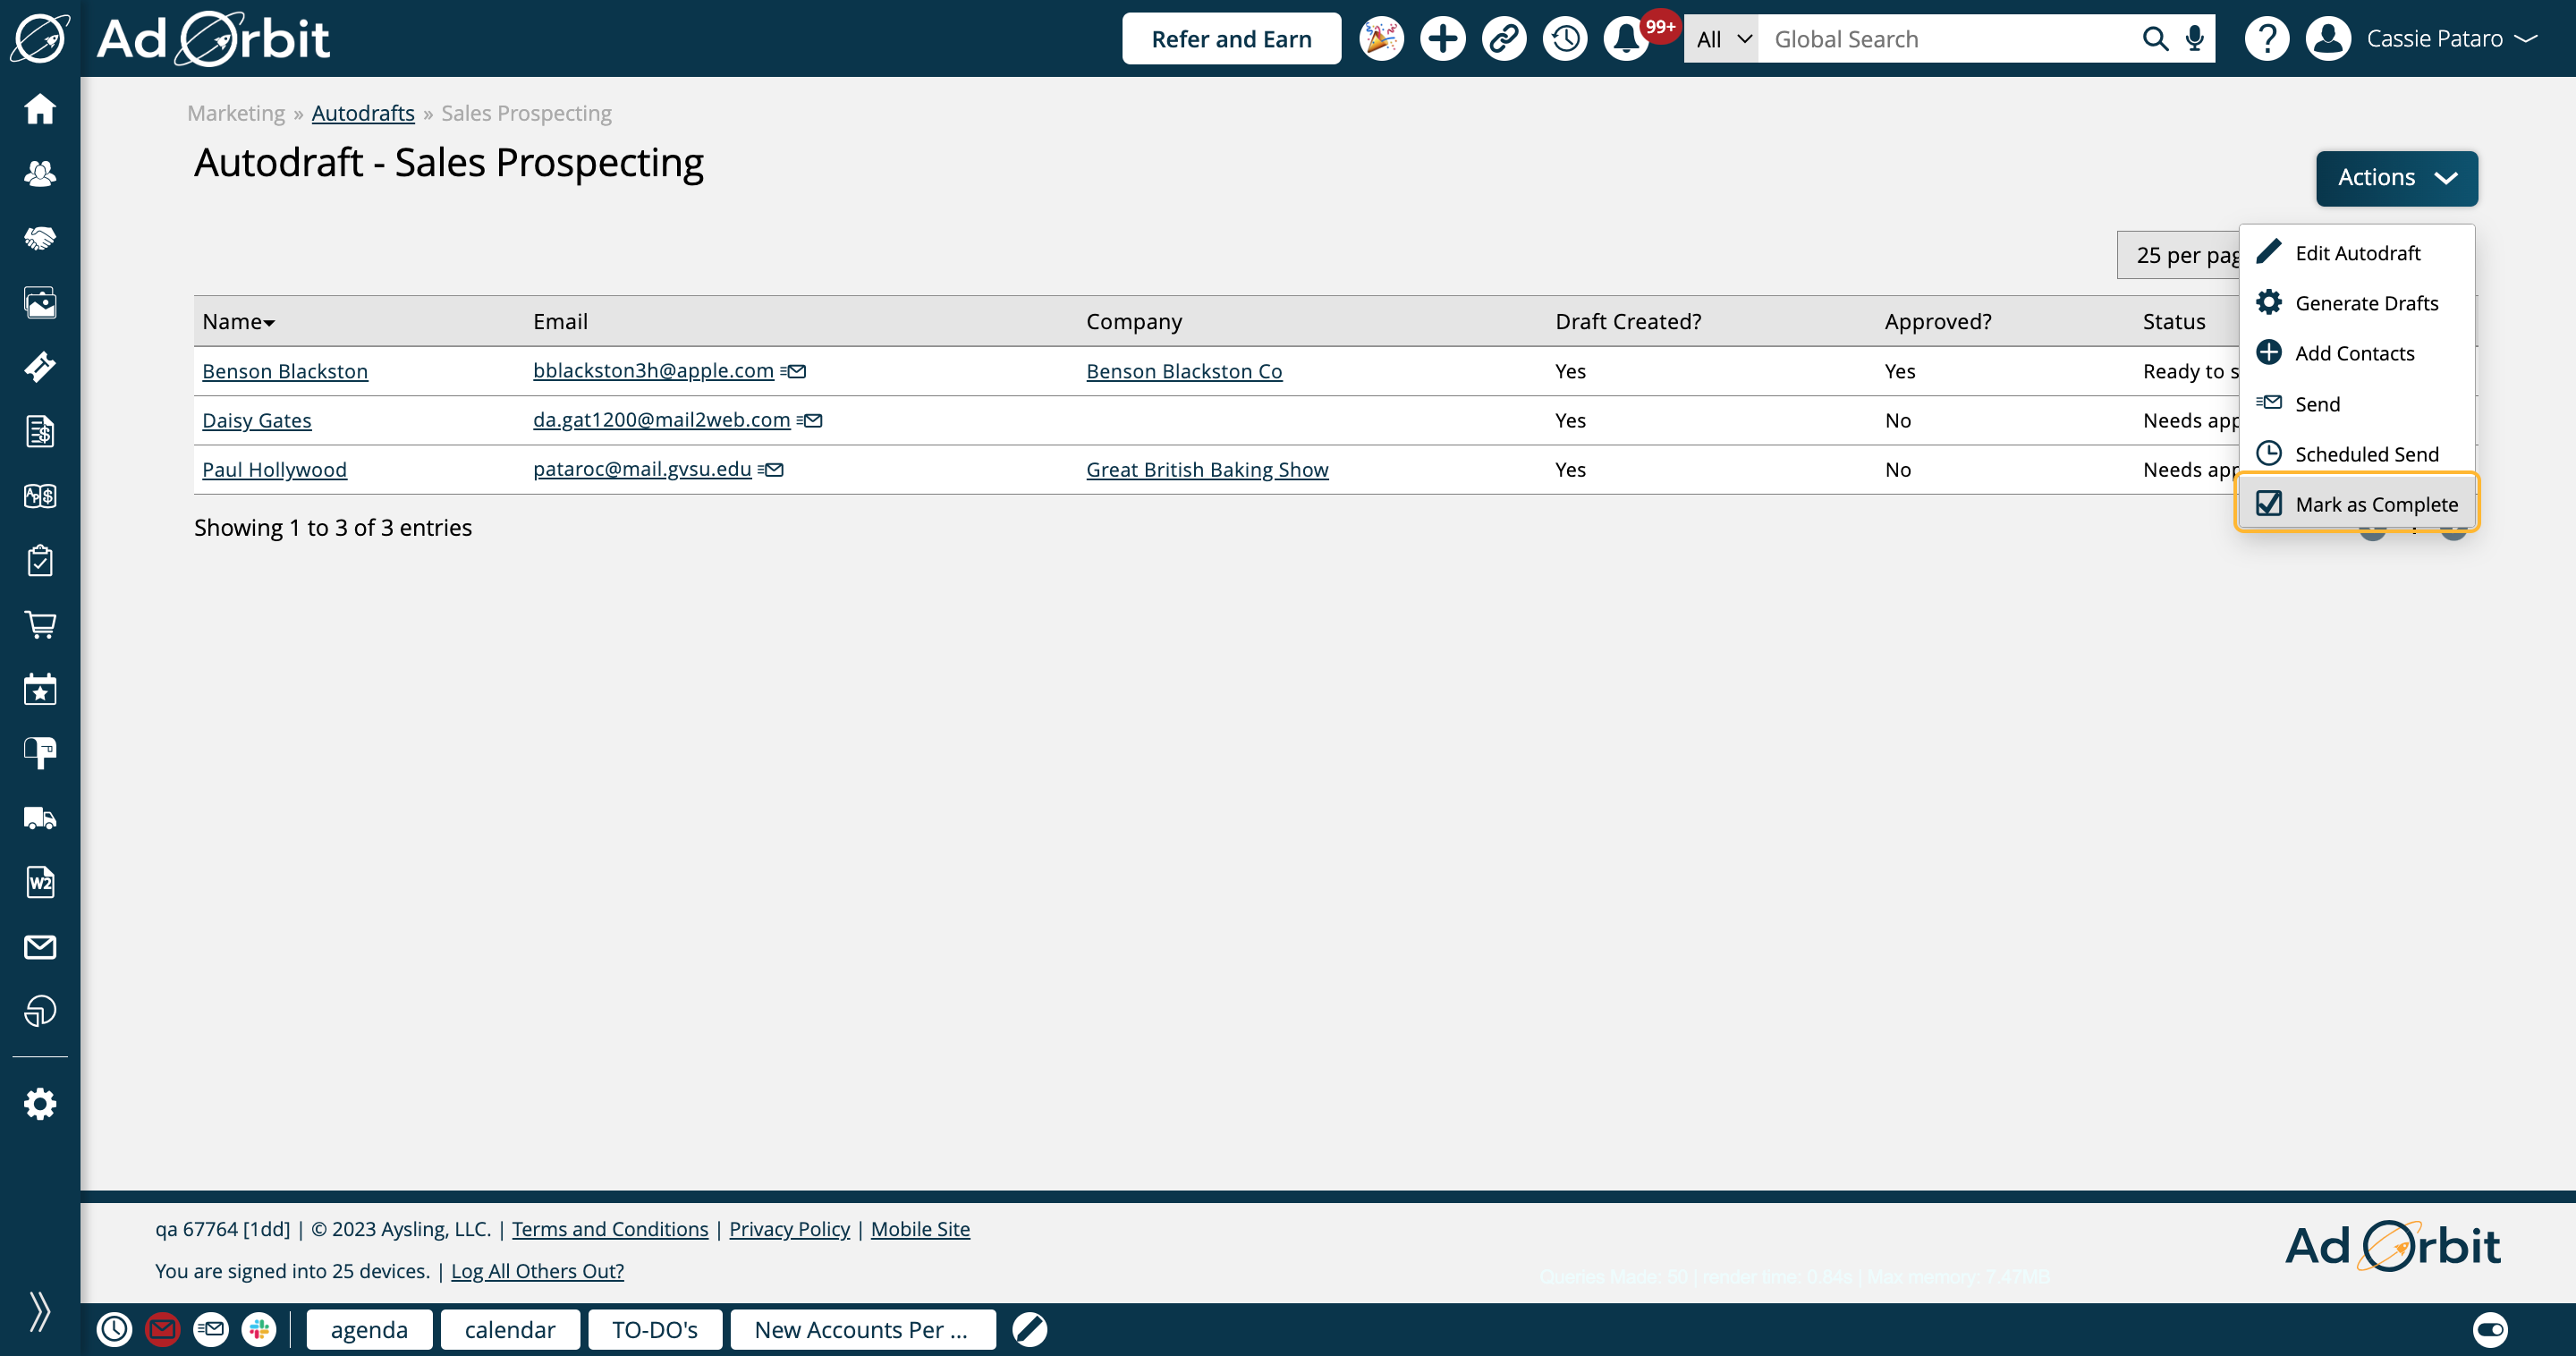
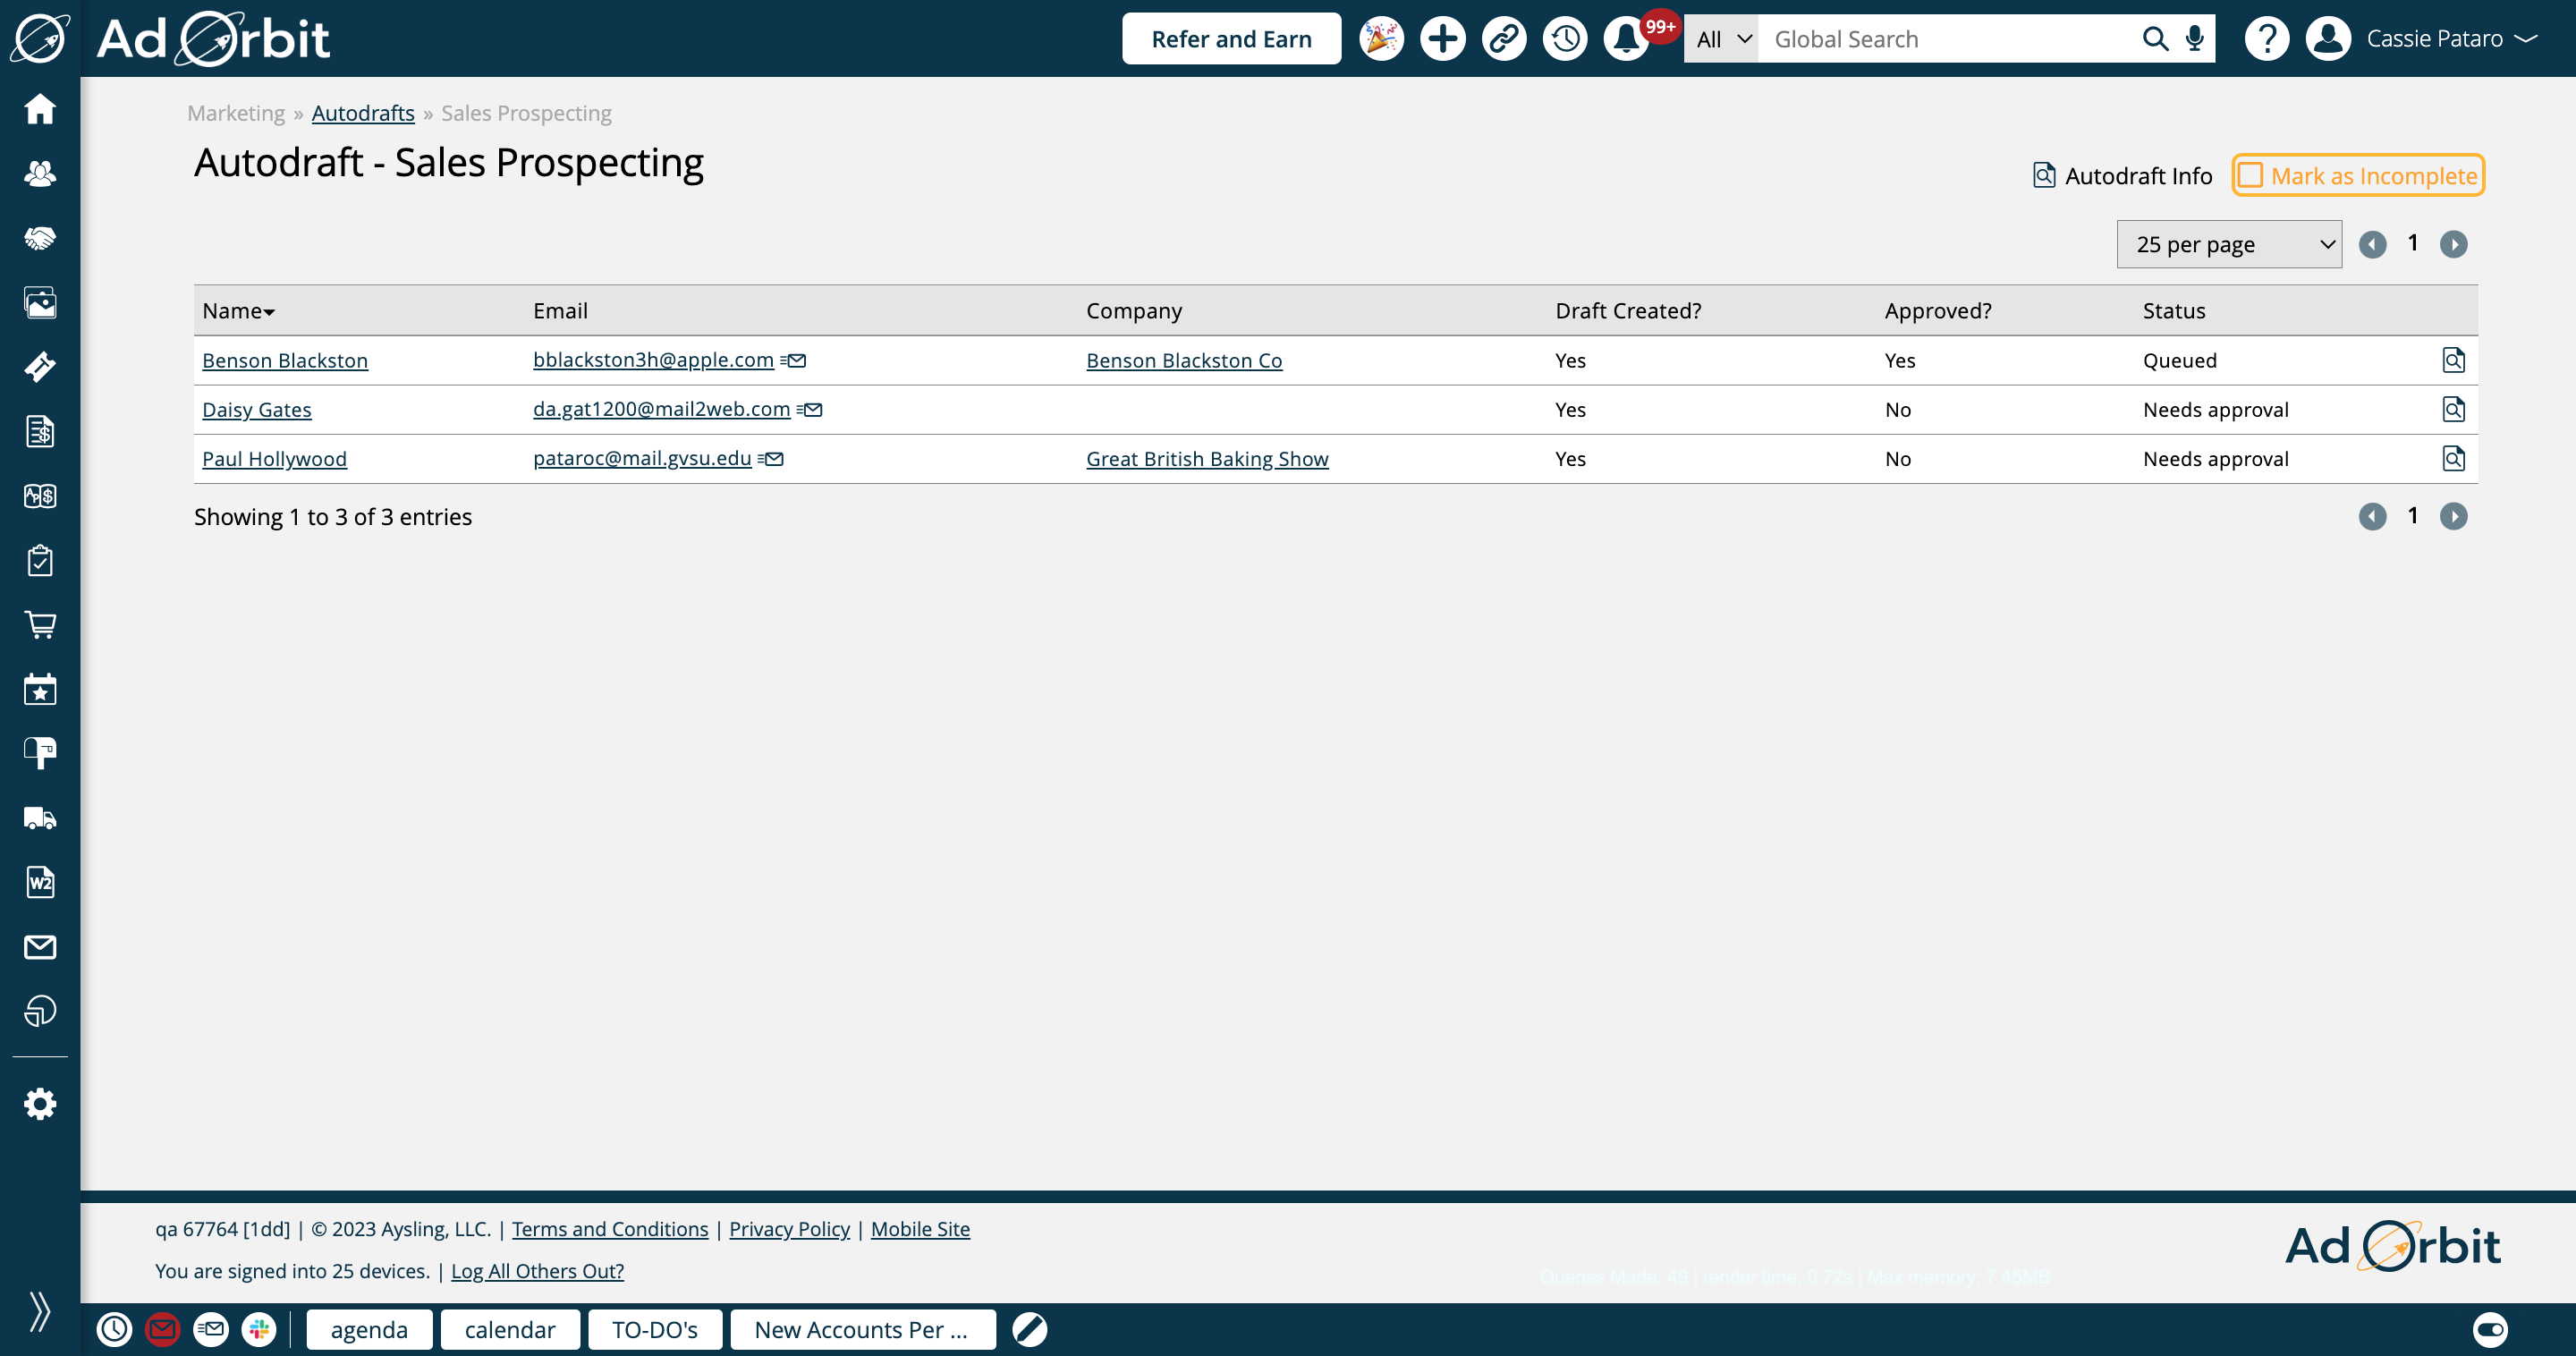
Marking an Autodraft as complete means no more contacts can be added to the Autodraft, and it is effectively 'done'.
You can always re-open Autodrafts by clicking 'Mark as Incomplete'.
Updated 2/9/2024