Gravity Forms
This document is going to go over the process of setting up Gravity Forms, connecting it to your system, and creating a new contact from the form that goes into your instance.
Note
Gravity Forms is a WordPress plugin. You must have a WordPress website and a Gravity Forms Elite license to use this feature. Want help? You can pay Aysling to supply the licenses and set up three forms for you. Contact your sales rep if you are interested.
Before you can connect the systems, make sure you install both Gravity Forms and the Gravity Forms Webhook plugins on your Wordpress site(s).
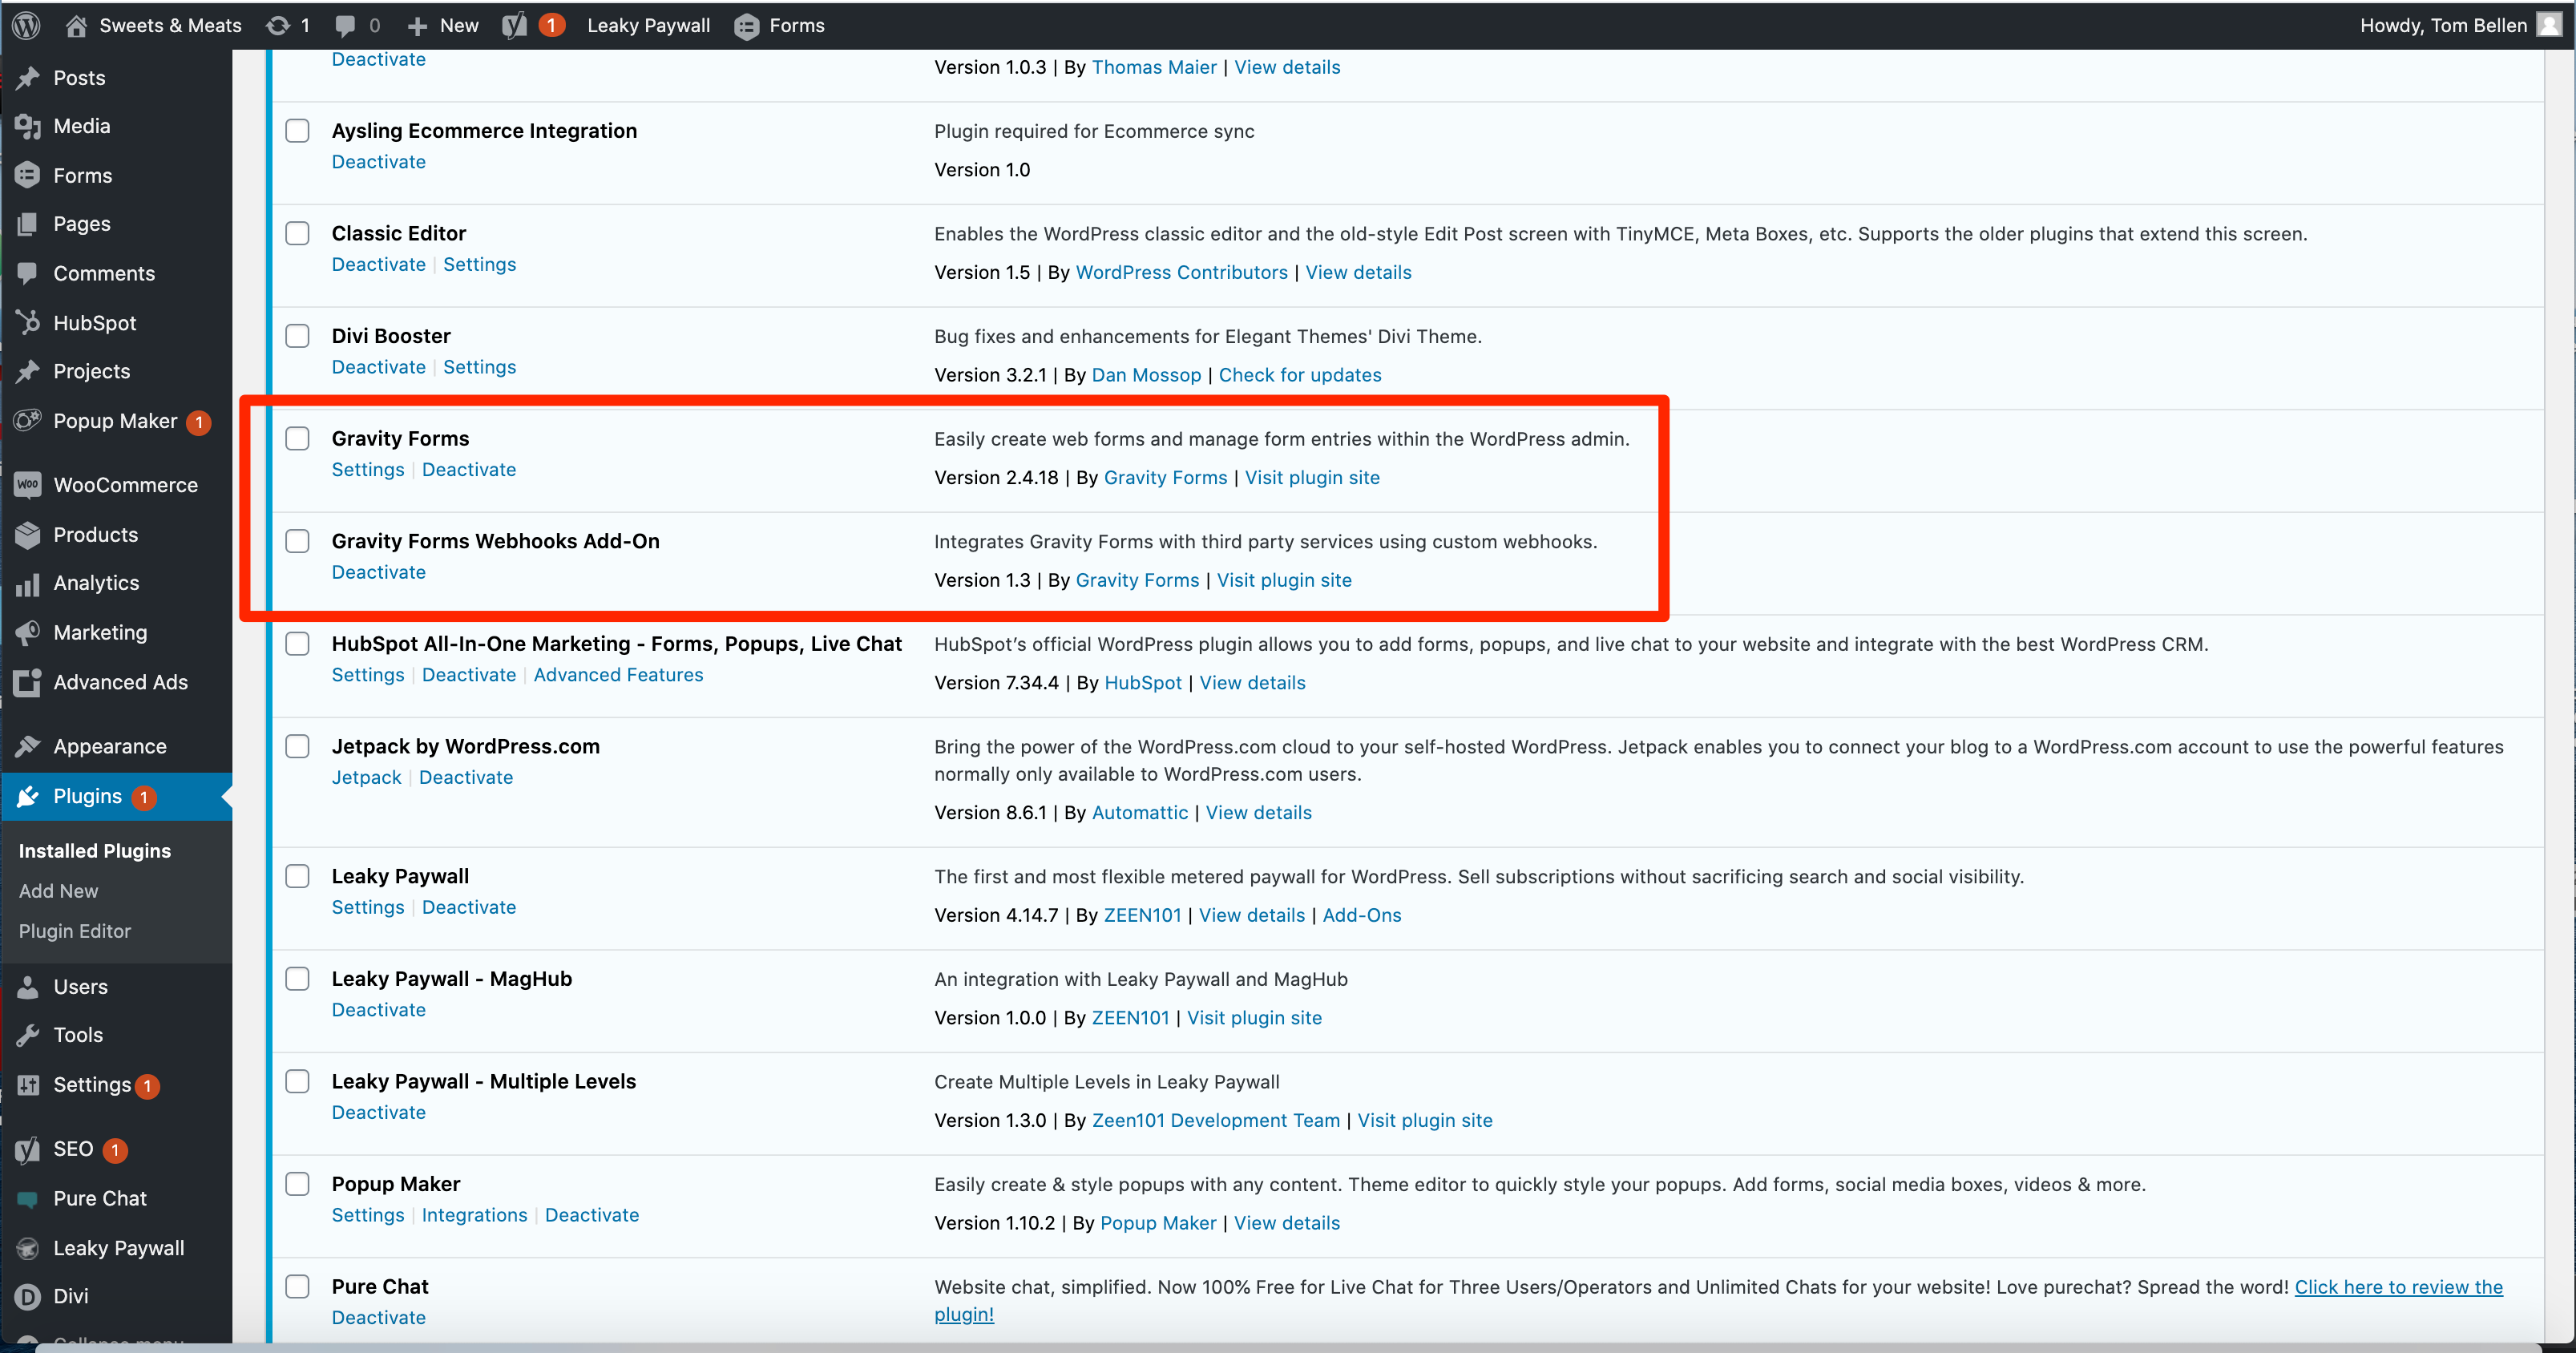
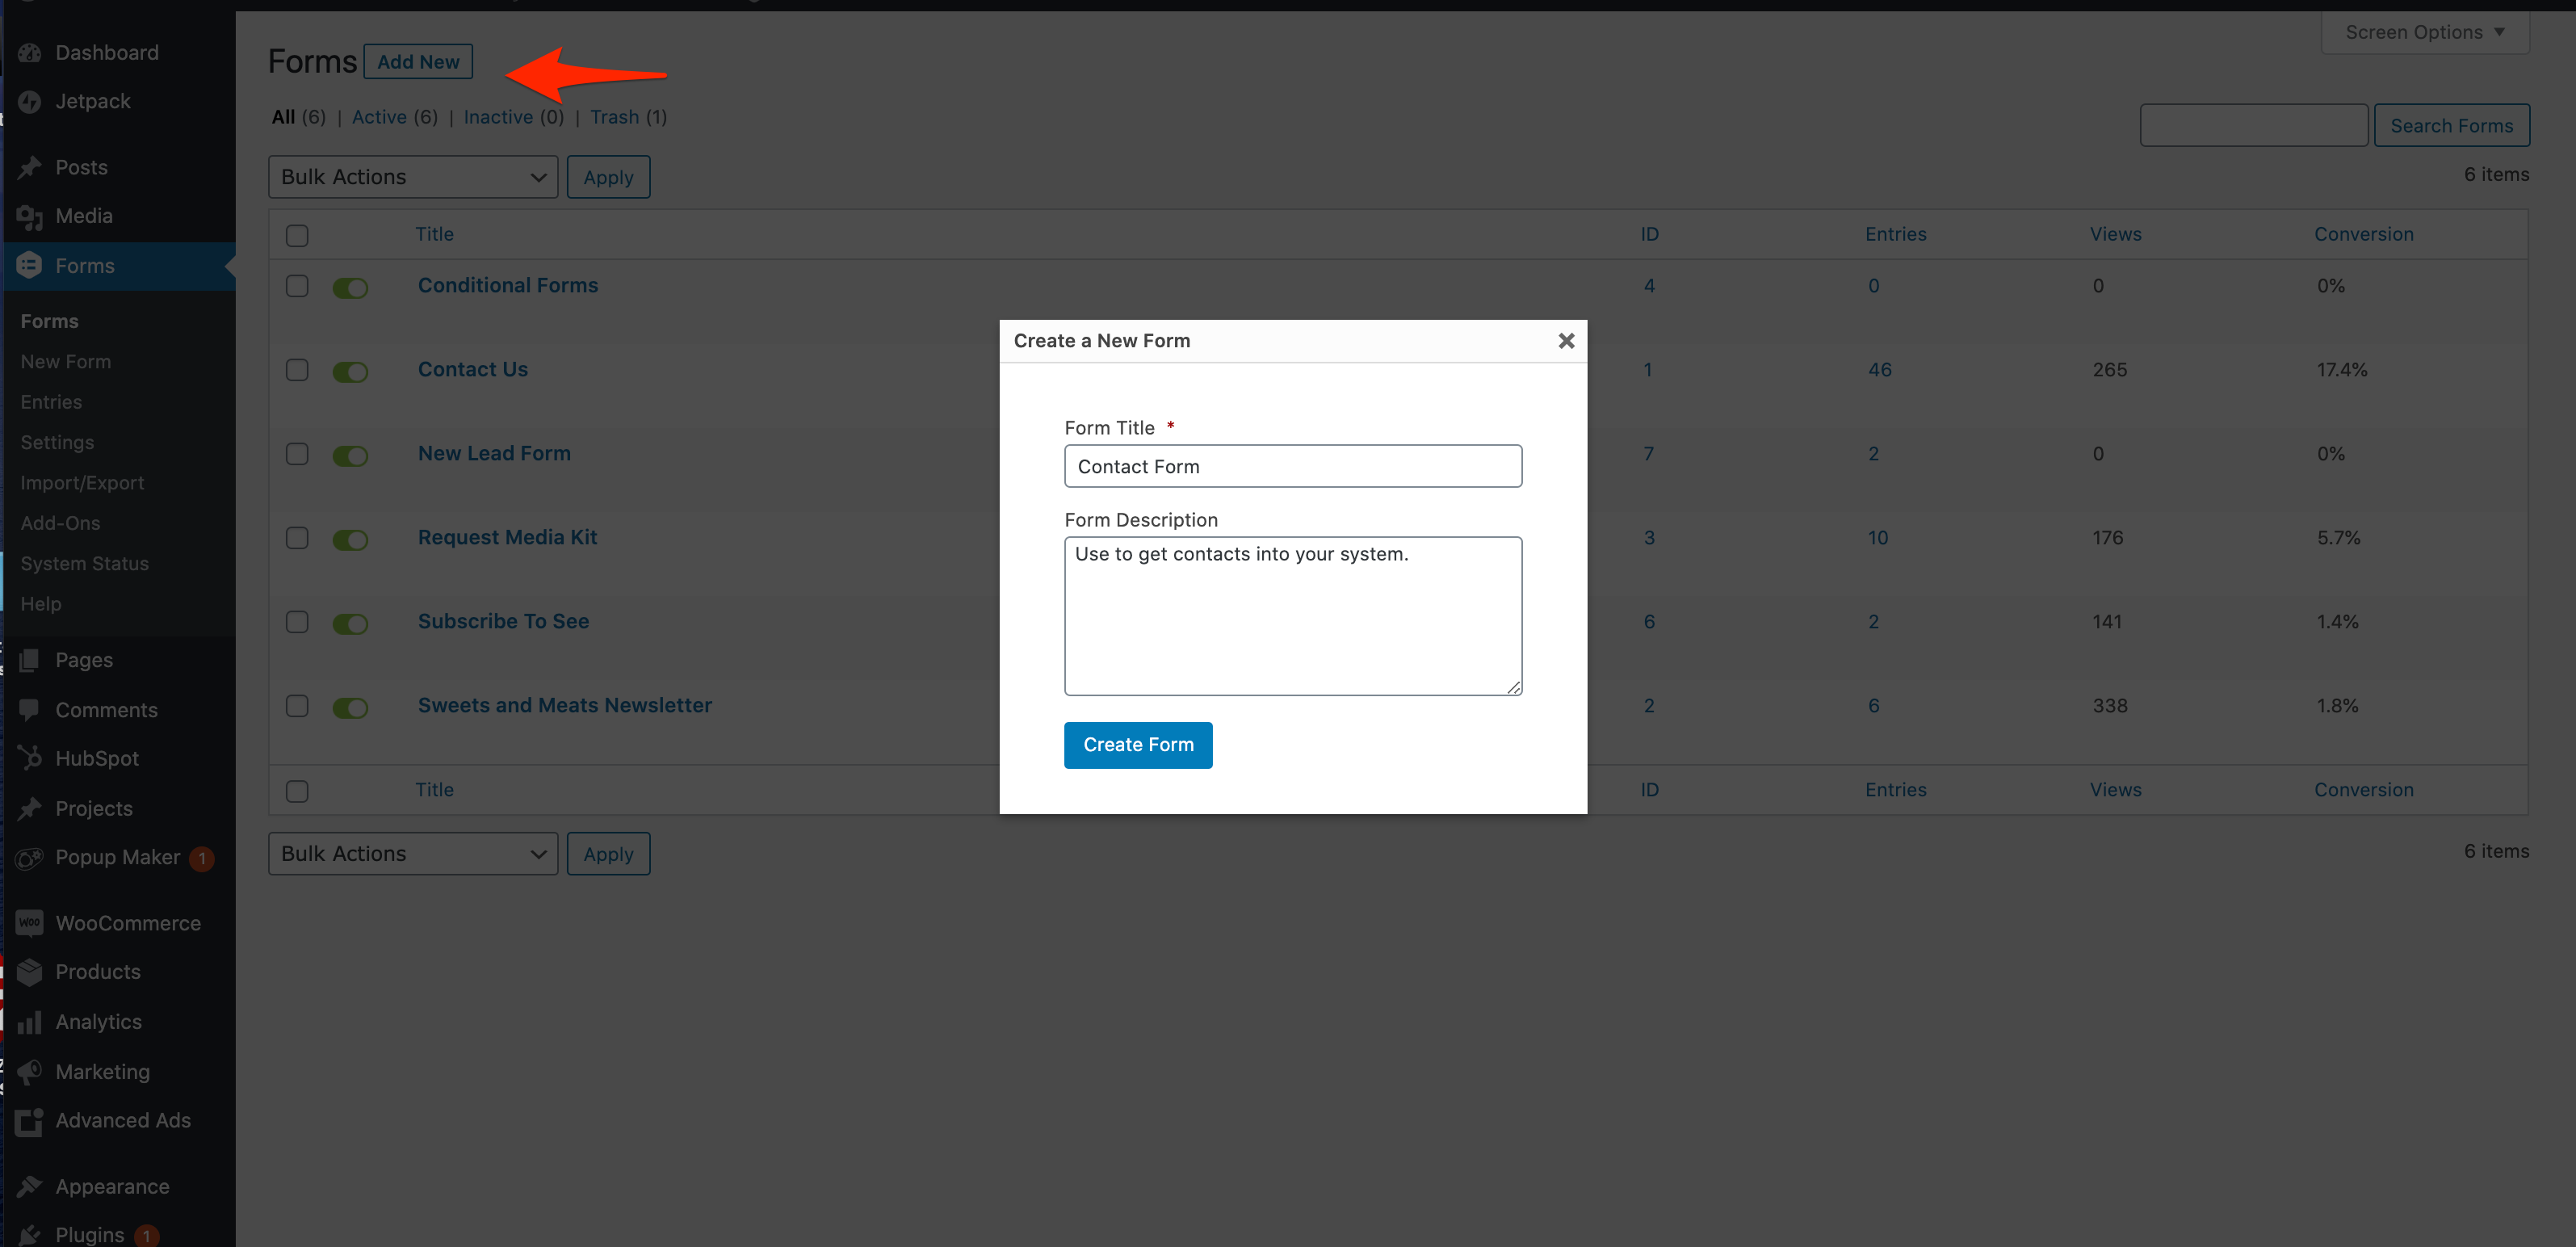
Once you have your plugins ready to go, you can start building your form. Go to forms to add a new form and give it a name.
Set up the fields you want to use on your form. For this example we are only going to capture what is required to create a contact: First Name, Last Name, and Email Address.
Note
You system may have other requirements enabled. We will list all the other fields you can use later in the document.
Now the fun part. You need to add a web hook to your form (if you already have Gravity Forms set up, you can start from this process to connecting it to your instance).
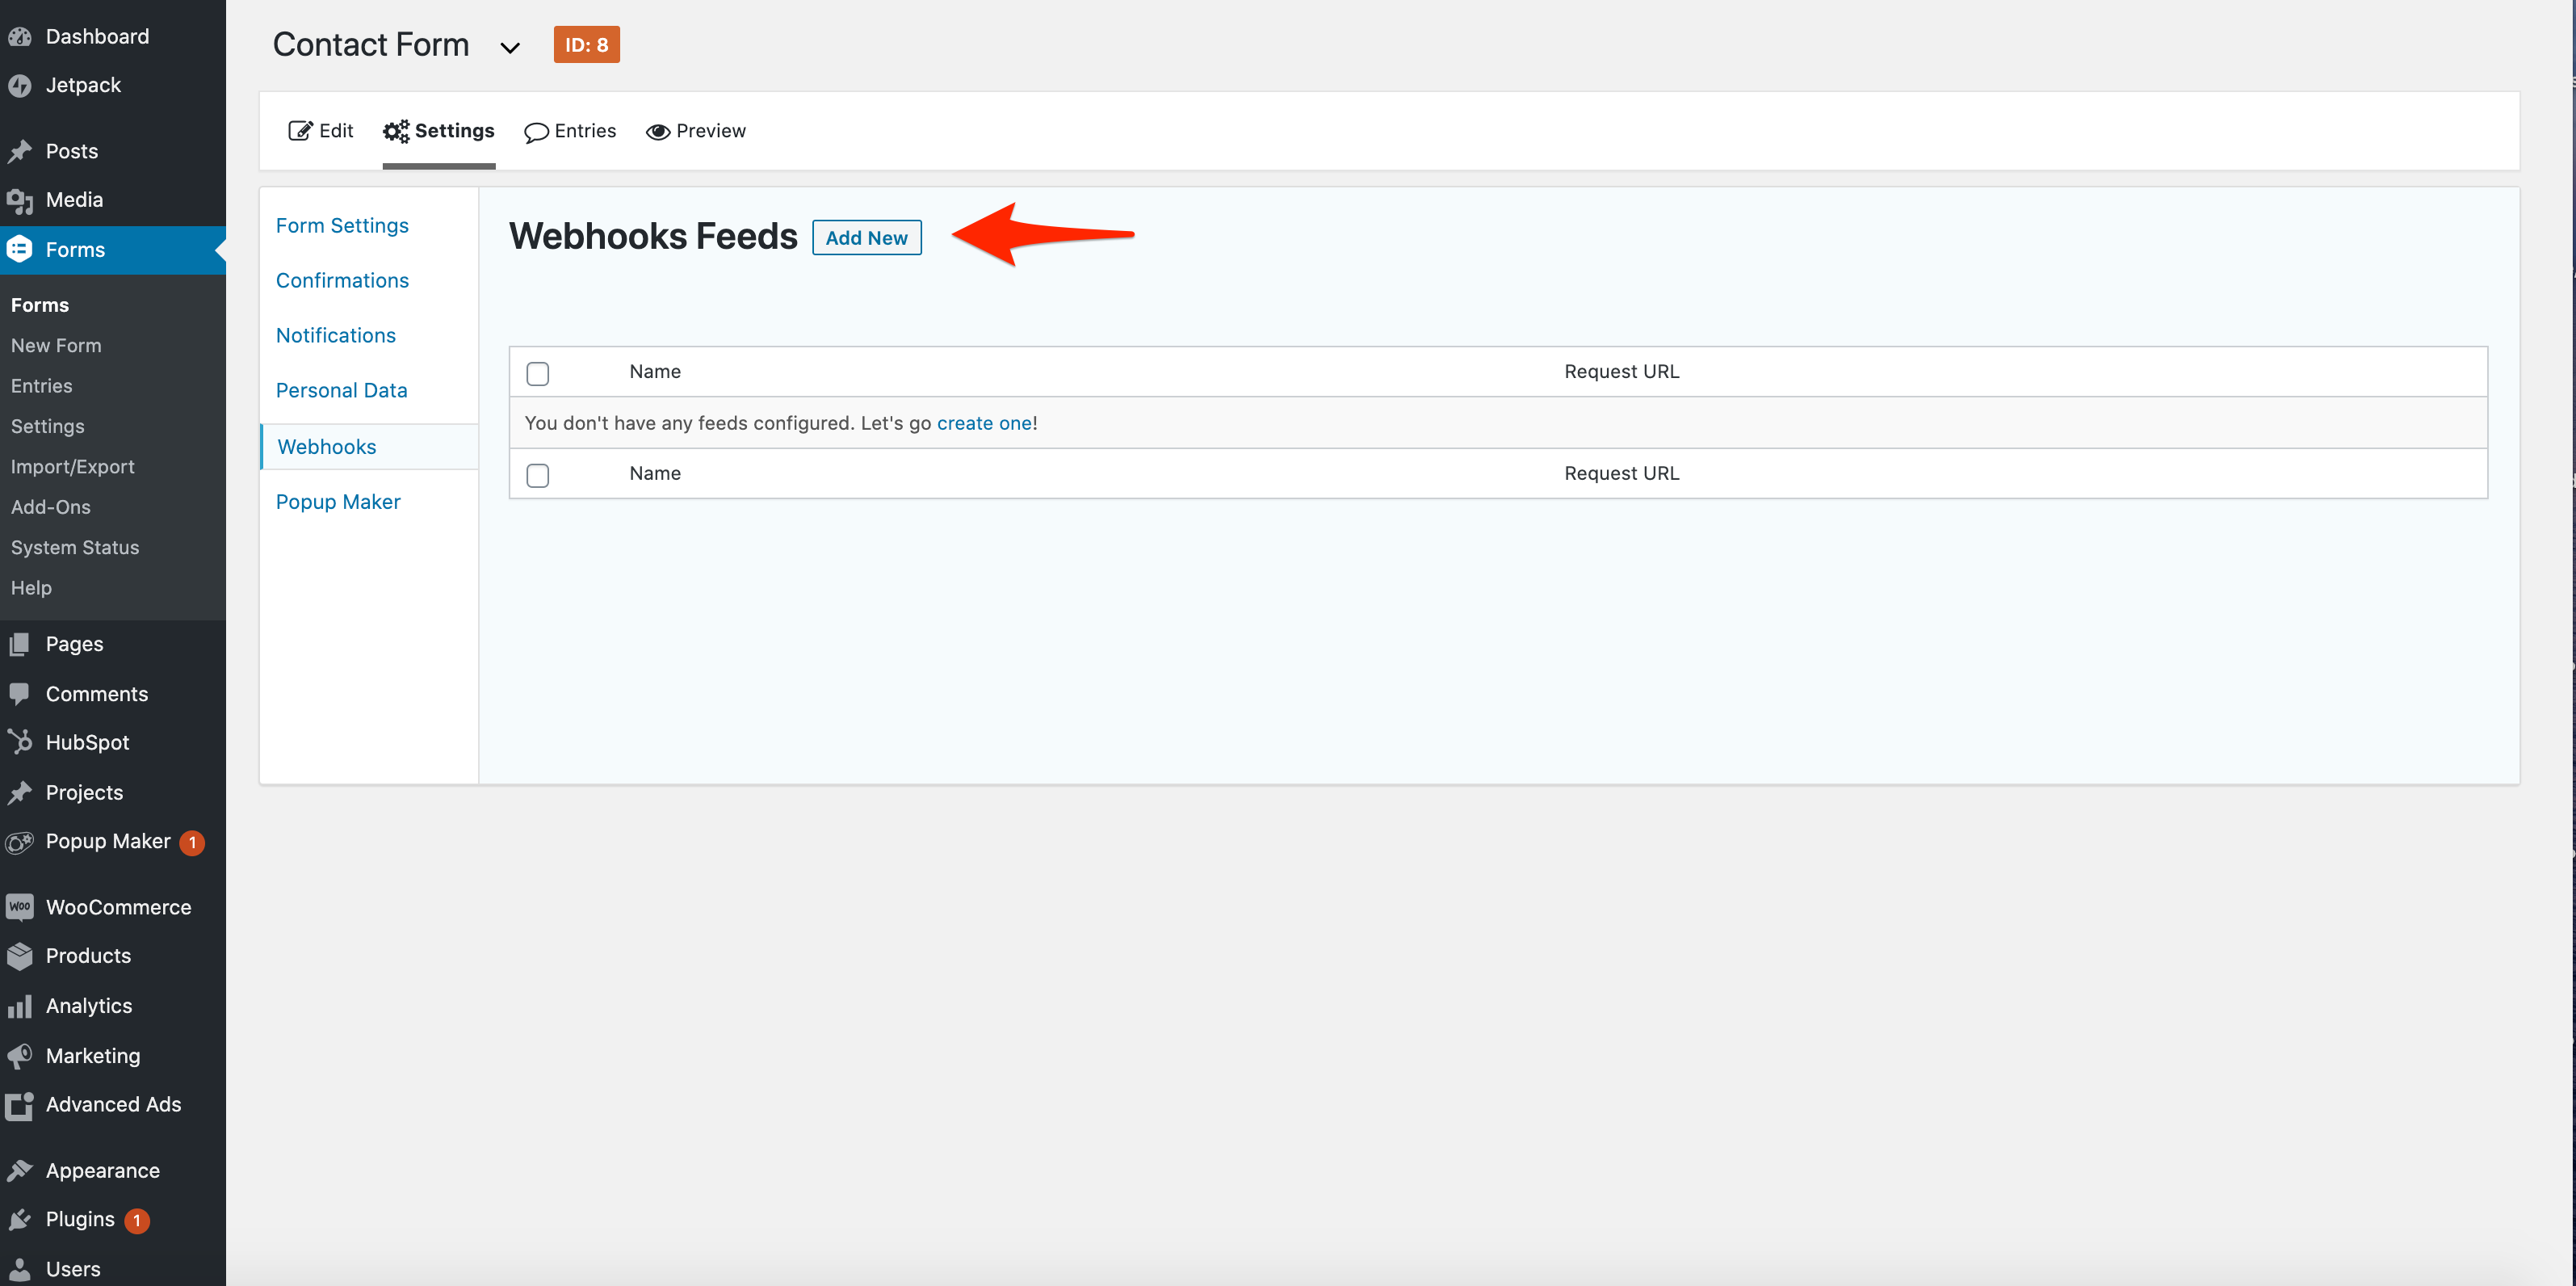
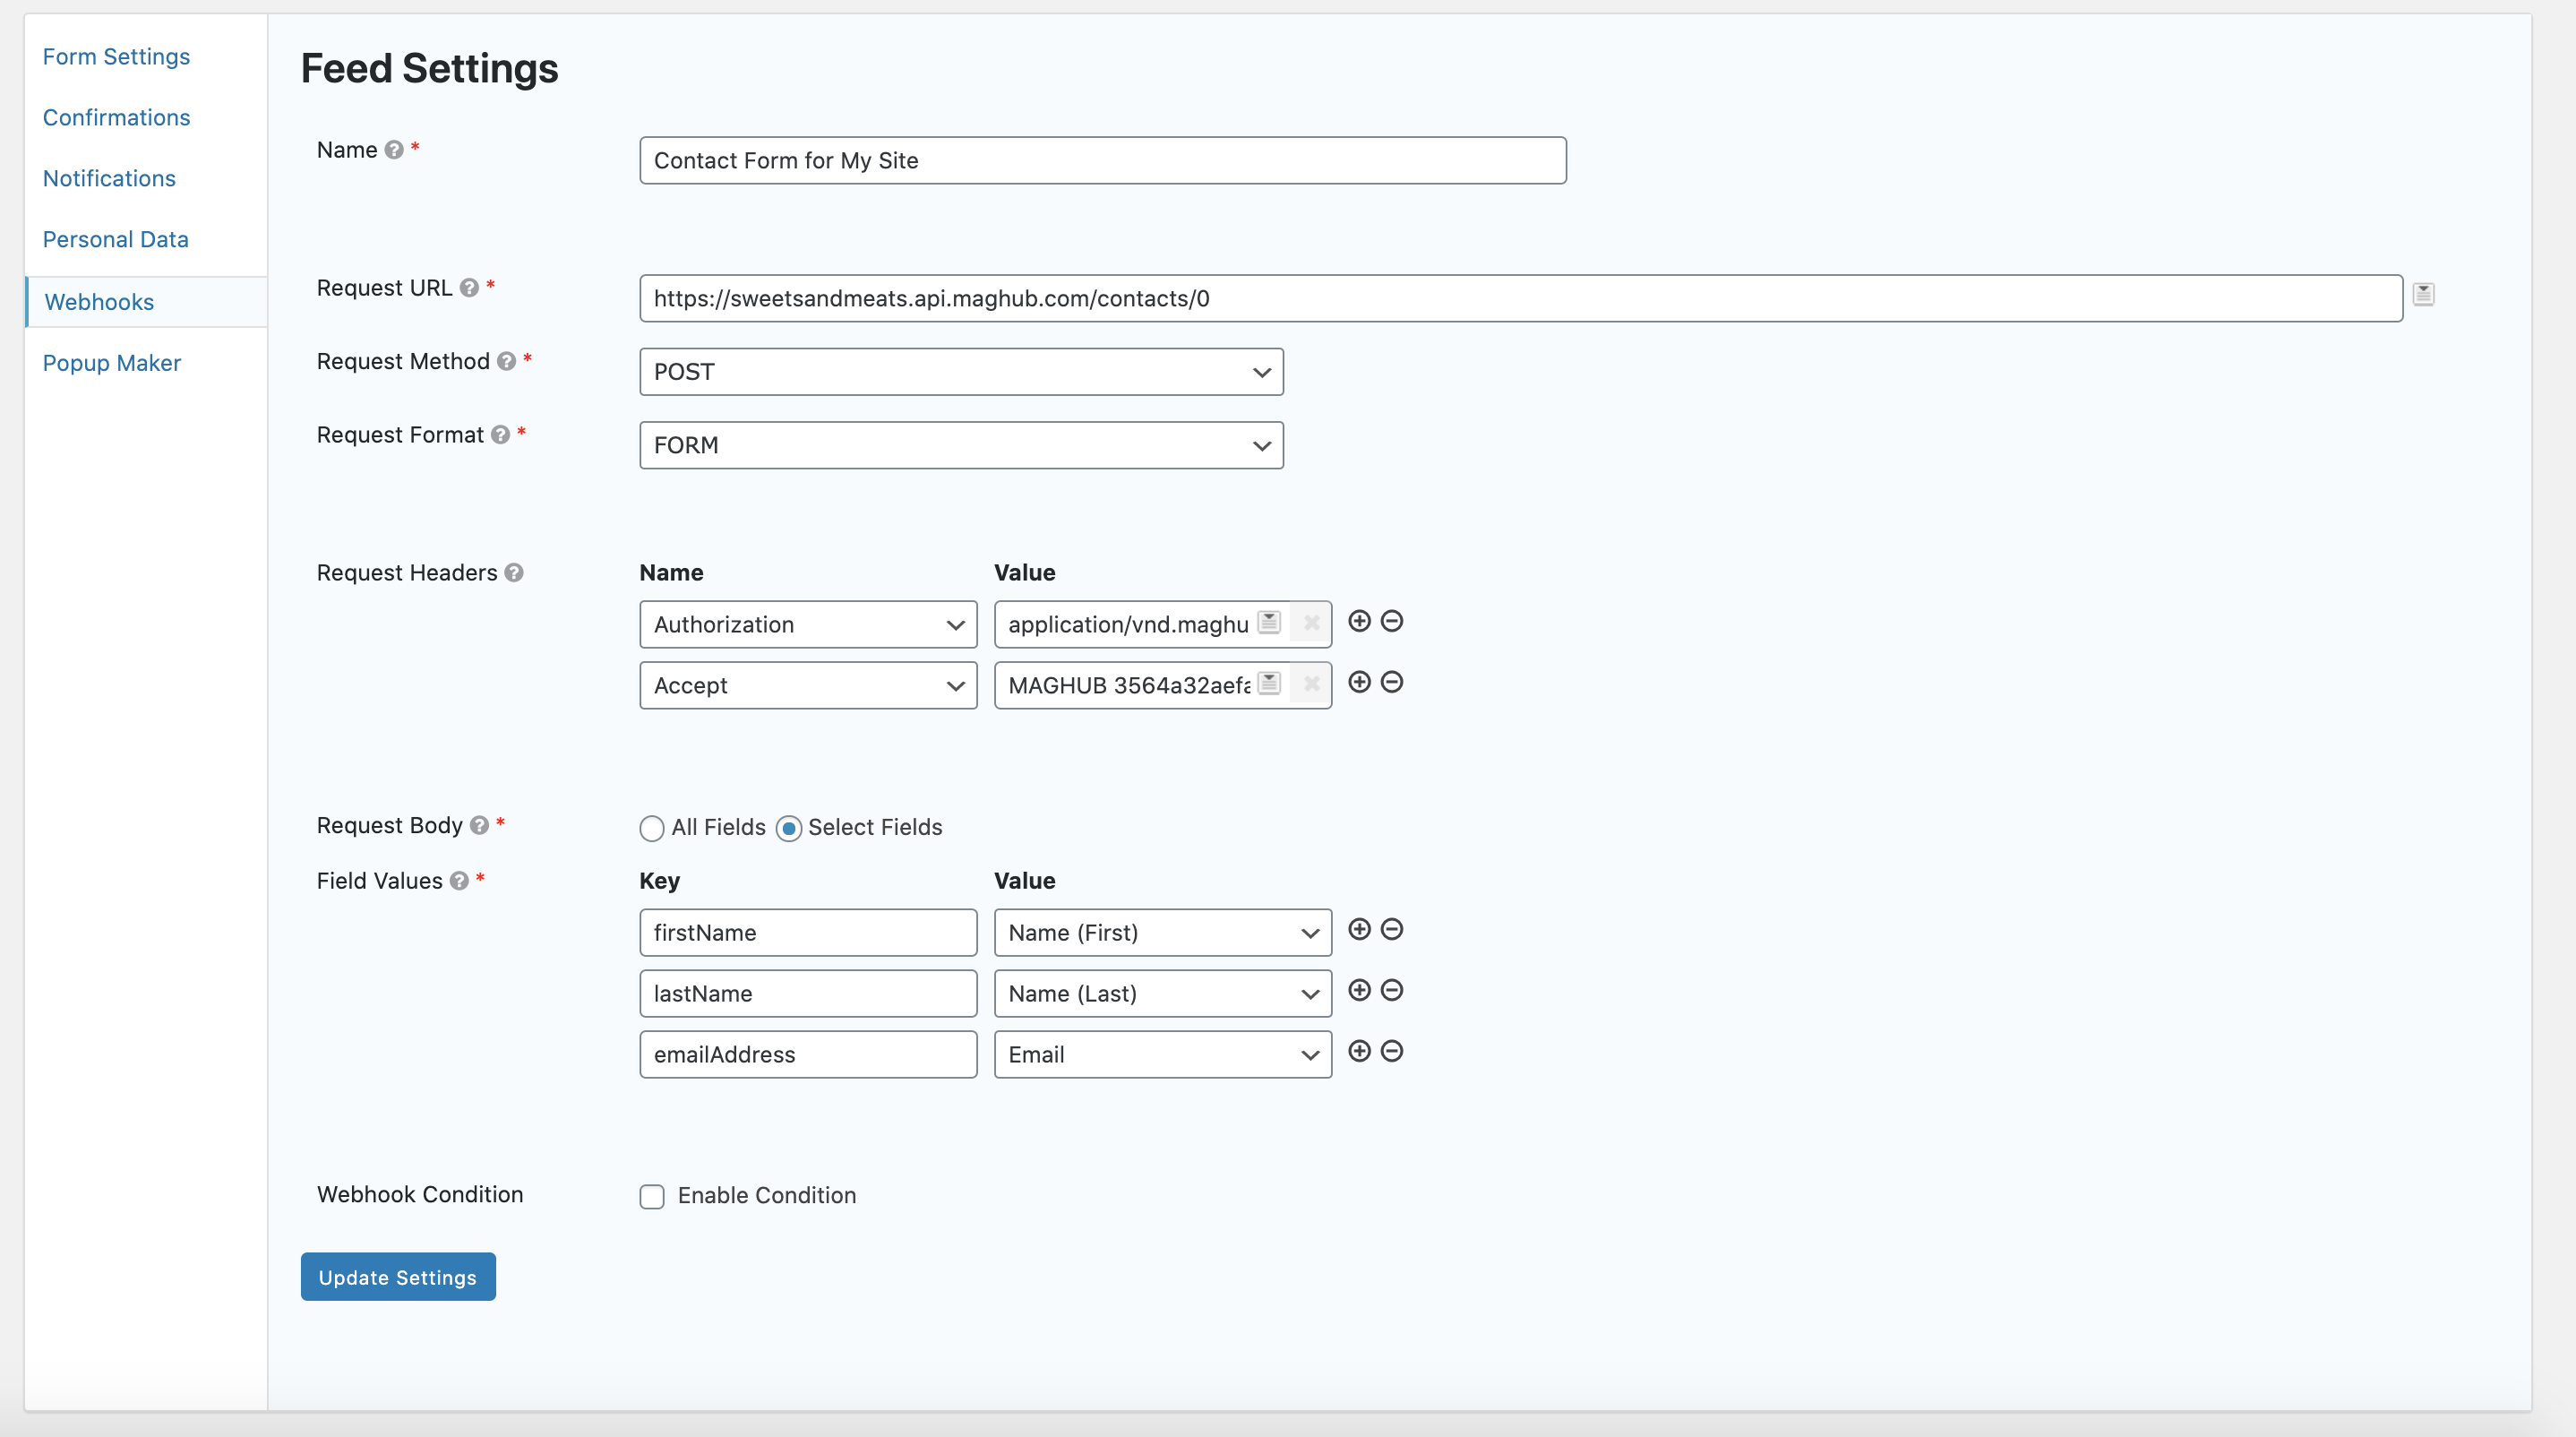
Edit the settings of your web form to enter your information. Below is a list of all the details you need to enter, to connect your Gravity Form to your site. You need to replace 'YOURSITENAME' with your instance name. You also need to have a user with active API keys.
Warning
The user's whose keys you use will be the contact creator and owner. We recommend using an Admin user or a generic user, e.g, Sales Manager, API Account, etc. If the user is ever removed, the connection between the two system will no longer work and must be updated.
Name: Use for your own reference. The name won't affect the integration.
Request URL: https://YOURSITENAME.api.ADORBIT.com/contacts/0
Request Method: Post
Request Format: Form
Request Headers
Type: Accept
Custom Field: application/vnd.adorbit.contact+json;version=1.0
Type: Authorization
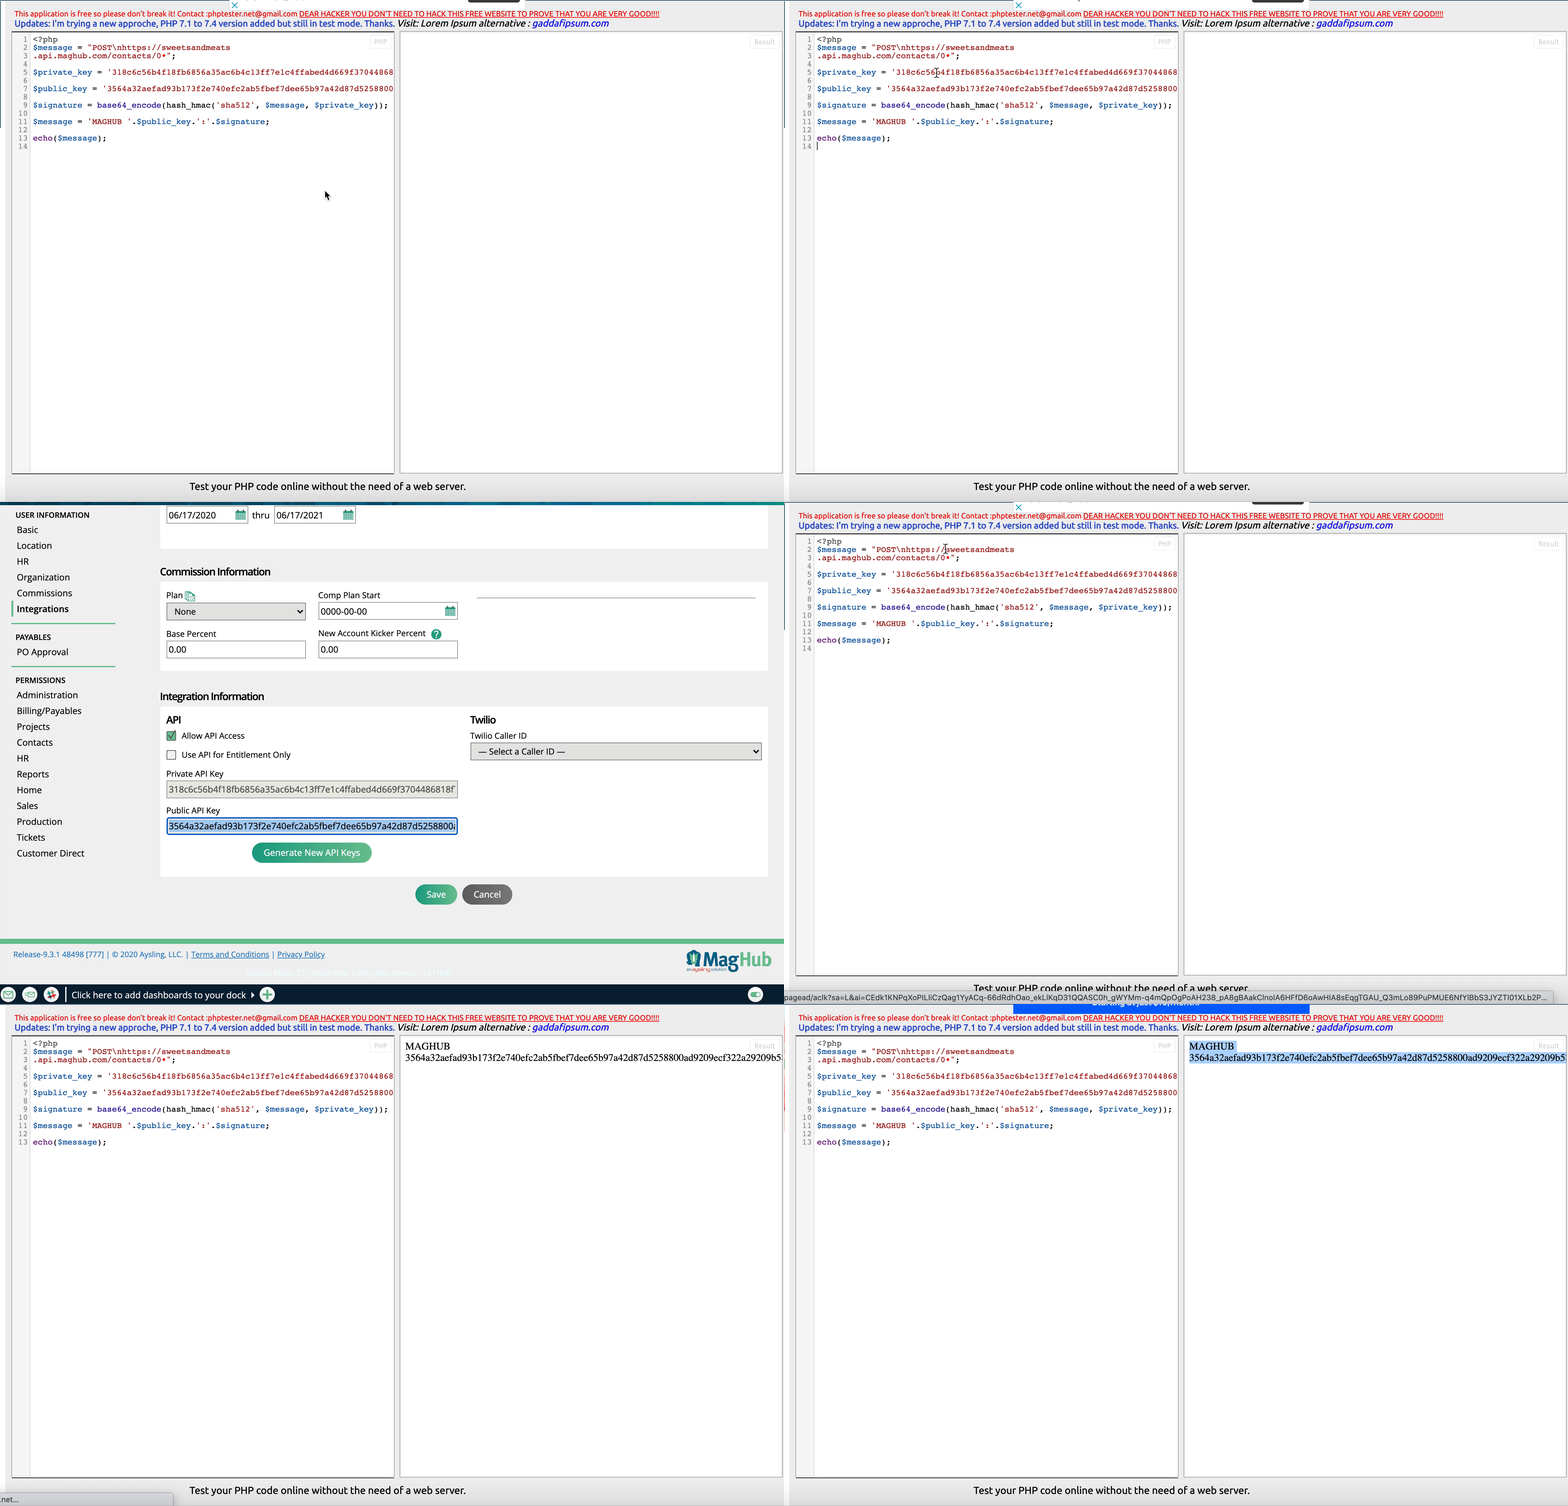
Custom Field: Generated by you. The Authorization can be generated in a few different ways. We provide a "Non-Coder" example below.
Now you have everything set up to connect your website to your instance. The next part is choosing which fields on the form will go into your instance. There are limits to what fields you can map. For our example, we will only use the basic required field, but we listed all the fields you can use later in this document.
Change the request body to Select Fields.
Click to add a field you want to map to your instance. We will map the First Name, Last Name, and Email.
The Value field is the Gravity Form name of the form field. The Key field is where is the input the corresponding system field where you want the Form data to go. For example, I want the First Name field on the form to go to the firstName filed in my site, so I use the Value field 'First Name' and the Key field of 'firstName'
Value: First Name = Key: firstName
Value: Last Name = Key: lastName
Value: email = Key: emailAddress
Important
The key value field is case sensitive. Make sure you capitalize the correct letter(s).
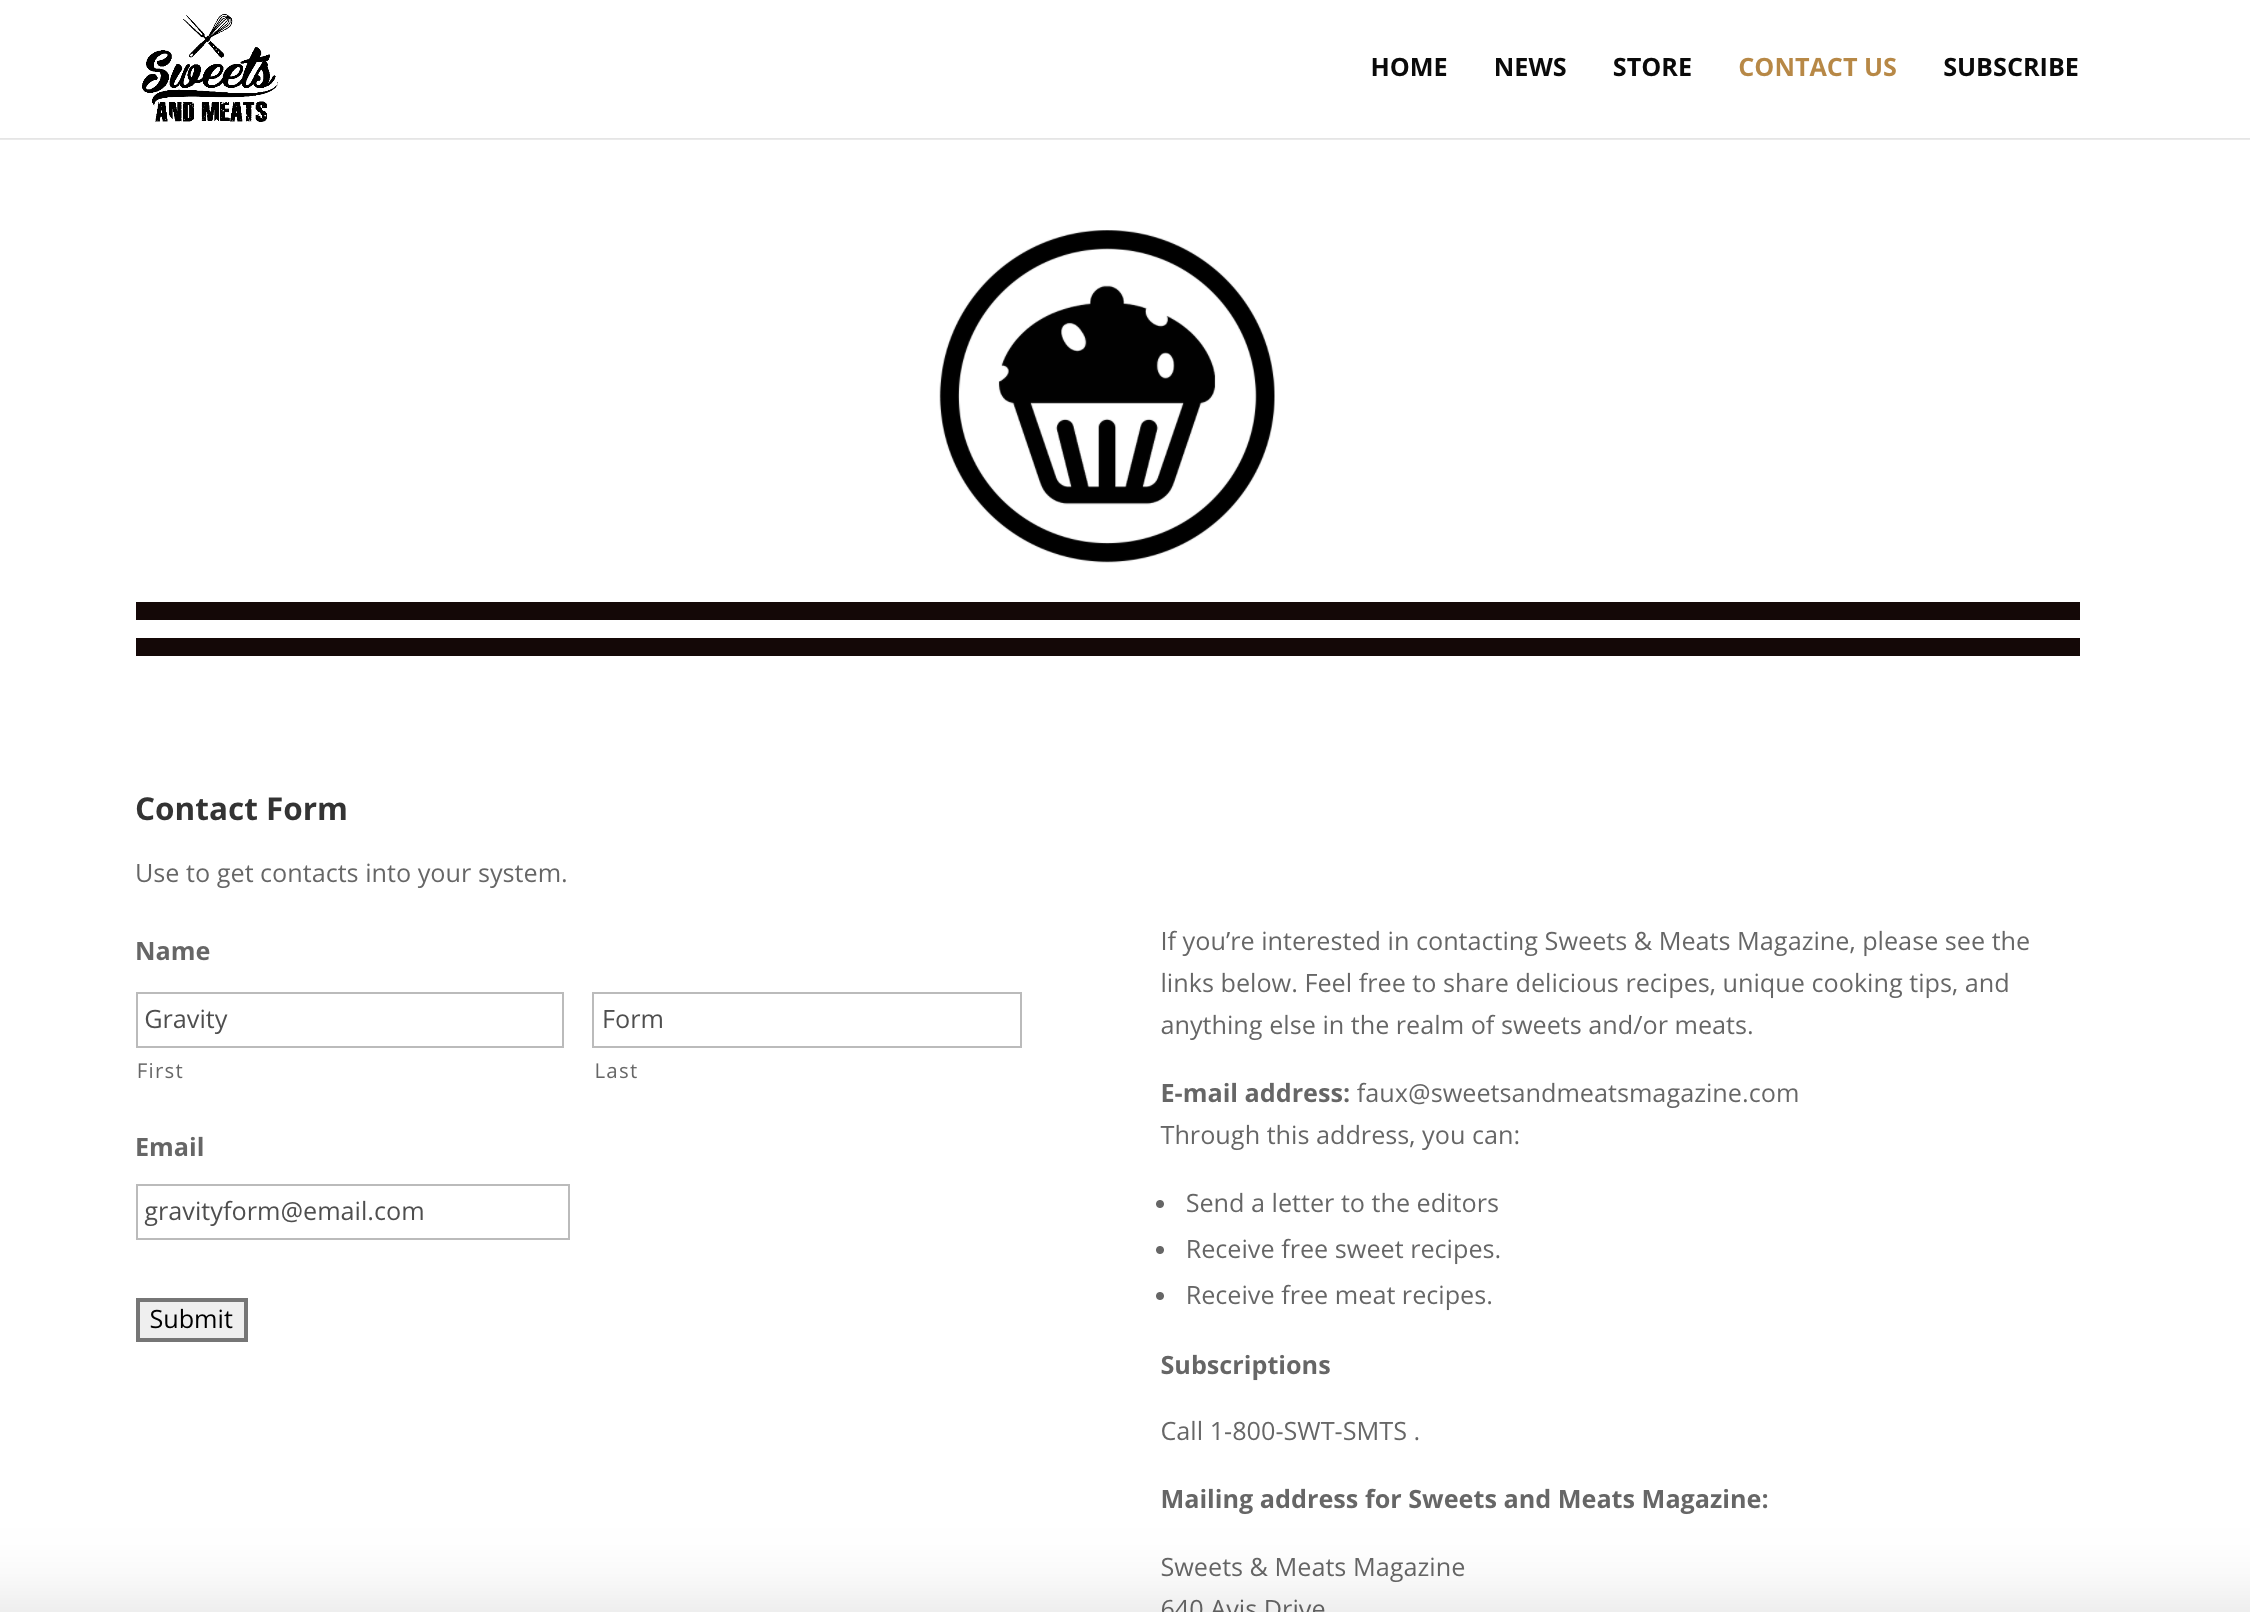
Now everything is mapped. You can add the Gravity Form to your WordPress site (landing page, contact page, etc.). Below is how it all looks in my example:
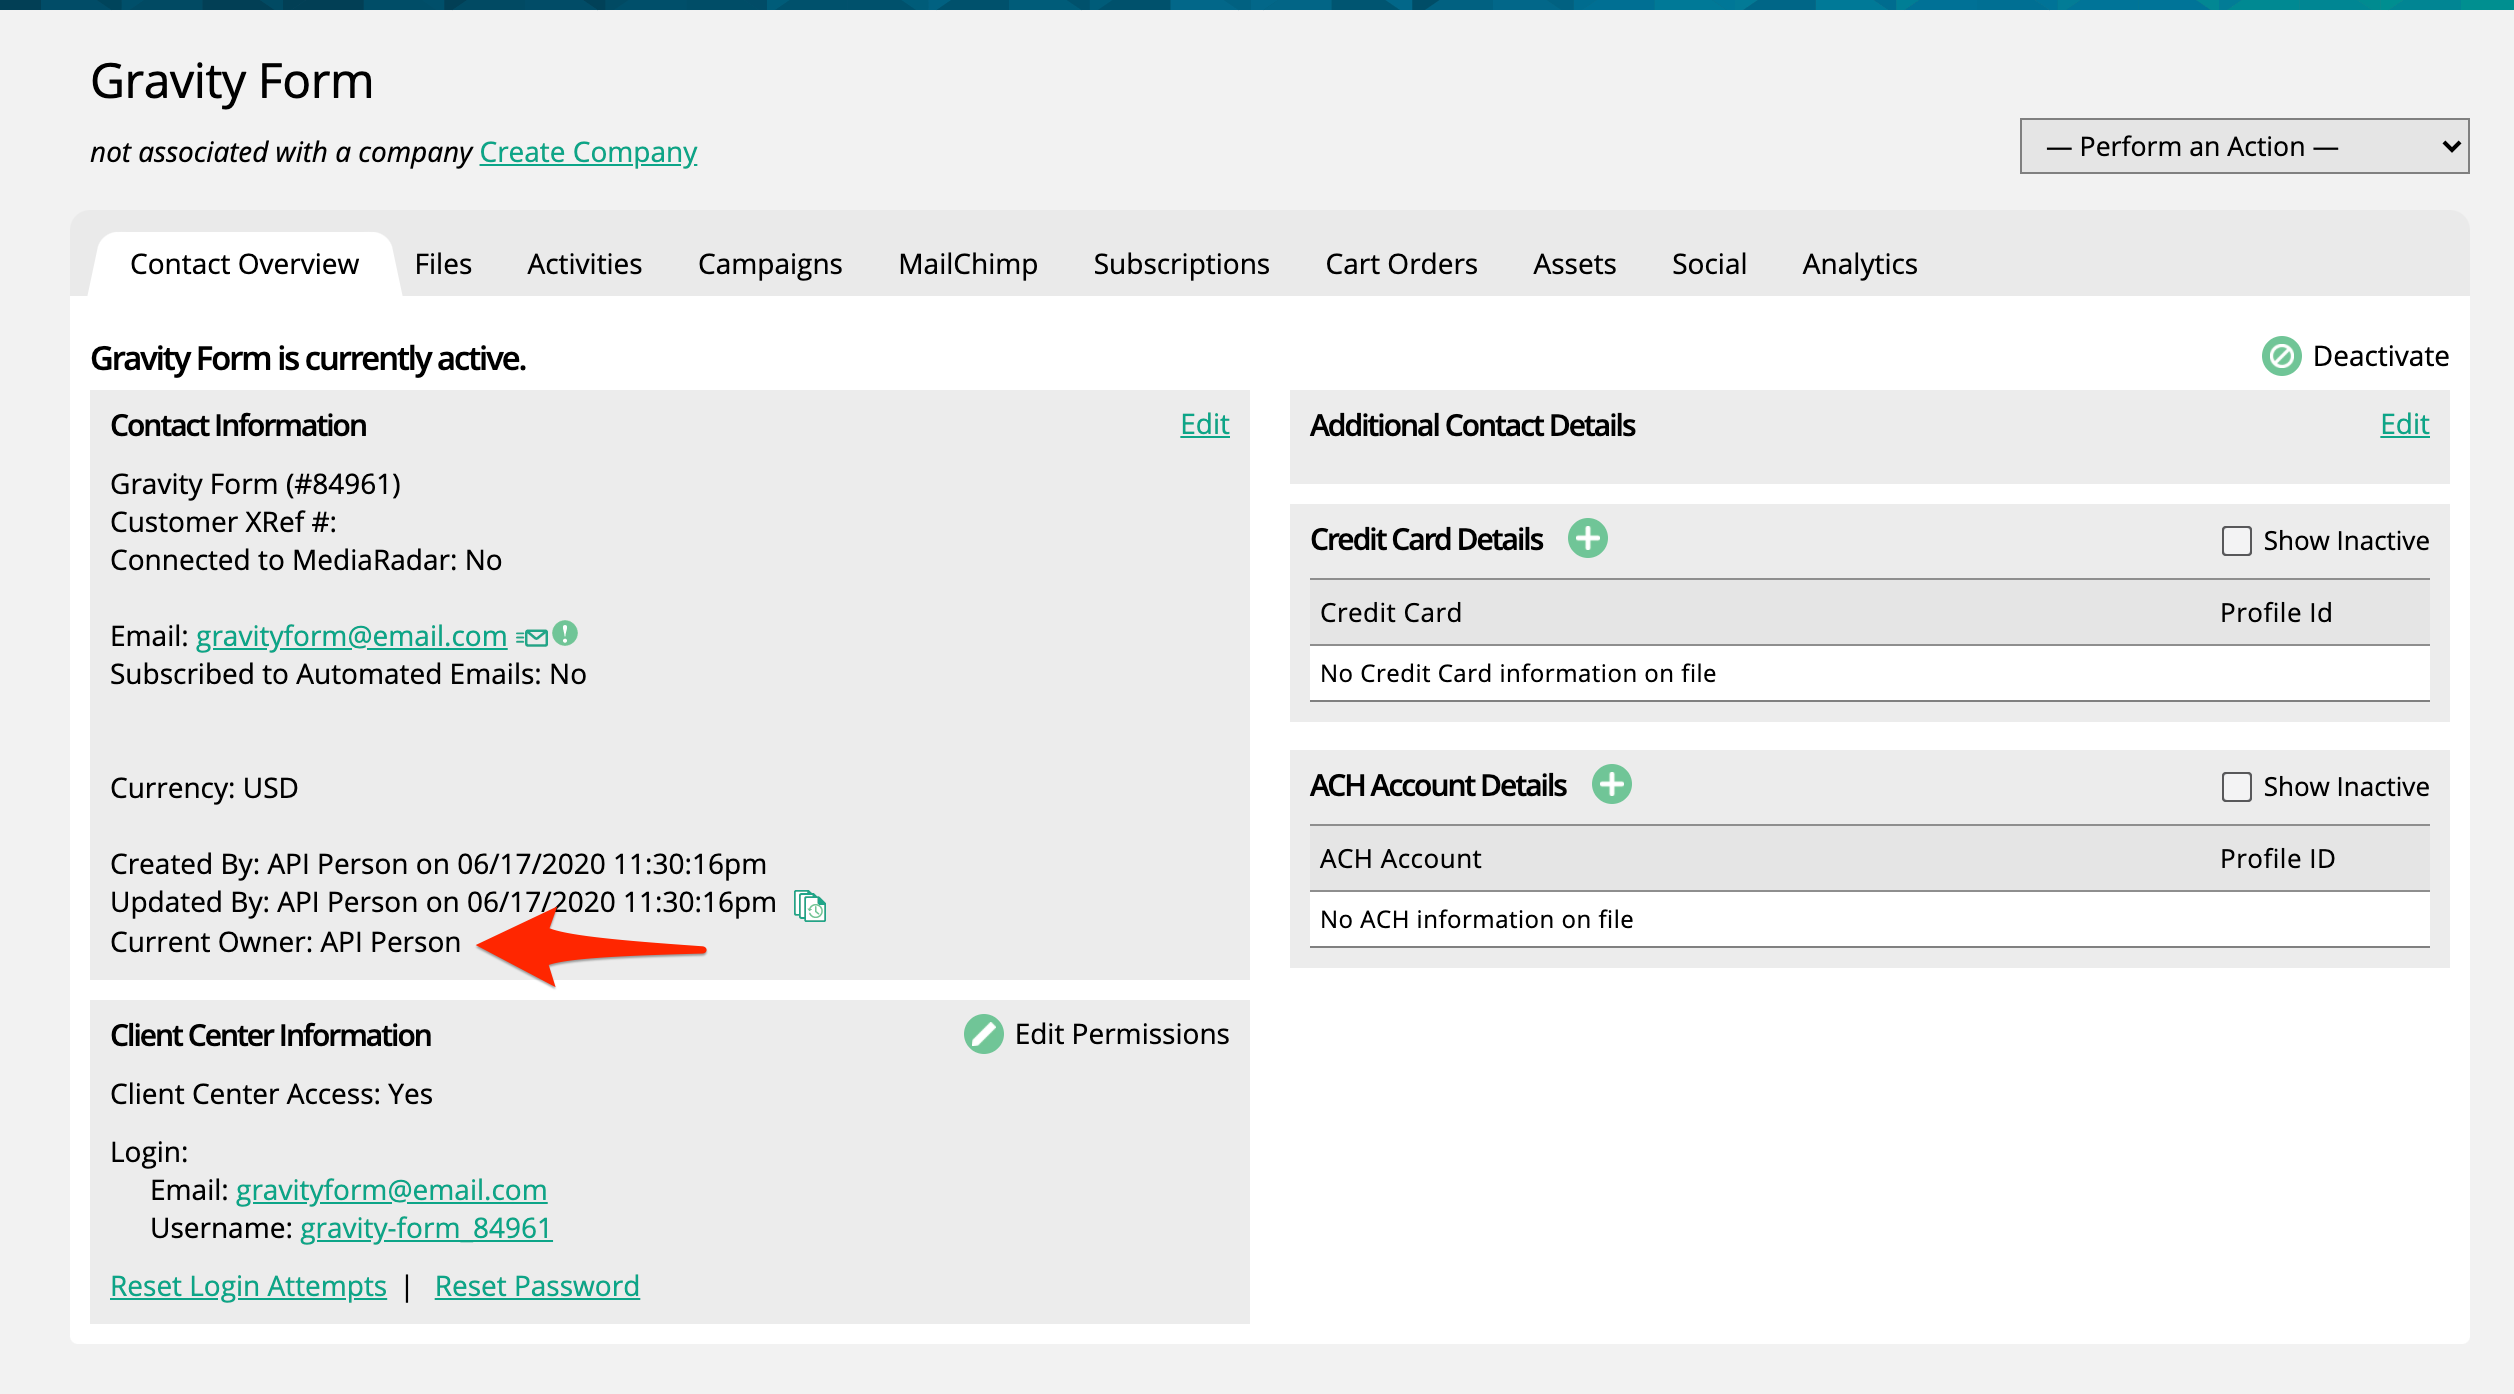
With the field map and the form live, you can test by entering in a contact to the form. You should immediately see the contact in your system after you submit the form (if for some reason you do not see the contact, check that Gravity Forms successfully captured the lead, as it does have a spam blocker for leads that appear to be fake). The user who's API keys you used to generate the authentication header will be the contact owner and creator.
