How to set up your Slack Integration
First, make sure you have access to Slack and that you have a Slack account to use. If Slack is not enabled in your site, then reach out to our support team for next steps.
Begin by going to Settings > Integrations > Slack. Here you will see a table where you can add and edit Slack channels and configure system Slack notifications. In order to add a Slack channel, you will need what is called a Webhook URL.
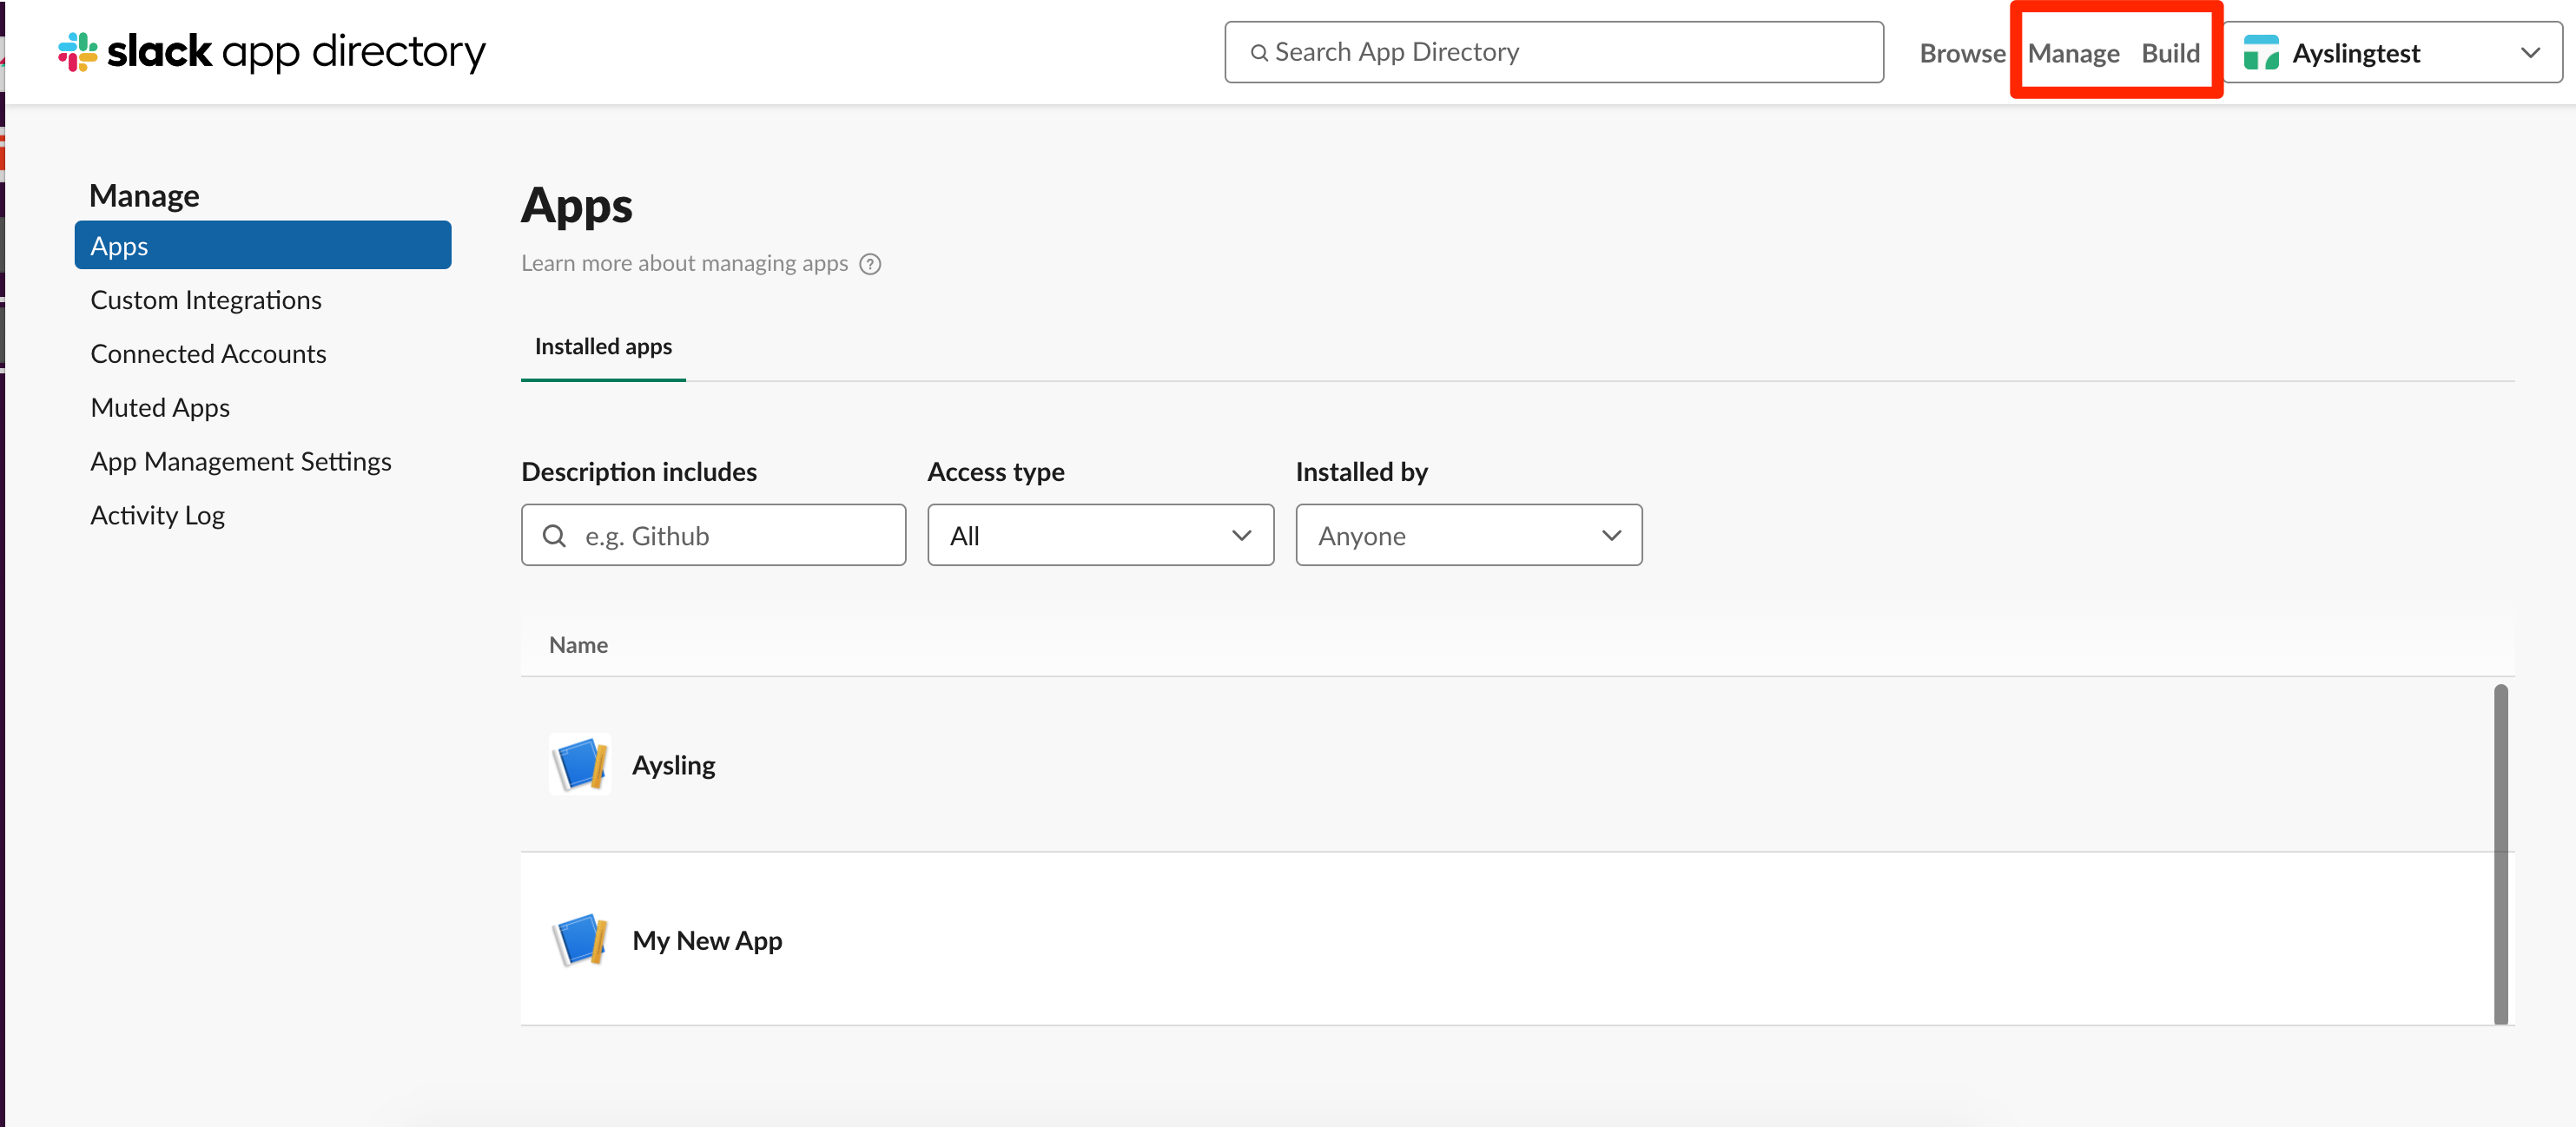
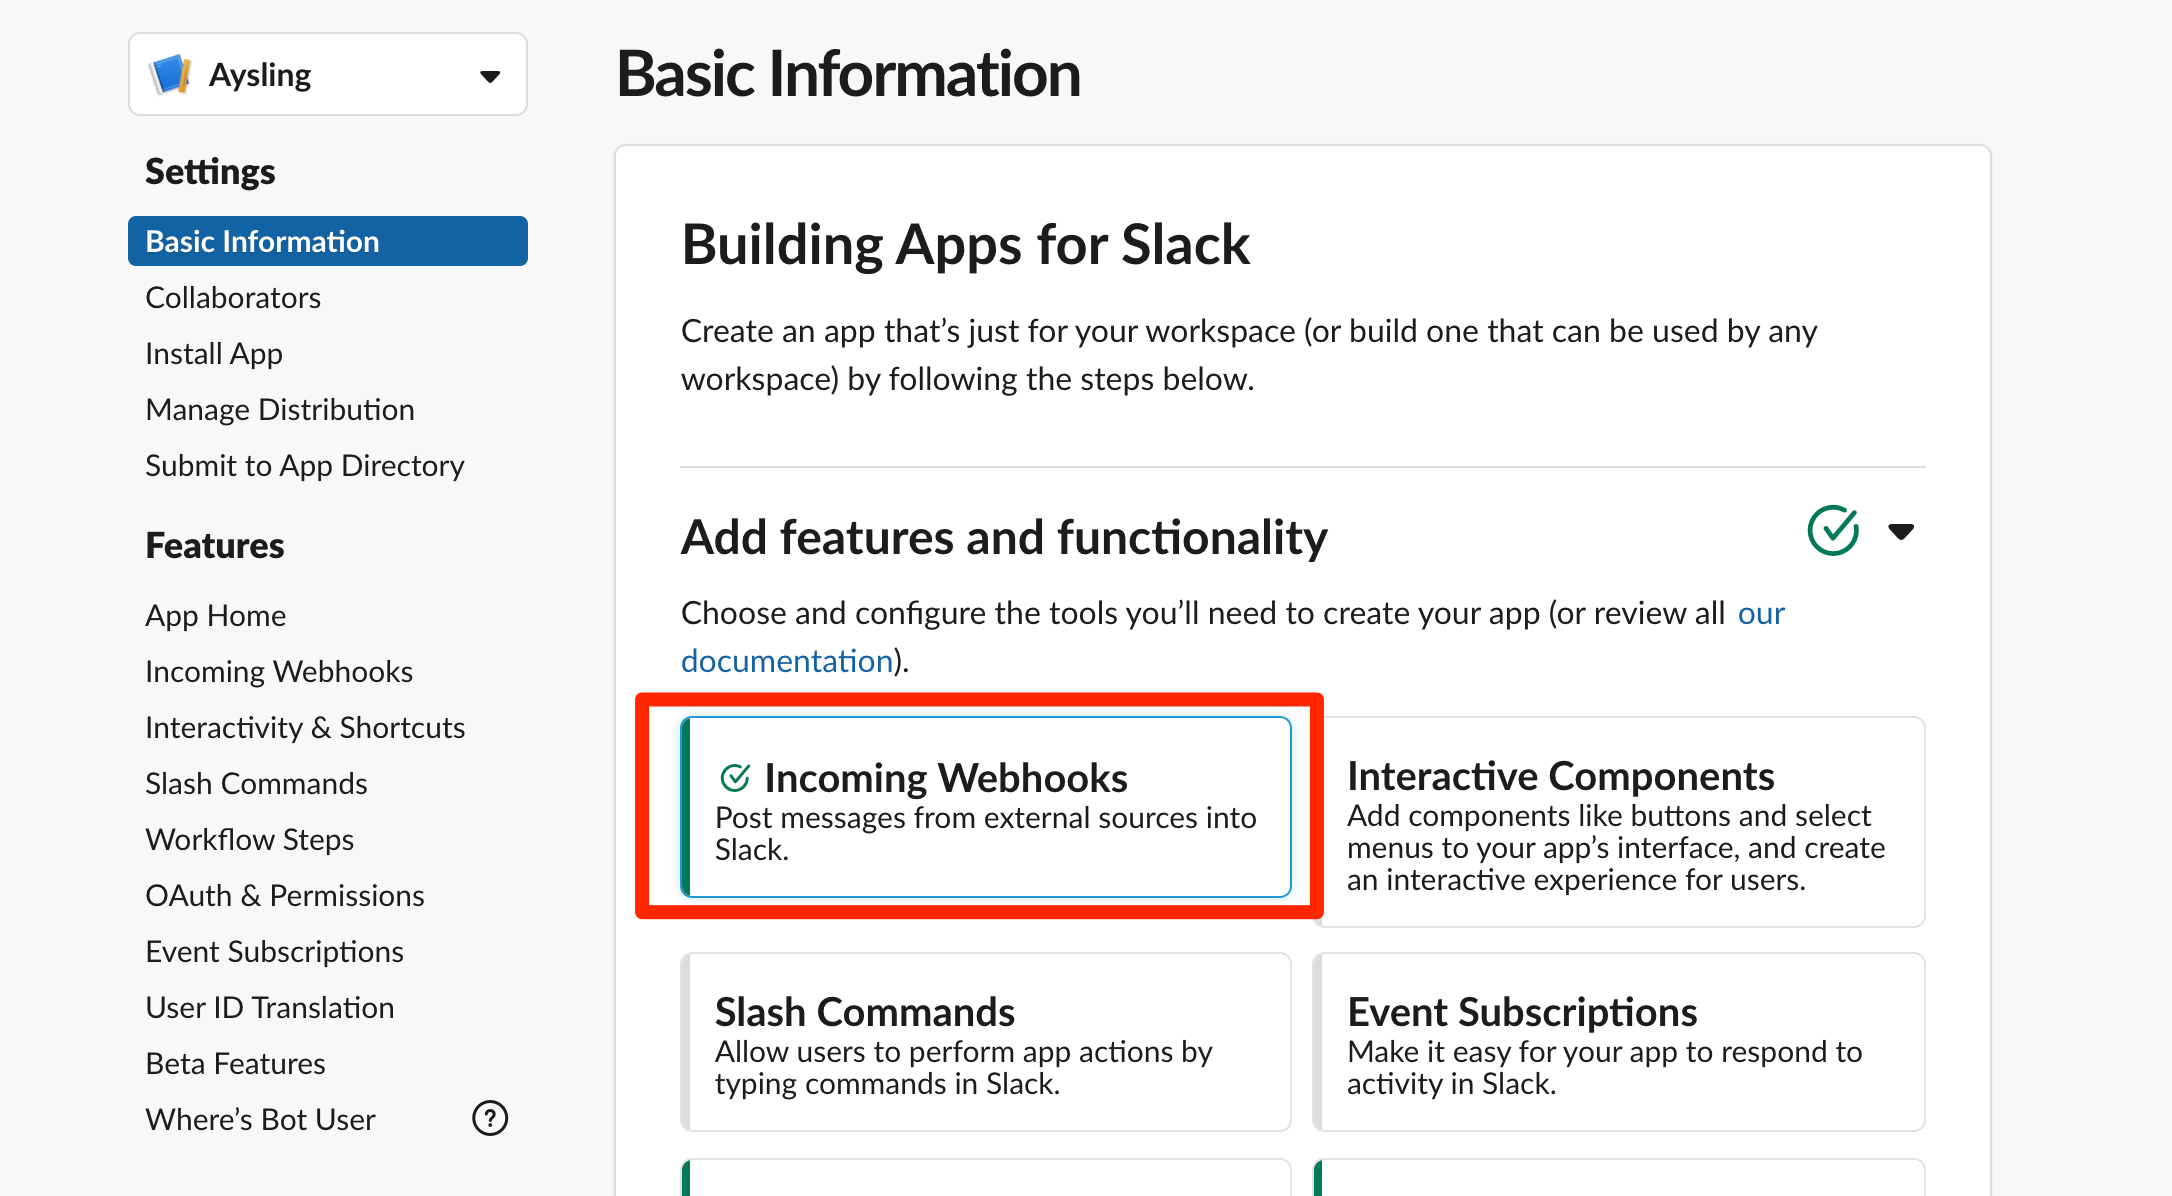
To set up an Incoming Webhook, you will need to create a new app in your slack account or manage your current app. Once you have your app, you will need to enable webhook functionality. You can then create new webhooks and set the channels.


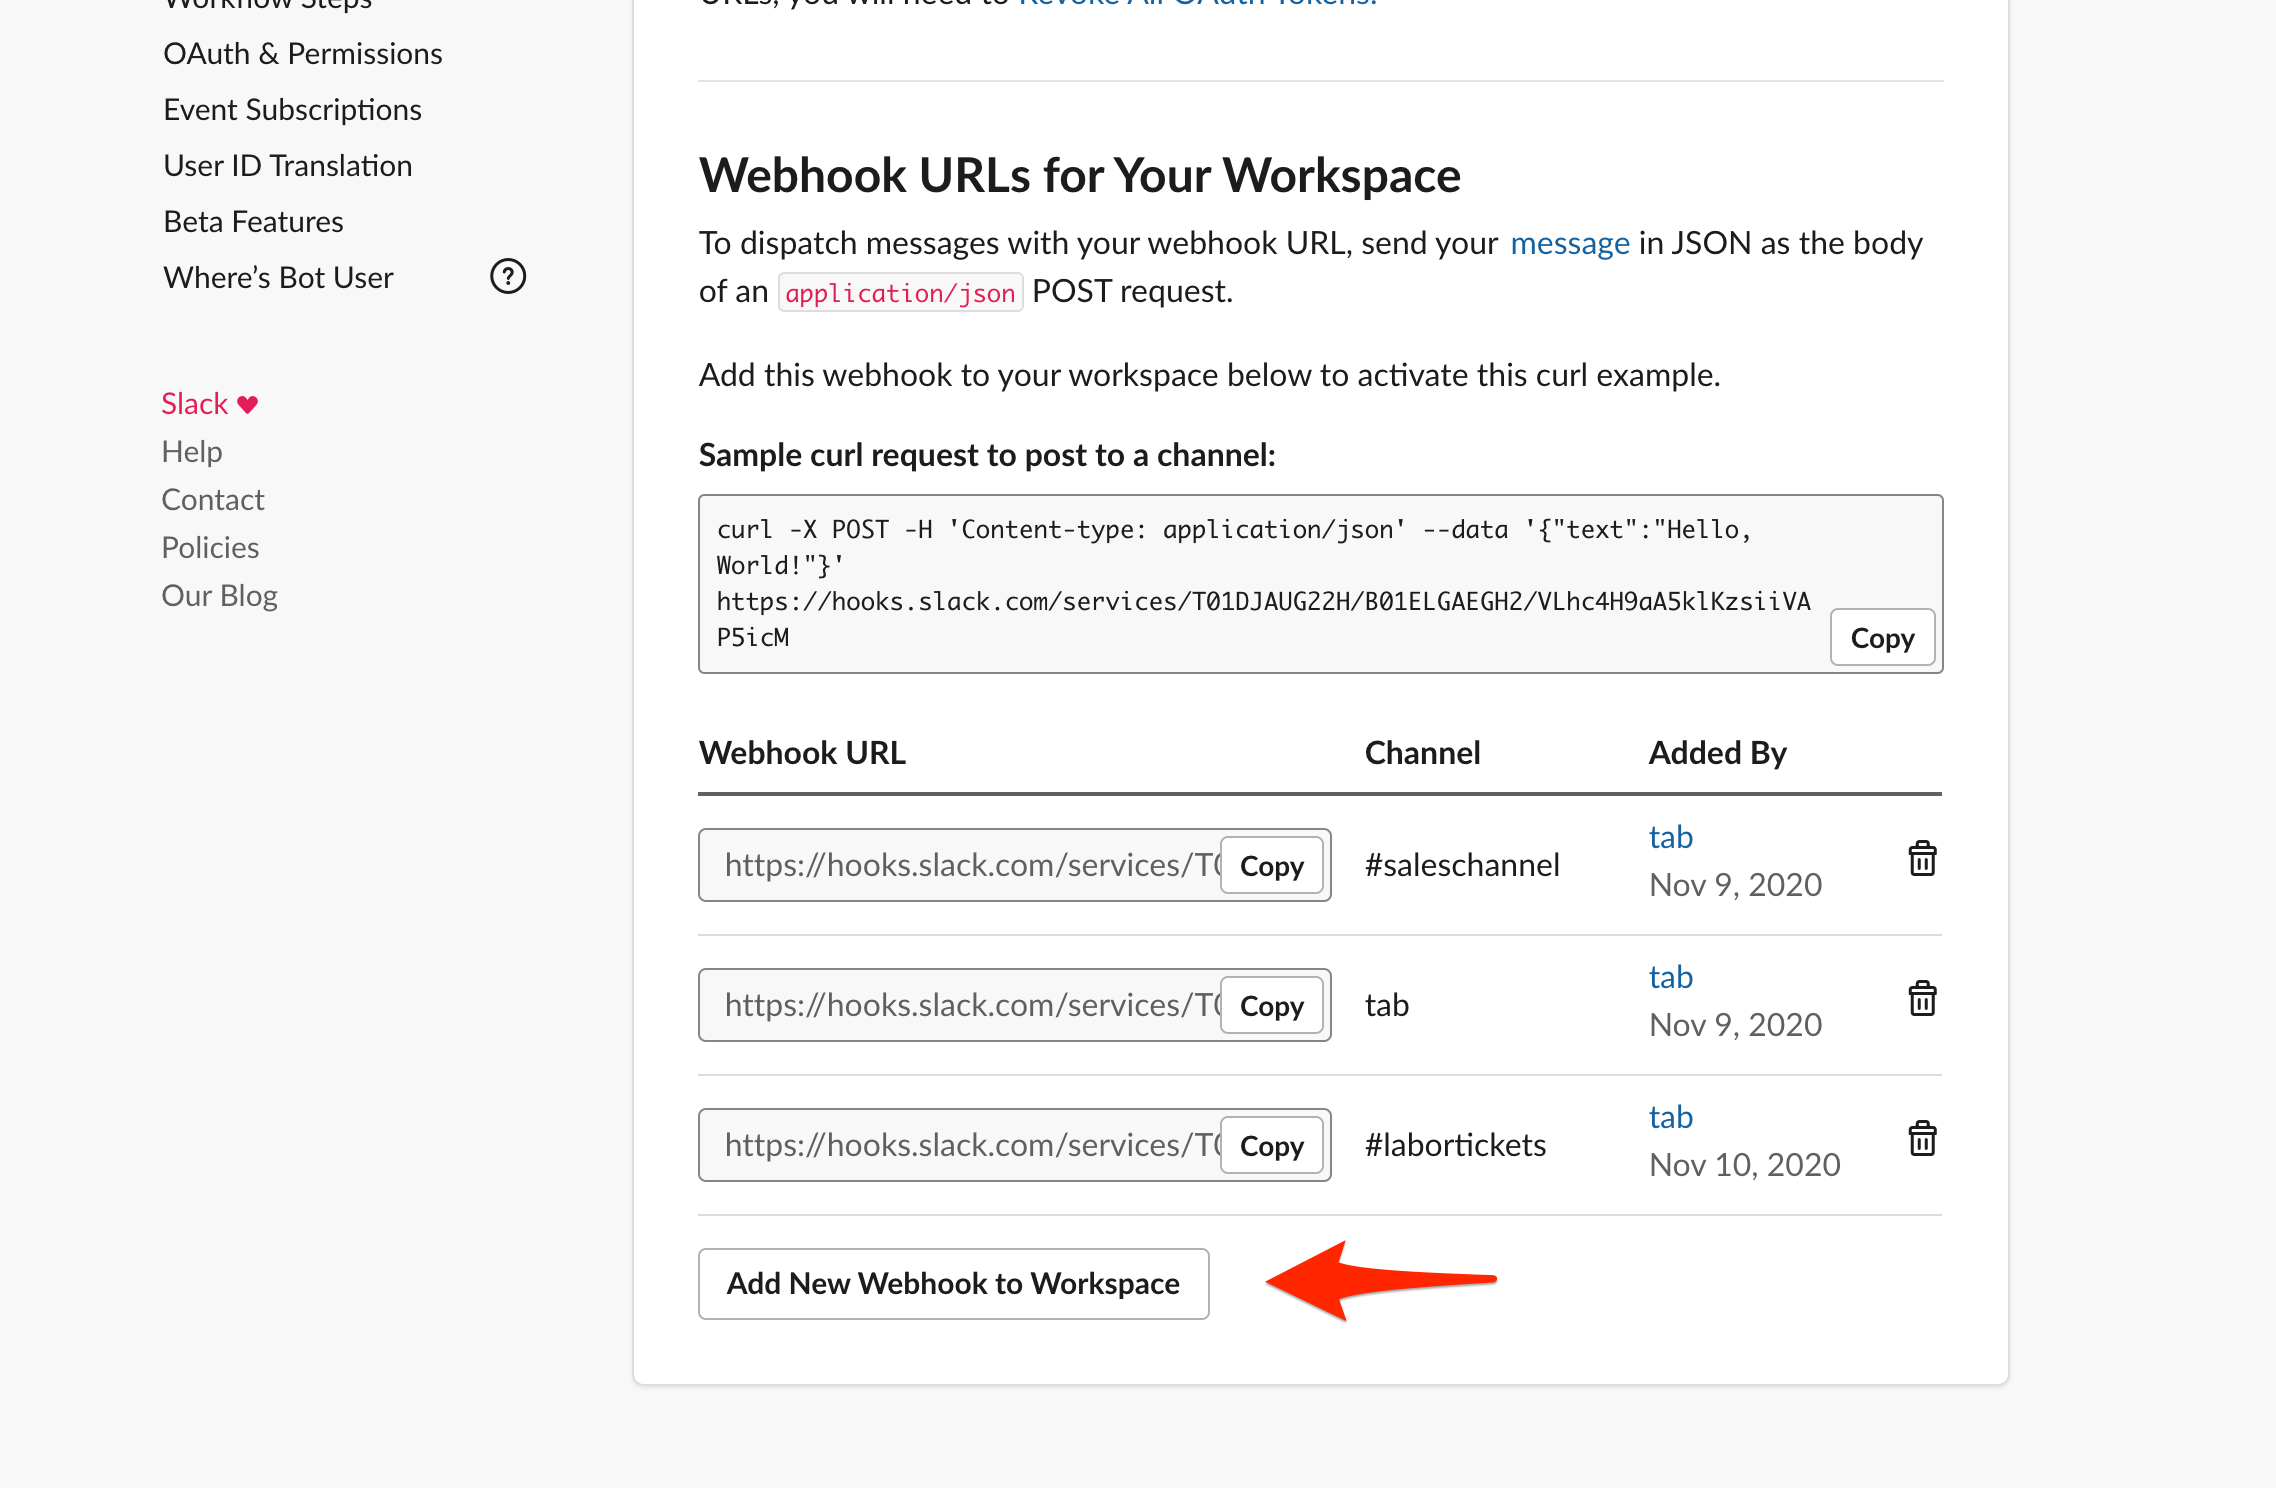
Now you can add a new Webhook for your workspace.

Tip
You can also set up an Incoming Webhook from one of your Slack channels. Click on the Show Channel Details icon, then select More, and choose Add Apps. You can then search for ‘incoming webhooks’ and you will see the option to install Incoming WebHooks. This will take you to Slack’s app directory, where you can install and configure the webhooks. On the app directory page, click on ‘Add to Slack’.
Now that you have a webhook url generated, navigate back to the Slack integrations page in the system Click Add Channel in the upper right corner. When adding a new channel, you will need to know the type, the channel name, and the webhook url.
The type can either be Channel or Direct Message. Channels are generally used for projects or topics, whereas direct messages are generally used for specific users.
Important
The channel name must match the channel’s name in Slack, or you will not be able to send messages to it.
Once you’ve added your channel, you can begin using it throughout the site. You can return to this page to add more channels, and edit, disable or delete existing channels.
Note
You can disable but not delete channels that are being used somewhere in the site.