Custom Portal Design
Not only can you change the display of the main site to reflect your company’s branding, but you can also edit the colors and logos of all of your customer facing portals.
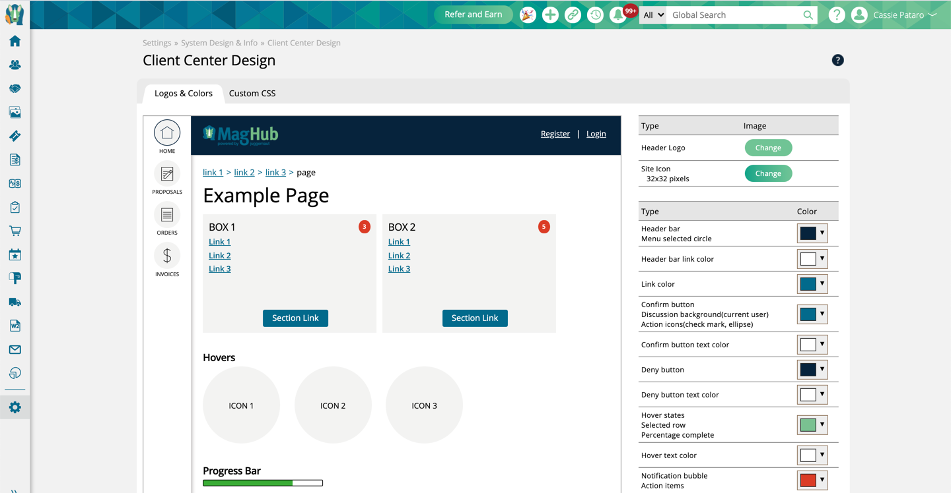
Begin by navigating to Settings > System Design & Info, and then choose either Client Center Design, Subscriber Center Design, Vendor Center Design, or Store Setup & Design, depending on which portal you want to edit. To access these pages, you need the User Permission ‘Custom Site Design’.
Note
The design aspects that you can edit, and how you change them are identical for each of the portals. For this document, we will be using the Client Center as the example, but you will be able to follow these directions to make design changes for the Subscriber Center, Vendor Center, and the Ecommerce Store.
Header Logo
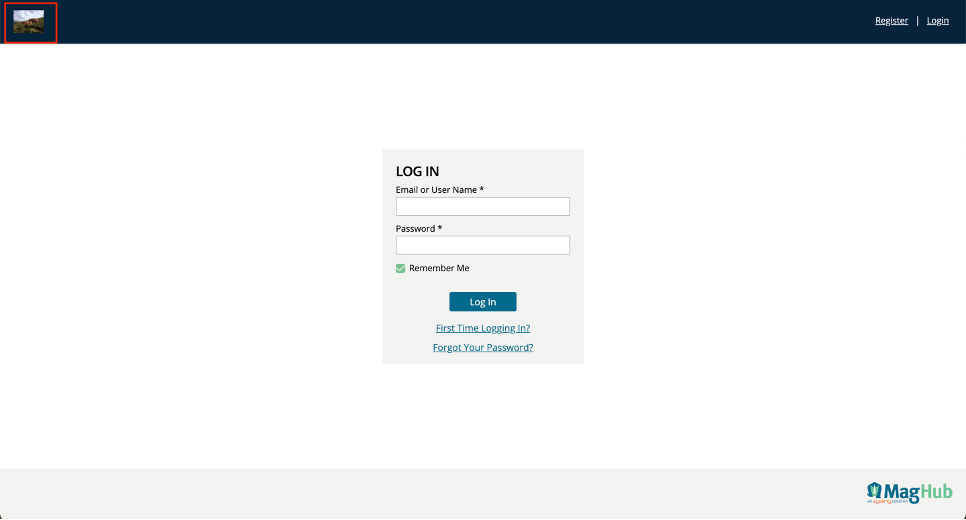
As a default, the Ad Orbit logo will display in the upper left corner of the portal, both on the login page and once the customer is logged in. To add your own header logo, simply click ‘Change’, and select an image.
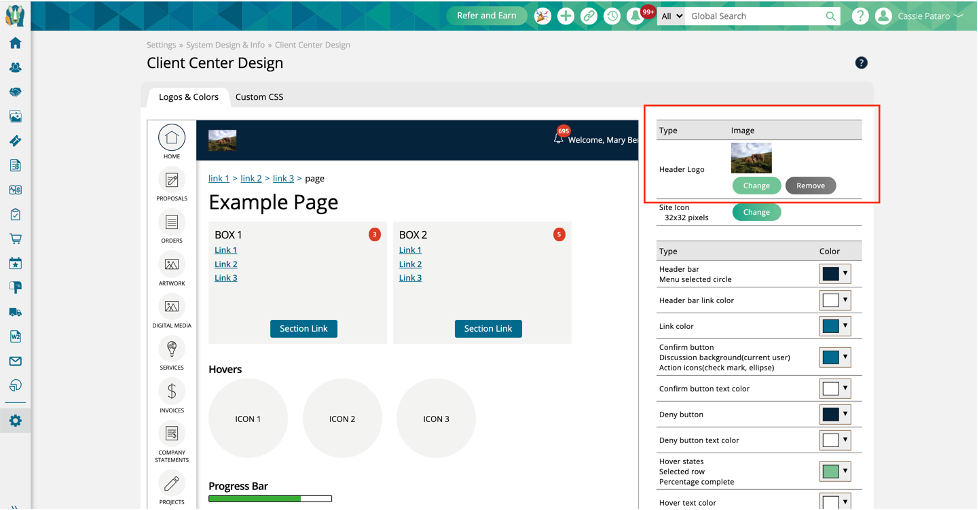
Once the image is uploaded, it will automatically show up in the top left corner of the page. You always have the option of changing your logo, or removing it by clicking the ‘Remove’ button.

Site Icon
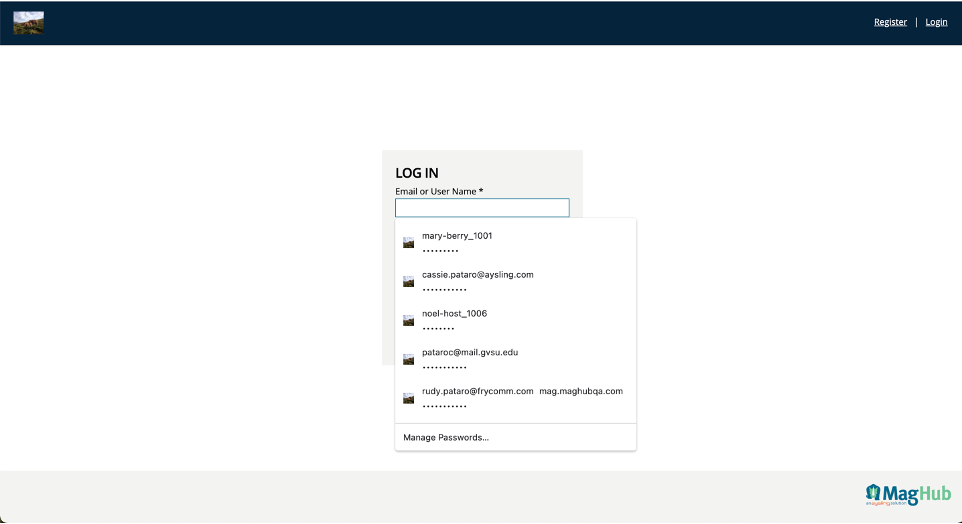
On the login page, when a customer clicks on the username or password fields, there are typically auto-fill suggestions based on previous login entries. By default, the Ad Orbit icon will show up on the left side of each auto-fill suggestion.
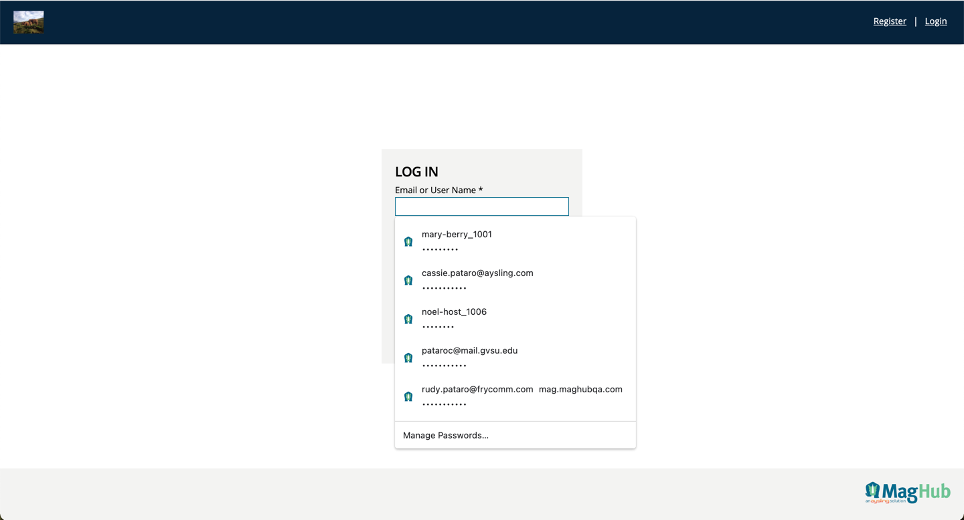
To change the default icon to your own, upload your logo to the Site Icon option by clicking ‘Change’.
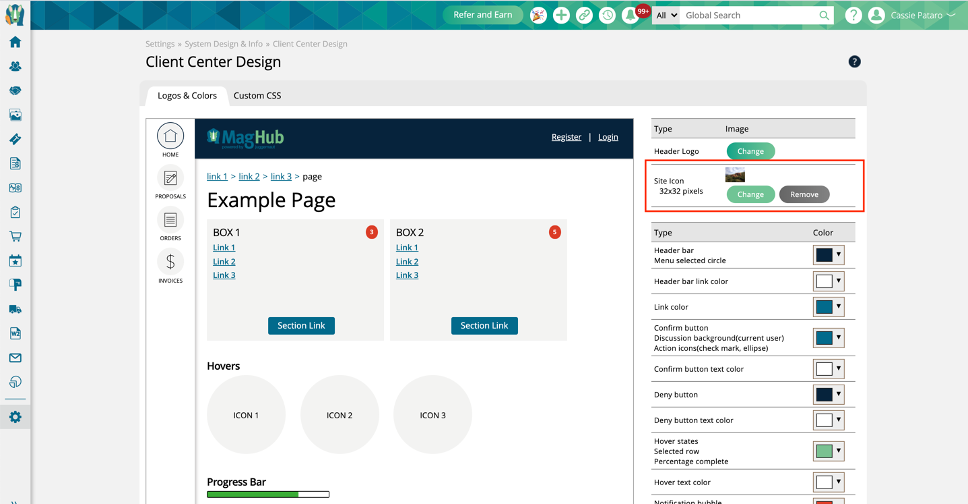
Once the image is uploaded, it will automatically replace the default logo on the login page’s auto-fill suggestions. You always have the option of changing your logo, or removing it by clicking on the ‘Remove’ button.
Colors
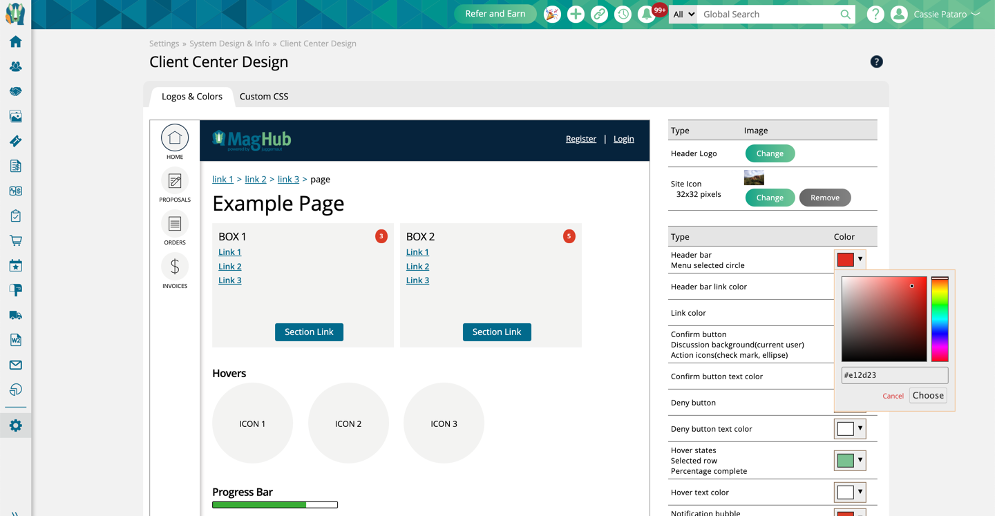
Are the default blue and green not your colors? You can also change the color of the portal headers, buttons, and hovers. Simply click on the color box and either choose a color, or if you know the HTML color code that you want, you can type in that value. Click Choose to select the color.
Prior to making changes that your customers will see, you can preview the colors. Once you have changed at least one of the color fields, you can click ‘Preview’ at the bottom, which will display the change on the Client Center Design page in Ad Orbit, but will not be visible in the actual Client Center.
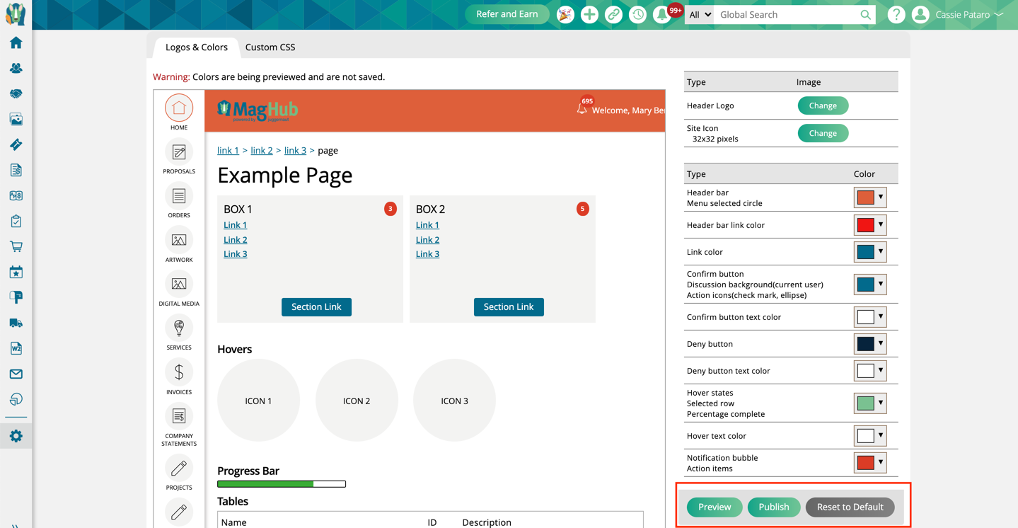
If you approve of the colors, then click Publish. Once the colors are published, the portal will be updated to reflect the changes. There is always the option to reset the colors to the system defaults.
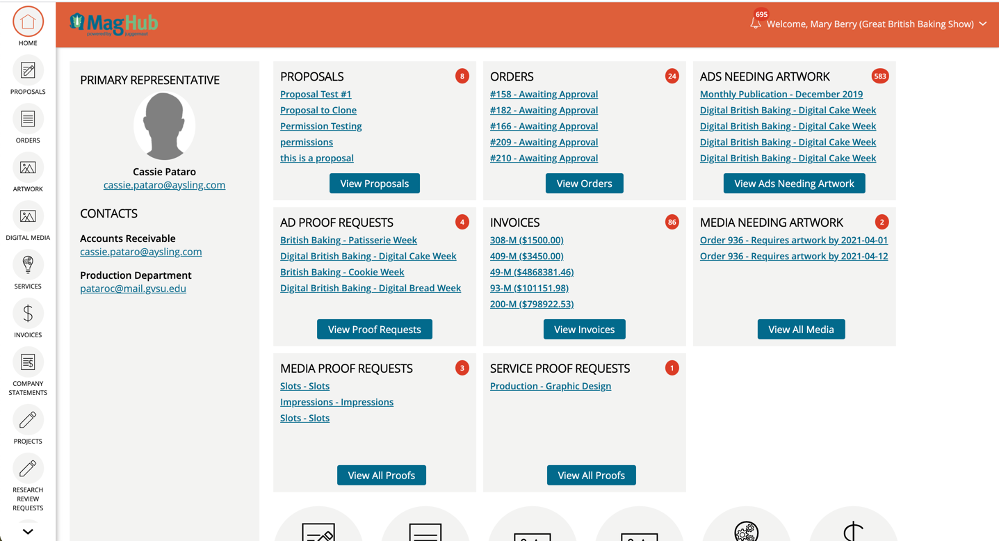
If you want to go further into customizing the design of the portal, you can move on to the Custom CSS tab. This page allows you to edit the design of the portal. For example, you could edit the size of the header logo, which you cannot do from the Logos & Colors tab.
Note
HTML skills are necessary to make Custom CSS changes.
Store Setup & Design Additional Setup
All of the above directions apply to all of the portals, including the Ecommerce Storefront. However, there is some additional design setup you can implement for your ecommerce store. To set this up, navigate to Settings > System Design & Info > Store Setup & Design.
Show Header, Show Footer and Show Navigation Menu
Tip
Unlike the other portals, for the ecommerce store you can choose whether or not to display a header on the page. Hiding these items can be helpful if you are framing your storefront on another webpage. Keep in mind, if you add a Header Logo, this will only show up if you choose to display a page header.
Featured Products and Featured Categories
If you would like to highlight a specific product, or a product category on your storefront, you can use the Featured Products or Featured Categories tabs. Click Add to mark a product or category as featured. If you have more than one featured product or category, you can drag and drop them to reorder how they appear on the page.

All of your featured items will be displayed on your ecommerce home page.
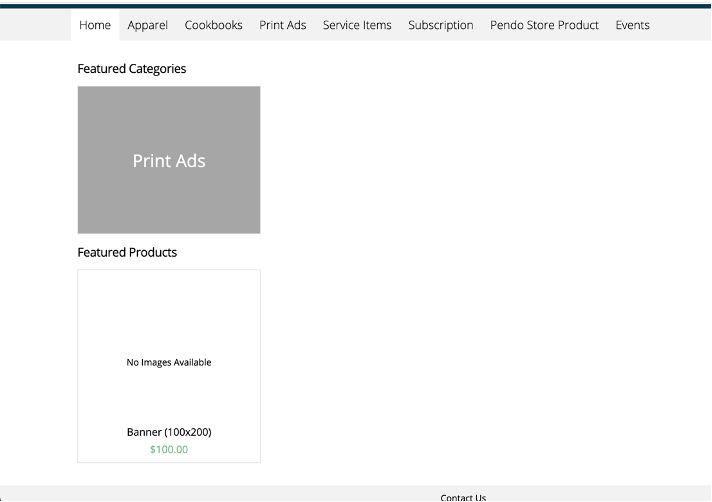
Featured products and categories can be deleted at any time, if you no longer want to feature that item.
Updated 6/08/2023