Adding a Classified Line Item
You can set up classified ad sizes in the system. A classified ad is priced differently than a regular ad and allows a user to enter copy on the order entry form.
Create a classified ad size by navigating to Settings > Products > Rate Card & Ad Setup. Click on the Rate Card Options tab and click the +Add New Size button.
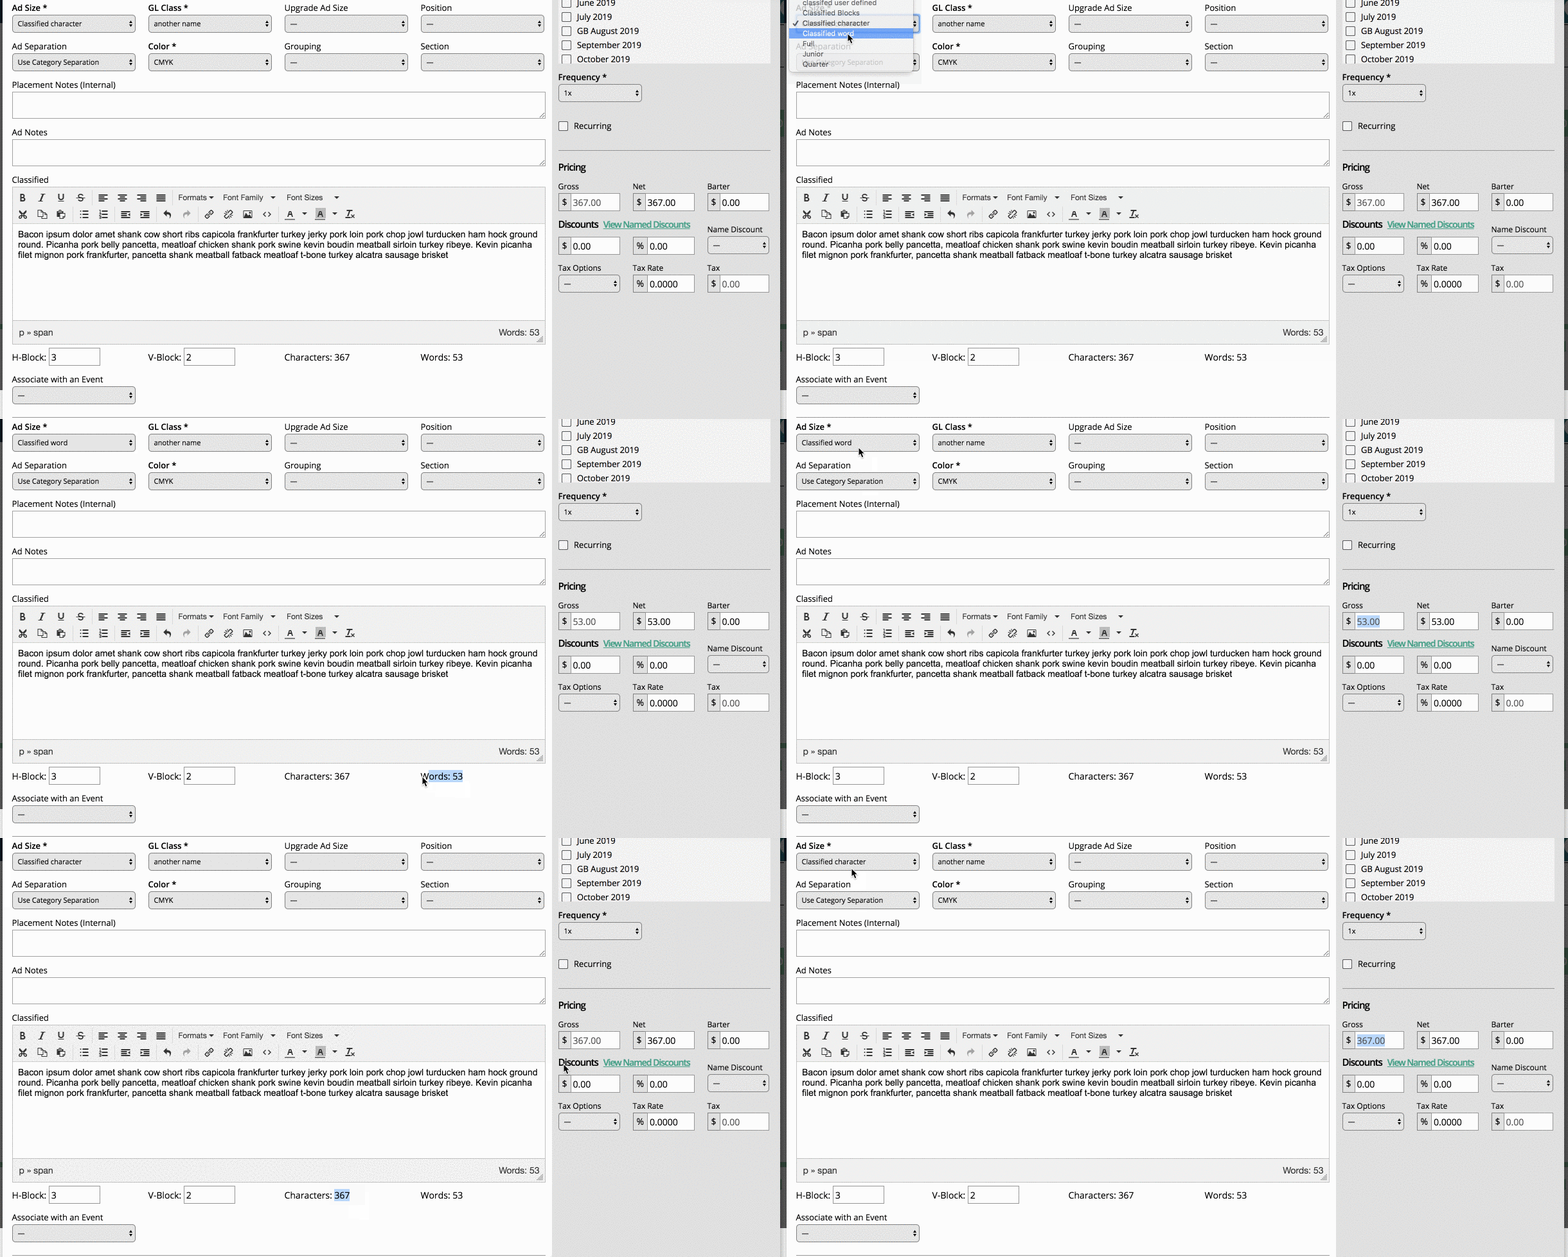
On the Add Size popup and select a print Ad Type and a Classified Ad Type: Word Count, Block Count, or Character Count. The Classified type determines how the ad will be priced, e.g, number of words X rate.
You can set the rate for each type on the rate card.
When you add a classified ad item to an order, you will get a HTML editor to add the copy and count the words or characters entered into the field. You can use the editor to style the text. The text will show up in the classified field on the ad ticket.
The pricing of the ad will be determined by the type and what you enter in the editor or the block count.
Check the ‘Create Classified Markup PDF’ button underneath the HTML editor if you wish to create a separate PDF with your classified text. The contents of this PDF will capture the information in your classified text, and is presented in an N-column format, defined by the v-blocks. This means if you have a setup with hblock=1, and vblock=3, the pdf would be presented as a 3-column page.
The PDF will be saved with the order and when a ticket is created for the line item, it will automatically be attached to the ticket as a file. This file can be sent with your proof request emails.
Note
If your system configuration ‘Create Tickets Upon Initial Approval’ is set to Yes, the PDF will automatically be attached to the ticket once the order is created, it won’t be available on the order files. If that configuration is set to No, on the other hand, when the order is initially approved, the PDF will be available on the order files until the order gets fully approved. Once fully approved, the PDF will move to the ticket.

Updated 10/18/2022