Assign a Service Ticket to your Vendor
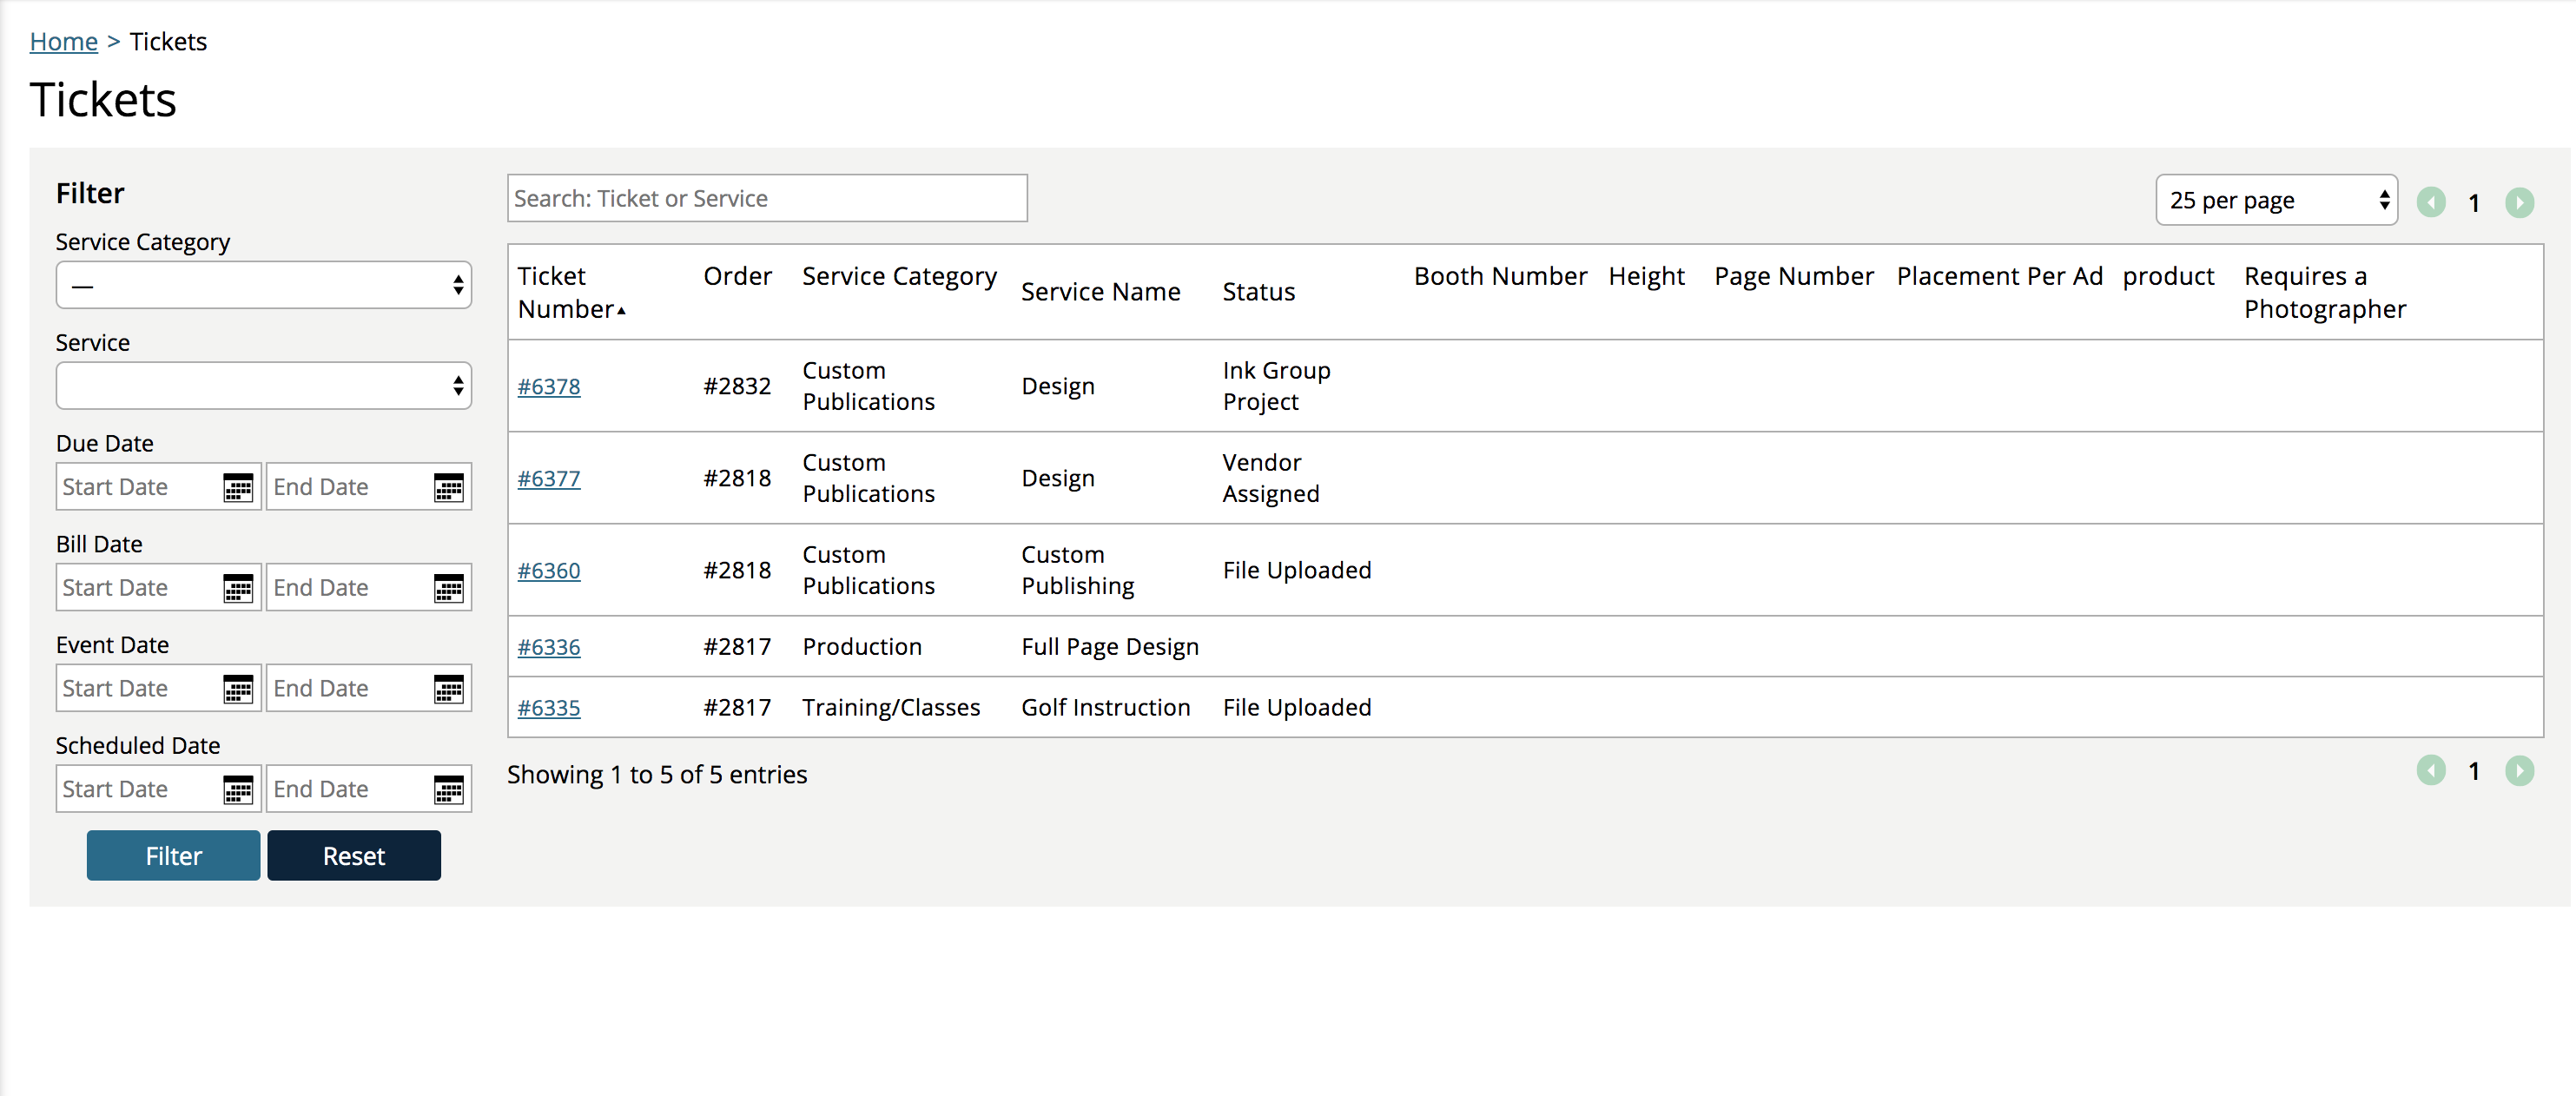
Vendor contacts can view and update service tickets through their vendor center account. When you assign a service ticket to a Vendor, the ticket will show up in the Ticket section of Vendor Center.
Important
All Vendor Contacts for a Vendor can view and interact with tickets; there is no Vendor Contact assignment.
Assign a vendor by going to a service ticket and clicking on the Assign Vendor action. Select one of your active vendors. You can only have one vendor assigned to a ticket at a time.
Tip
The vendor will automatically get assigned tickets if you associate the Service Item in a PO Item and set up the PO on the Vendor's Price List; You can also have the system automatically create a purchase order for the cost of the item(s), so your vendor can invoice you when the work is completed.
You can bulk assign tickets to a Vendor from the ticket search. Make sure to search by Service Tickets and then choose what tickets you want to assign. Click on Update Selected Ticket and choose the assign vendor option to select the Vendor.
Any of the Vendors Contacts on the Vendor can now view and interact with the ticket in Vendor Center.
When vendors search and view tickets in Vendor Center, they can see the service name and relevant dates about the ticket. You can also choose to include ticket dynamic attributes in the search page and ticket page by flagging ticket dynamic attributes to show in Vendor Center. By default, dynamic attributes will not appear in Vendor Center.


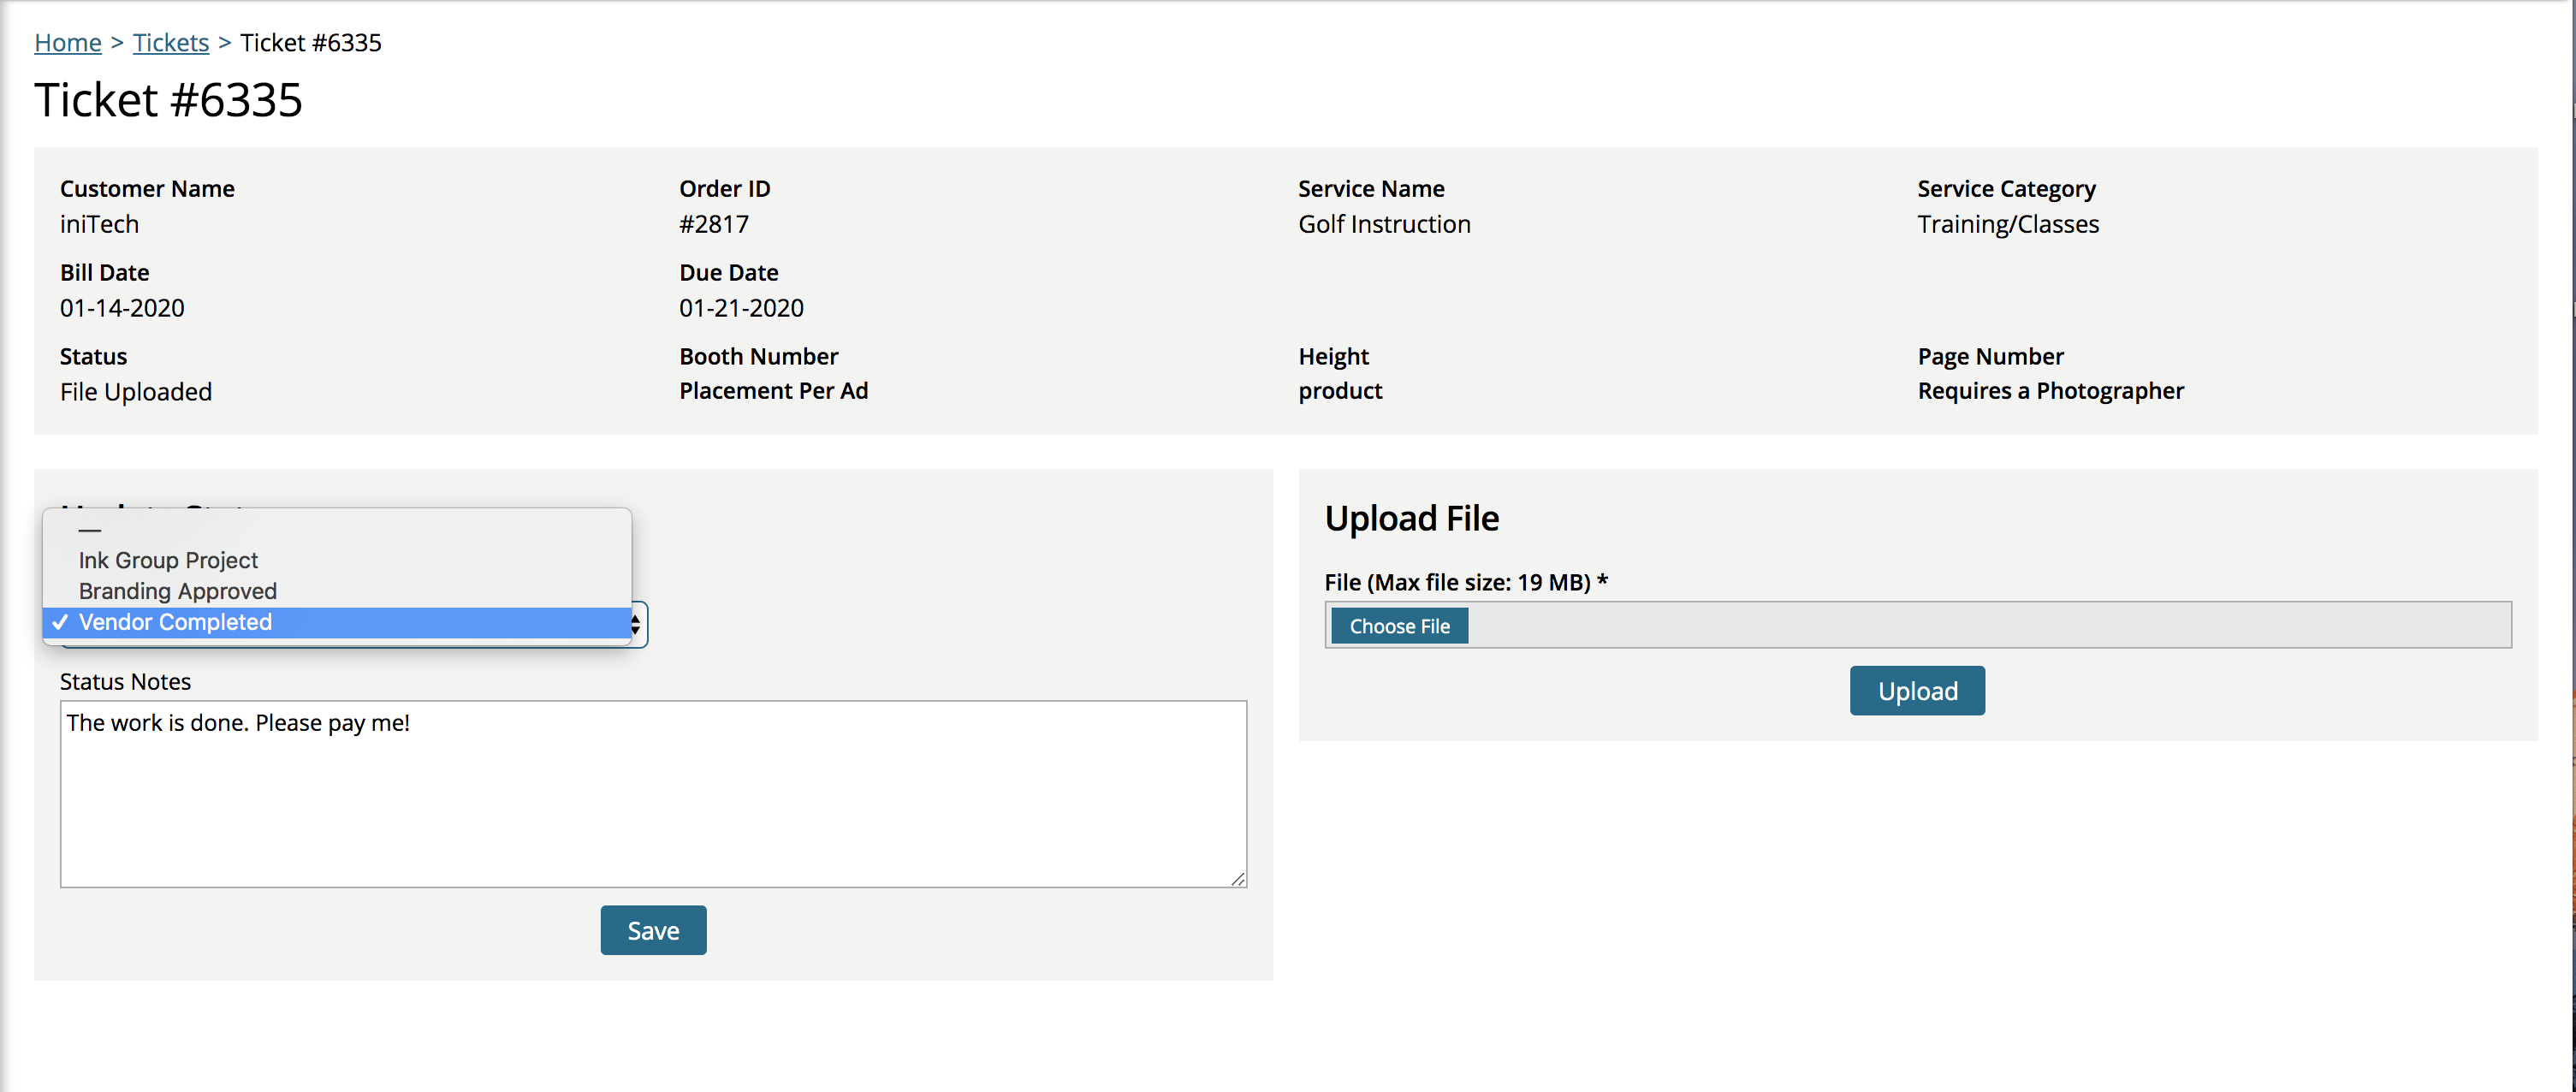
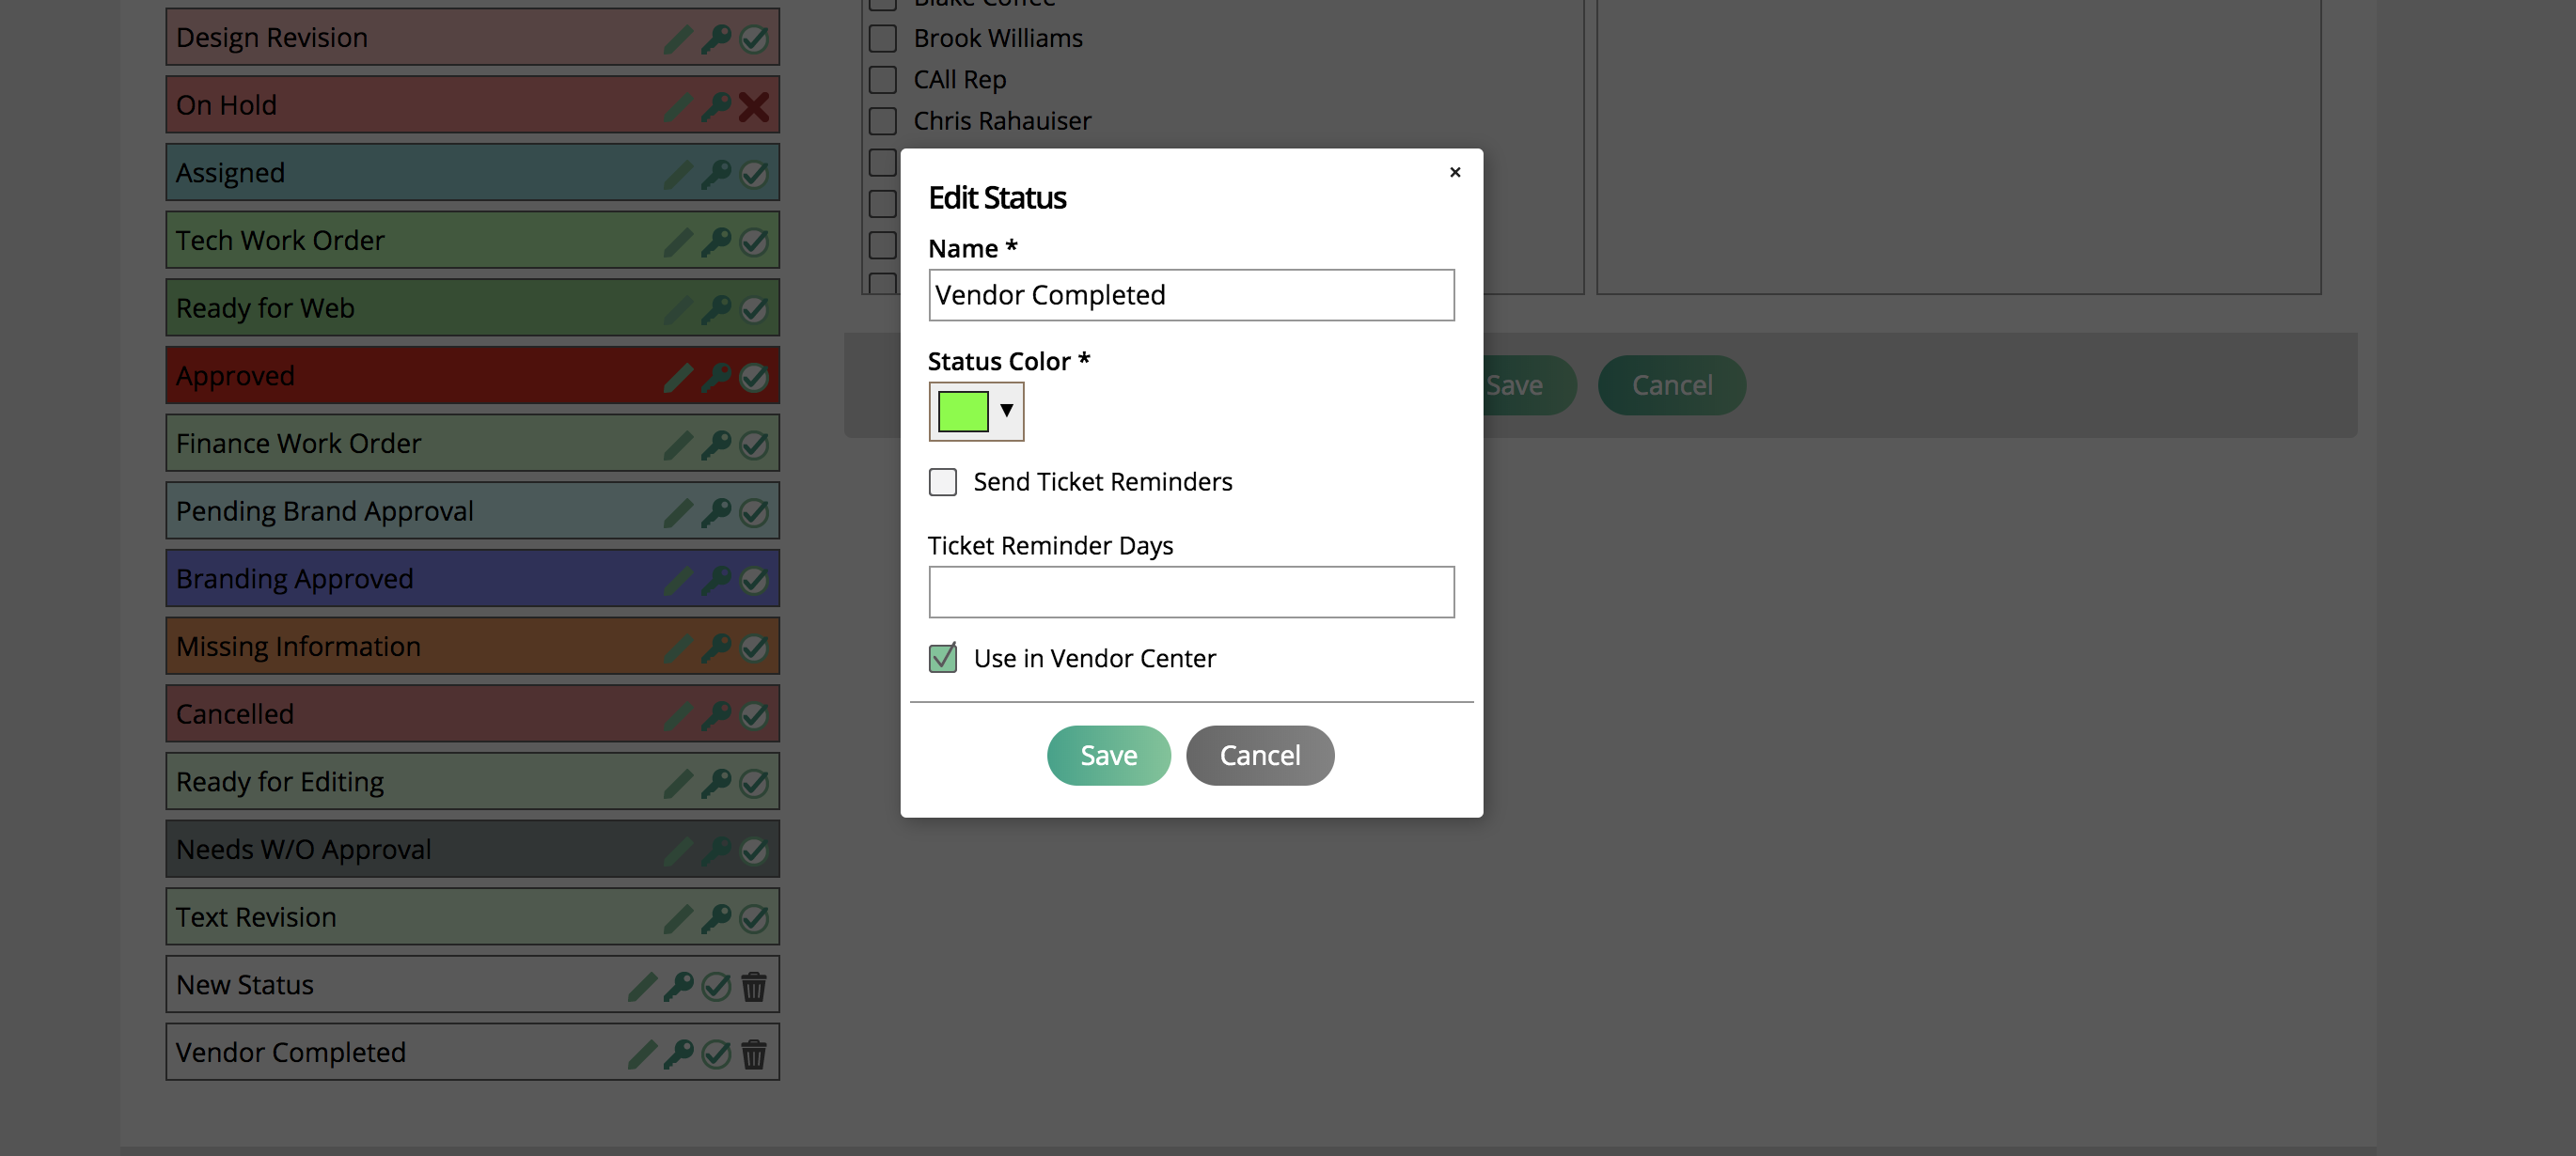
On the view ticket page, vendors can update the ticket status and upload assets. By default, Vendors won't be able to update any statuses. You will need to update service ticket status to be used in Vendor Center.
Tip
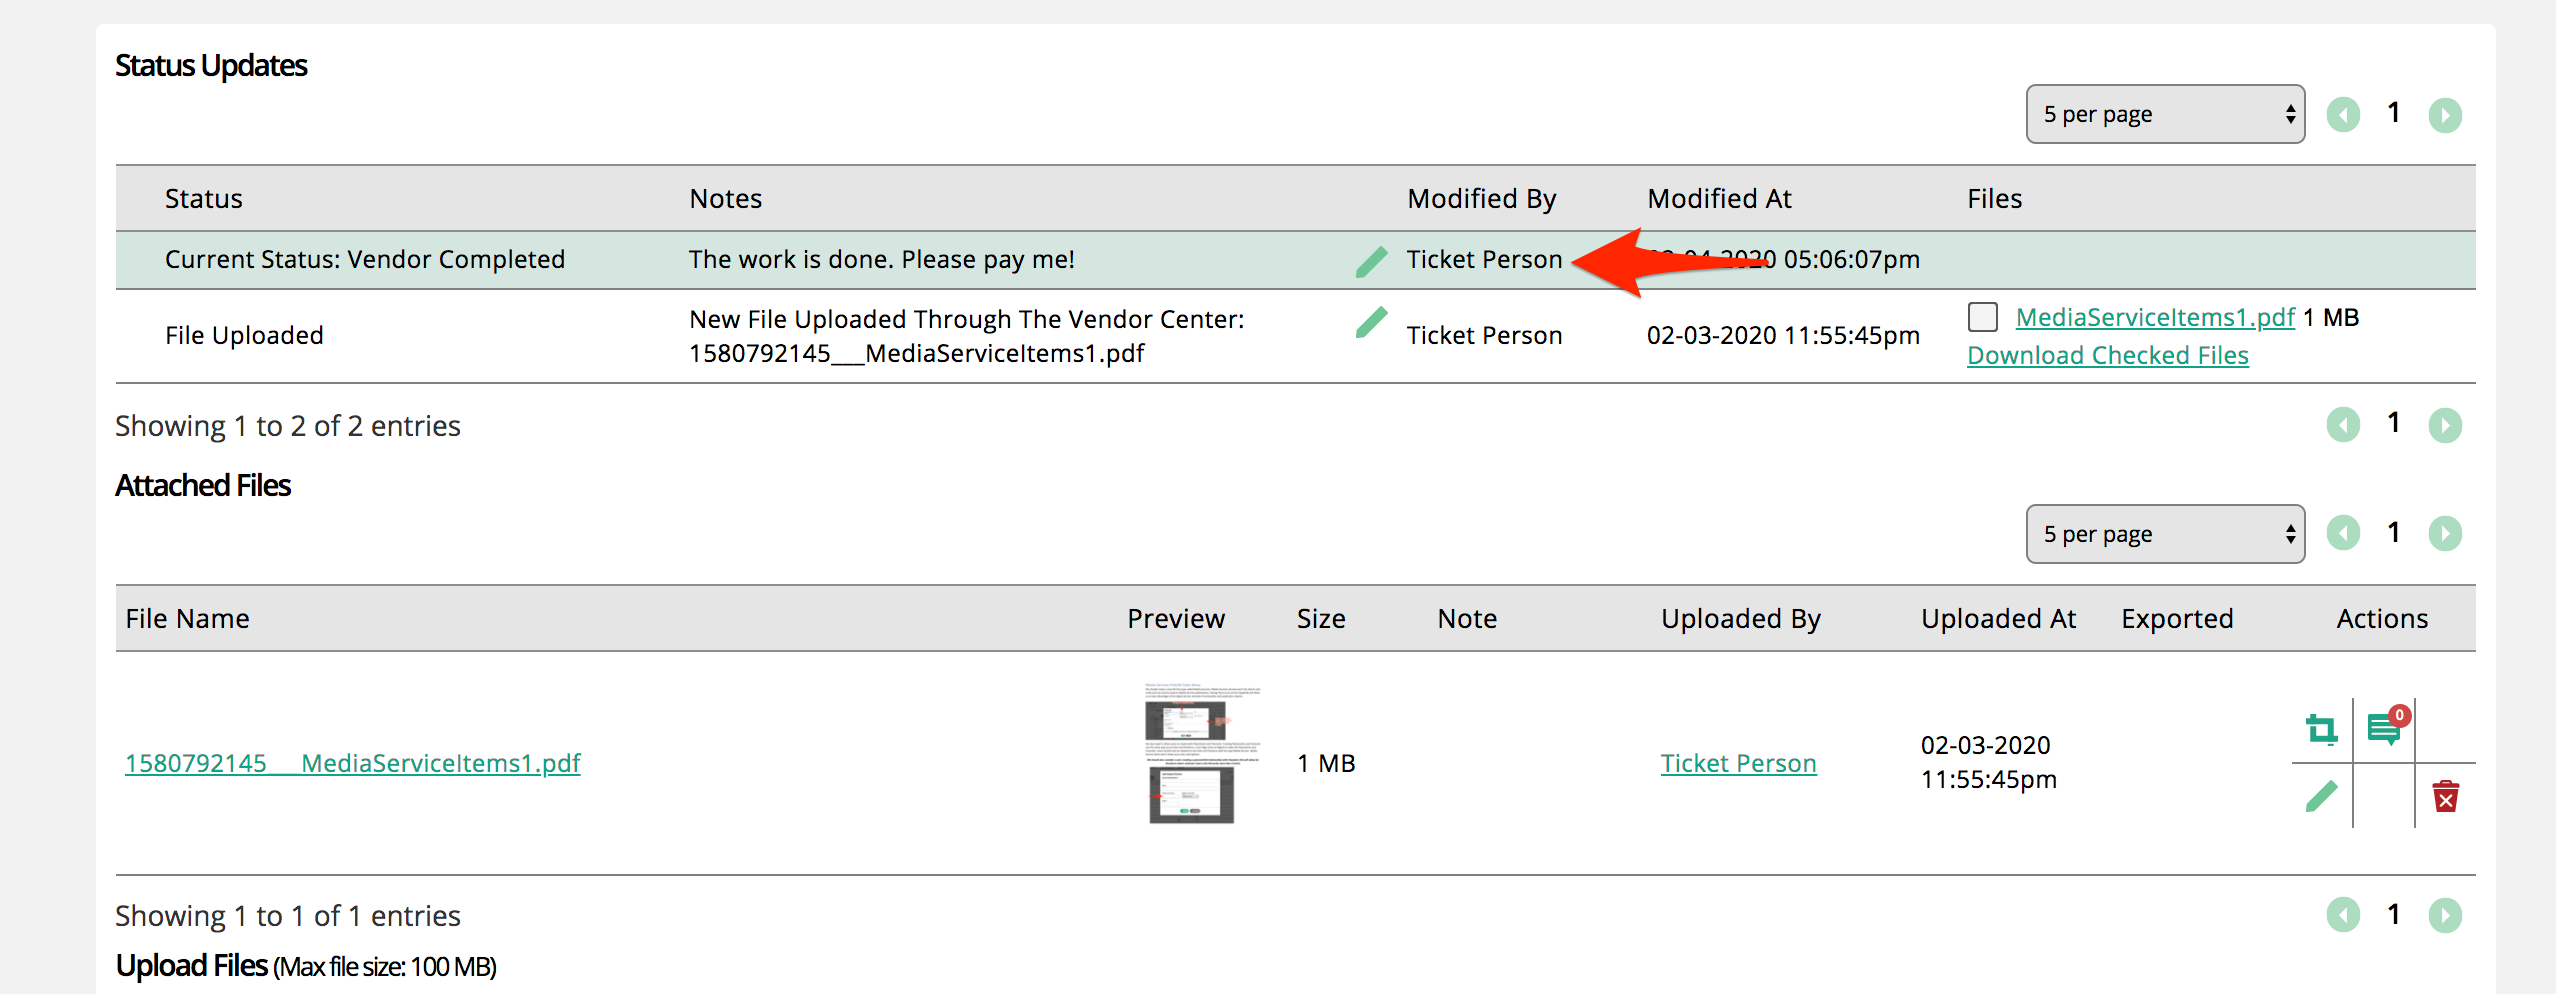
You may want to create new Vendor statuses just for Vendor Center. When a status is updated, you will see who made the change on the ticket.

Any uploaded assets or ticket status updates will appear on the ticket and list what vendor contact made the update.
